For already a couple of months I've been living now in the new apartment. Most of the big renovation steps are done. You can read about them in previous posts in my renovation series. Despite the huge amount of work already done, there's still quite a bit to do. Some this includes installing:
- shower door
- countertops in kitchen
- install blinds for all windows
- install window sills
- skirting in the complete house
For all of these it is not just installing but also sourcing the right material. Something I'm pretty bad at. Finding the right items for your own place is hard :D
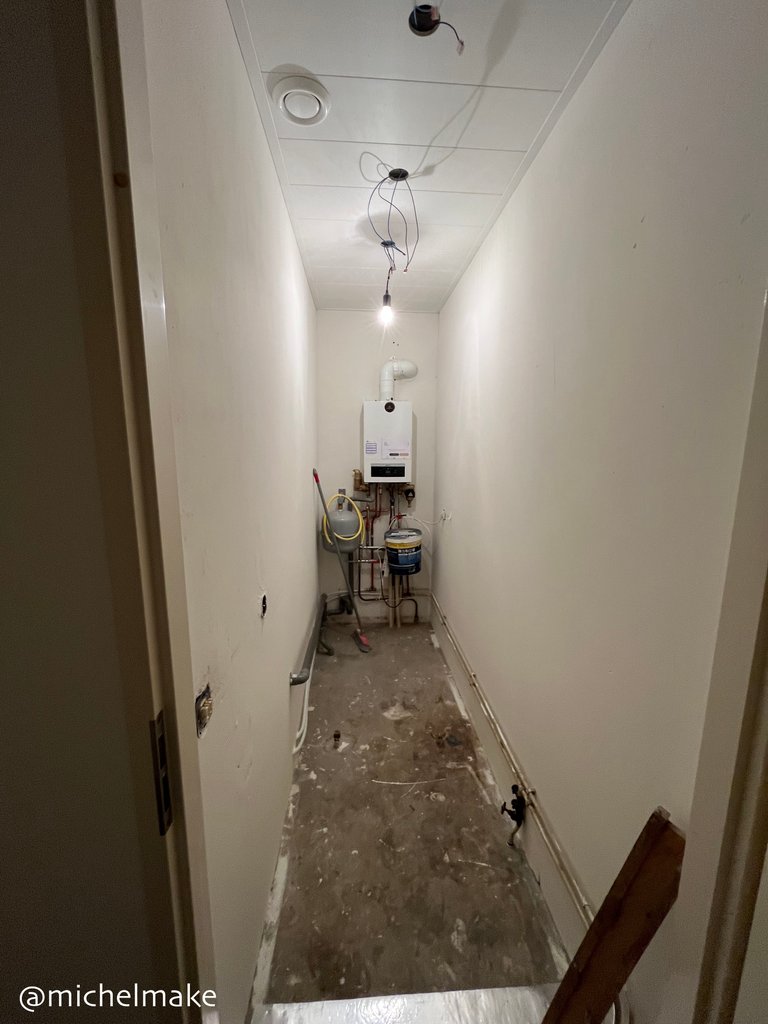
A bigger part of the renovation I was looking at for weeks now was taking care of the boiler room. This windowless oddly shaped room contains the central heating unit of the house. It also conveniently takes up all the junk I want to have out of sight. This was the case since the day I got the keys for this place.
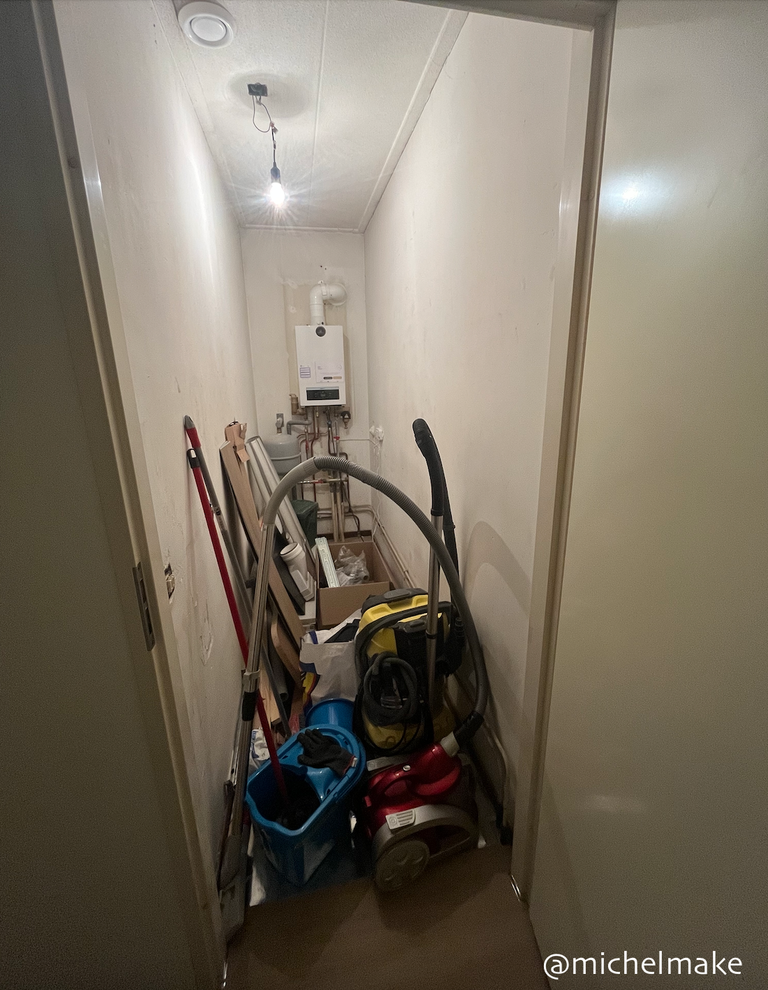 The boiler room in the state it was in yesterday. A nice collection of renovation bits and bobs.
Yesterday, I decided it was time to take on this room and fix it good. What needed to be done was installing the floor, the ceiling, and fix and paint the walls. I already had most of the materials needed at hand.
The first step, which kept me from doing this task for weeks, is cleaning out the room and bring the waste to the tip. An easy task, yet one I just like to put off too easy. Not today!
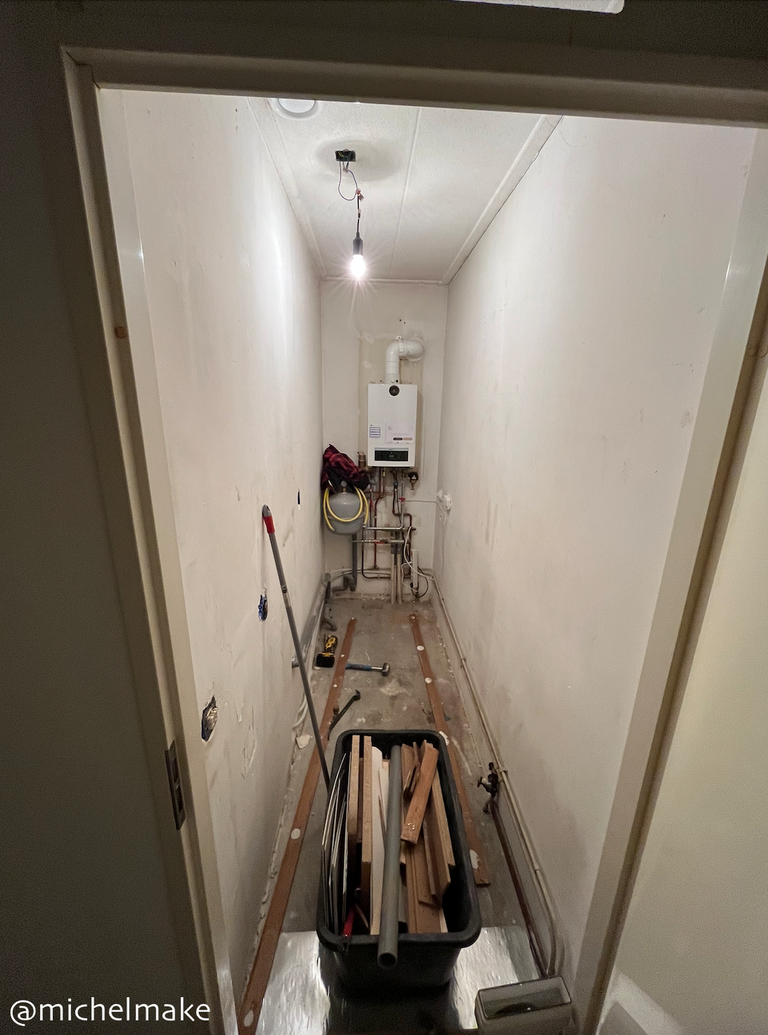
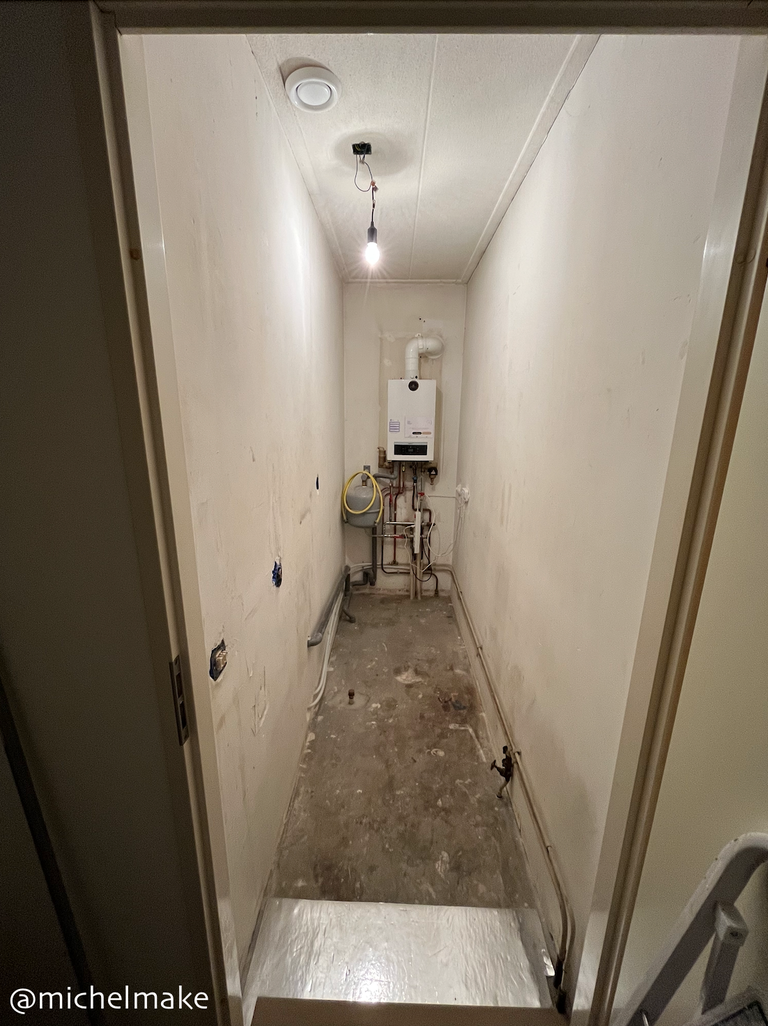
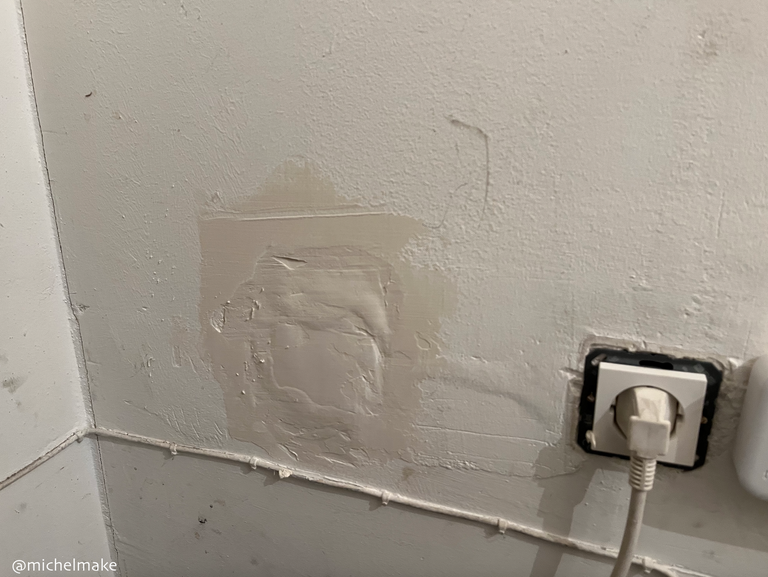
After cutting up the left over wood into bite size chunks and taking out all the tools and equipment, the room quite quickly emptied itself. As already mentioned the goal is to paint everything. In this case that means the walls. Unlike the rest of the house, this room didn't get fresh plastering.
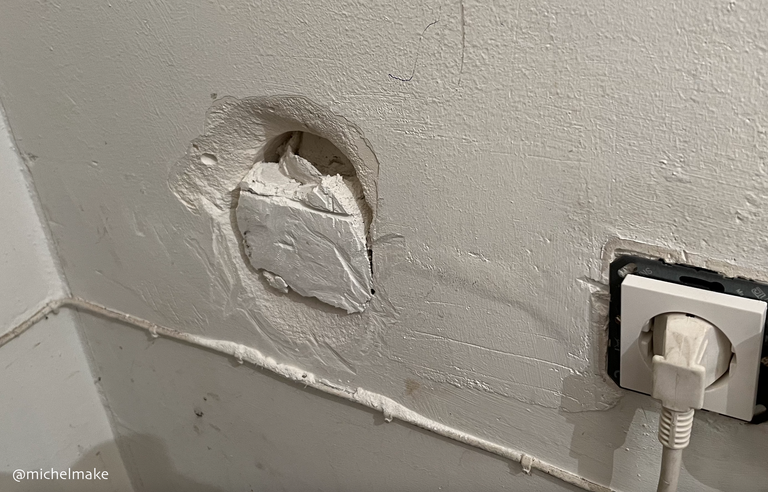
Most walls look quite bad and even contain some big holes that need filling. While I'm just merely an amateur, my plastering skills are very limited, i.e., non-existing.
Nevertheless the holes need filling and this room remains out of sight. A perfect job is thus not really necessary. Using a plastering knife and some left over plastering material I closed up most holes as good as I could. Again, no pro. Not going for perfect here:
Cleaning out the room and closing up the walls actually was done the day before yesterday. For one because the tip is only open in the mornings. I wanted to have everything ready to dump the waste directly in the morning. On top of that the plastering needs drying. Now it had one night to cure before painting over.
Time to Prep the Ceiling
Before painting the walls, I figured it might make sense to first finish of a more rough task of putting in wooden framing against which the ceiling panels would later be installed. I didn't bother taking out the original ceiling as this is all plaster board. It would have been a very messy ordeal. Hence, I just frames straight into the plaster board. The plasterboard is a double layer against its own wooden frame. Using plenty long enough screws should firmly hold the new wooden frame and ceiling panels. It all weighs next to nothing anyways. Here's the resulting wood framing:
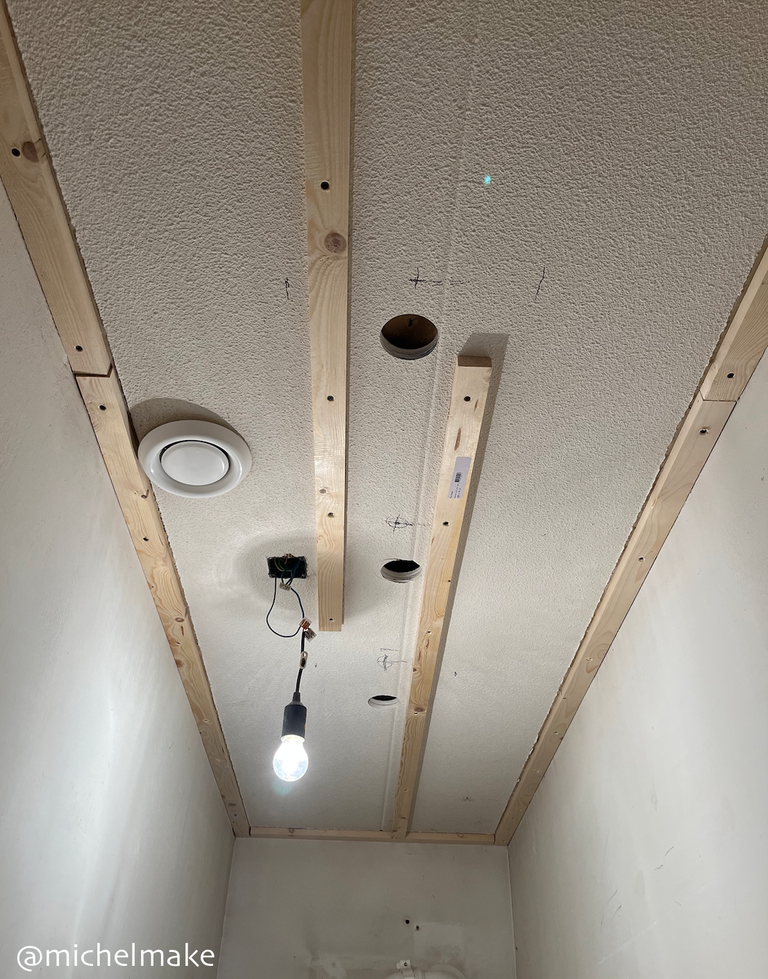
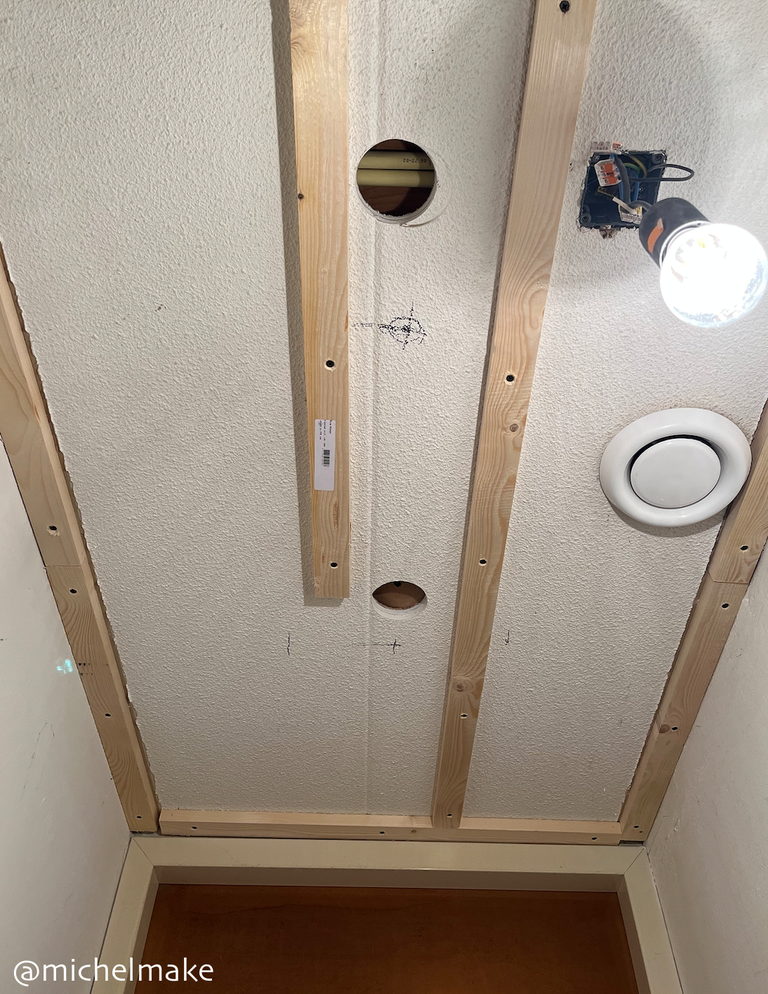
The framing, compared to the bathroom ceiling was installed quite quickly. Notice also the holes I've added. These are to make room for some spots that will later be installed into the final ceiling. The vent cover also will be placed on the final ceiling.
Painting and Finalising the Ceiling.
Now the rough work was done, I started painting the walls. Just off white like the rest of the house. Nothing fancy. The paint job is mostly just to get rid of the dusty and stained walls. I also now installed the final ceiling panels and trimming. This really improved the room nicely:
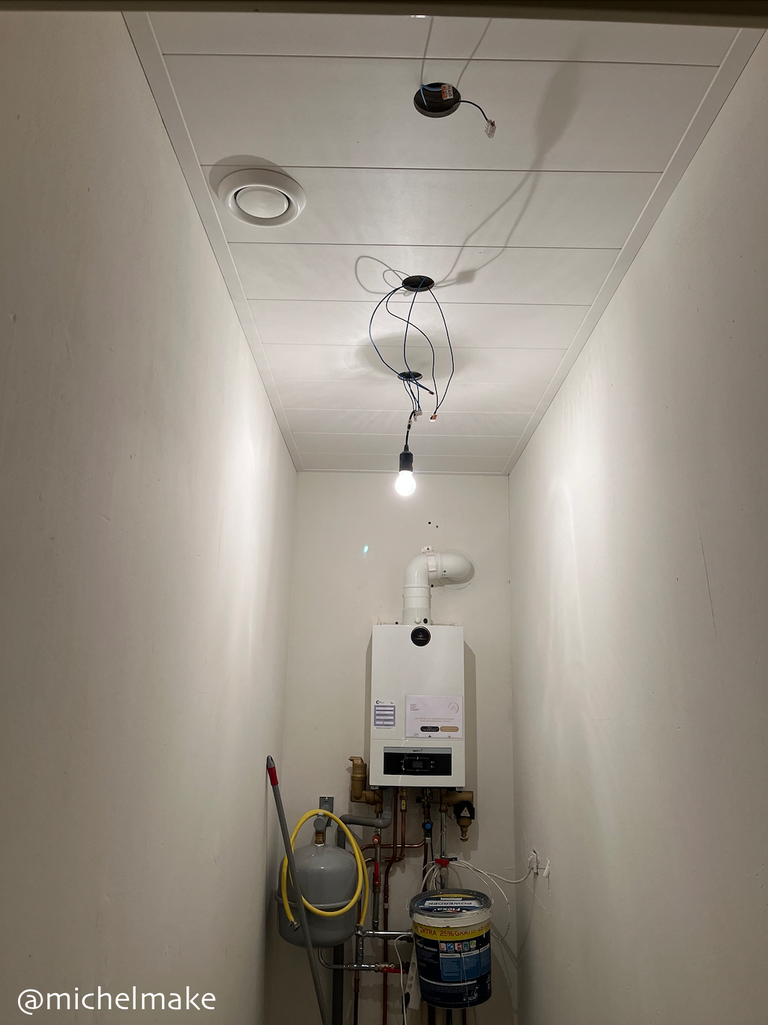 The ceiling is in! Only thing left here is installing some spotlights.
As said, this really made the room already hundred times better than what it looked like just a day ago. The only thing left in terms of the ceiling is installing the actual spotlights. I already ordered the lights and would need to be installed later. The wiring, as you can see, is already taken care of. For now I just kept the original temporary light so that I could work there.
Finishing Off With a Floor!
With the walls and ceiling done, the only thing left in this room is the floor. For this I used the same floor panels I've used in the rest of the house. These I had left over and are fast to install. After an hour of cutting and placing boards it was done:
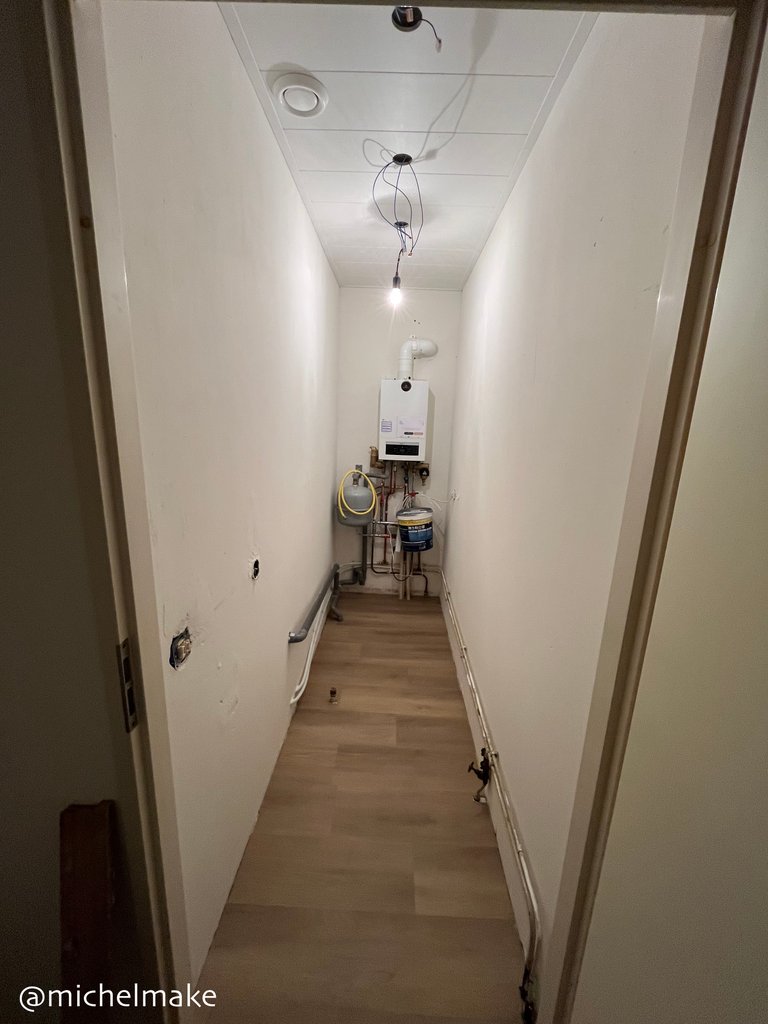
And there you have it. An (almost) one day conversion. Pretty happy with the result! Of course still some little things to be done. Also here, skirting needs to be added. And the electrical needs finishing. But after pushing this for a day I'm asking myself why I didn't just do this weeks ago and have it done. I guess life got in the way :D
What's Next
The next thing to do for this room is to install some shelves. With the odd shape of this room I figured it would be best used by adding some shallow shelves on one side of the room. I already bought a nice shelving system that extends about 1/3 the width of the room. This will allow for a nice amount of storage while still keeping the space somewhat accessible.
Now I just need to find the time to actually install it. Let's see how many months that will take :P
Apart from this room I also recently found a nice shower door online that I might buy. But before deciding on it I would like to go see it in the store. Will go and see it next week. If it's nice, I might install that next.
For the previous updates see these posts below. For future updates, stay tuned!
- Kitchen and Bathroom Updates
- Installing the Lights and Floor
- Prepping, Painting and Installing the Bathroom Ceiling
- Entering a New Phase
- Ready for Plastering
- From Kitchen to Workbench
- Starting a Renovation Project
You’ve really come a long way and I think my favorite this time is the floor wow,it looks so homey.
I’m glad you’re happy with the results.
Glad you like the floor! I put it in every room at this point :)
The remodeling process has been quite an adventure. The good thing is that little by little you are getting everything just as you want it.
Yes it is! And I'm happy the end is in sight. Then it's time to enjoy it exactly the way I want it :)
Thanks for dropping by!