Hi, I hope you are feeling great!
¡Hola, esto es Waralwa!
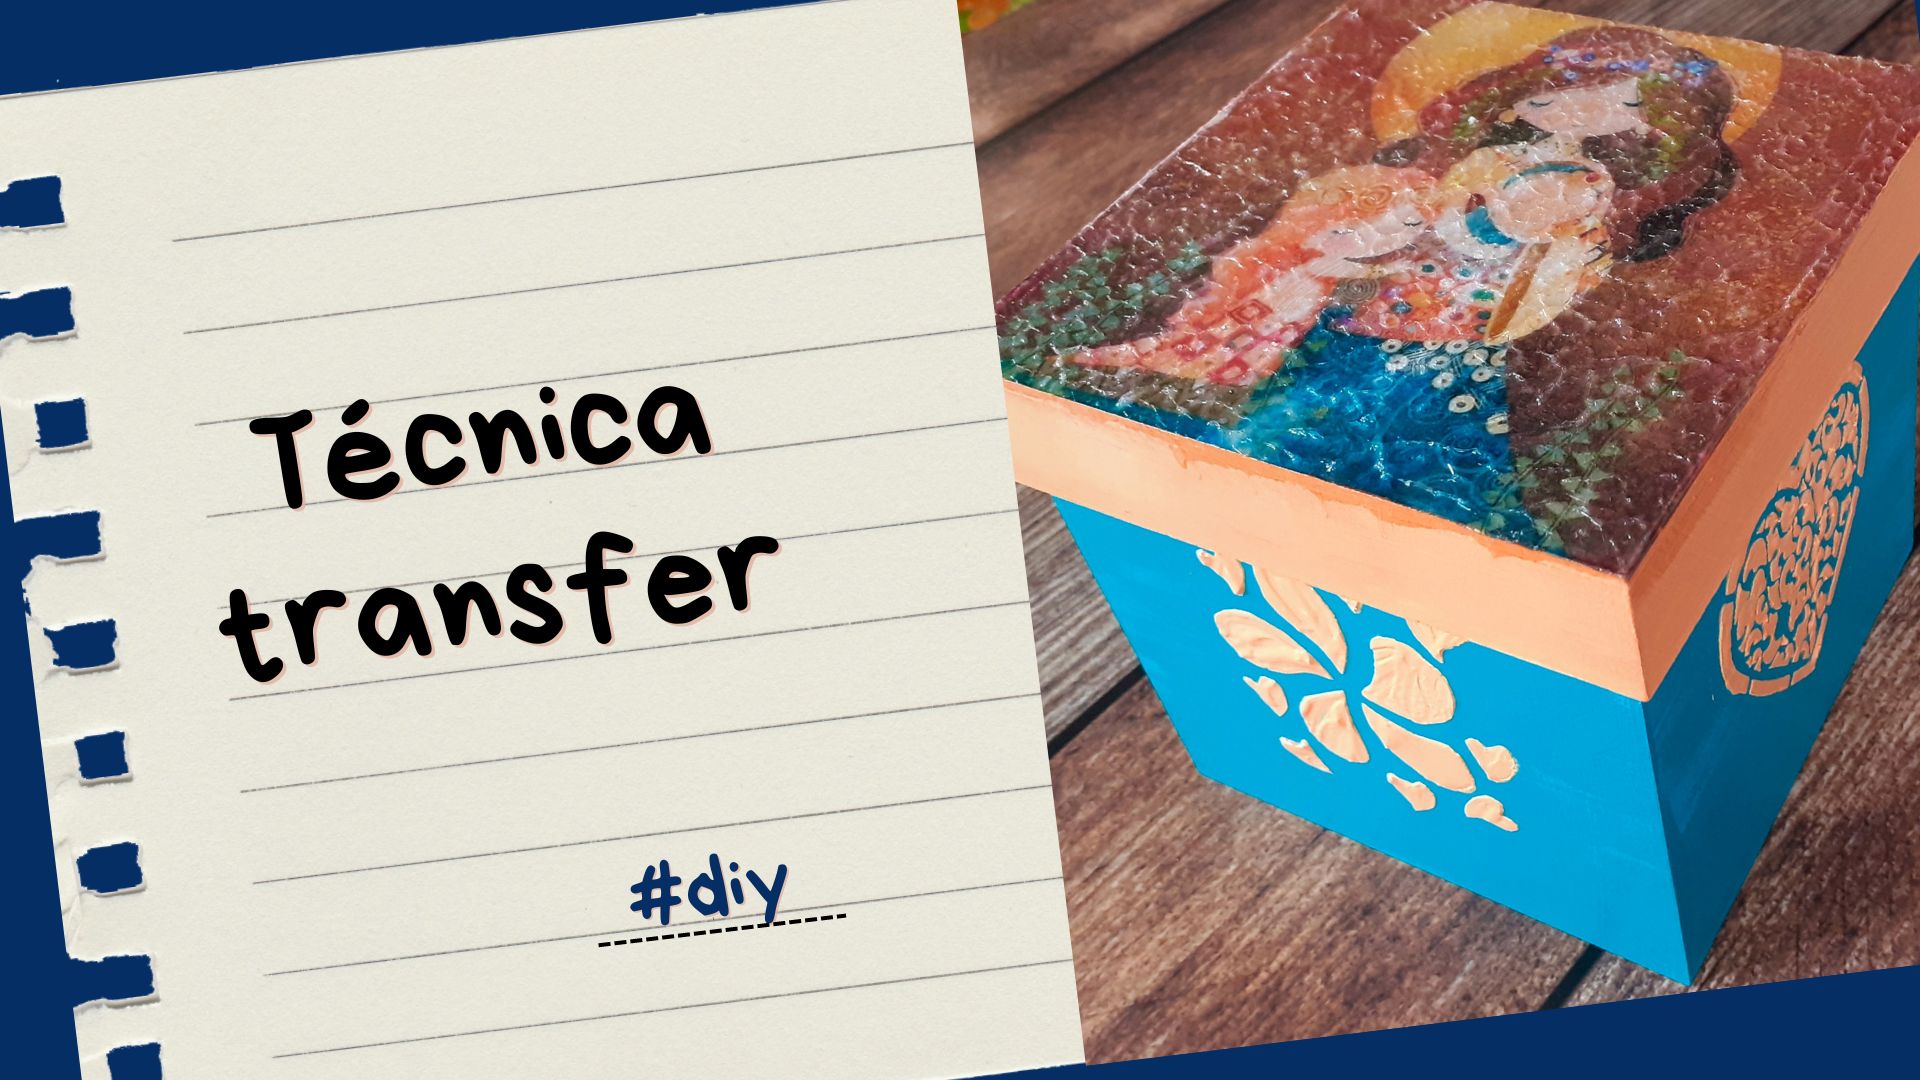
Mother's day is coming and my friends from Kapital shopping together with Apu paintings held free workshops. I loved the theme of the transfer technique, which consists of transferring a printed image to an object. Here I share with you how it went.
Se acerca el día de mamá y mis amigos de Kapital shopping junto a pinturas Apu realizaron talleres libres. La temática de la técnica transfer me encantó, consiste en pasar una imagen impresa a un objeto. Aquí le comparto cómo fue esto.

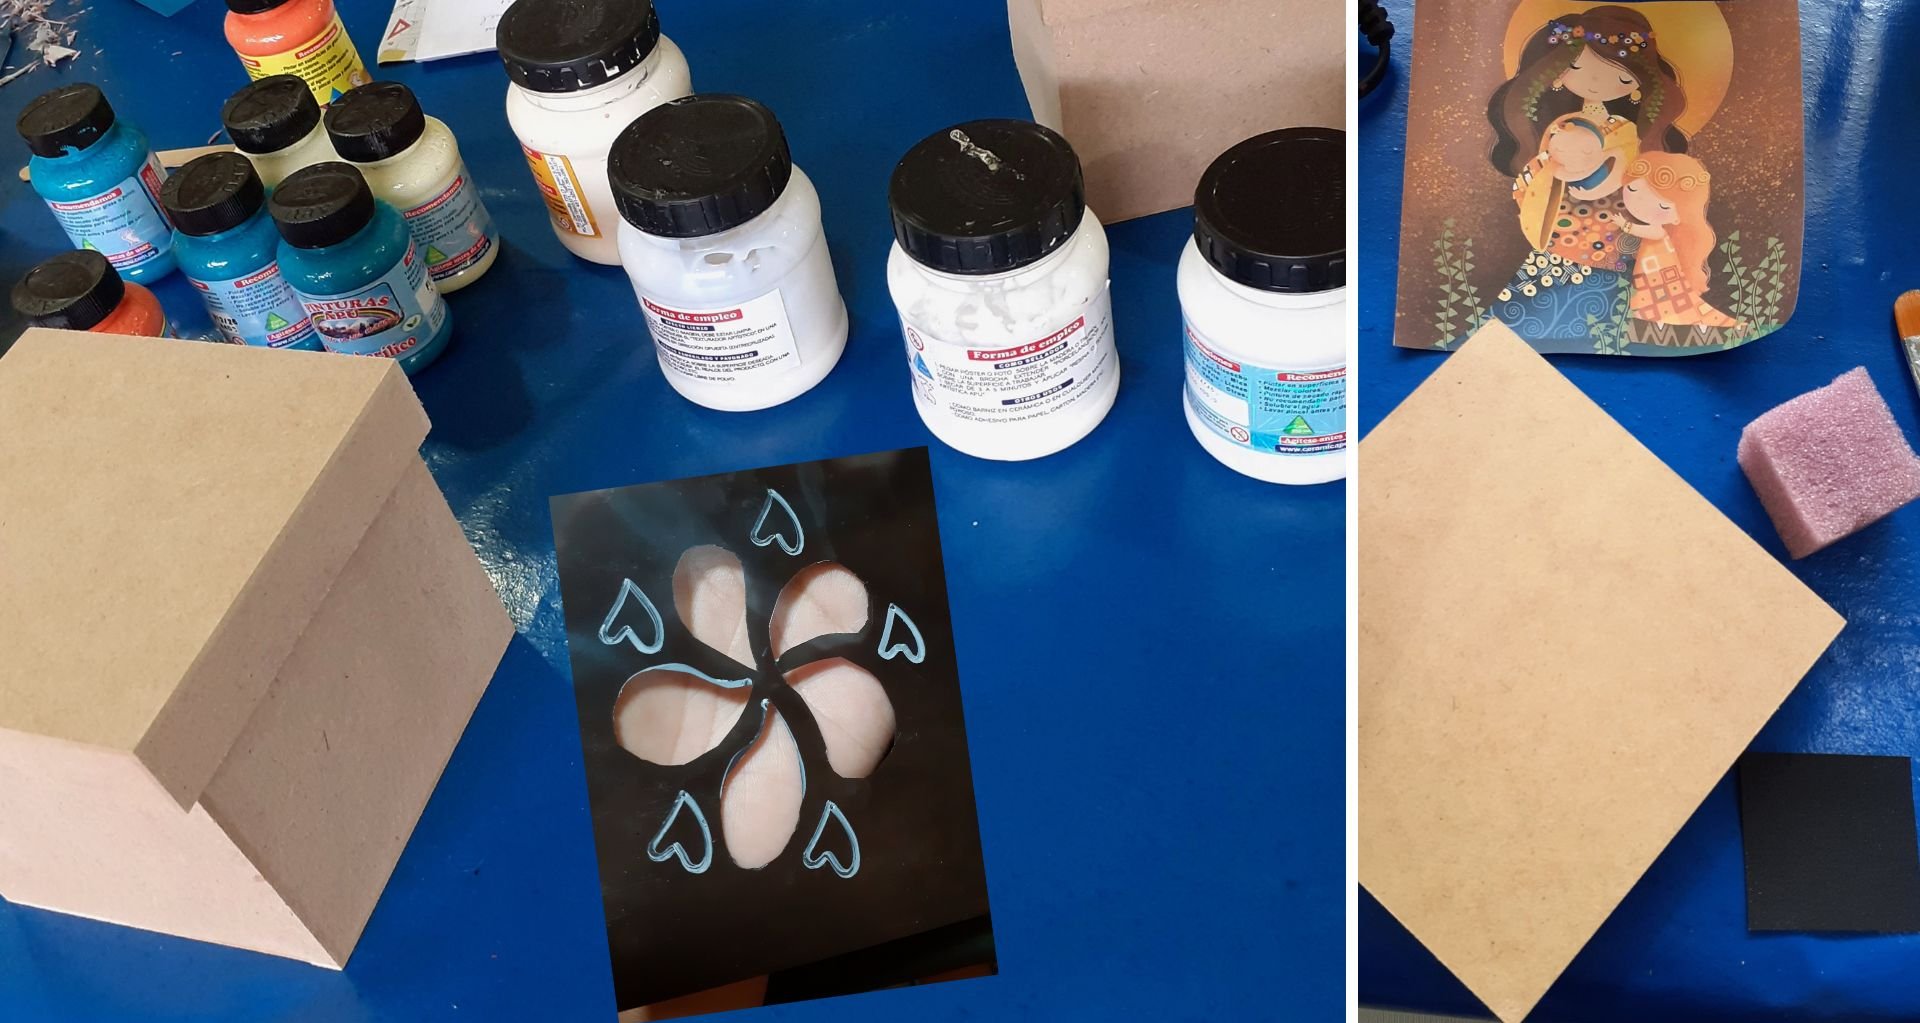
Materials
| ENG | ESP |
| Color acrylic paint | Pintura acrílica de colores |
| sealant | sellador |
| texturiser | texturizador artístico |
| varnish | barniz | resin and catalyst | resina y catalizador |
| stencil | stencil |
| printed design | diseño impreso en papel |
| trupan box | caja de trupán |
| dryer | secador |
| brush, sponge and sandpaper | pincel, esponja y lija |
Let's get to work
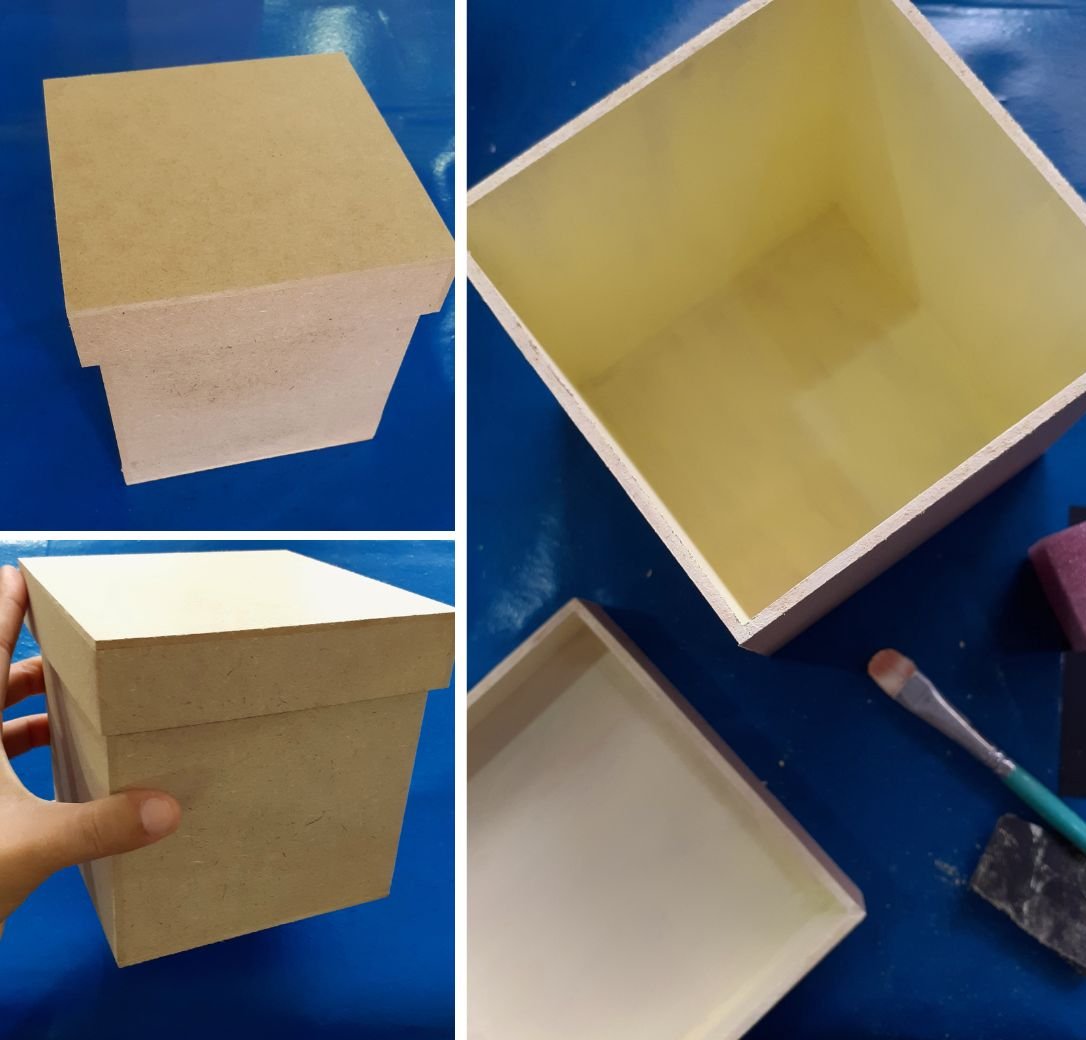
We painted the surface and the inside of the box white, using a n°4 brush and acrylic paint. Once dry, we proceeded to sand it. Then we gave it another coat of paint and this time we also painted the inside, but in ivory color.
Pintamos la superficie y el interior de la caja de color blanco, para esto nos ayudamos de un pincel n°4 y pintura acrílica. Una vez seca, procedimos a lijarla. Luego le dimos otra pasada de pintura y esta vez también pintamos el interior, aunque de color marfil.
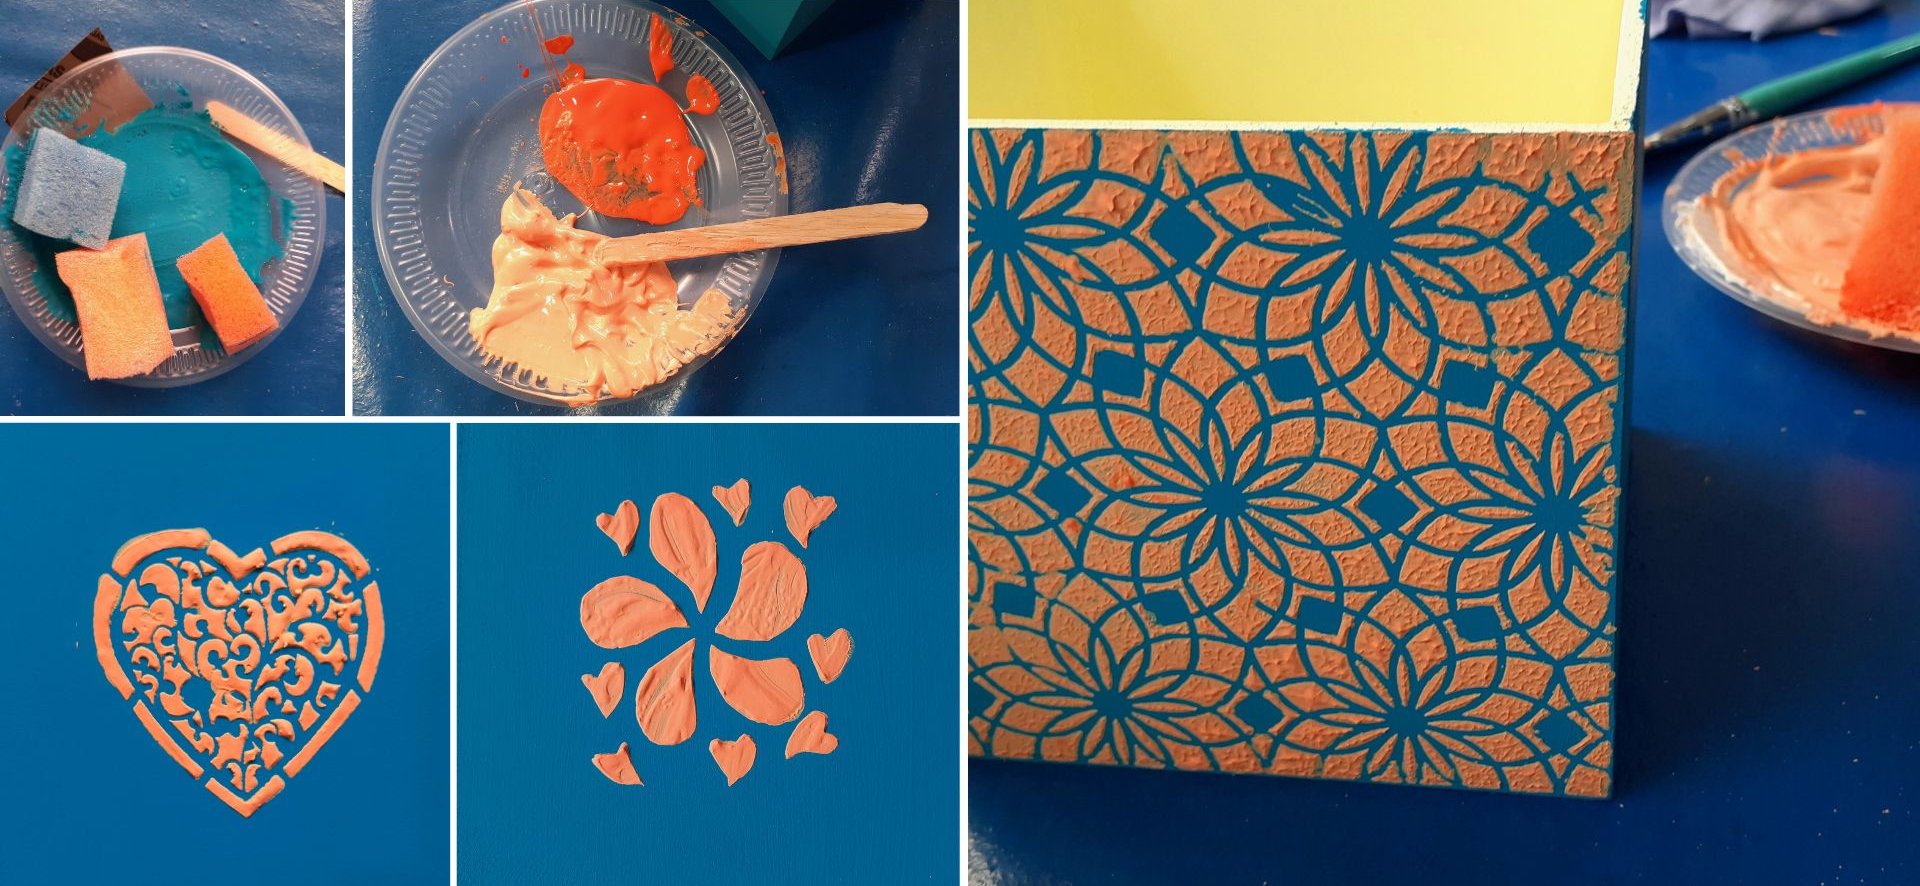
Here came the real colors of the box, turquoise and vintage (dark orange). We painted these with a sponge to make it more even. Then to stamp the heart design, we made a mixture between the artistic texturizer and the vintage acrylic paint. We place the Stencil on one of the sides of the box and with the help of a stick (like a spatula) we place the mixture.
Aquí llegaron los colores reales de la caja, es decir el turquesa y el vintage (naranja oscuro). Estos sí lo pintamos con una esponja para que quede más parejo. Luego para estampar el diseño de corazón, realizamos una mezcla entre el texturizador artístico y la pintura acrílica vintage. Colocamos el Stencil (lámina de figuras) sobre una de los lados de la caja y con ayuda de un palito (a manera de espátula) colocamos la mezcla.
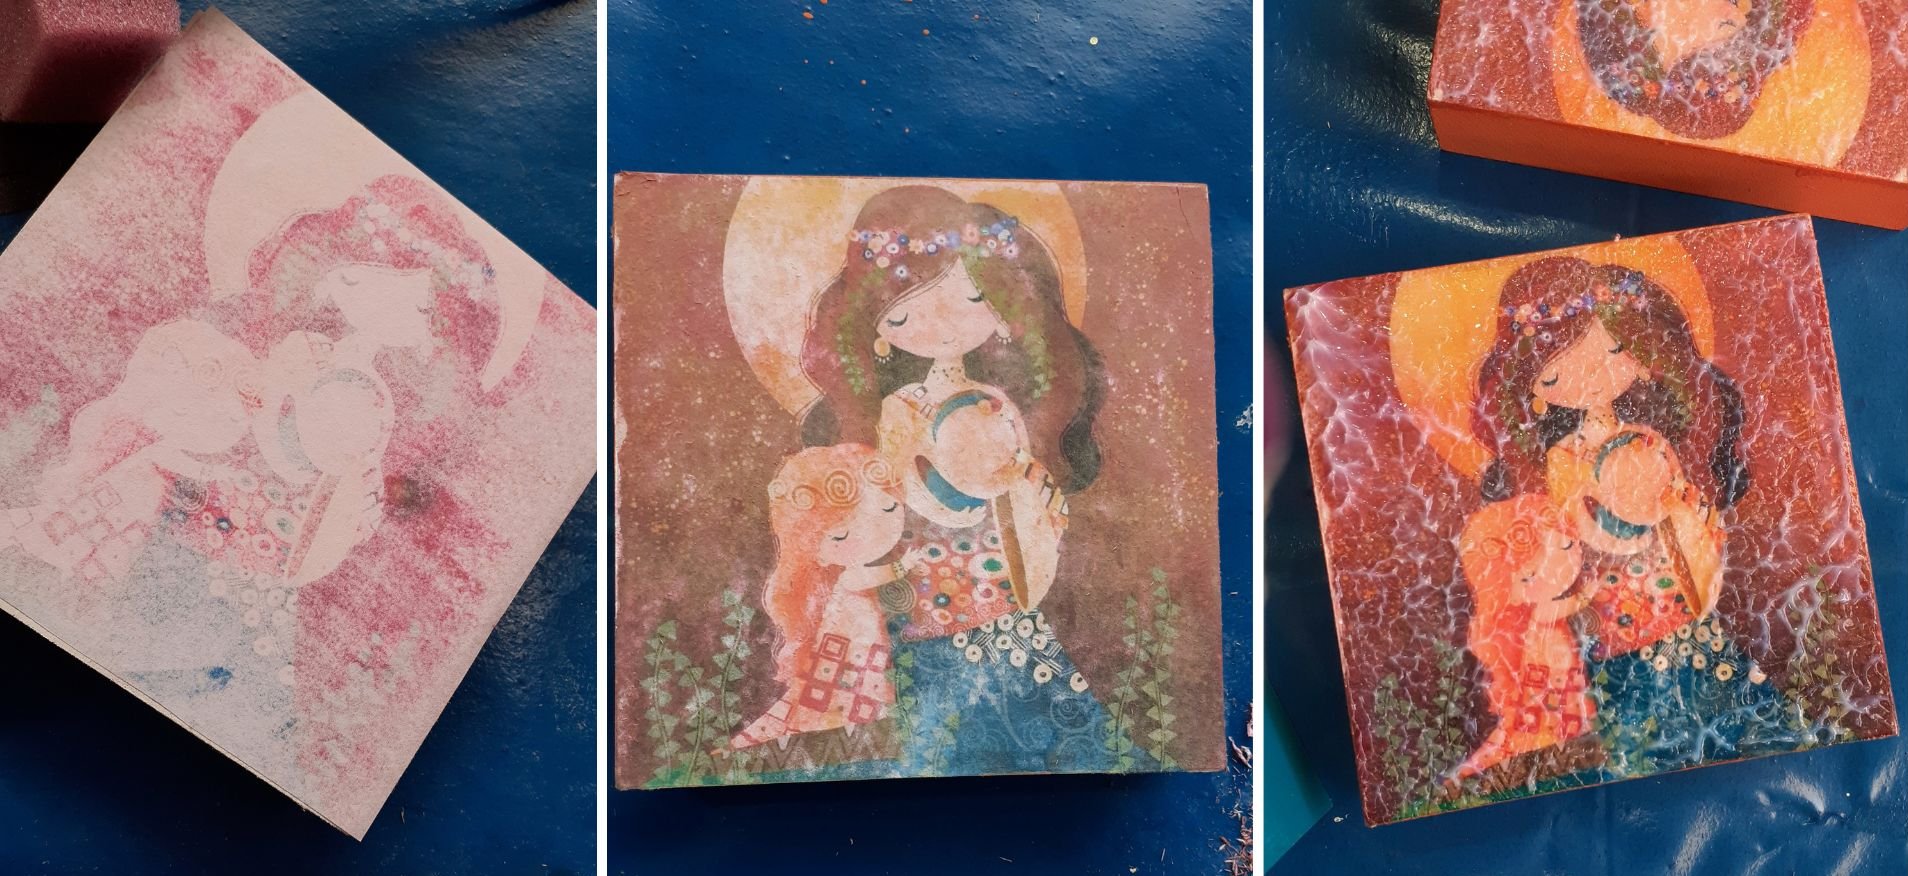
The transfer: With a brush we apply a layer of the sealant on the face of the printed picture. Then we turn it over and cover the lid of the box. Once dry, with the fingertips and a little water, we begin to gently remove the white part of the paper, leaving only the picture. Once ready, with the help of a sponge we add the resin, this is to give that glassy texture to the picture.
La transferencia: Con un pincel aplicamos una capa del sellador sobre la cara de la imagen impresa. Luego la volteamos y cubrimos la tapa de la caja. Una vez seco, con la yema de los dedos y un poco de agua, comenzamos a retirar suavemente la parte blanca del papel, dejando solo la imagen. Una vez listo, con ayuda de una esponja agregamos la resina, esto es para darle esa textura vidriosa a la imagen.
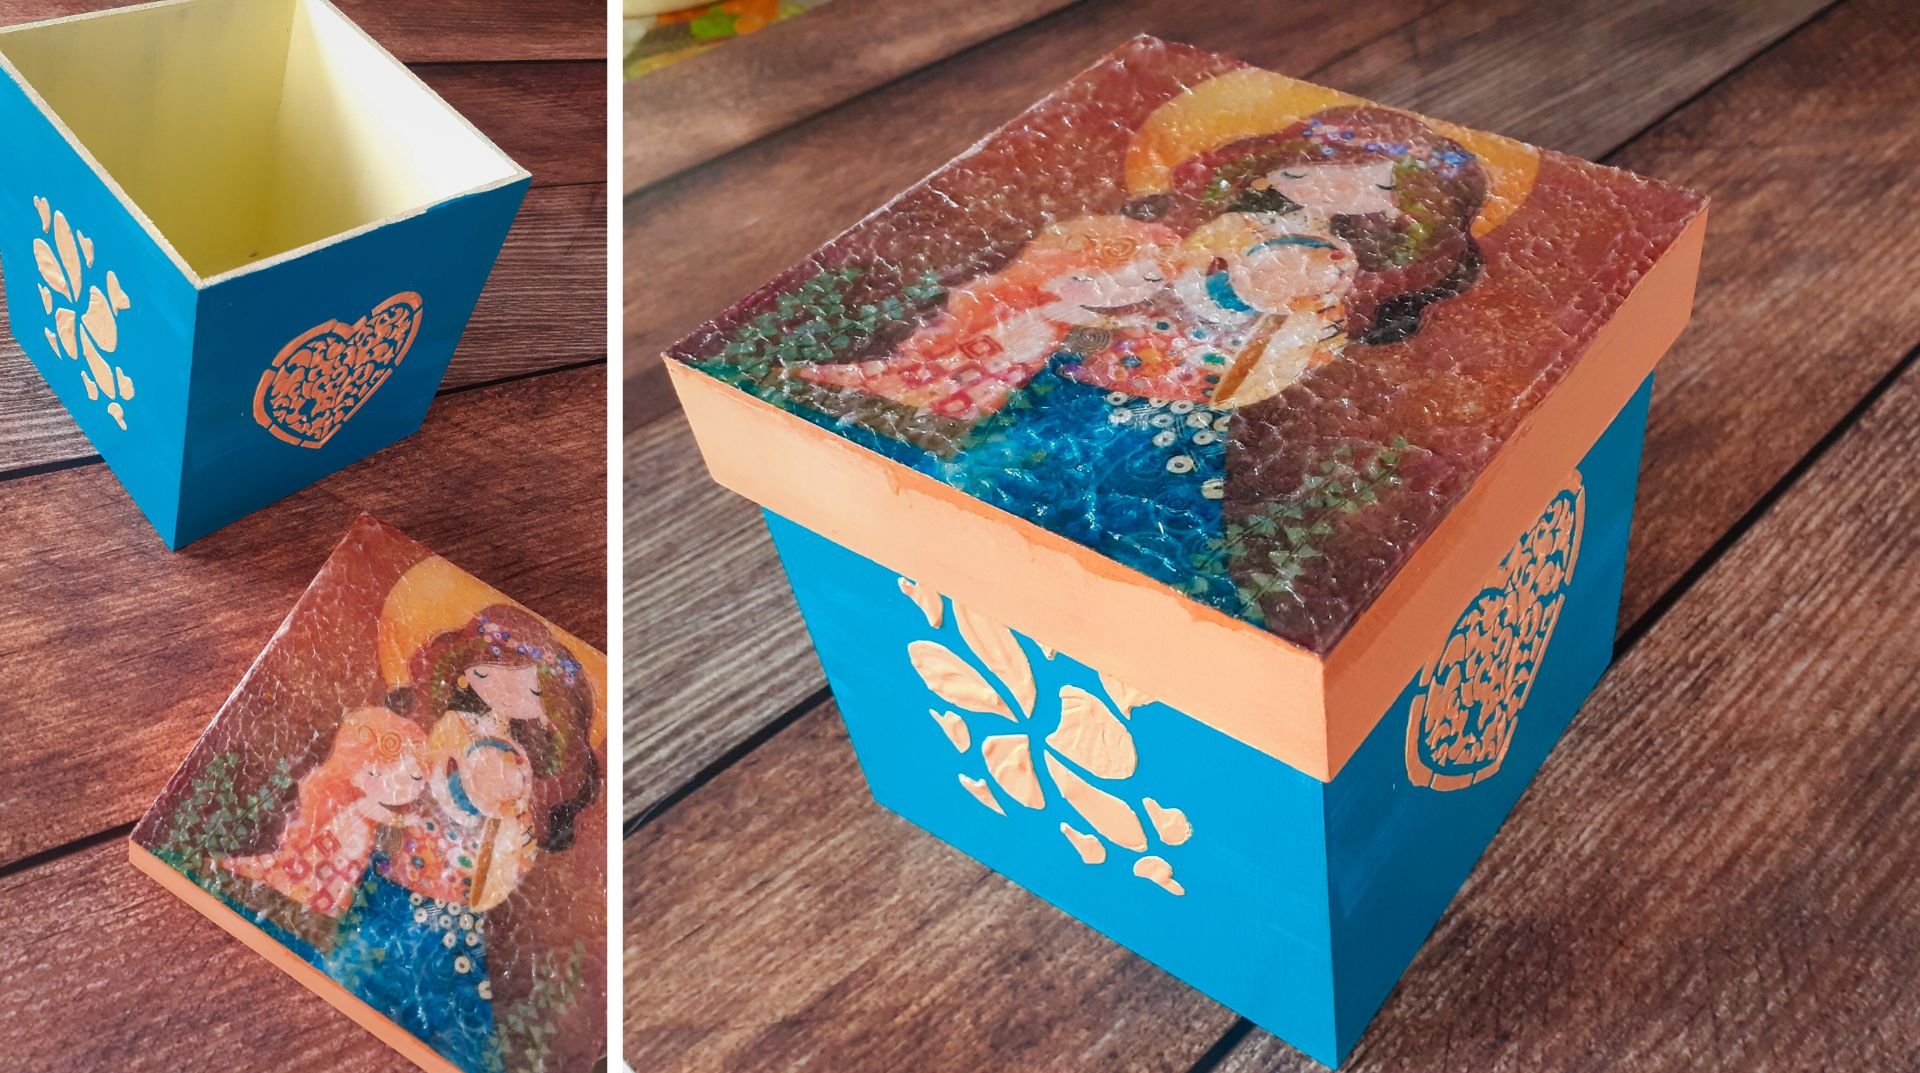
Finally, we applied a coat of varnish to the box, except for the picture. We waited for it to dry and that was it.
Por último, le dimos una pasada con barniz a la caja, menos a la imagen. Esperamos el secado y listo.
... Jikisiñkama!
... See you later!
... ¡Nos vemos!.
Wow, esta técnica de transfer es muy buena y útil. Me gustó mucho aprendela, gracias por compartirla.
Si Rosana. Para mí fue novedosa aprenderla. Espero hacer futuros proyectos.
Que bonito trabajo, se ve muy bien 😉
Muchas gracias. Las chica salimos del Taller todas con nuestras cajitas, jaja.