Microgreens are a popular and nutritious addition to salads, sandwiches, and smoothies. They are also easy to grow at home, making them an excellent option for anyone looking to add some fresh greens to their diet. Here are some steps to get you started.
Choose the seeds: there are many types of microgreens you can grow, such as broccoli, radish, kale, or arugula. Look for seeds specifically labeled as microgreens, as they will be more tender and flavorful than regular seeds.
Choose a growing medium: microgreens can be grown in soil or in a hydroponic system. If you decide to use soil, look for a good quality potting mix that is free of chemicals and fertilizers.
Prepare the container: you can use any shallow container, such as a tray or a plastic container, as long as it has drainage holes. If you're using soil, fill the container with a thin layer of soil, about 1-2 inches deep.
Sow the seeds: sprinkle the seeds evenly over the soil, leaving a little space between them. Press the seeds lightly into the soil, but do not cover them completely.
Water the seeds: mist the seeds with a spray bottle or water them gently. Make sure the soil stays moist but not waterlogged.
Cover the container: cover the container with a lid or plastic wrap to create a greenhouse effect. This will help to keep the moisture in and speed up the germination process.
Place the container in a warm, bright spot: microgreens need plenty of light to grow, so place the container in a sunny windowsill or under a grow light.
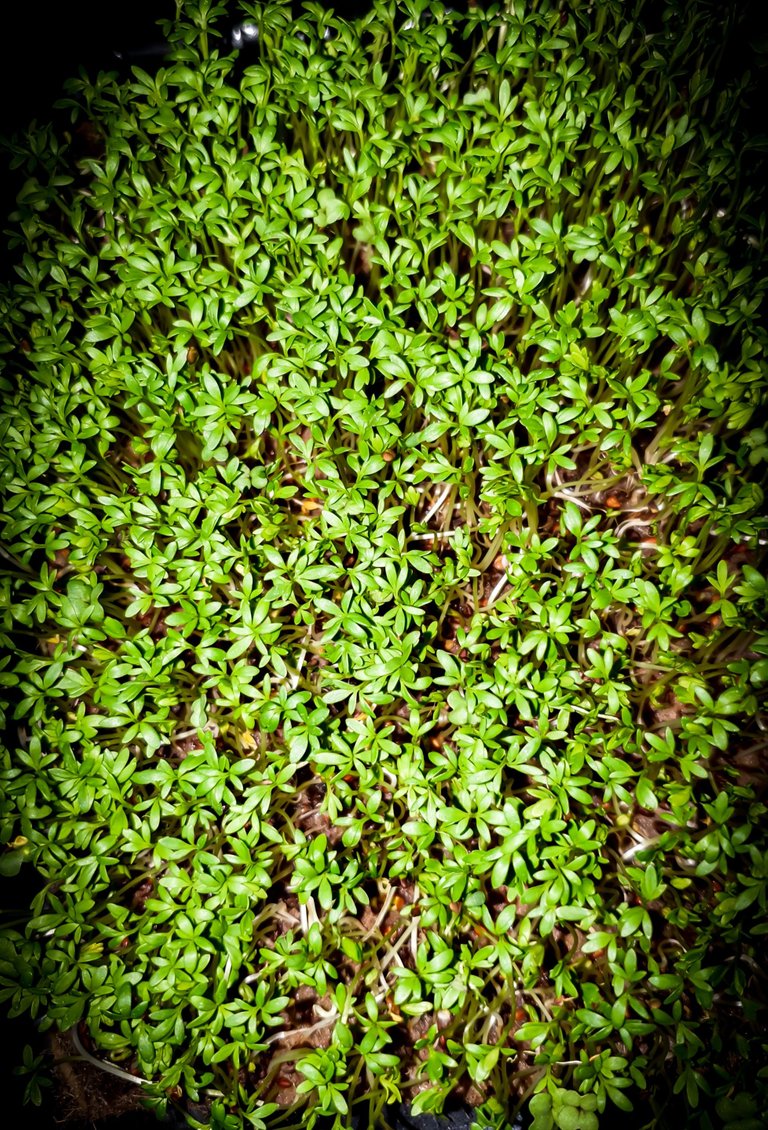
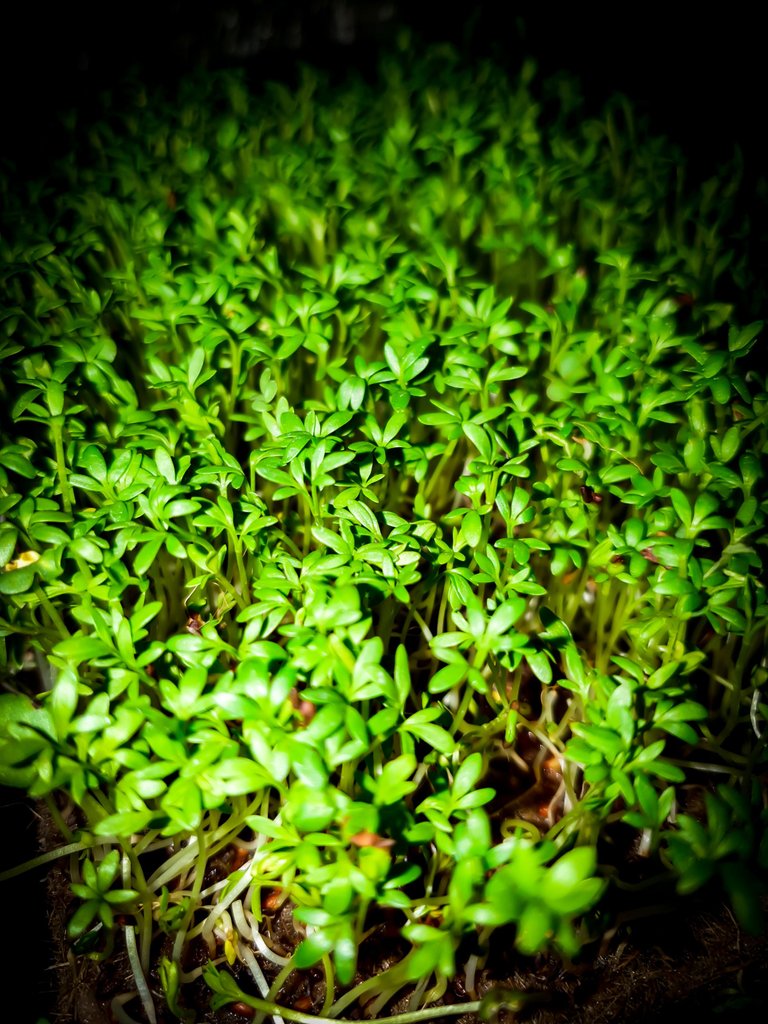
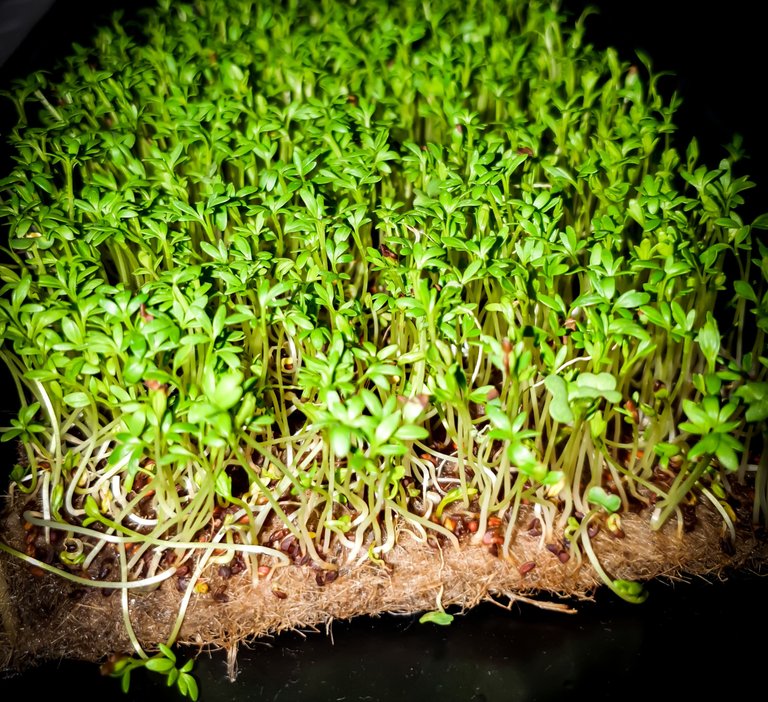
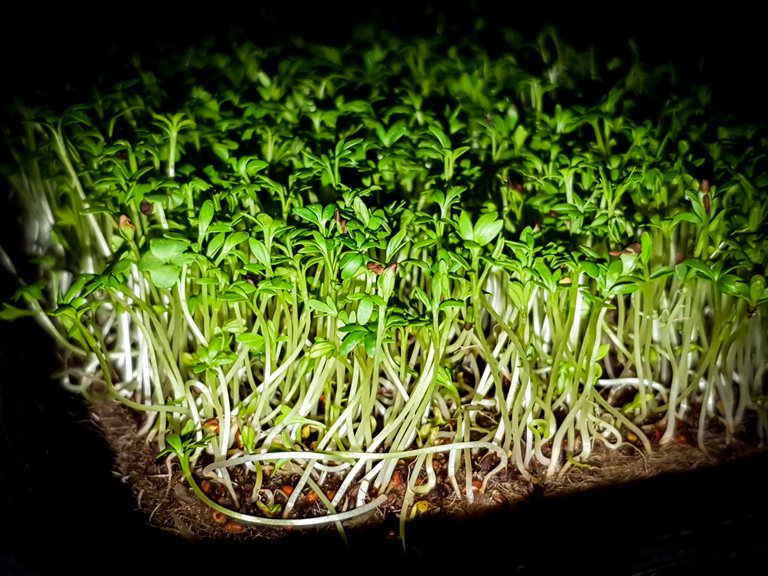
Watch for growth: in about 3-5 days, you should see the seeds start to sprout. Once the seeds have sprouted, remove the cover and continue to water the microgreens regularly.
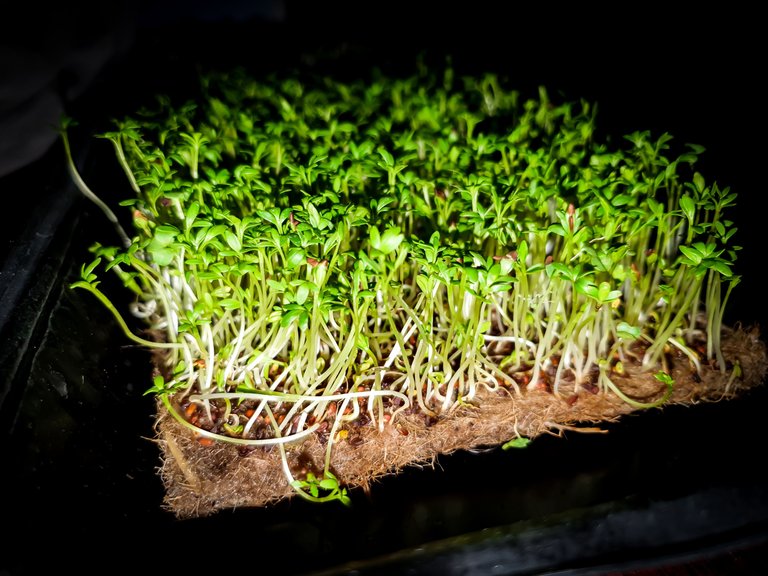
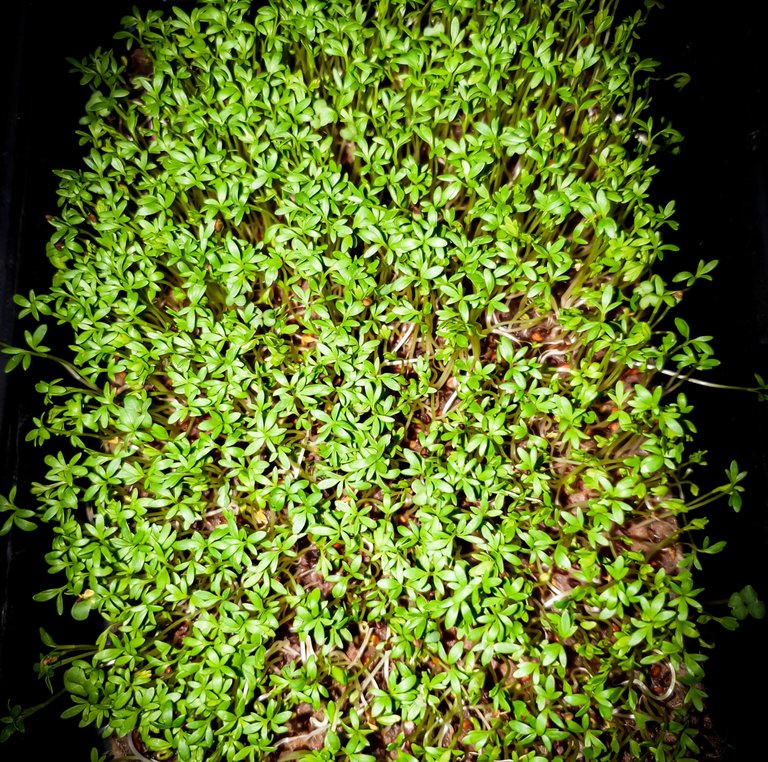
Harvest the microgreens: when the microgreens are about 1-2 inches tall, they are ready to harvest. Use scissors to cut the greens just above the soil line.
Enjoy! Use the microgreens fresh in salads, sandwiches, or smoothies.
Remember, microgreens are delicate and can spoil quickly, so it's best to harvest them as you need them. With a little bit of effort, you can enjoy fresh, nutritious microgreens all year round.

Вирощування мікрозелені в домашніх умовах
Мікрозелень є популярною та поживною добавкою до салатів, бутербродів та смузі. Їх також легко вирощувати вдома, що робить їх чудовим варіантом для тих, хто хоче додати до свого раціону трохи свіжої зелені. Ось кілька кроків, щоб почати:
Виберіть насіння: ви можете вирощувати багато видів мікрозелені, наприклад брокколі, редиски, капусти або рукколи. Шукайте насіння, позначене спеціально як мікрозелень, оскільки воно буде більш ніжним і ароматним, ніж звичайне насіння.
Виберіть середовище для вирощування: мікрозелень можна вирощувати в ґрунті або в системі гідропоніки. Якщо ви вирішили використовувати ґрунт, шукайте якісну суміш для горщиків, яка не містить хімікатів і добрив.
Підготуйте контейнер: Ви можете використовувати будь-який неглибокий контейнер, такий як піддон або пластиковий контейнер, за умови, що він має дренажні отвори. Якщо ви використовуєте ґрунт, наповніть контейнер тонким шаром ґрунту приблизно на 1-2 дюйми.
Посійте насіння: Рівномірно посипте насіння по ґрунту, залишаючи між ними невеликий простір. Злегка втисніть насіння в грунт, але не засипайте їх повністю.
Полийте насіння: збризніть насіння з пульверизатора або обережно полийте. Переконайтеся, що ґрунт залишається вологим, але не перезволоженим.
Накрийте ємність: накрийте ємність кришкою або поліетиленовою плівкою, щоб створити ефект парника. Це допоможе зберегти вологу і прискорить процес проростання.
Помістіть контейнер у тепле, світле місце: Мікрозелені потрібно багато світла, щоб рости, тому поставте контейнер на сонячне підвіконня або під світло для вирощування.
Слідкуйте за ростом: приблизно через 3-5 днів ви побачите, як насіння почне проростати. Коли насіння проросте, зніміть кришку та продовжуйте регулярно поливати мікрозелень.
Збирайте мікрозелень: коли мікрозелень досягне 1-2 дюймів у висоту, її можна збирати. Використовуйте ножиці, щоб зрізати зелень трохи вище лінії ґрунту.
Насолоджуйтесь! Використовуйте мікрозелень у свіжому вигляді в салатах, бутербродах або смузі.
Пам’ятайте, що мікрозелень є ніжною і може швидко зіпсуватися, тому краще збирати її, коли вона вам потрібна. Доклавши трохи зусиль, ви зможете насолоджуватися свіжою, поживною мікрозеленню цілий рік.
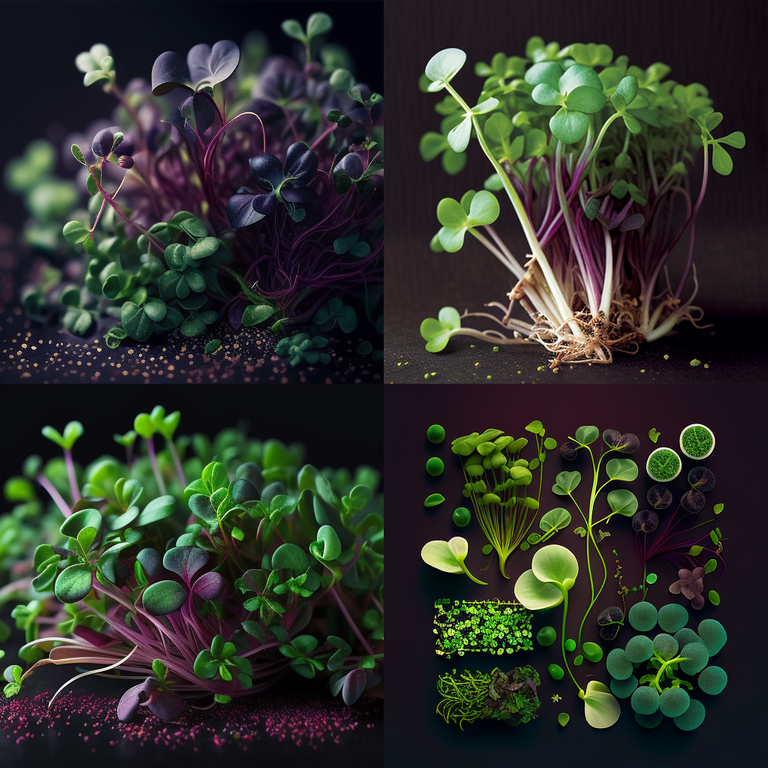
For process photos i used Mobile Lightroom
HAVE A GOOD DAY AND FOLLOW ME @whisky2 FOR MORE PHOTOS ! THANK YOU
Admirable skills of photography love to share amazing nature blessings
Thank you for your time and comment, have a great day
There is reasonable evidence that this article is machine-generated. Posting such content is considered fraud.
Fraud is discouraged by the community and may result in the account being Blacklisted.
Guide: Why and How People Abuse and Defraud
If you believe this comment is in error, please contact us in #appeals in Discord.