I'm covering this part cause some might have wondered what sort of stuff I used in such a long motorcycle trip where I had to carry enough things for 4 months and all sorts of weather conditions. Spoiler alert but I'm here to bust some myths in case an idea like this is intimidating you thinking that you have to equip yourself with exotic stuff. Long story short, if you really wanna do it just do it. Worst case scenario you'll stop somewhere to buy something you miss and need, unless you plan to explore African deserts or the unexplored Australia.
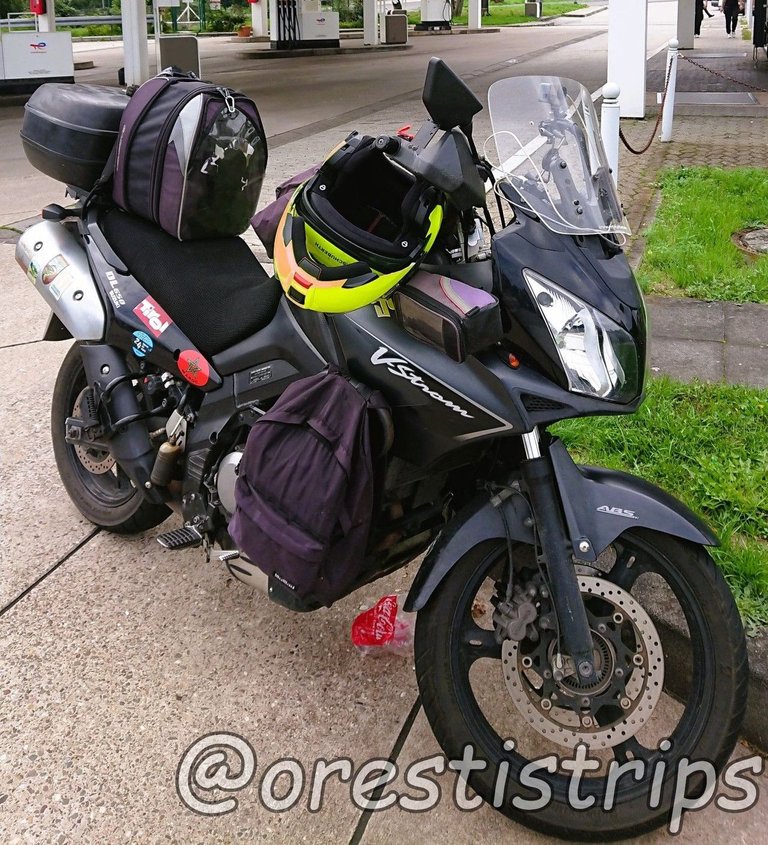
Like most bikers, when I was starting my travelling career I had my super trusty top case, a pair of Frank Thomas saddle bags, my also super trusty tank bag from Bagster, all famous brands with gear designed for motorcycle use. Like this, somewhere in France:
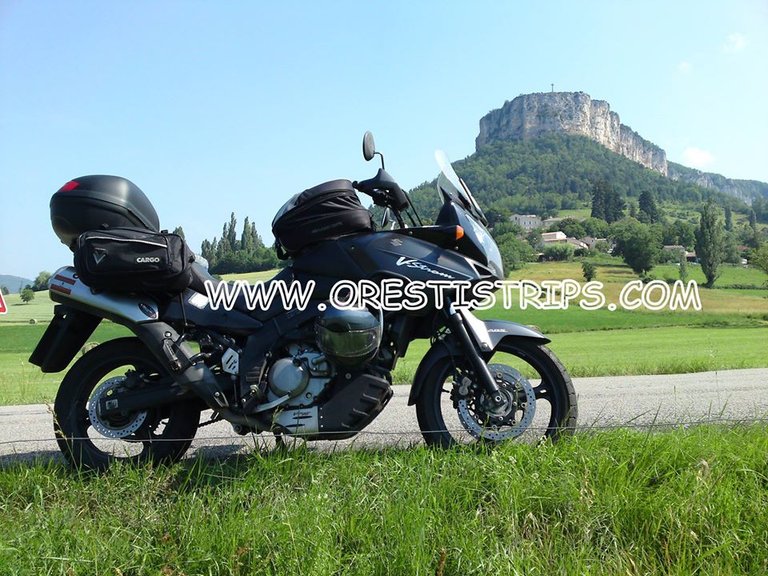
All good? Well, almost because the enemy of good is the better😉 If you start thinking out of the box you'll find out that all these, nice as they might be, they also have their issues.
Starting from the top case, this thing is really bulletproof but it's also very heavy:
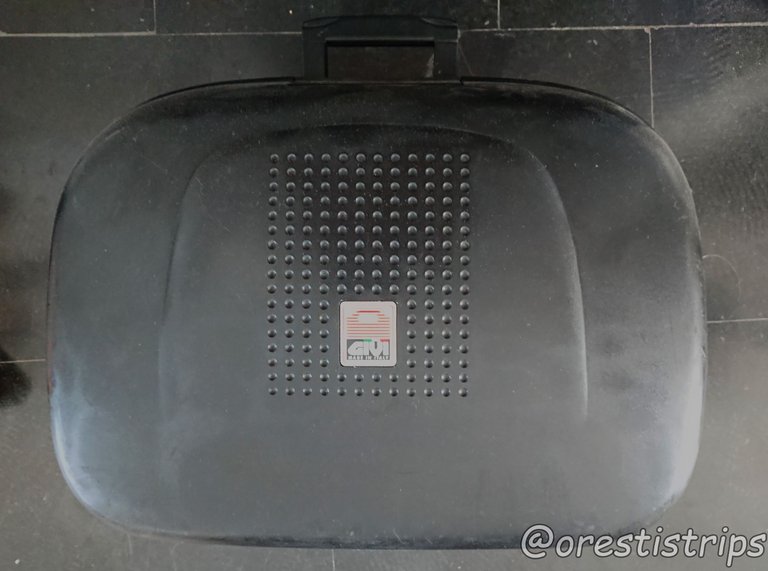
When it's empty it's nearly 5 kg and combined with its base it's 6kg. Before you even put a pair of socks in it. All these kg mounted at the worst point for any vehicle, especially a motorcycle (the rear end). It sucks. These things are very expensive too. Fun fact: can you believe I did all this trip after removing its whole locking mechanism first? See:
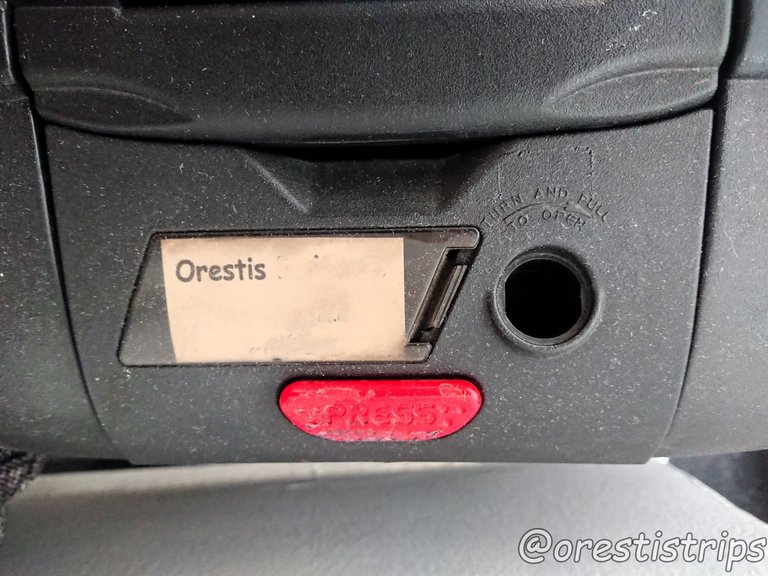
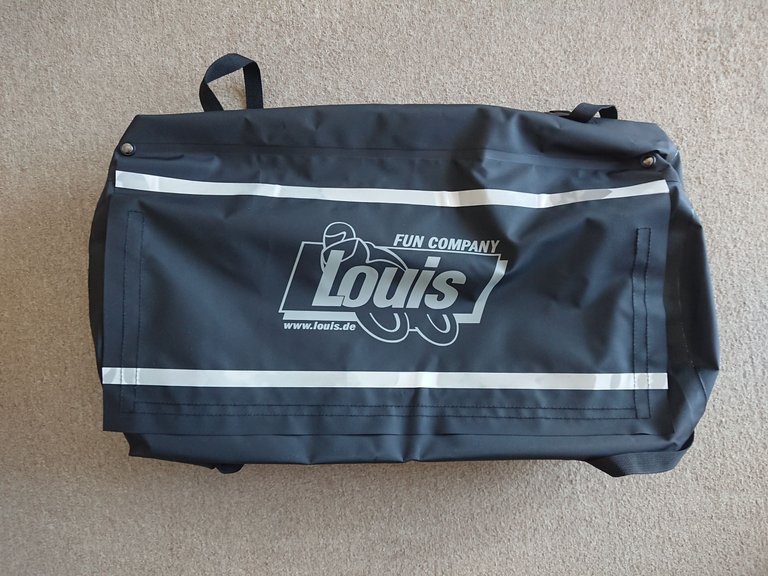
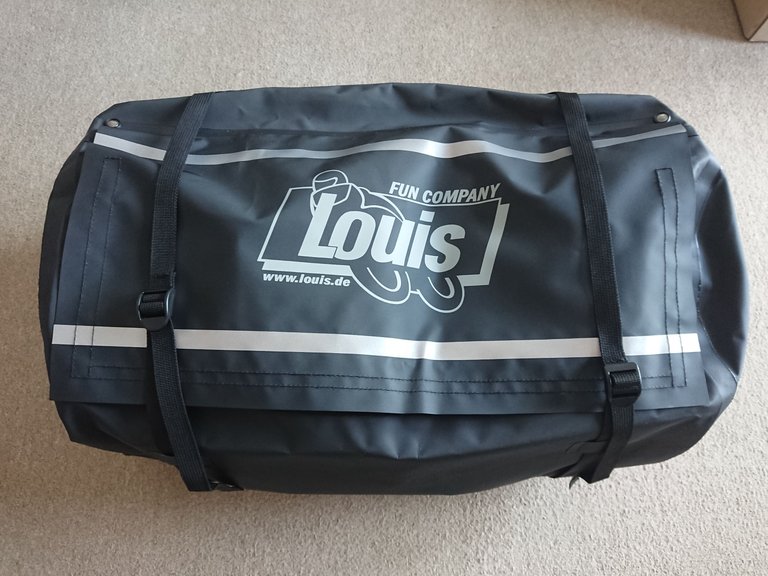
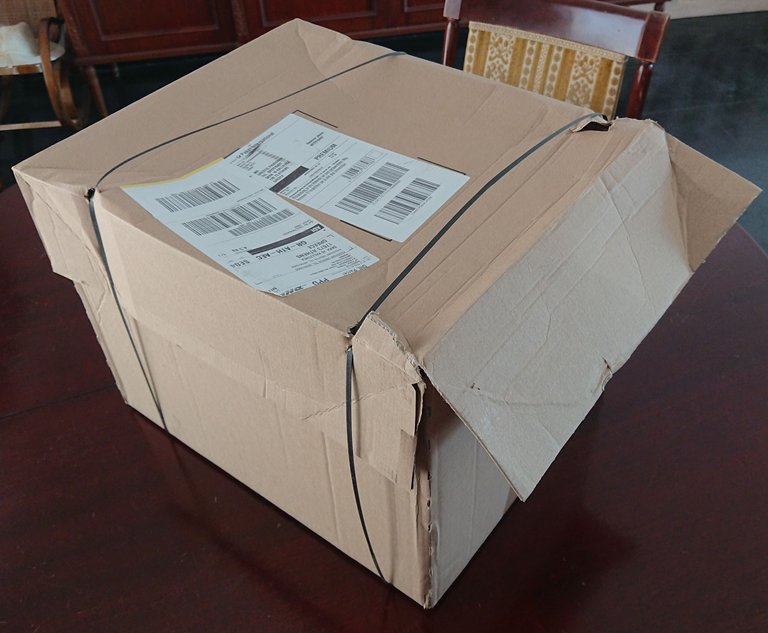
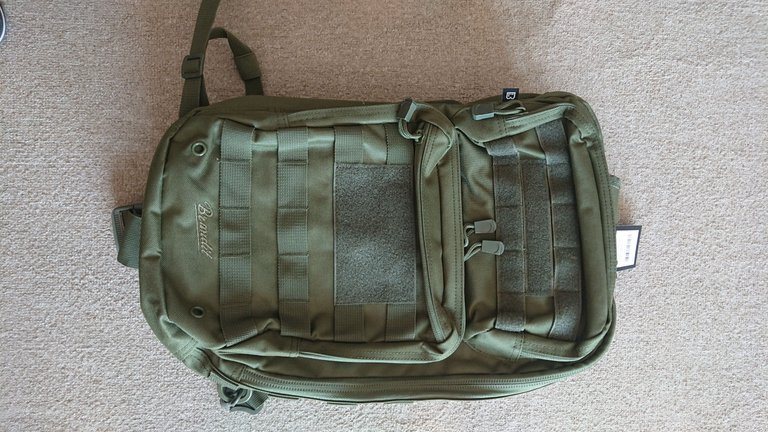
Says a lot about how trusty this thing is. Despite the fact that its keyhole was an empty hole, it stayed behind me through all these km! But now it's time for the enemy of good, something super lighter (less than a KG), as waterproof and at a fraction of the cost. Ladies and gents, my delivery from Germany has just arrived:
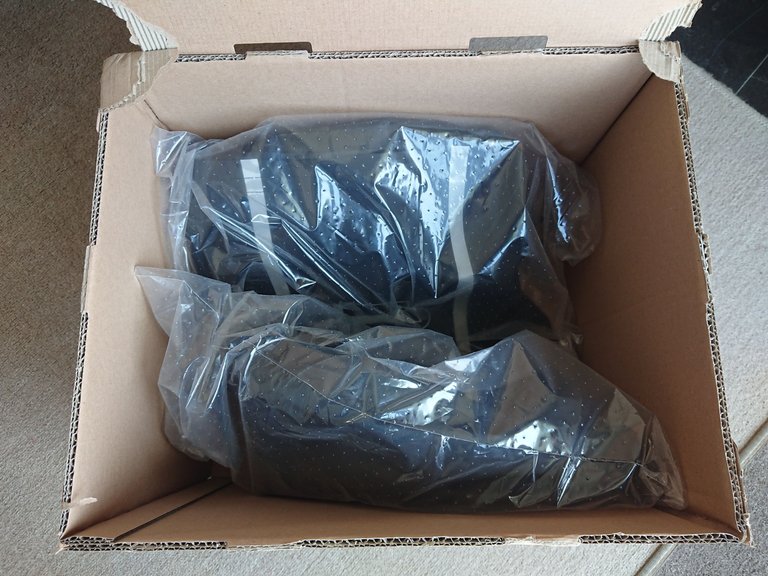
And here's my new travelling mate:
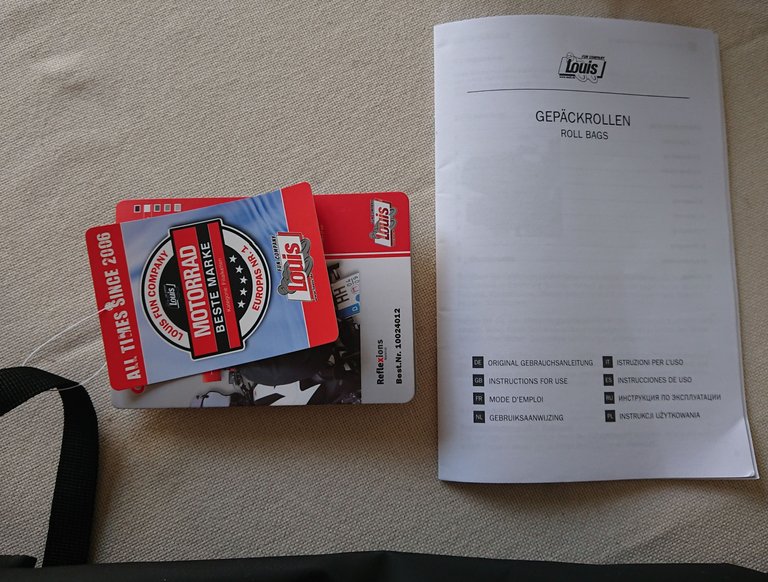
With lots of documentation:
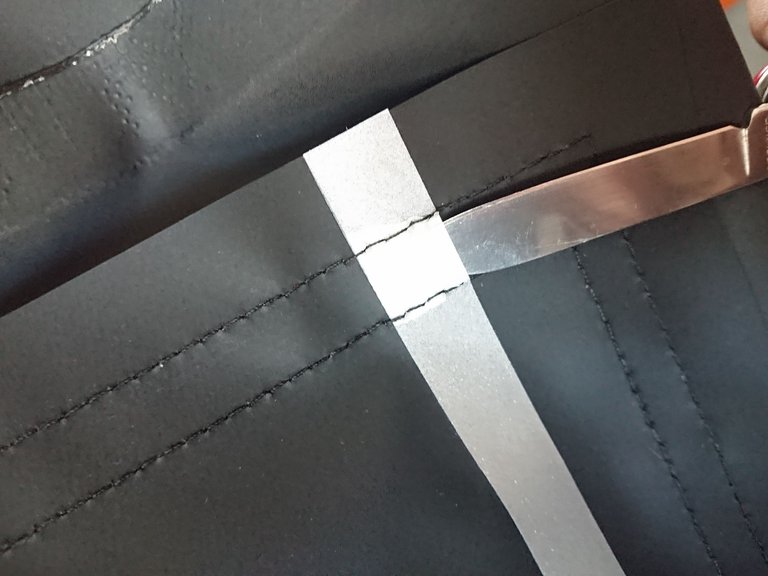
I didn't expect it to have protective film on the reflective stripes:
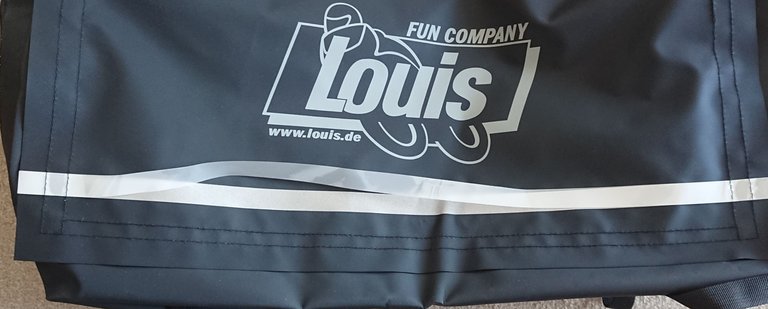
And while the upper one is a joy to remove (I am perverted and I like such stuff but come on... you also do right?),

the lower one is a bit of WTF as they have sewed the bag with it:
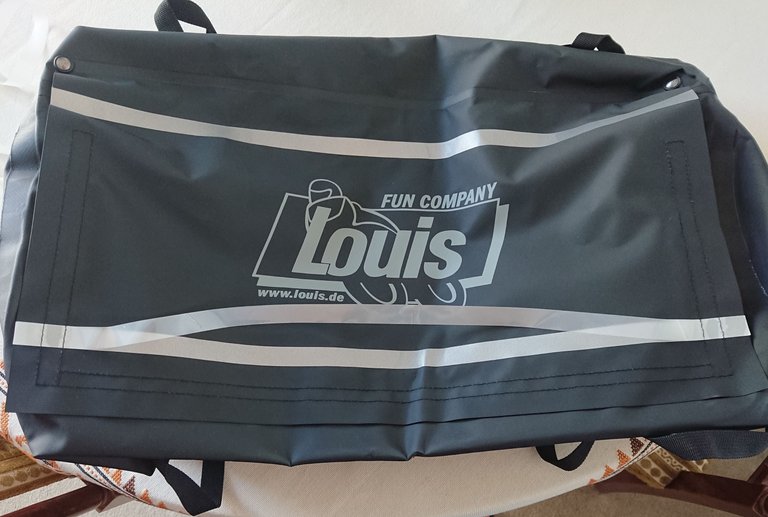
Time for my recently sharpened Swiss knife to take over:
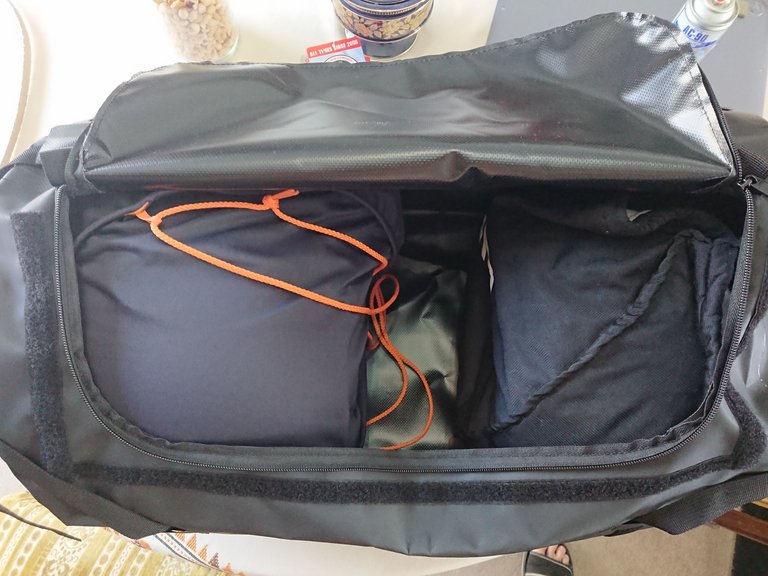
Imagine that I can put 5 KG in this thing and still be at the weight my previous top case had when empty. It's also more spacious as it can easily fit two large full face helmets while my top case was struggling:
FYI, 5KG is 2.5% of the bike's dry weight. It is something and at its rear end it is more than just "something".
Soft luggage always looks better when full or almost full:
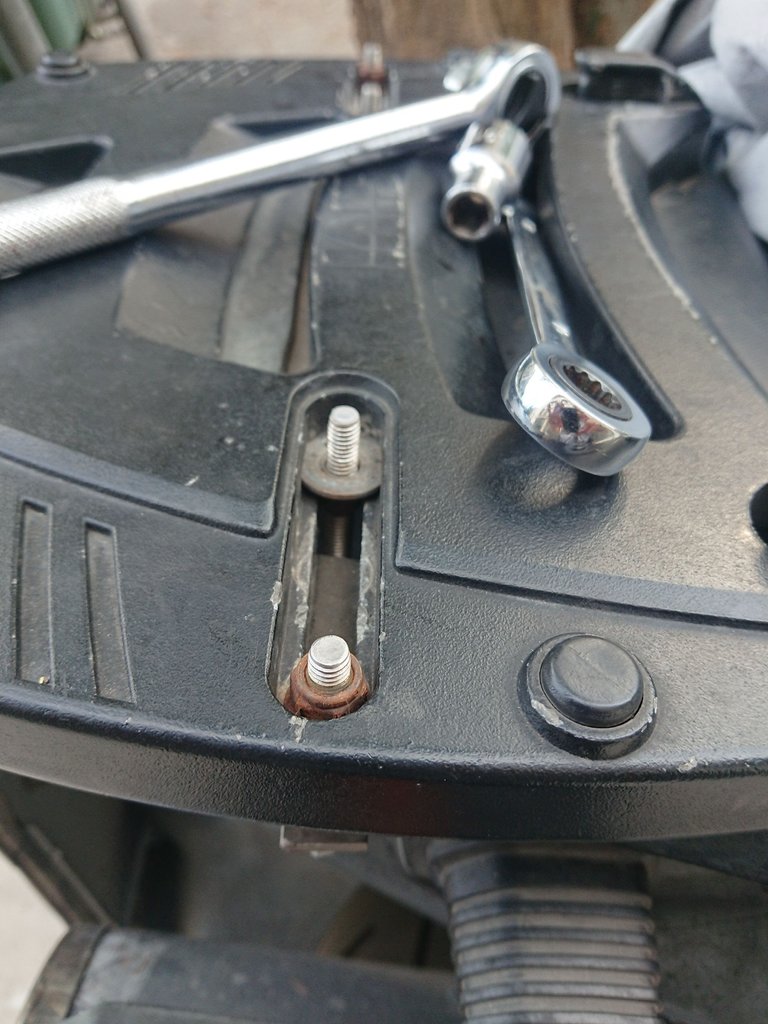
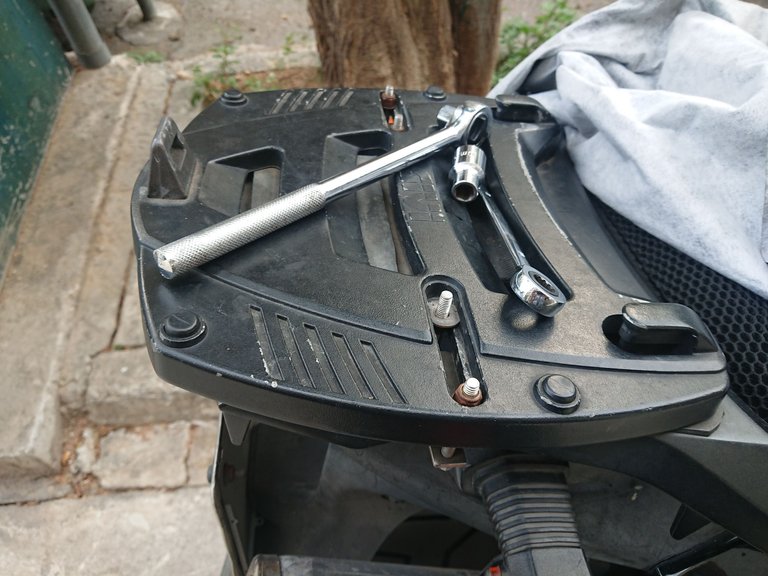
Time to remove the mount of my top case. Here is my DIY stainless steel part which kept it in place for more than 8 years and around 60.0000km regardless the load and the terrain on paved and unpaved roads, down to Morocco, up to Netherlands:
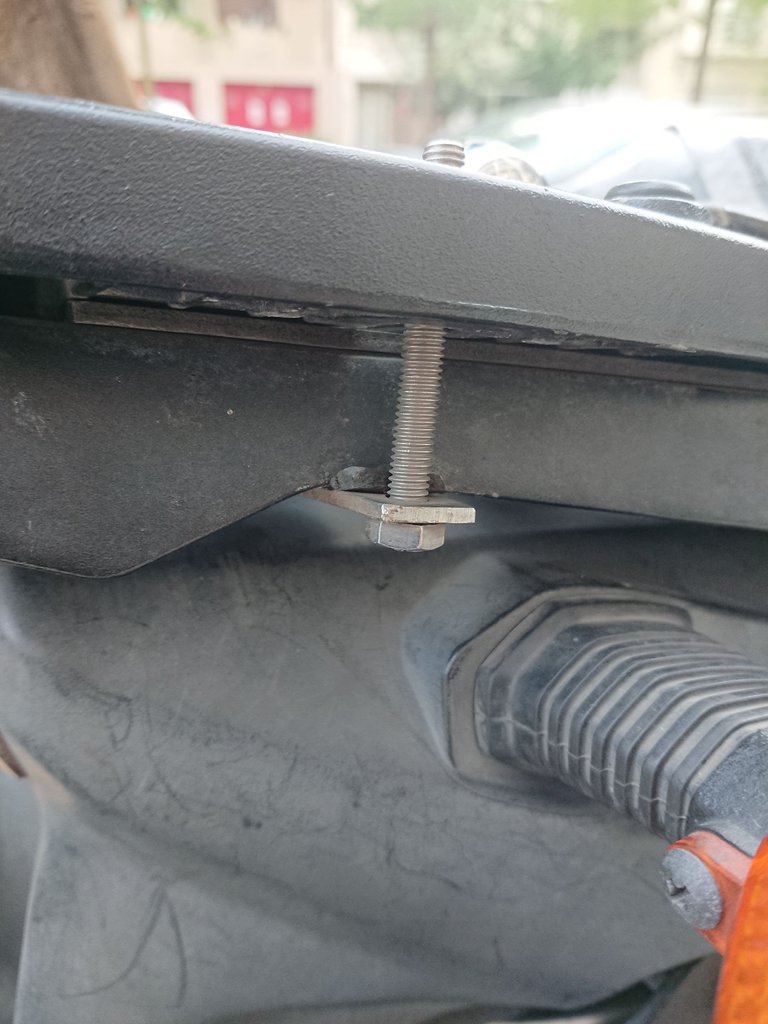
You can see above that I put a small piece of rubber between the part and the bike to reduce the shock from the vibrations on the bike's rear rack.
Nuts out:
And after aaall these years and km the tail of my bike saw the light again:
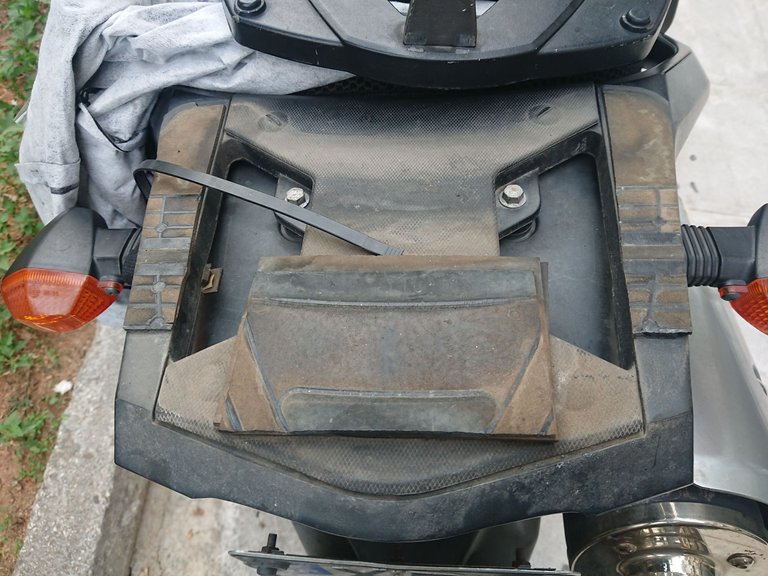
You can see that I had put rubber pads there too. Better safe than sorry 😉
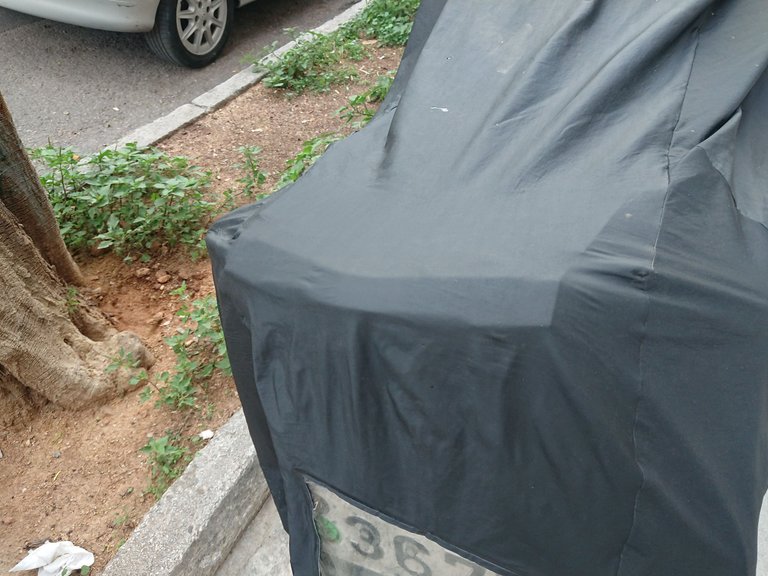
Among the benefits is that now the cover of my bike sits better without the tongue of the mount trying to rip it:
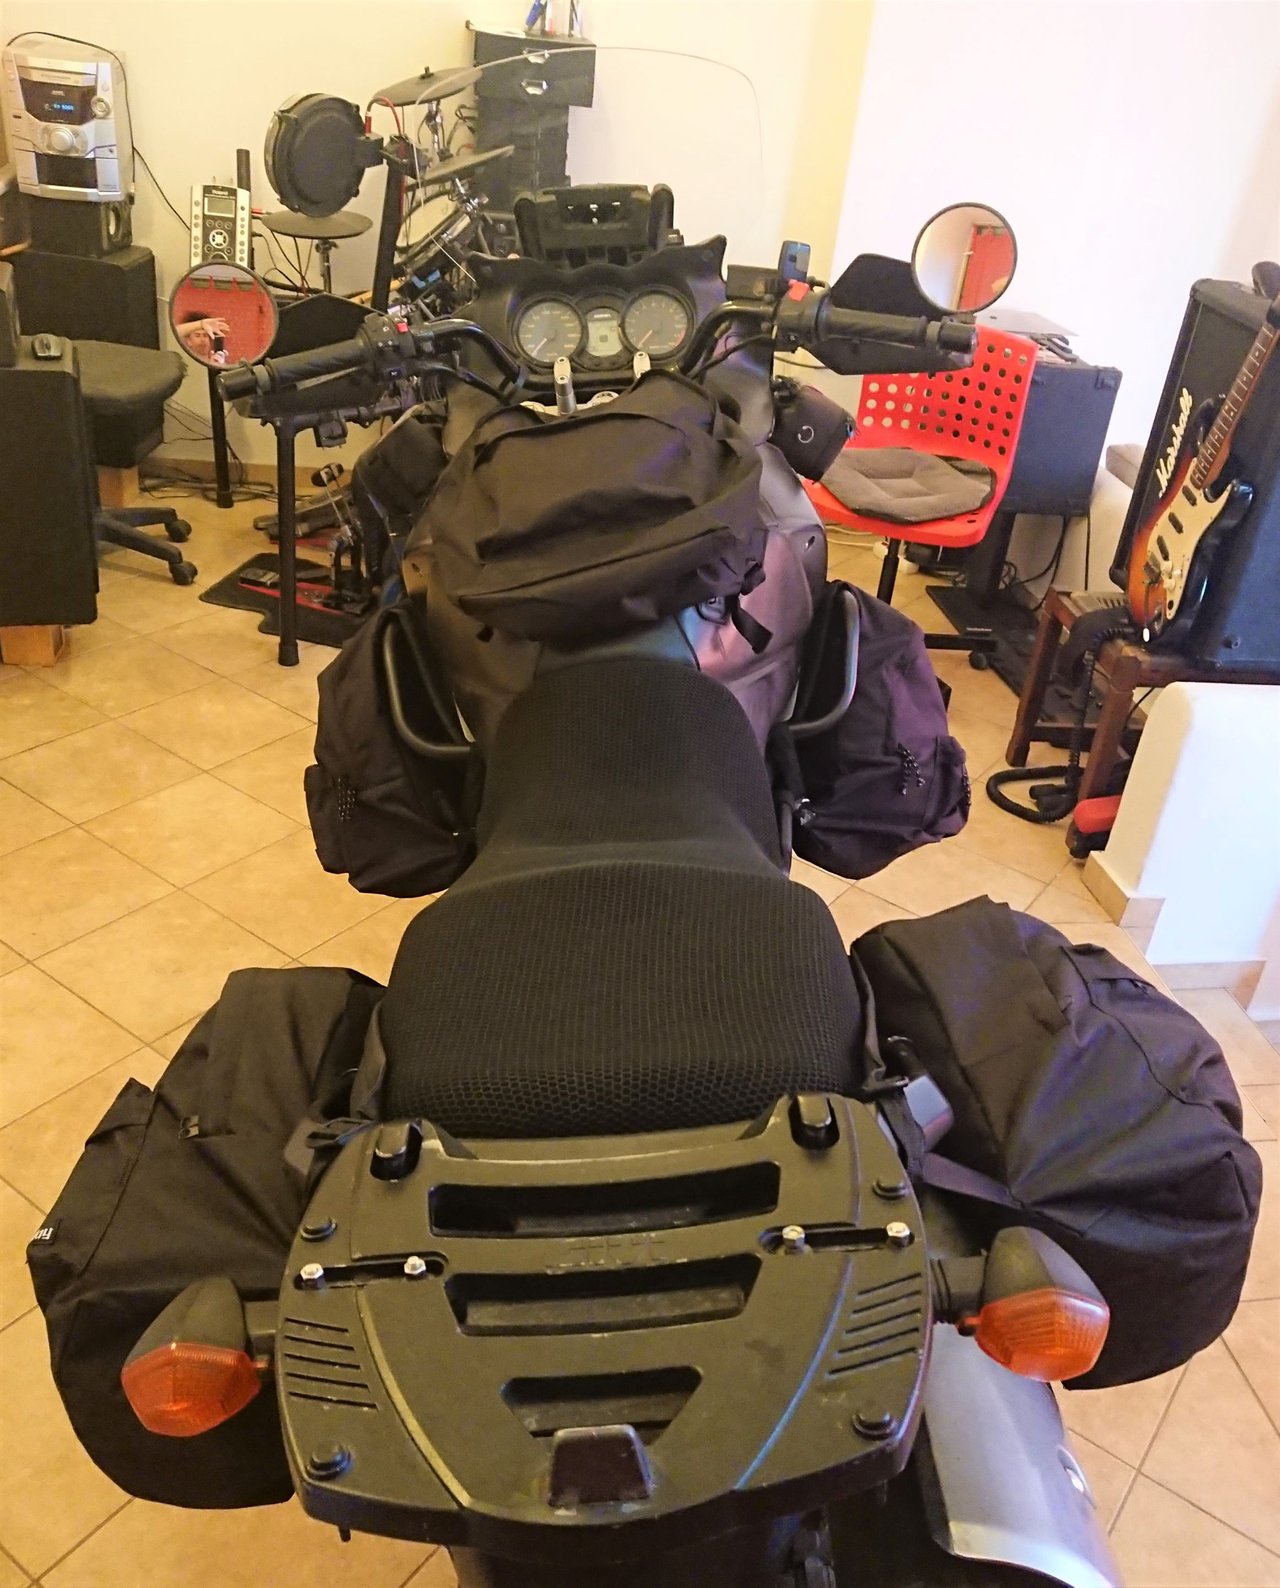
Let's talk about the rest of my luggage. Here's a picture showing most of what I used:
As you can see above, in front of the top case that I will no longer use is my good old trusty tank bag from Bagster which... I no longer use as a tank bag but place it behind me instead and will probably still use it like that. The reason is that when places on its mount over the tank (which also acts as a tank cover) it hits my balls when I ride standing upright on the pegs which is something I have to do from time to time in order to stretch. So instead I used on the tank a normal backpack and actually I bought 4 of them to also put 2 on the sides and one in the left rear (in the picture above you see the right one and part of the "tank bag").
Why? Let me explain:
First of all I am not in a contest of "do it stupid cheap" I don't even promote "cheap is king" but if cheap works then it is the way to go if you have to keep the budget low. A couple of years ago I came up with this idea in order to expand my carrying capability of my bike without selling a kidney. I came up with this:
You can read the full story/ how to here.
Later I cancelled the rear right one cause the exhaust's heat was making the textile brittle and vulnerable. This setup lasted many km and trips even though it was so cheap that I bought it as a single use thing. So yes, you can make the round of the world if you want even on dead cheap stuff if you know how to use it and can tell cheap from cheap that proves to be expensive at the end of the day. Most importantly though, if you know how to modify/upgrade. Before starting this trip I made them waterproof by sticking a garbage bag with glue in them:
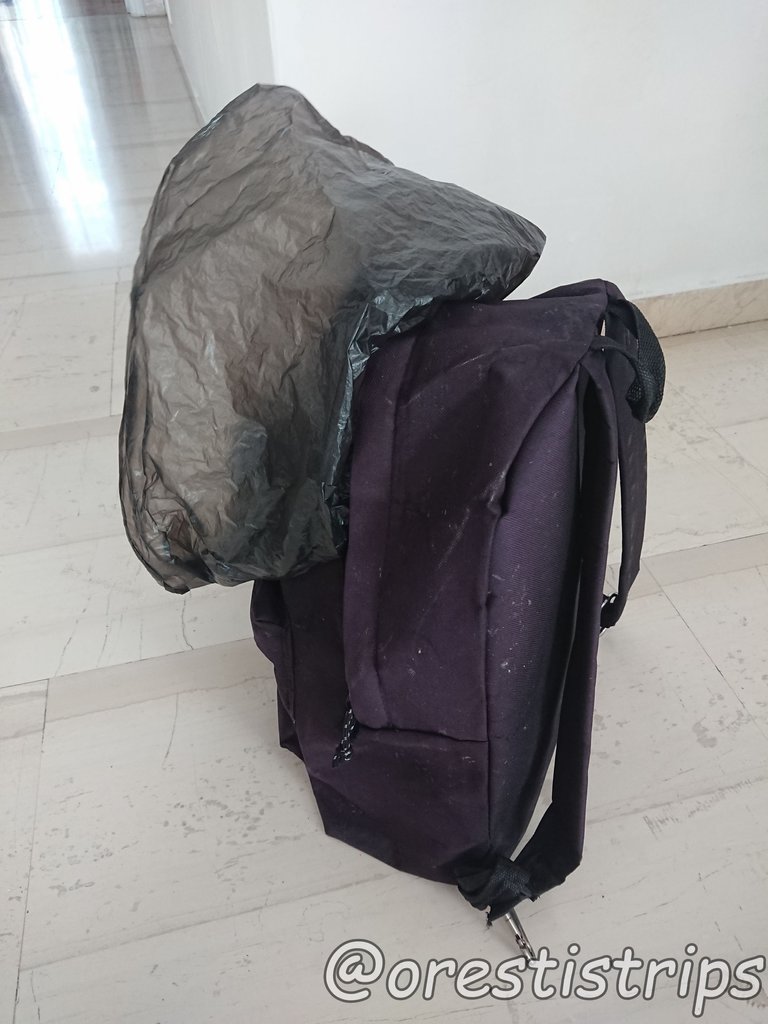
Trust me, it survived the Serbian monsoons like this unlike most (if not all) the "waterproof" stuff sold that cost 30 times more.
I also reinforced them by adding duct tape inside before the trash bag:

With both moves, at zero cost and the work of an afternoon (for all 4) I transform the cheapest backpacks on earth to a beyond decent ones.
But as I said before, enemy of good is better so I decided to take things up a notch. And I got delivery from Germany once again!
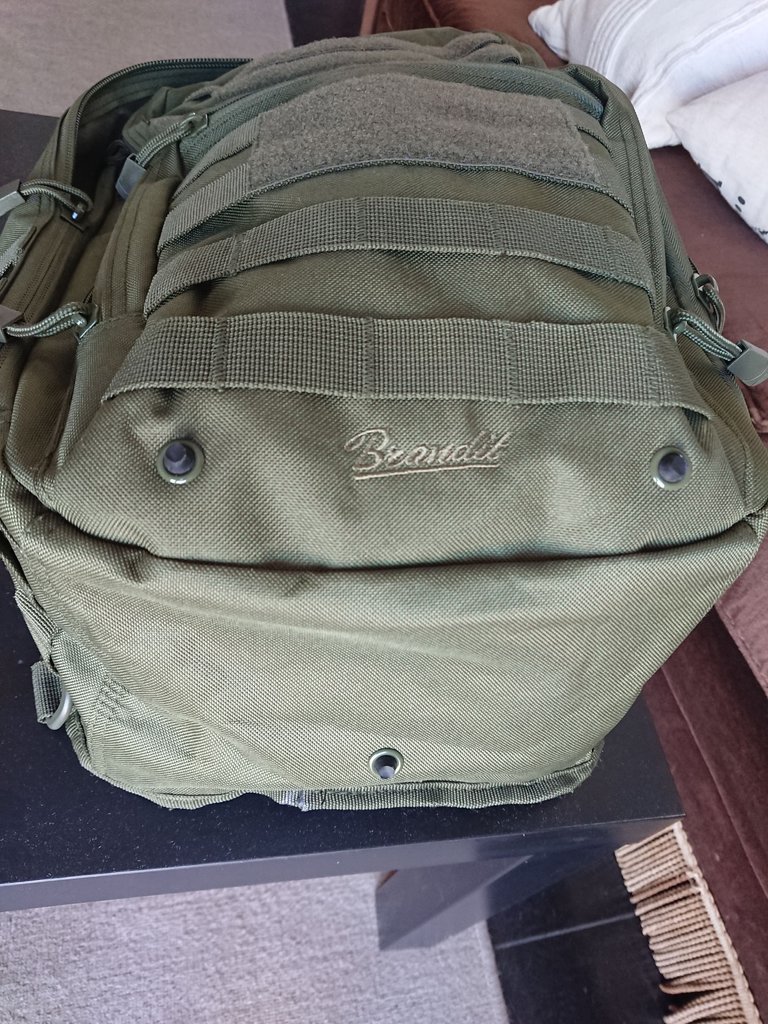
So I am substituting my 4 backpacks which did the job though they costed less than 5 euros each with this lovely baby (and its 3 other siblings):
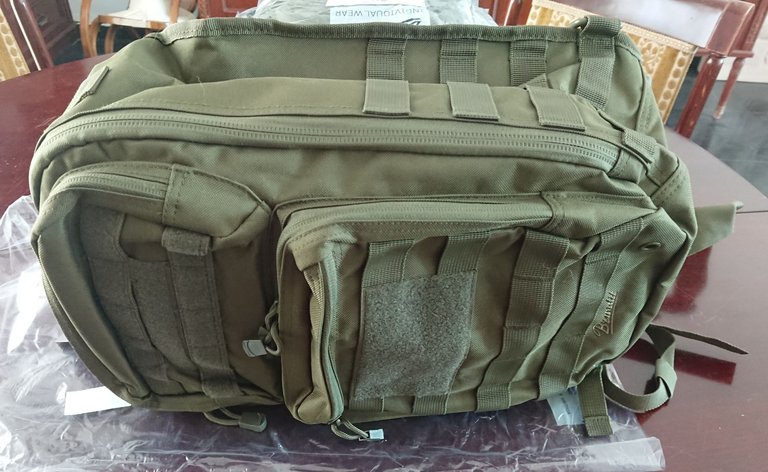
I found them at a German bike store at half of their real price so it was still a great deal even though shipping costed more than one of them.
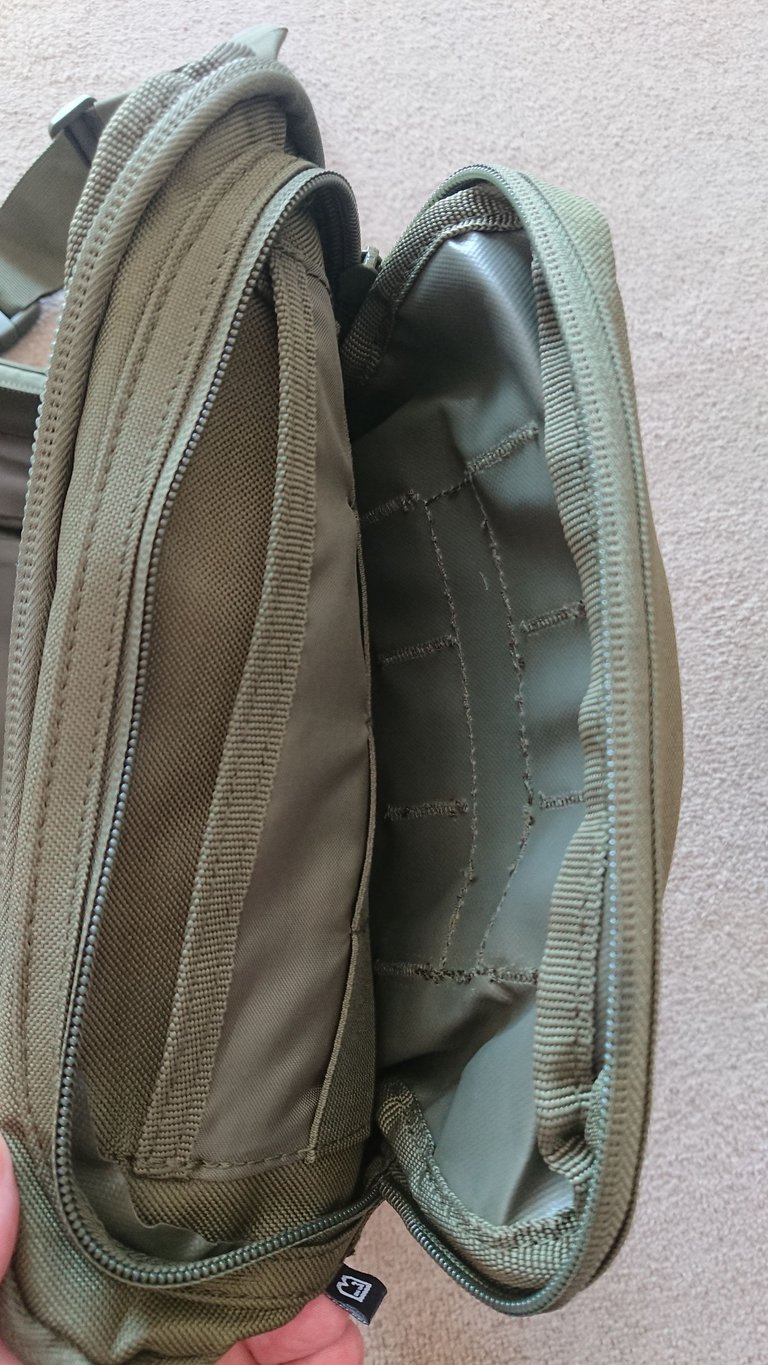
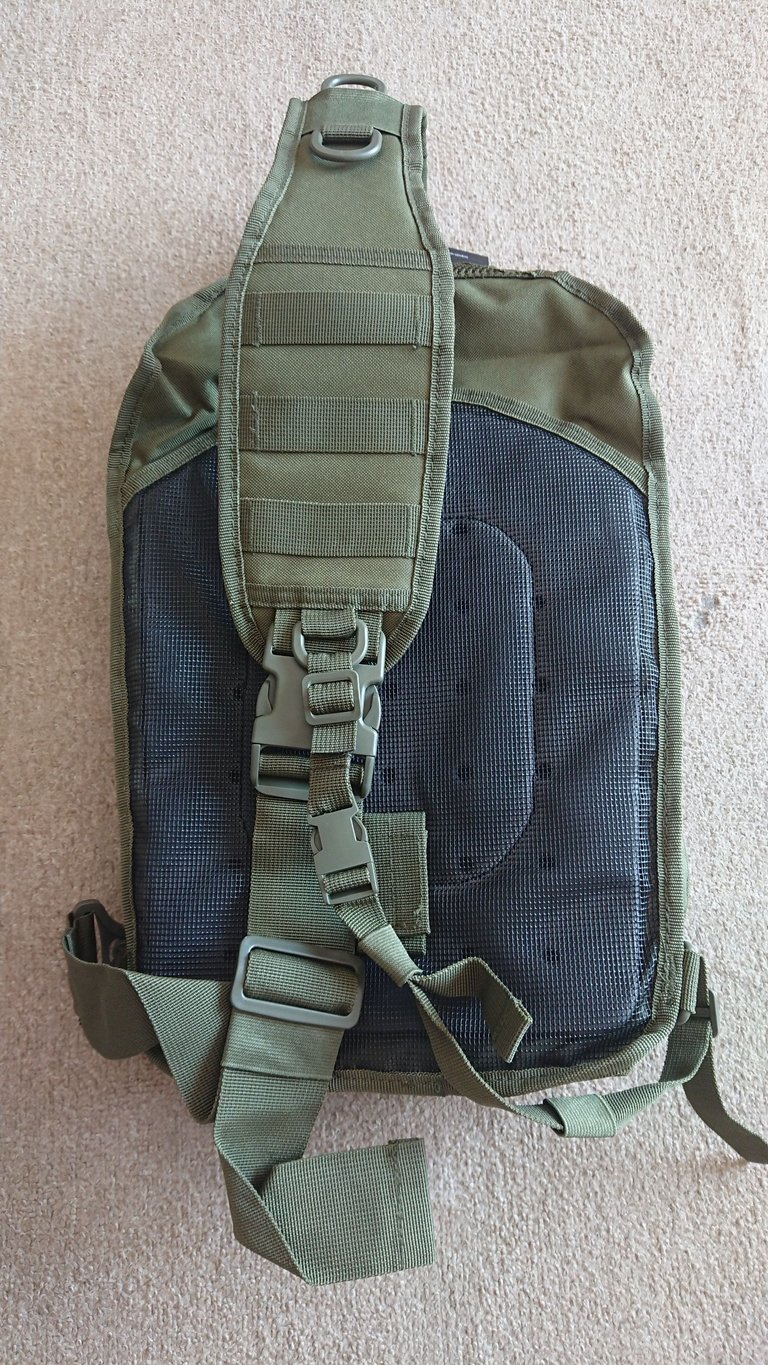
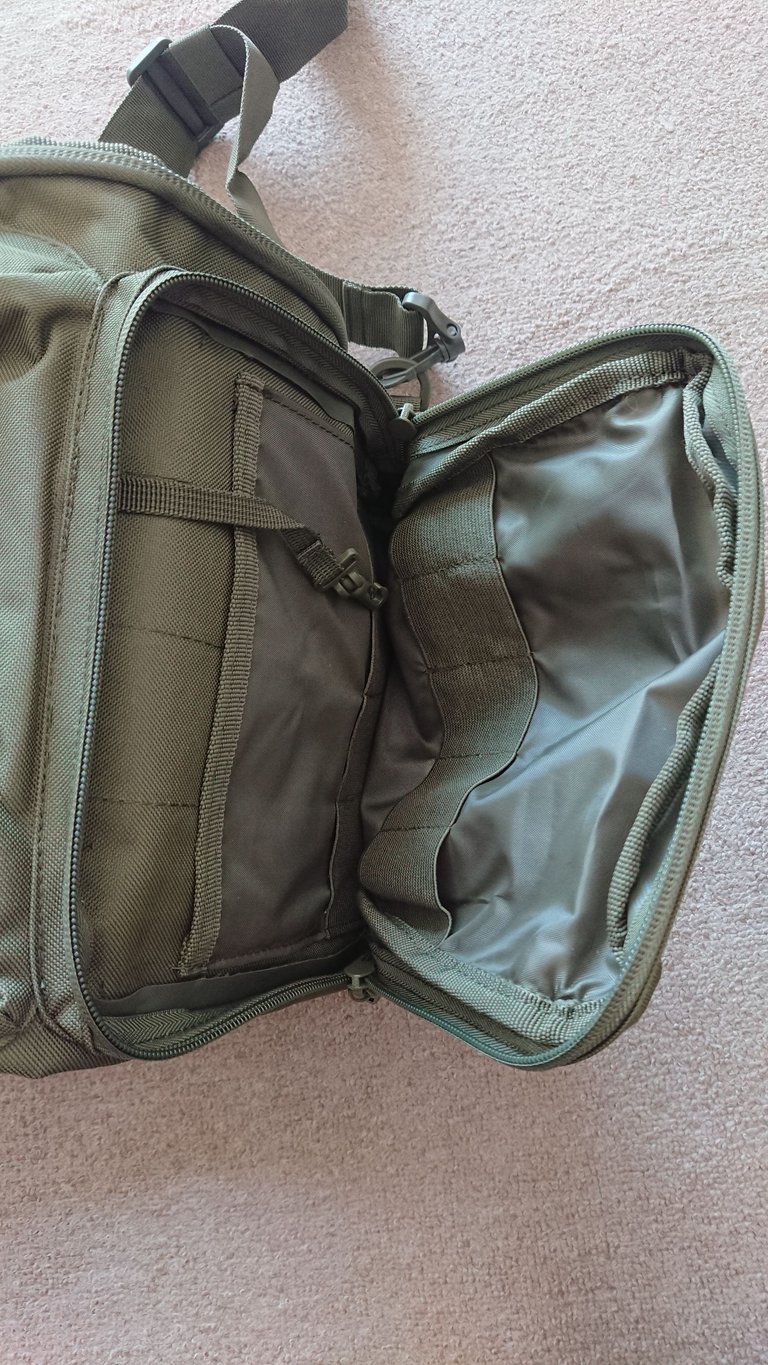
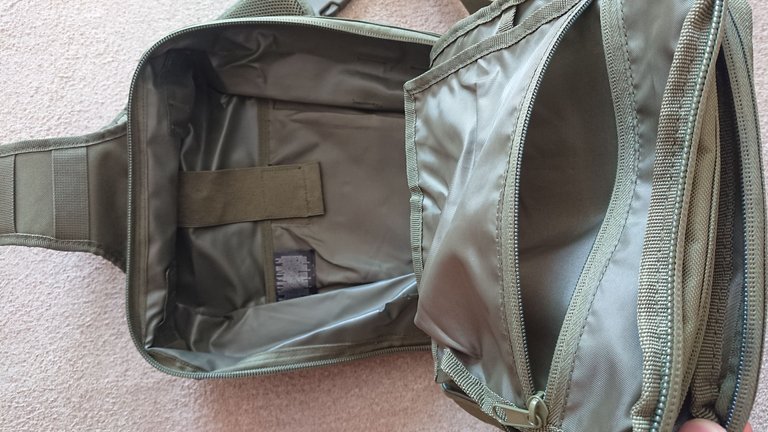
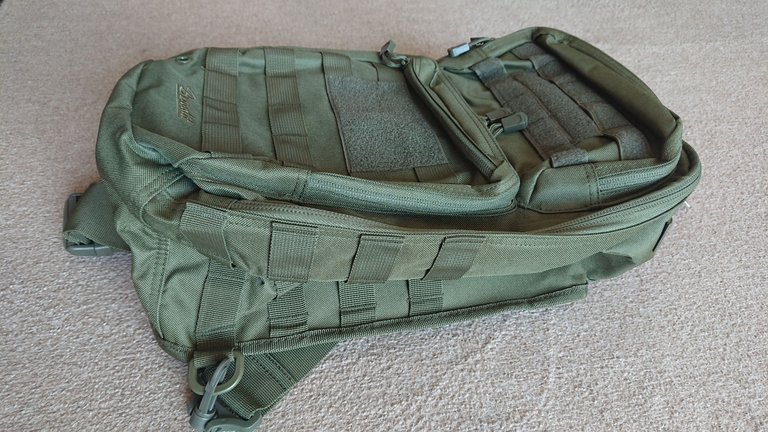
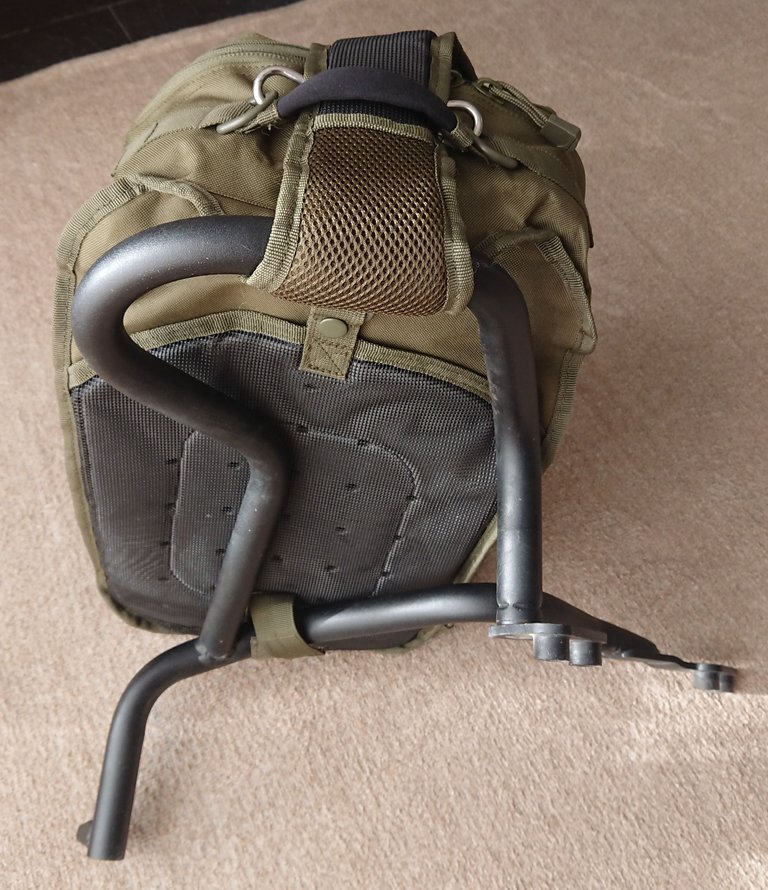
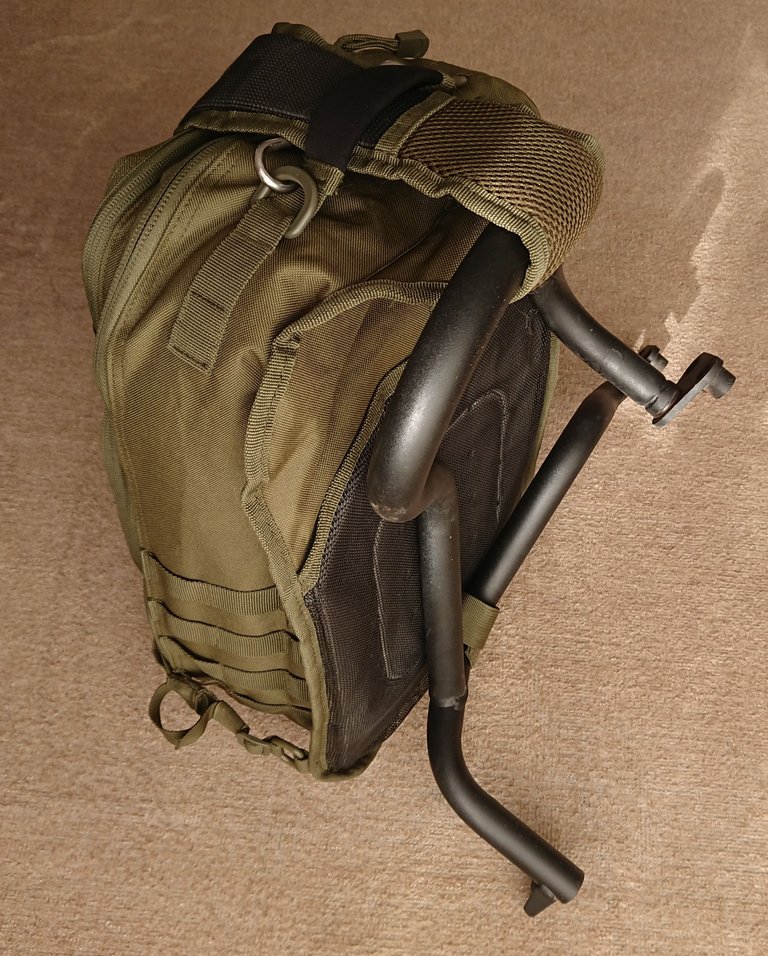
These things have so many compartments, mounts, velcros, stripes, you name them, giving you so many options:
 |  |  |
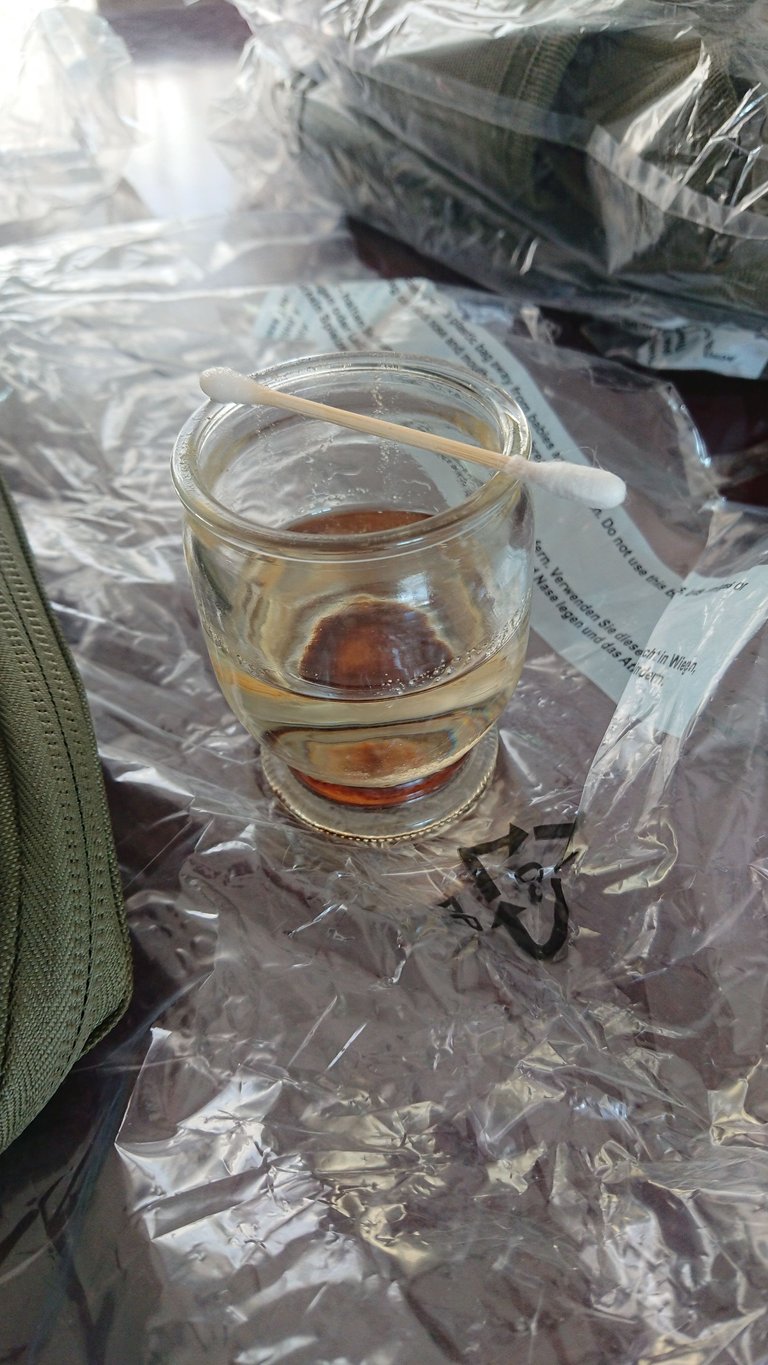
Again, why not make things even better? Even though the zippers feel nice I decide to lube them with good old olive oil to make them feel even better and last even longer:
These sling bags can handle more than 22 litres and are very well designed to the point that they even have drain holes to let the water out:

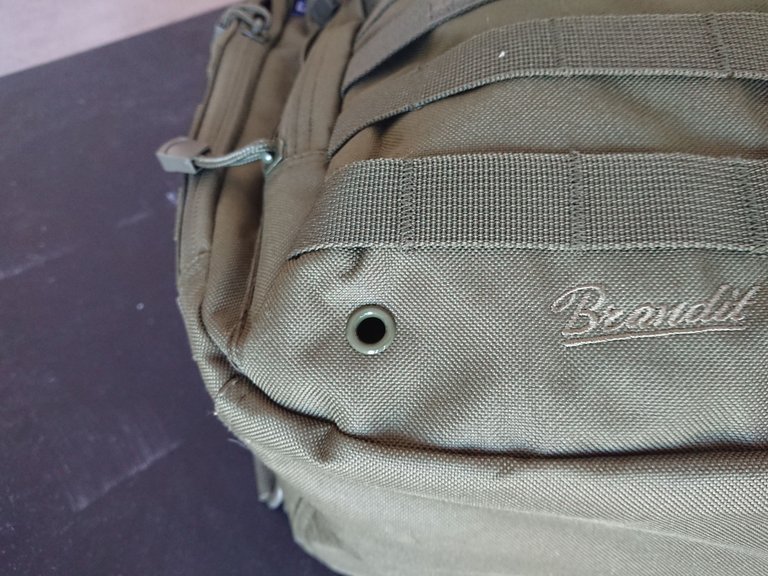
However, since one of them will play the role of my tank bag I have to cap them. I find the OEM rubbers of my top case's mount a nice fit for this job:
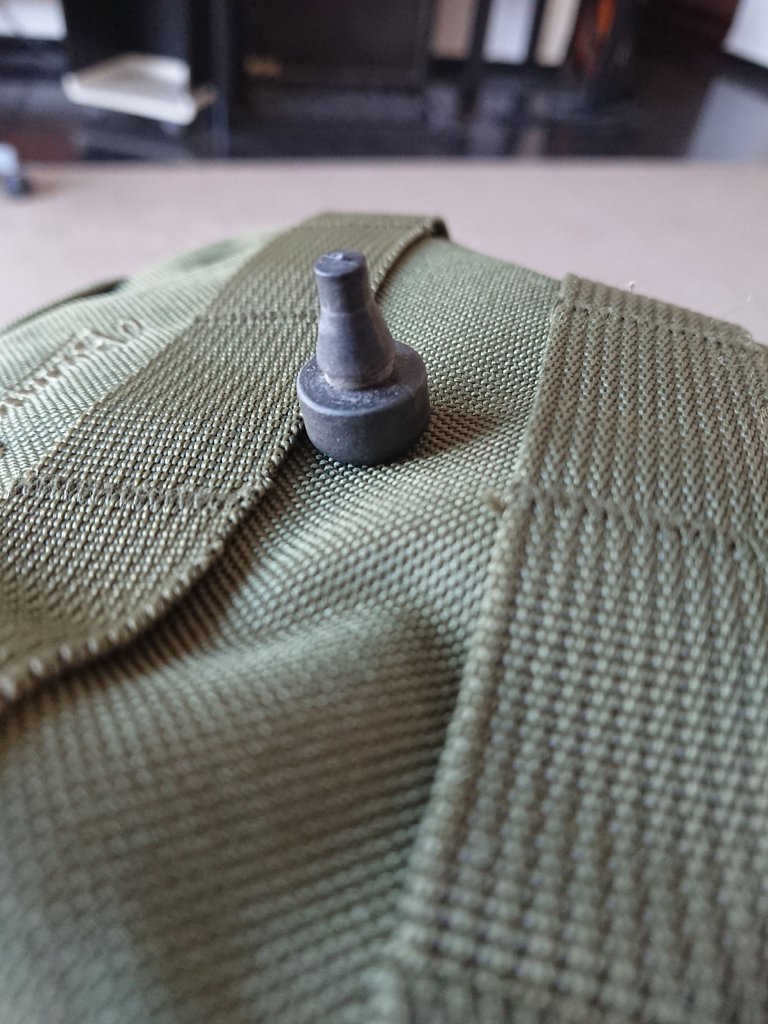
And now my "tank bag" has nipples :)
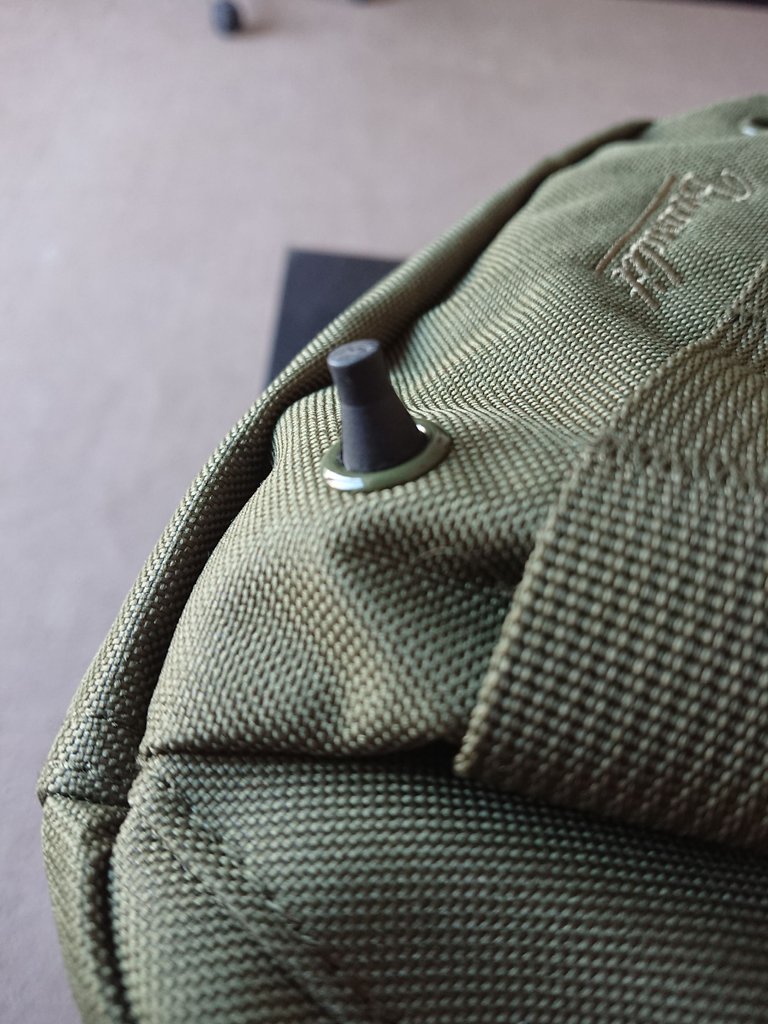
OK, I cut them short to make it less provocative :)
While I almost already know how to mount it on my tank, the ones that will go on my crash bars are more of a struggle, especially now that I don't have a garage to work one them. However, I do have a spare crash bar so I manage to improvise/rehearse at the living room:
I think I got it made. Here's my new tank bag in the real world:
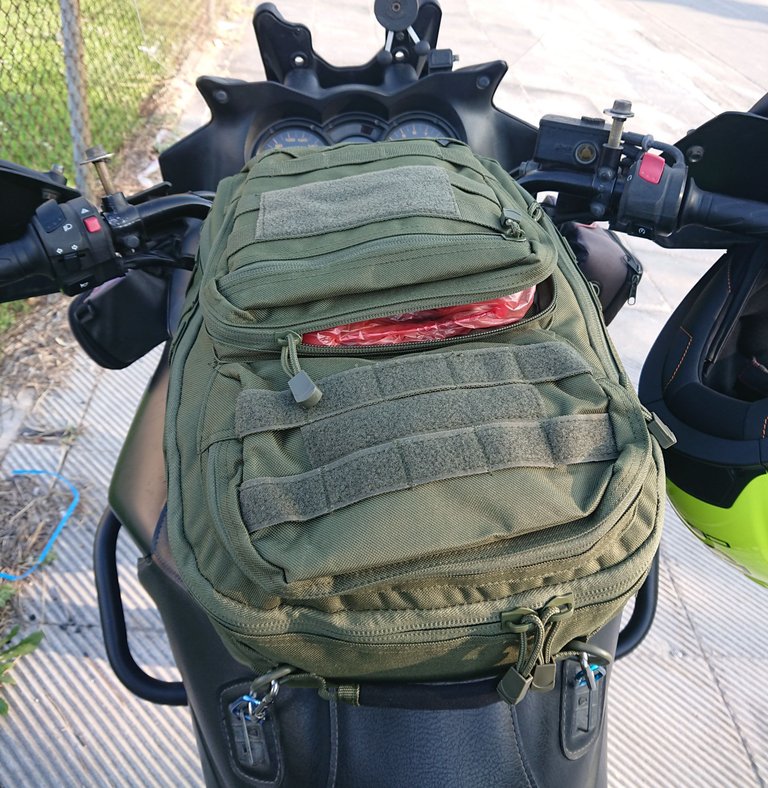
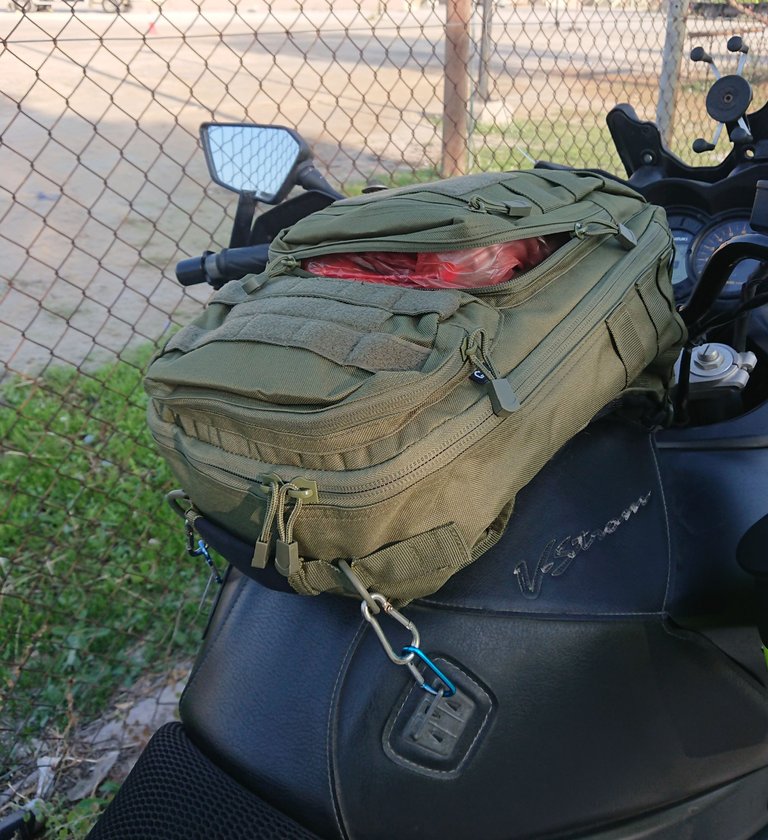
It touches the handlebar when fully loaded a little more than I want to though not at irritating levels but is exactly what I was looking for and allows me all the "ballroom" I need while riding standing up.
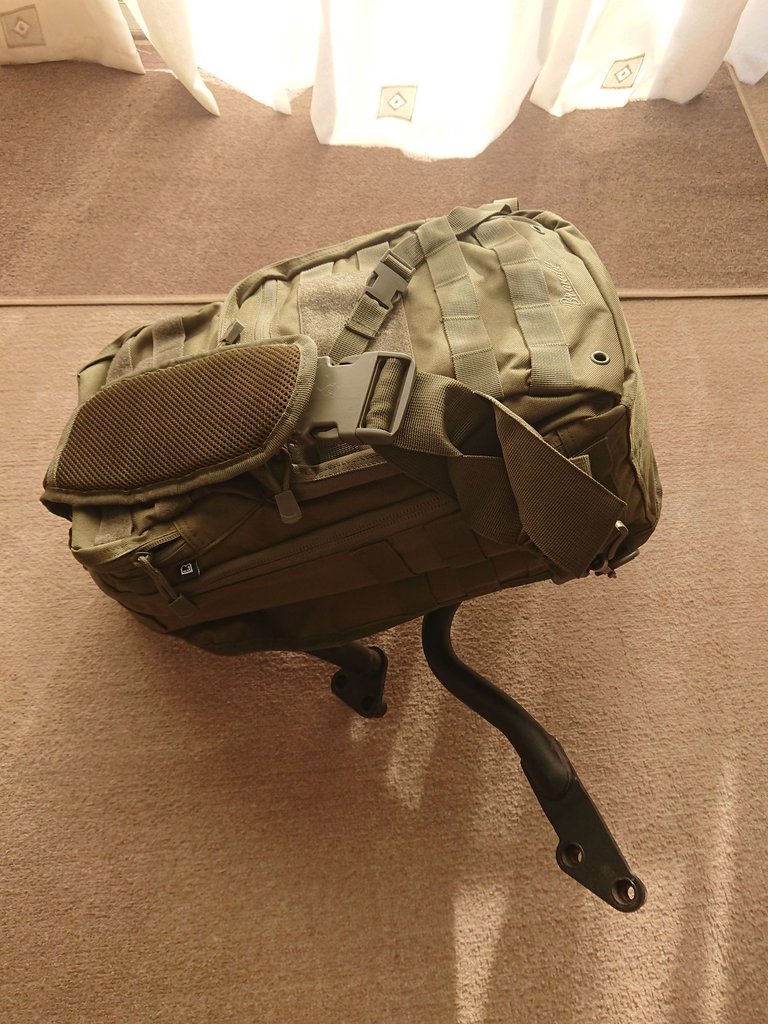
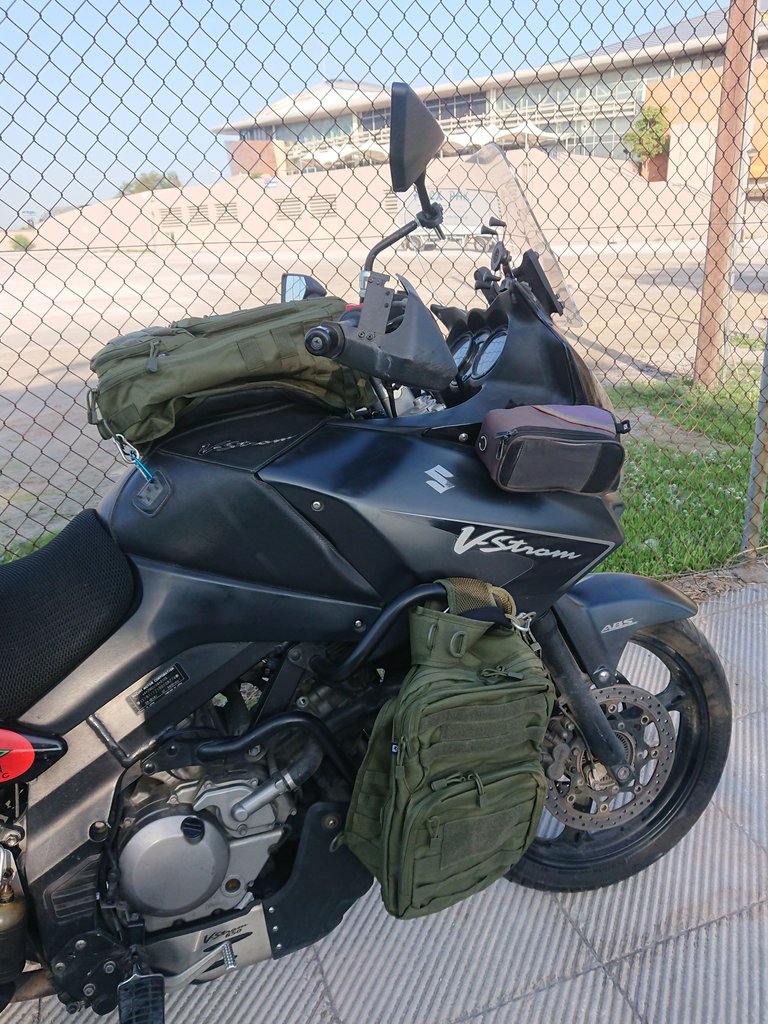
Here's one of the side bags looking miserable as it is empty but mounts nicely too:

Here's both:
Please ignore the far from attractive mirror, it's an unfinished project but will be complete soon (might be subject of a later post).
I initially ordered them in black and white but they had no stock so I bought these olive green ones. I was "damn, the B&W would be so nice" but to be honest now that I look at them they're not bad at all. With the whole set full on the bike I think they'll look pretty OK if not cool.
That's it for now guys, hope I offered some food for thought, see you in the next ones!
Lightening the load will save on petrol in the long run, nicely thought out on how to load the bike to obtain maximum comfort, still able to take what is required for a long road trip.
!WINEX
!PIZZA
With the current fuel prices even such an amount of difference might matter though handling was my main concern. I made a rough estimate that the synchronization of the throttle bodies that I did with my mechanic before this trip resulting in the bike consuming 1 litre of fuel less per 100km, has saved me around 150 euros only from this trip. I got the cost of the labour of my mechanic 3 times back :)
Saving in the long run by thinking slightly different all adds up!
Have a brilliant new week ahead.
Thank you! You too!
$PIZZA slices delivered:
@joanstewart(2/10) tipped @orestistrips