
@Merenludick is turning 14 today! He had a party yesterday and is having another one today with family.

Honestly, I've been so busy trying to get to my book deadline and I haven't been well, so I was considering just buying two cakes from the shop and a few decorations. But when I looked at the price of the cakes I almost died. They've almost doubled in price.
So on Thursday, I realized I was going to have to get my butt into gear and make something myself. I had a few ideas rattling around my head, from cupcakes to a ring cake (like we did for Aime) to a layer cake.
The only issue with a layer cake is my big oven is still not baking ready so I have to use the tiny oven. That means I can only do one layer at a time. If I had chosen cupcakes, it would have meant only doing one tray at a time.
So, I decided to go with the layer cake. But then what to decorate and ice it with was the next thing I needed to ponder. I combined caramel, chocolate, and Oreo cookies to achieve the perfect combination!

I used chocolate icing in between the layers and then put the caramel icing on the outside, saving a bit of each icing for the next day for final decorations and making things neater.
On Saturday afternoon I got out my special piping gun and prepared a cup of hot water and a butter knife. Using the hot water trick helps to smooth out the icing.
I filled the piping gun with half caramel icing and half chocolate icing to get a two-tone effect. It actually wasn't as hard as I imagined.
I then added the cookies which I broke in half, just made it look so much more decadent! Yummy!!
Let's Look at how I made the cake, recipe, method and all:
I literally doubled my chocolate cake recipe:

The Cake:
Preheat the oven to 180 degrees celcius.
Tools and method:
- You'll need 4 trays or drying racks so each layer can cool off and settle down. I recommend leaving them alone for at least 24 hours to prevent the cake from falling apart.

Since my springform baking tin is a bit warped, it tends to leak. So, I lined the bottom with baking paper and this solved the issue.
Spray and Cook
Baking paper
A Cake Mixer (doesn't have to be fancy. Even a simple hand-held one is fine
Several wooden spoons (especially if you have children that
keep stealing them to lick).A spatula and butter knives for icing
a piping bag or piping gun
2 large mixing bowls: for the wet and dry ingredients of the cake, which you will combine at the end. You'll use them again when you do the two different icings as well.
I was lucky to have some eager monkeys around to extremely efficiently lick off the spoons and bowls for me before I moved on to each new stage.
I had to bake one layer at a time and try to judge how to split the batter into four. I suppose I could have used a measuring jug here, but I just went with my gut and it turned out pretty accurate.
Cake Ingredients:
Wet ingredients:
It's super important that you combine them in this order, otherwise, your cake will not rise. Trust me. It will just be sad mud and will not be fluffy at all. Start with the wet ingredients, then the dry and then you can combine them at the end.
250g Soft Butter
1 Cup Castor Sugar
2/3 Cup Icing Sugar
4 Eggs, lightly beaten
2 Teaspoon Vanilla Essence
1/2 Cup Sunflower Oil
80g Jam (I like to use strawberry, but any jam is fine. For
American readers, this is preserve or jelly)
500ml milk
Dry Ingredients
1 and a 1/4 cup Self Raising Flour
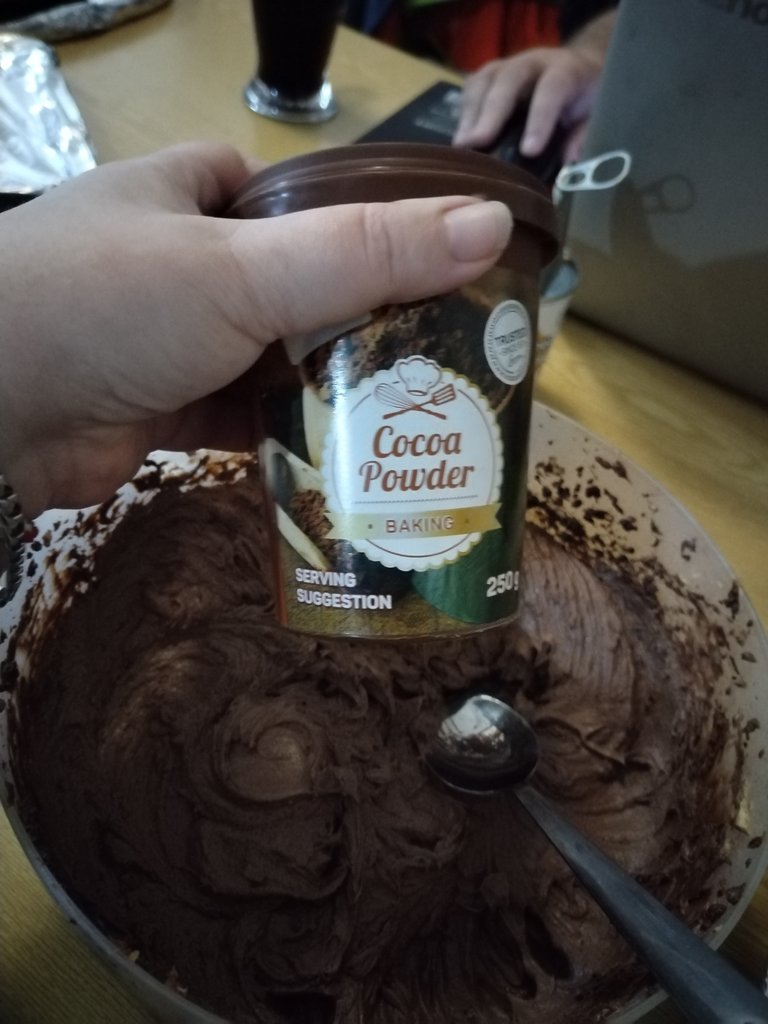
1/2 cup of cocoa
1 Teaspoon Bicarbonate of soda (use an extra teaspoon if you only have regular flour and not self raising)
1 Teaspoon baking powder (use an extra teaspoon if you only have regular flour and not self-raising)
Method:
Cream Butter and sugar until light and fluffy
Mix egg, oil, and vanilla and add in small amounts to the bowl
Add jam.
In a separate bowl, sift together the dry ingredients
Mix wet and dry ingredients together now and lastly add in milk.
Once evenly mixed (not lumpy but be careful not to overmix otherwise your cake won't rise) pour the mixture into your prepared cake tins and place as centered as possible in the oven. Bake for 25 minutes per layer.
Remove your cake tins from the oven (please use oven mittens lest your hands become like mine) and test that they're baked through by poking right through the middle with a thin stick like a skewer. If it comes out clean, it's done.
Let them cool in the tin for a bit (like an hour) before turning out onto the cooling racks
You cannot ice warm cake. Wait for them to cool completely before you build your cake sandwich

The Icing:
When you are ready to ice, get your cake board ready. and place the first layer down.

Caramel icing Ingredients:
400g soft Butter
1 and 1/2 cups of Icing Sugar
1 tin of caramel treat
Dash of Milk
Chocolate icing ingredients:
400g soft Butter
1 and 1/2 cups of Icing Sugar
1/2 a cup of cocoa
Dash of milk
Method:
There isn't really one. Just stick each icing in it's own bowl use an electric mixer to mix till it's all smooth and moussey-looking.
Spread a good layer of icing on top of your 1st cake layer and then place the other cake layer on top. Continue until all your layers are sandwiched together.

For the outside of the cake, use your spatula or a flat butter knife to spread the icing over the surface of the remainder of the cake. To make it extra smooth, you can keep a mug of warm water nearby. Periodically dip your icing implement into it to rinse off excess icing between strokes to achieve a professional-ish and smooth finish.


I did this in two stages, letting the icing of the 1st layer set overnight. This is especially useful if you are using chocolate cake but with lighter icing. The 1st coat of icing is called a "crumb coat" and won't look as neat as the final product. You might even find some of the cake gets into the icing. Save half of the outer icing for later and then you can perfect it with a second coat. Don't forget to use warm water to dip your icing knife or pallet into, to help you achieve a nice smooth, and even finish.


I also saved a little of each icing so that I could do my decorative piping. I filled the gun with half caramel and half chocolate and I think it turned out really great, especially after I added the cookies!
All in all, it turned out to be an amazing cake!

oh wow! thanks so much!!
That looks delicious 😋 hun. Happy Birthday to Meren from all of us.
Aaah! Thanks so much my angel!!
Happy Birthday @merenludick have a wonderful new year, cake baked looks superb Claire sure the friends and family all tucked in to enjoy a home baked vs bought!
!LUV
!LADY
View or trade
LOHtokens.@joanstewart, you successfully shared 0.1000 LOH with @clairemobey and you earned 0.1000 LOH as tips. (1/18 calls)
Use !LADY command to share LOH! More details available in this post.
clairemobey, joanstewart sent you LUV. 🙂 (3/10) tools | trade | connect | wiki | daily
Made with LUV by crrdlx.
It certainly was delicious!!! There's still some left but I don't think it will last very long! teehee!
With children in the home nothing lasts....
Teehee! And mine are like locusts!
I can remember lining up for the spoon or bowl on rare occasions cake was baked in the home !LOLZ
You know what they say, "good moms let their kids lick the beaters. Great moms switch them off 1st!"
!Lol
!Lady
!Luv
!Hug
No electric back when I was young !LOLZ
That looks great! We'll done and a Very Happy Birthday to @merenludick
Phew, I feel you on the cost of stuff lately... it's become absolutely horrendous.
right? I don't know how people make homemade cakes and sell them for a profit. Seems almost impossible to me. Well, I just bake for the family now and of course, good friends :)
!Hug
I sent 1.0 HUG on behalf of @clairemobey.
(1/3)
Such a beautiful and MASSIVE cake my love.
I, at least, know what it tasted like and it was delish! I could eat a whole cake like that... might take a week though...
I see I managed to make it into quite a few pictures. !LOL. I am glad the faces I made came in use!
heheheheehe! Happy cake faces :p I think we should eat the cake while the kids are sleeping! :p
I love you. ❤️
!Luv
!Hug
I sent 1.0 HUG on behalf of @clairemobey.
(1/3)
Ufff, se ve realmente deliciosa, moriría por probarla. Gracias por compartirla con nosotros.
Thank you so much!!
Wow! That's awesome, yummy and perfect. Good one there! It's indeed turn out to be amazing. Circumstances in life sometimes turn out like that too.Thanks for sharing.
!LADY
View or trade
LOHtokens.@ladiesofhive, you successfully shared 0.1000 LOH with @clairemobey and you earned 0.1000 LOH as tips. (12/30 calls)
Use !LADY command to share LOH! More details available in this post.