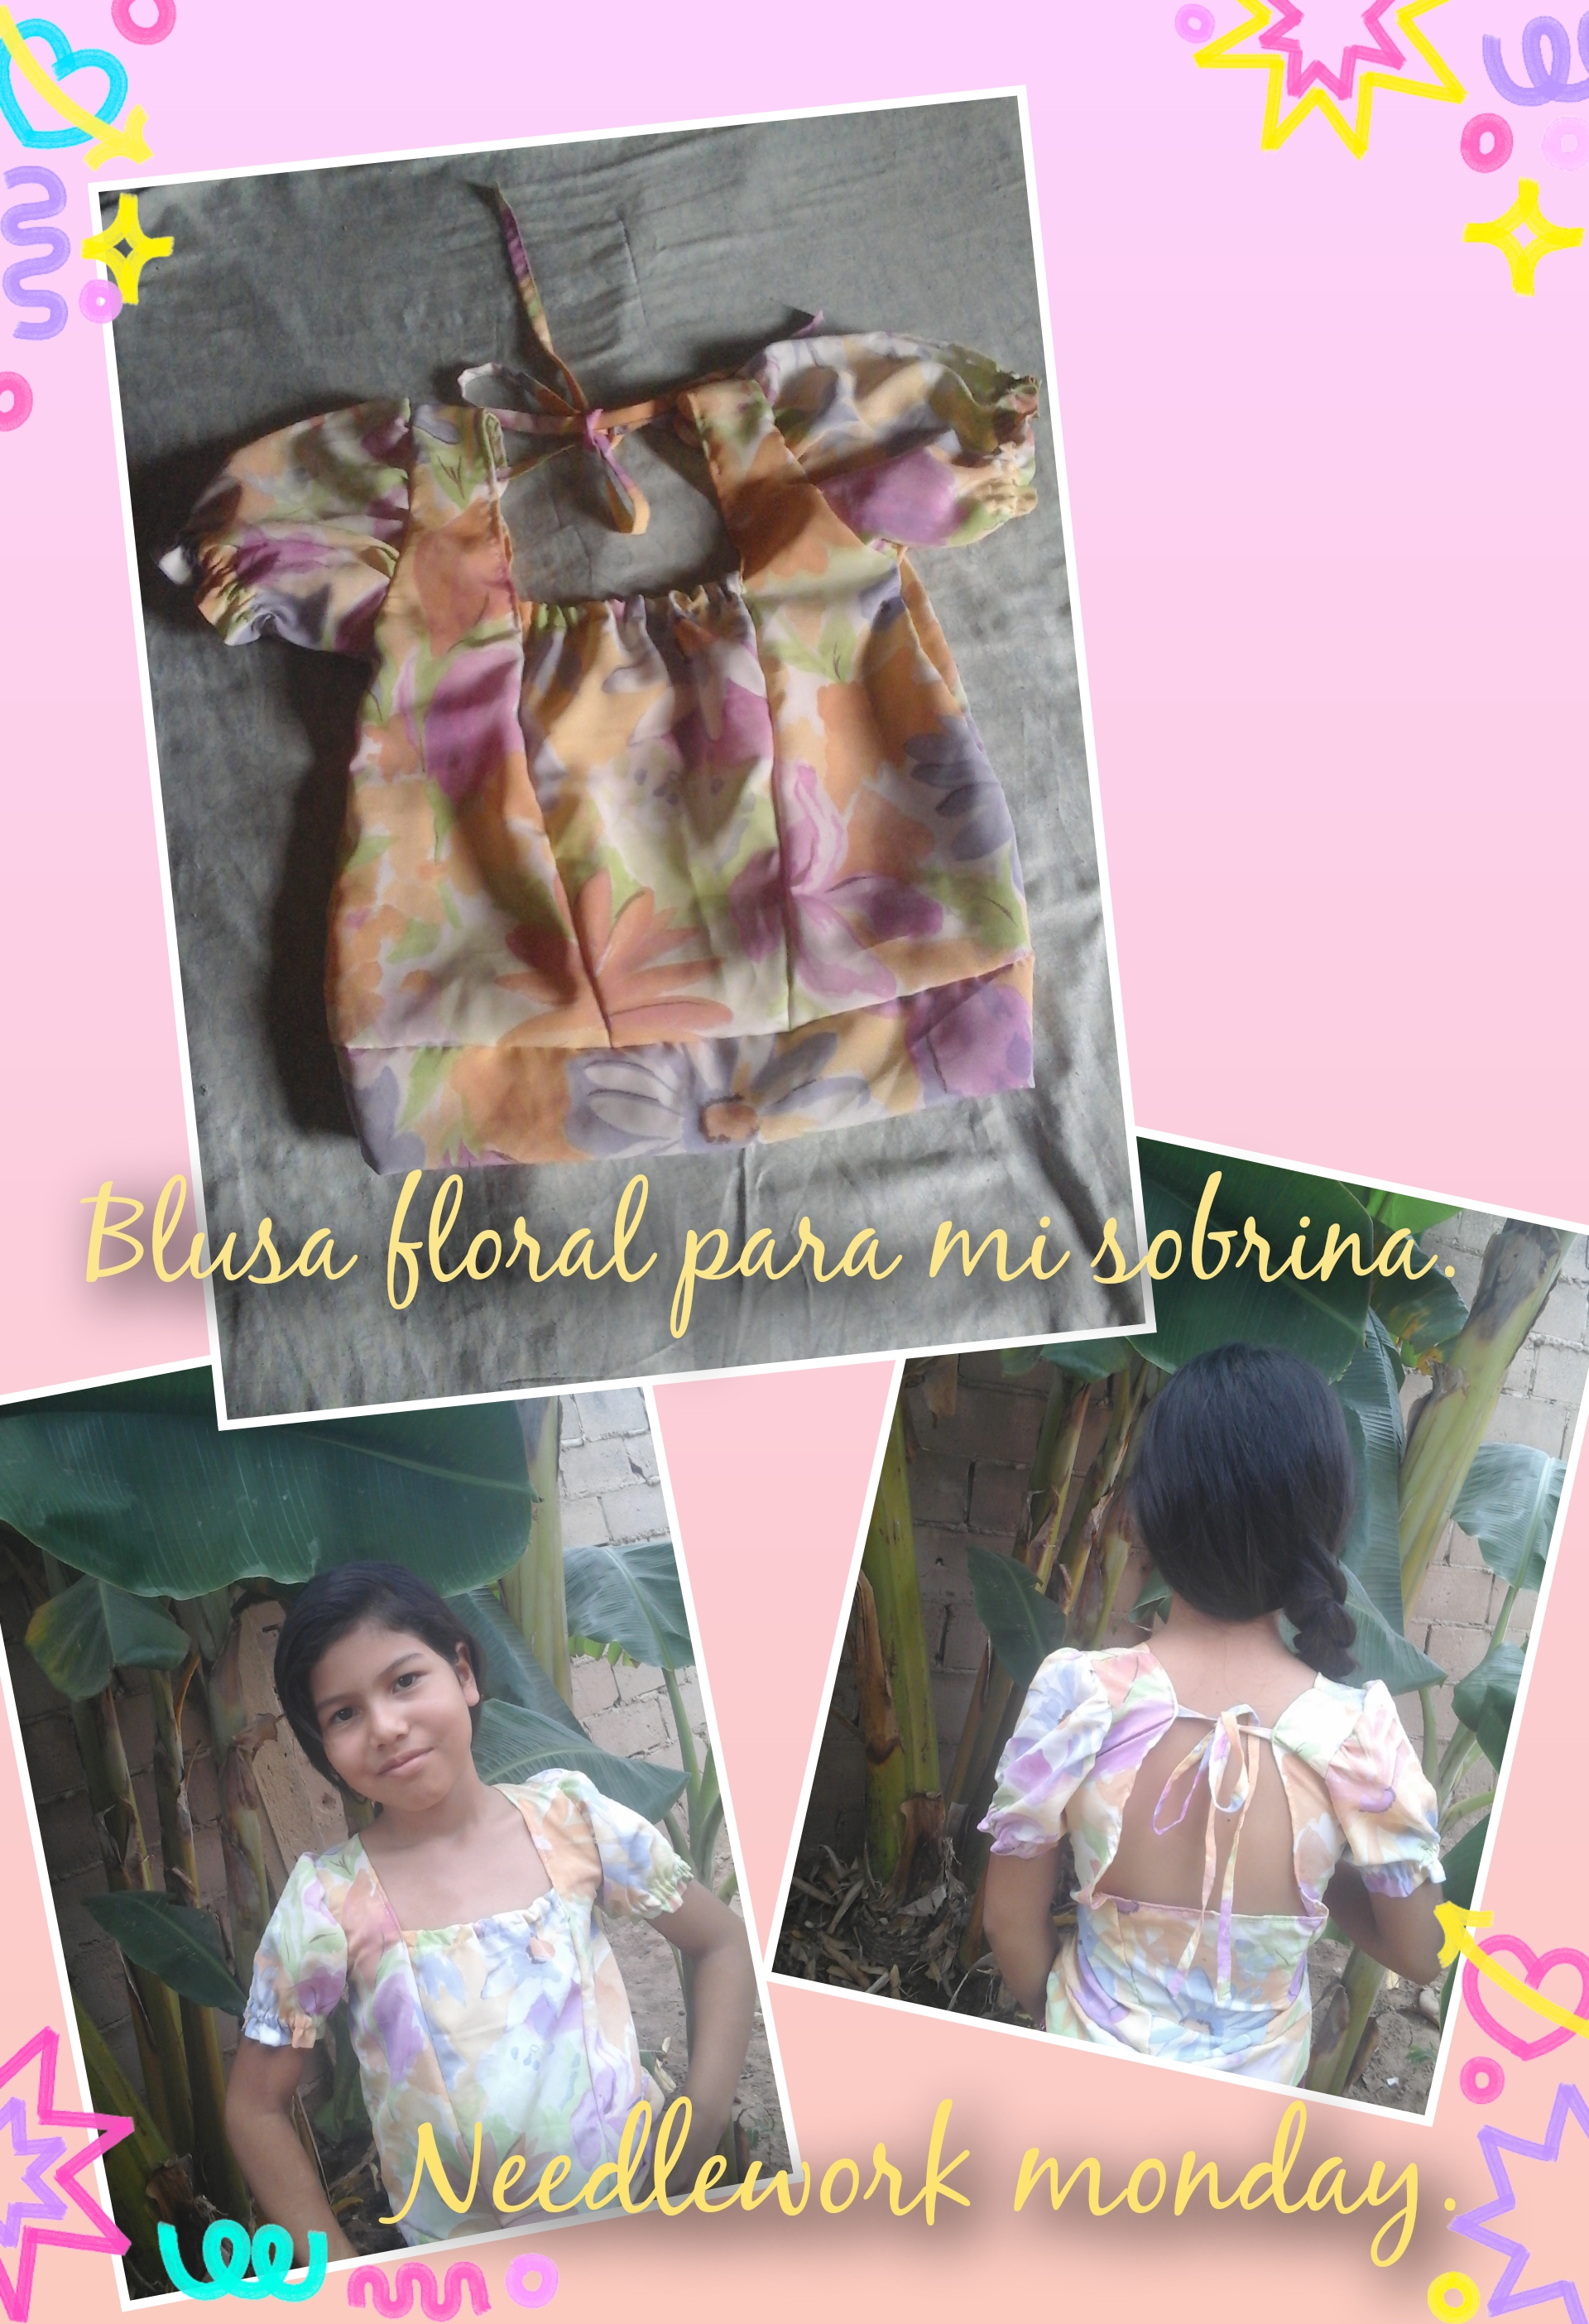
Hello my dear seamstress friends, it is a great pleasure to be with all of you again on this beautiful day. Grateful to God for giving me the opportunity to be with you again and wish you a beautiful day full of many blessings for everyone. On this day I show you my most recent sewing work, which I made with great love for my niece. It is a cute floral blouse with a simple back neckline that will not only look great but will be very cool since this fabric is a type of Dacron that does not stretch. Without further ado, I invite you to read this tutorial until the end, join me.
Los materiales que he utilizado.
- Tijera.
- Patrones.
- Lápiz y regla.
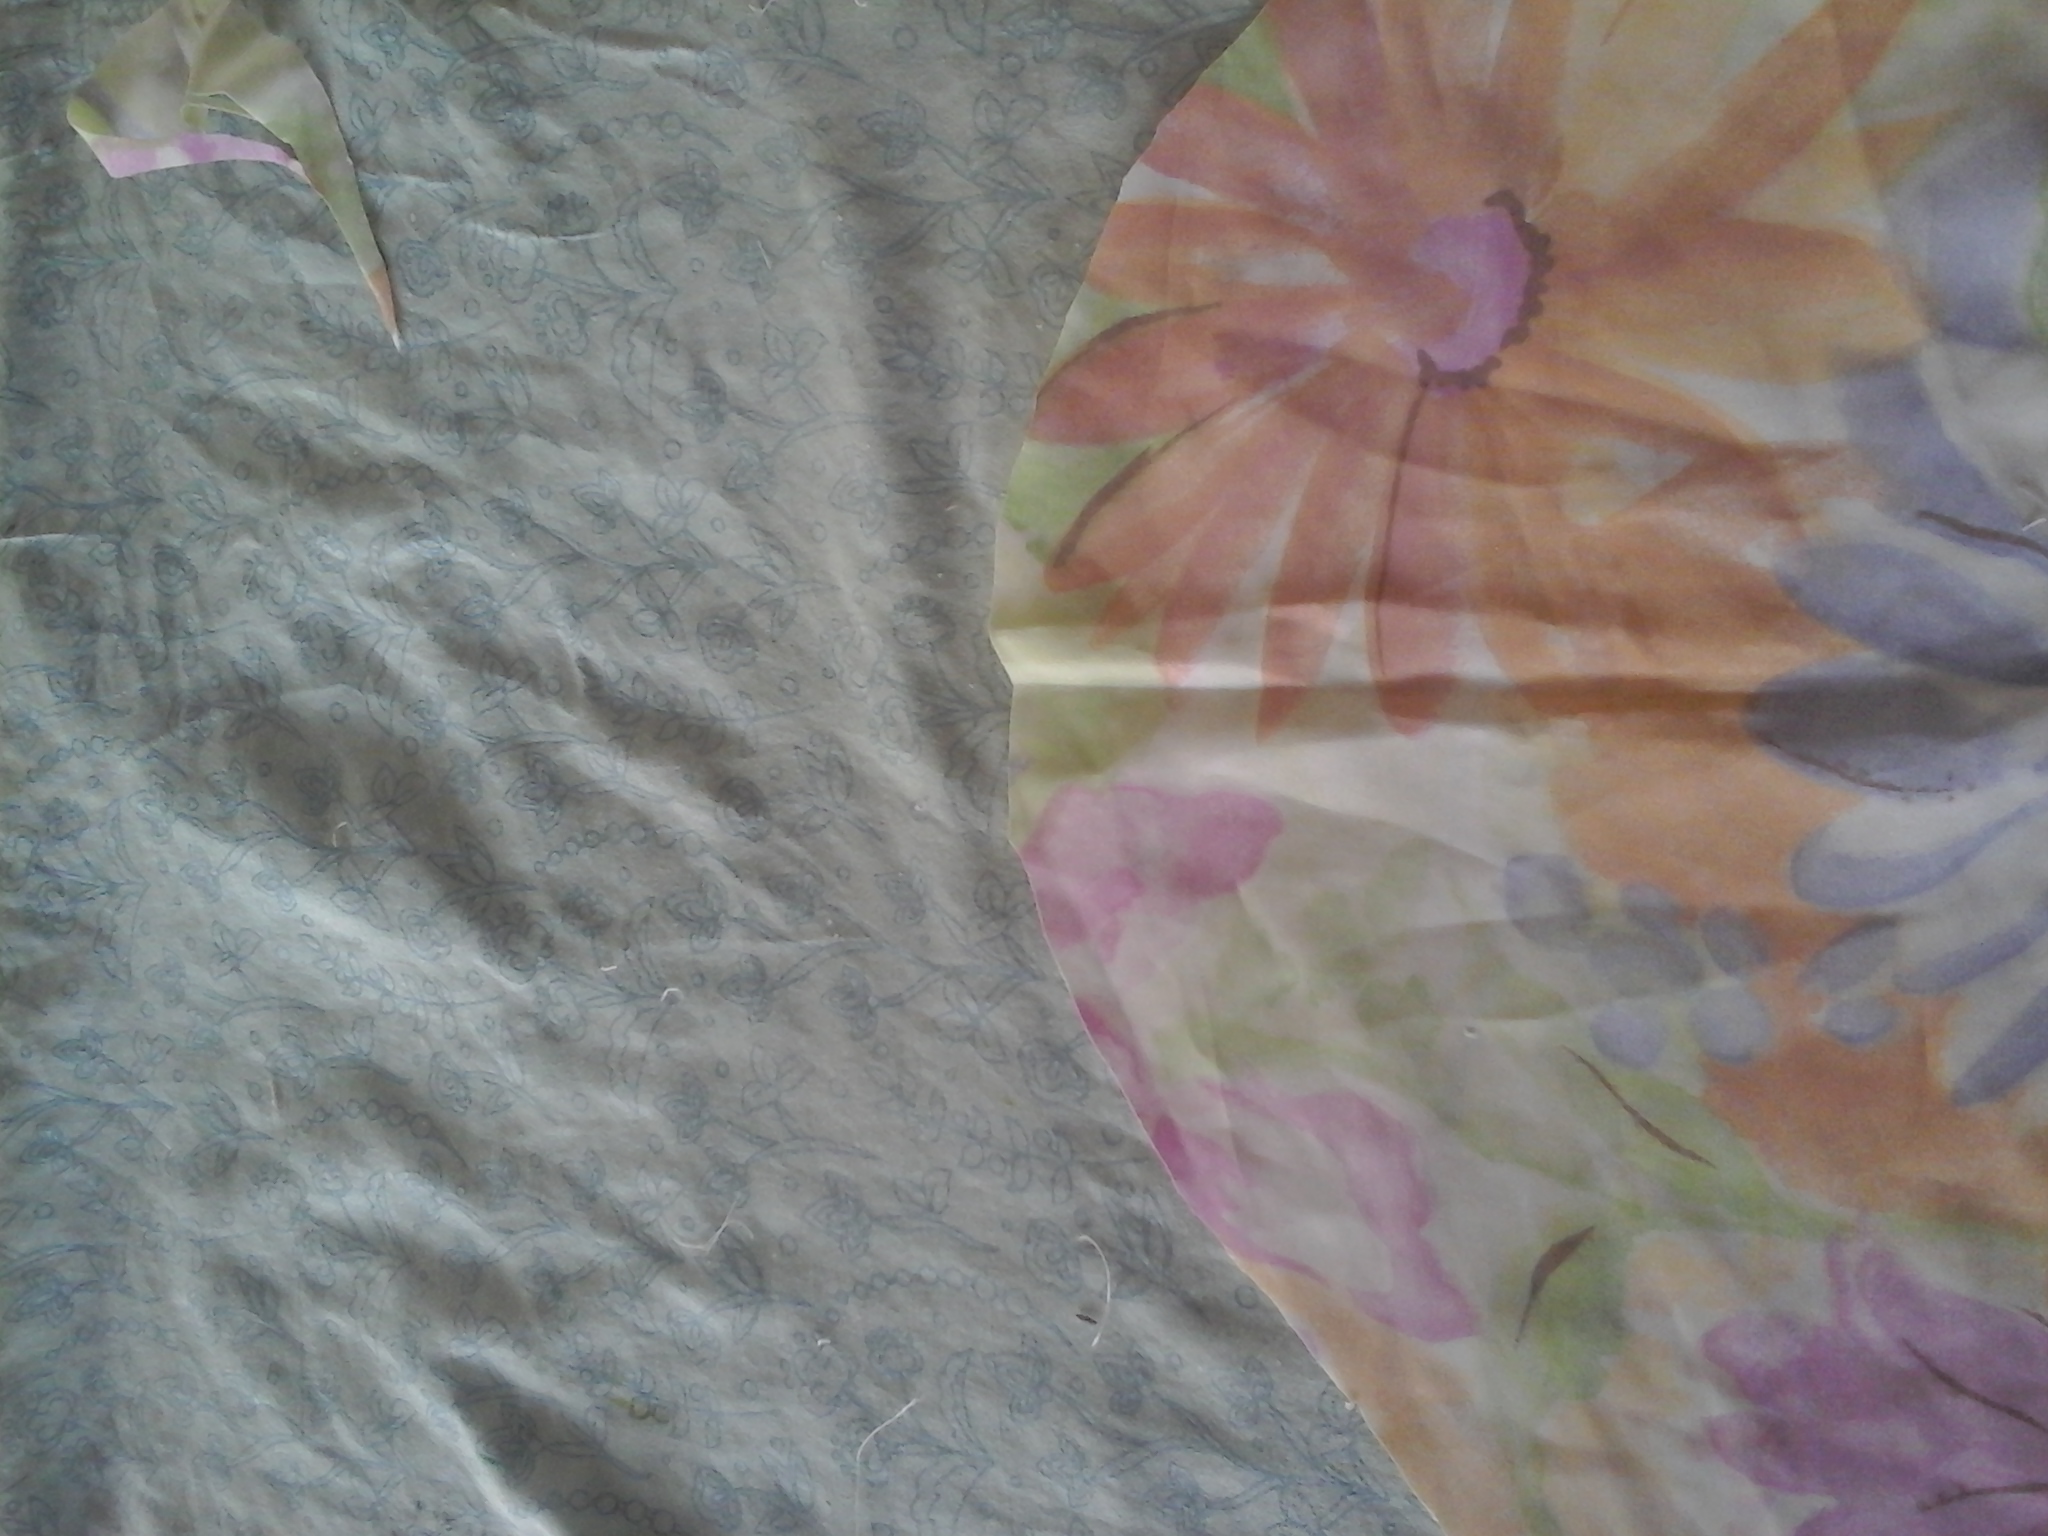
- Tela tipo dacron.
- Hilo y agujas.
- Elástico.
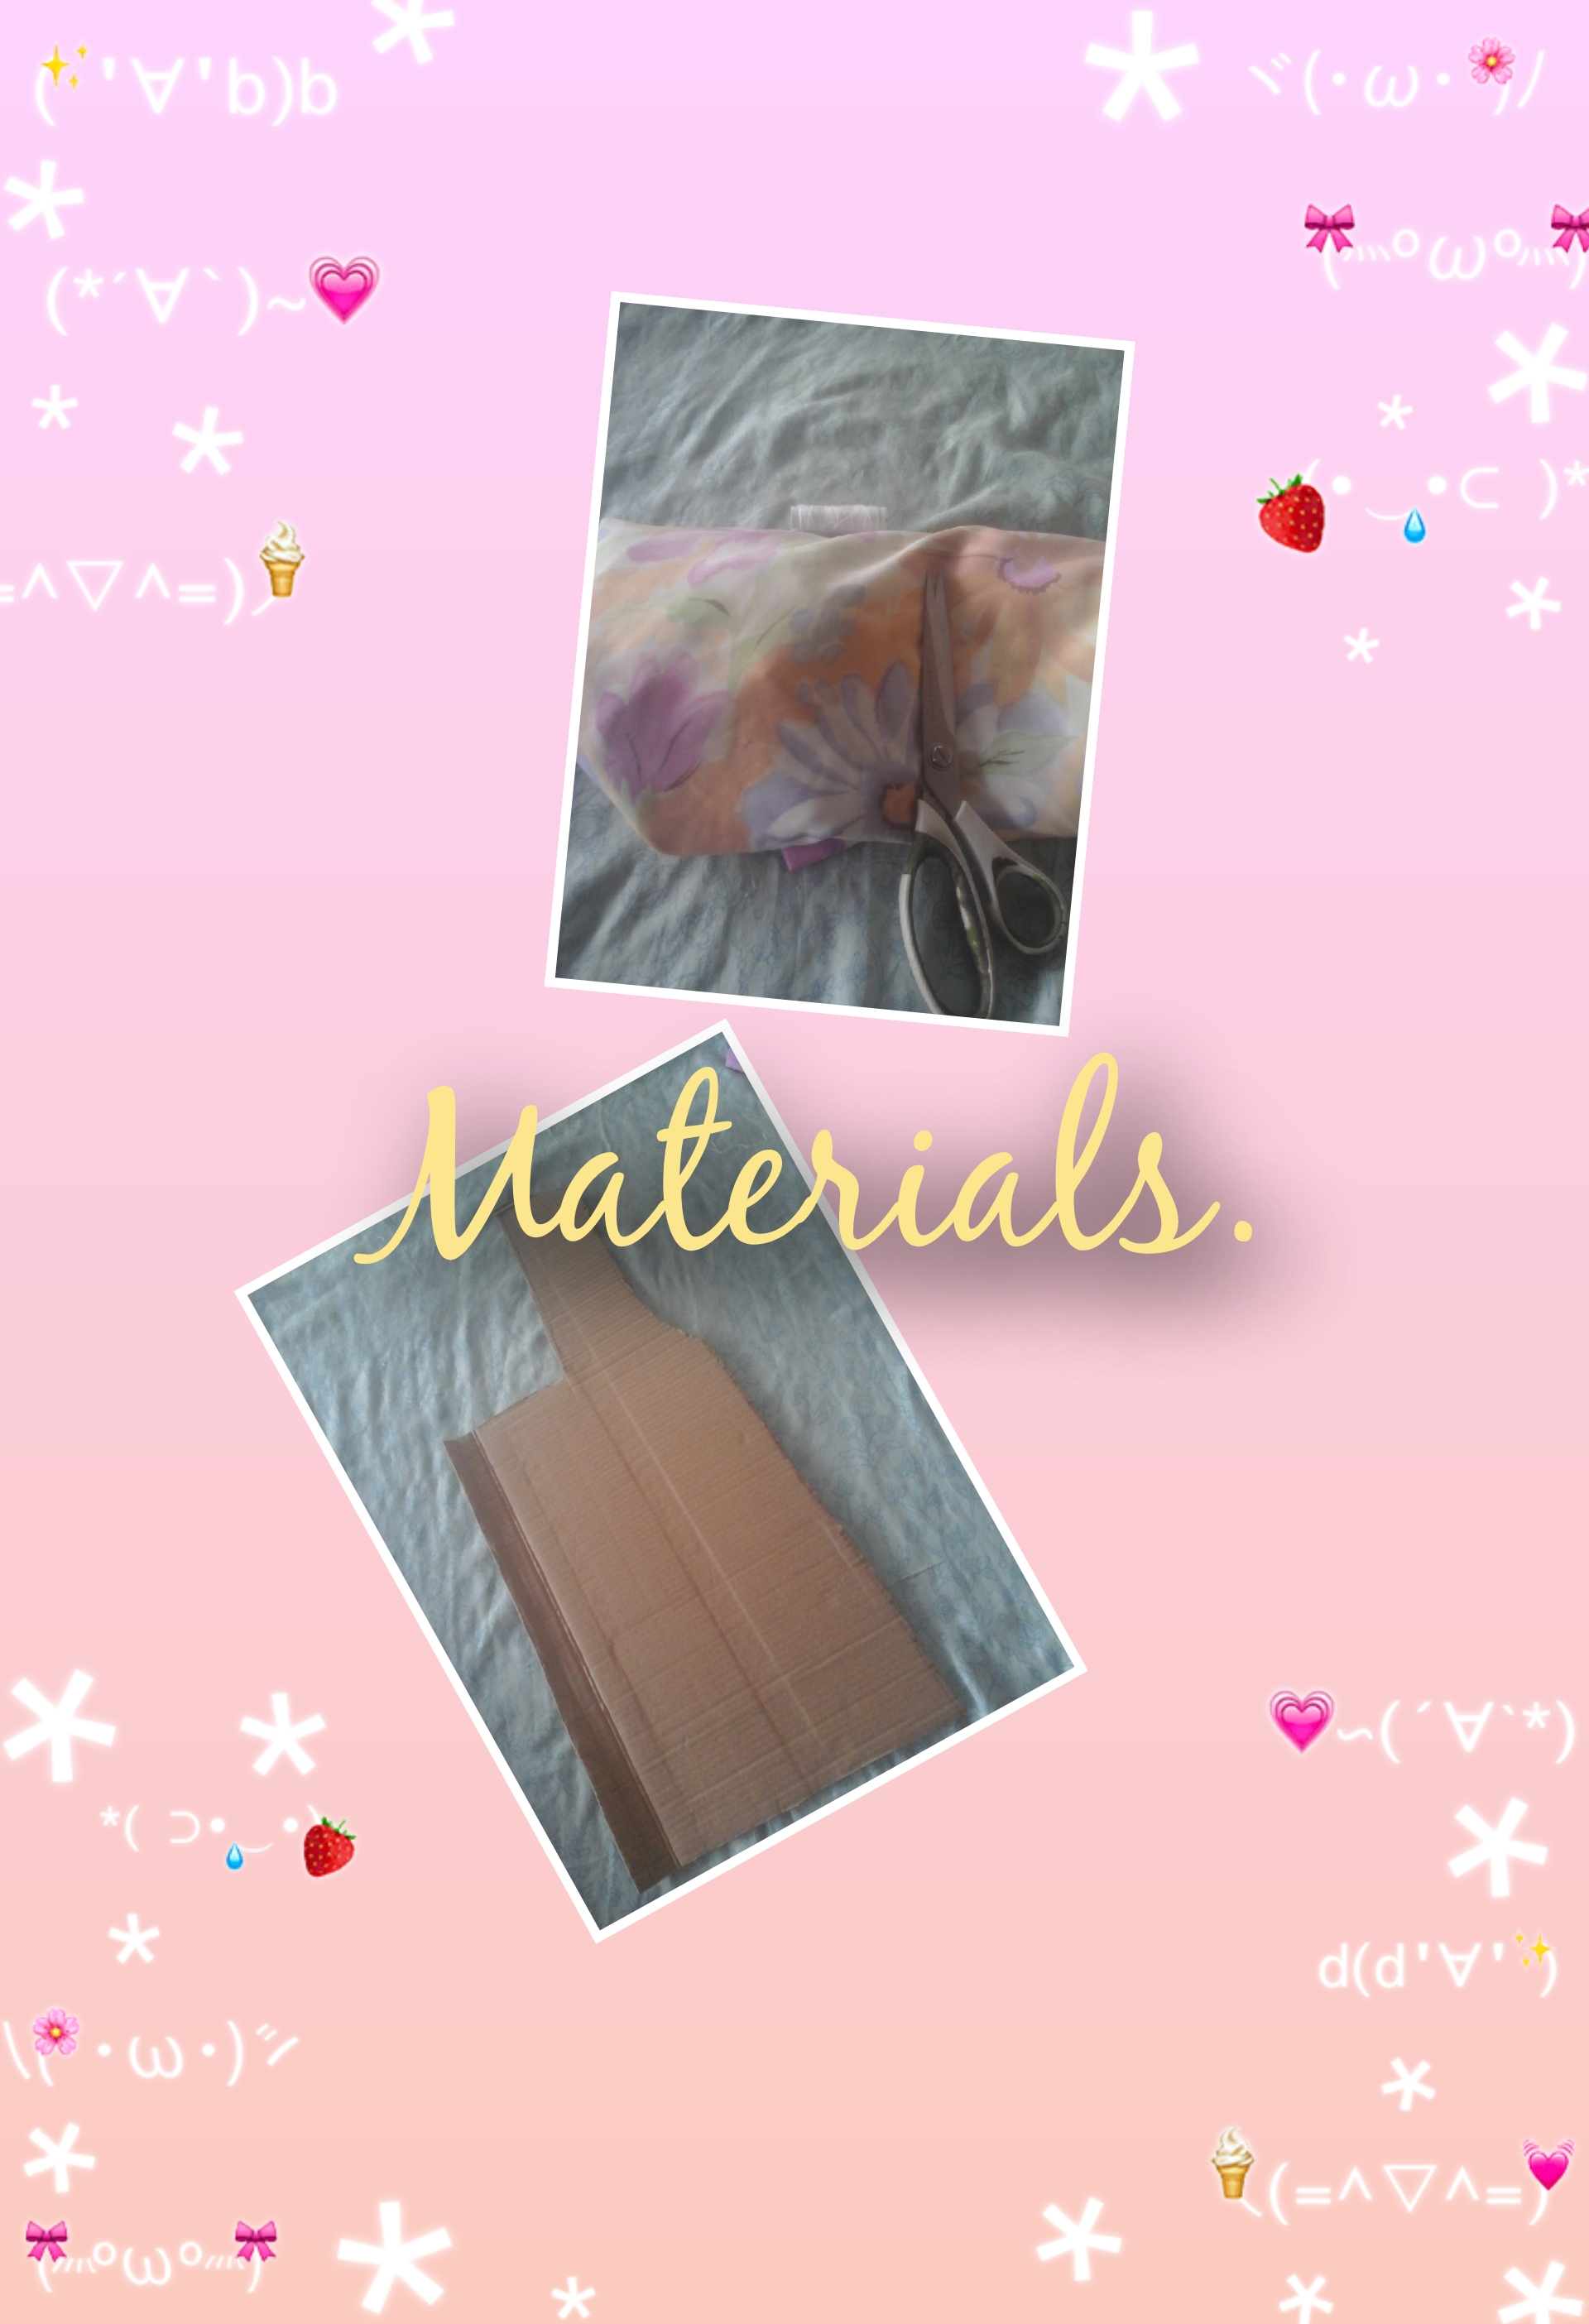
The materials I have used.
- Scissors.
- Patterns.
- Pencil and ruler.
- Dacron type fabric.
- Thread and needles.
- Elastic.
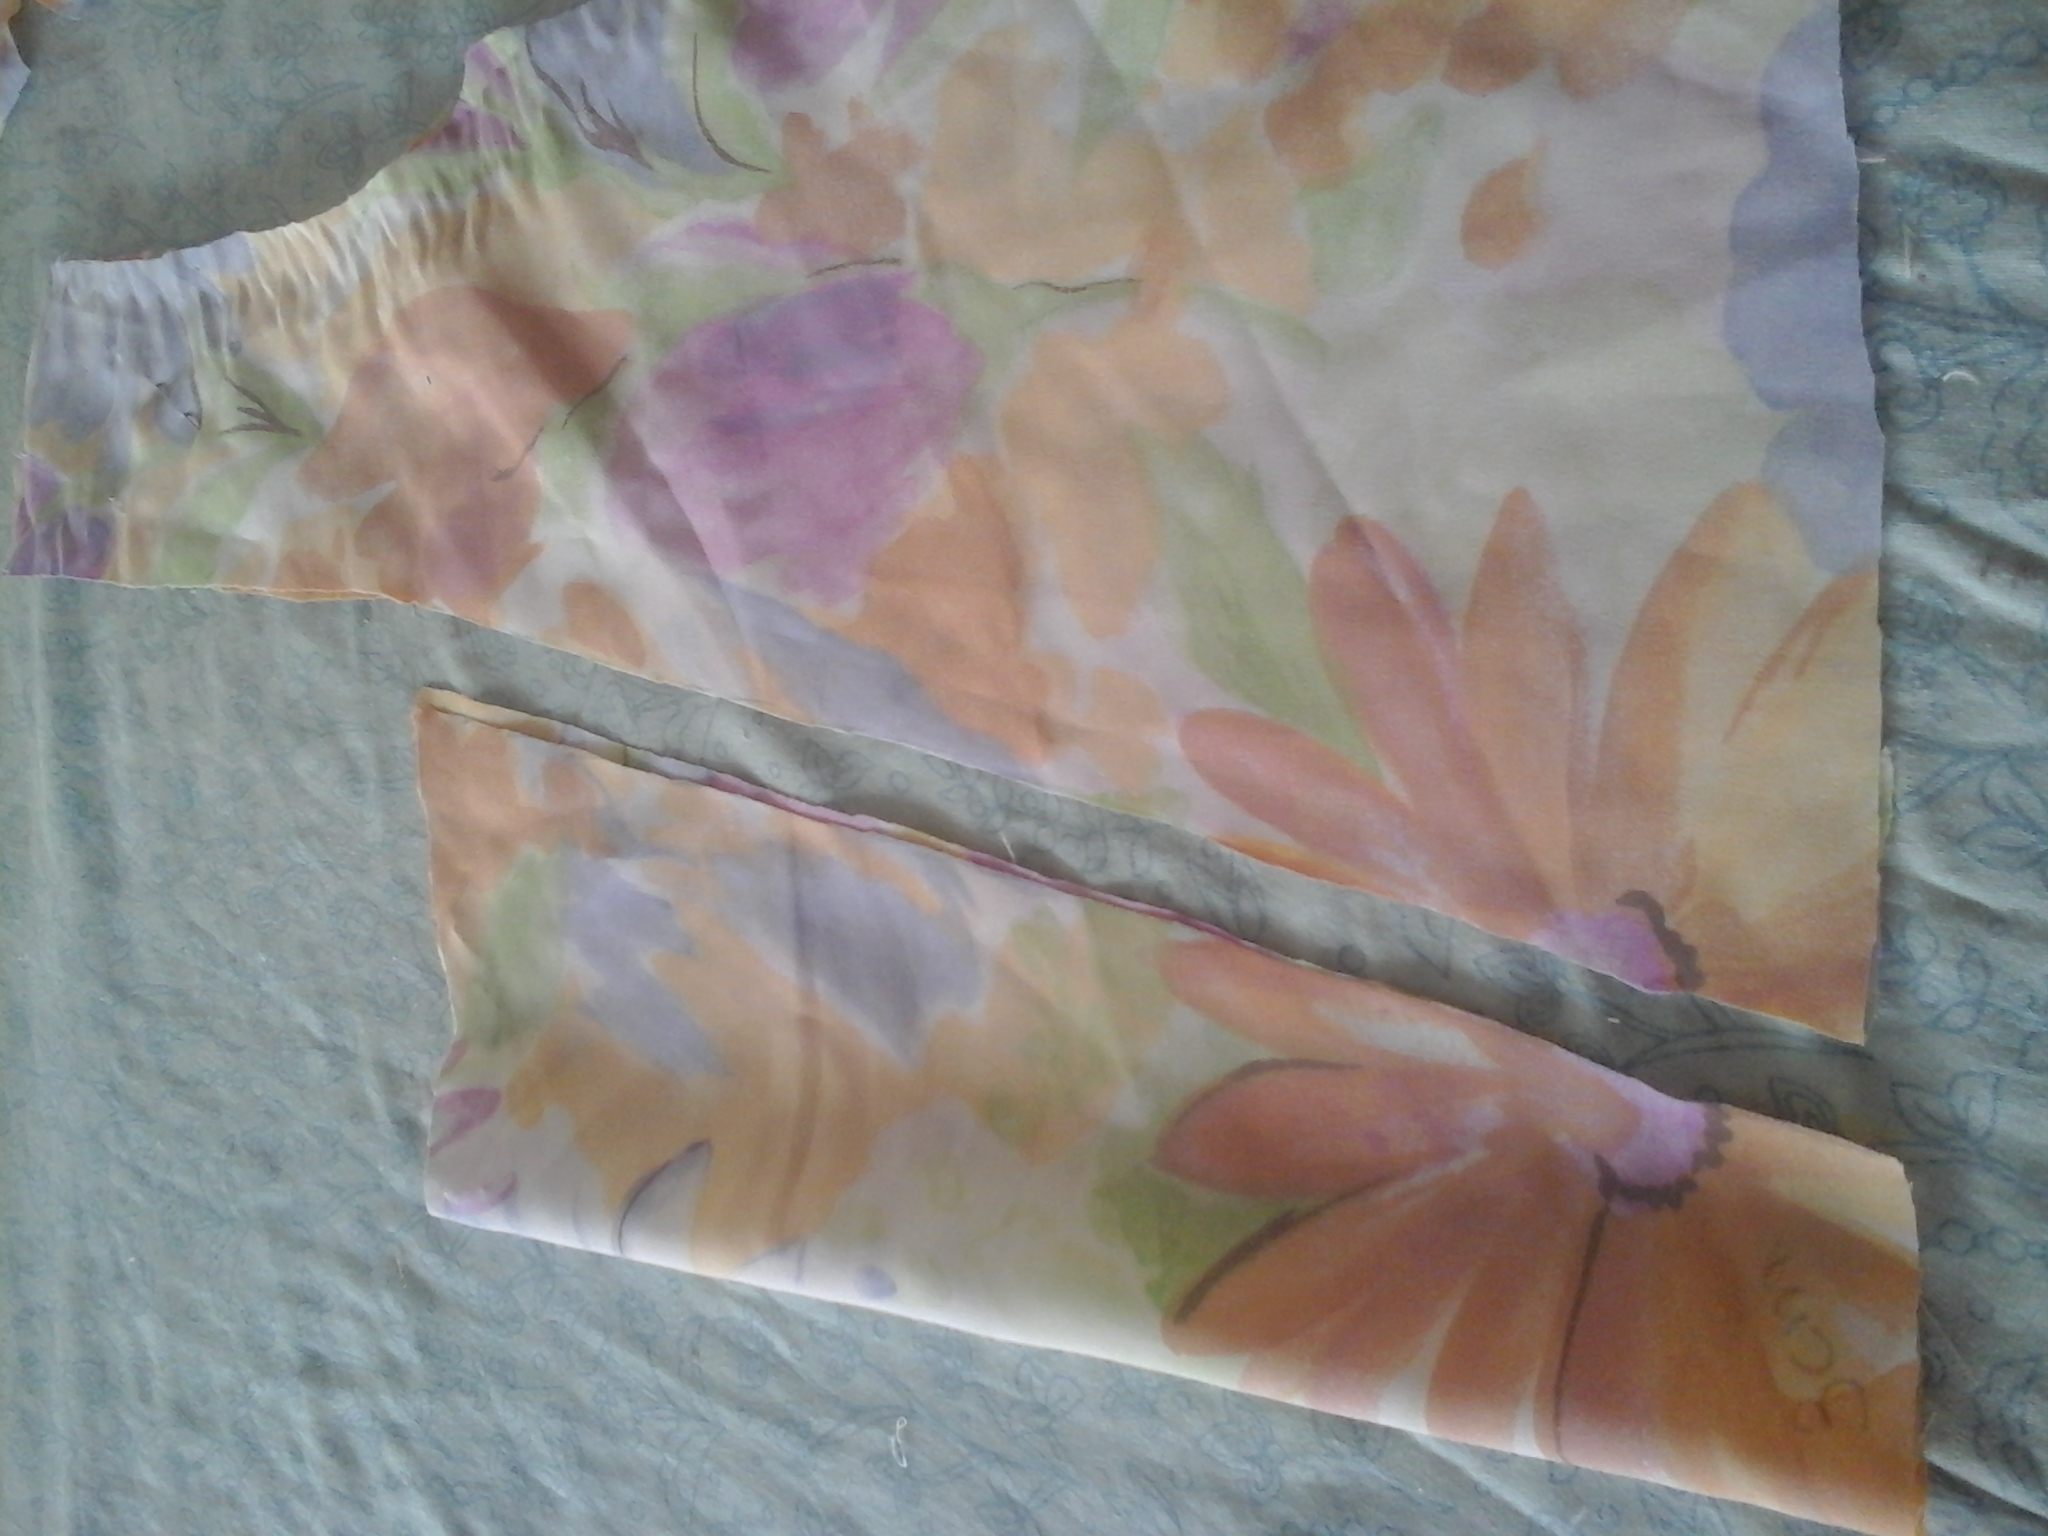
Paso 1.
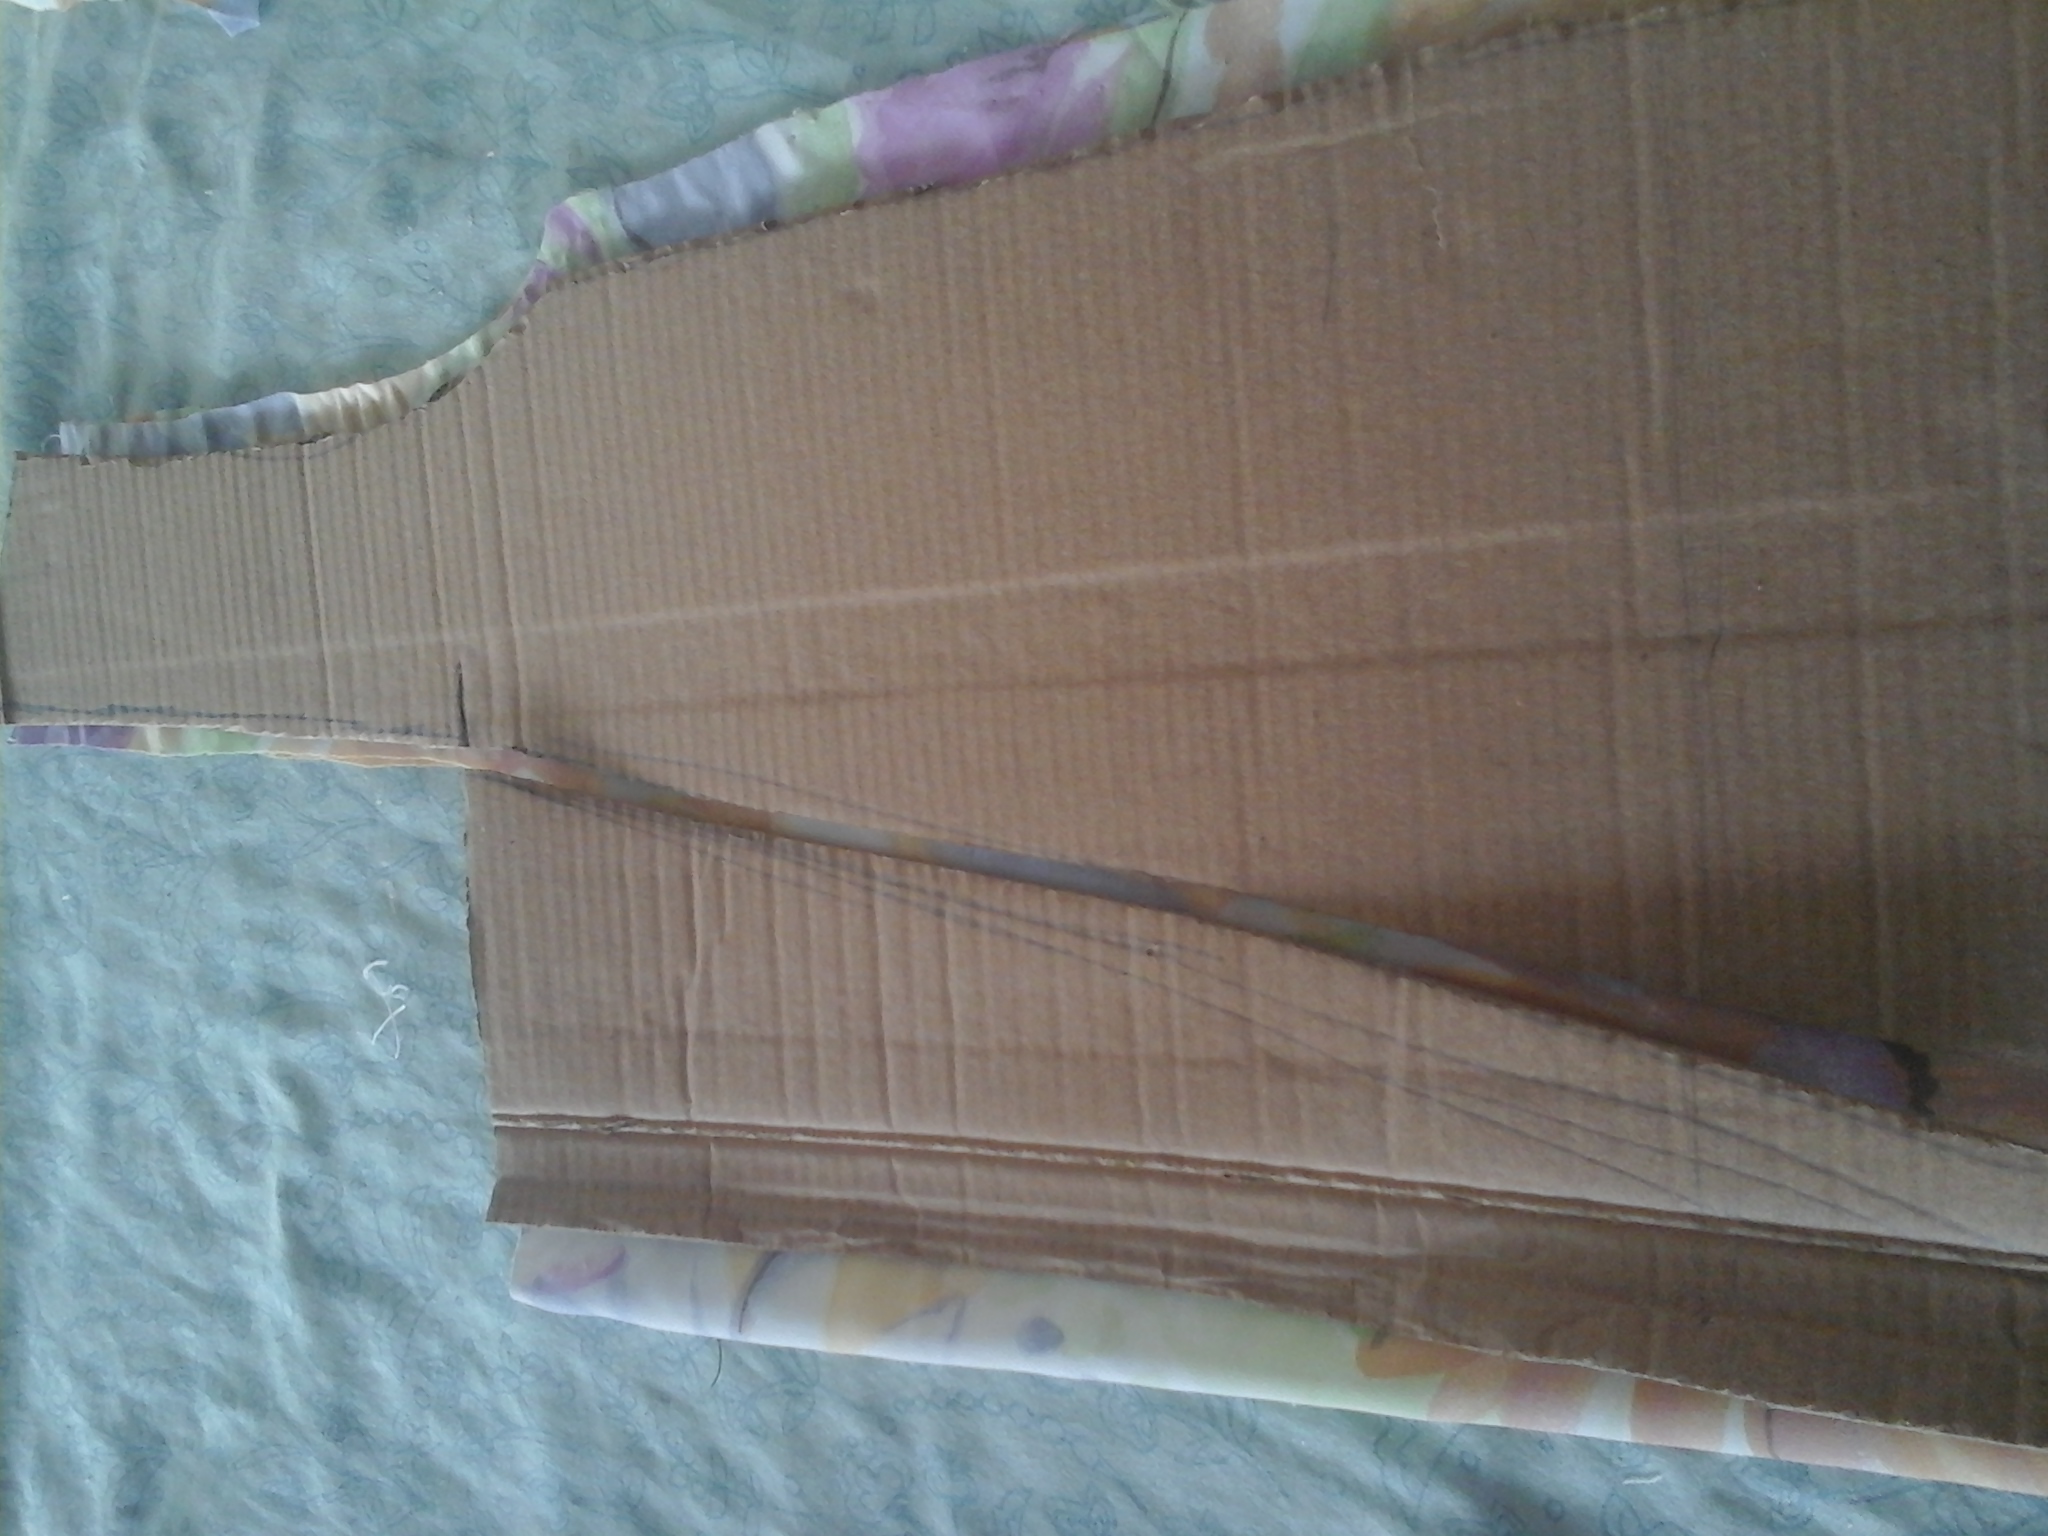
Step 1.
I took a piece of cardboard since I have many and made a pattern of a folded blouse, size 12. I placed said pattern on the folded fabric and marked along the outline , then cut out a couple. Continue making a diagonal cut on the cardboard leaving 3cm wide at the bottom, then we mark on the fabric and cut to obtain the shape of the pattern.
Paso 2.
Colocamos el patrón sobre cada pieza y marcamos siguiendo la forma del patrón. Hacemos este corte en la parte delantera y espalda.
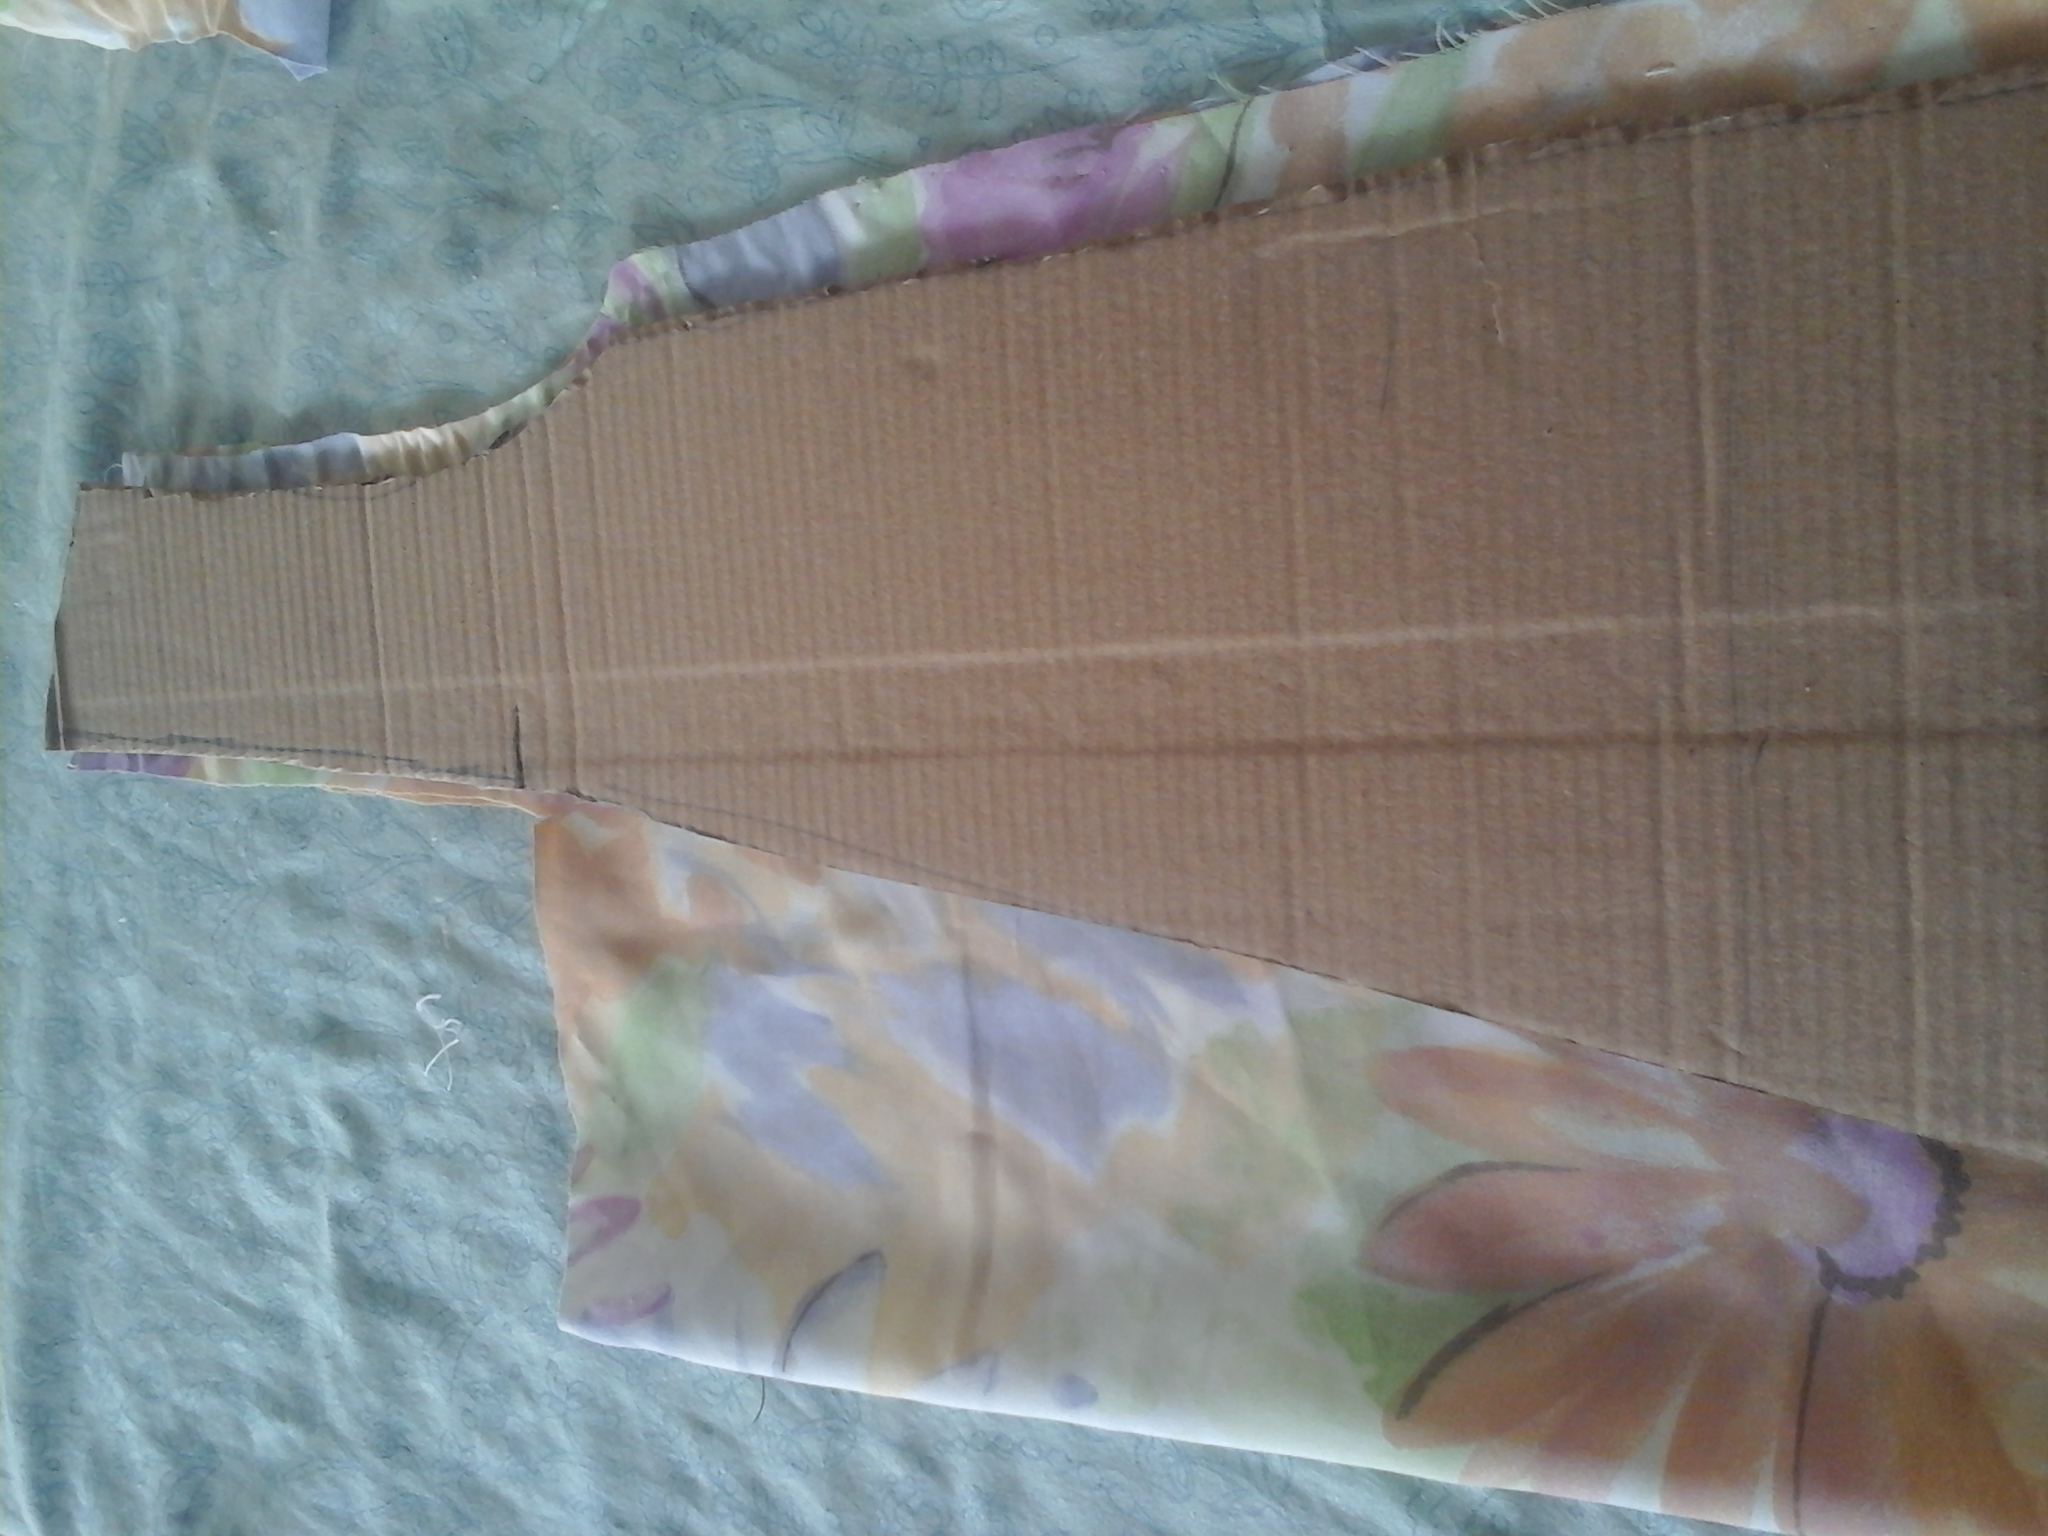
Step 2.
We place the pattern on each piece and mark following the shape of the pattern. We make this cut in the front and back.
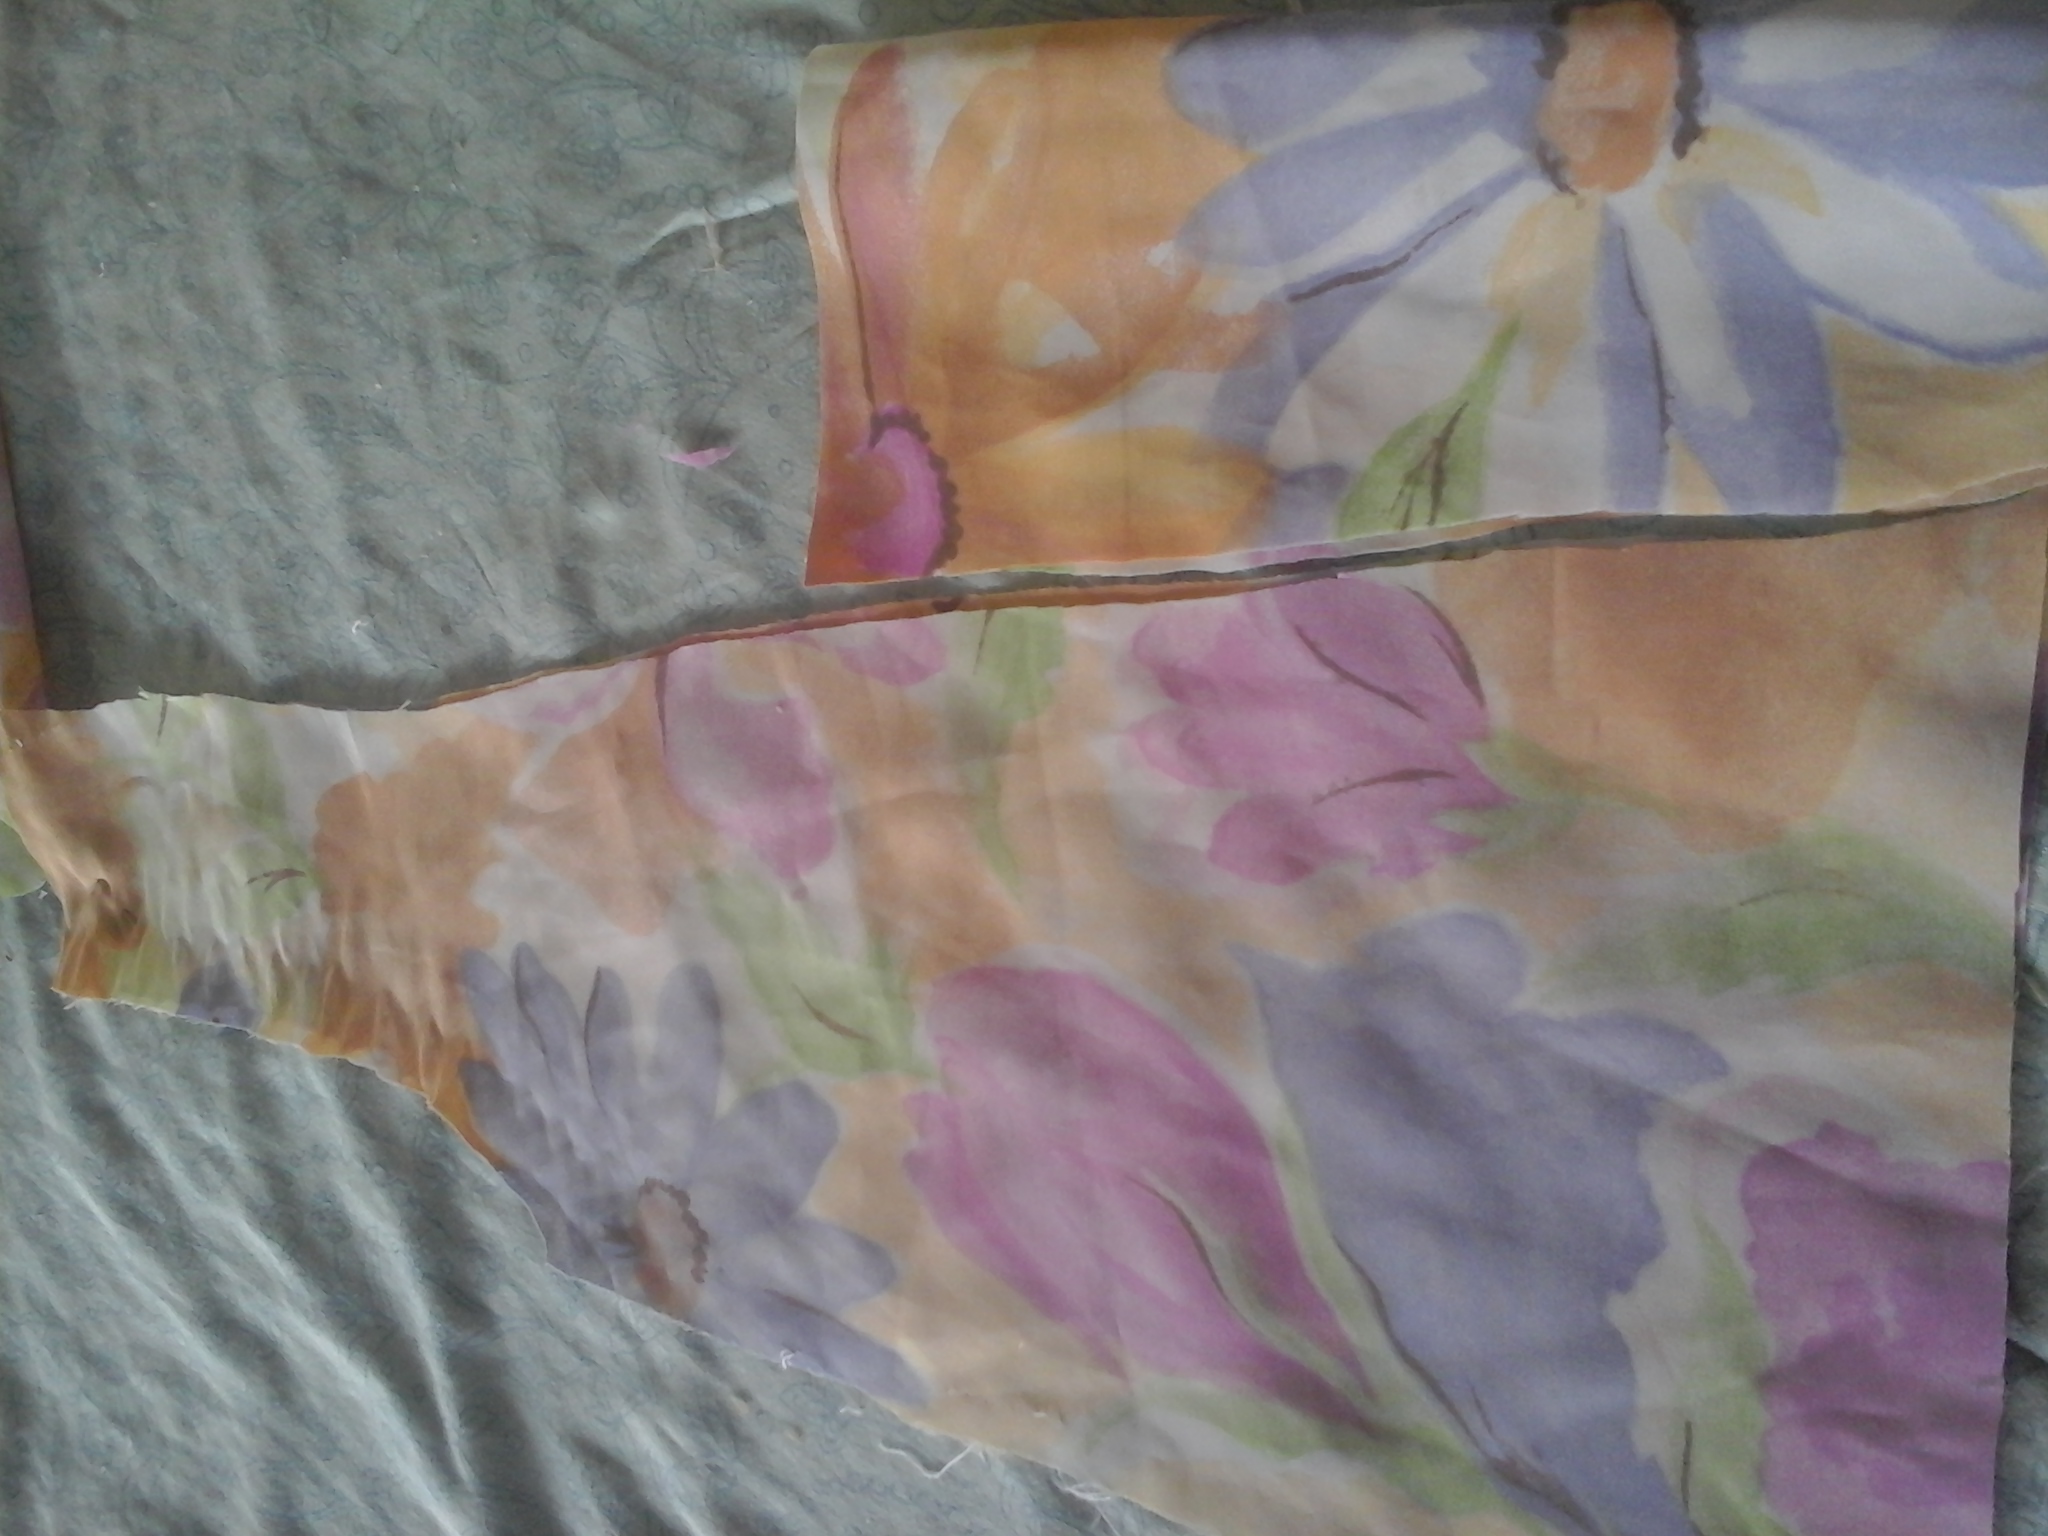
Paso 3.
Observen como el corte de la parte delantera la cual es mas alta, una vez que hemos obtenido el corte deseado ptocedemos a coser.
Step 3.
Observe how the cut of the front part is higher, once we have obtained the desired cut we begin to sew.
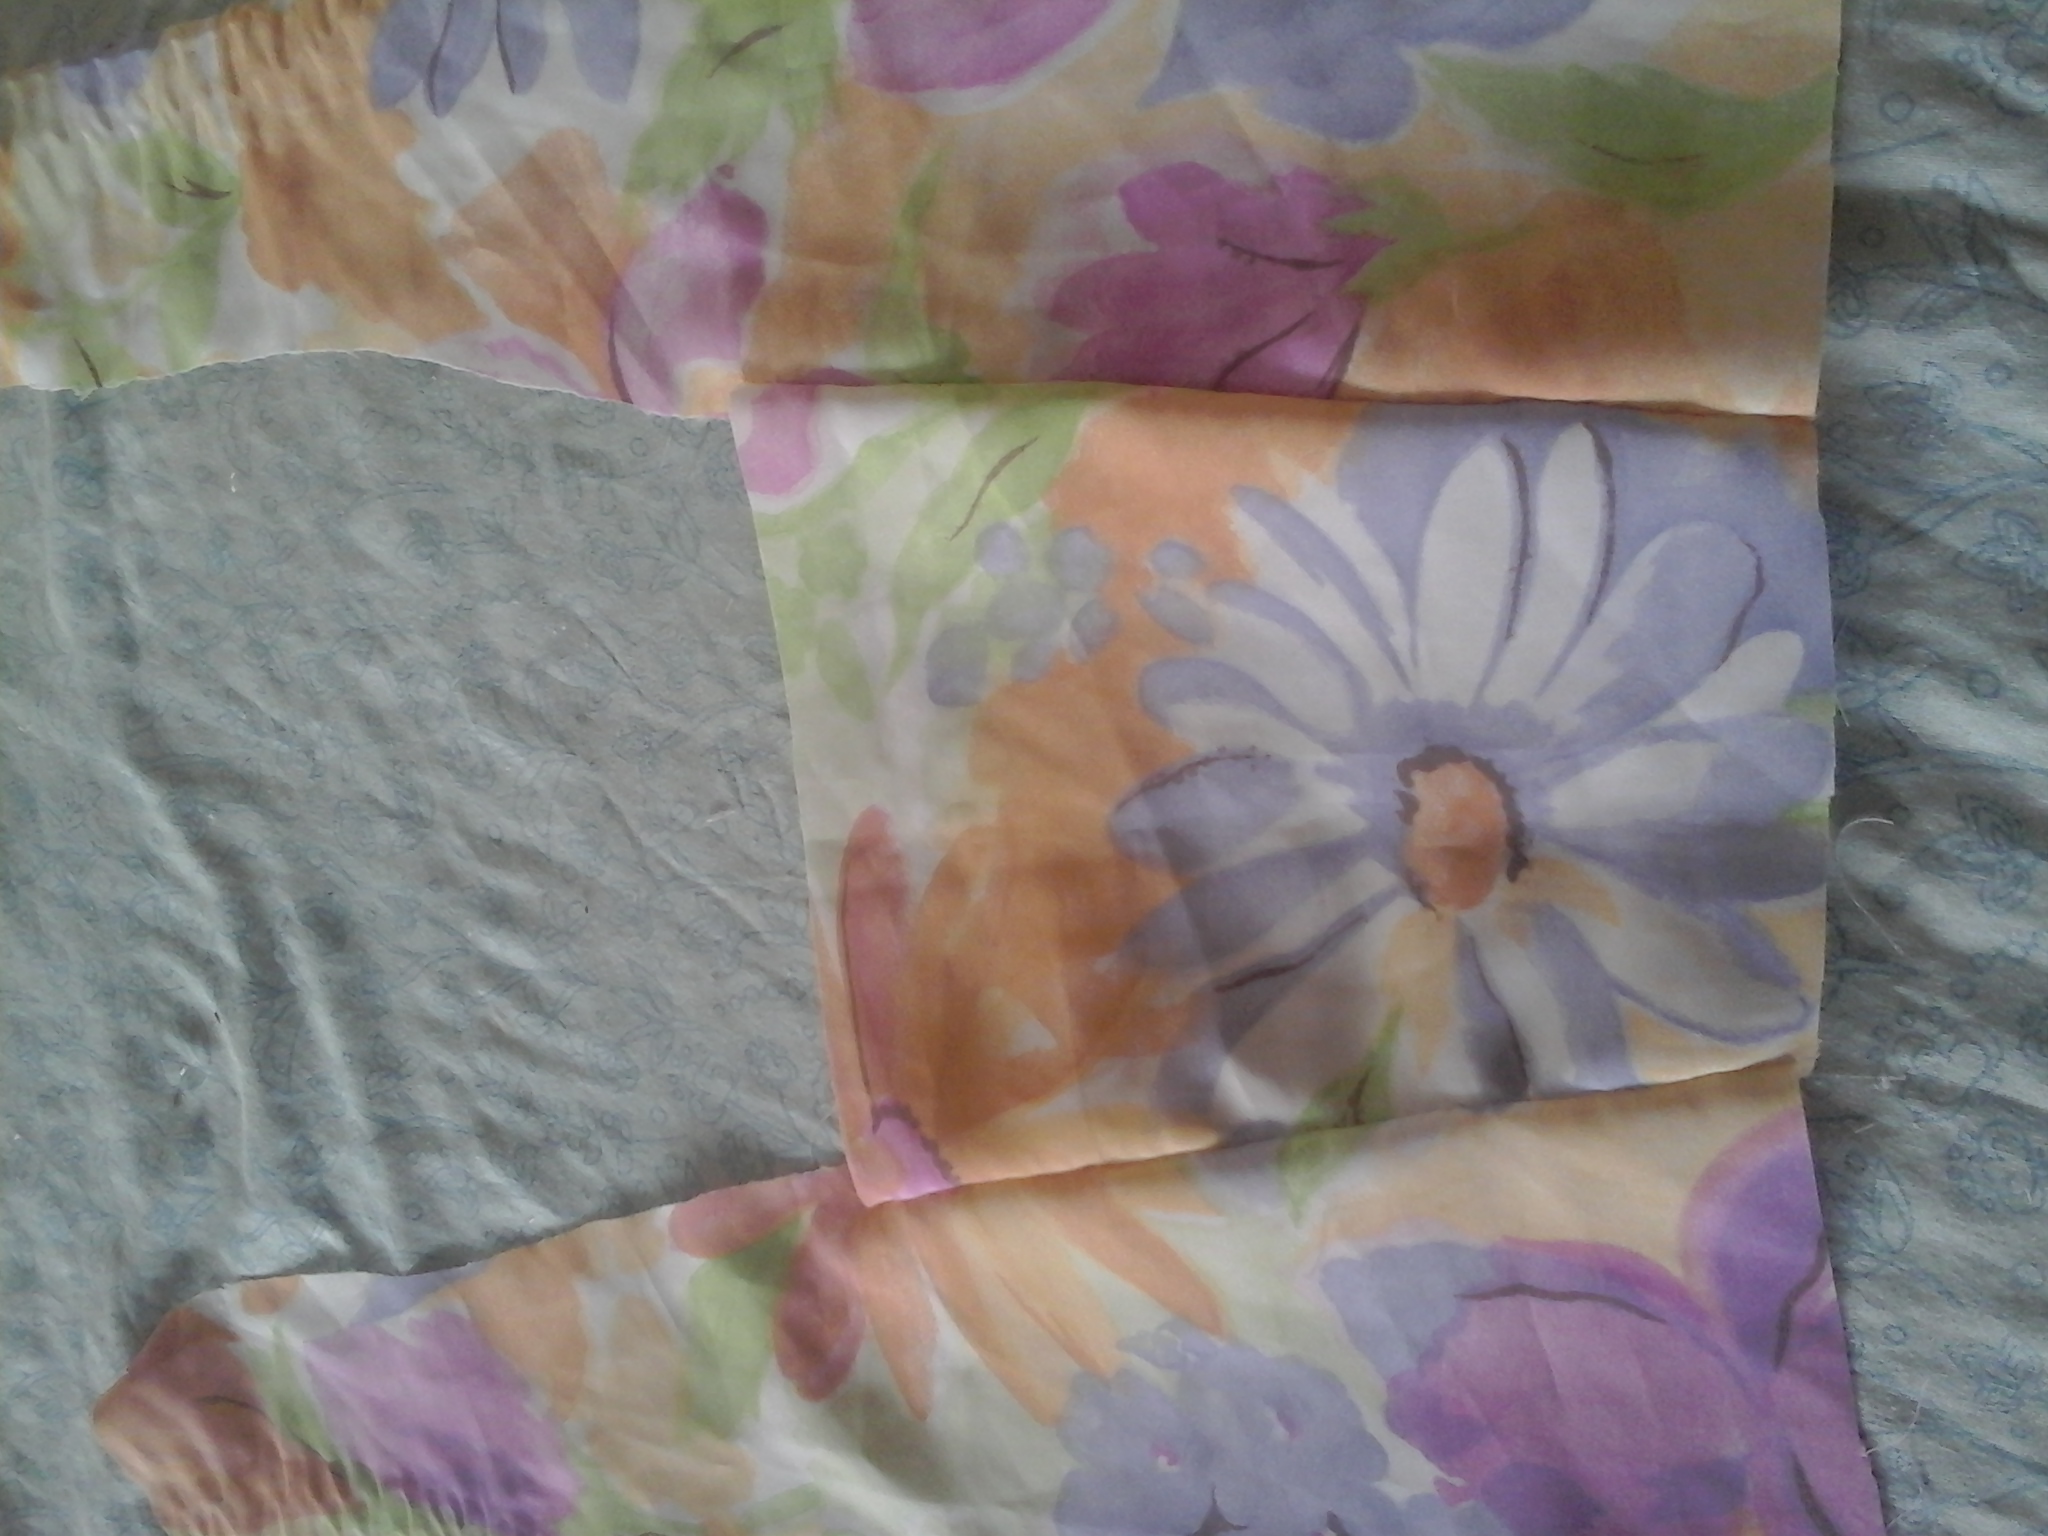
Paso 4.
Step 4.
Like this, I have also made this cut in the back as I told you before, only that we lower the center piece about 4cm so that it has the neckline that we want and we sew joining the pieces.
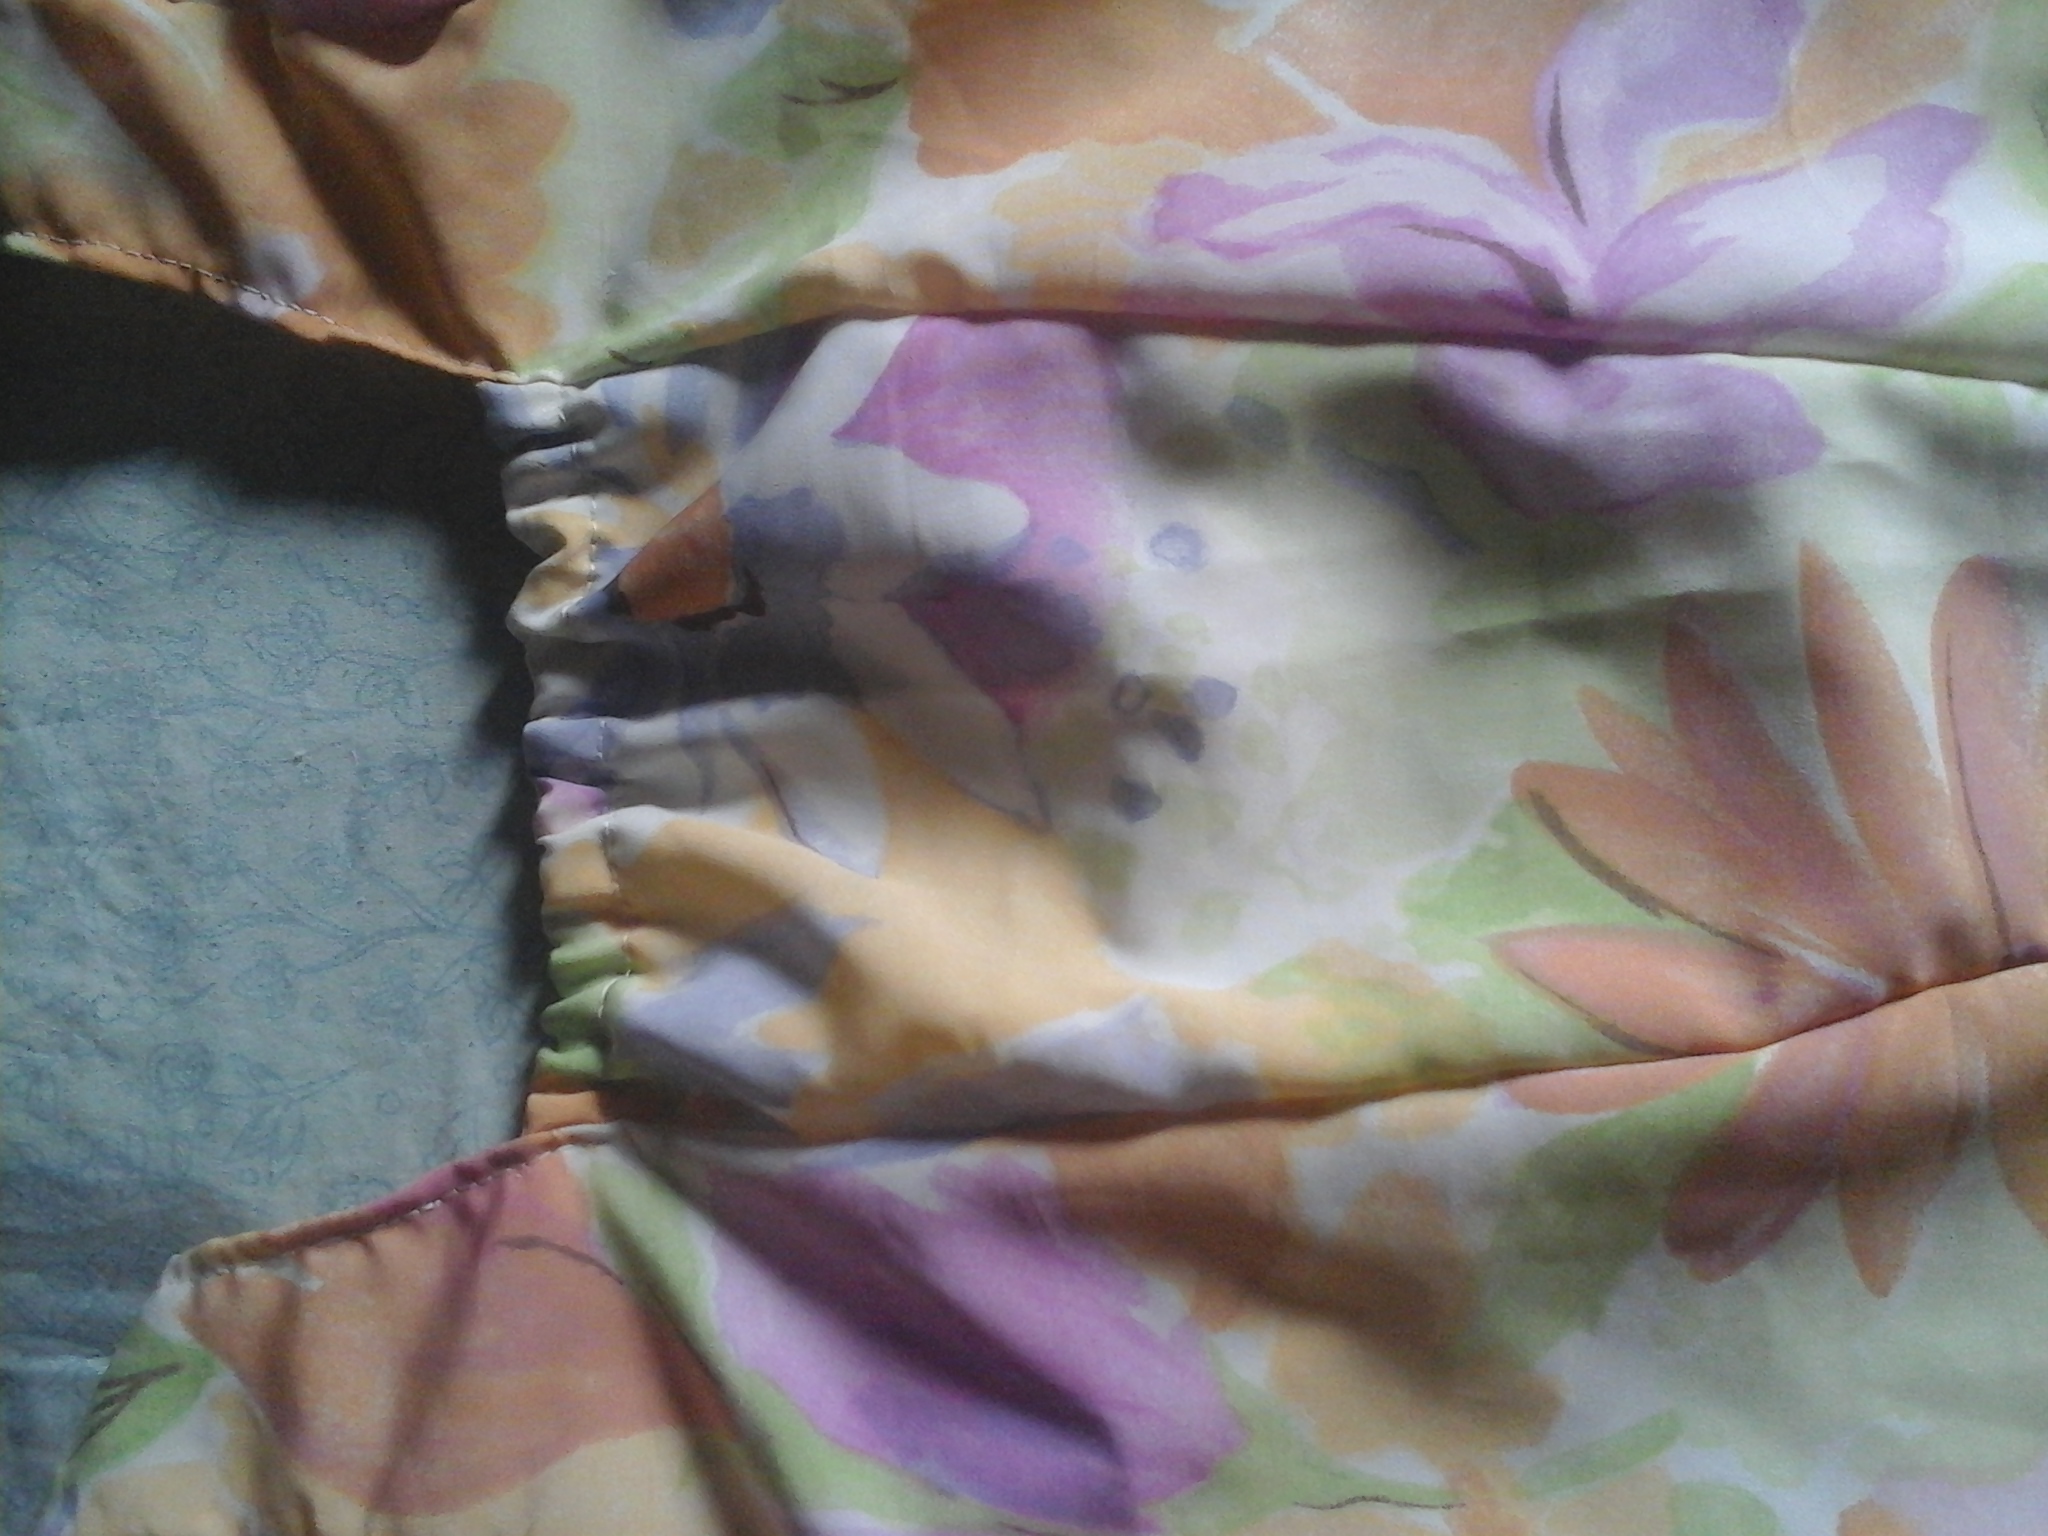
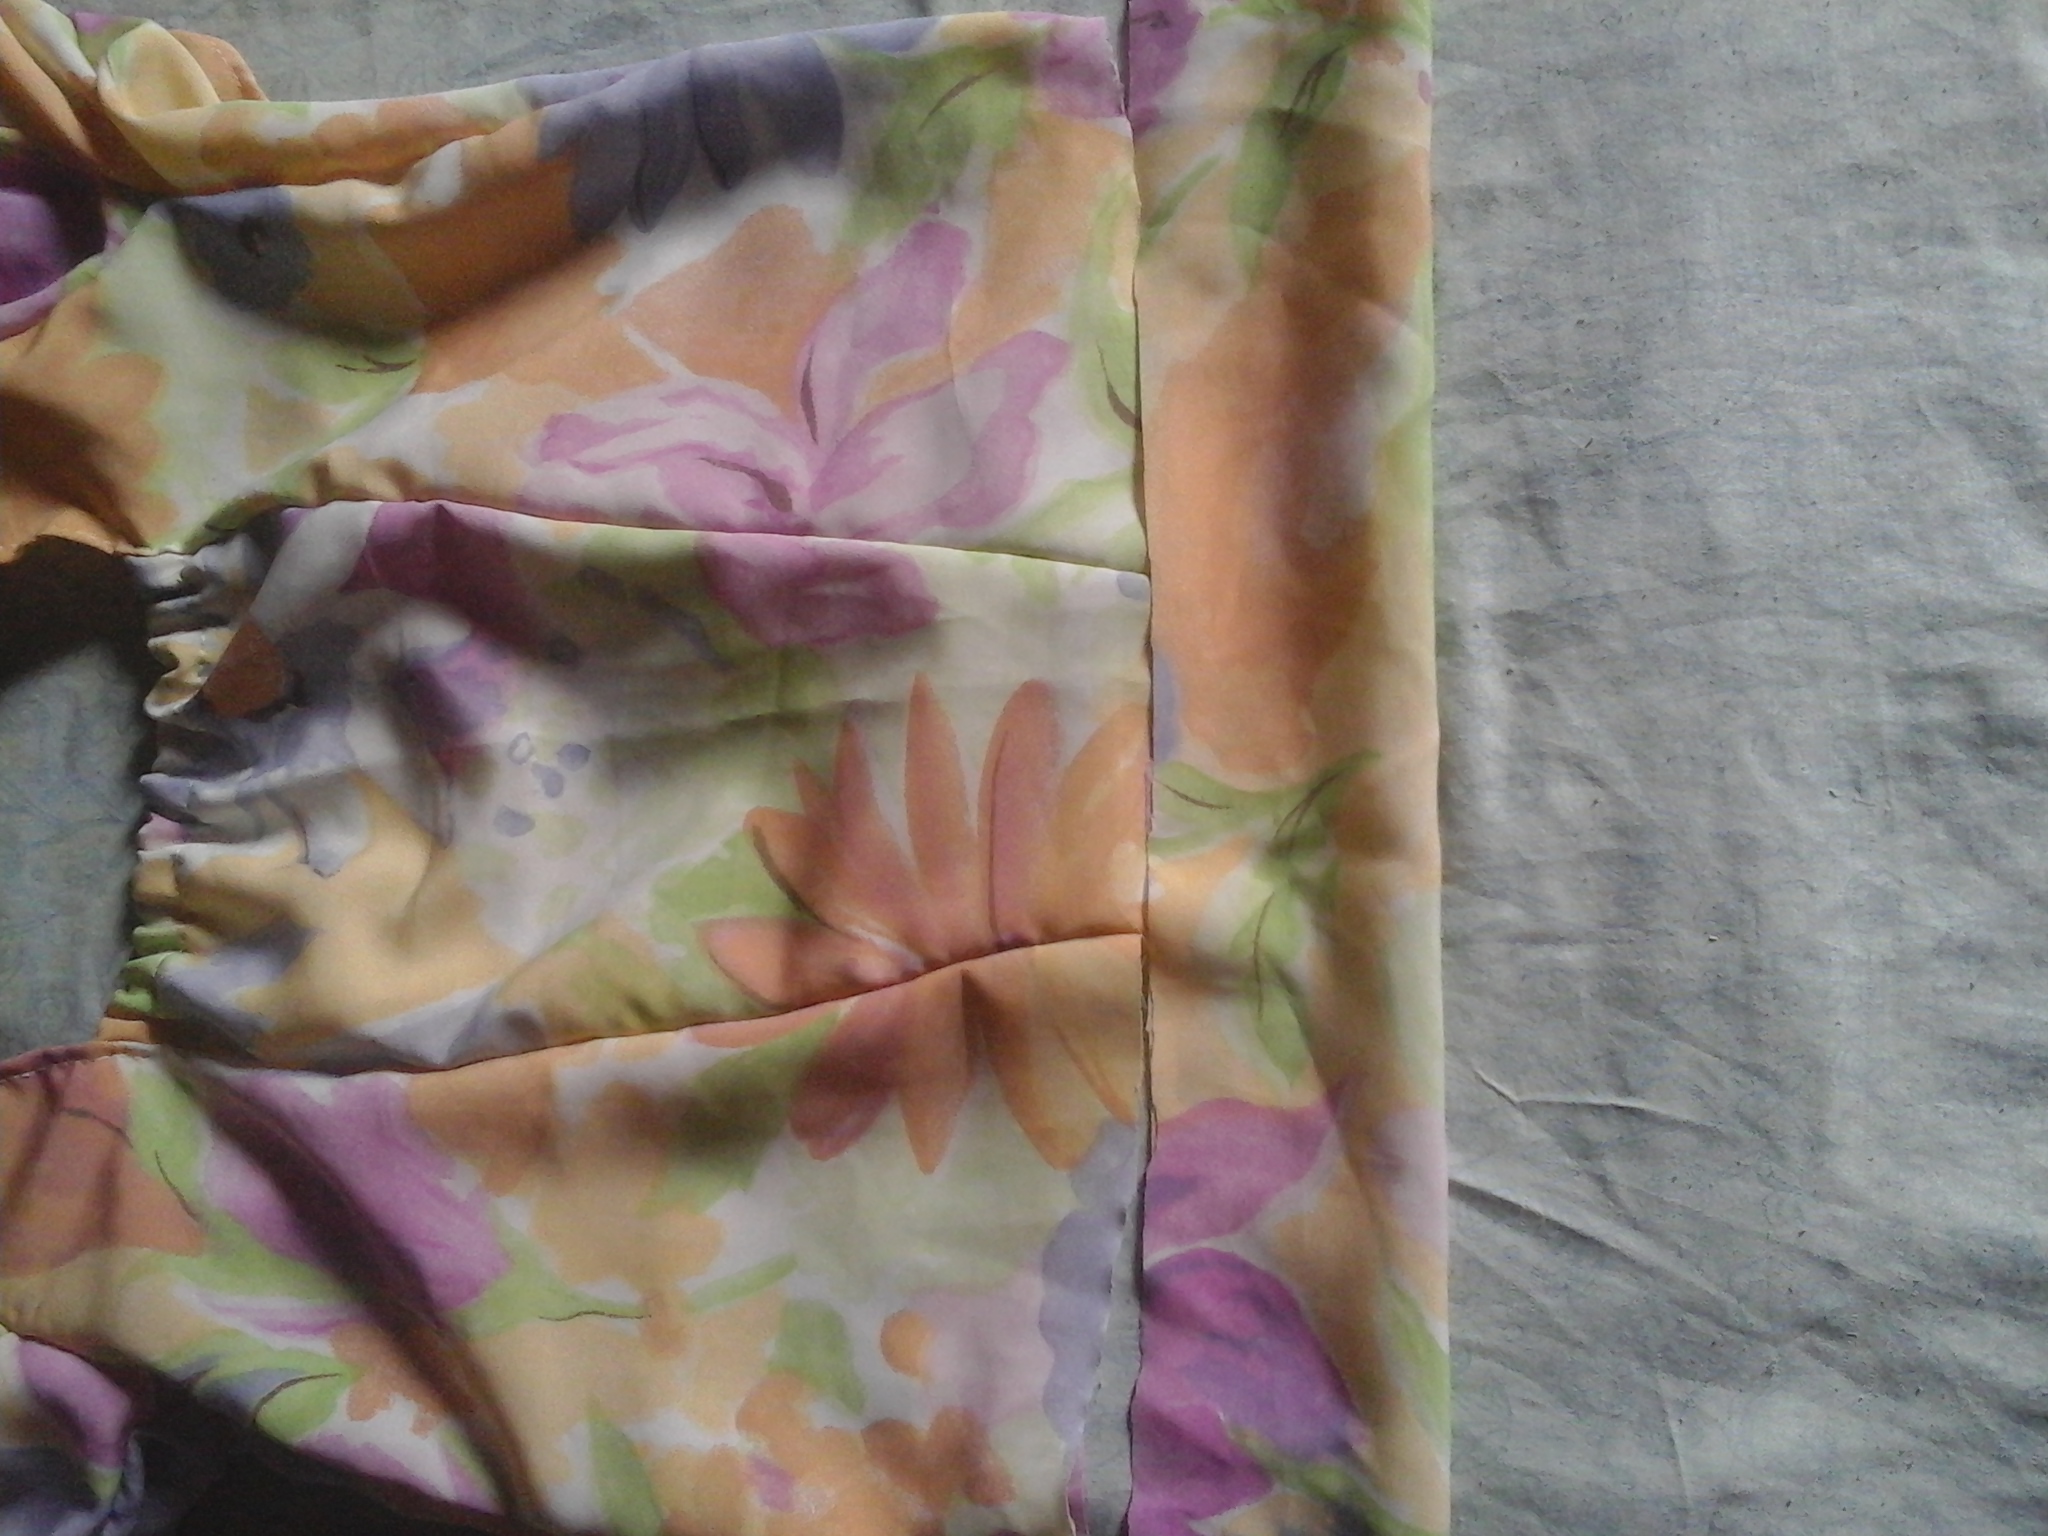
Paso 5.
Step 5.
I have already finished joining each piece, the front and back, now we sew the hem of the bust part and place elastic.
Paso 6.
Recortamos un par de mangas bastante anchas para que queden con volumen.
Step 6.
We cut out a pair of fairly wide sleeves so that they have volume.
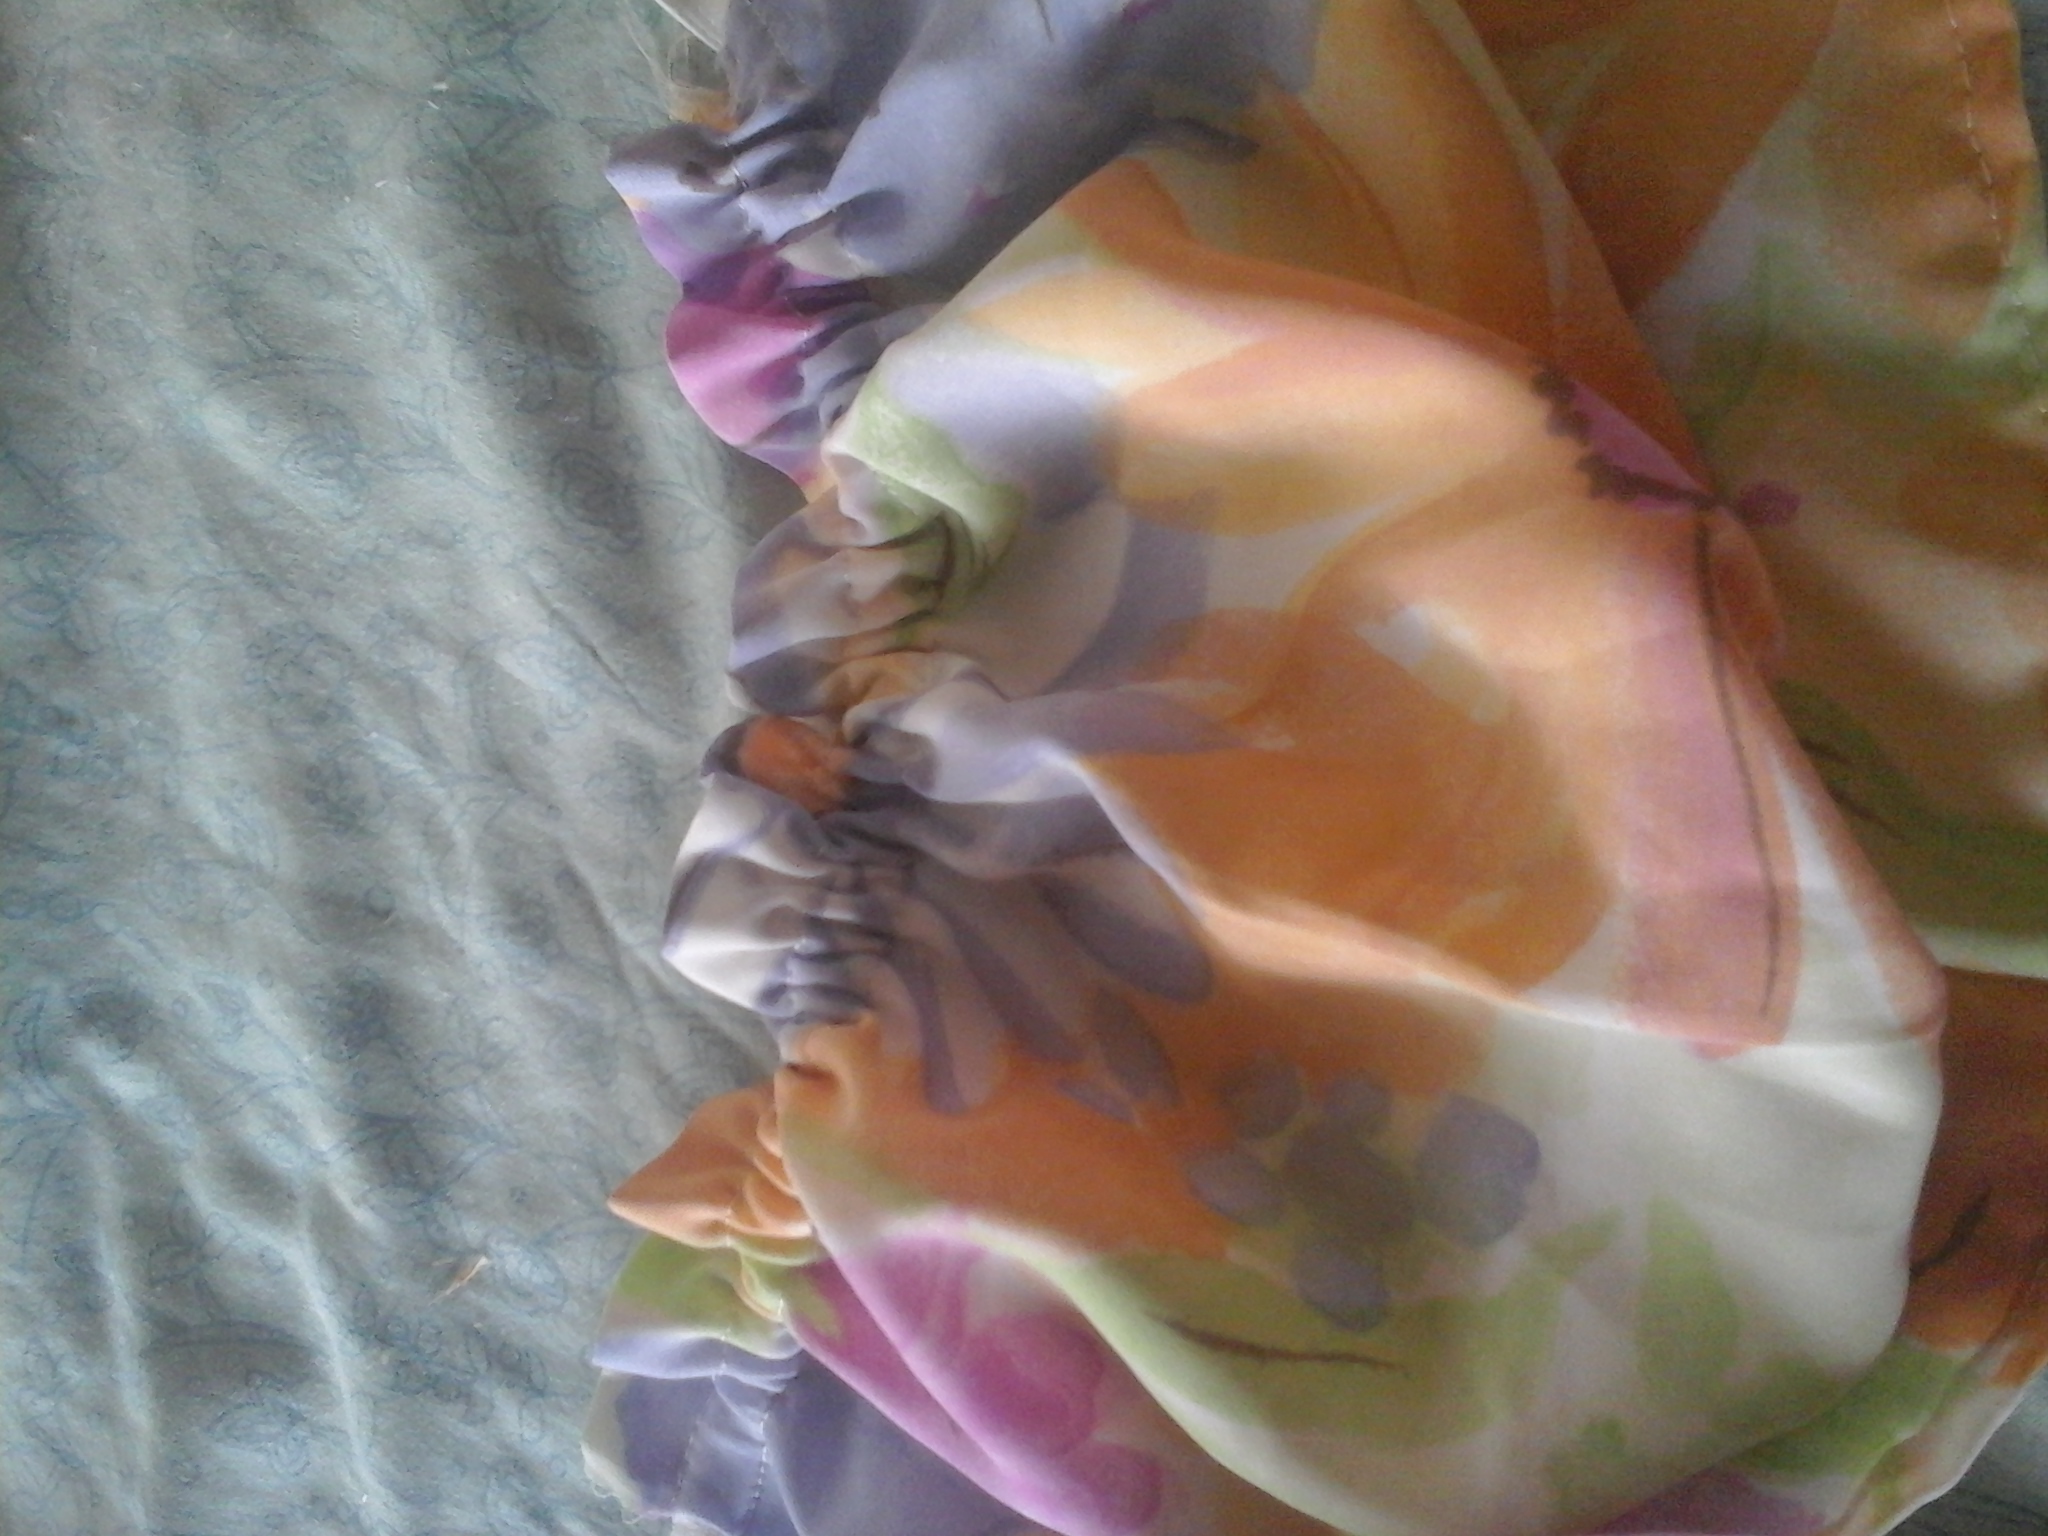
Paso 7.
Cosemos el dobladillo y colocamos elástico para que se recoja y adapte al brazo.
Step 7.
We sew the hem and place elastic so that it gathers and adapts to the arm.
Paso 8.
Step 8.
We join the front and back and sew along the shoulders, before sewing the sleeves we gather with a loose seam to give it that volume that I am looking for in my blouse and finally the One is sewn to the blouse and we finish sewing on the sides.
Paso 9.
Casi para terminar recortamos una tira para coserla en la parte inferior esta mide 5cm x 25cm de longitud.
Step 9.
Almost to finish we cut a strip to sew at the bottom, this measures 5cm x 25cm in length.
Paso 10.
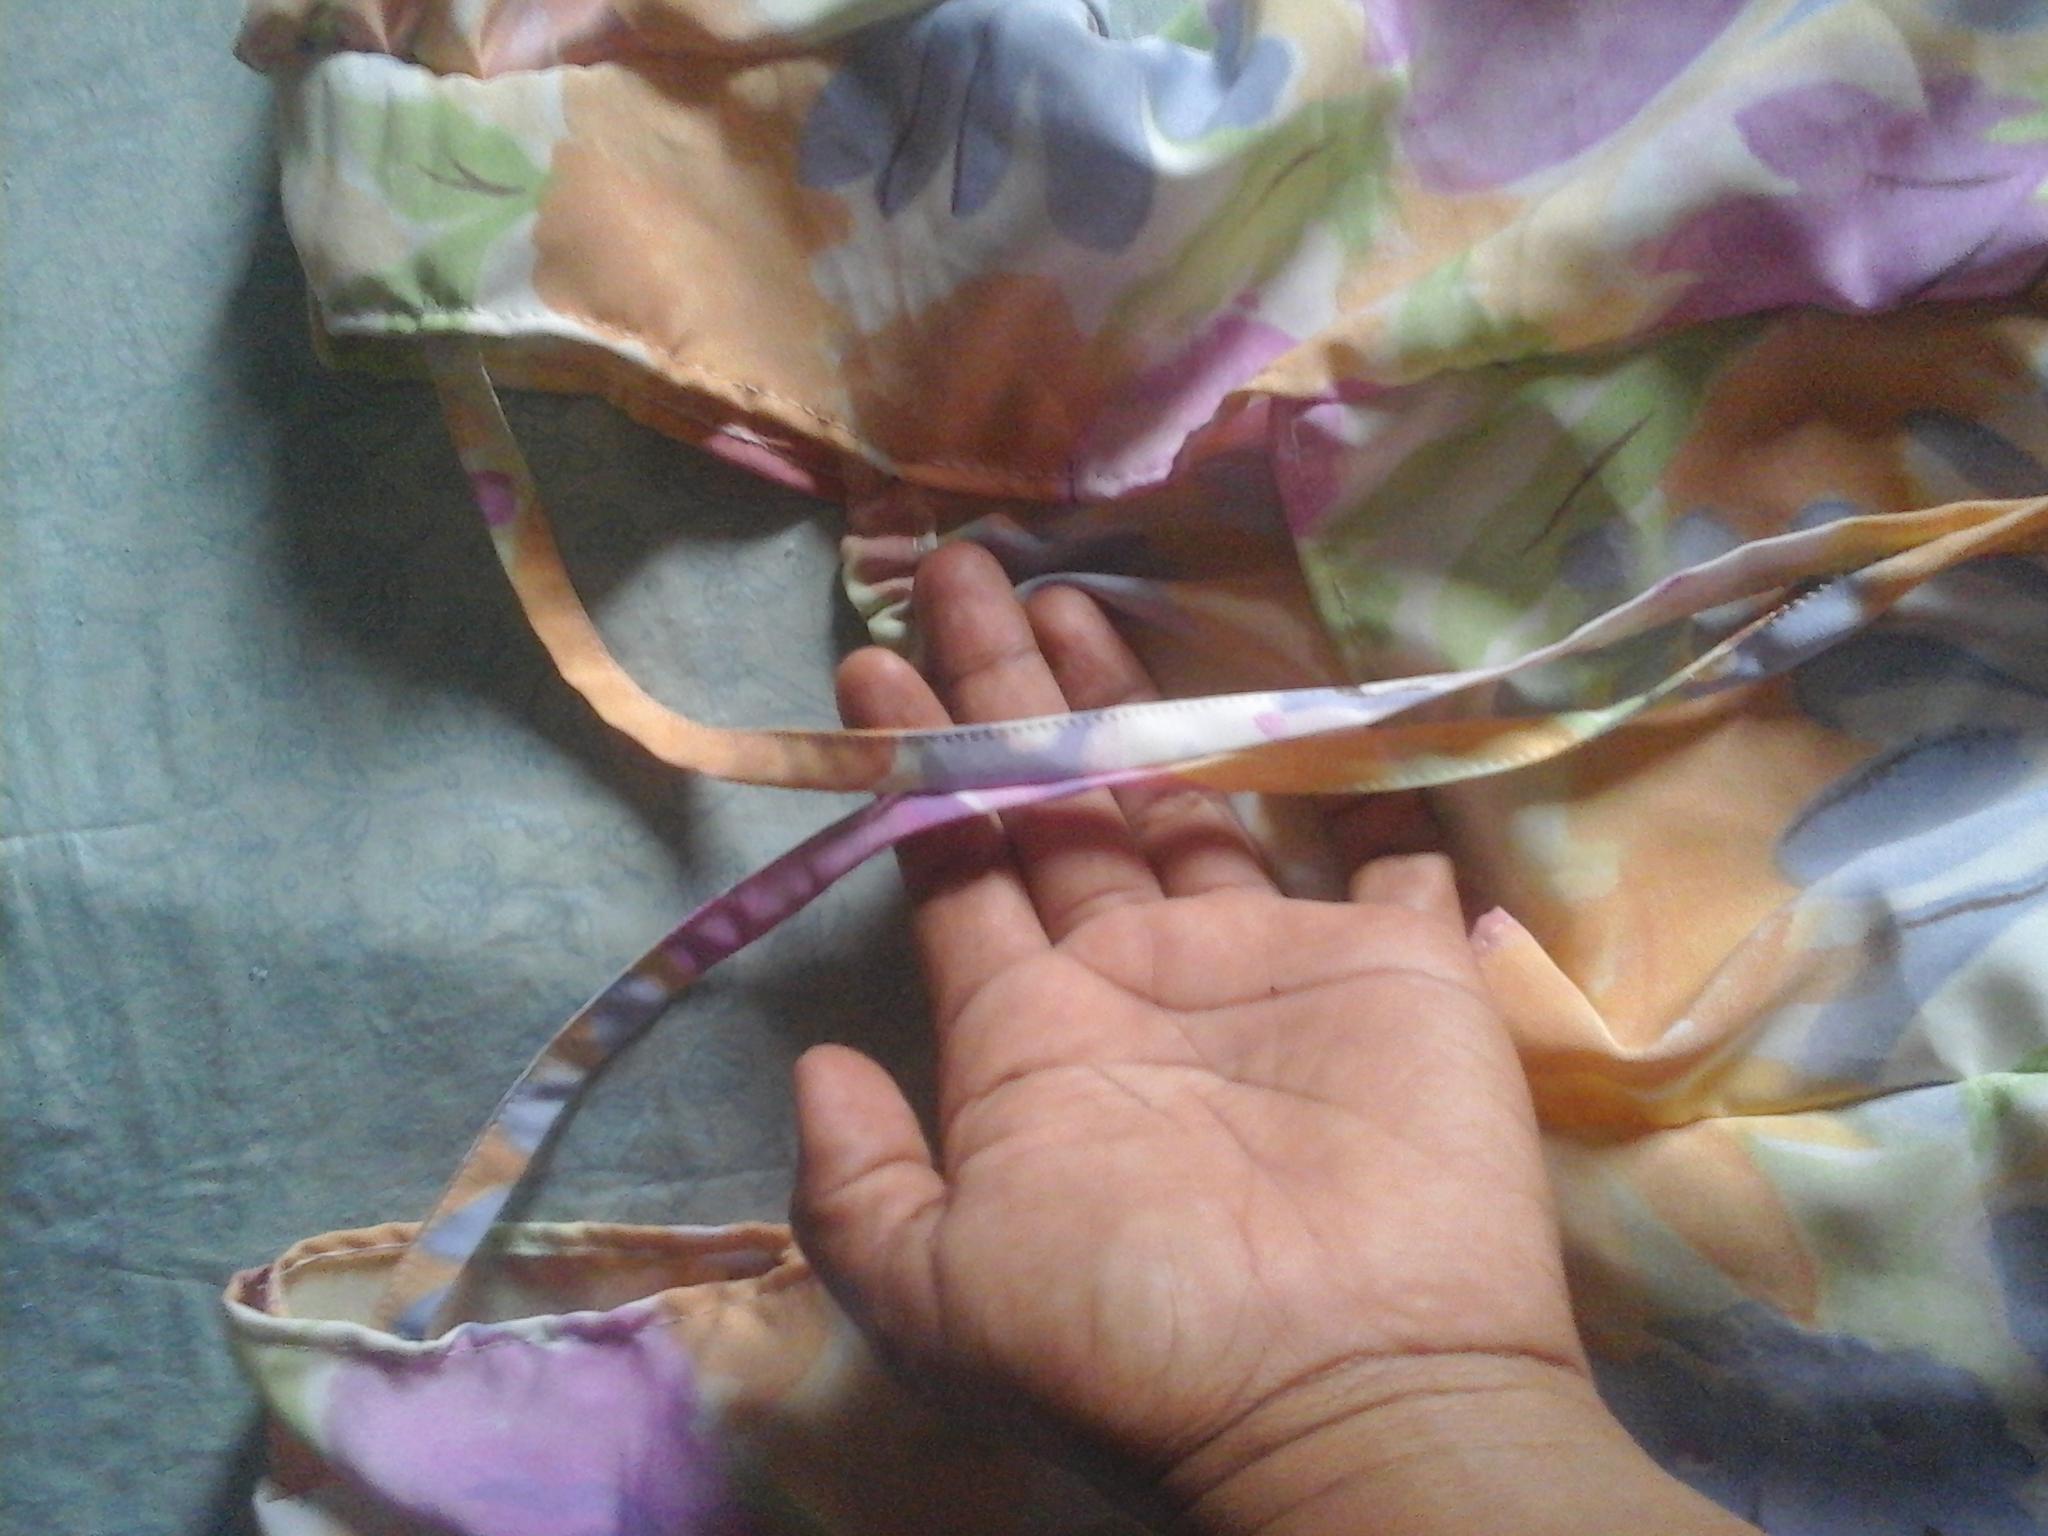
Para terminar recorte una fina tira y cosi en la parte de la espalda para adaptar sujetar nuestra blusa.
Step 10.
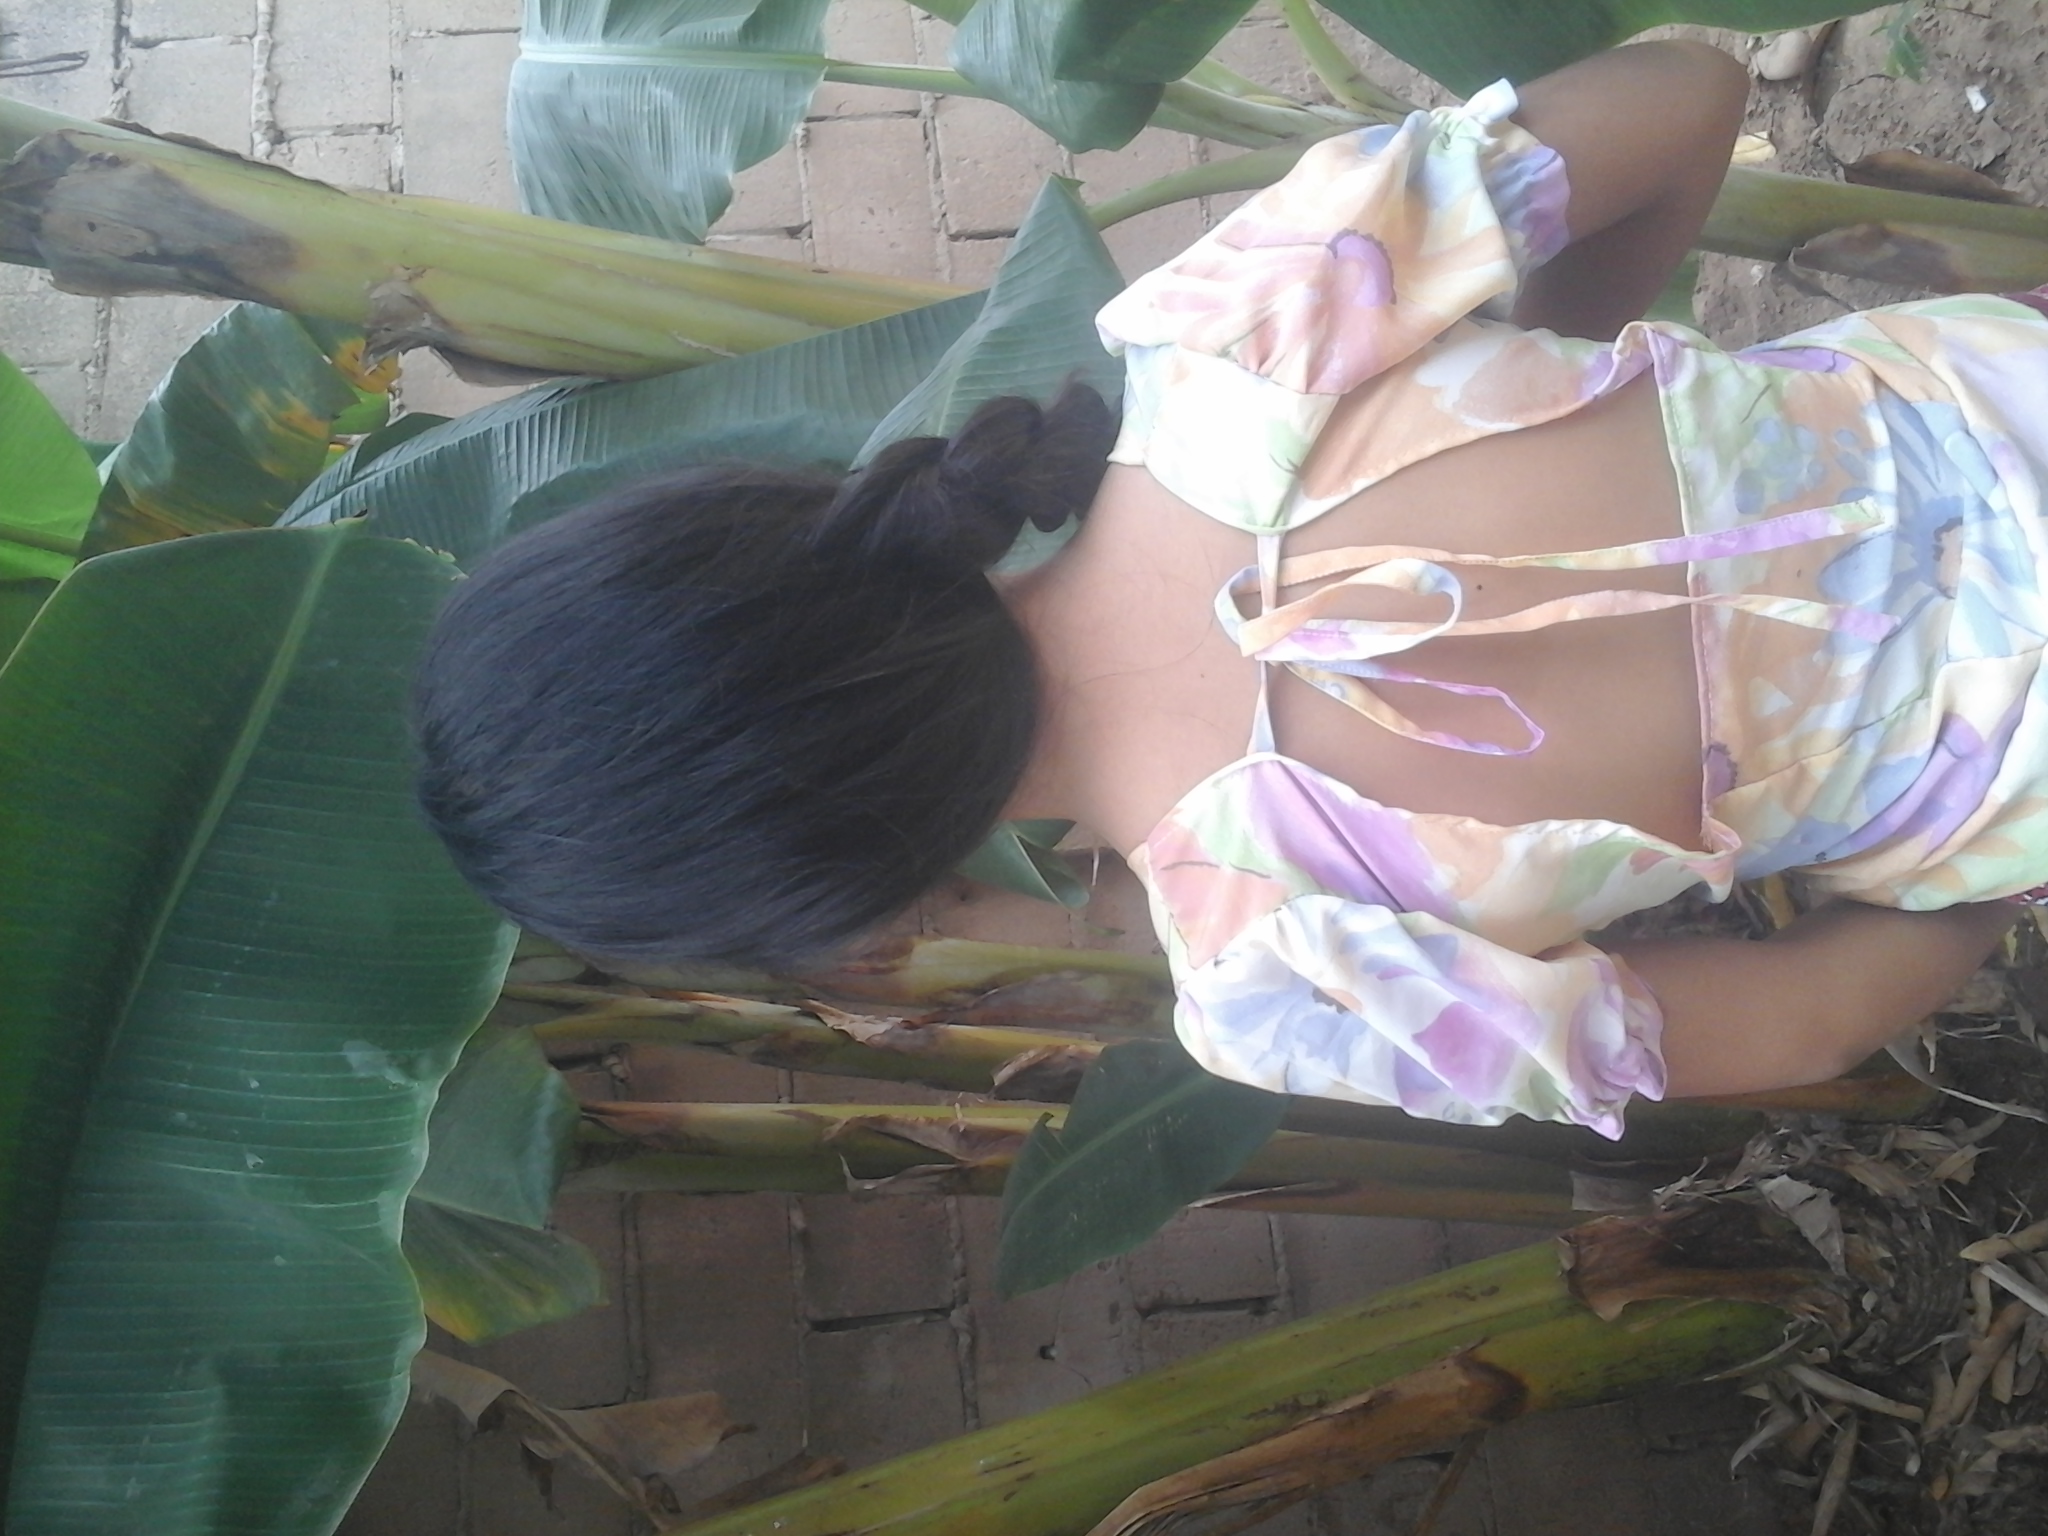
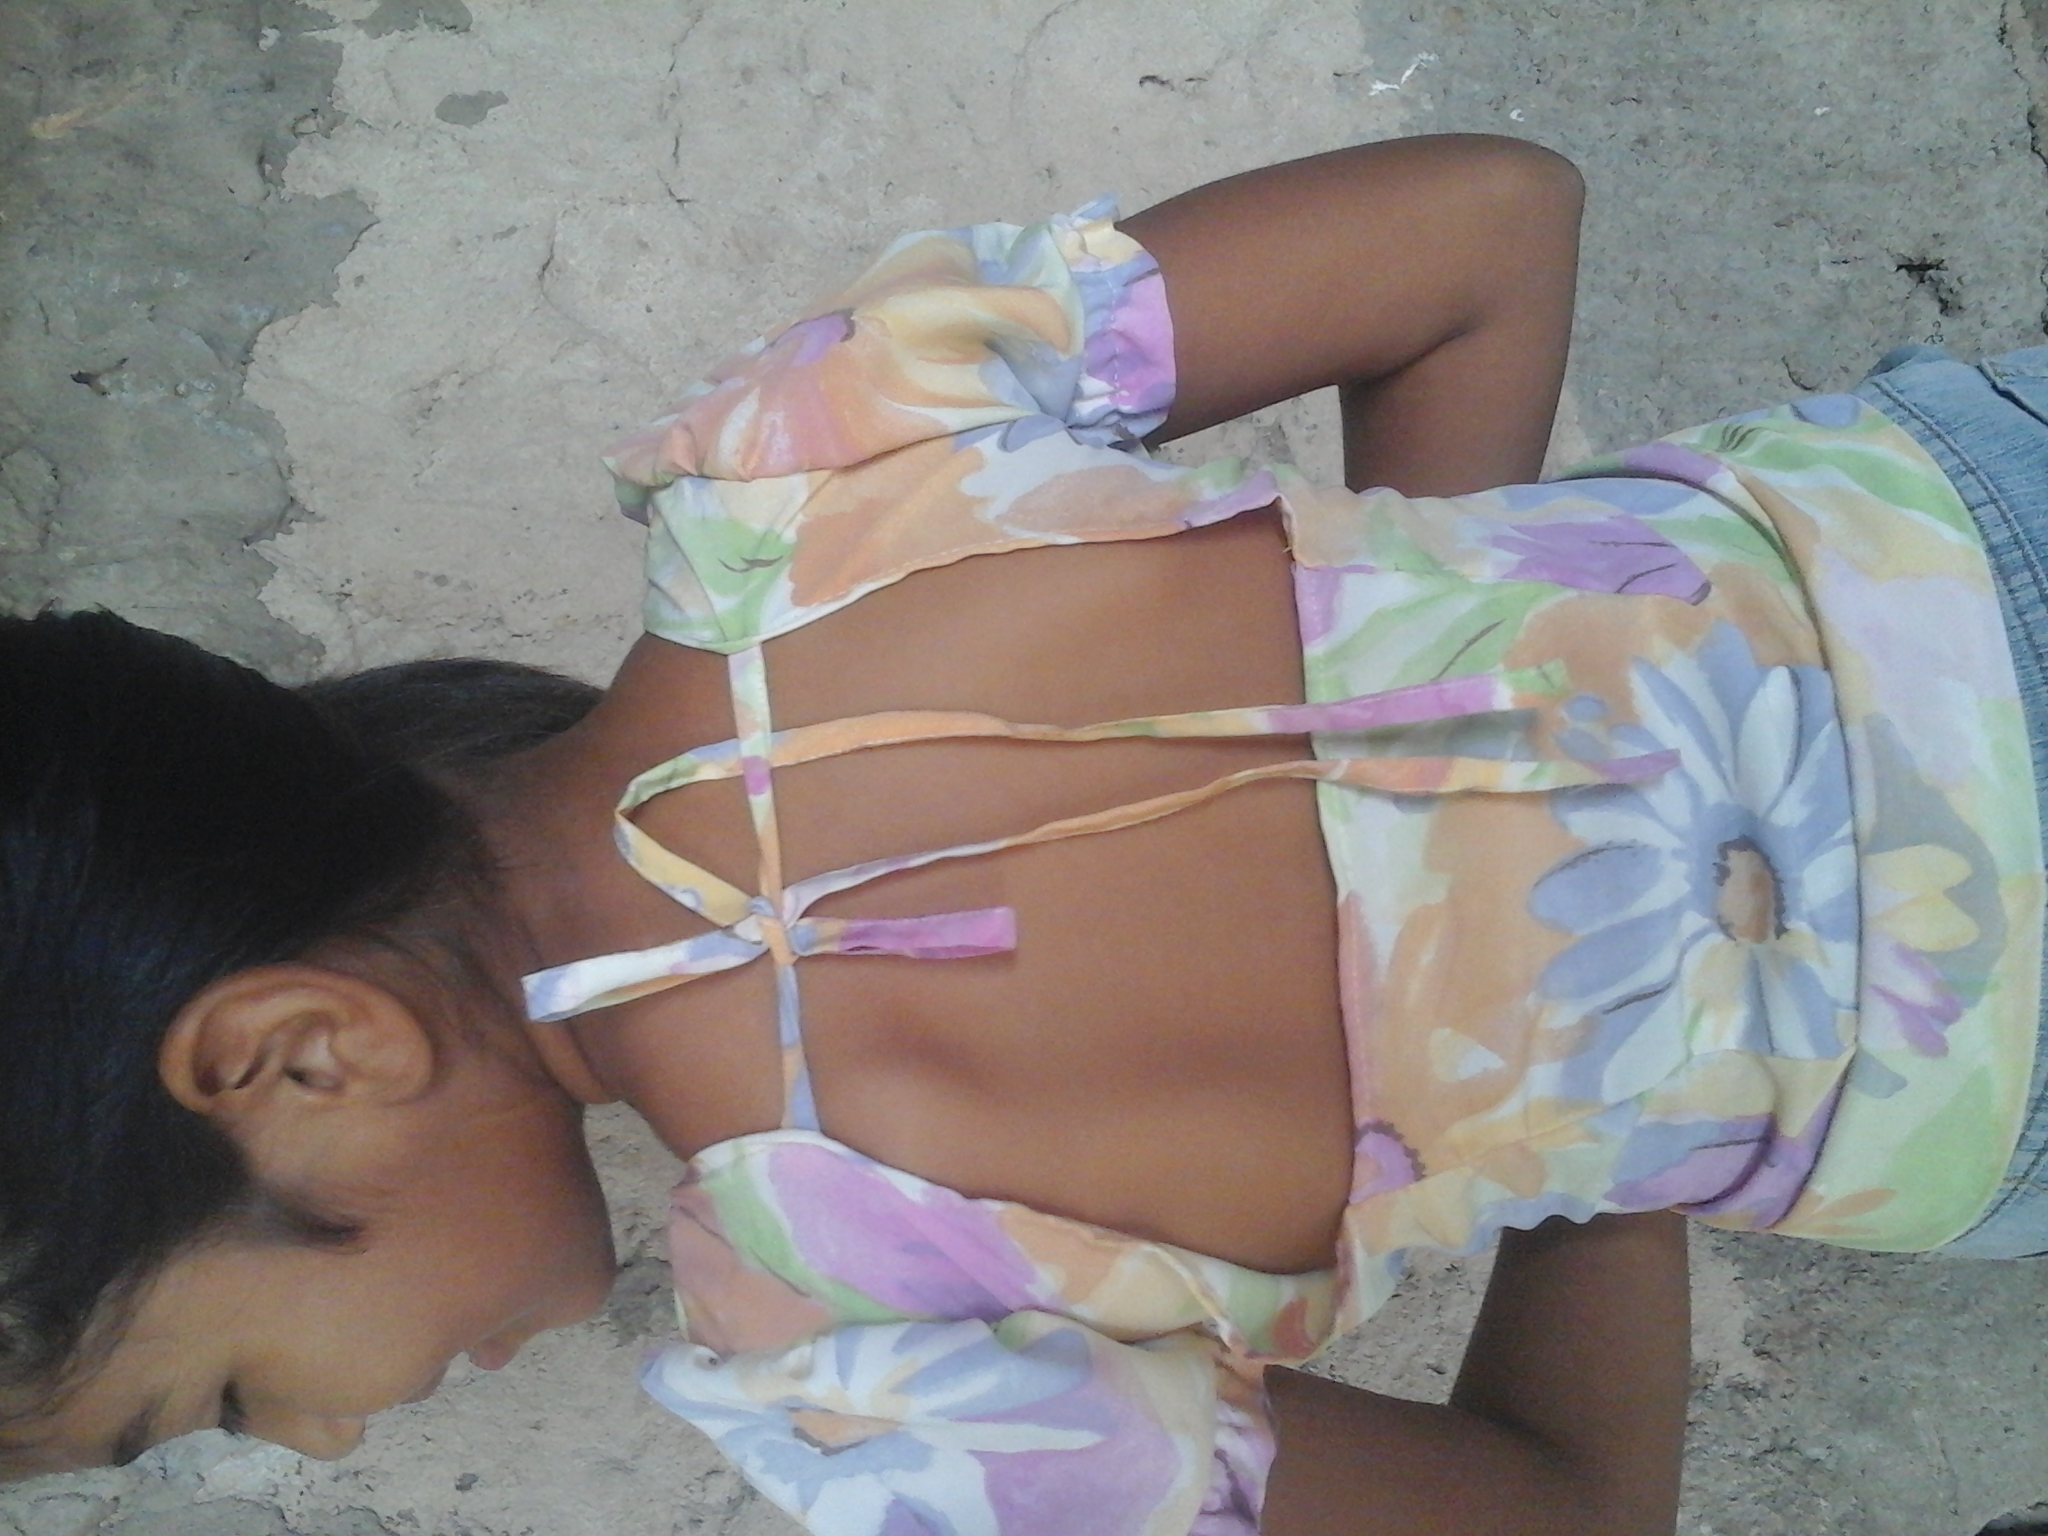
To finish, cut out a thin strip and sew it on the back to adapt to holding our blouse.
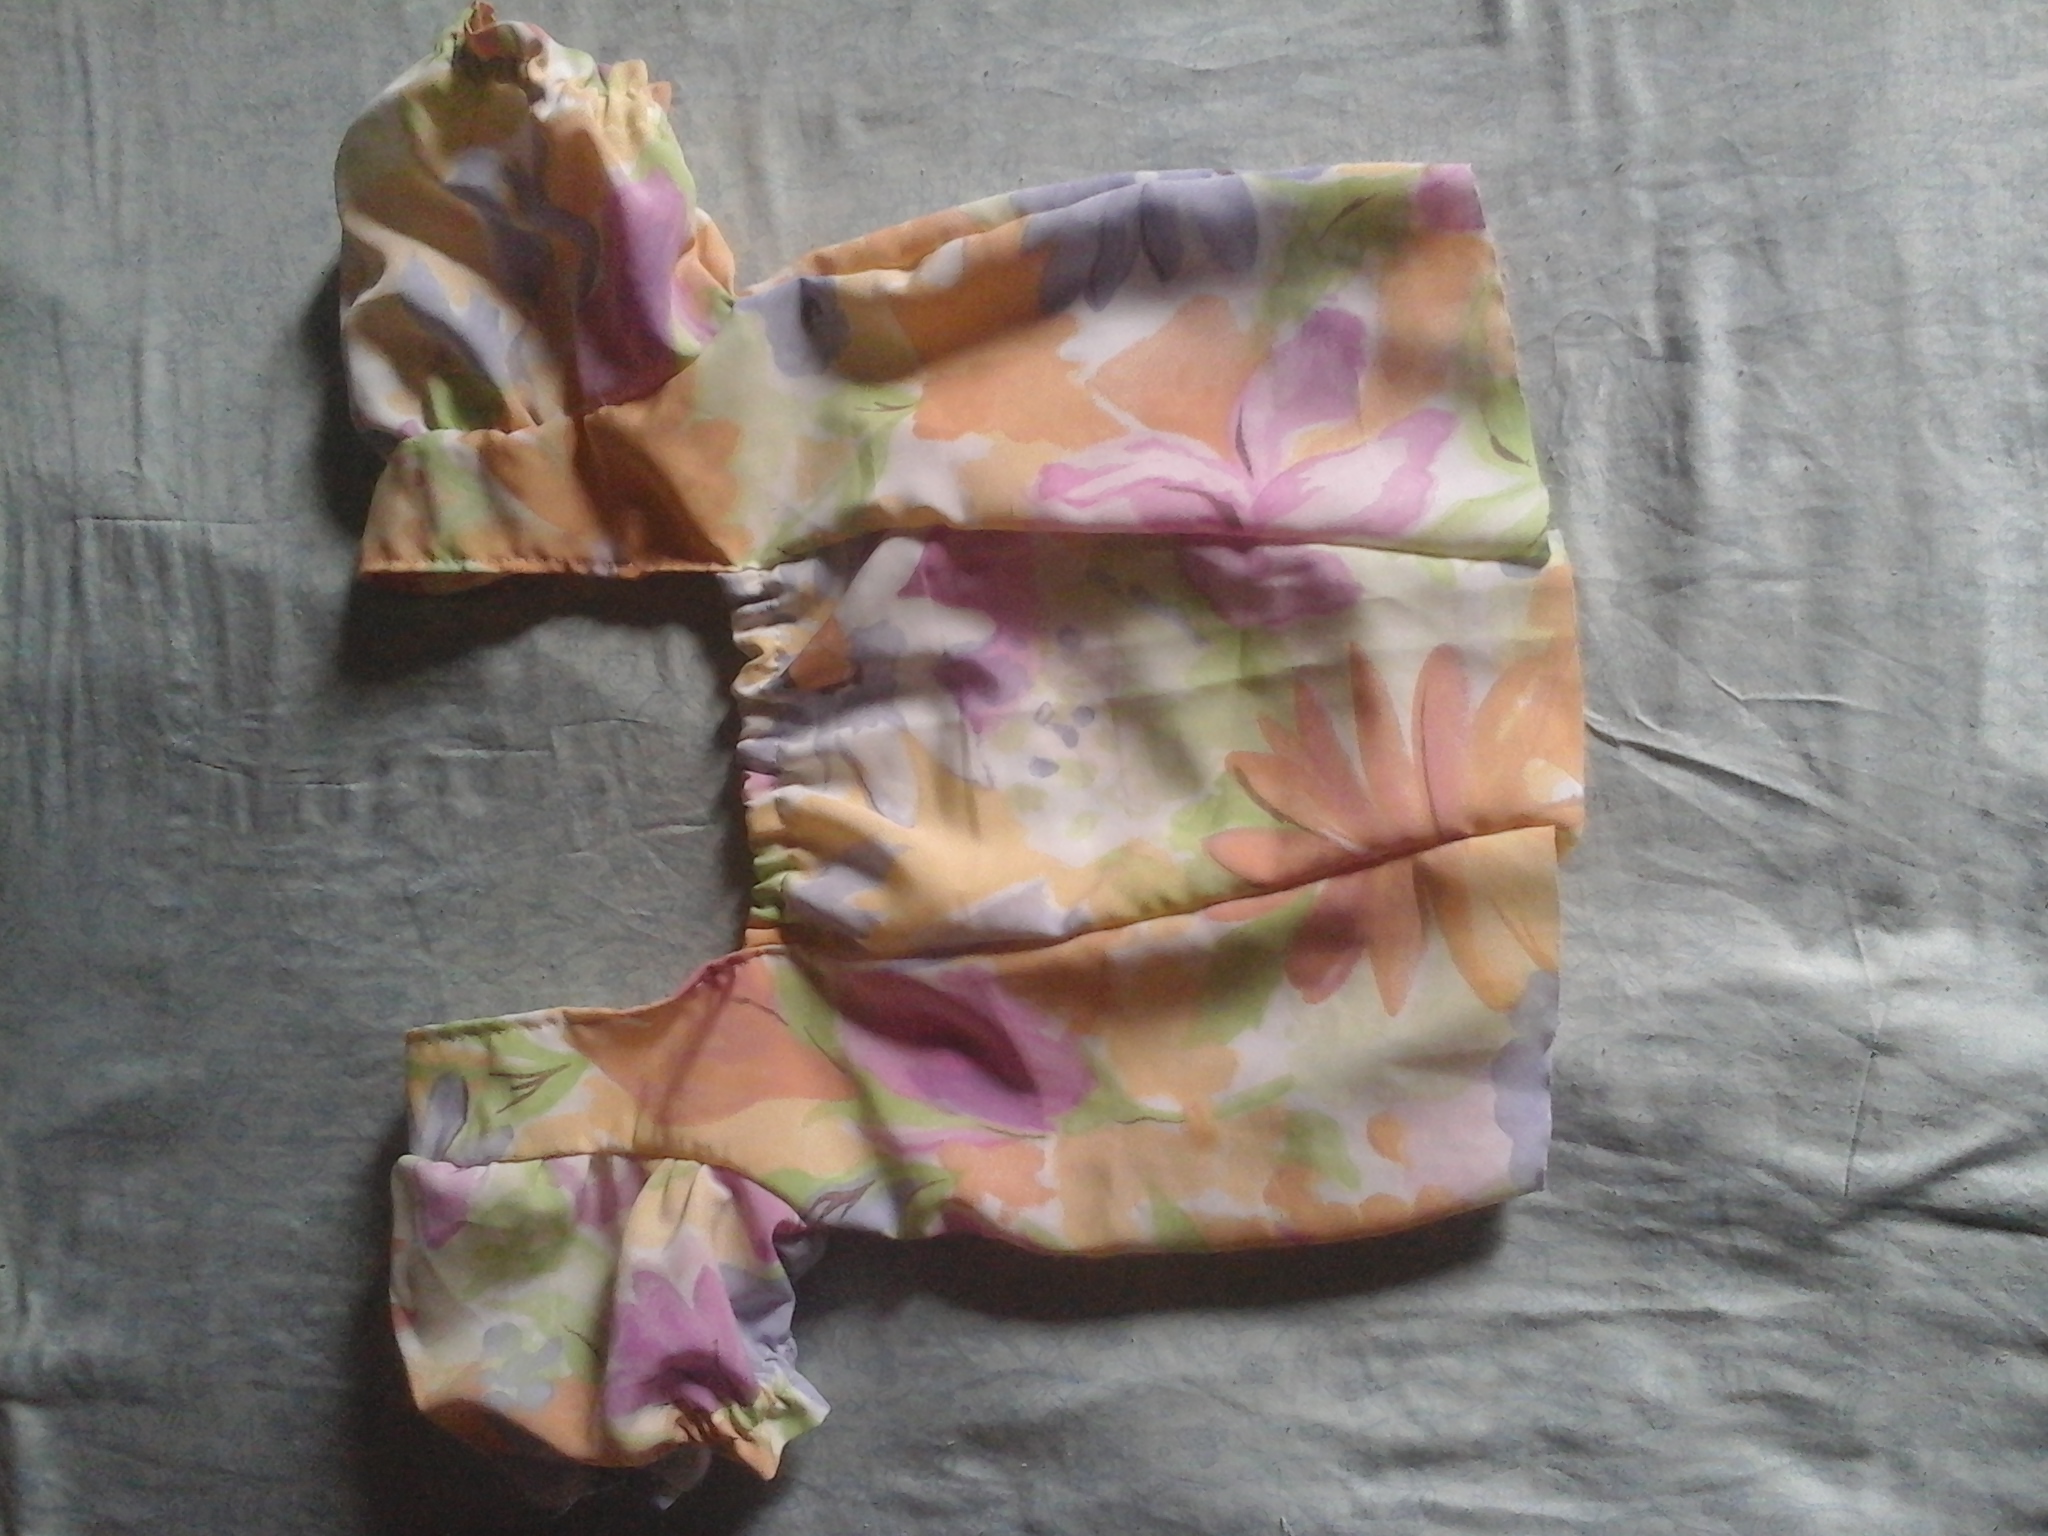
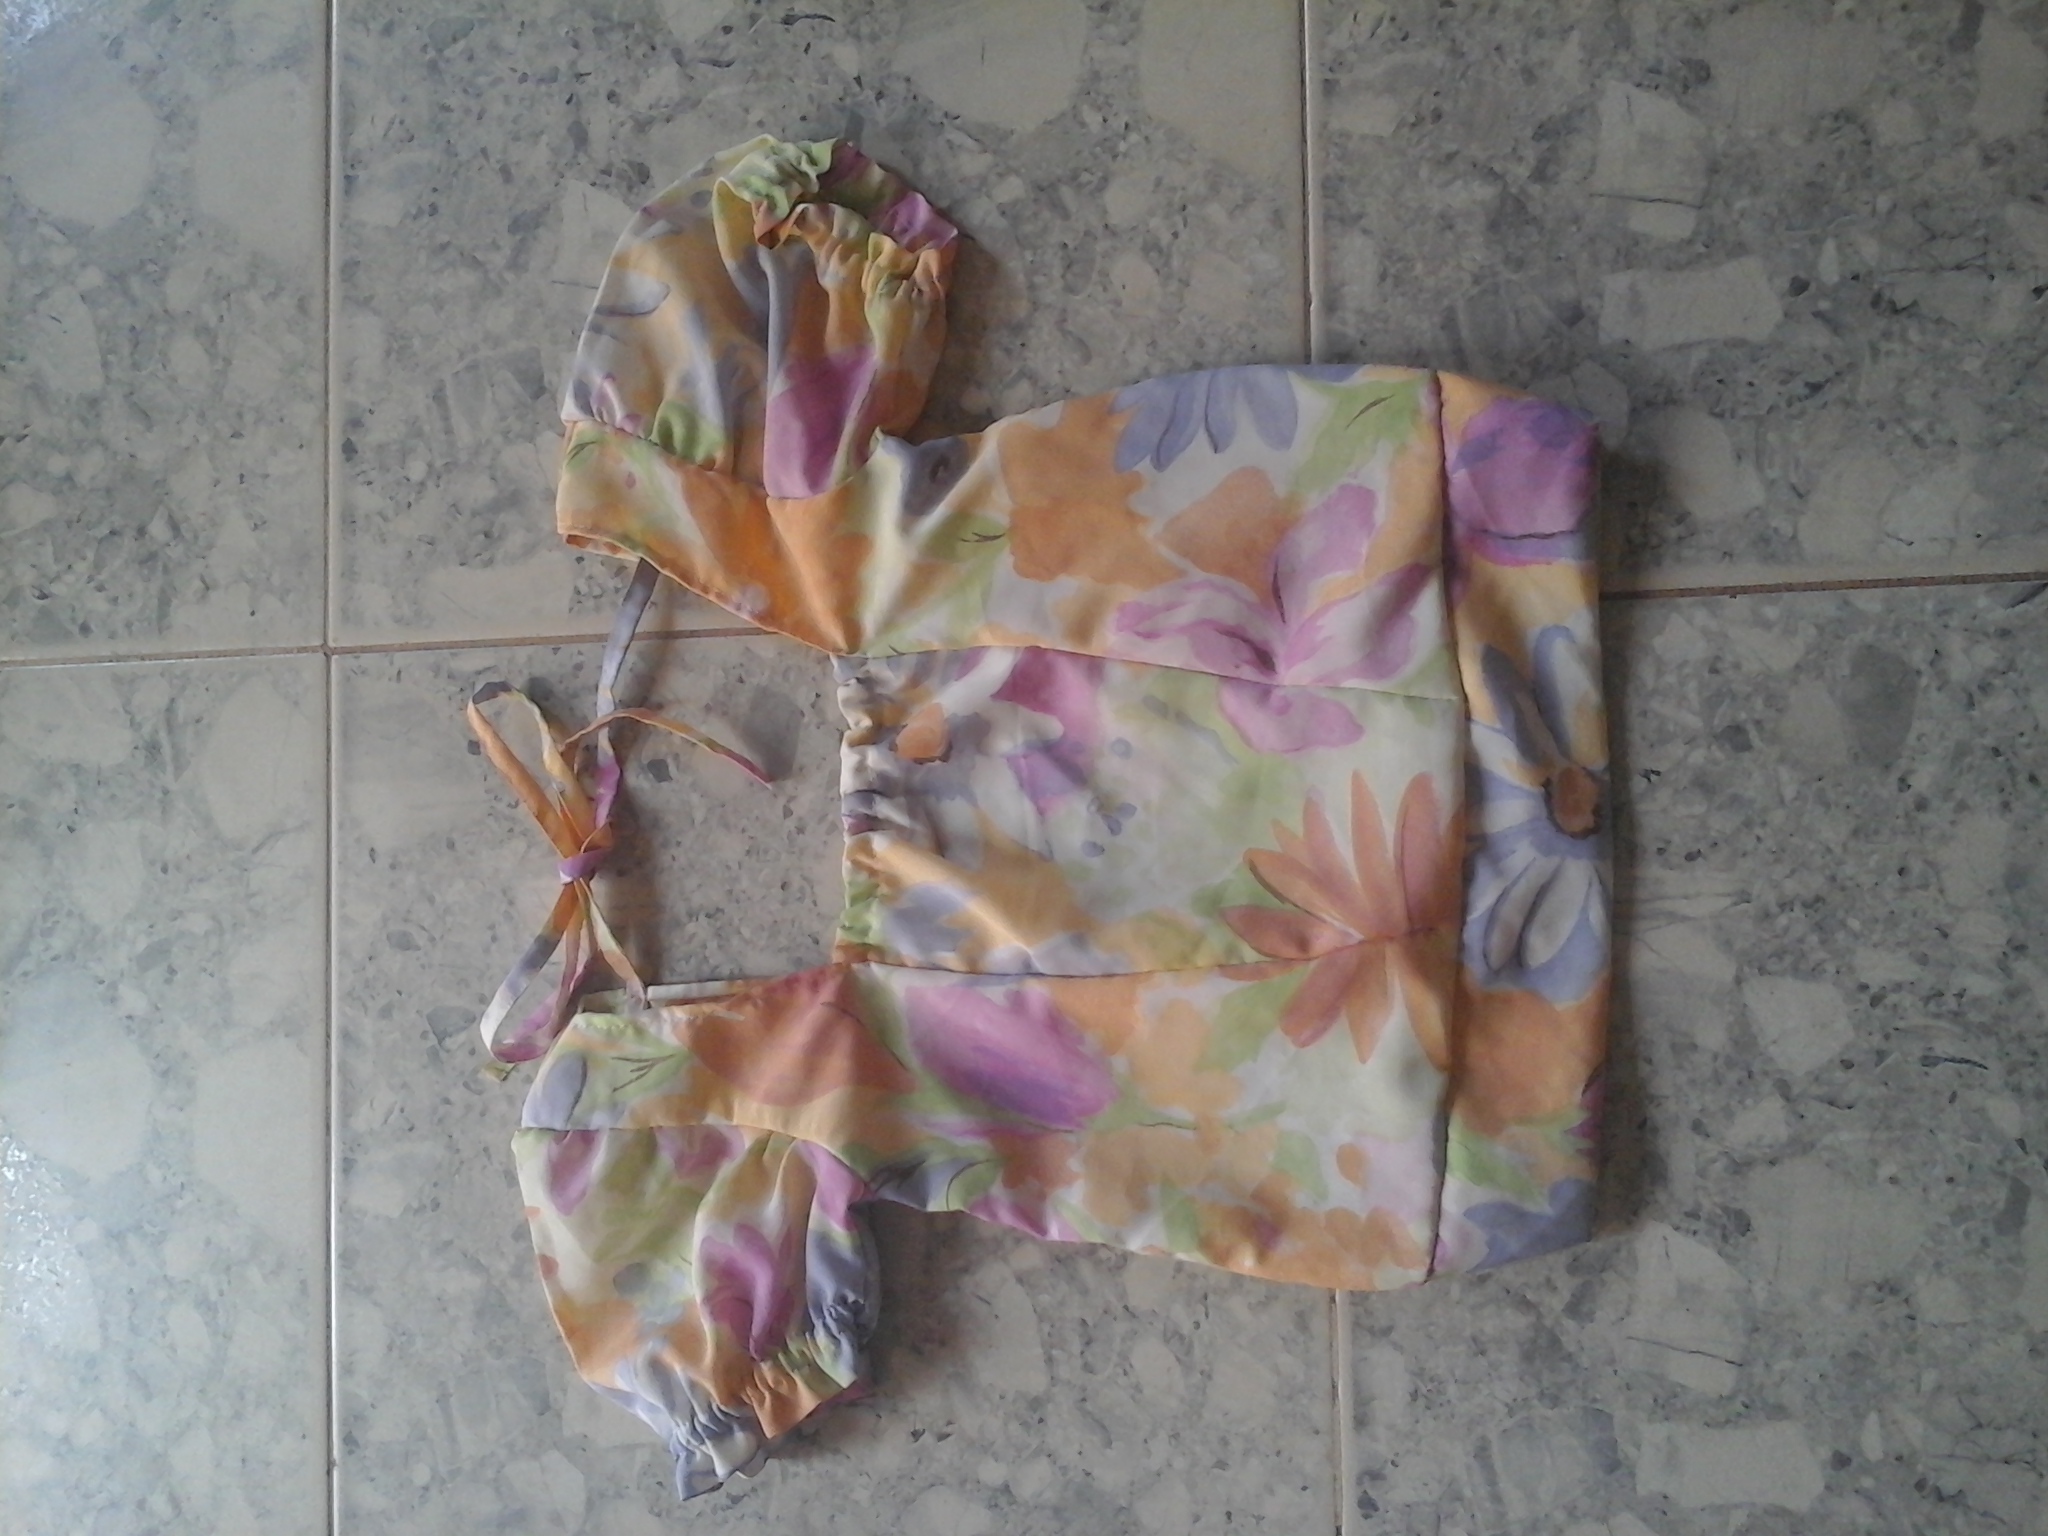
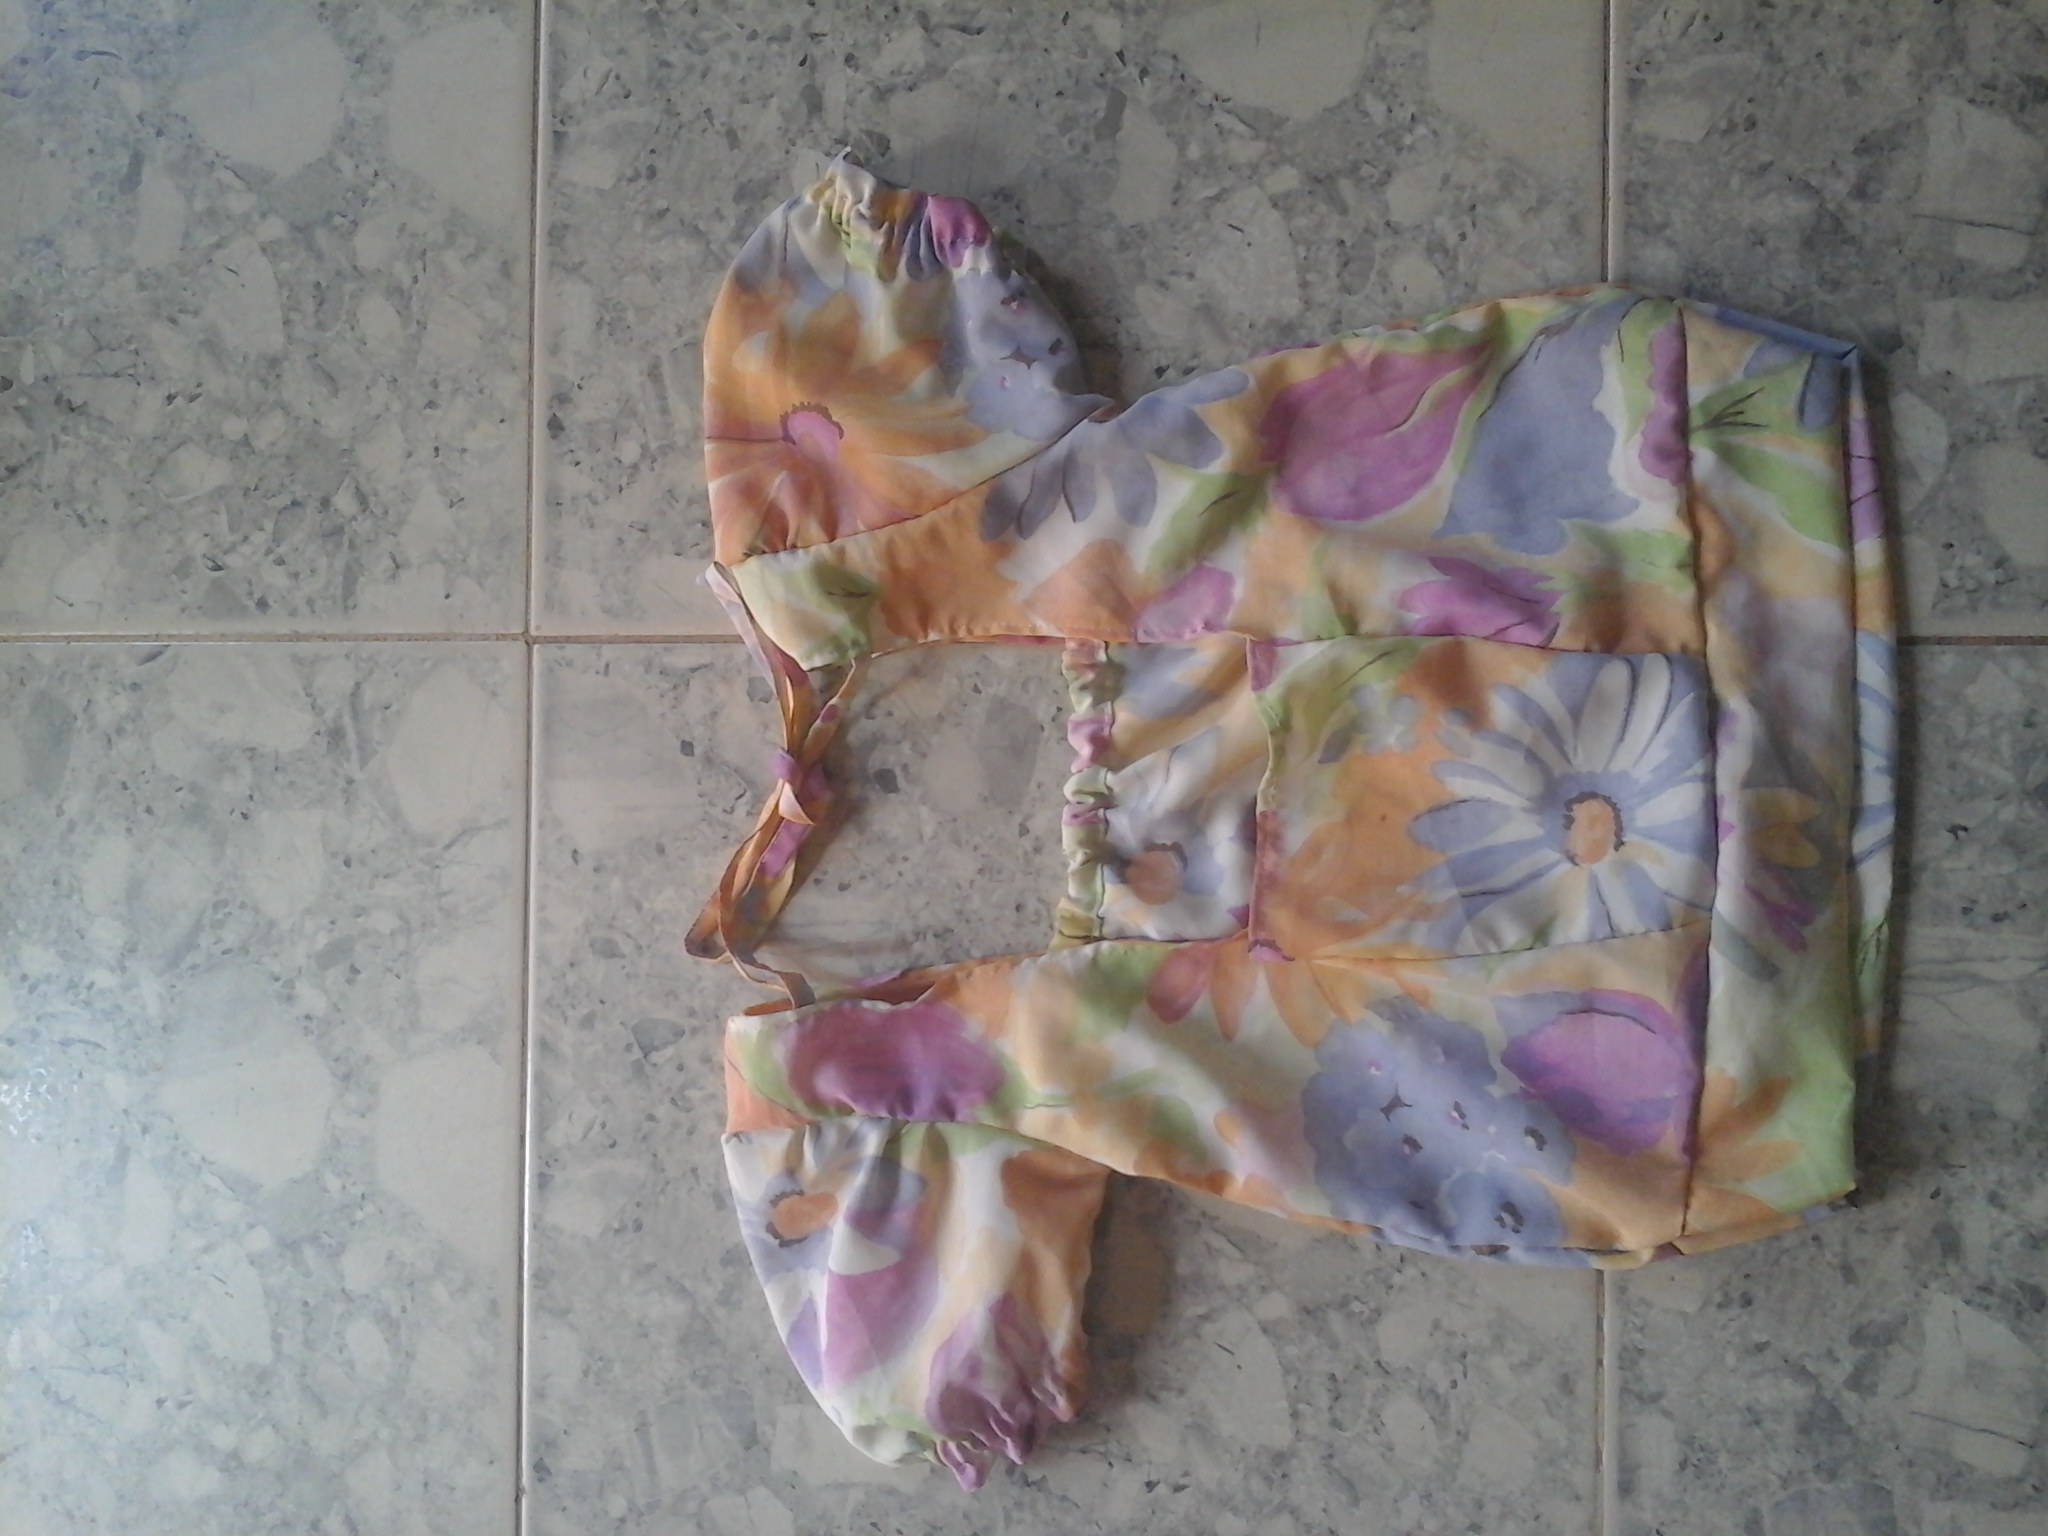
Friends, this is the result, a beautiful blouse with very soft flowers, ideal to wear during the day. I hope you liked this beautiful blouse as my models did.
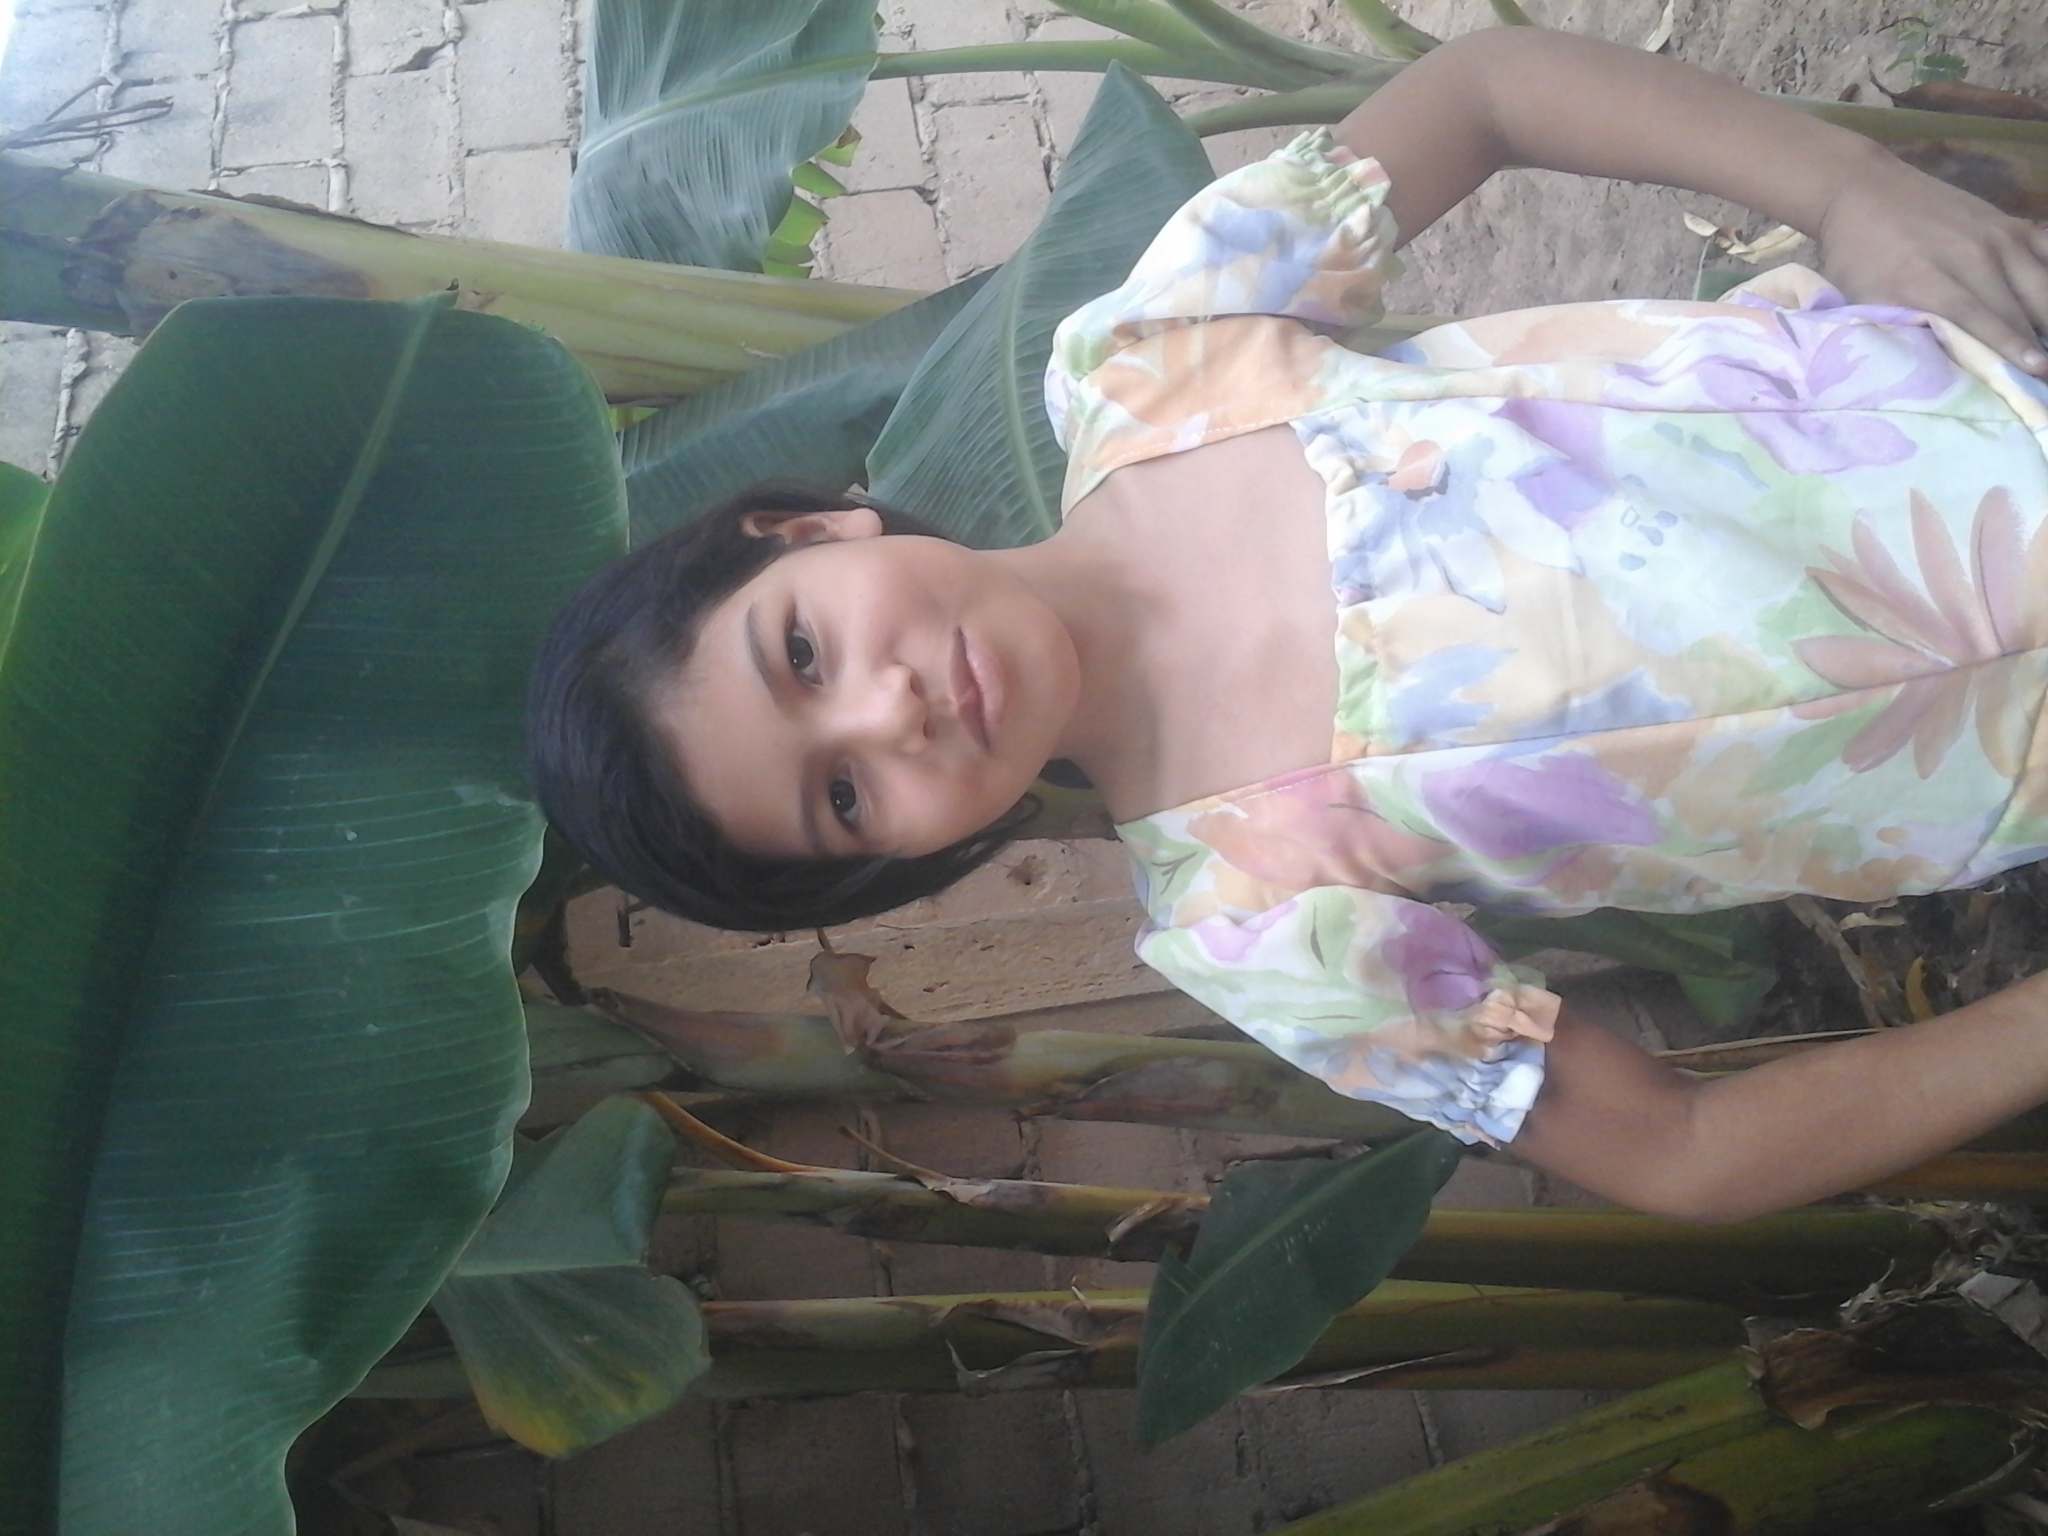
It has been a pleasure to share the process of this blouse with all of you, thank you very much for reading until the end and for the support you give me. You are loved very much and I hope to return here and continue sharing my work with the community, see you soon, take care of yourselves.
Contenido de mi autoria, fotos capturadas por mi tablet Samsung y editadas por incollage. Traductor Google.com
Content of my authorship, photos captured by my Samsung tablet and edited by incollage. Google.com Translator
Saludos @anaarevalo01, que bien el diseño y los colores suaves, para una blusa muy fresca, feliz día.
Muchas gracias querida, que bueno que te haya gustado, bendiciones.
Qué hermoso proyecto hiciste para tu sobrina, me encantó la tela. Saludos
Si, la tela es muy linda, suave y a mi niña le quedo hermosa, gracias por apoyar mi trabajo, ¡saludosss!!
Te quedó muy linda y me encantó el estampado de la tela ☺️
Es primera vez que veo un patrón marcado en cartón, me parece genial la verdad 👍
Ay si, jeje!! Solo por que era una emergencia y no tenia papel para reciclar, por eso disculpen. Gracias por apoyar mi trabajo, saludos y bendiciones💖