No se que tan seguido te pase esto pero a mi, cada vez que me pongo a organizar y limpiar el taller se me va la vida entera distrayéndome con cada cosita y detalle que allí tengo. Y en este ultimo día de limpieza una idea vino a mi.
Tenia unos papeles de acuarela que no estaban haciendo nada con su existencia por lo que se me ocurrió transformarlos en una pequeña libreta, y ¿como lo haría? pues acompáñame a ver este tutorial NO tutorial del proceso.
Tenia unos papeles de acuarela que no estaban haciendo nada con su existencia por lo que se me ocurrió transformarlos en una pequeña libreta, y ¿como lo haría? pues acompáñame a ver este tutorial NO tutorial del proceso.
I don't know how often this happens to you but for me, every time I start to organize and clean the workshop I spend my whole life getting distracted by every little thing and detail I have there. And on this last cleaning day an idea came to me.
I had some watercolor papers that weren't doing anything with their existence so I thought of transforming them into a little notebook, and how would I do it? Well, come with me to see this tutorial NOT tutorial of the process.
Paso 1: No confíes en tu memoria
Step 1: Don't rely on your memory

Cuando me entusiasmo con una idea aprovecho esa primera hora donde deseo con energía materializar de forma rápida lo que tengo en mi cabeza, sin embargo, en este desenfreno puedo pasar ciertos detalles por alto. Y digo desenfreno por exagerar pero fácilmente puedo decir exceso de confianza en mis capacidades o flojera de buscar información que "ya sé".
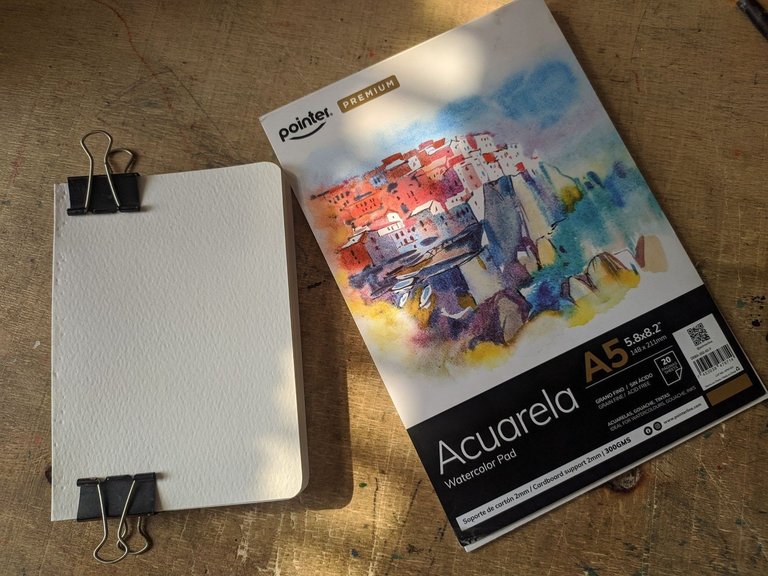
La idea es hacer una libreta cosida, entonces el primer paso fue ponerme a doblar las 10 hojas de cartulina acuarelable que me quedaban en el block. Cuando se trabaja con hojas de papel como tal se deben armar cuadernillos (grupos de cuatro hojas aproximadamente), en este caso no lo haría de esa manera porque el grosor de la cartulina no me permitía andar juntando varias hojas a la vez.
La idea es hacer una libreta cosida, entonces el primer paso fue ponerme a doblar las 10 hojas de cartulina acuarelable que me quedaban en el block. Cuando se trabaja con hojas de papel como tal se deben armar cuadernillos (grupos de cuatro hojas aproximadamente), en este caso no lo haría de esa manera porque el grosor de la cartulina no me permitía andar juntando varias hojas a la vez.
When I get excited about an idea I take advantage of that first hour where I want to materialize quickly what I have in my head, however, in this frenzy I can overlook certain details. And I say “wild” to exaggerate but I can easily say overconfidence in my abilities or laziness to look for information that “I already know”.
The idea is to make a sewn notebook, so the first step was to fold the 10 sheets of watercolor cardboard that I had left in the pad. When working with sheets of paper as such, you have to make booklets (groups of four sheets approximately), in this case I would not do it that way because the thickness of the cardboard did not allow me to fold several sheets at the same time.

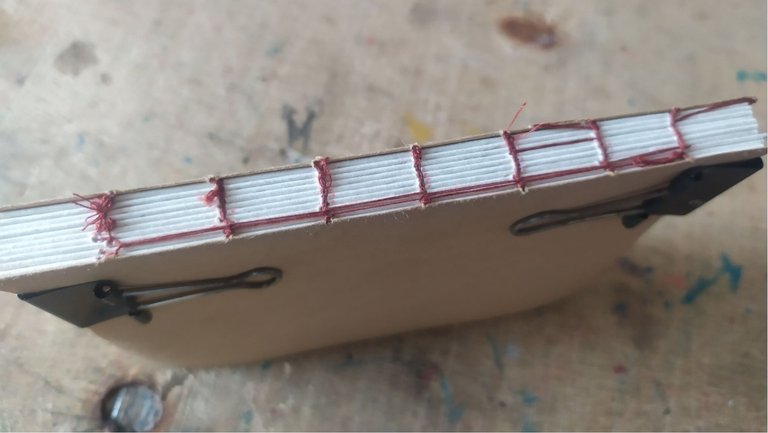
Ahora lo siguiente es hacer los huecos por donde se pasa el hilo para coser. Aquí lo recomendable es dejar dos centímetros de distancia de los bordes y uno y medio en los demás, lo importante aquí es hacer una cantidad de huecos en números pares. Pero, como yo no sigo mis consejos me puse a hacer todos esos huecos al azar, el resultado, tenia uno extra.
Now the next thing to do is to make the holes where the thread is passed to sew. Here it is advisable to leave two centimeters distance from the edges and one and a half in the others, the important thing here is to make a number of holes in even numbers. But, as I do not follow my advice I started to make all those holes at random, the result, I had an extra one.
Paso 2: Resolver
Step 2: Resolving
Si, ahora tenia un número impar de huecos y según lo que recordaba de como coser una libreta estaba perdida. Había desperdiciado 10 hojas de cartulina de acuarela que bien podía usar para hacer ilustraciones. Ese fue mi pensamiento en los primeros minutos del drama, pero recurrí al sabio YouTube y allí encontré un video del canal Take a smile scrap titulado Encuadernación 03-Cosido de cadeneta.
Fueron cinco minutos y medio que termine repitiendo un par de veces hasta comprender este tipo de encuadernación que me serviría para resolver mi pequeño problema, que por cierto te lo comparto para que puedas verlo.
Fueron cinco minutos y medio que termine repitiendo un par de veces hasta comprender este tipo de encuadernación que me serviría para resolver mi pequeño problema, que por cierto te lo comparto para que puedas verlo.
Yes, I now had an odd number of holes and from what I remembered of how to sew a notebook I was lost. I had wasted 10 sheets of watercolor cardstock that I could have used for illustrations. That was my thought in the first few minutes of the drama, but I turned to the wise YouTube and there I found a video from the Take a smile scrap channel titled Binding 03-Stitching chain stitch.
It was five and a half minutes that I ended up repeating a couple of times until I understood this type of binding that would help me to solve my little problem, which by the way I share it with you so you can see it.
Paso 3: Que no se te enreden los hilos
Step 3: Keep your yarns tangle-free
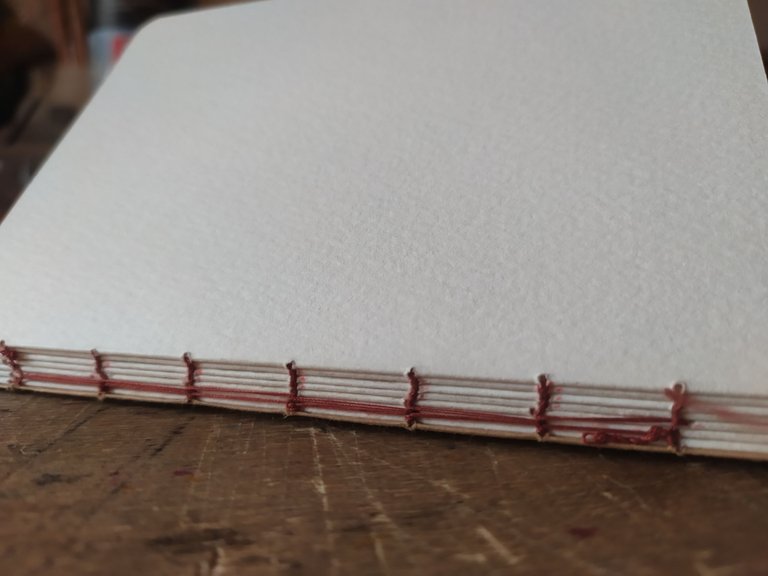
Después de tanto ver el video e iluminarme con la solución que me presentaba la costura de cadeneta era la hora de comenzar a unir todas estas hojas de la libreta.
After watching the video and being enlightened by the solution presented by the chain stitch, it was time to start joining all these sheets of the notebook.
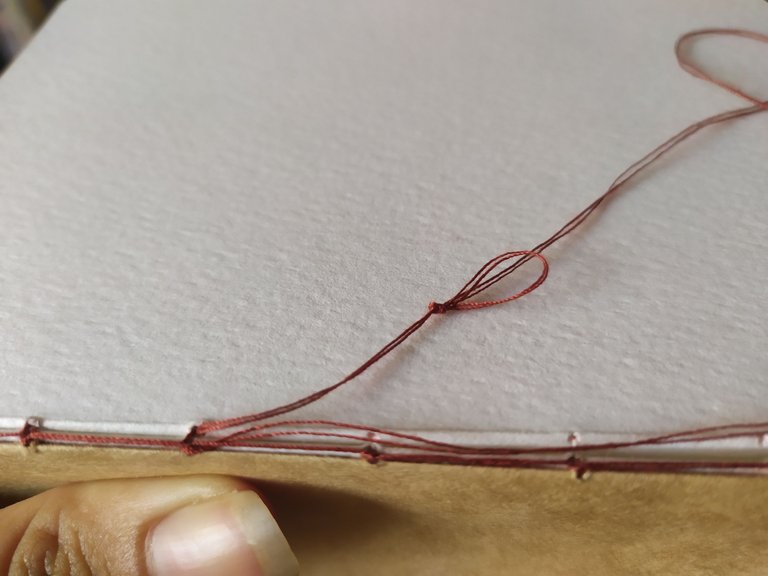
Exactamente no sabría decirte cuanta cantidad de hilo debes cortar para coser la libreta, es más bien al ojo por ciento. Lo que si pasa es que debes procurar estirar bien el hilo para evitar en lo posible los enredos y mas si eres de poca paciencia como yo. Cada tanto tenia que andar desarmando nudos que se crean cuando el hilo es largo.
I couldn't tell you exactly how much thread you should cut to sew the notebook, it's more by eye per cent. What does happen is that you should try to stretch the thread well to avoid tangles as much as possible, especially if you have little patience like me. Every now and then I had to go around disassembling knots that are created when the thread is long.
Este proceso no es tan complicado, pero si es bueno prestar mucha atención a cada paso y sobre todo al momento de unir hoja con hoja donde debes ir ajustando el hilo para evitar que quede floja toda la costura de la libreta.
This process is not so complicated, but it is good to pay close attention to each step and especially at the moment of joining sheet to sheet where you must adjust the thread to avoid that the whole seam of the notebook is loose.
Paso 4: Hora de darle forma
Step 4: Time to shape it
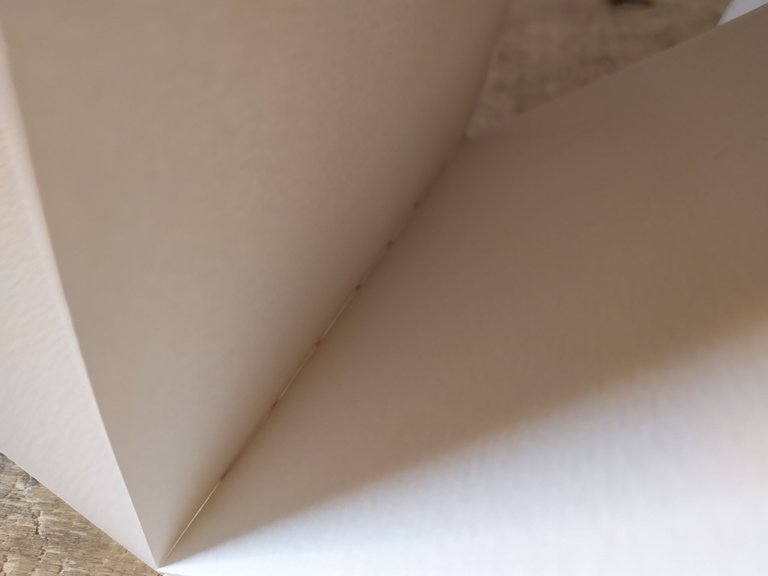
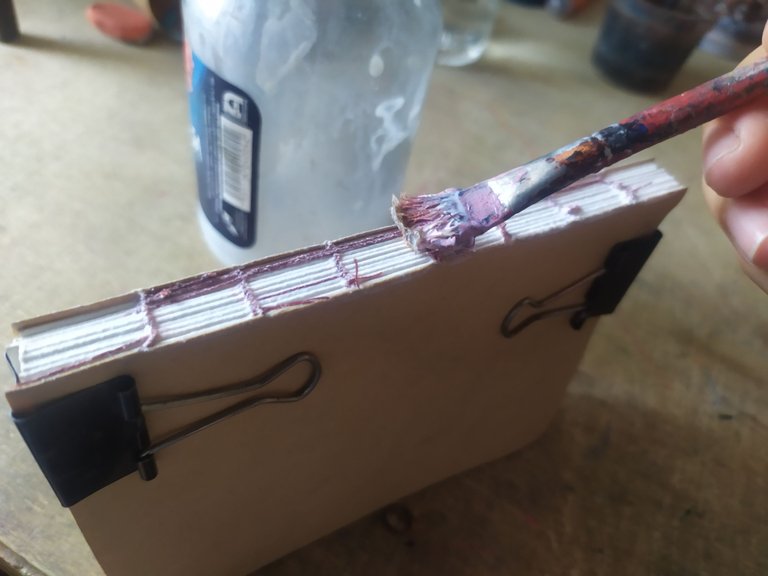
Ahora si estaba a un 60 por ciento de terminar la libreta que tanto tiempo y esfuerzo me estaba tomando, pero antes de pasar a la portada opte por ponerle una capa de pega a las hojas para que todo quedara más fijo.
Now I was 60 percent of the way to finish the notebook that was taking me so much time and effort, but before moving on to the cover I decided to put a layer of glue on the pages so that everything would be more fixed.
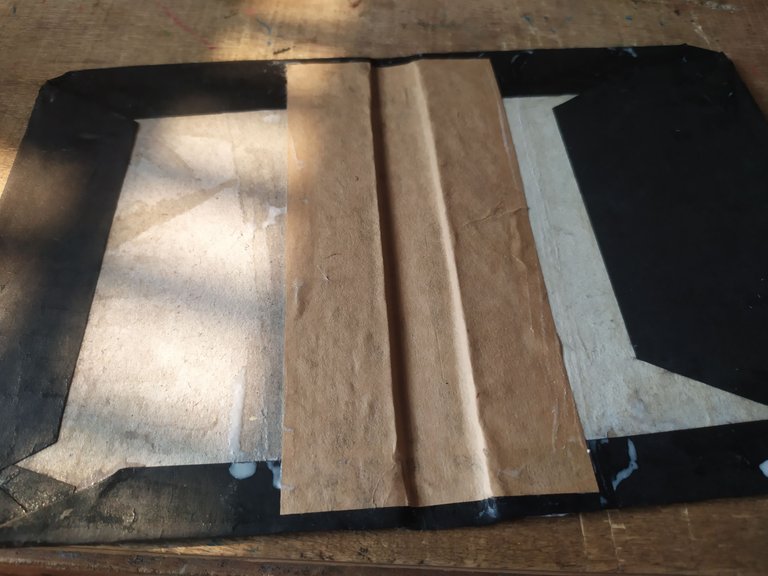
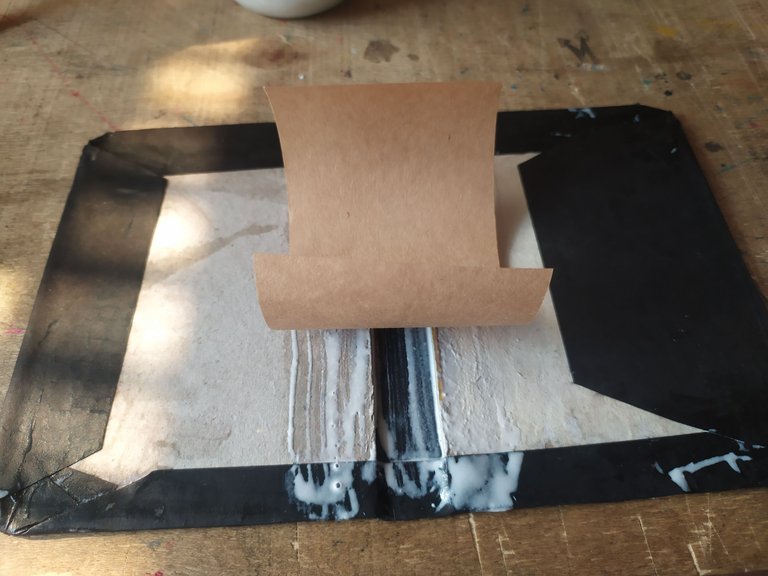
Antes de continuar con el otro paso tenia que tomar en cuenta cierto detalle que le hice a las hojas porque pensé que se vería más "bonitas" al final.
Before continuing with the other step I had to take into account a certain detail that I did to the leaves because I thought it would look “prettier” at the end.
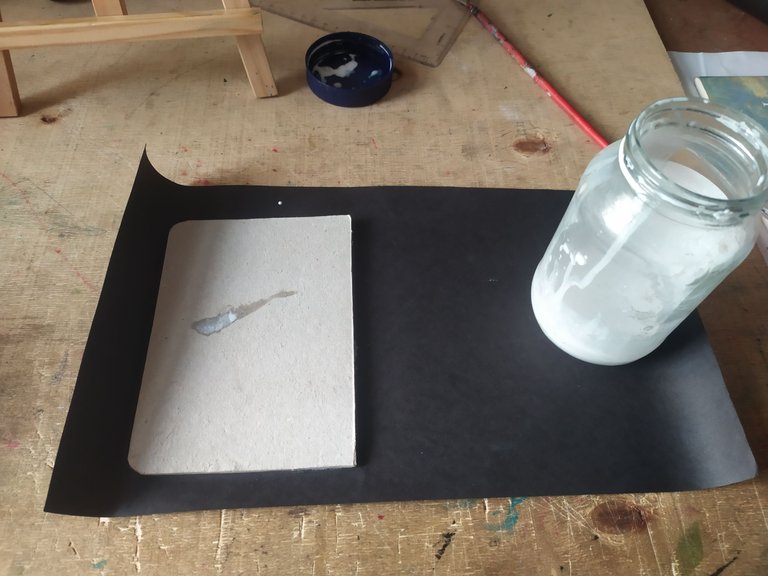
Ahora si, corte dos cartulinas para las portadas añadiéndole medio milímetro a cada lado. Debí cortar también una más fina para el lomo de mi libreta que fuera del grosor de las hojas en total, sin embargo como iba a forrarla con una cartulina gruesa no vi necesario hacerlo, por lo que me salte ese paso y me fui directo a pegar.
Now I cut two pieces of cardboard for the covers, adding half a millimeter on each side. I should have also cut a thinner one for the spine of my notebook that would be the thickness of the pages in total, however as I was going to cover it with a thick cardboard I didn't see the need to do it, so I skipped that step and went straight to gluing.
Paso 5: Papeles por todas partes
Step 5: Papers everywhere
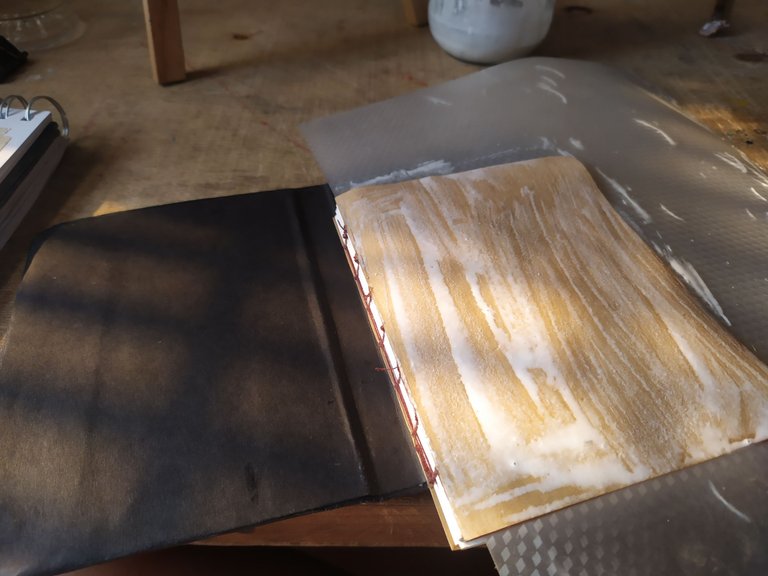
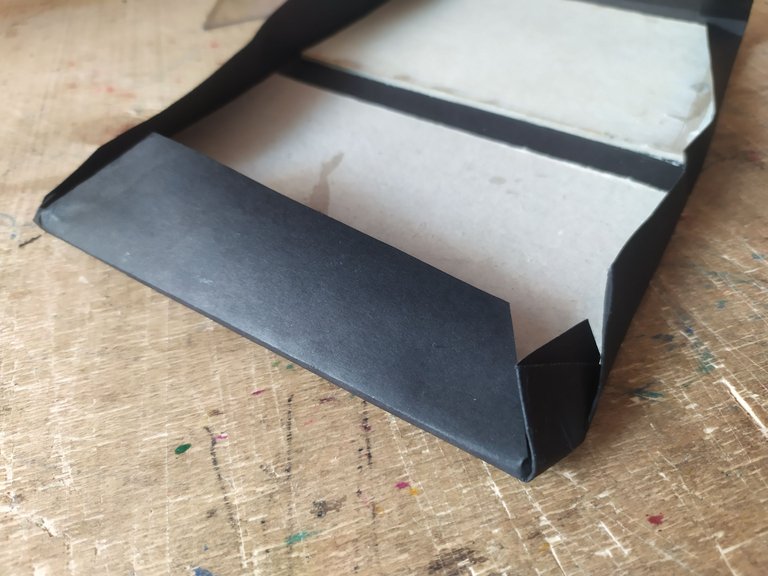
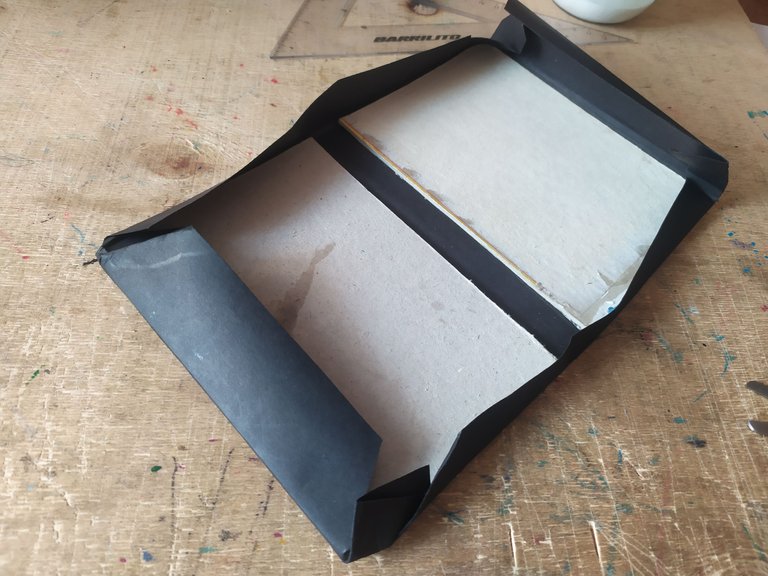
Aquí me la pase pegando papeles por todas partes. Fácil pudiera llamarla la libreta Frankenstein de tantos parches que tenia.
Después de pegar las esquinas redondeadas que son un ocho y de cubrir con cartulina negra por todas partes, procedí a unir las hojas con la portada (Las dos al mismo tiempo).
Después de pegar las esquinas redondeadas que son un ocho y de cubrir con cartulina negra por todas partes, procedí a unir las hojas con la portada (Las dos al mismo tiempo).
Here I spent a lot of time sticking papers all over the place. I could easily call it the Frankenstein notebook because it had so many patches.
After gluing the rounded corners that are a figure eight and covering with black cardboard all over, I proceeded to attach the sheets to the cover (both at the same time).
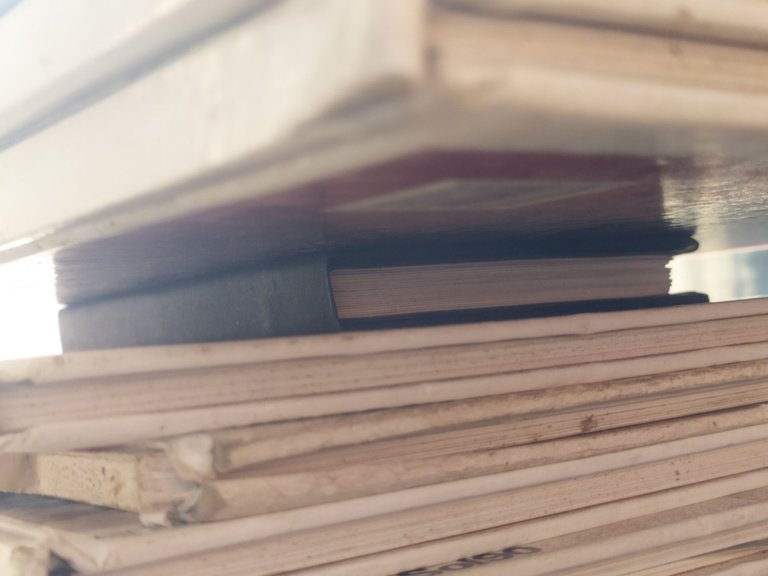
Por supuesto se le pone peso encima para que todo pegue bien y allí se deja hasta el día siguiente.
Of course, weight is put on top so that everything sticks well and it is left there until the next day.
Paso 6: ¡Felicidades, ahora tienes una libreta!
Step 6: Congratulations, you now have a notebook!
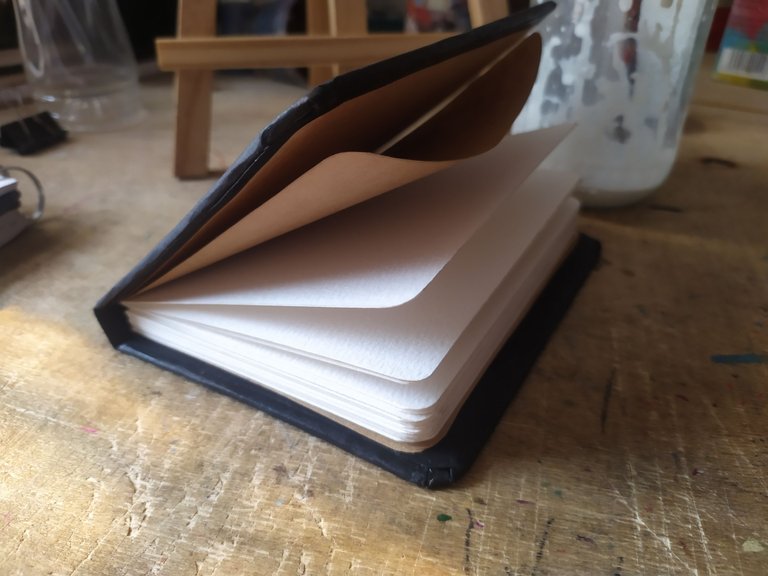
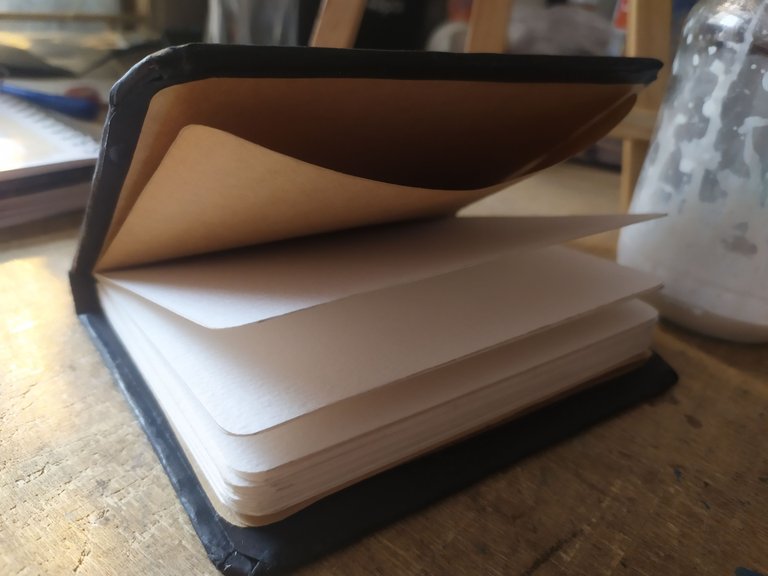
Si, después de tantos atajos se llega al resultado que se esperaba y era conseguir una pequeña libreta de hojas de acuarela.
Yes, after so many shortcuts, we reached the expected result, which was to get a small notebook of watercolor sheets.
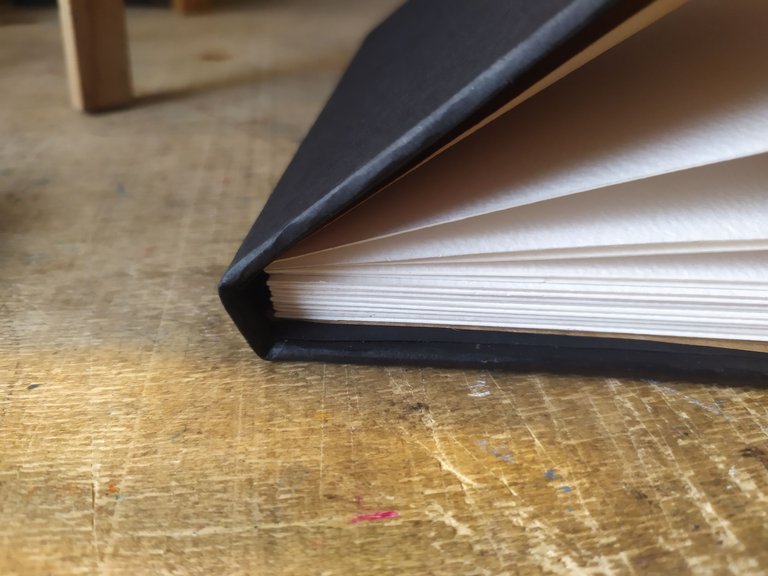
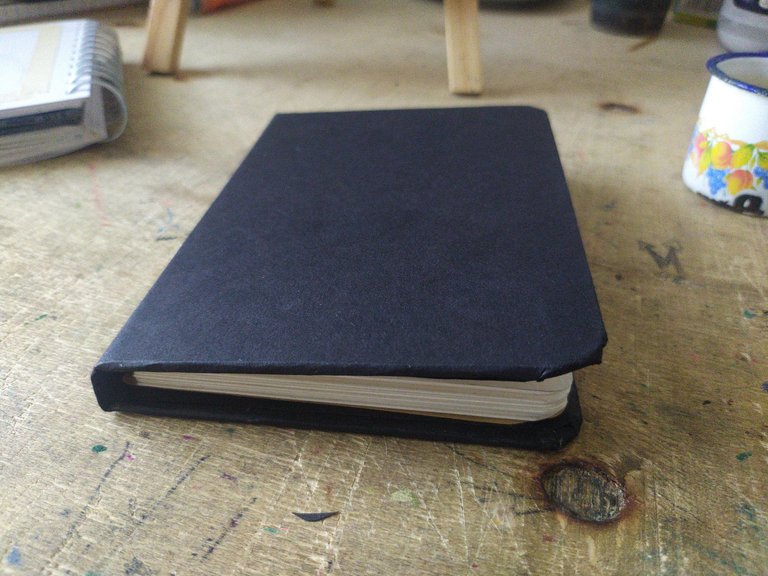
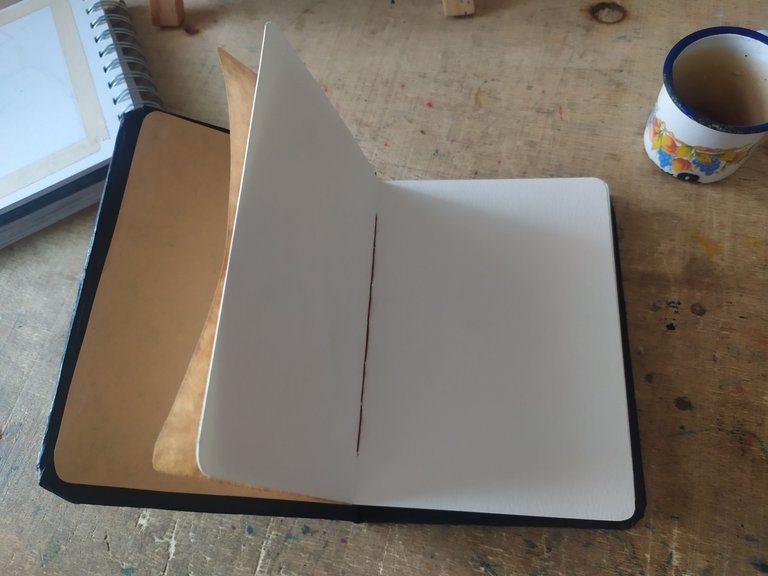
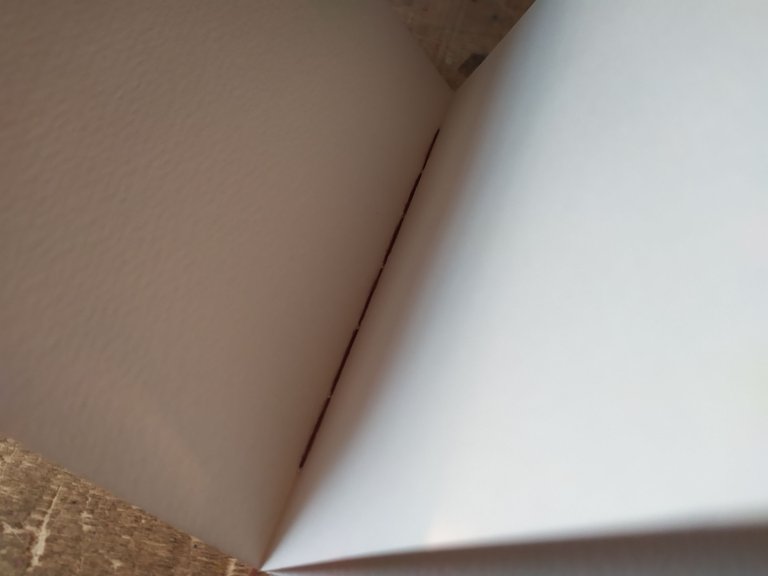
La libreta tiene sus detalles como por ejemplo que debí coserla con un hilo blanco para que visualmente no estorbe al abrir las hojas o también la forma en que pegue la portada que hizo que de un lado tenga menos apertura, pero en resumidas cuentas estoy feliz con el resultado.
The notebook has its details, for example I had to sew it with a white thread so that it doesn't visually get in the way when opening the pages or also the way I glued the cover that made it less open on one side, but all in all I'm happy with the result.
A pesar de todos los tropiezos que tuve para hacer esta libreta disfrute mucho del proceso. Si, entiendo que pude darme una pasada a un video de YouTube para refrescar el conocimiento que esta allí guardado en mi memoria, pero gracias a eso puedo compartir contigo esta manera de como no hacer una libreta.
Despite all the stumbles I had to make this notebook I really enjoyed the process. Yes, I understand that I could have taken a trip to a YouTube video to refresh the knowledge that is stored there in my memory, but thanks to that I can share with you this way of how not to make a notebook.
Todas las fotografías aquí expuestas son de mi autoría y fueron tomadas desde un teléfono Xiaomi Redmi note 7. La imagen de portada ha sido elaborada en Canva.
All the photographs shown here are of my authorship and were taken from a Xiaomi Redmi note 7 phone. The cover image was created in Canva.

Espero llenar estas hojas de mis aventuras viajeras y si es así, te lo compartiré luego, mientras tanto chao.
I hope to fill these pages with my travel adventures and if so, I'll share it with you later, in the meantime bye.
Ay cuantos recuerdos, tengo ganas de hacerme una. Excelente trabajo 👏
Si, me lleva a los primeros semestres de la universidad y a Yetsi explicandome como coser una libreta 😅
Congratulations, your post has been curated by @dsc-r2cornell. You can use the tag #R2cornell. Also, find us on Discord
Felicitaciones, su publicación ha sido votada por @ dsc-r2cornell. Puedes usar el tag #R2cornell. También, nos puedes encontrar en Discord
Pensé que iba a quedar terrible, y quedó terriblemente bien para lo que supuse sería el resultado😂👏
Jajaja tiene sus fallas pero no quedó como un producto inutilizable 😅
From Venezuela, our witness drives decentralization and the adoption of Web3 technology, creating opportunities for the local community and contributing to the global ecosystem. // Desde Venezuela, nuestro testigo impulsa la descentralización y la adopción de la tecnología Web3, generando oportunidades para la comunidad local y contribuyendo al ecosistema global.
Sigue, contacta y se parte del testigo en: // Follow, contact and be part of the witness in:
Me dio mucha risa el como no hacer una libreta, pero lo bueno es que nos diste los detalles de los errores cometidos. Gracias por compartir 🤘🏾😎 @arteyviajes Que en tus viajes hagas bellos dibujos en esa libreta.
Jajaj si es que definitivamente tenía que compartir todos los errores que cometí haciendo está libreta 😅
Congratulations @arteyviajes! You have completed the following achievement on the Hive blockchain And have been rewarded with New badge(s)
Your next target is to reach 1750 upvotes.
You can view your badges on your board and compare yourself to others in the Ranking
If you no longer want to receive notifications, reply to this comment with the word
STOPCheck out our last posts:
Creo que el proceso es complicado, al menos para algunos tan manazas como soy yo. Me ha gustado ver todo el proceso y la libreta ha quedado muy bien.
Saludos @arteyviajes
Muchas gracias @enraizar tienes que intentarlo en algún momento 😅 saludos!
Lo intentaré... dame tiempo 😄!
Wow bella todo el trabajo que lleva hacerla 😱, es admirable que habilidad tienes💛
Definitivamente ahora las voy a cuidar más 😍😜
Sii, hacer una libreta de forma artesanal tiene su trabajo 🙌