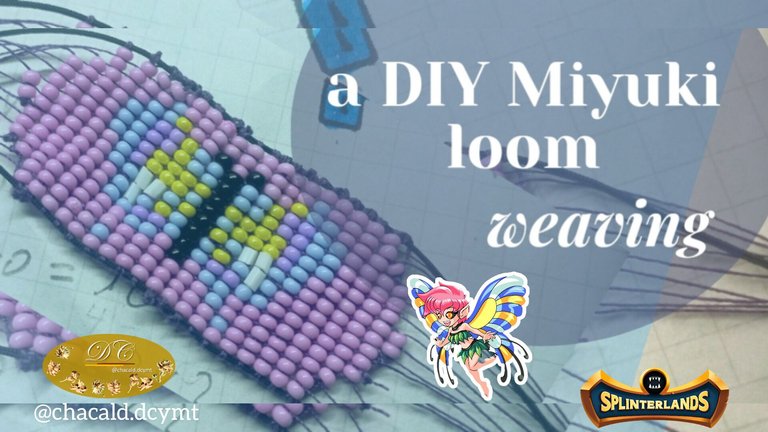
Greetings friends who love handicrafts! I welcome you once again to my DC DIY workshop. Today I'd like to share with you a project I've been working on, it's a Miyuki weaving with DIY loom inspired by Enchanted Pixie from Splinterlands. Join me and I'll show you the whole creative process.
¡Saludos amigos amantes de las artes manuales! Les doy la bienvenida una vez más a mi taller Bricolaje DC. Hoy me gustaría compartirles un proyecto en el que he estado trabajando, se trata de un tejido en Miyuki con telar DIY inspirados en Enchanted Pixie de Splinterlands. Acompáñenme y les enseño todo el proceso creativo.
The material
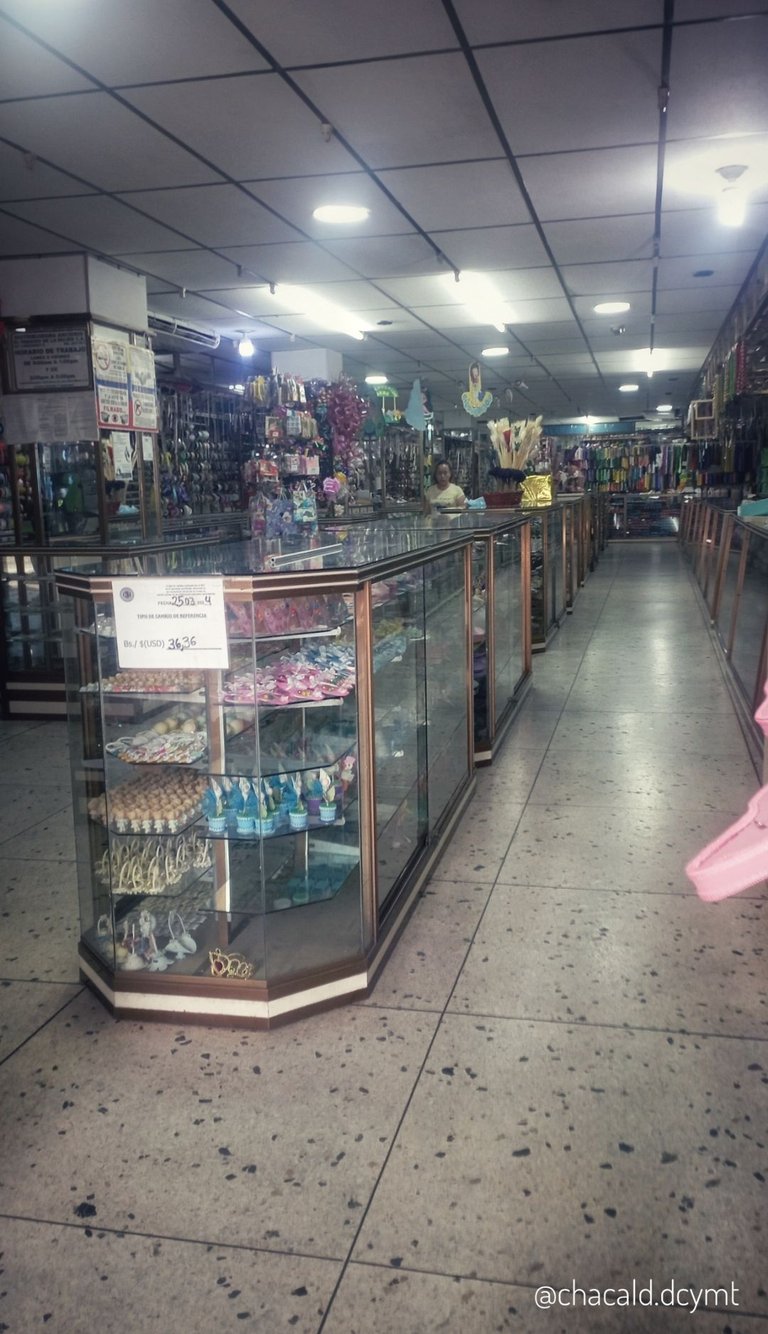
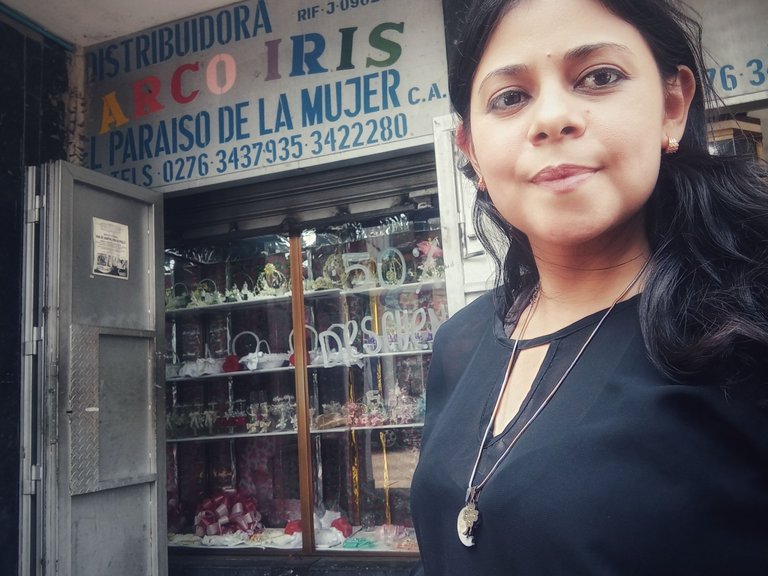
Let's start at the beginning, a few days ago while walking through the center of my city, I saw the Mercería Arcoiris el paraiso de la mujer this incredible place has years of being the great supplier of all the artisans of the region.
Its huge aisles full of raw materials for handicrafts make this place a real paradise. I remember my grandmother telling us about this place, she used to come here to buy thread and sequins to embroider her children's clothes.
El material
Comencemos por el principio, hace unos días mientras caminaba por el centro de mi ciudad, vi la mercería Arcoiris el paraiso de la mujer este increíble lugar tiene años de ser el gran proveedor de todos los artesanos de la región.
Sus inmensos pasillos llenos de materia prima para las manualidades hacen de este realmente un paraiso. Recuerdo que mi abuela nos contaba de este lugar, venía a comprar hilo y lentejuelas para hacer bordados en la ropa de sus hijos.
 |  |
|---|
Imagine the amount of time this place has been here.
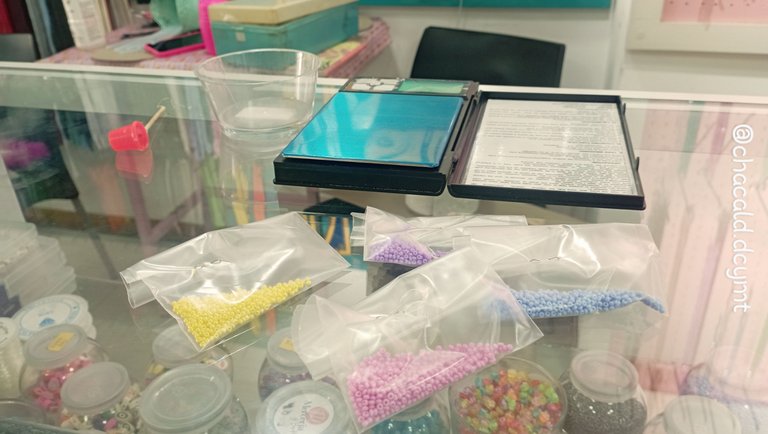
I got a deal on 5 grams of any color mustard clay for $0.5. I took advantage of it and bought several colors for various projects, threads, rings and necklace pins. The bill came to $10.
If there is one thing I learned as a child with my grandmother and I still put into practice is to buy quality things at a lower price, take advantage of bargains and not waste material.
Imagínense la cantidad de tiempo que lleva este lugar aquí.
Conseguí una oferta de 5 gramos de mostacilla de cualquier color en 0.5$. aproveché de comprar varios colores para varios proyectos, hilos, argollas y pasadores para collar. La factura fue de 10$.
Si algo aprendí de niña con mi abuela y todavía pongo en práctica es comprar a un menor precio cosas de calidad, aprovechar ofertas y no desperdiciar material.
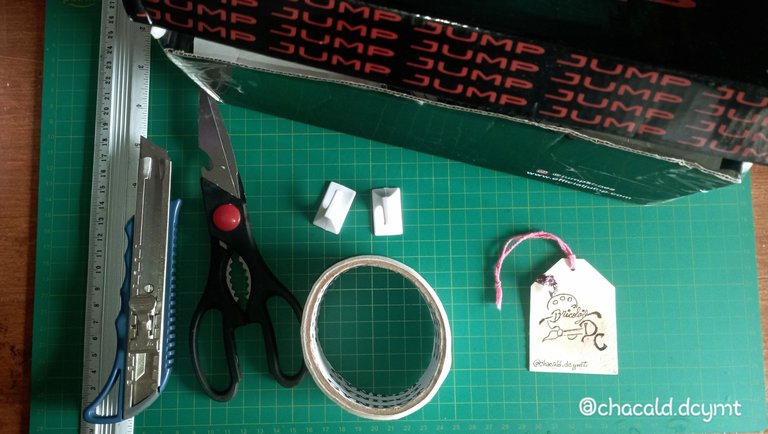
The loom
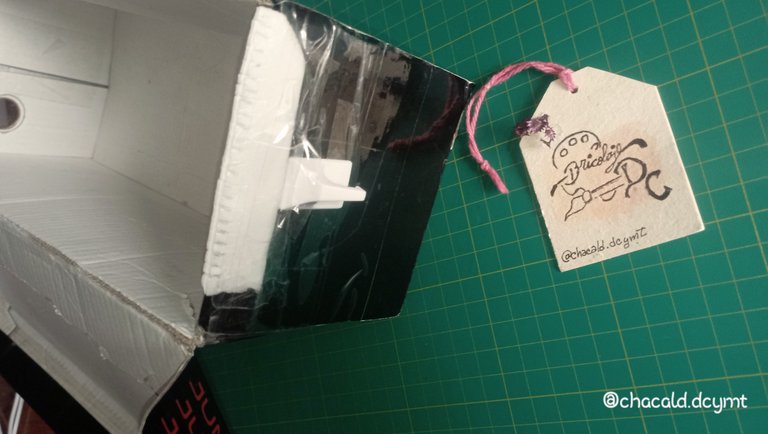
To make my own loom I used a shoe box, 2 pieces of polyfoam or compressed anime (the one from the take-out trays), 2 plastic coat hanger hooks, tape, scissors, pencil, cutter, measuring ruler.
El telar
Para fabricar mi propio telar utilice una caja de zapatos, 2 trozos de poliespuma o anime comprimido (el de las bandejas de comida para llevar), 2 ganchos de plástico tipo perchero, cinta adhesiva, tijera, lápiz, cutter, regla métrica.
I started by cutting 2 pieces of polyfoam or compressed anime, I cut it out of the take-out tray.
Comencé por cortar 2 trozos de poliespuma o anime comprimido, la recorté de la bandeja de comida para llevar.
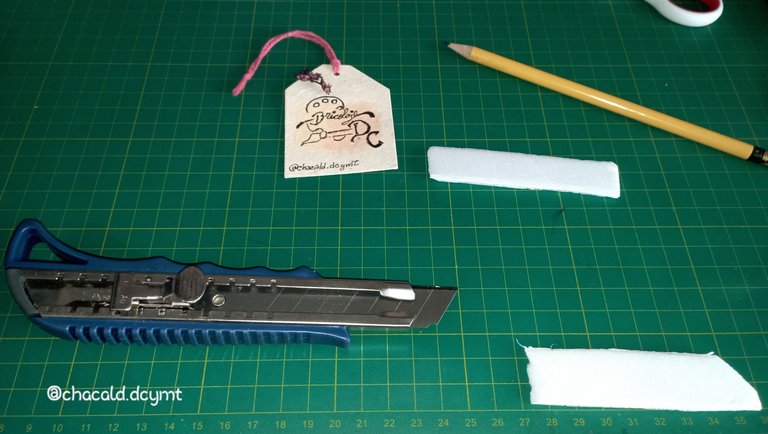
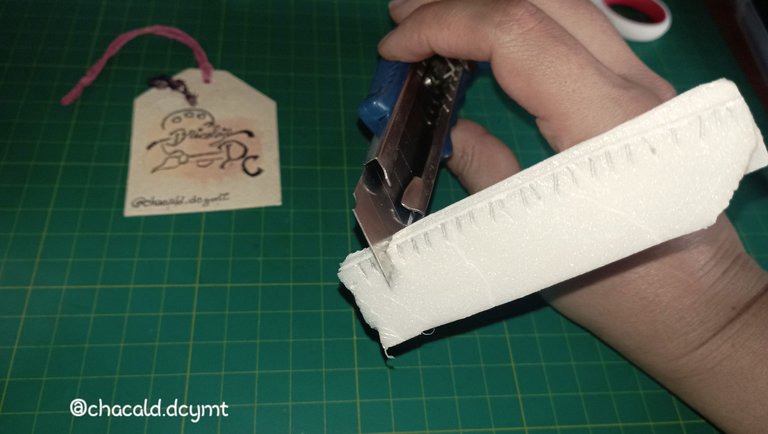
I marked with the pencil and the metal ruler points 3 millimeters apart on one end of each piece of polyfoam. Then I made small cuts like slits in each mark.
Marqué con el lápiz y la regla metálica puntos a 3 milímetros de distancia en uno de los extremos de cada trozo de poliespuma. Luego hice cortes pequeño como hendiduras en cada marca.
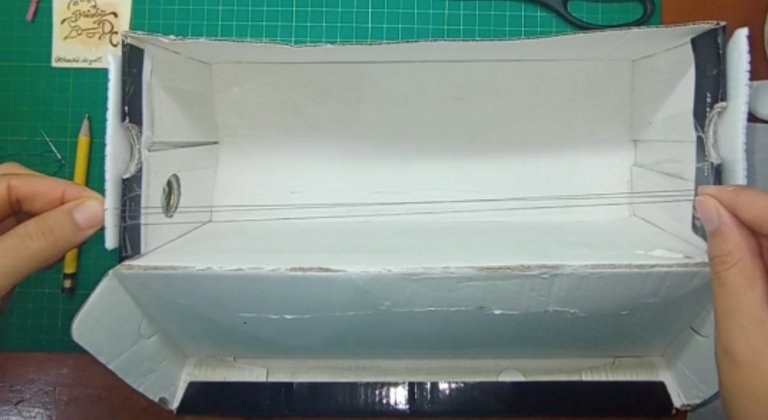
With the adhesive tape I glued on each side of the box a hook in the opposite direction of how it is always used, that is, upside down. And on the hook I glued the piece of polystyrene.
On the hooks we will hold the threads and on the polyfoam supports we will place the strands to give shape to the fabric.
Con la cinta adhesiva pegué a cada lado de la caja un gancho en el sentido contrario de como se utiliza siempre, es decir, de cabeza. Y sobre el gancho pegué el trozo de poliespuma.
En los ganchos vamos a sujetar los hilos y en los soportes de poliespuma acomodaremos las hebras para darle forma al tejido.
With the loom ready, we can now proceed to work with the bead weaving.
Con el telar listo, ya podemos proceder a trabajar con el tejido de mostacillas.
The pattern
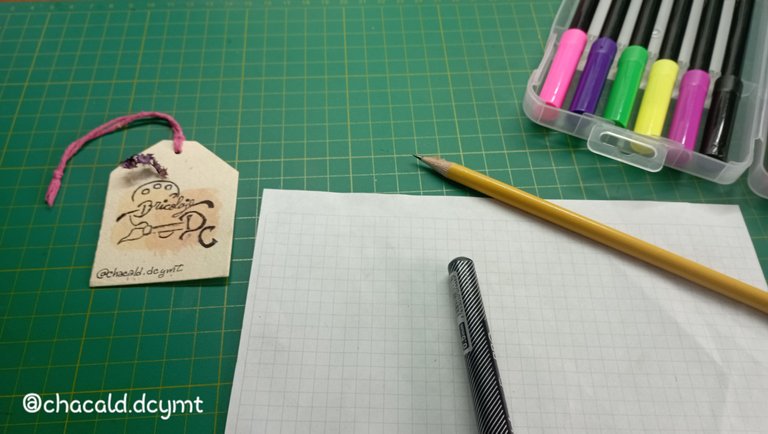
To work with the loom we must have a pixel pattern of the design we are going to weave. For this we need a grid sheet, pencil, black ink pen and fine tip markers.
El patrón
Para trabajar con el telar debemos tener un patrón en pixeles del diseño que vamos a tejer. Para esto necesitamos una hoja cuadriculada, lápiz, bolígrafo de tinta negra y marcadores punta fina.
This time I wanted to take the beautiful Enchanted Pixie card from Splinterlands and make a simple butterfly for a bracelet.
En esta oportunidad quise tomar la bella carta de Enchanted Pixie de Splinterlands y hacer una sencilla mariposa para una pulsera.

Source/Fuente
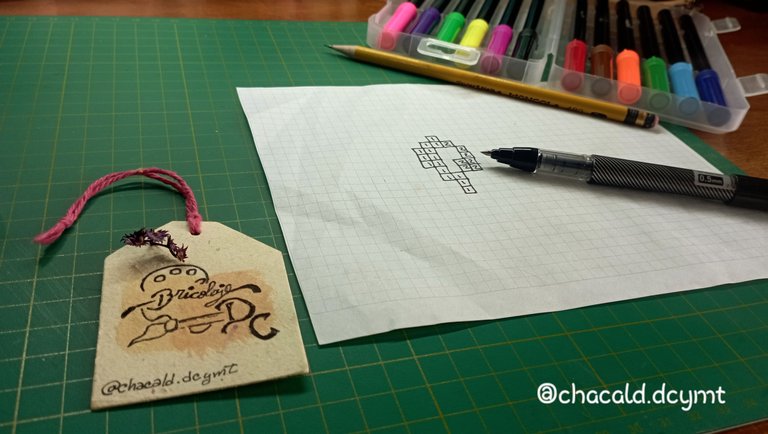
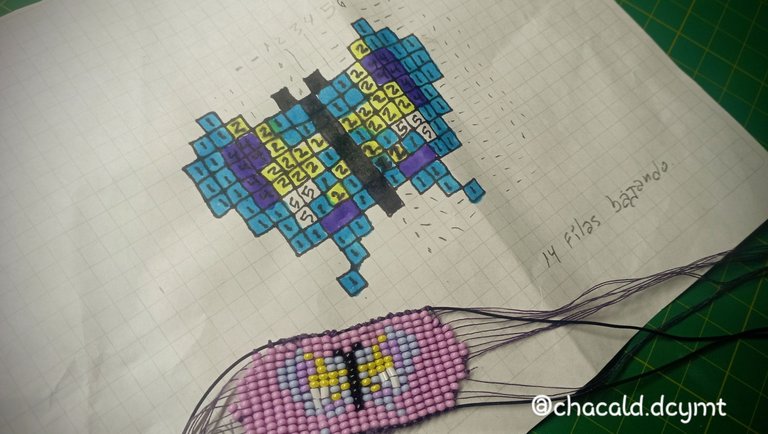
I started by making the squares with the pen and assigned numbers to the colors, this way I can use the same design in different colors.
Comencé haciendo los cuadritos con el bolígrafo y asigné números a los colores, de esta manera puedo utilizar el mismo diseño en diferentes colores.
 |  |
|---|
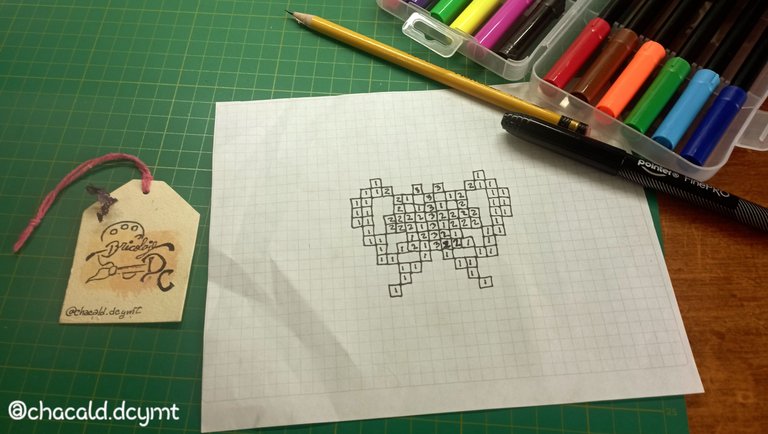
I painted the pattern drawing according to the mustard colors I bought. And the result was as follows:
Pinté el dibujo del patrón según los colores de mostacilla que compré. Y el resultado fue el siguiente:
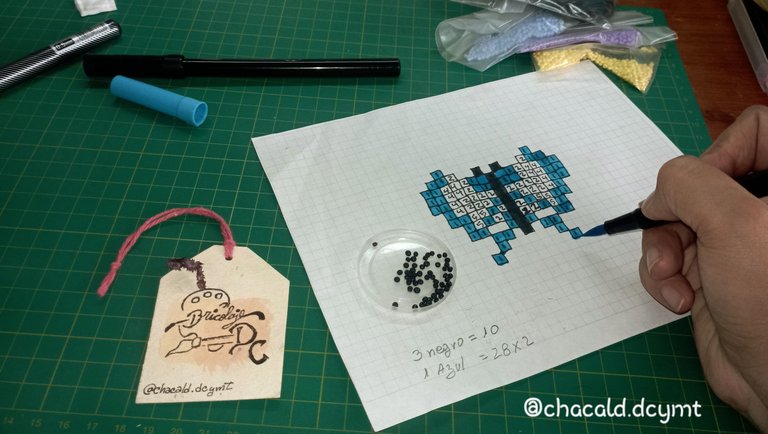
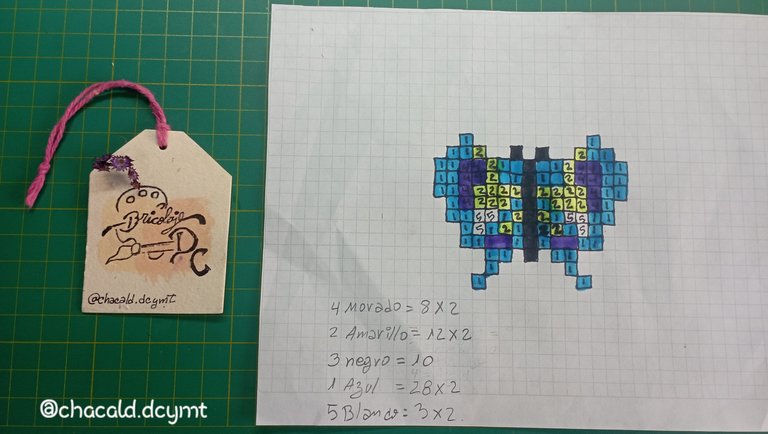
I like to count how many beads I will need of each color, so I can better manage the inventory of material I will use. Now that we have the pattern, we are ready to begin weaving.
Me gusta contar cuantas mostacillas voy a necesitar de cada color, así puedo manejar mejor el inventario de material que voy a utilizar. Ya con el patrón, estamos listos para comenzar el tejido.
The weaving
To start weaving we must have yarn, Chinese thread, beads and bead needle. In some places they call them Miyuki.
The first thing we will do is to mount the thread on the loom. Counting how many spaces according to the design. The butterfly has 14 spaces, so I need to mount 14 strands. The idea is to keep them tight to make weaving easier.
El tejido
Para comenzar a tejer debemos tener hilo, hilo chino, mostacillas y aguja para mostacillas. En algunos lugares les dicen Miyuki.
Lo primero que haremos será montar el hilo en el telar. Contando cuantos espacios según el diseño. La mariposa lleva 14 espacios, por lo que necesito montar 14 hebras. La idea es que queden bien tensas para facilitar el tejido.
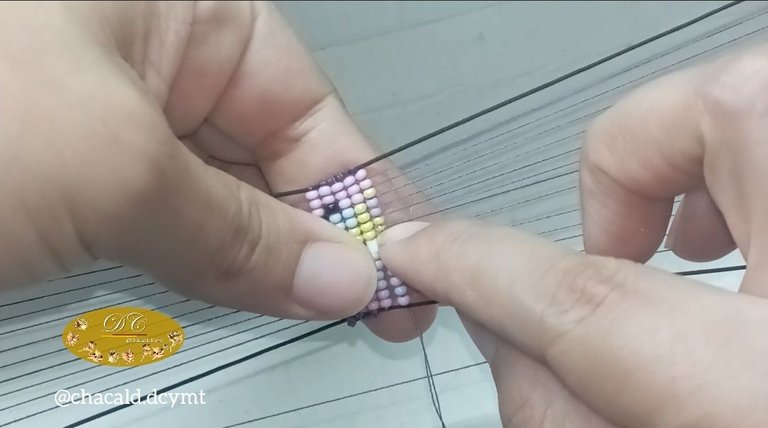
Then we place a double strand of yarn and knot in the center. We are going to work line by line vertically of our design.
We count the beads and pass them under the loom. I show you a more advanced line so you can see it better
Luego colocamos una hebra doble de hilo y anudamos en el centro. Vamos a trabajar línea por linea en vertical de nuestro diseño.
Contamos las mostacillas y pasamos por debajo del telar. Les enseño una línea más avanzada para que se aprecie mejor.
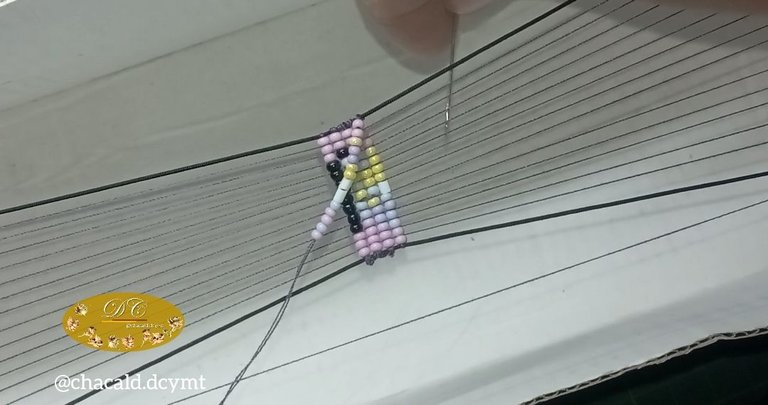
We place each bead between 2 threads trying to form the grid as in the sheet.
Acomodamos bien cada mostacilla entre 2 hilos tratando de formar la cuadricula como en la hoja.
Then we pass the needle through the front and through each of the beads.
Luego pasamos la aguja por el frente y por cada una de las mostacillas.
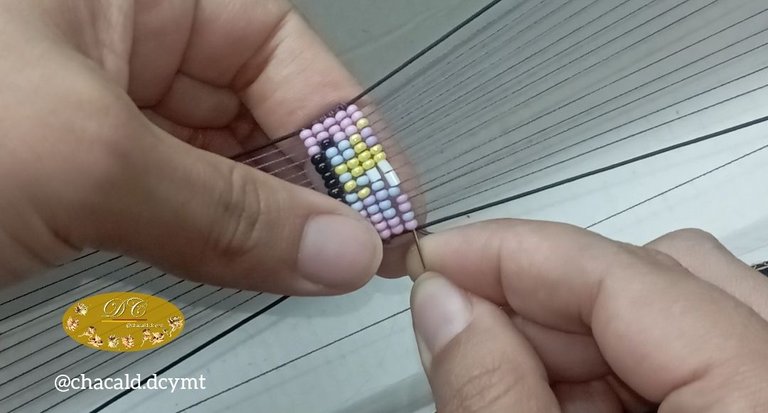
It is really simple if you follow these 2 steps: pass the row of stitch underneath and come back with the needle on top.
Es realmente sencillo si se sigues esos 2 pasos: pasamos la fila de mostacilla por debajo y regresamos con la aguja por encima.
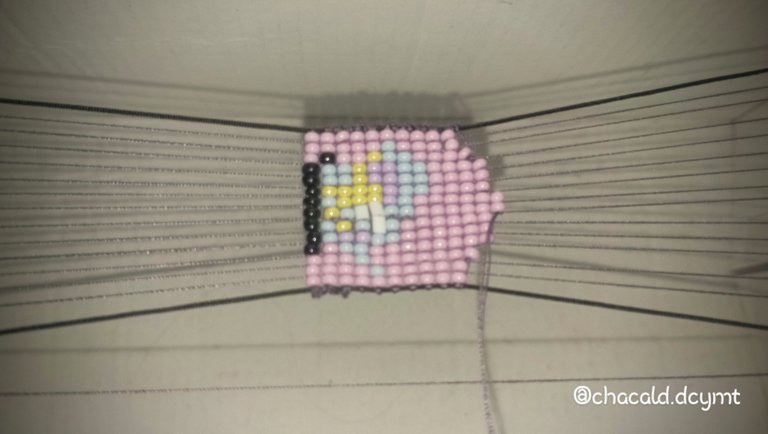
Continuing the weaving until the butterfly is finished. I really enjoyed working with these colors and I loved the final result. Now with my loom I can create Miyuki weavings quickly and easily.
Continuando el tejido hasta terminar la mariposa. Me gustó mucho trabajar con estos colores y el resultado final me encantó. Ahora con mi telar puedo crear tejidos de Miyuki de forma rápida y sencilla.
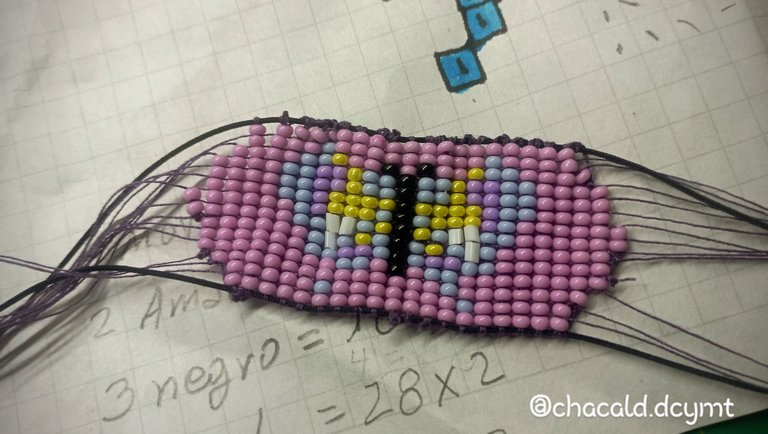
I can tell you that Miyuki weaving with loom, after you understand the 2-step procedure, is so fast and easy. Compared to weaving without loom which takes a little longer to make the knots in brick shape. I am happy to be able to unlock another material to create crafts.
I hope you like this post, I hope you find it useful and I'll see you next time. Bye!
Les puedo decir que el tejido de Miyuki con telar, después que se entiende el procedo de los 2 pasos, es tan rápido y fácil. Comparado con el tejido sin telar que demora un poco más para hacer los nudos en forma de ladrillo. Estoy feliz por lograr desbloquear otro material para crear manualidades.
Espero les guste esta publicación, les sea de utilidad y nos vemos en una próxima oportunidad. Chao!

Original content by the author.
Resources: App: Canva / Giphy / Inshot
📷 Redmi 10 Smartphone
Translation done with Deepl.com
✿ All Rights Reserved || © @chacald.dcymt 2024✿
💌 Discord: chacald.dcymt#3549
X: @chacald1
Reddit: chacald
_
Contenido original del autor.
Recursos: App: Canva / Giphy / Inshot
📷 Redmi 10 Smartphone
Traducido con Deepl.com
✿ Todos los Derechos Reservados || © @chacald.dcymt 2024✿
💌 Discord: chacald.dcymt#3549
X: @chacald1
Reddit: chacald
Posted Using InLeo Alpha
Posted Using InLeo Alpha
Hermosa artesanía, tengo que aprender esa técnica, gracias querida por compartir tan hermoso trabajo , feliz día 🌹🌷💐🌺🌼🌸🪻💮🌻🥀🪷☘️
Beautiful craft, I have to learn that technique, thank you dear for sharing such beautiful work , happy day 🌹🌷💐🌺🌼🌸🪻💮🌻🥀🪷☘️
Es muy sencillo después que agarras el ritmo en cuestión de unos minutos montan cualquier diseño....y puedes hacer tu propio telar 😊👍🏽.... Gracias por apoyar mi publicación. Un abrazo 😘💜
!HUG
It's very simple after you get the hang of it in a matter of a few minutes assemble any design....and you can make your own loom 😊👍🏽.... Thank you for supporting my publication. A hug 😘💜
I sent 1.0 HUG on behalf of @chacald.dcymt.
(2/3)
Congratulations, your post has been added to Pinmapple! 🎉🥳🍍
Did you know you have your own profile map?
And every post has their own map too!
Want to have your post on the map too?
Thank you for your support
Hermosa creacion, una tecnica que requiere mucha paciencia y un buen pulso jaja admiro esos trabjos, te quedo muy bonito ❤️
Gracias 😊...lo mejor es que ya tengo el telar y puedo hacer un monton de tejidos fácilmente... Gracias por pasarte 💜🦉
!HUG
I sent 1.0 HUG on behalf of @chacald.dcymt.
(1/3)
https://reddit.com/r/blogs/comments/1c6dbw3/a_miyuki_weaving_with_diy_loom/
The rewards earned on this comment will go directly to the people( @chacald.dcymt ) sharing the post on Reddit as long as they are registered with @poshtoken. Sign up at https://hiveposh.com.
Excelente post con muchos datos para realizar la técnica, felicidades 👏
Gracias amiga..me costó un poco agarrar el ritmo. Después de De unos intentos fue rápido 🥰. Me encantó.
Gracias por apoyar mi publicación
Está muy bonita está técnica, hay que tener paciencia para hacerlo, pero el resultado lo vale, me gustó mucho, saludos. ☺️💚
Fue muy divertido cuando se fue formando la mariposa. Me encantó trabajar en este diseño.
¡¡¡Buen trabajo!!! Gracias por publicar tu excelente contenido en Hive Diy, me gusto mucho el estilo y los colores que usaste para hacer esta manualidad.
Tu comunidad artesana ahora es testigo

Muchas gracias por el apoyo... Disfruté mucho trabajando en este proyecto desde la selección de materiales hasta el resultado final. 😊.
Muy lindo tu telar me has dado una gran idea. Y me encantó la mariposa. 💞✨🌹
Que bueno... ojalá y pueda servirte la idea del telar DIY...el secreto es que las hebras de hilo estén muy tensas para evitar que se enrede el tejido. Gracias por el apoyo 😘💜
a community encouraging first-hand content, and each individual living their best life.
Thanks for the support @innerblocks and @dayadam
Que bonito trabajo, voy a buscar los materiales para hacerla
Que bonito y bueno este post, te quedo bien lindo. Felicidades por este nuevo reto desbloqueado.
Checkout our BDVoter Daily Hive Showcase & Participate into our Daily giveaway to win various prize.