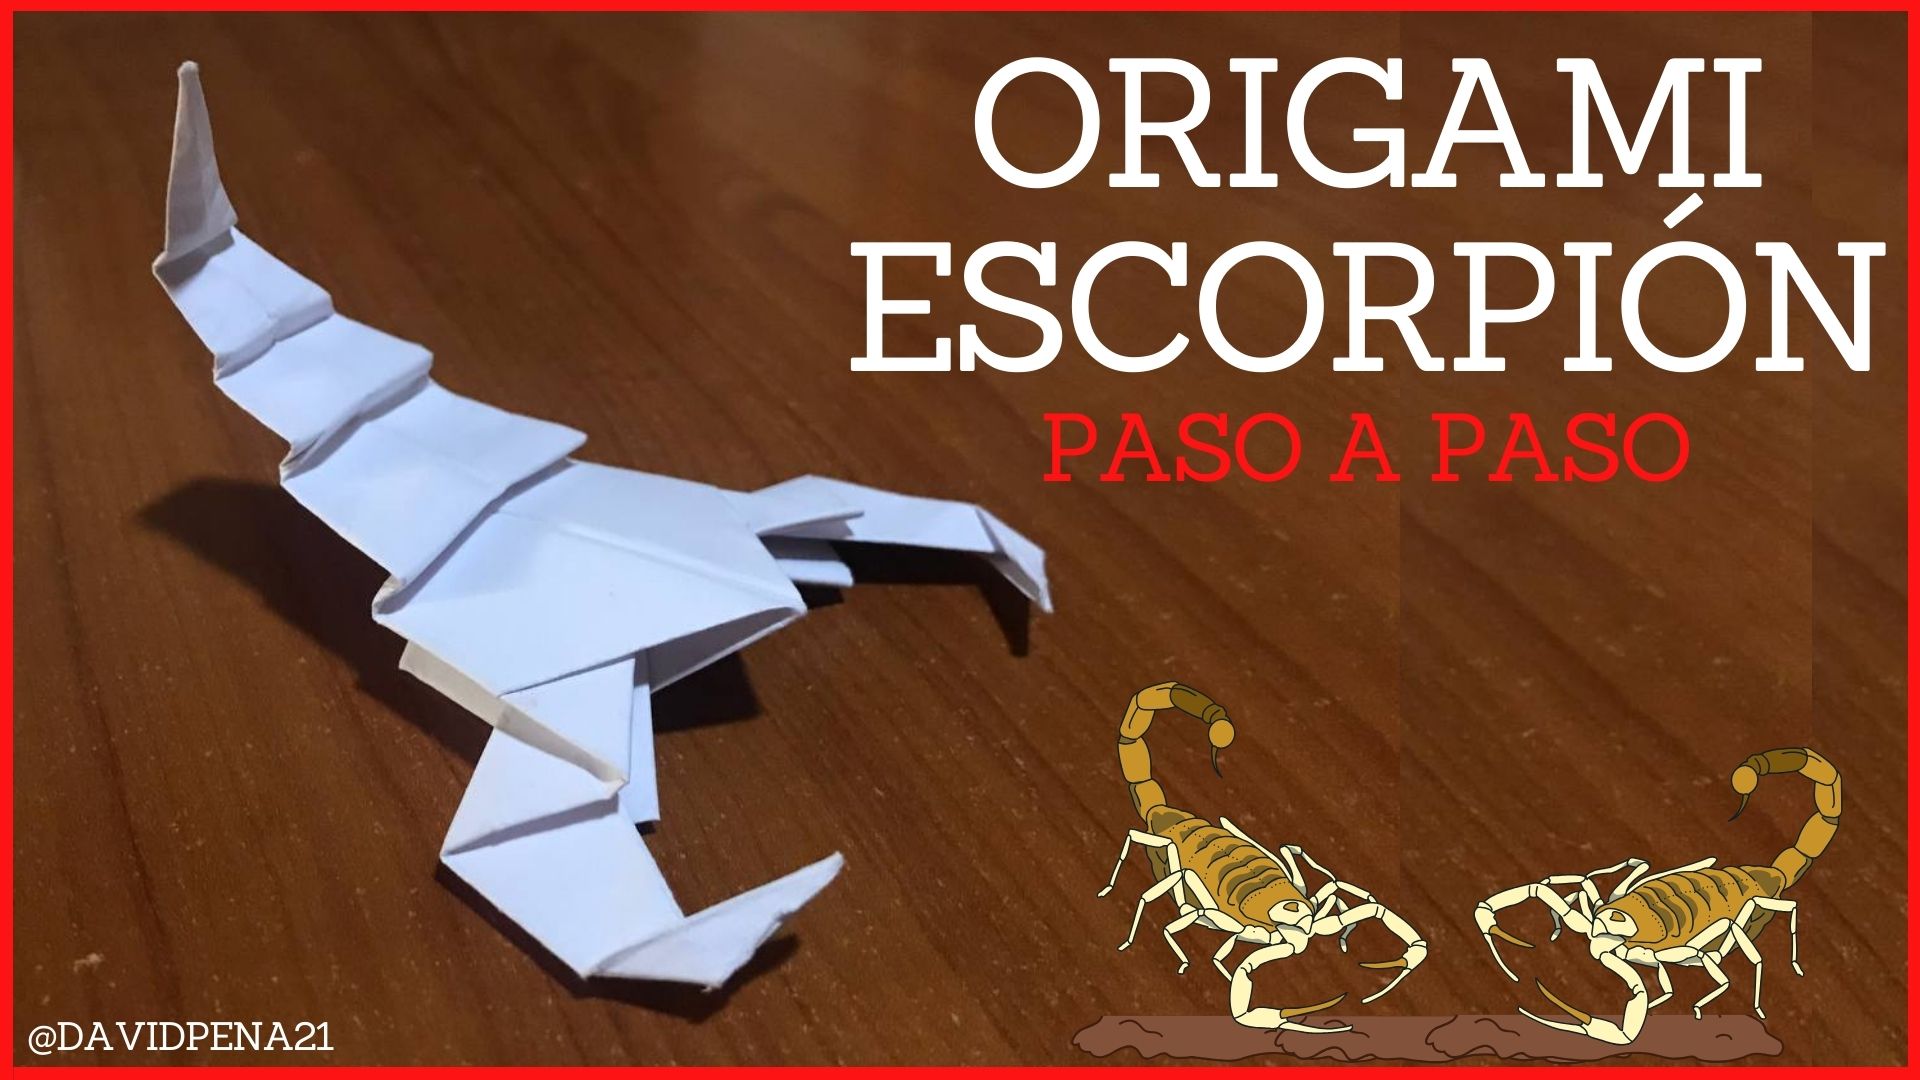
Greetings friends, I spent the weekend looking for some ideas to make using the paper technique and it turns out that there are still many things to do especially animals, as they are very nice and I like to recreate them, where I already have a large collection of them and another that some users asked me, so I will continue to demonstrate that great knowledge and patience I have to do much more origami. This time we are going to increase the difficulty a little bit, since we will make a big paper scorpion, being a very small and dangerous animal and there are many species of this animal, so this was a great challenge, for having to recreate each of the parts of this animal and in the end achieve a result as similar as possible. I hope you like it and do not miss the procedure.
Saludos amigos, pase el fin de semana buscando algunas ideas para hacer mediante la técnica de papel y resulto que aún quedan muchas cosas por hacer en especial animales, ya que son muy bonitos y me gusta poder recrearlos, donde ya tengo una gran colección de ellos y otro que me pidieron algunos usuarios, así que seguiré demostrado ese gran conocimiento y paciencia que tengo para hacer mucho más origamis. Esta vez vamos a subir un poco la dificultad, ya que haremos un gran escorpión de papel, siendo un animal muy pequeño, peligroso y existen muchas especies de ese animal, por ende este fue un gran desafío, por tener que recrear cada una de las partes de ese animal y al final lograr un resultado lo más parecido. Espero que les guste y no se pierdan el procedimiento.
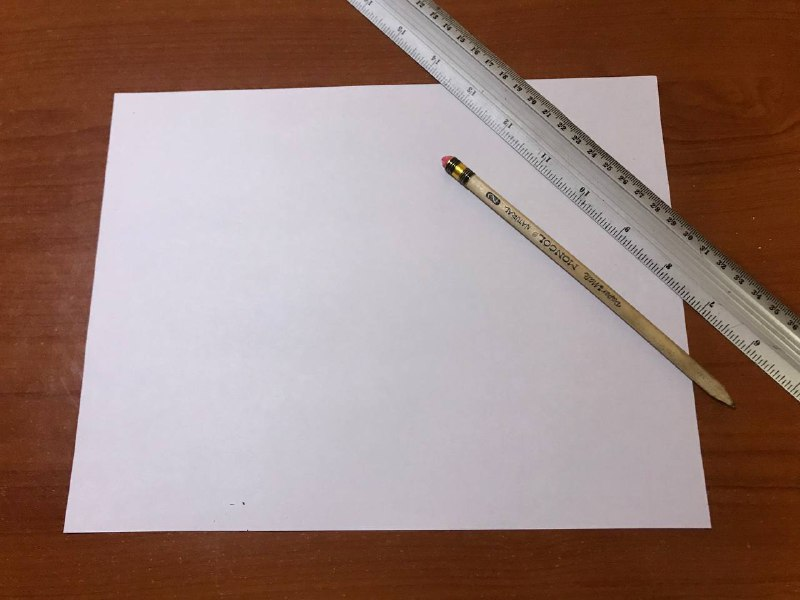
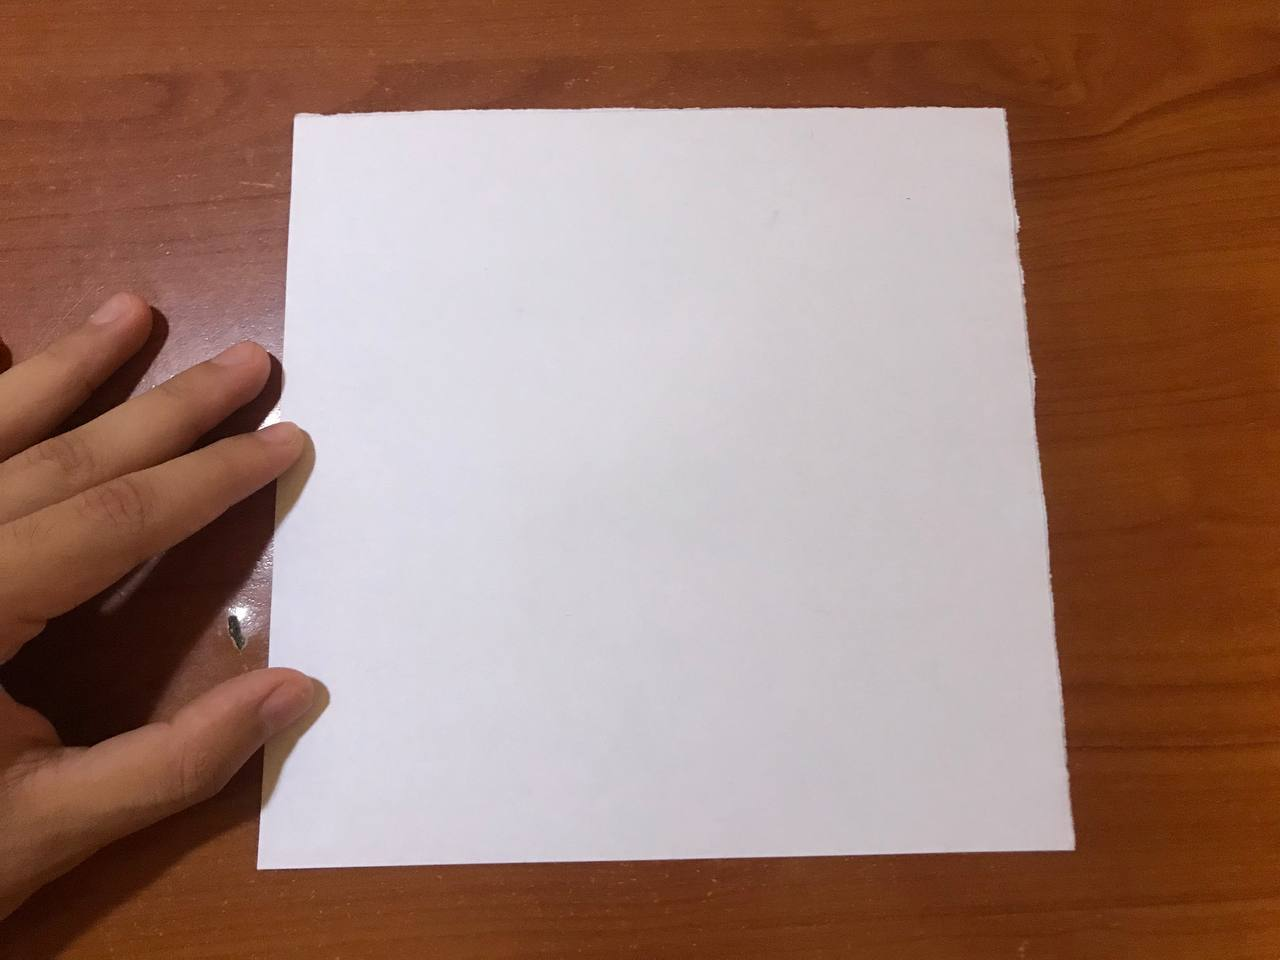
The first thing we will need to make this great figure of paper, will be a square sheet of any color of your choice and thus be able to start making the different doubles, we will also take the measures of 20 * 20 cm and with the help of the scissors we will cut it to make everything much easier and from here to be very careful in origami.
Lo primero que vamos a necesitar para realizar esta gran figura de papel, será una hoja cuadrada de cualquier color de su preferencia y de esa manera poder comenzar a realizar los diferentes dobles, además vamos a tomar las medidas de 20 * 20 cm y con la ayuda de la tijera lo vamos a cortar para que sea todo mucho más fácil y a partir de aquí tener mucho cuidado en el origami.
|
 |
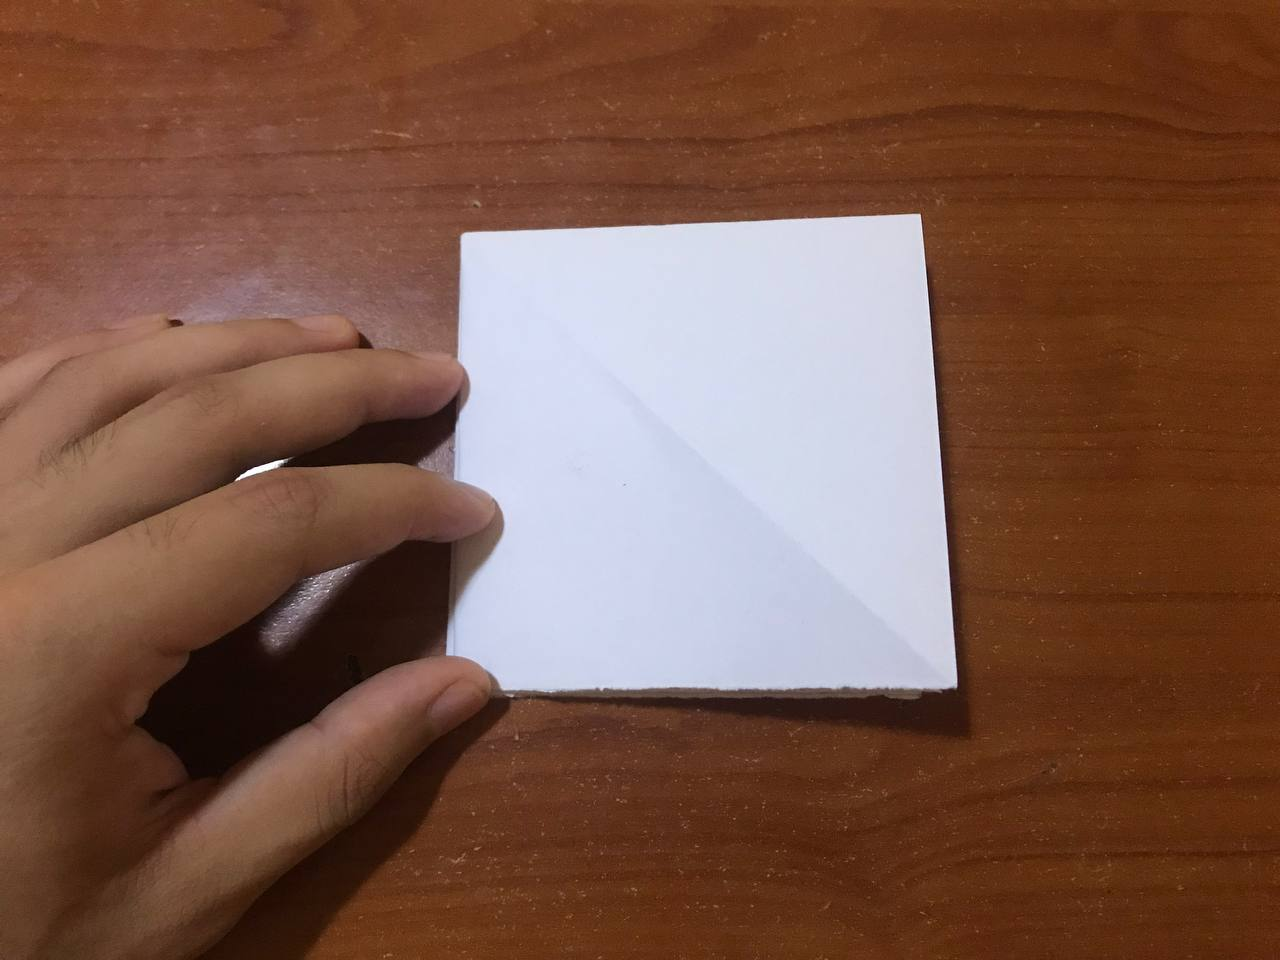
We are going to start folding the two diagonals of our sheet very carefully, in order to mark both lines, we are also going to fold the sheet vertically and horizontally, where the sheet will be completely divided, and then bring the ends of the sheet towards the center, pushing them a little so that they look like a kind of smaller square, flattening each edge very well.
Vamos a comenzar a doblar por las dos diagonales nuestra hoja con mucho cuidado, para así poder marcar ambas líneas, también vamos a doblar la hoja vertical y horizontal, donde nos quedara totalmente la hoja dividida, para luego llevar los extremos de la hoja hacia el centro empujándolos un poco para que queden como especie de un cuadrado más pequeño, aplastando muy bien cada borde.

|
 |
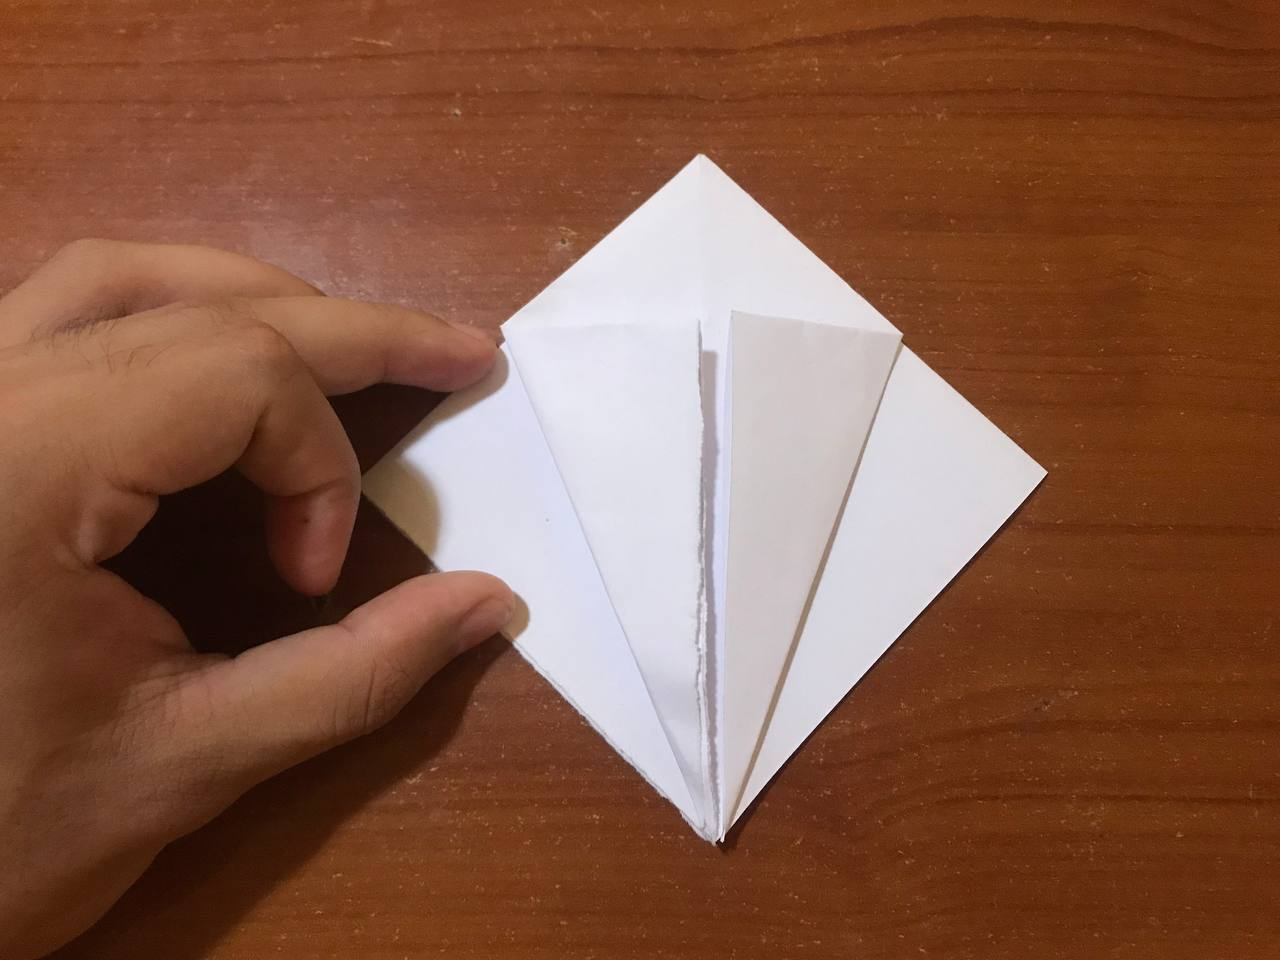
Then we take one of the ends of the leaf and we are going to fold it upwards, forming a kind of triangle on the leaf, being very careful at the ends so that it does not fall apart. Once it is folded, we open the leaf again and we will make a fold with that part of the leaf, taking it inwards and folding it all at once, as shown in the pictures. We are going to repeat this on the other side of the sheet, very carefully, and at the end we will have a big rhombus, where little by little the big scorpion will take shape.
Luego tomamos uno de los extremos de la hoja y lo vamos a doblar hacia arriba, formando especie de un triángulo en la hoja, teniendo mucho cuidado en las puntas para que no se desarme. Una vez que se halla doblado, volvemos a abrir la hoja y haremos un pliegue con esa parte de la hoja, llevándola hacia adentro y doblando de una sola vez y como se nota en las fotos. Esto mismo lo vamos a repetir en la otra cara de la hoja, con mucho cuidado, y al final nos quedará un gran rombo, donde poco a poco irá tomando forma ese gran escorpión.
|
 |
|
 |
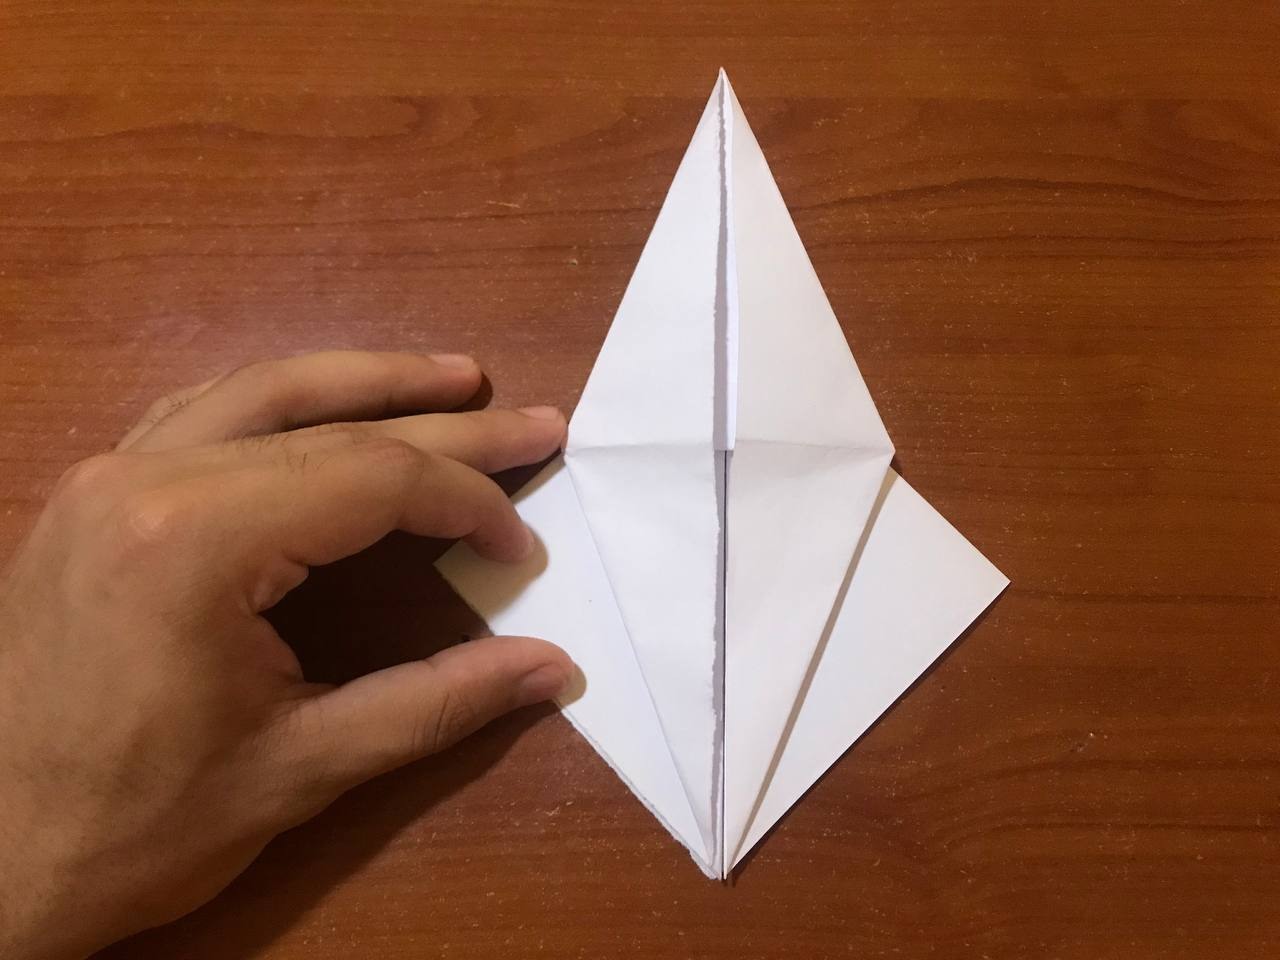
Once that is done, we fold each of the ends of the sheet back to the center, where things will get a little more complicated. When we have to handle the paper, we fold both sides of the sheet, flattening everything very well. Right there we are going to take the ends of the sheet, to fold them to one side, with a small inclination in the fold, which will be the scorpion's tweezers.
Una vez listo eso, volvemos a doblar cada uno de los extremos de la hoja hacia el centro, donde las cosas se irán poniendo un poco más complicadas. Al momento de tener que manejar dicho papel, doblamos en ambas caras de la hoja, aplastando todo muy bien. Allí mismo vamos a tomar las puntas de la hoja, para doblarlas hacia un lado, con una pequeña inclinación en el doblez, la cual esta serán las pinzas del escorpión.
|
 |
|
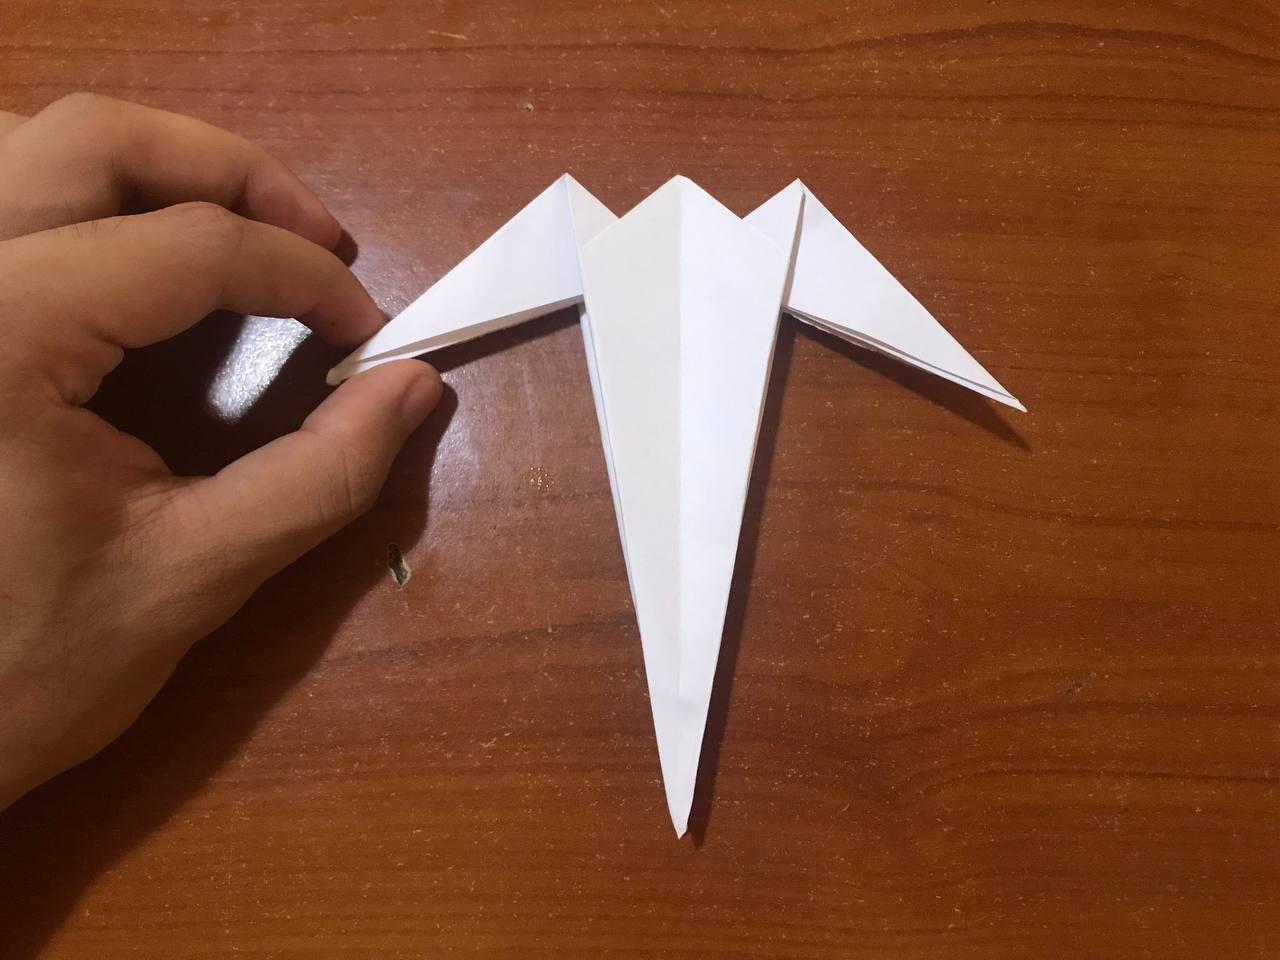 |
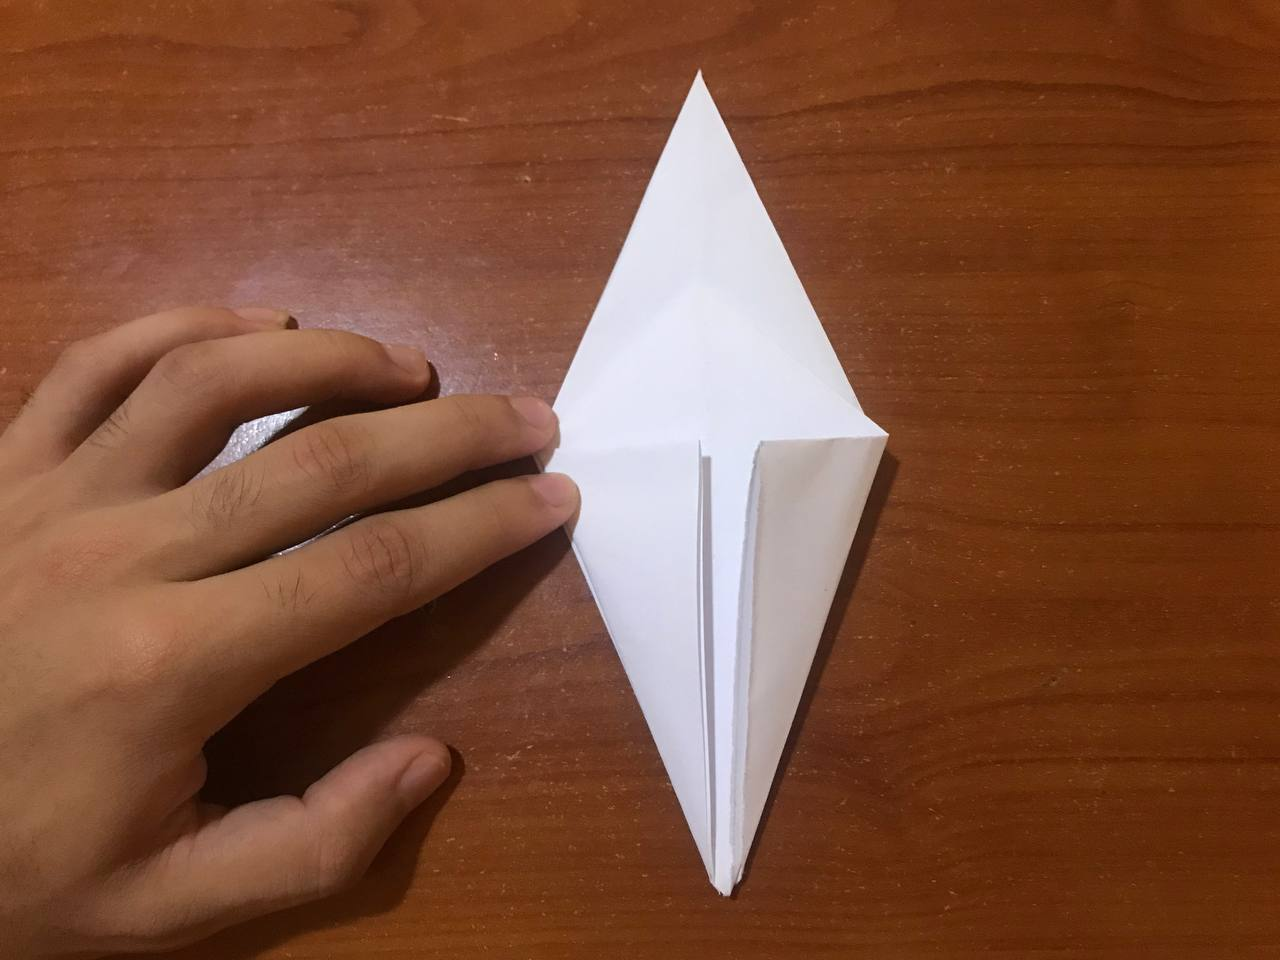
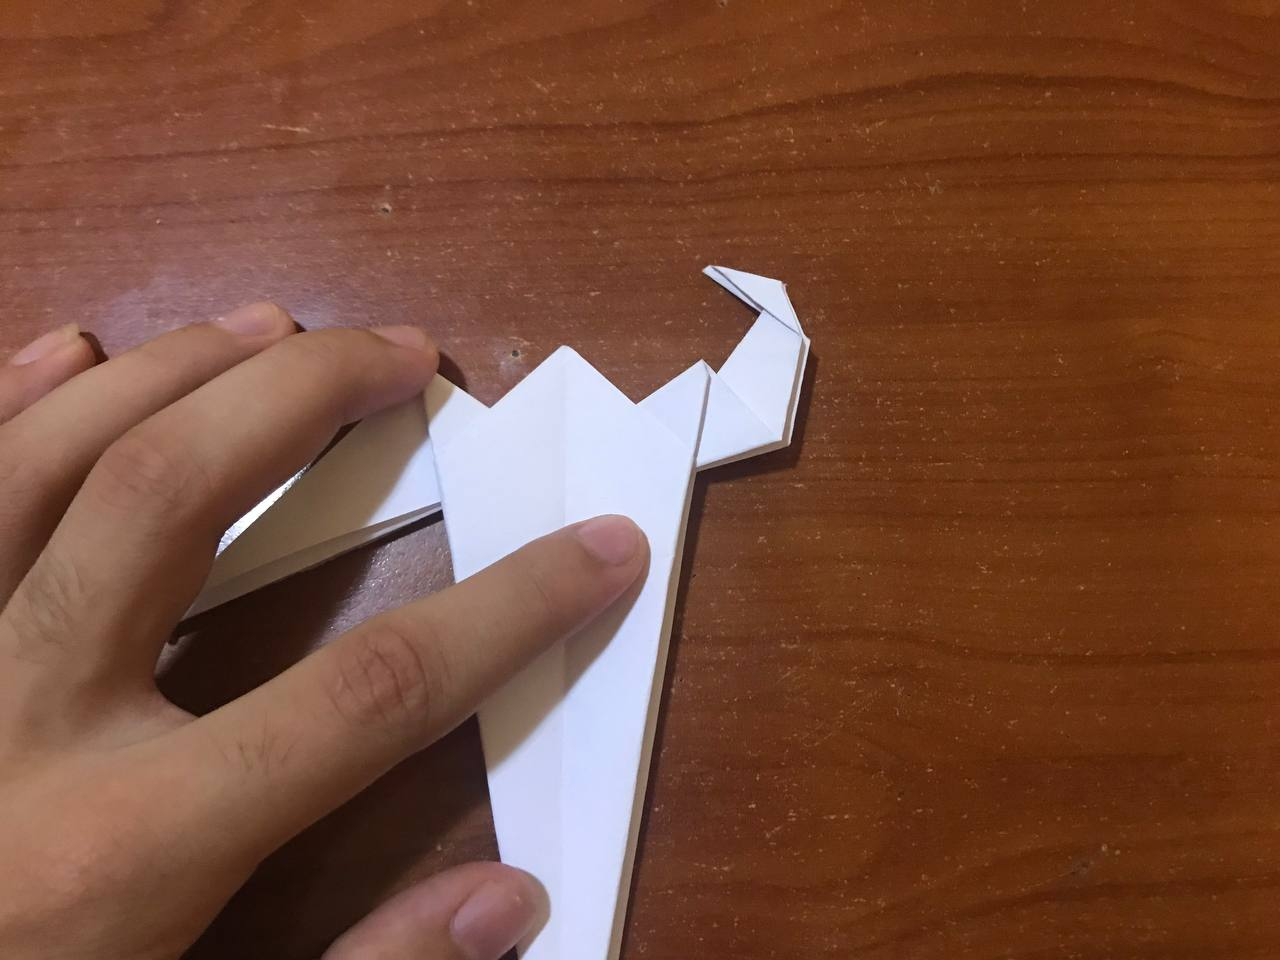
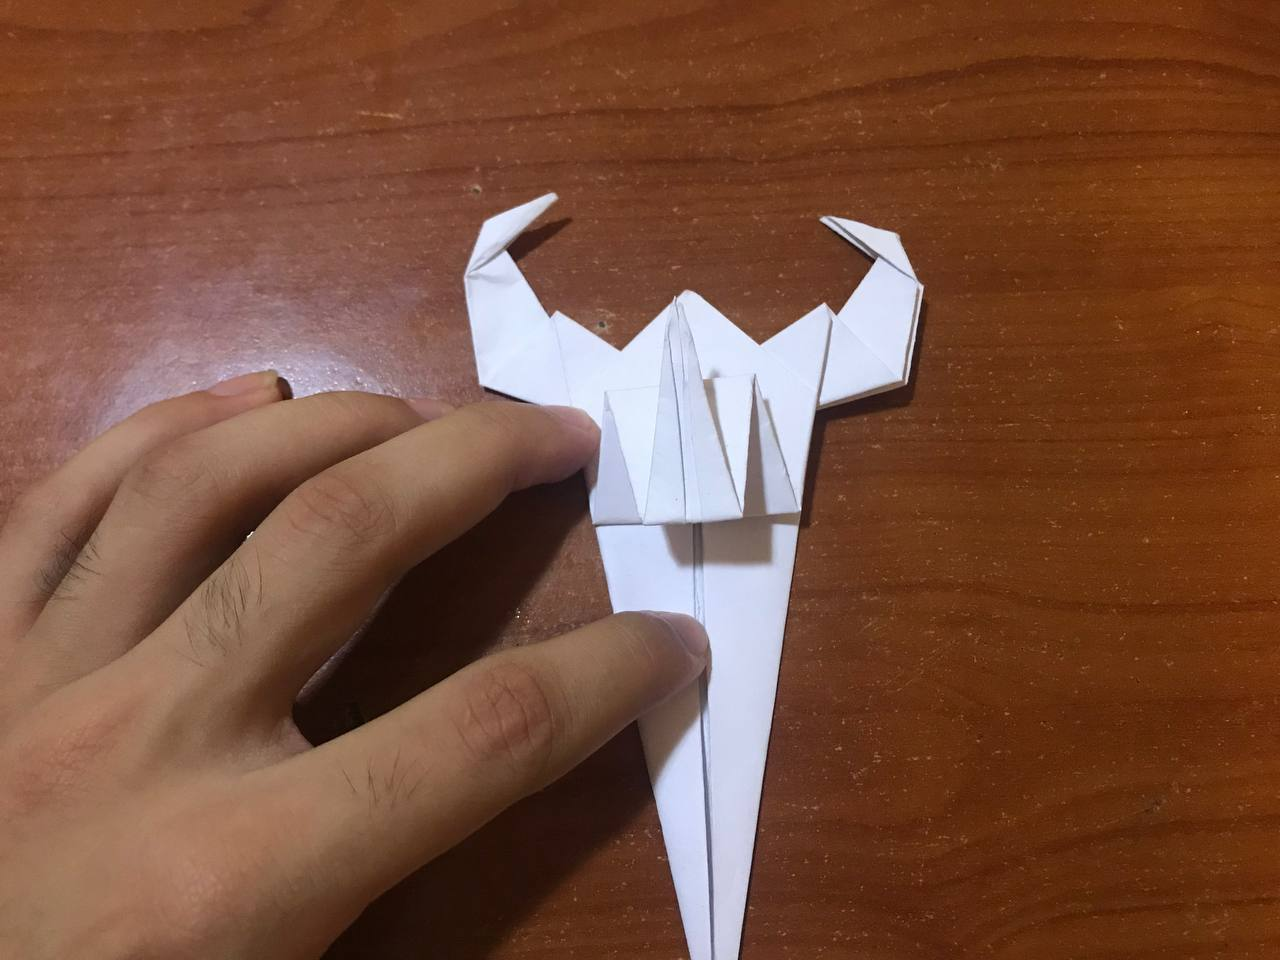
Next, we take each of the scorpion pincers and we are going to make a small fold upwards in order to give it shape, so that it is very well and at the tip we will also make another fold to one side and in that way we will be ready the first pincer. Repeat this step on the other scorpion pincer and you will notice that this big paper figure is taking shape.
Seguidamente, tomamos cada una de las pinzas del escorpión y vamos a realizar un pequeño doble hacia arriba para así poder darle forma, que quede muy bien y en la punta también haremos otro doblez más hacia un lado y de esa manera ya estar listo la primera pinza. Repetimos este paso en la otra pinza del escorpión y pueden ir notando que esta gran figura de papel, está tomando mucha forma.
|
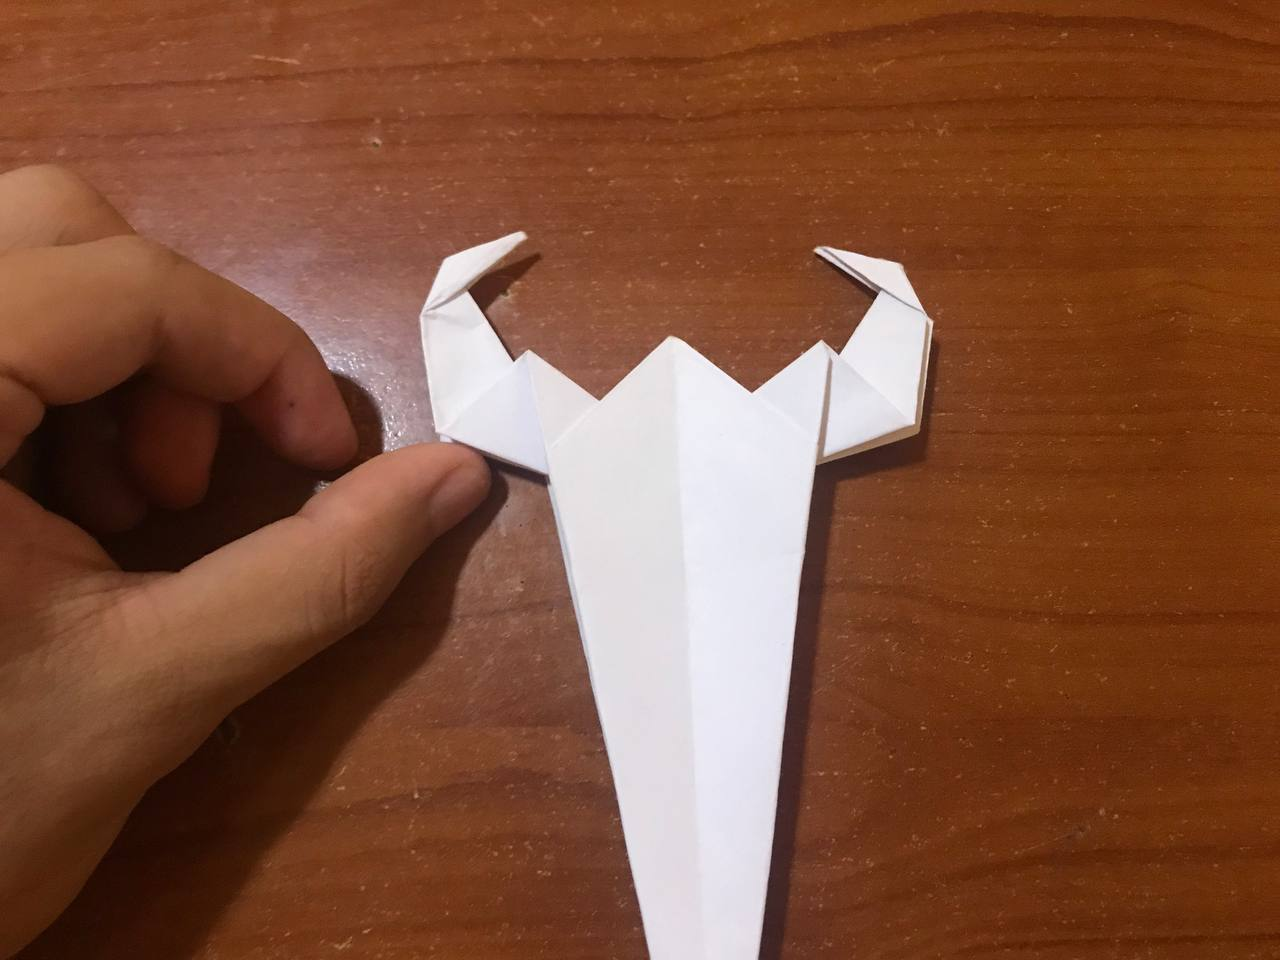 |
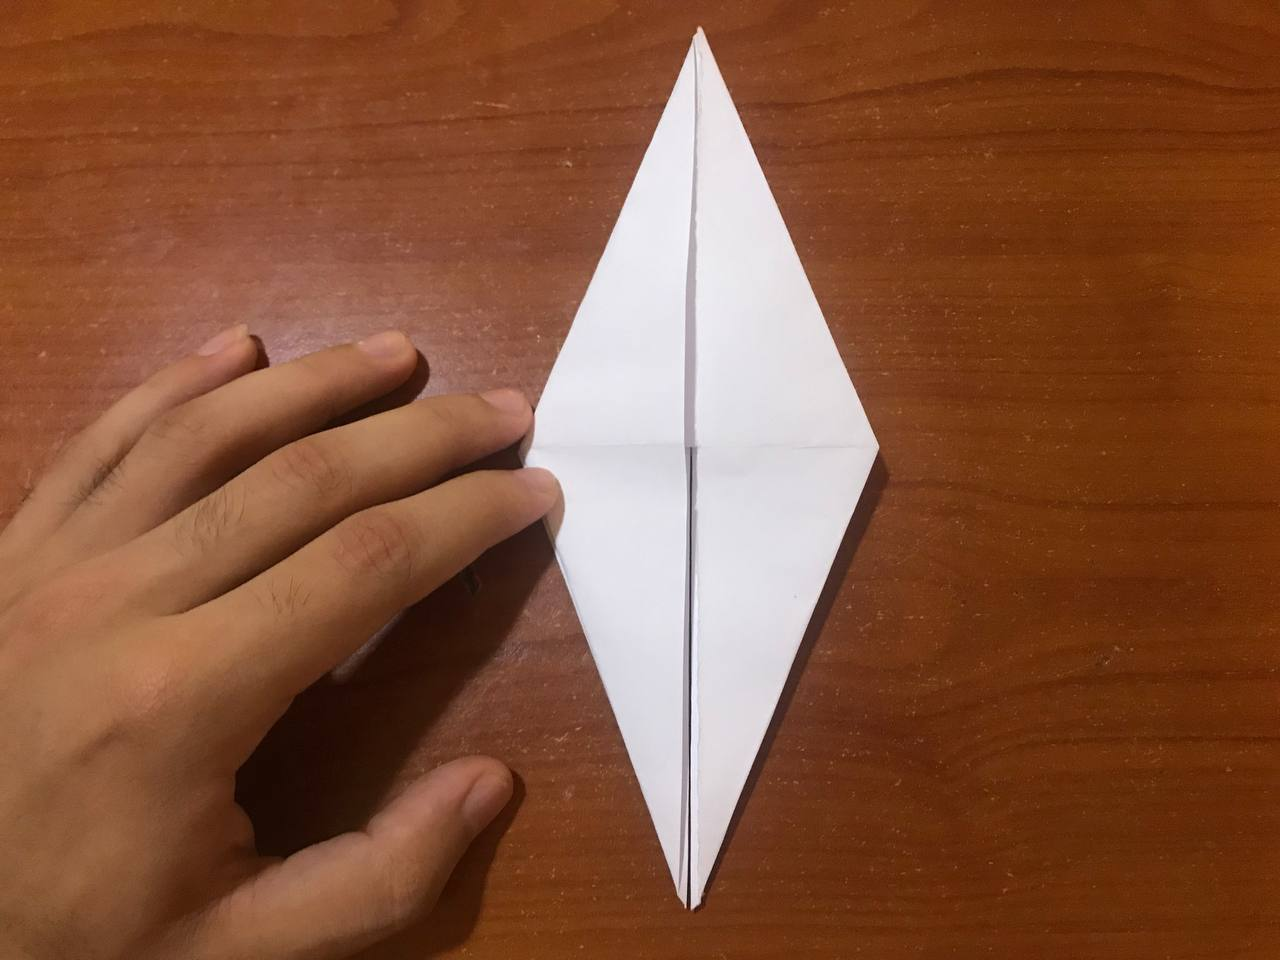
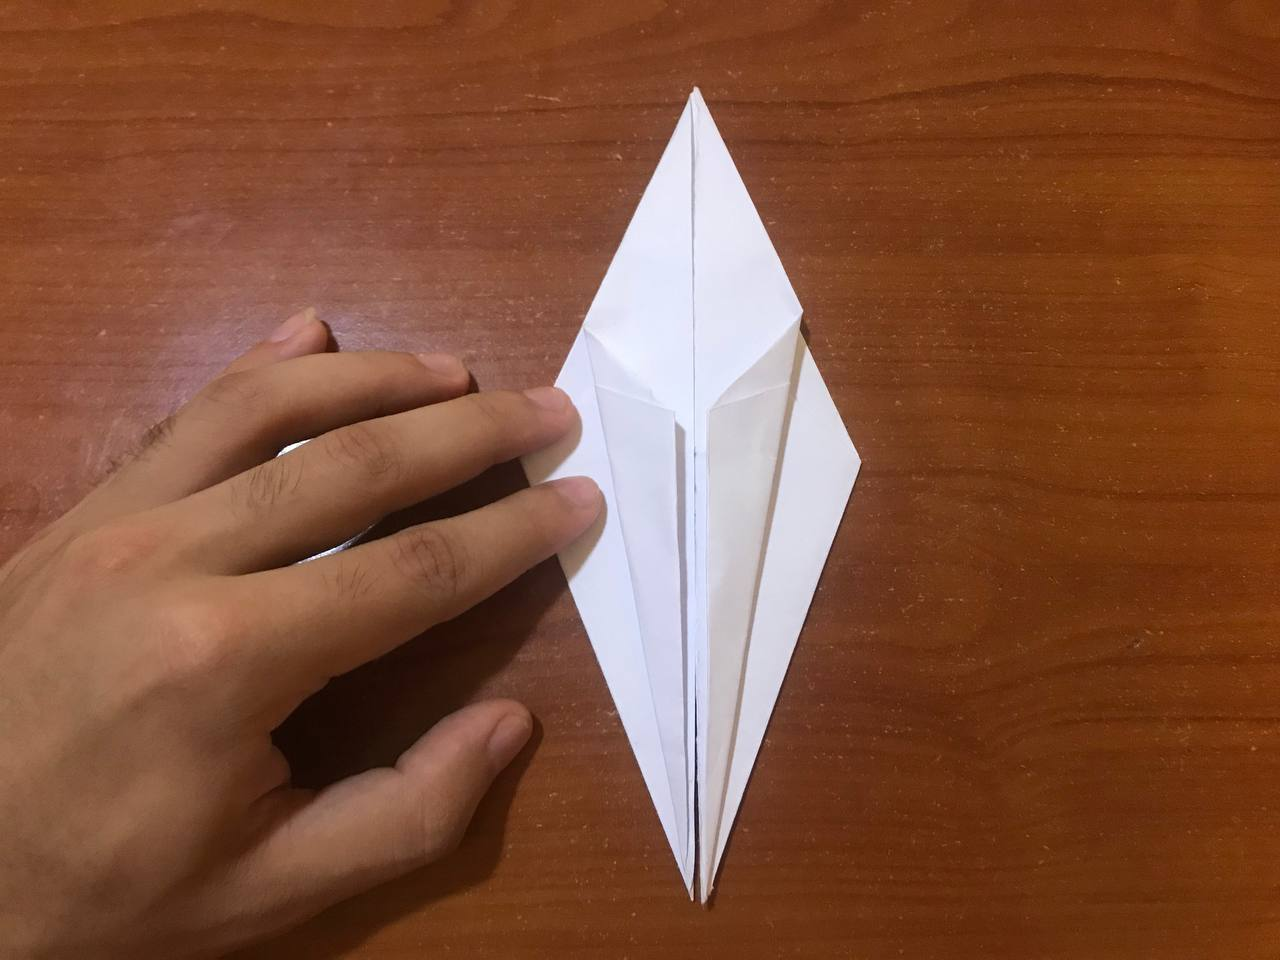
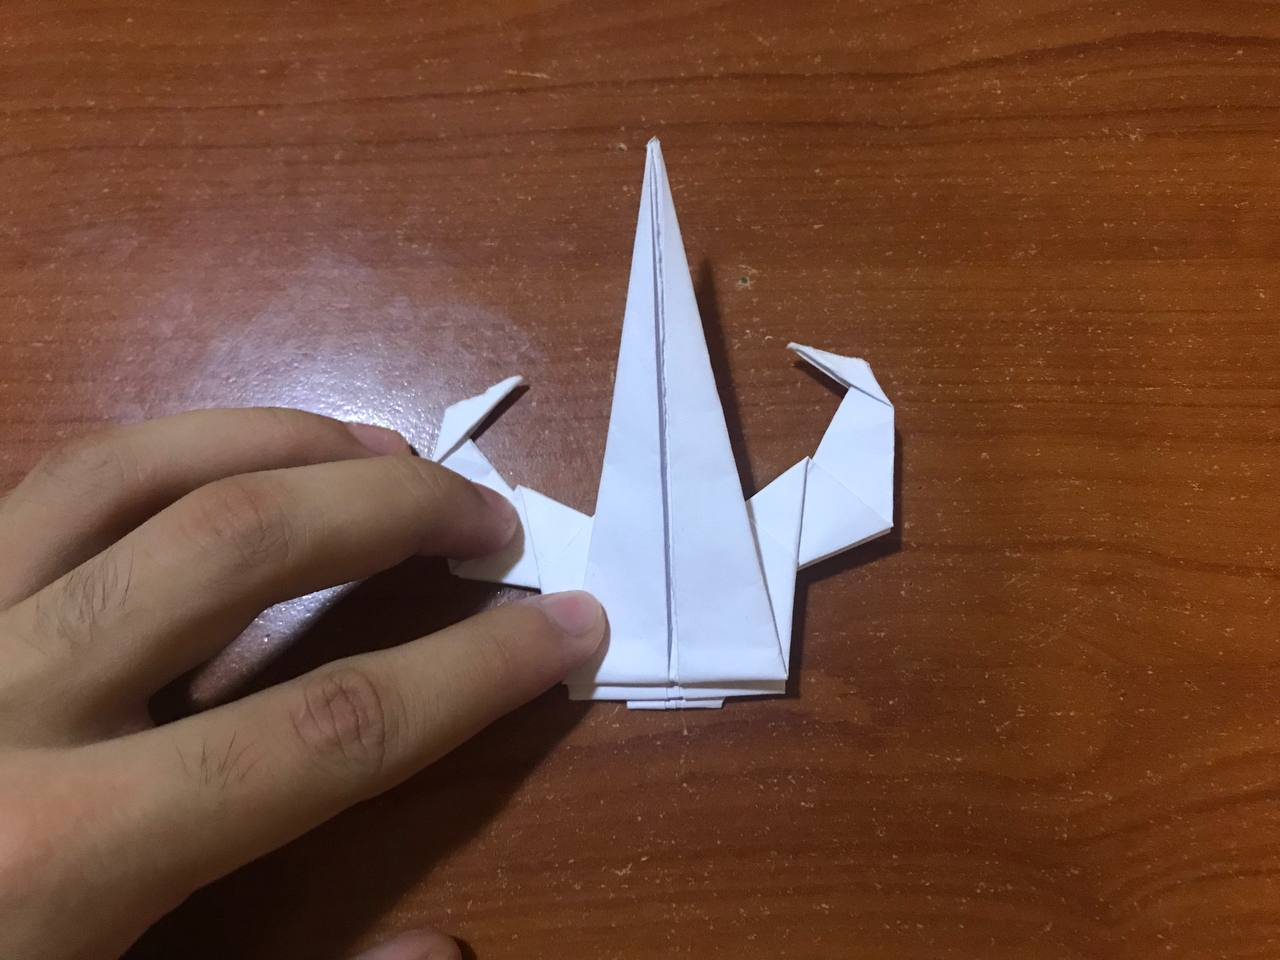
Then we take one of the tips that are at the bottom of the paper to bring it up to the line that divides the scorpion's pincers. There again we make another fold a little higher and at the end we make a third fold with the tip of the sheet, which will be all glued and will be the bottom of the scorpion, as to give a little volume to the paper figure.
Luego tomamos una de las puntas que están en la parte de debajo de papel para llevarla hacia arriba hasta la línea que divide las pinzas del escorpión. Allí mismo volvemos a realizar otro doblez un poco más arriba y al final volvemos hacer un tercer dobles con la punta de la hoja, la cual nos quedara todo pegado y será la parte de abajo del escorpión, como para darle un poco de volumen a la figura de papel.
|
|
|
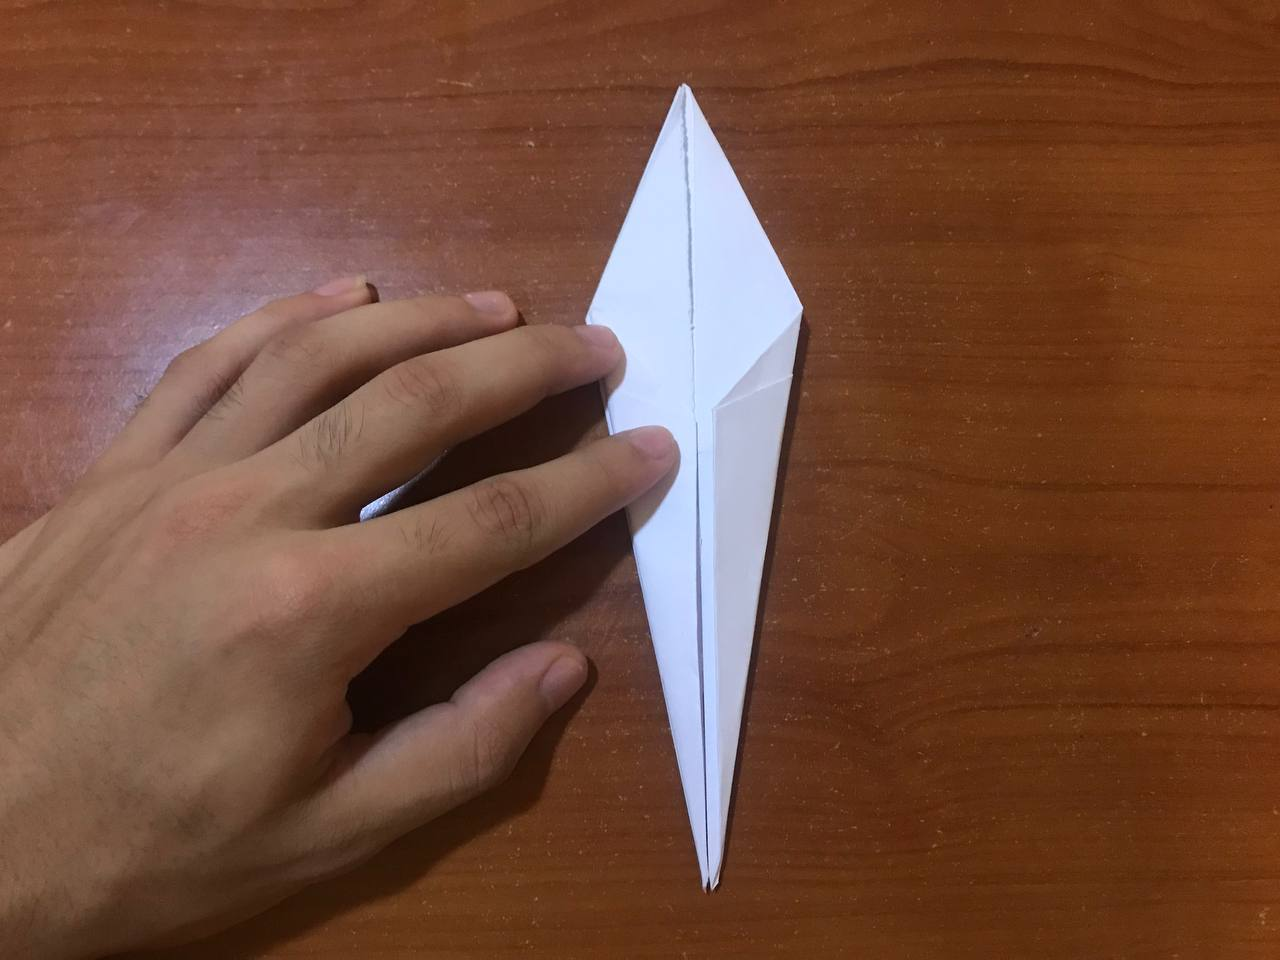
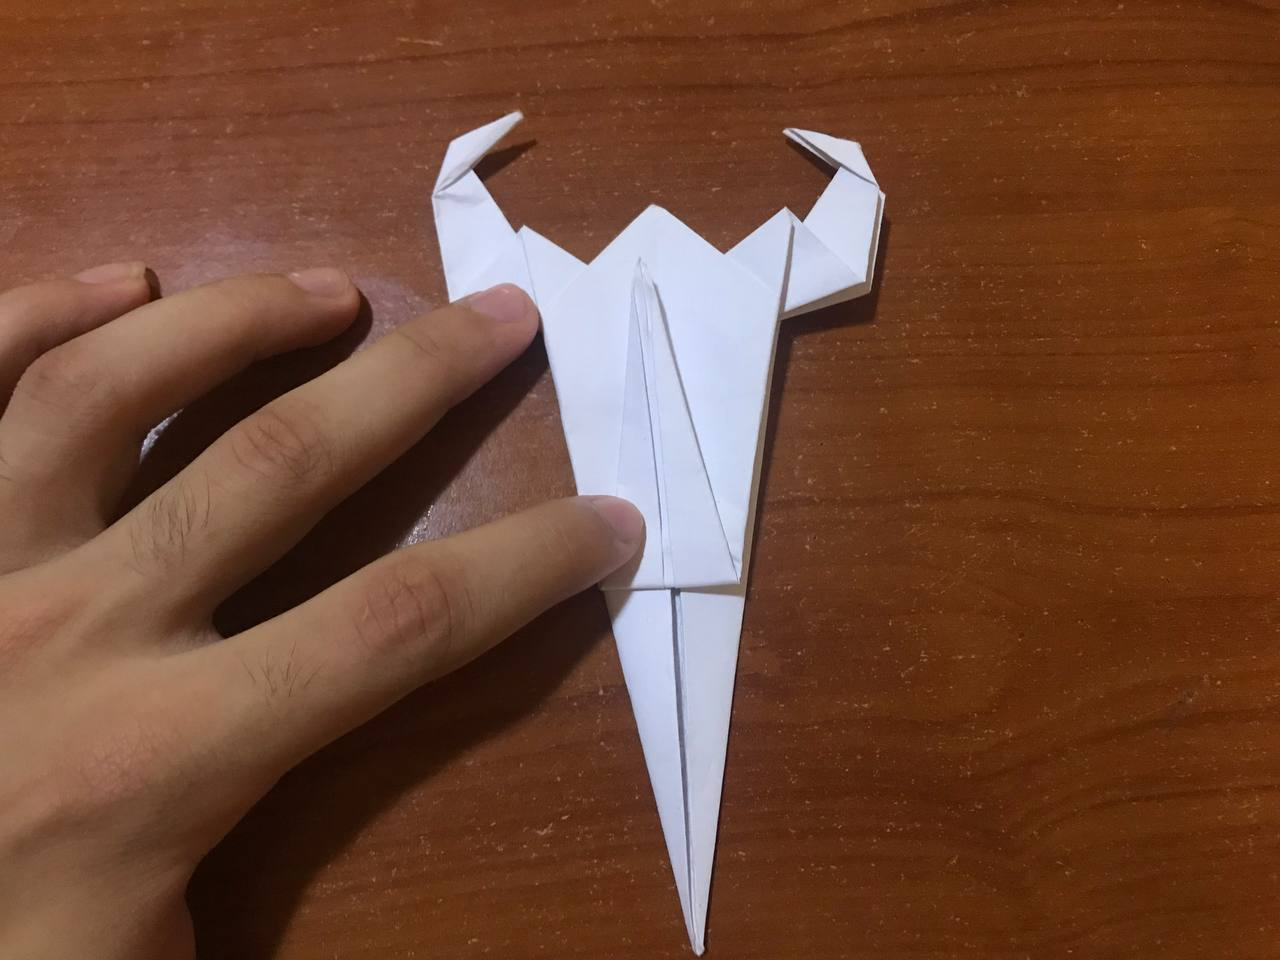
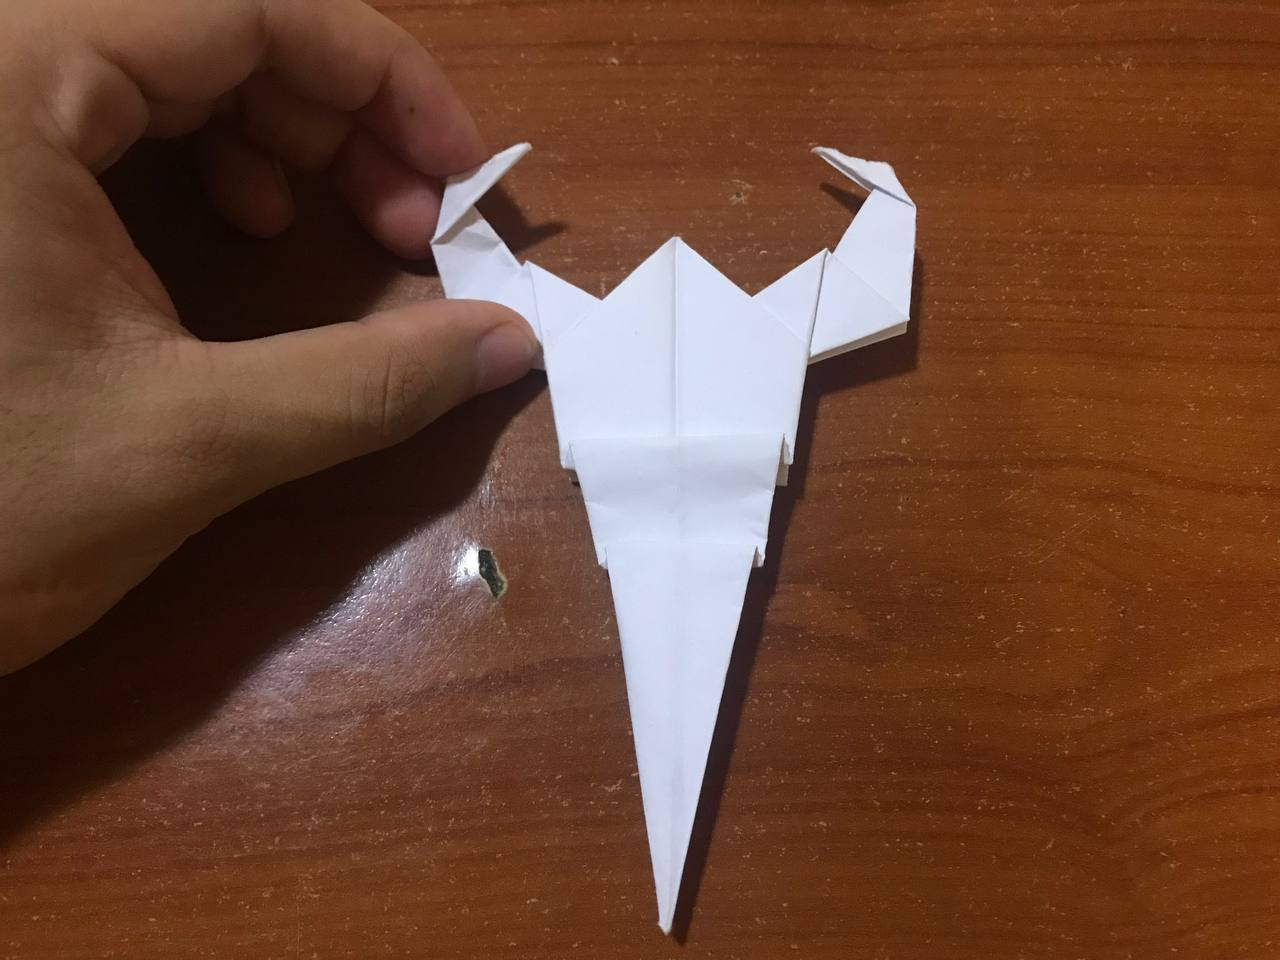
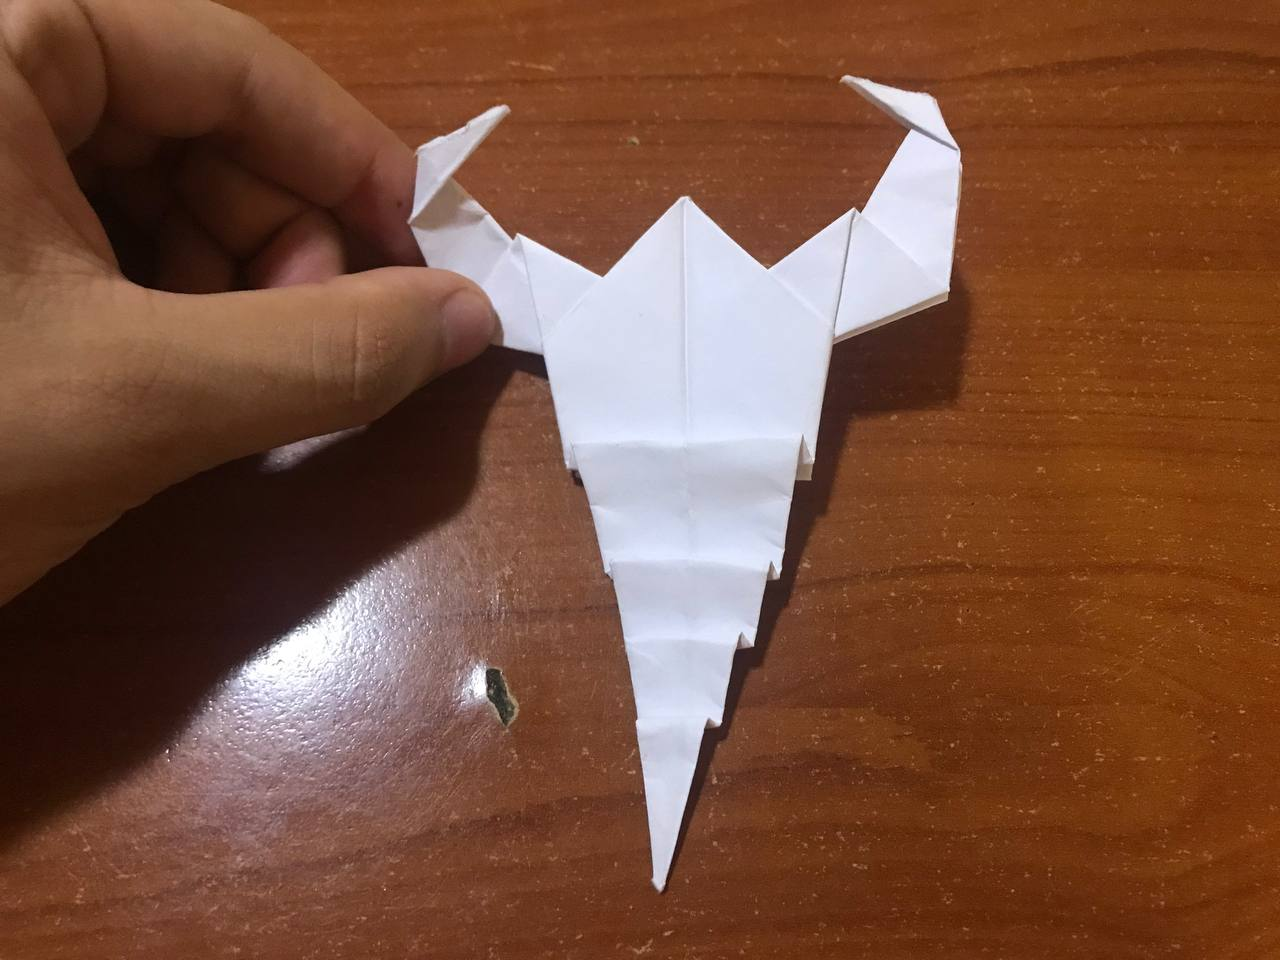
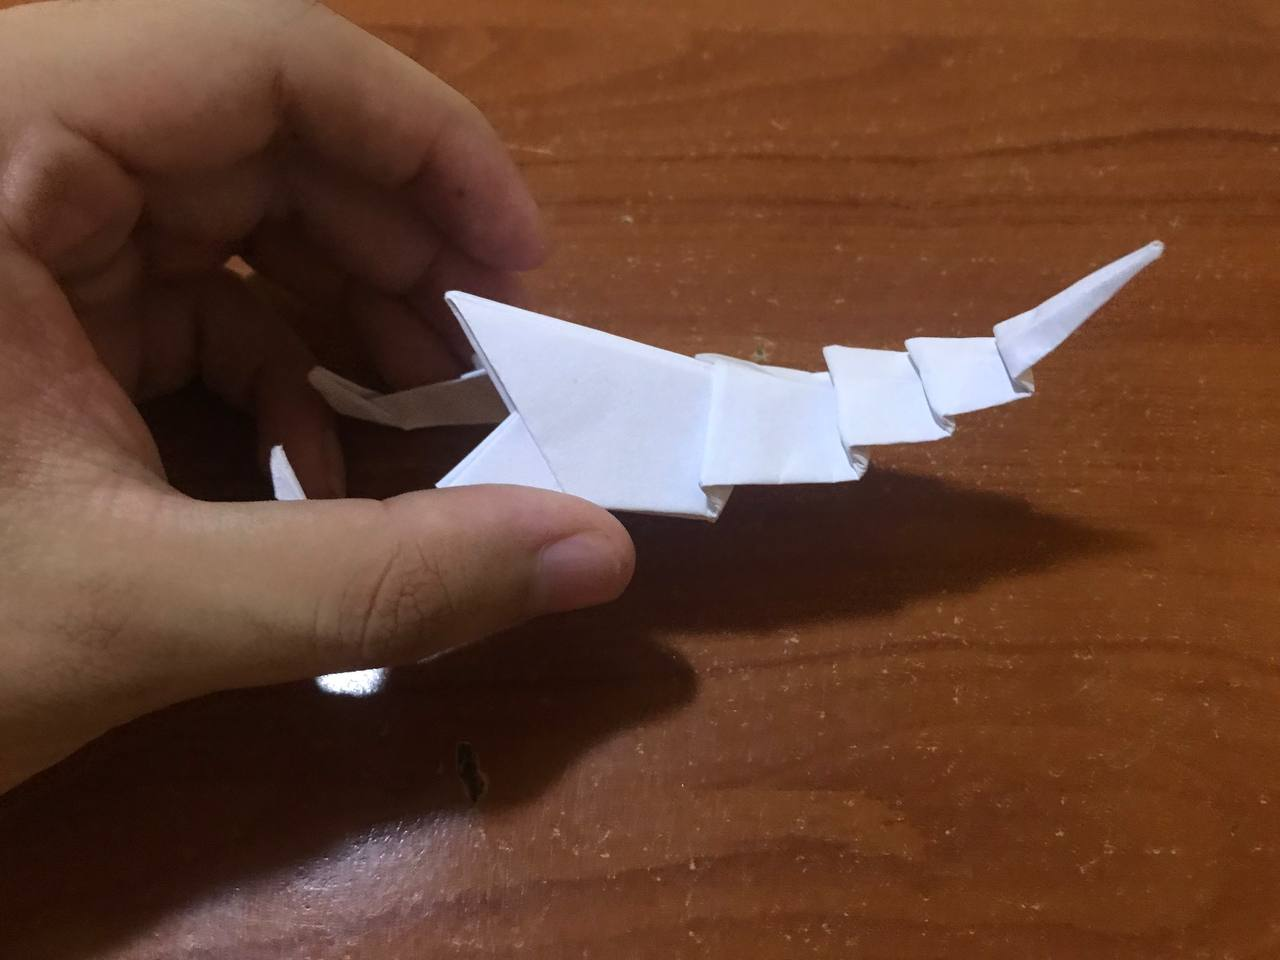
We flip the scorpion to be able to work on the other side of the sheet that remains, where we will make a double ladder species, where we will be folding and at the same time we disassemble to only fold it millimeters until we can reach the tip of the sheet, and that way the body of this great paper scorpion will be almost ready. A step that requires a lot of concentration to avoid damaging the figure.
Volteamos el escorpión para poder trabajar en la otra cara de la hoja que nos queda, donde haremos un doble especie escalera, donde iremos doblando y a la vez desarmamos para solo doblarlo milímetros hasta poder llegar a la punta de la hoja, y esa manera el cuerpo de este gran escorpión de papel estará casi listo. Un paso que requiere de mucha concentración para que no se dañe la figura.
|
|
|
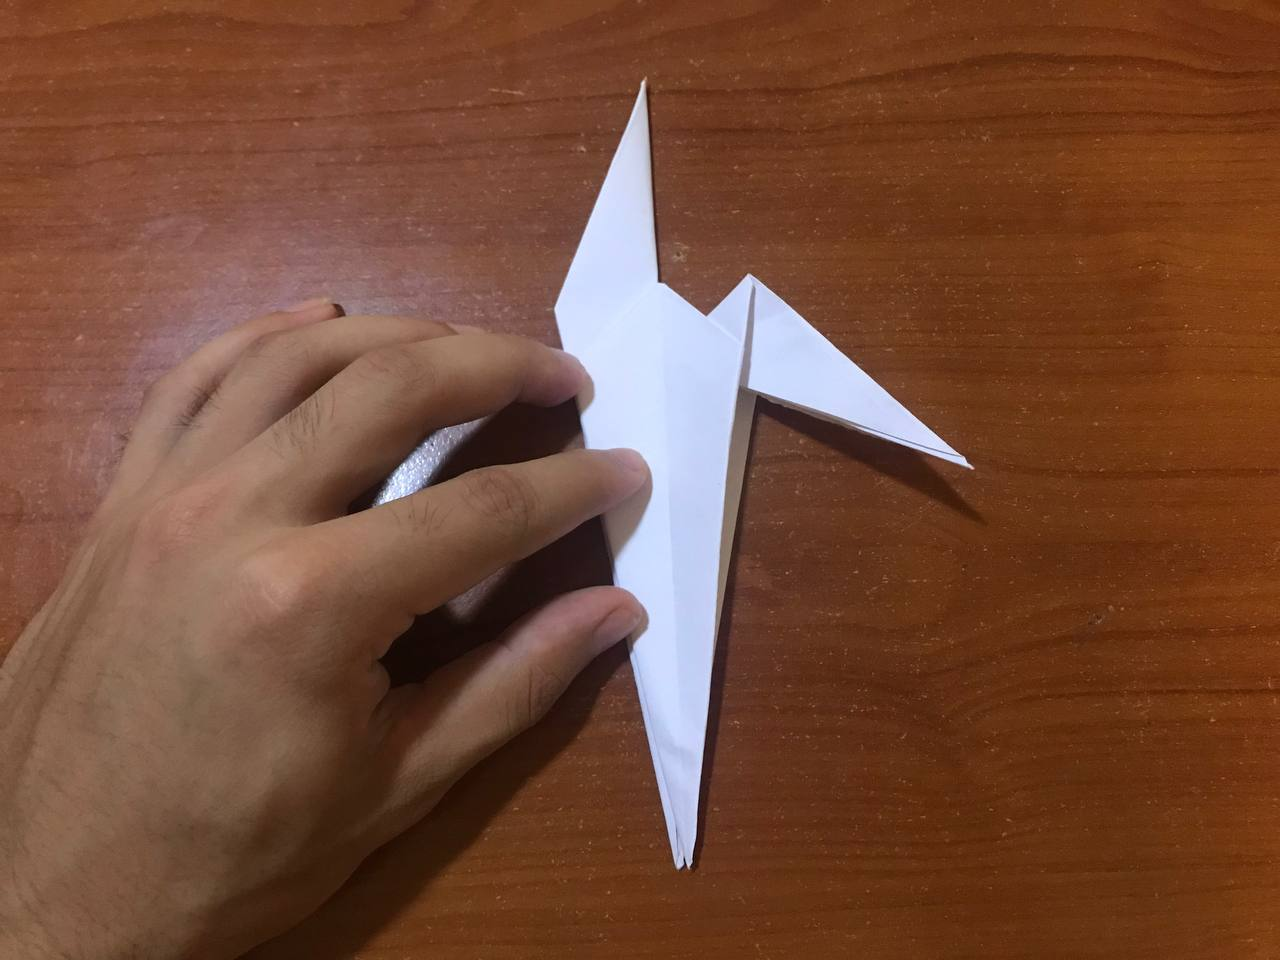
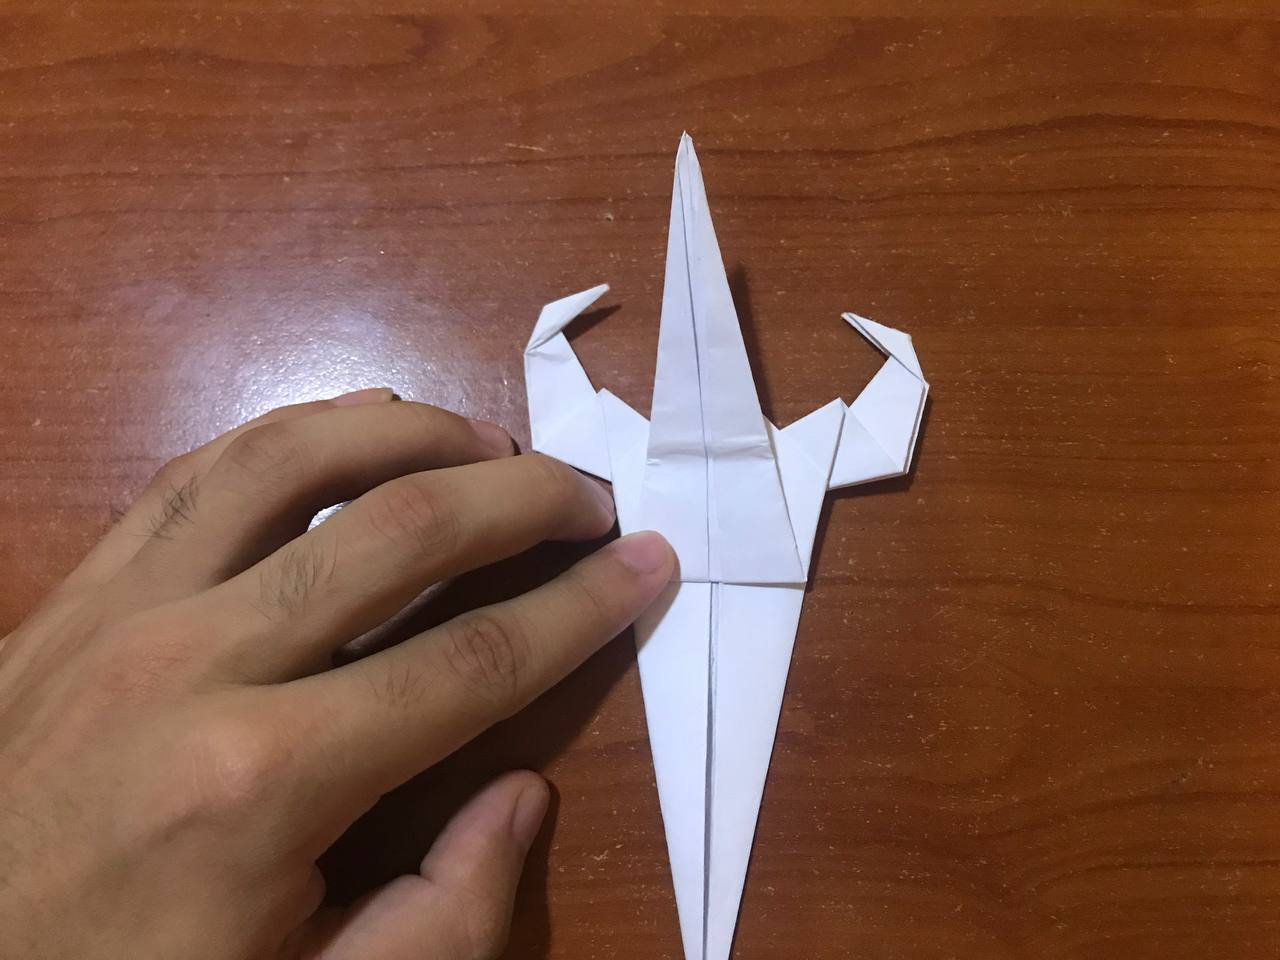
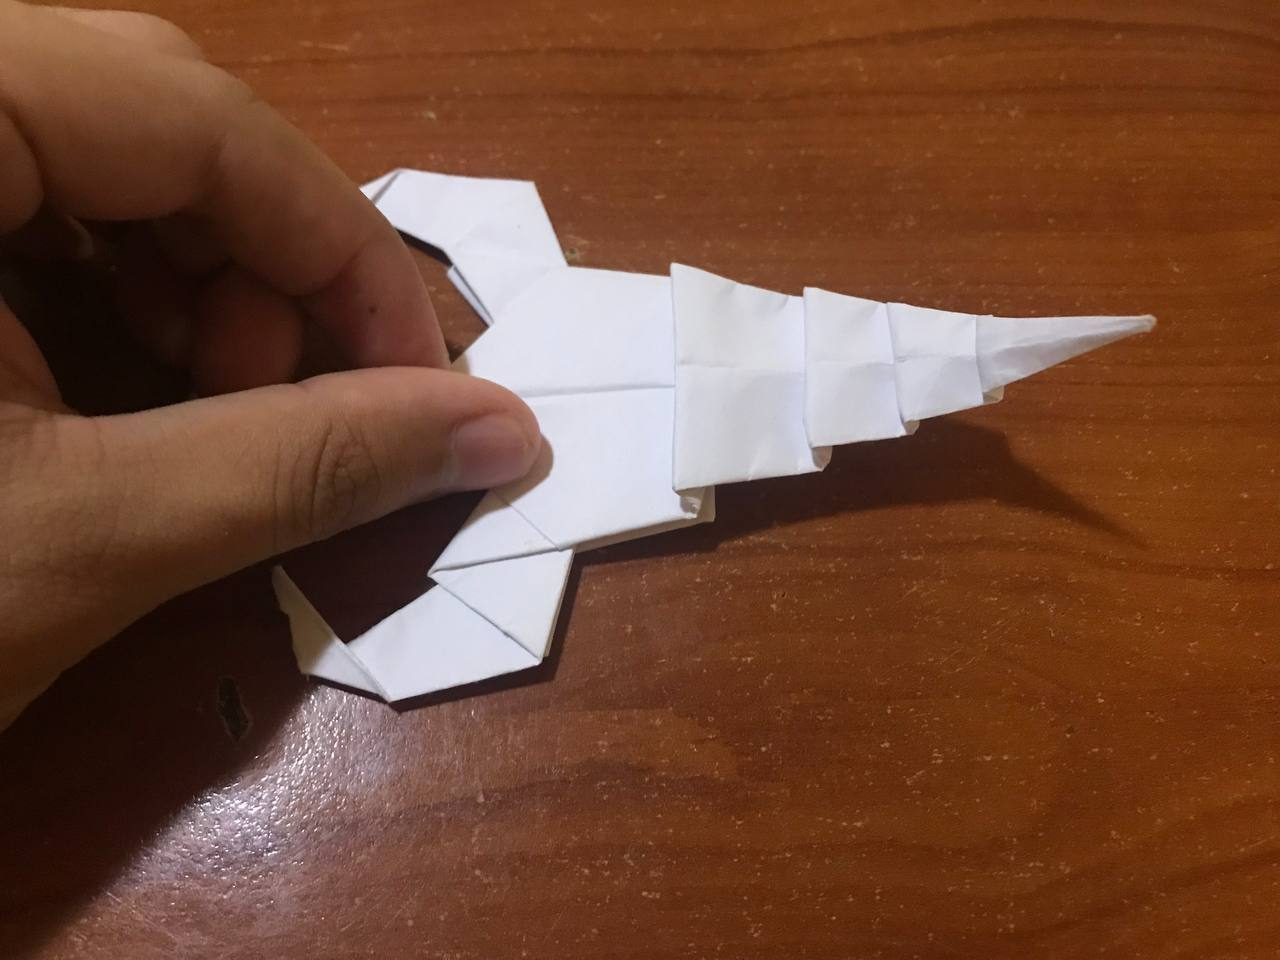
Once the body of this great scorpion is finished, what we will do is to fold it in half to give it more strength and a little volume, plus a small bend in the tail upwards to make it look more realistic.
Una vez terminado el cuerpo de este gran escorpión, lo que haremos es doblarlo por la mitad y de esa manera poder darle más resistencia y un poco de volumen, además un pequeño dobles en la cola hacia arriba para que se vea más realista.
|
 |

Resultado // Result

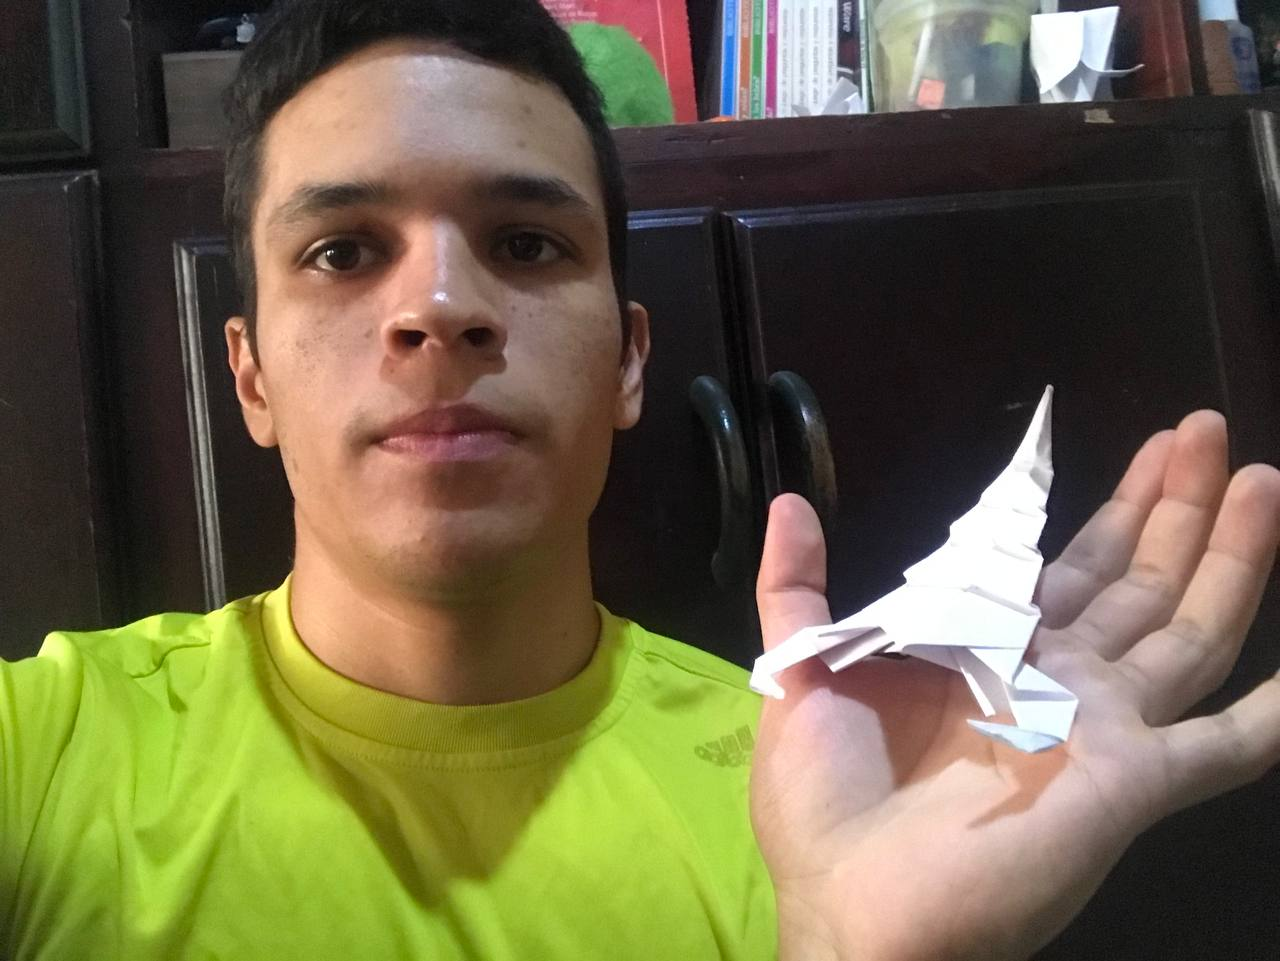
An origami that gave me some work to assemble each of the pieces that characterize this great animal, certainly with some practice and concentration you can get, although it has to fold many times and repeat steps. So this paper origami will serve you for many things, you can vary the size and thus achieve a large collection of scorpions, where it is perfect for playing, gifts and many other things. So see you next time with another origami.
Un origami que me dio algo de trabajo por armar cada una de las piezas que caracterizan a este gran animal, sin duda con algo de práctica y concentración puedes conseguir, a pesar de que tiene que doblar muchas veces y repetir pasos. Así que este origami de papel te servirá para muchas cosas, puedes variar el tamaño y de esa manera lograr una gran colección de escorpiones, donde es perfecto para jugar, regalarlo y muchas otras cosas. Así que nos vemos en la próxima con otro origami.
Fotos tomadas con un Iphone 7 // Photos prises avec un iPhone 7.

Un origami que te quedo increíble por la manera como se pueden apreciar cada uno de los detalles del cuerpo y las pinzas, para que sea muy llamativo. Excelente trabajo que nos compartes.
Muchas gracias, seguimos mejorando y aprendiendo más de esa técnica
Te quedó super super bueno, un homenaje también a la gente de escorpio! Muy buen trabajo David!❤️
Gracias amiga, fueron una cuentas horas de trabajo. Tienes que animarte a realizar un origami.
No creo pueda con eso 🤣
Yo creo que si
🤣🤣🤣
super a mi tambien , me gustan
Gracias amiga, tienes que animarte a realizar origami.
oye si, voy a proponerme viendo tus post de origami, gracias
Listo, espero ese post
Muchas gracias por el apoyo, saludos.
Wow! te quedó muy bien el escorpión, me encantan las figuras en origami, pero entre tanto doblez me pierdo je, je 🦂🦂
Saludos!
Muchas gracias amiga, es cuestión de práctica. Tienes que animarte a practicarlo.
Te quedó genial! Tratare de hacerlo gracias por el paso a paso
Gracias, espero ver ese post