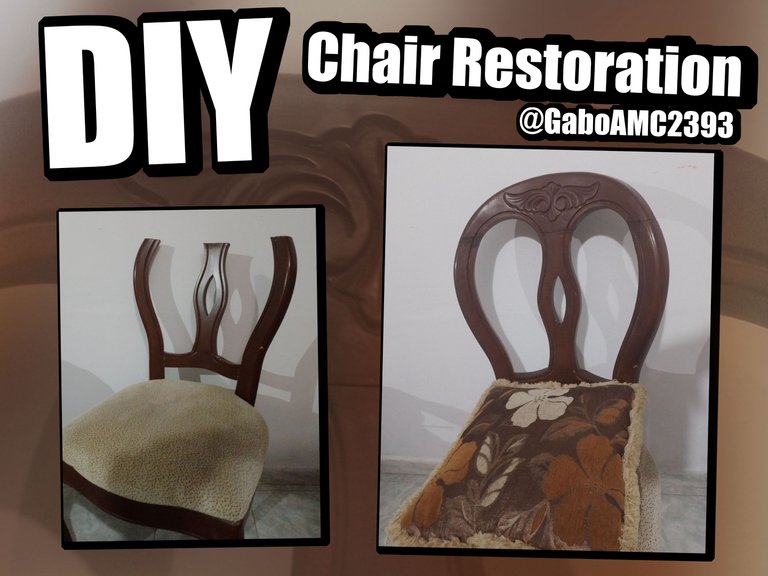
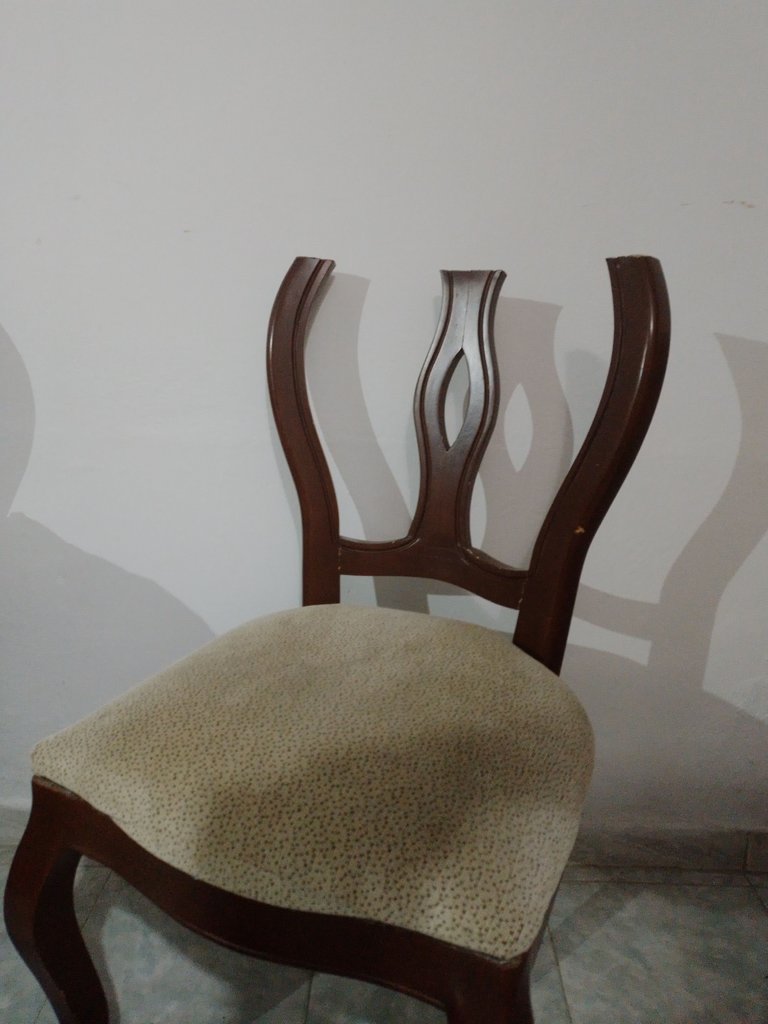
Greetings friends, recently one of my dining room chairs was damaged, I moved it out of place and the top of the chair came off. I thought it had broken, but no, the brackets that attach the top of the chair to the rest of the backrest, were still intact.
Español
Saludos amigos, hace poco una de las sillas de mi comedor se dañó, la moví de lugar y la parte superior de la silla se salió. Pensé que se había roto, pero no, los soportes que unen la parte superior de la silla con el resto del espaldar, aún estaban intactos.
 |  |
|---|
I stood for a few moments contemplating how the chair had been damaged and when I moved it a little I realized how flimsy it was.
Repairing it was necessary, but it was also necessary to restore all those joints that were weak and that, in time, would also be damaged.
Me quedé por unos instantes contemplando cómo se había dañado la silla y al moverla un poco me di cuenta de lo endeble que estaba.
Repararla era necesario, pero también era necesario hacerle una restauración a todas esas uniones que estaban débiles y que, con el tiempo, también se dañarían.
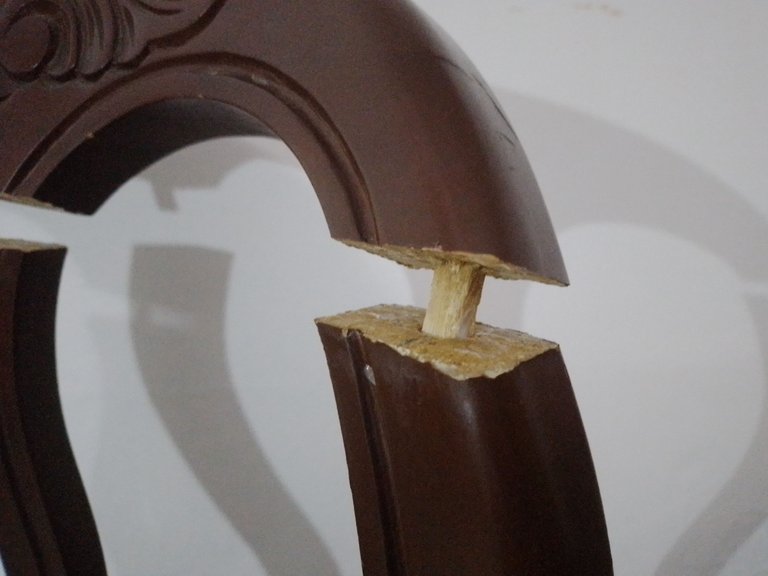
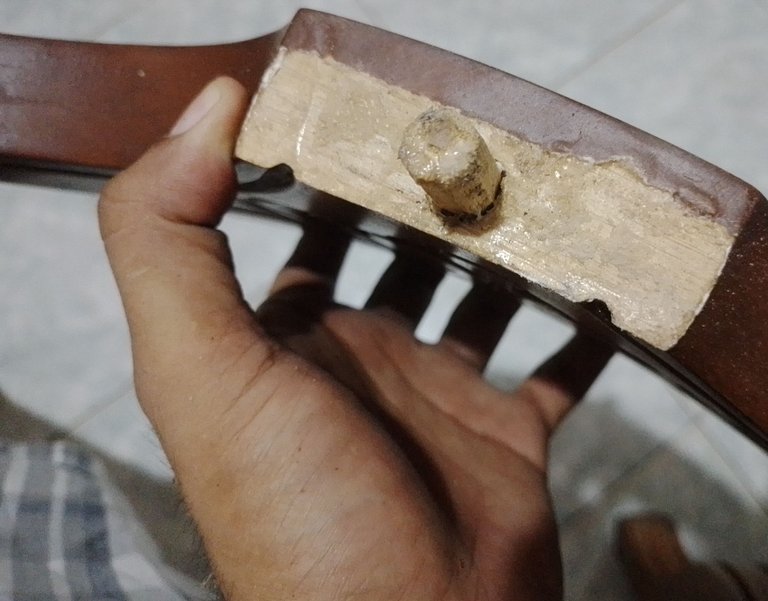
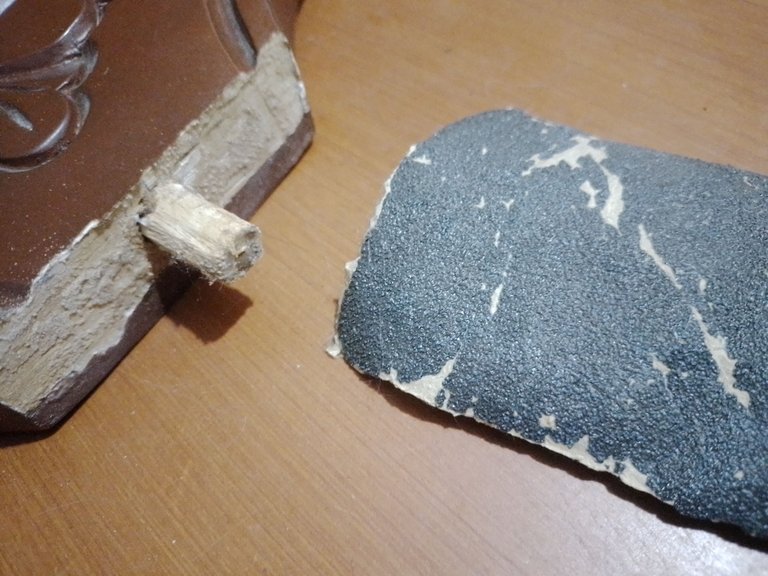
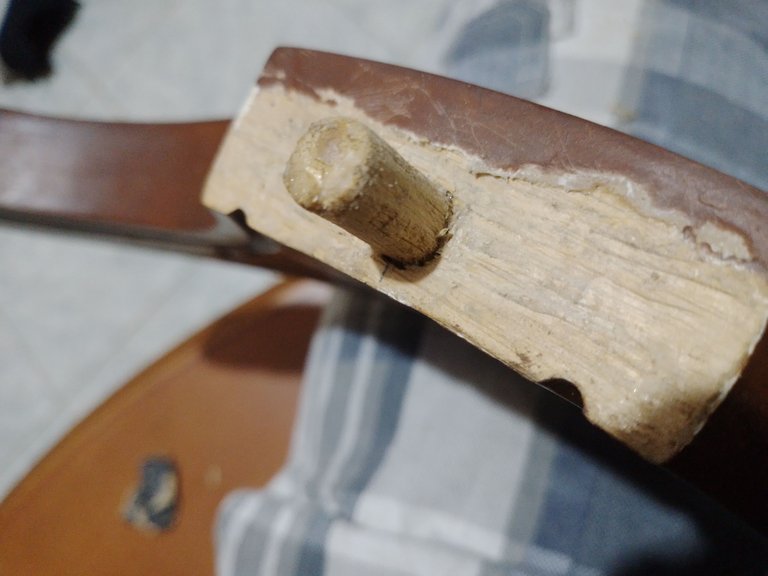
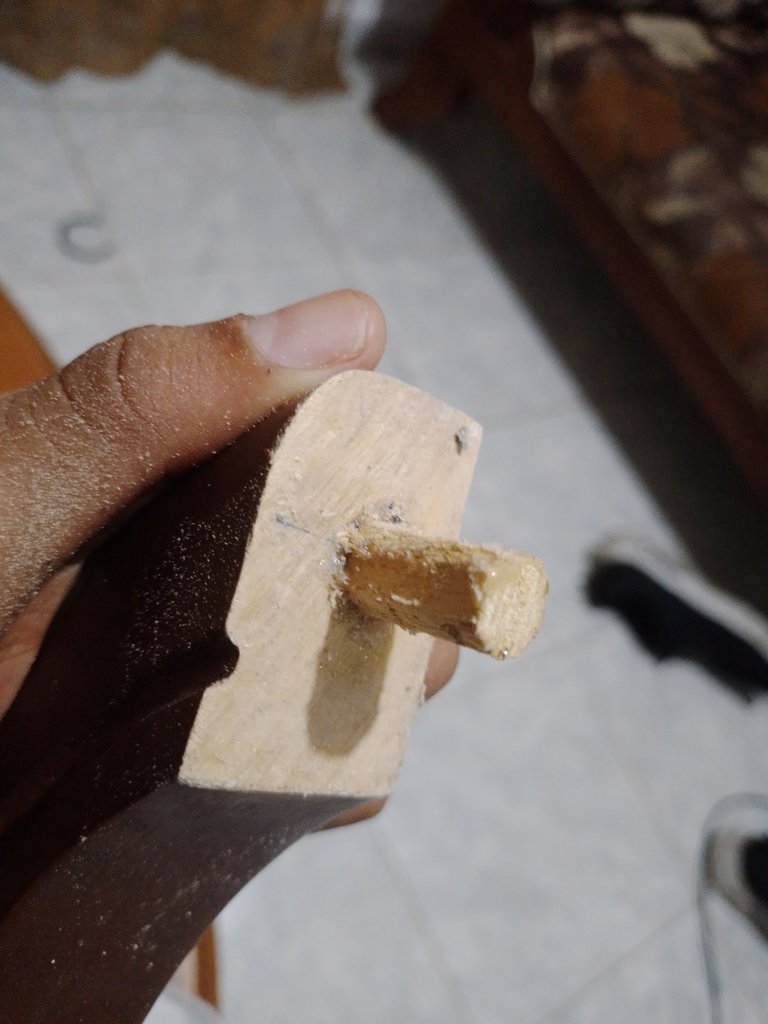
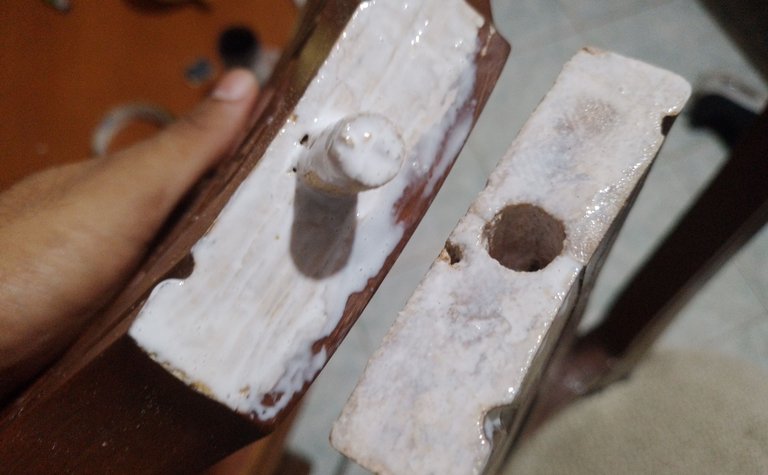
With this in mind, I first prepared the top part of the chair, the one that was separated, to glue it back together. As you can see in the pictures below, this part had old glue on it, so I had to try to remove as much of this glue as possible so that the wood would be exposed, for this I used several tools, including a piece of sandpaper.
Con esto en mente, primero preparé la parte superior de la silla, la que se separó, para volver a pegarla. Como pueden ver en las fotografías de abajo, esta parte tenía pegamento viejo, así que había que tratar de retirarle la mayor cantidad de este pegamento para que la madera quedara al descubierto, para esto usé varias herramientas, entre estas un trozo de lija.
 |  |
|---|
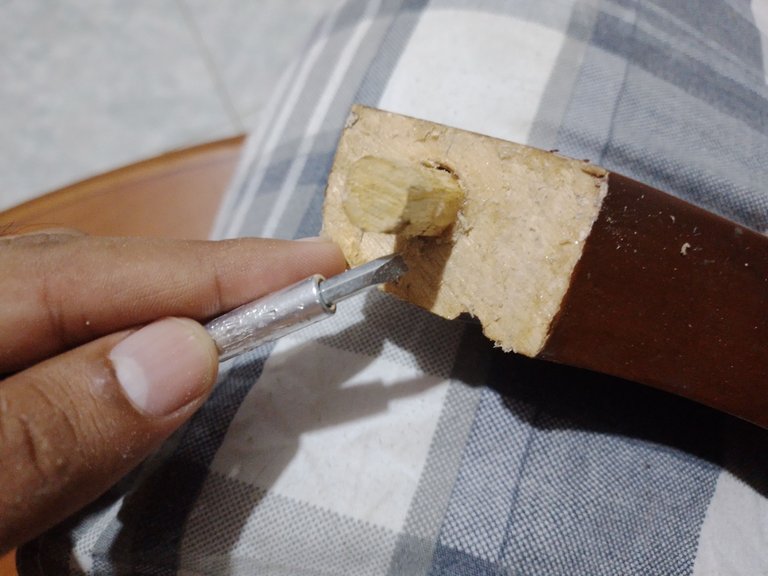
In certain parts there was so much glue that I even had to use a spade screwdriver head to be able to remove it, because it was a lot and it was really tough glue, so I had to use brute force.
En ciertas partes había tanto pegamento que incluso tuve que usar un cabezal de destornillador de pala para poder retirarlo, pues era mucho y era un pegamento realmente resistente, así que tuve que usar la fuerza bruta.
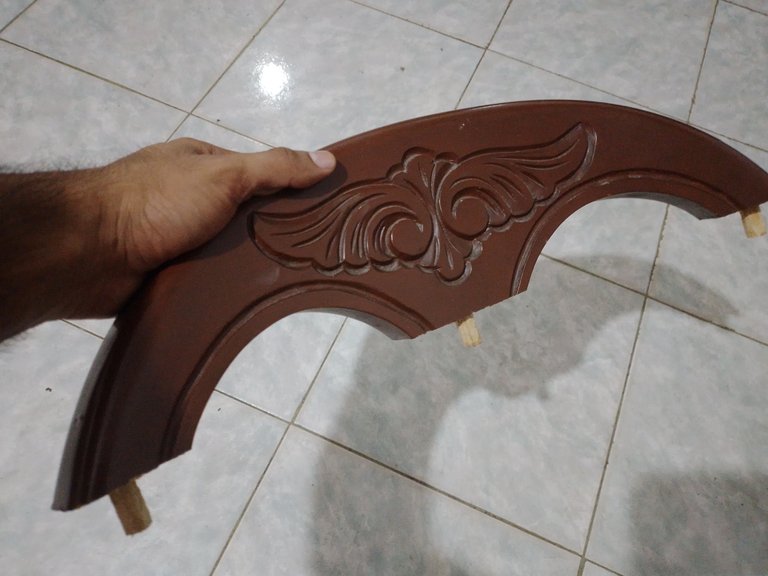
But it was well worth it, because the part of the wood that is attached to the rest of the backrest was sanded and unglued, so the new glue would work better for this chair.
Pero bien valió la pena, porque la parte de la madera que va unida al resto del espaldar quedó lijada y sin pegamento, así el nuevo pegamento funcionaría mejor para esta silla.
 |  |
|---|
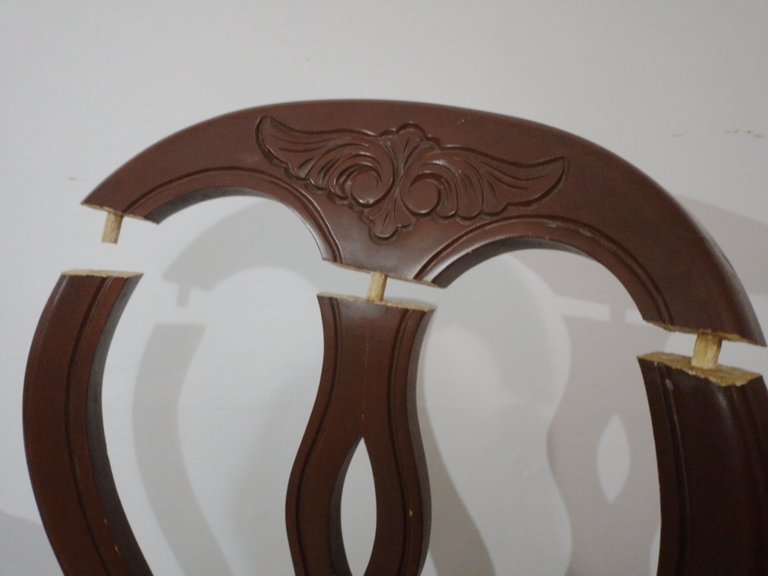
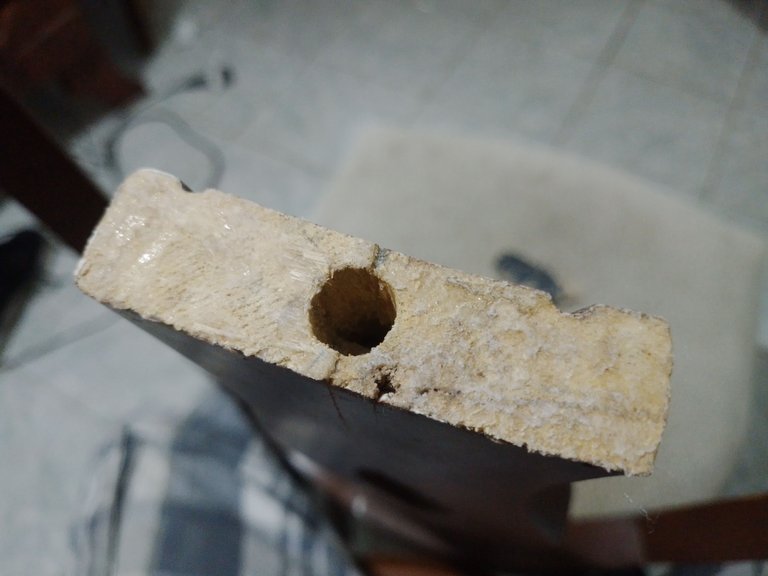
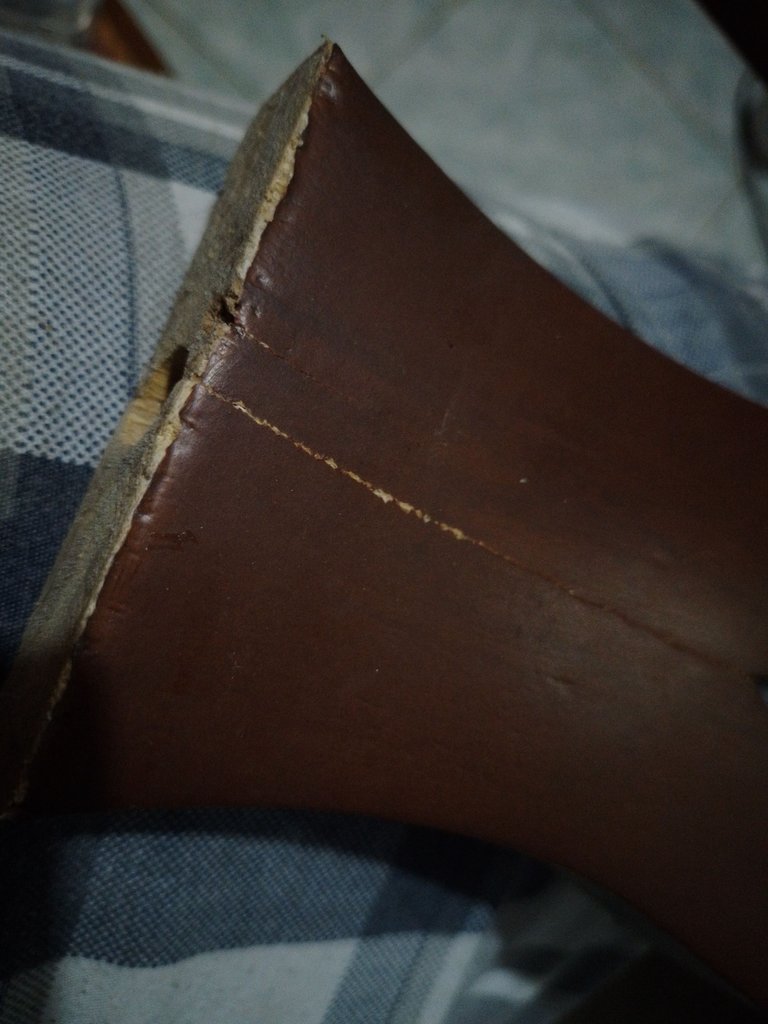
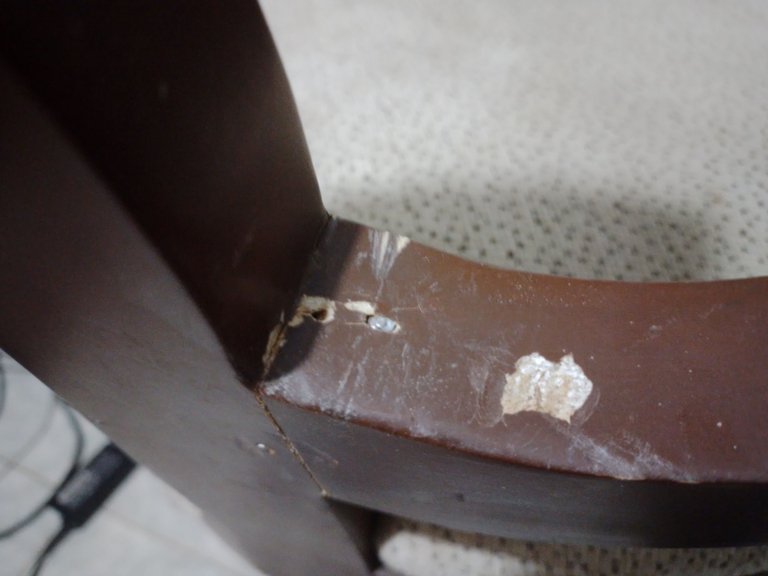
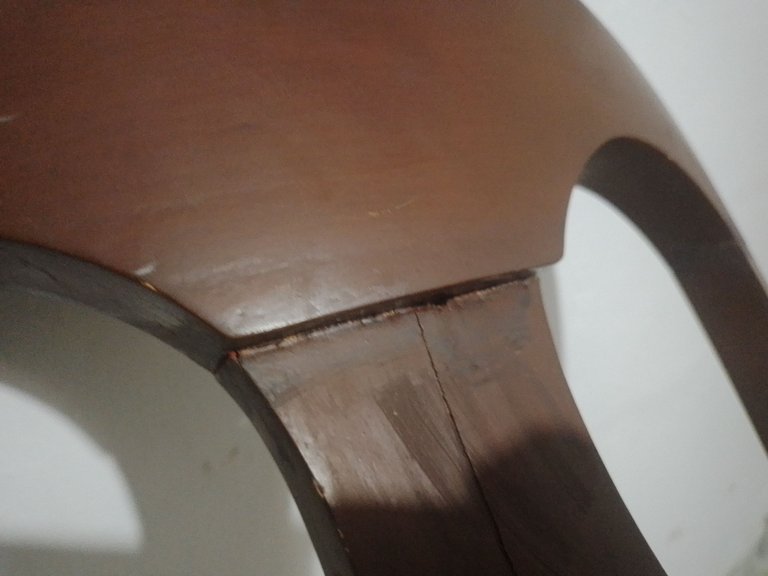
Look at the pictures below, this is the central part of the backrest, this is where one of the support of the upper part that separated is fixed.
If you look closely, this is formed by two parts that are joined together and that were not very firm, which is perhaps why the other piece separated. So I had to improve this joint, make it firmer.
Fíjense en las fotos de abajo, esta es la parte central del espaldar, allí es donde va fijado uno de los soporte de la parte superior que se separó.
Si observan con detenimiento, esto está formado por dos partes que se unen y que no estaban bien firmes, razón por la cual, quizás, se separó la otra pieza. Por eso debía mejorar esta unión, darle más firmeza.
 |  |
|---|
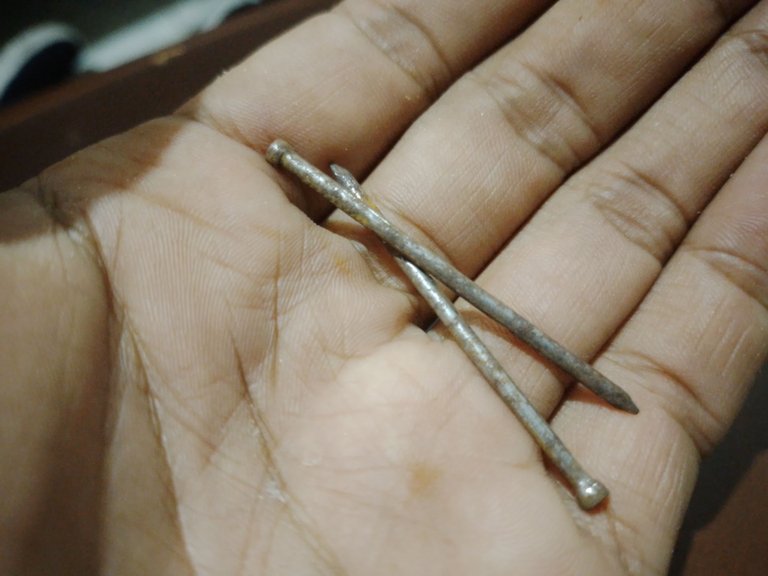
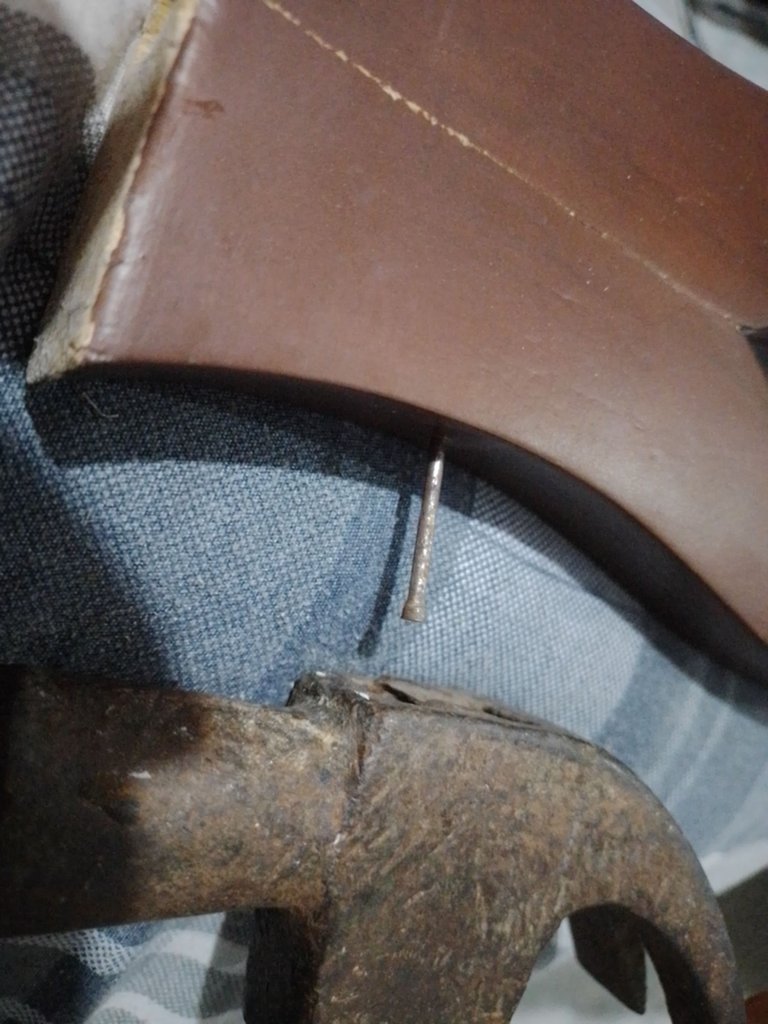
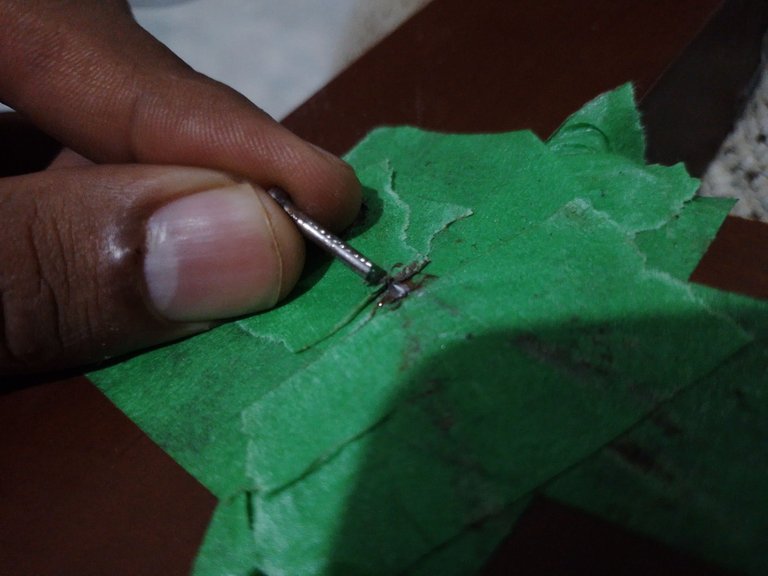
So, I took a couple of wooden nails, which are thin and long, very practical for this purpose, and nailed them to each side of the wood, managing to hold these two parts well together.
Así pues, tomé un par de clavos de madera, que son delgado y largos, muy prácticos para este propósito, y los clavé a cada lado de la madera, logrando mantener estas dos partes bien unidas.
 |  |
|---|
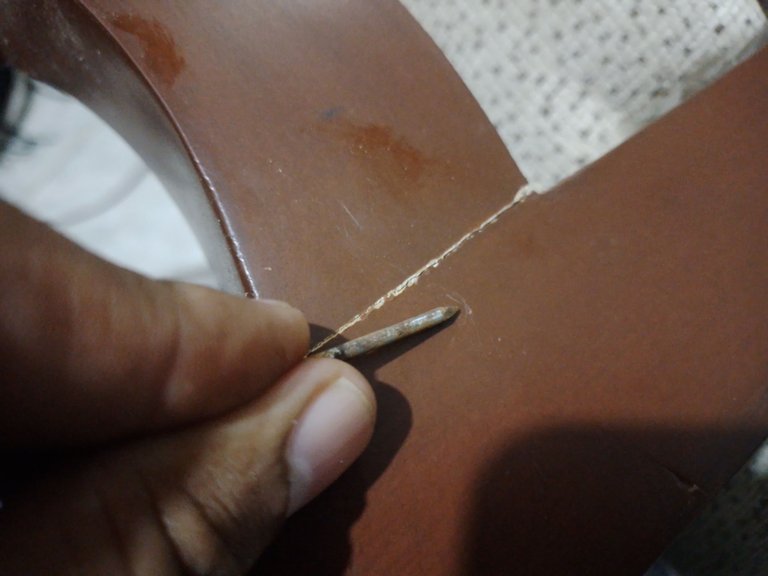
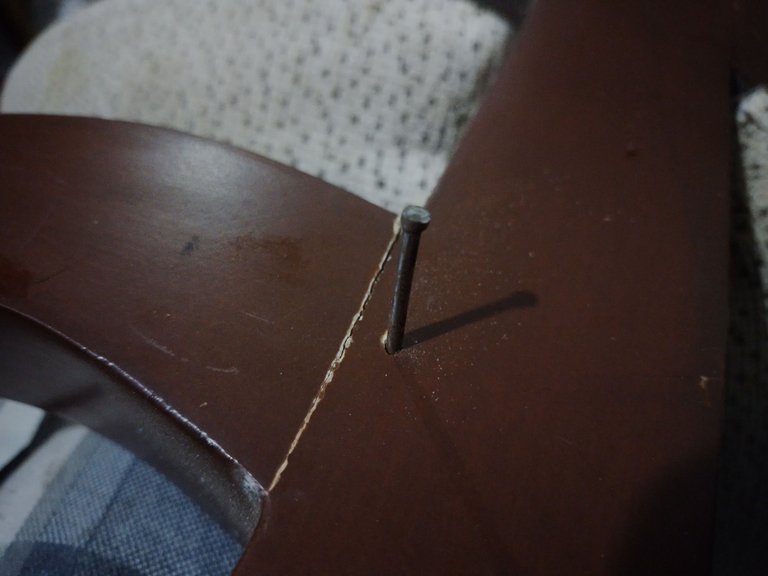
I did the same in other joints, except that in some joints I couldn't drive the nail all the way in, so I could only drive a part of it, and then cut it with a cutter. To avoid damaging the paint of the chair, I used some tape, which prevented the chair from being damaged a little more than it was.
Hice lo mismo en otras uniones, con la salvedad que en algunas uniones no podía clavar el clavo en su totalidad, así que solo pude clavar una parte, para luego cortarla con una cegueta. Para no dañar la pintura de la silla, usé un poco de cinta, lo cual evitó que dañada la silla un poco más de lo que estaba.
 |  |
|---|
 |  |
|---|
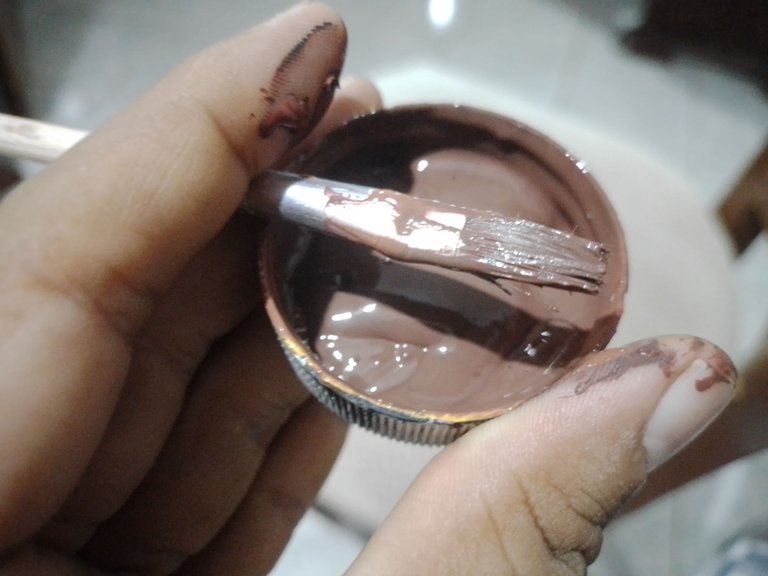
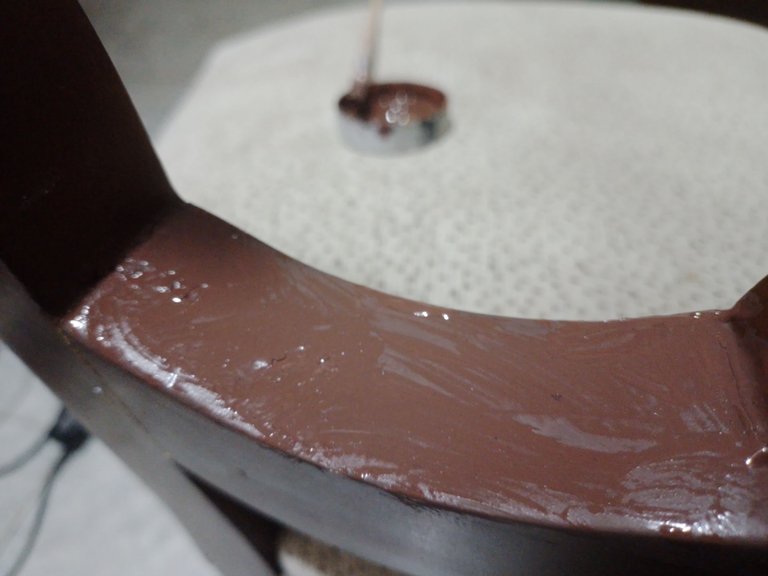
However, to cover some details that I had, I prepared a paint as close as possible to the color of the chair, to cover these imperfections.
Sin embargo, para cubrir algunos detalles que tenía, preparé una pintura lo más parecido al color de la silla, para cubrir estas imperfecciones.
 |  |
|---|
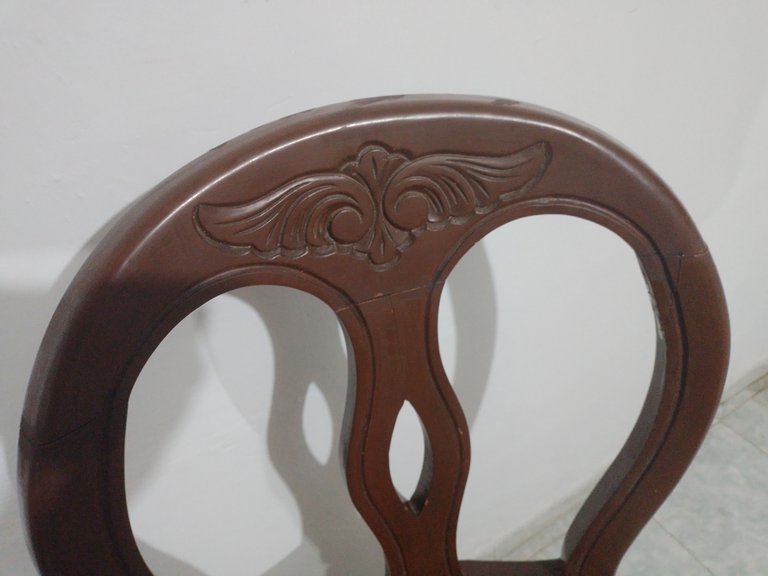
Finally, when I finished reinforcing the weak joints and after the paint dried, I took the carpentry glue and glued the head of the chair, the piece that separated, and attached it to the backrest, trying to get everything together in the best way.
Finalmente, cuando terminé de reforzar las uniones débiles y después de que la pintura secó, tomé el pegamento de carpintería y pegué el cabezal de la silla, la pieza que se separó, y la uní al espaldar, tratando de que todo quedara unido de la mejor manera.
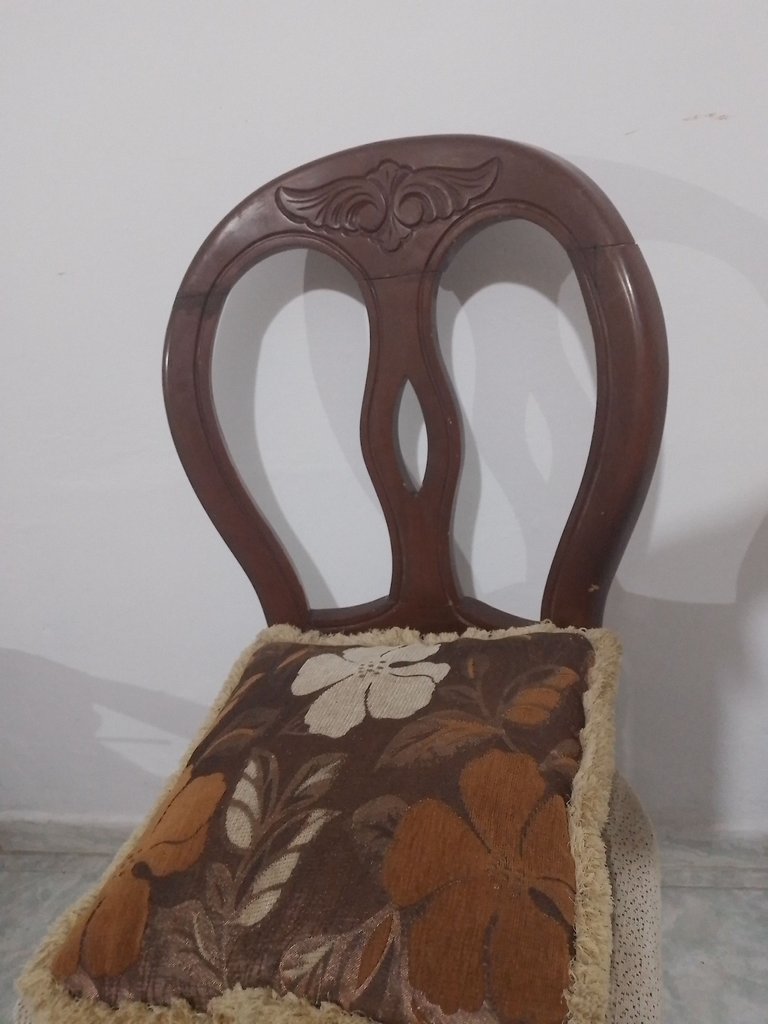
It was just a matter of waiting for the glue to dry and the chair was finished. Here are some pictures of the final result:
Fue cuestión simplemente de esperar a que secara el pegamento y la silla quedó terminada. A continuación una serie de fotografías del resultado final:

Well friends, this has been all about this brief restoration. I invite you to leave your opinions below in the comments, as always I will be happy to read them.
I appreciate you taking the time to visit my publication, with nothing more to add, I'll say goodbye then...
See you next time!
Bien amigos, esto ha sido todo en cuanto a esta breve restauración. Los invito a dejar sus opiniones abajo en los comentarios, como siempre estaré encantado de leerlos.
Agradezco que se tomaran el tiempo de visitar mi publicación, sin más que agregar, me despido entonces...
¡Hasta la próxima!


Excelente trabajo de restauración, definitivamente nada mejor que hacer en nuestro hogar todos esos tipos de trabajo para que queden como verdaderamente nos gusta y ahorrar costos. Dios bendiga todas las habilidades que posees @gaboamc2393 💙
!PIZZA
!HUG
!LUV
!DIY
gaboamc2393, dayadam sent you LUV. 🙂 (1/1) tools | trade | connect | wiki | daily
Made with LUV by crrdlx.
Gracias por tu comentario, ciertamente reparar algo sale mejor que simplemente desecharlo y comprar otro nuevo. Este fue un regalo de mi mamá, así que tengo que mantenerlo y prefiero repararlo o restaurarlo por completo antes de desecharlo jejeje Gracias por tus bendiciones
$PIZZA slices delivered:
@dayadam(4/5) tipped @gaboamc2393
You can query your personal balance by
!DIYSTATSEs un trabajo que vale la pena hacer, que bueno que lograste restaurar la silla a tiempo. 👌💪
Bueno, a tiempo a tiempo no jajaja porque se despegó toda, una reparación preventiva quizás habría prevenido esto, pero aún así quedó bien.
Congratulations, your post has been curated by @dsc-r2cornell. You can use the tag #R2cornell. Also, find us on Discord
Felicitaciones, su publicación ha sido votada por @ dsc-r2cornell. Puedes usar el tag #R2cornell. También, nos puedes encontrar en Discord
Gracias por tu apoyo!
Una muy buena restauración. Ese tipo de muebles están echos con madera fuerte, esperemos que dure un montón de años más.
Sí, de hecho duró bastante antes de dañarse, lo que indica que es un material bastante resistente, espero que con esto conserve por más tiempo.
Darle una segunda oportunidad a nuestros muebles a través de la restauración es una manera de proteger nuestro ambiente, te quedó casi como nueva. Muy bien trabajo
Claro, reciclar siempre es una buena opción.
Me pasa con la mesa y las sillas del comedor también, tengo que apartar un día para ir rehaciendo los empates.
Con el paso de los años, por muy bueno que sea el pegamento, se suele desprender las partes.
It's just that it was a gift from my mother this chair and all the others in the dining room, so it's great to be able to repair it to last for more days.