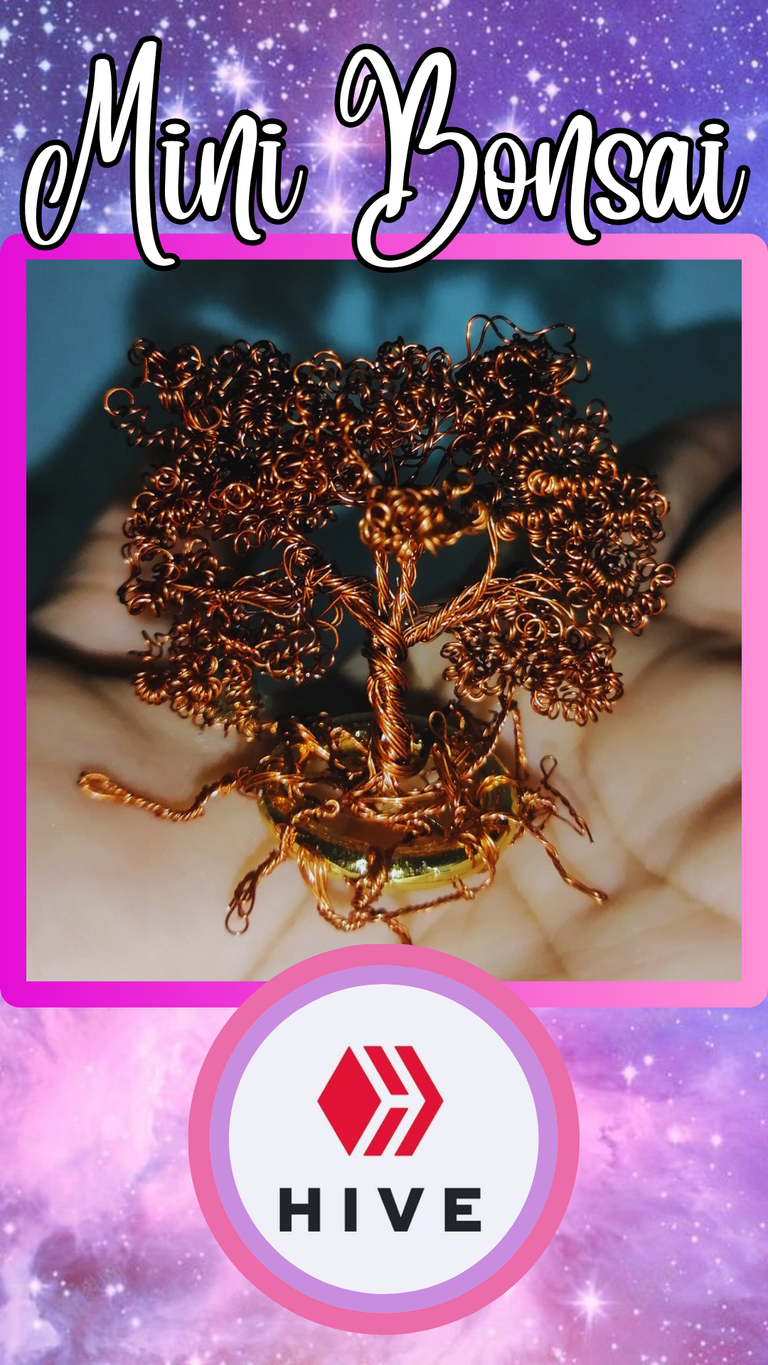
Hello, guys of this beautiful community. I hope you are having a nice day especially to those beautiful mommies who are celebrating their day. I want to wish you a Happy Mother's Day, God watch over you and protect you always. Today is an inspiring day and I wanted to create something different. I tell you that here in Buenaventura it is very hot so we decided to buy three fans, since we do not have air conditioning. But soon one of these was damaged to such an extent that the motor was no longer working.
So I decided to take it apart and use the copper for handicrafts. The idea of the bonsai came to me because it reminds me of the tree of life, my 2 sisters @annie-sdesserts and @itsjunevelasquez have a tattoo on it and I thought it would be interesting to do something similar.
Without further ado I tell you how I did it.
Hola, chicos de esta bonita comunidad. Espero que estén teniendo un bonito día sobre todo a esas mamitas hermosas que están celebrando su día. Quiero desearles un Feliz Día de las Madres, Dios las cuide y las proteja siempre. Hoy es un día inspirador y quise crear algo diferente. Les cuento que acá en Buenaventura hace mucho calor por lo cual hemos decidido comprar tres ventiladores, ya qué , no tenemos aire acondicionado. Pero al poco tiempo uno de estos se dañó a tal punto que el motor ya no servía.
Así que decidí desarmarlo y utilizar el cobre para manualidades. La idea del bonsái me vino porque me recuerda al árbol de la vida, mis 2 hermanas @annie-sdesserts y @itsjunevelasquez tienen un tatueje sobre este y me pareció interesante hacer algo similar.
Sin más preámbulos les cuento cómo lo realicé.
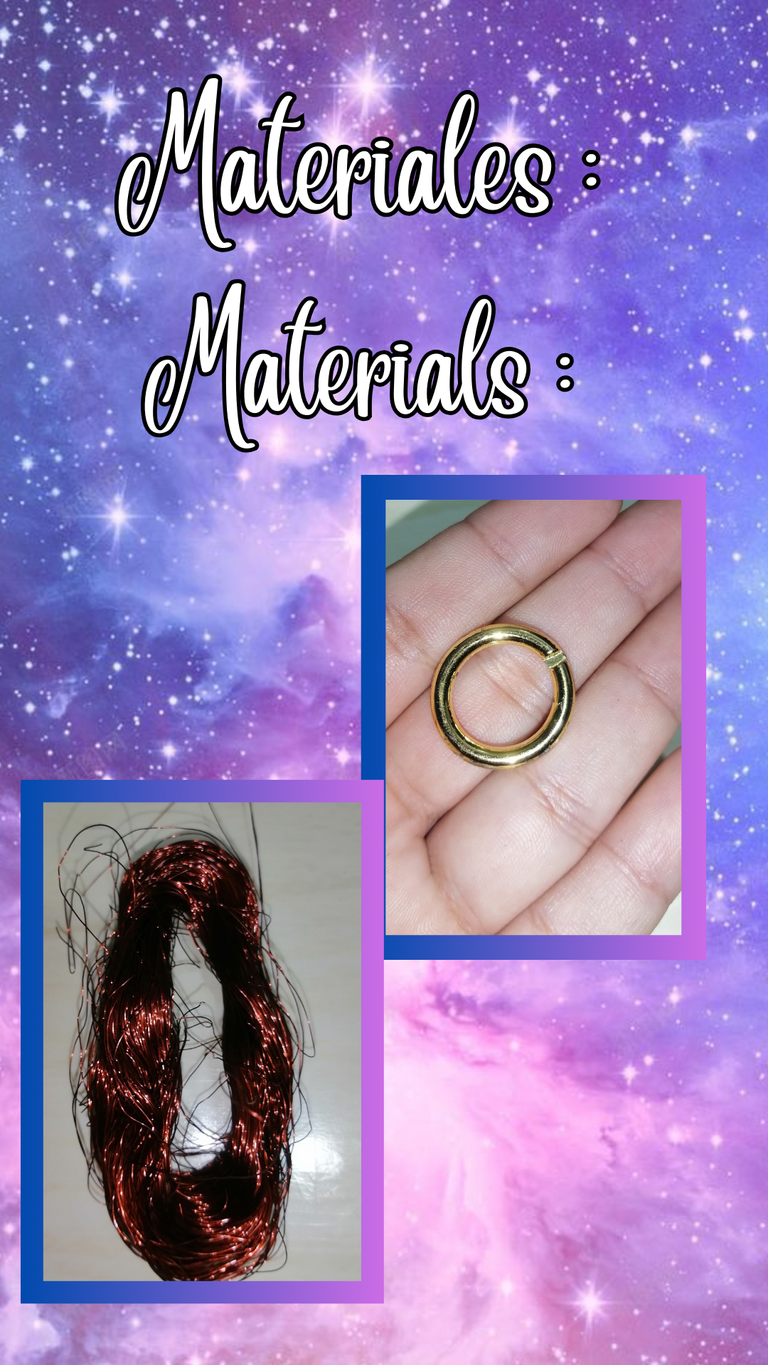
Materials:
Copper, can be from wires or whatever you have on hand.
A ring. This will be for the base but you can use a quartz, a flowerpot, a lid, let your imagination fly.
Thick manual needle. Use whatever you have.
Materiales:
Cobre, puede ser de cables o lo que tengan a la mano.
Un aro. Este será para la base pero pueden usar un cuarzo, una macetita, una tapa, Dejen volar la imaginación.
Aguja manual gruesa. Usen lo que tengan.
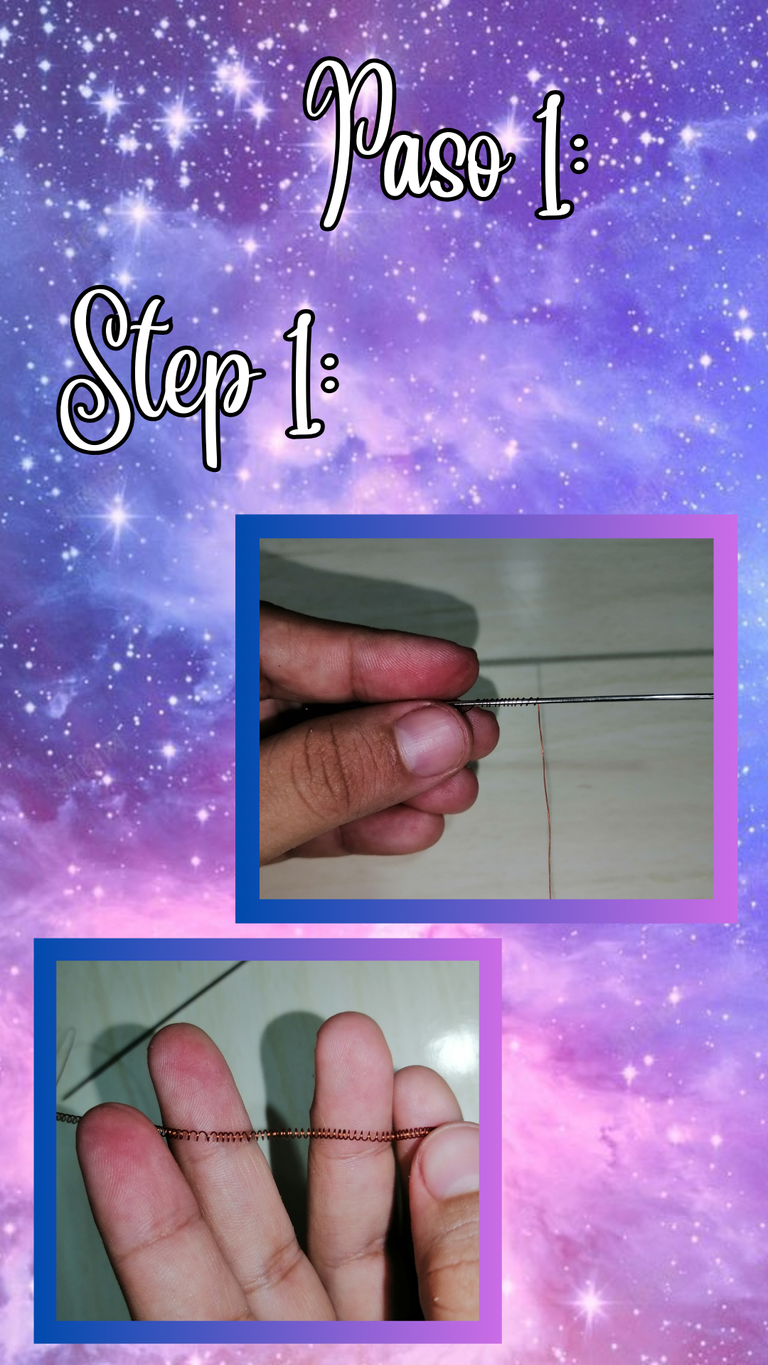
Step 1:
I pulled many little threads out of the copper, of different sizes and wound them onto the needle.
Paso 1:
Saqué muchos hilitos del cobre, de diferentes tamaños y los enrollé en la aguja.
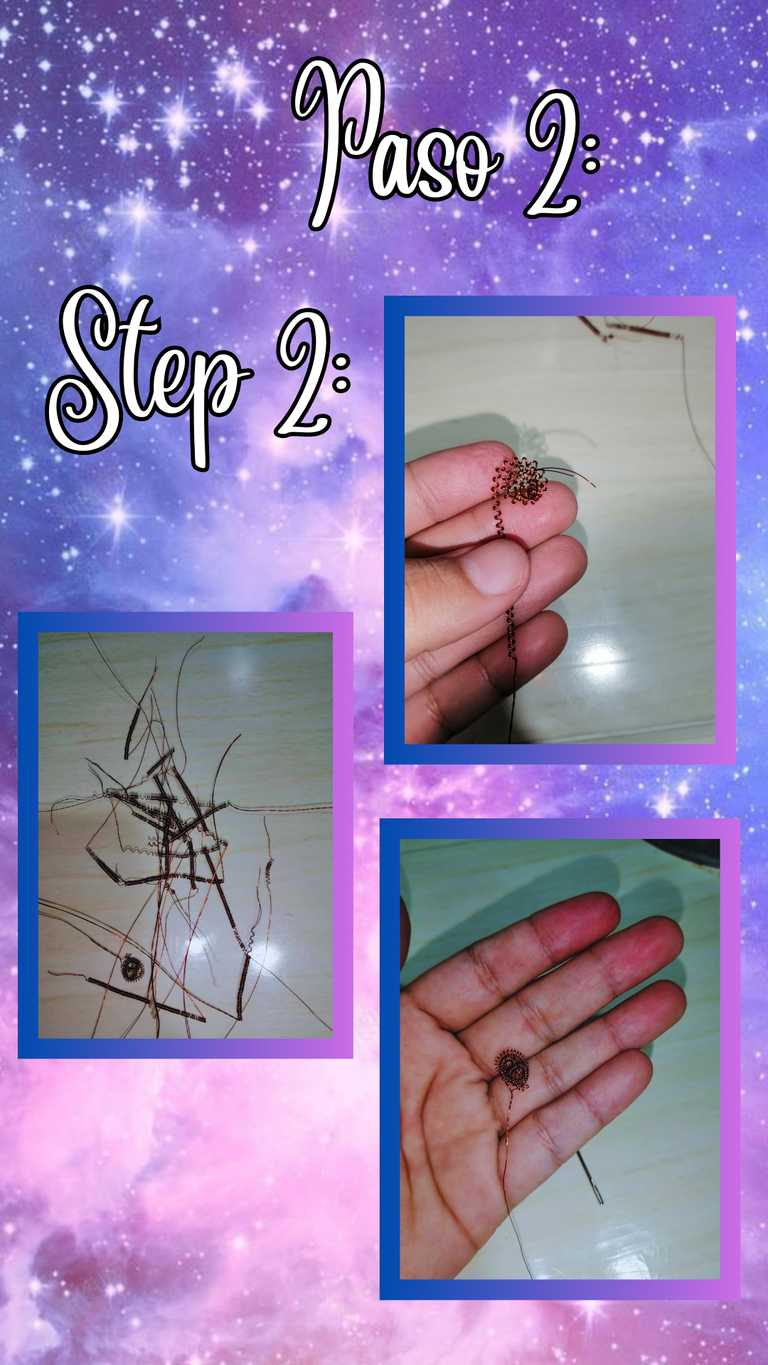
Step 2:
I made all the copper strands into a spring shape, leaving one long and one not so long, stretched a little and made a spiral shape. Then I joined the two lengths together and wound to secure the 2 ends.
Paso 2:
Hice todos los hilitos de cobre en forma de resorte, dejando un tramo lar y otro no tan largo, estire un poco y di forma de espiral. Luego uní los dos tramos y enrollé para asegurar las 2 puntas.
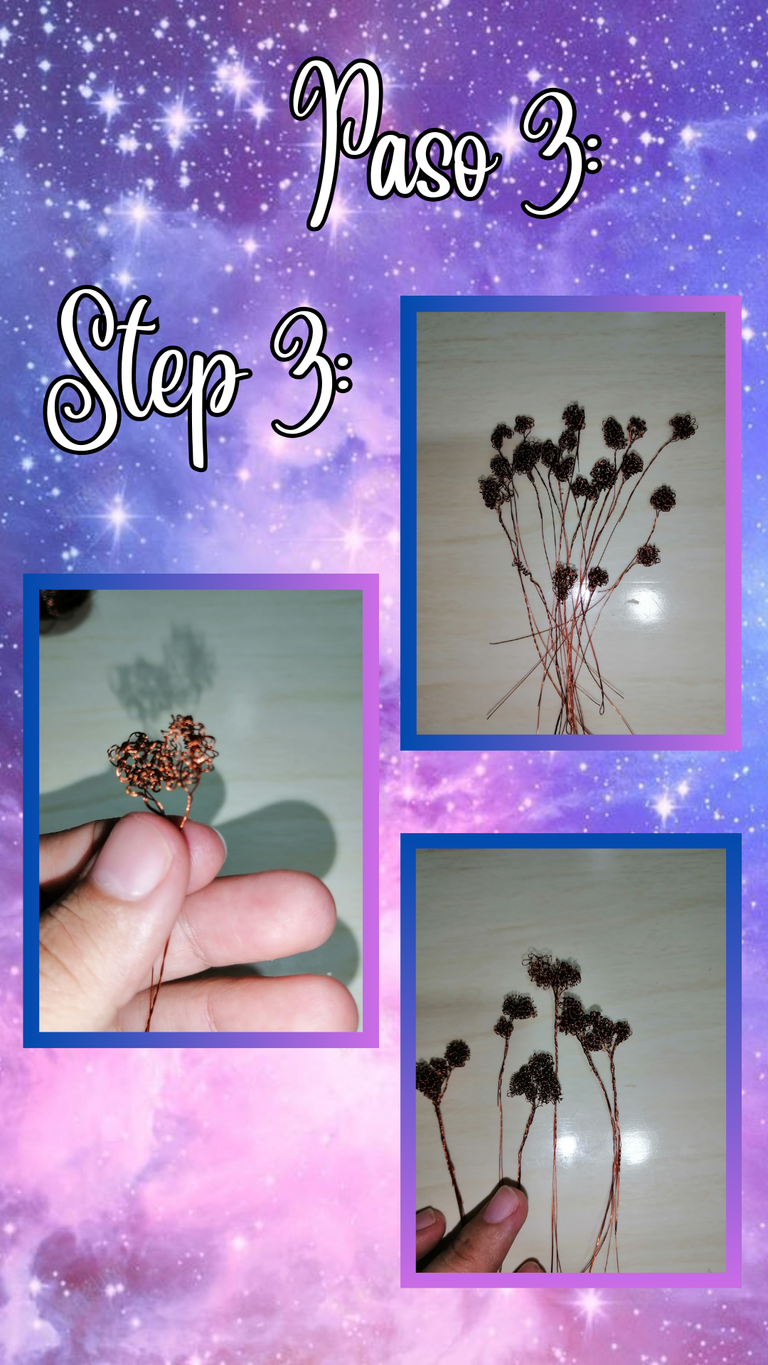
Step 3:
Having all done, I proceeded to assemble different twigs to make the effect of branches with varying thicknesses.
Paso 3:
Al tener todos hechos, procedí a armar diferentes ramitos para que hagan el efecto de las ramas con espesores variados.
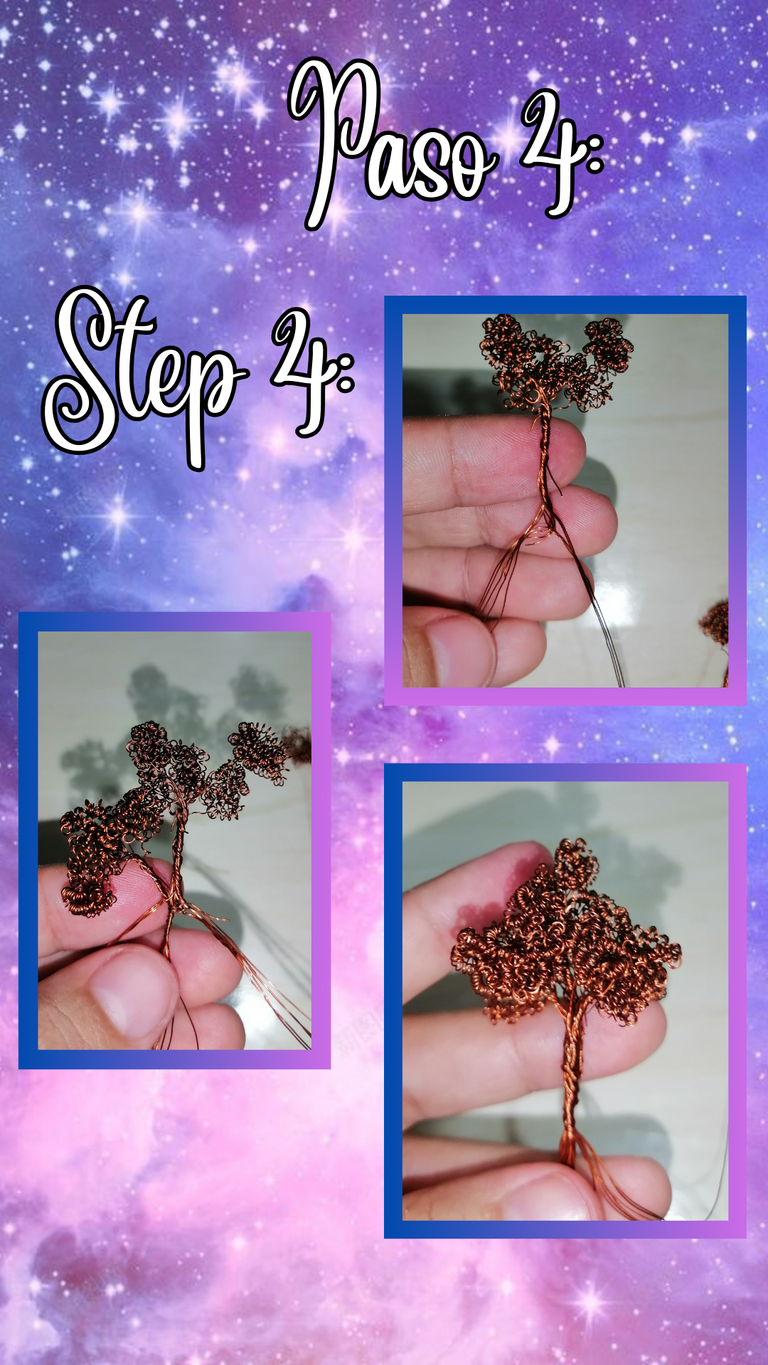
Step 4:
We roll up, with this we will give shape to our tree. It is important that we tighten the copper to make it firm. We start with 2 and then we will include another, until we finish the branches.
Paso 4:
Enrollamos, con esto le daremos forma a nuestro árbol. Es importante que tensemos los cobres para que quede firme. Empesamos con 2 y luego vamos incluyendo otro, hasta terminar la ramas.
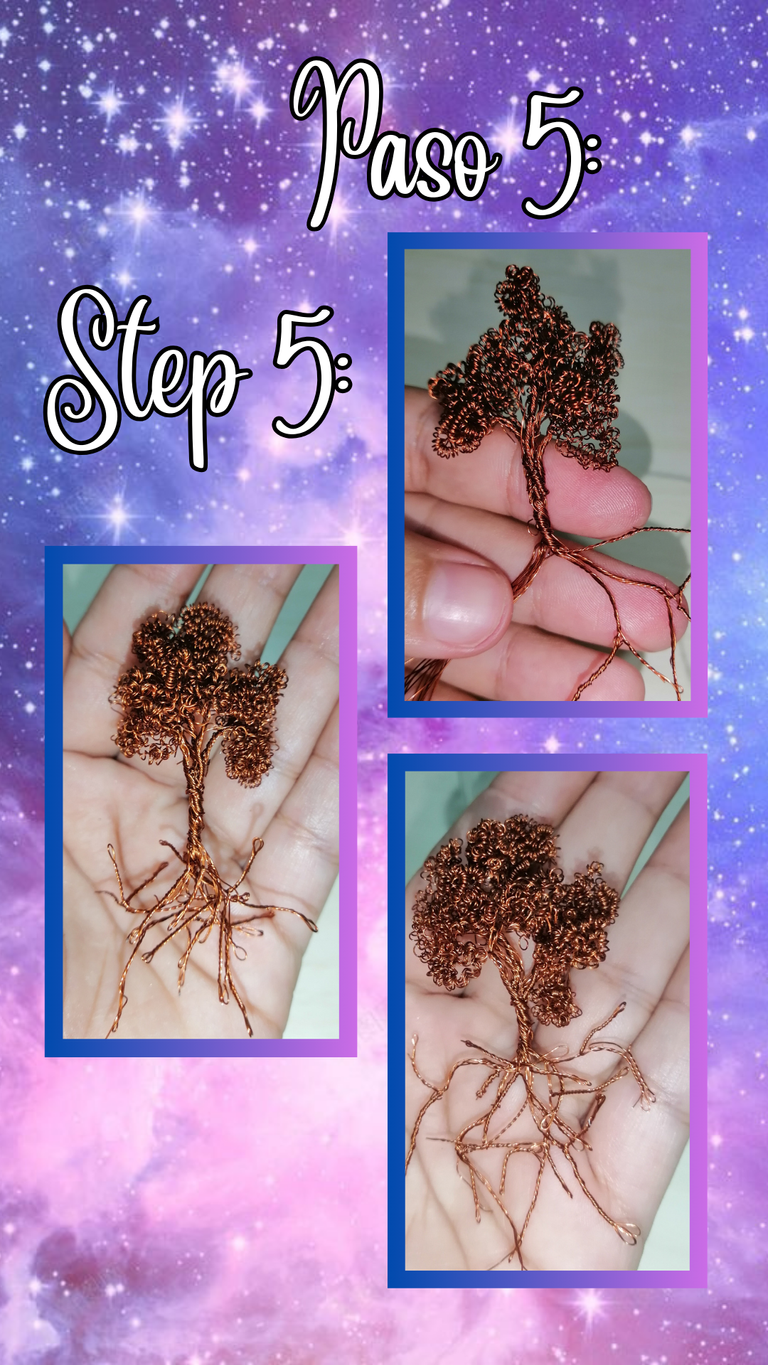
Step 5:
We make the roots, giving forms of creeper, I took out two coppers and when rolling I bent so that it came out of the same root, another one more. And so I did with all leaving some longer than others.
Paso 5:
Hacemos las raíces, dando formas de enrredadera, yo saqué de a dos cobres y al enrrollar doblaba para que me saliera de la misma raíz, otra más. Y así hice con todas dejando unas más largas que otras.
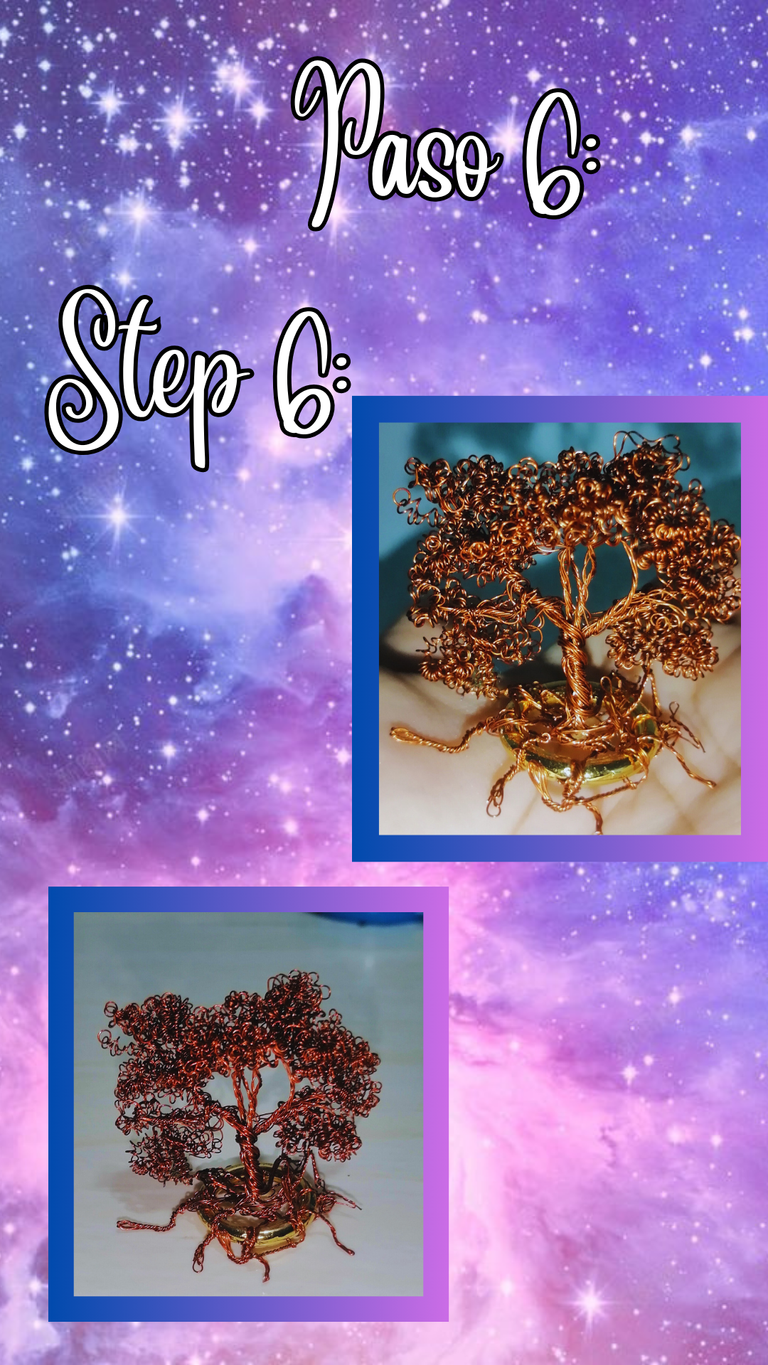
Step 6:
We use the base for the mini bonsai, we roll the roots in the ring so that it is well centered and with this step we finish.
Paso 6:
Usamos la base para el mini bonsai, enrollamos las raíces en el aro de forma que este quede bien centrado y con este paso terminamos.
A pleasure to share with you this nice mini project. I hope you liked this content. If you made it this far, thank you very much for reading me.
Un placer poder compartir con ustedes este bonito mini proyecto. Espero haya sido de su agrado este contenido. Si llegaste hasta acá muchas gracias por leerme.
A hug from afar and take care of yourselves.
Un abrazo desde la distancia y cuídense mucho.

Photos taken by Huawei Y9 Prime
Translation by Deepl
Edited with Canva
Fotos tomadas por Huawei Y9 Prime
Traducción por Deepl
Editado con Canva
oh that's really nice. Could be a nice addition to ones personal space. Bravo
¡Te quedó precioso! Este tipo de manualidades siempre me ha encantado porque me parece que el resultado es genial.
!DIY
Gracias! Yo amé mucho como quedó y lo mejor de todo es que solo usé unas pocas cosas y aún así quedo bonito. Saludos
You can query your personal balance by
!DIYSTATSBeautiful wire work, this very creative mini bonsai looks very original 👍
Thank you very much. It is my pleasure. Best regards.😊😉
Aww que lindura 😍 esta super detallado, con raices y todo, que genialidad ❤️ me encantan los bonsai, son arboles que ademas de ser bellos y decorativos, tienen un bonito significado 🦉
Gracias, que bonito saber que gustó. Saludos 😊
Adoro los bonsai y este te quedo hermoso,❤️
Muchas gracias. Saludos 😊😉