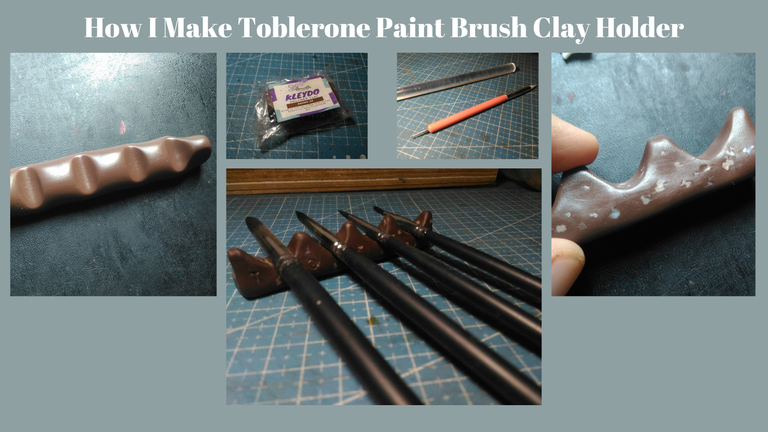
Hello! How are you? I am back with DIY. I made this a long time ago and been used many times when I was still painting watercolor.
Every time I paint acrylic or watercolor the brush I use always rolls away or falls from the table which damages the paintbrush and it costs money to buy again the other thing that irritates me is staining my table which is a no-no for me especially since it is hard to clean.
I came up with a solution. I had extra polymer clay to use to make a Paint Brush Holder
I wonder what design I will use as my reference, the time I am eating Toblerone, it has spacing that is good for the design
for the brush holder. I was supposed to complete the word Toblerone but I only need 6 spaces for the brush holder so if I do complete all the words the brush holder will look long and not so good I like the normal size only.
Materials:
Polymer Clay
Acrylic Mini Rolling Pin
Clay Sculpting Tools
Aluminum Foil
Cardboard
Oven
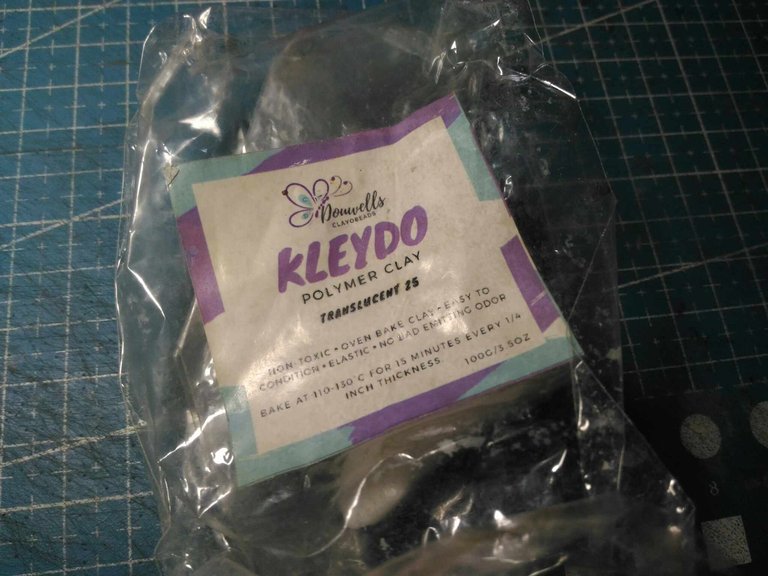
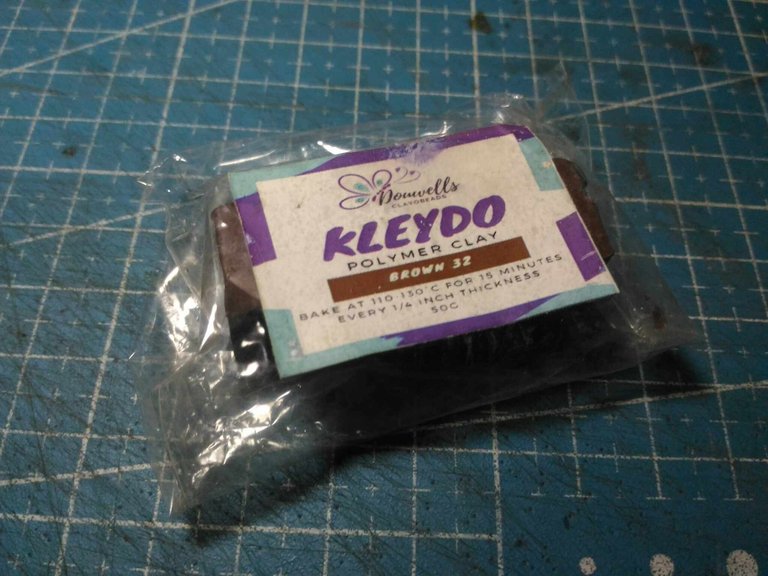
Polymer Clay
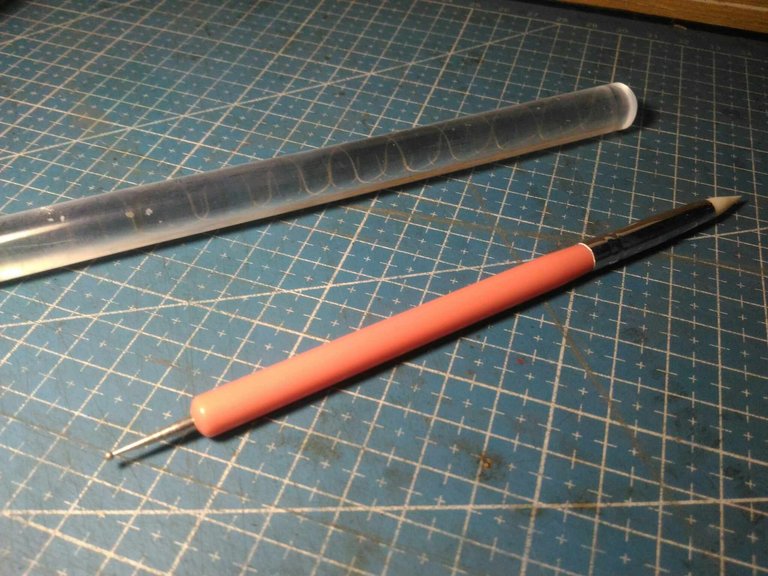
Acrylic Mini Rolling Pin
Clay Sculpting Tools
oven
The Process:
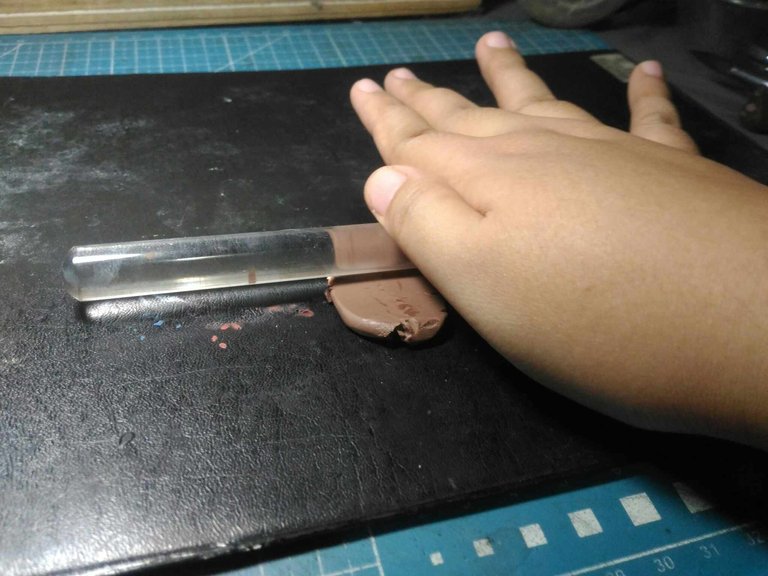
The first step to do, this is an important step. You need to condition the polymer clay by needing it with an acrylic rolling pin or any material that can kneed the clay, You need to kneed it until the clay does not break apart when rolling.
The next step is I cut and shape the clay into rectangular After shaping the clay I use a brush to press to make slots for the holder.
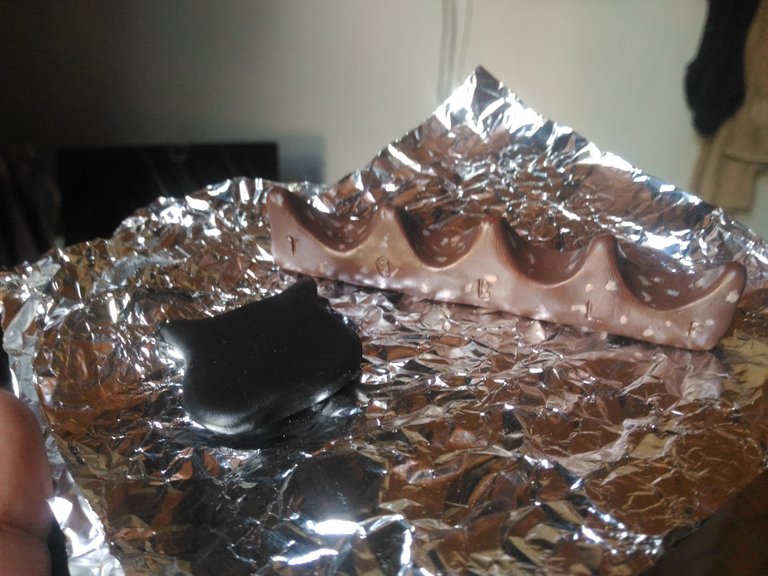
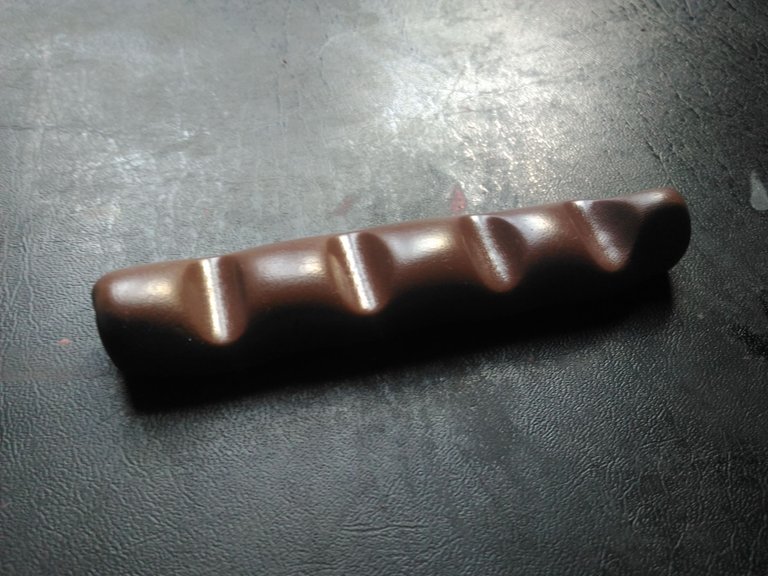
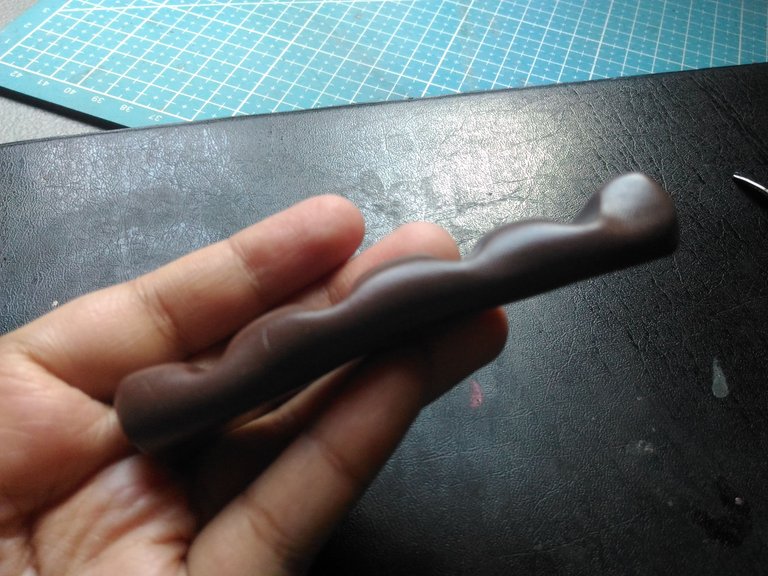
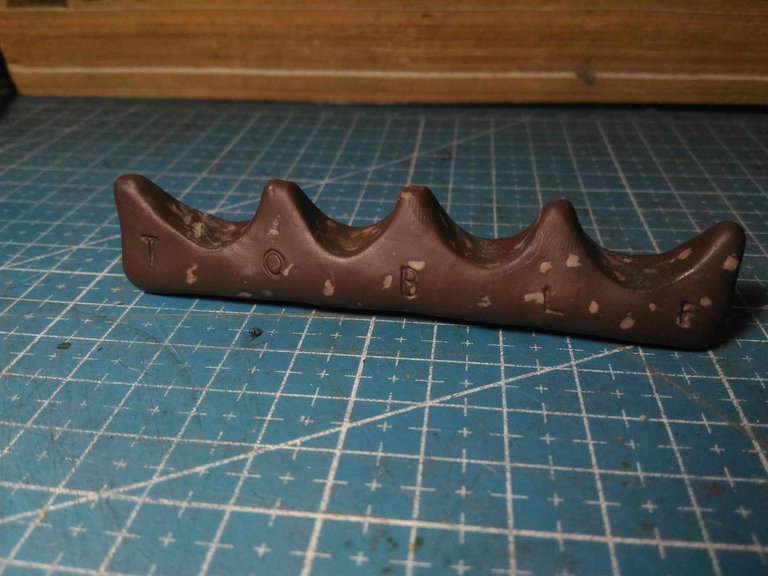
The next step is to shape the clay into Toblerone, what I do is press it up carefully until your desired shape. It is okay to not shape it perfectly. This is what it looks like.
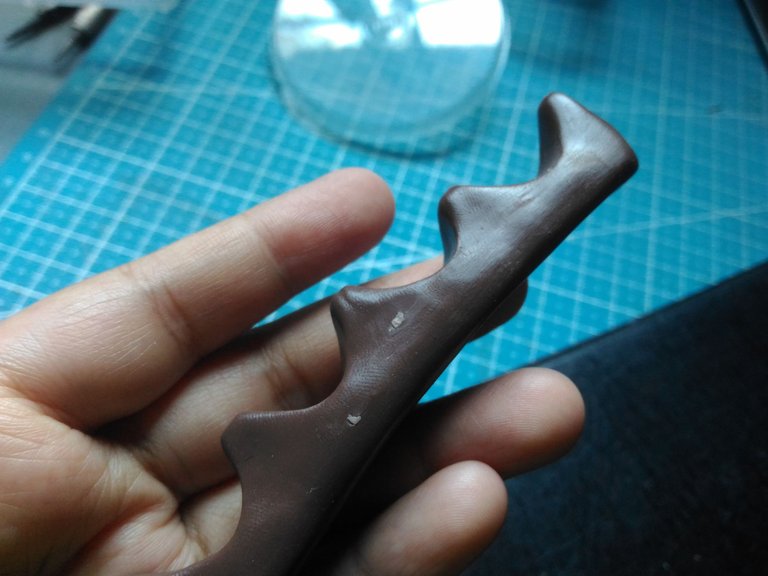
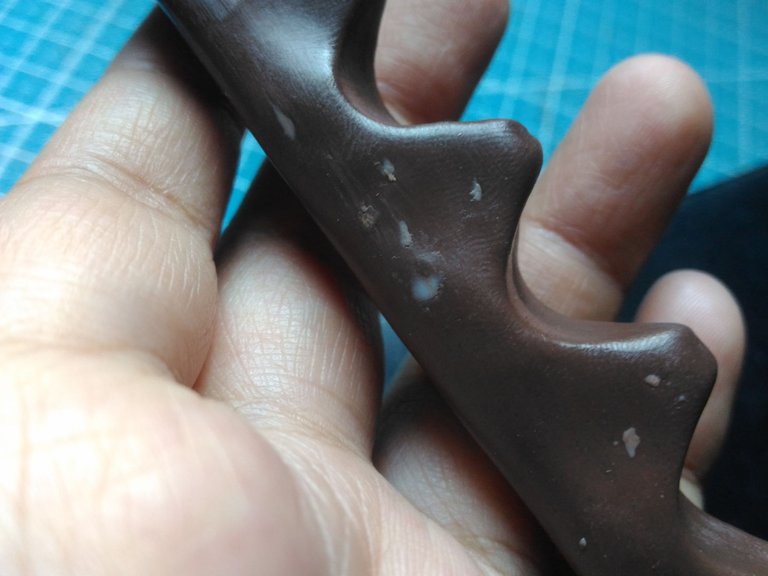
To look more realistic I added white spots using a combination of white and brown clay I don't know what it is called but Google told me it is nougat that part is my favorite to eat.
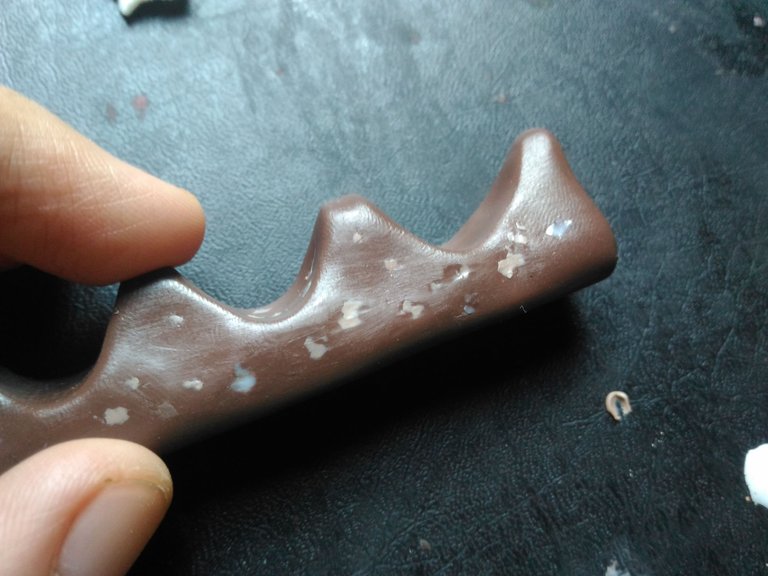
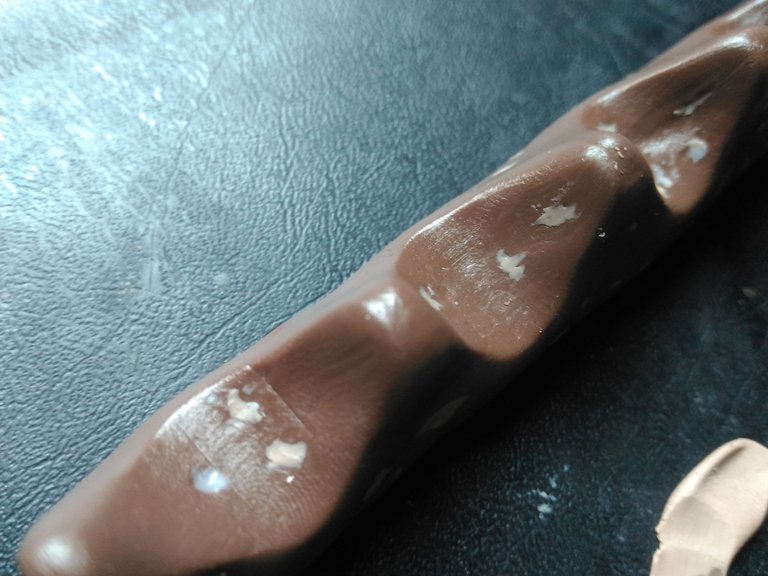
This is what it looks like it looks like a Toblerone. What I do next is to smoothen the fingerprints on it.
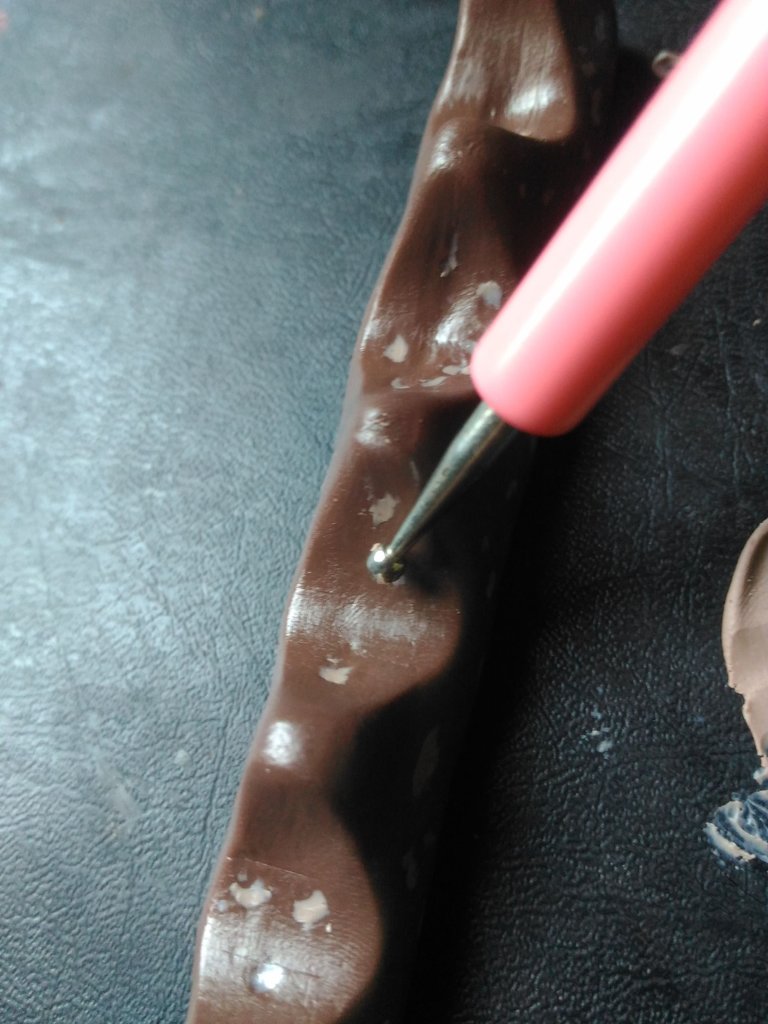
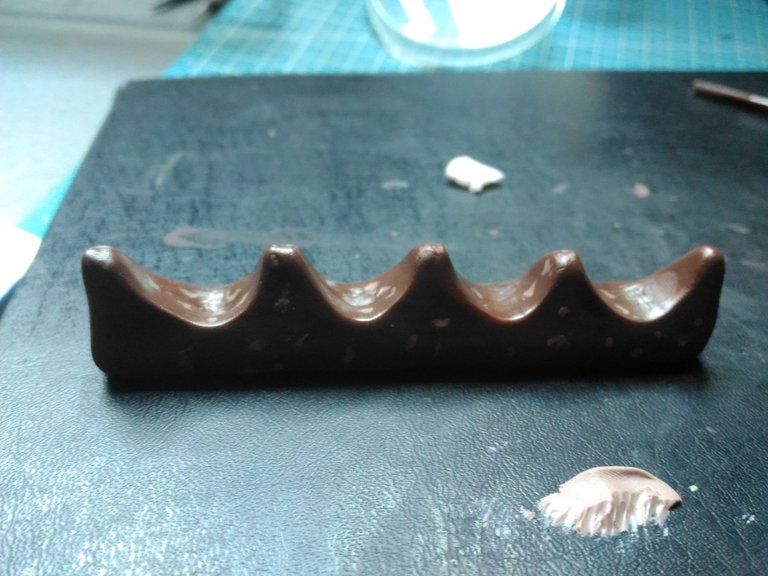
Before baking it I use my tools to write the letter of the chocolate which is toble. Just be careful writing it because if you mess up it is a pain in the eye. LOL
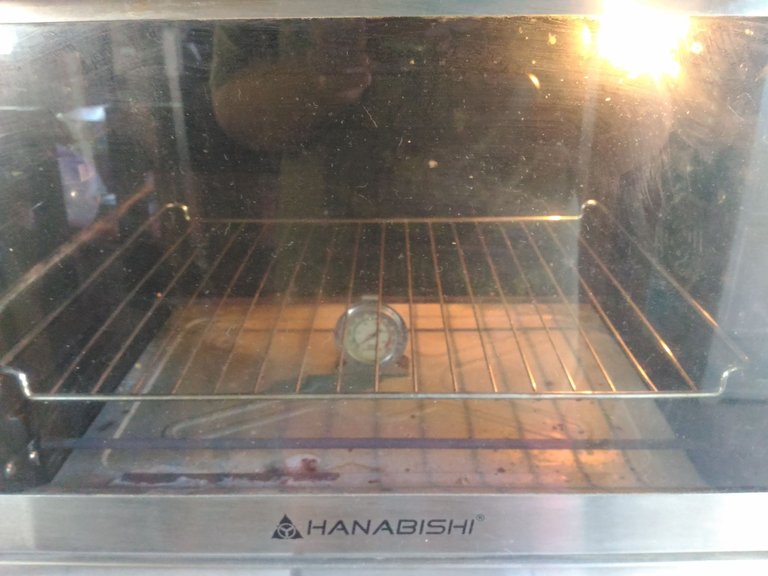
I place the clay on the cardboard and above it is aluminum foil.
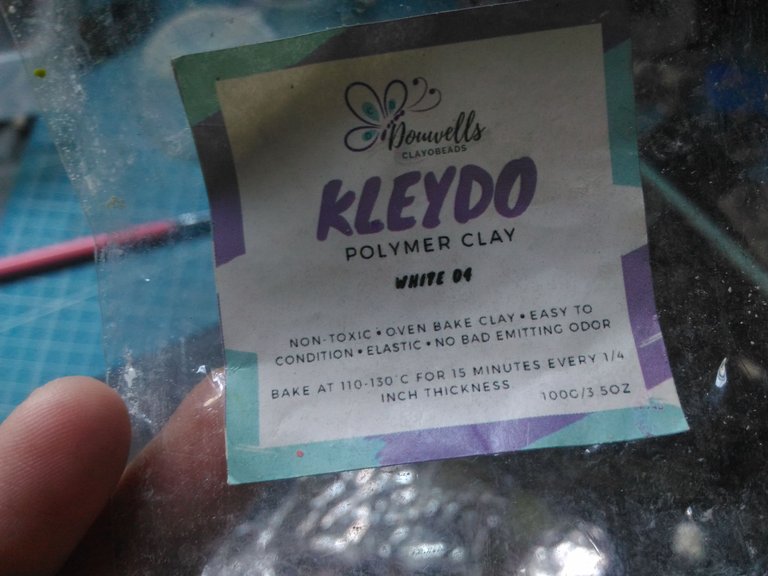
After that, I preheat the oven using the instructions on the packaging. 15 minutes every 1/4 inch thickness. Make sure to buy non-toxic clay.

Let the clay bake while the clay is baking I clean and return all from their respective places my all the tools.
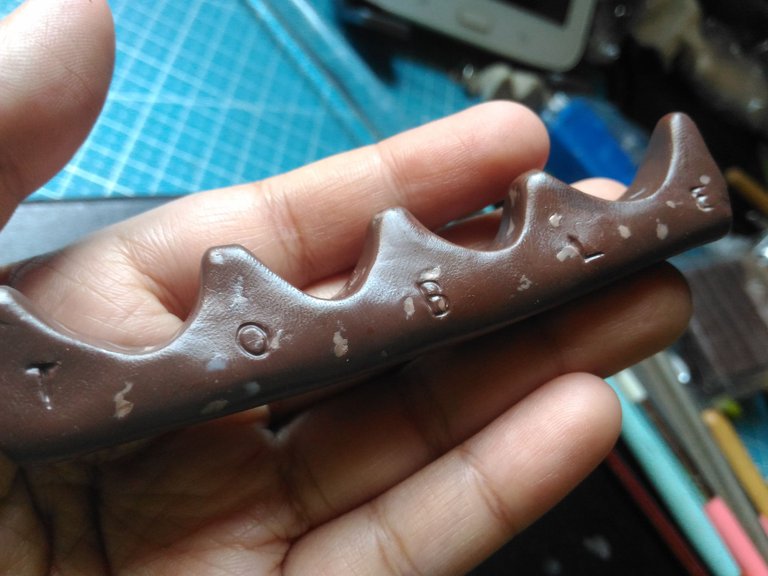
After baking do not touch the clay because you don't want to burn your finger. Let it cool down first and if it is still soft bake it for another 10 minutes or so.
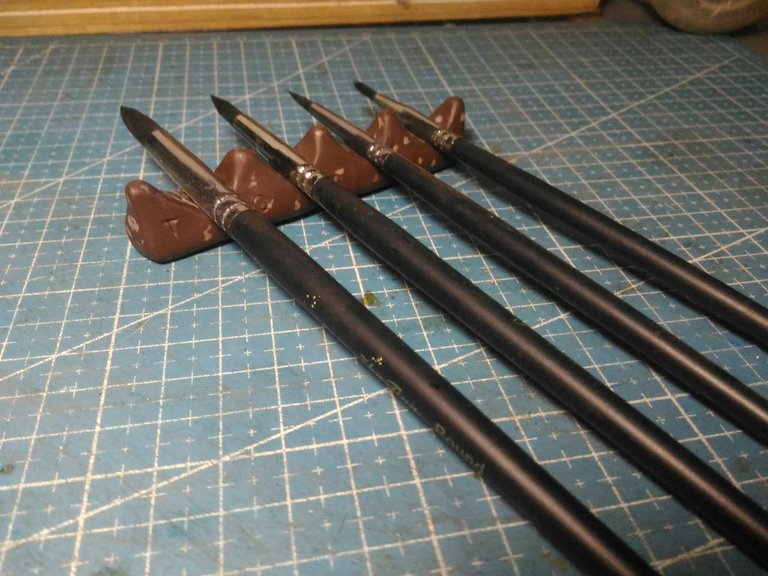
Now you can use it instantly. The good thing about using polymer clay sometimes is you don't need to glaze it to protect the clay.
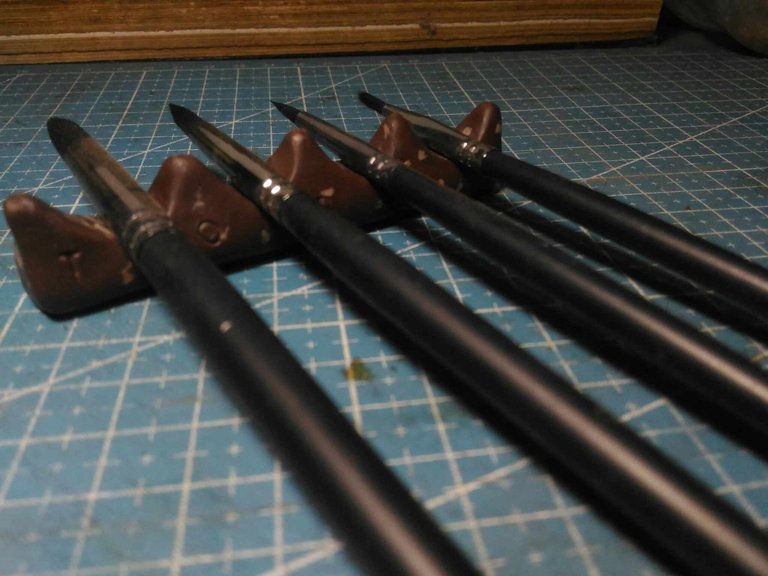
This paintbrush holder does help me a lot less in cleaning the workspace and looks cute too.
I hope you like it. See you on my next blog.

Looks like a real chocolate bar 😍
well done 👍
Thank you 😊
you are welcome