✨🌹¡Hola amigos amantes de la creatividad! Espero que hayan pasado un muy buen comienzo de semana.🌹✨
🔸Sin más que añadir, a continuación los dejo con el paso a paso:
✨🌹¡Hello friends who love creativity! I hope you had a very good start to the week.🌹✨
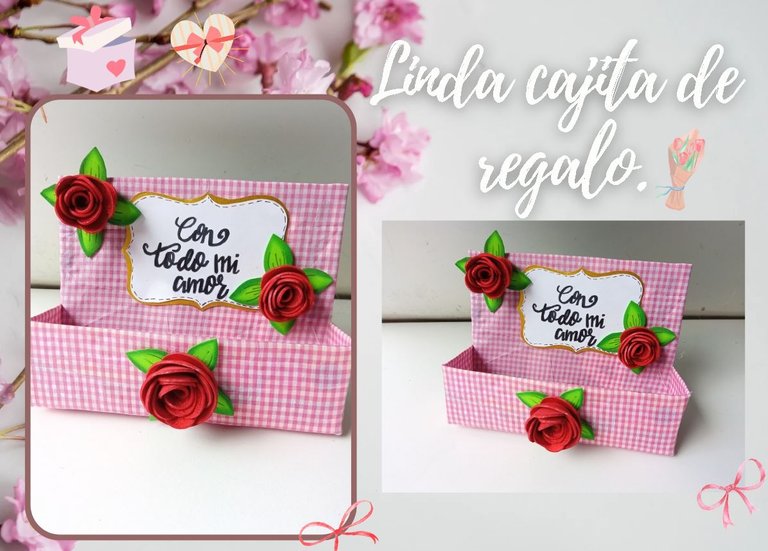
🌹Good afternoon friends🌹. I hope you are having a great week. For my part, much better, thank God everything is improving and I hope it continues that way. On this occasion I share with you the step by step to make a beautiful gift box. Lately, with so many worries, the topic of creativity has become a bit complicated for me, well... Although you see me here every week with a new creation, they are ideas that arise at the moment without thinking about them as much and it takes a little longer than normal.
But leaving that aside, this time I wanted to bring you a simple and quick idea, but that never stops looking delicate and tender, haha.
🔸Without more to add, then I leave you with the step by step:
♥️ESPERO QUE TE GUSTE,
¡Empecemos!
♥️I HOPE YOU LIKE IT,
Let's start!

✂️ MATERIALES | ✂️ MATERIALS
- Caja de golosinas.
- Cartón delgado.
- Tela con diseño.
- Foami verde.
- Foami metalizado rojo.
- Cartulina escarchada dorada.
- Hoja blanca.
- Pegamento.
- Tijeras.
- Regla.
- Lápiz.
- Candy box.
- Thin cardboard.
- Fabric with design.
- Green foam.
- Red metallic foam.
- Gold frosted cardstock.
- White sheet.
- Glue.
- Scissors.
- Ruler.
- Pencil.
🌹 PROCEDIMIENTO | 🌹 PROCESS
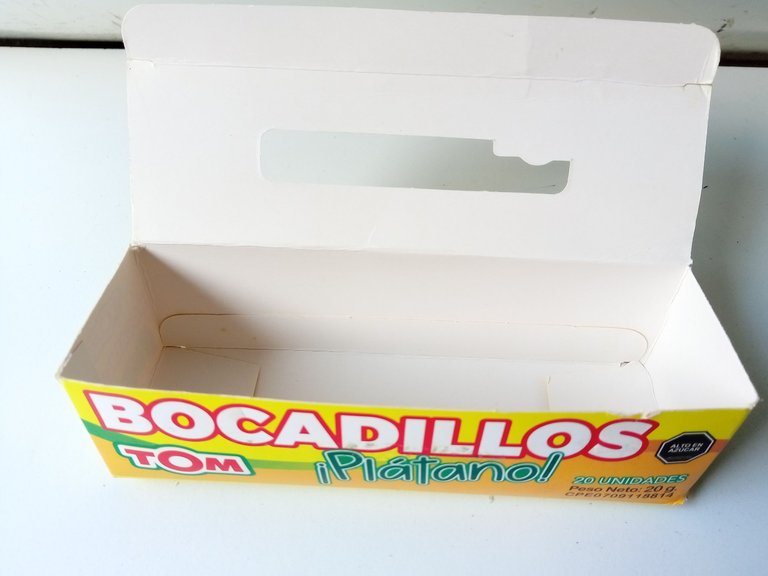
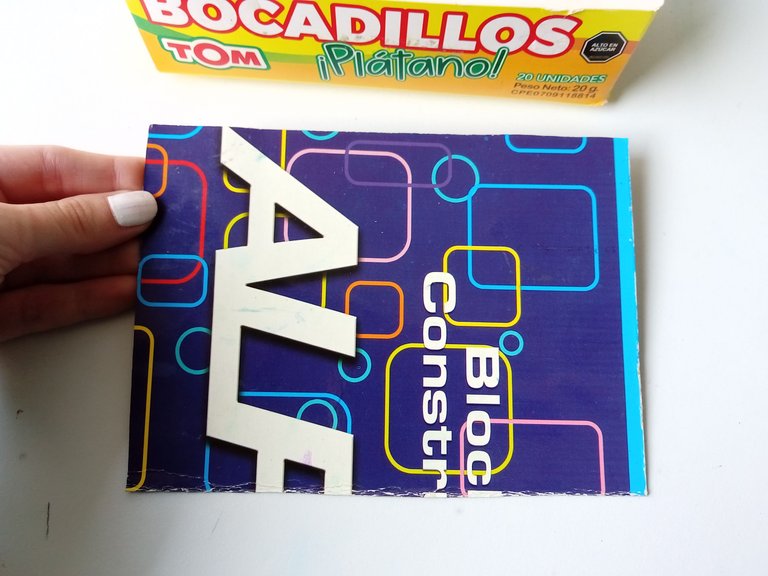
- PASO 1:
En este caso, yo contaba con una caja de golosinas vertical de 16.5 cm, la cual venía con tapa, así que simplemente, recorté las alitas de los lados y la deje tal cual. Como la pared trasera debía ser más larga para colocar un mensaje y parte de la decoración, tracé y recorté en cartón delgado una pieza con el ancho de la caja y 12.5 cm de largo.
- STEP 1:
In this case, I had a 16.5 cm vertical candy box, which came with a lid, so I simply cut out the wings on the sides and left it as is. Since the back wall had to be longer to place a message and part of the decoration, I traced and cut out a piece with the width of the box and 12.5 cm long in thin cardboard.
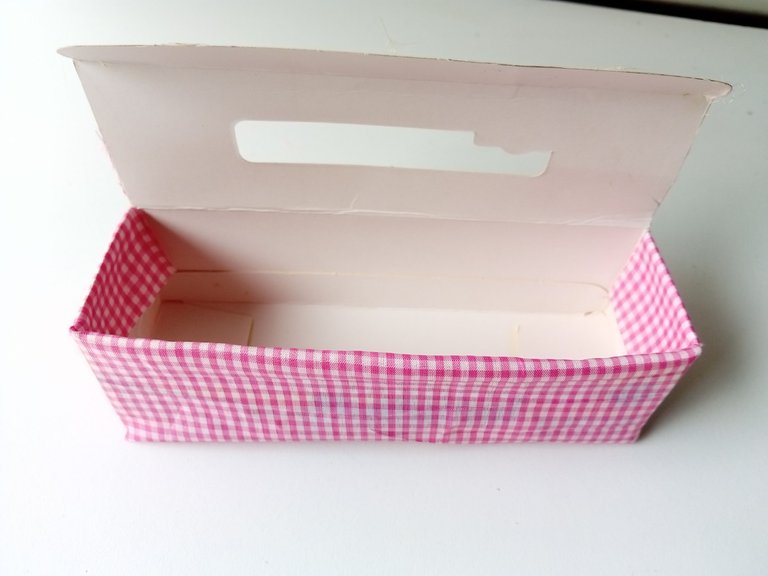
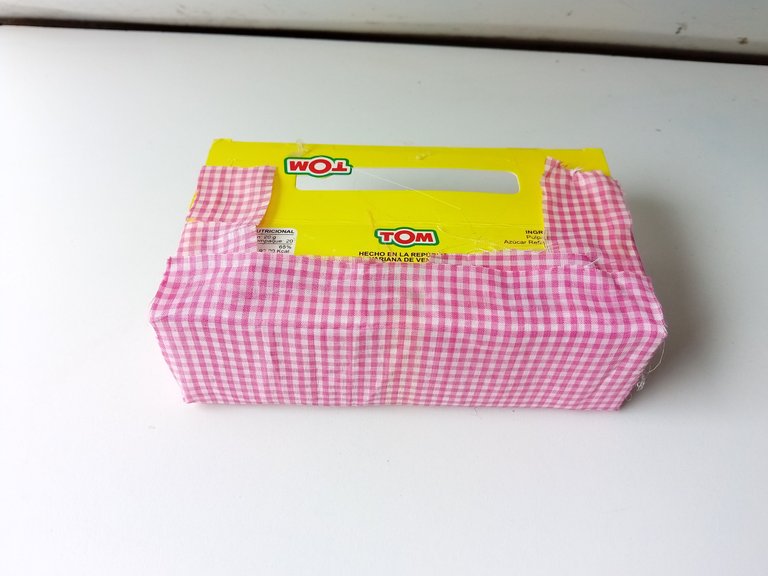
- PASO 2:
Una vez listas todas las piezas, tomé un trozo de tela y comencé a forrar la parte baja de la caja. A los excedentes de la tela, les hice un corte en las orillas de la caja y las pegué en la parte interna para que se viera mucho más prolijo, y el excedente de la parte baja, aproveche de pegarlo cubriendo la parte baja.
- STEP 2:
Once all the pieces were ready, I took a piece of fabric and began to line the bottom of the box. With the excess fabric, I made a cut on the edges of the box and glued it on the inside so that it looked much neater, and I took advantage of the excess on the lower part by gluing it, covering the lower part.
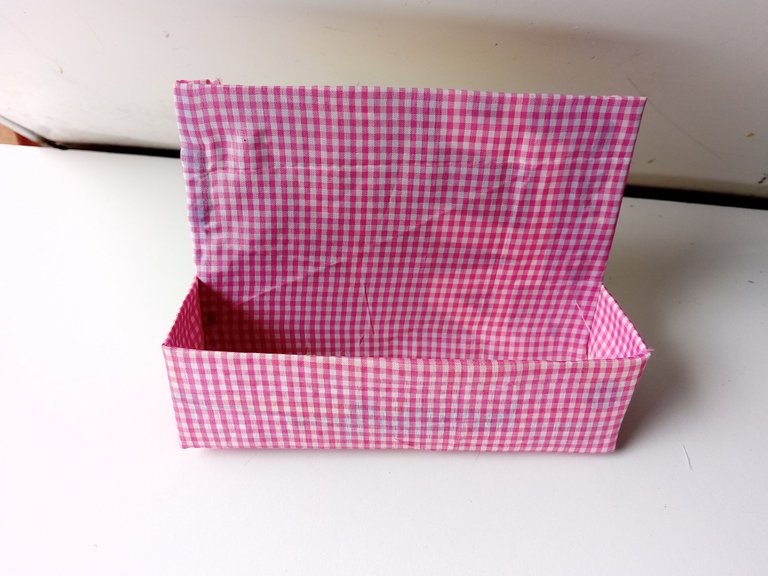
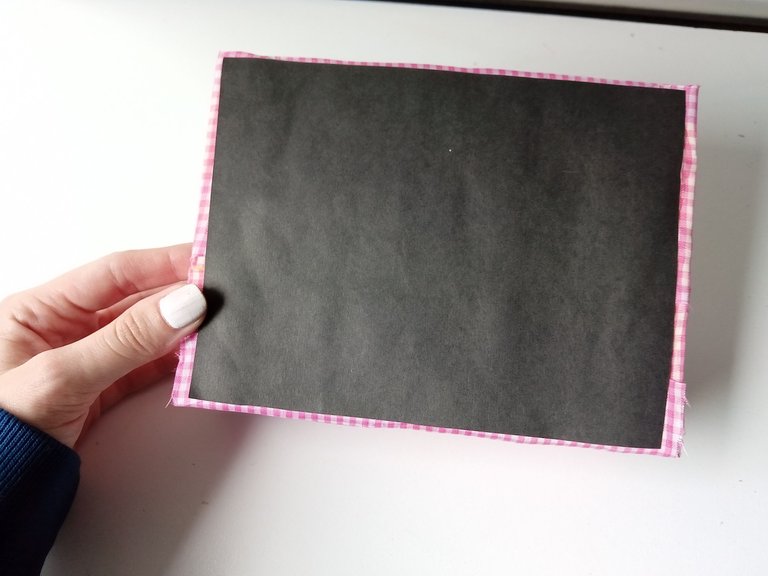
- PASO 3:
Después, forré el cartón delgado con un trozo de la misma tela, pegué la pieza a la pared trasera de la caja y el sobrante lo pegué a la tapa de la caja. Para que la parte trasera quedara mucho más prolija, recorté una pieza de cartulina negra (opcional) y pegué en esa parte.
- STEP 3:
Next, I lined the thin cardboard with a piece of the same fabric, glued the piece to the back wall of the box and glued the excess to the lid of the box. To make the back part look much neater, I cut out a piece of black cardstock (optional) and glued it to that part.

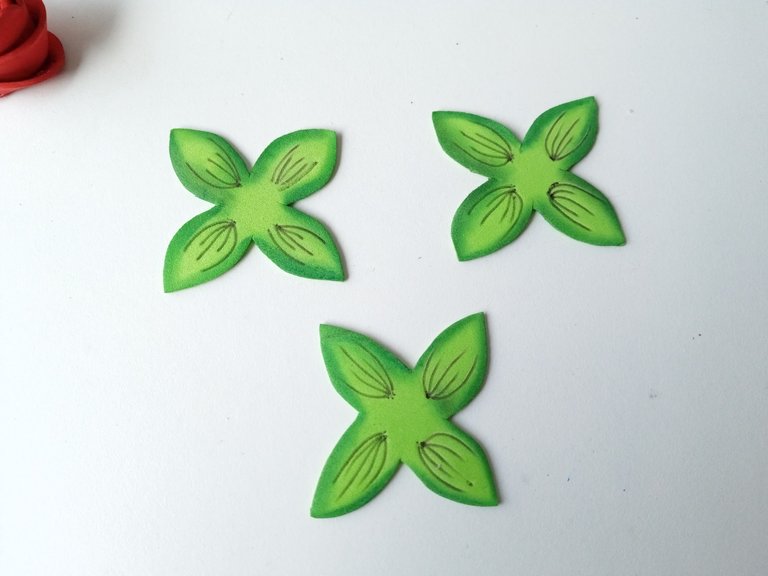
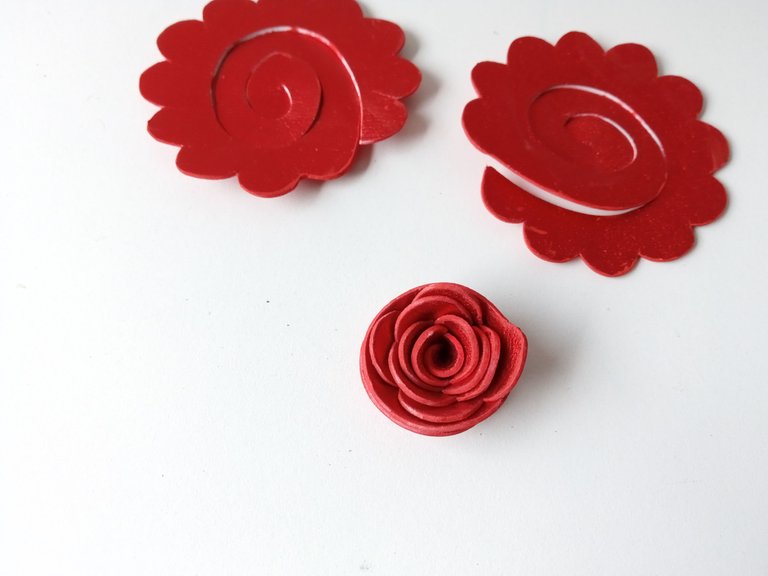
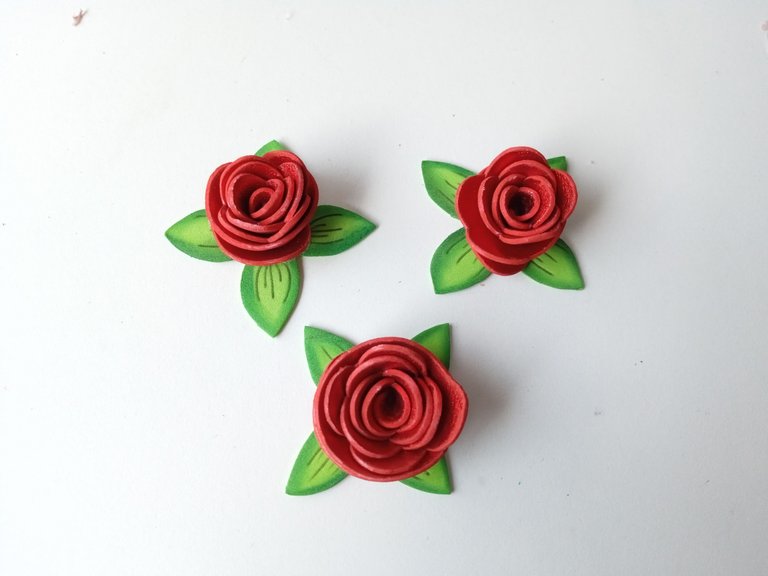
- PASO 4:
Ahora vamos con la decoración. Recorté tres hojas de cuatro puntas en foami verde y para las flores, recorté tres espirales con bordes ovalados. A las hojas les di un poco de color en el borde con pintura verde e hice algunos detalles con marcador, enrollé los espirales para formar las flores y pegué justo en medio de las hojas.
- STEP 4:
Now let's get to the decoration. I cut out three four-pointed leaves from green foam and for the flowers, I cut out three spirals with oval edges. I gave the leaves a little color on the edge with green paint and made some details with marker, rolled the spirals to form the flowers and glued them right in the middle of the leaves.
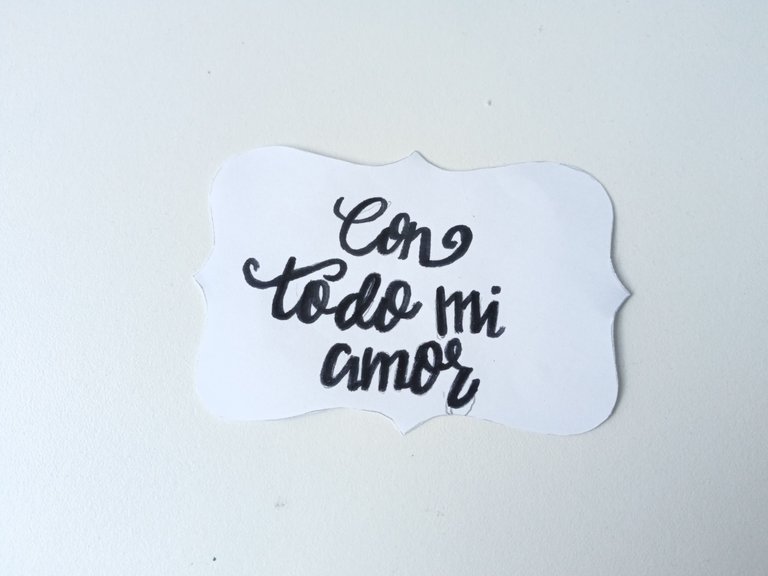
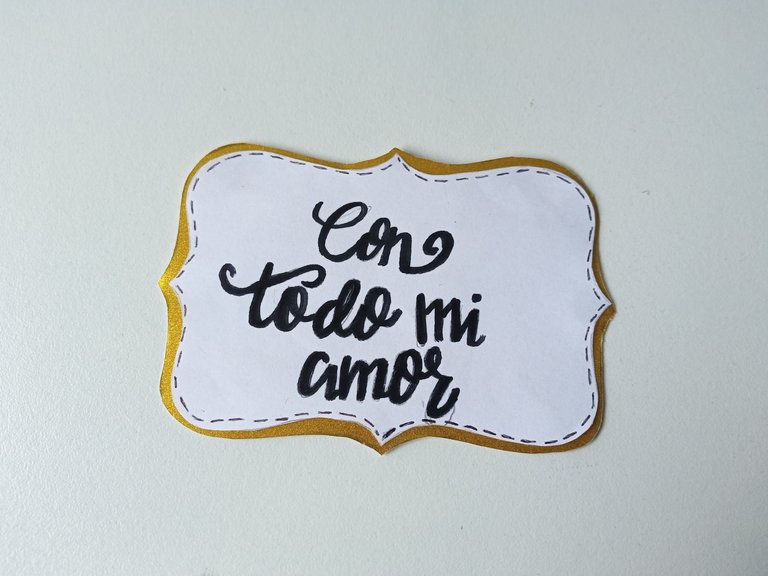
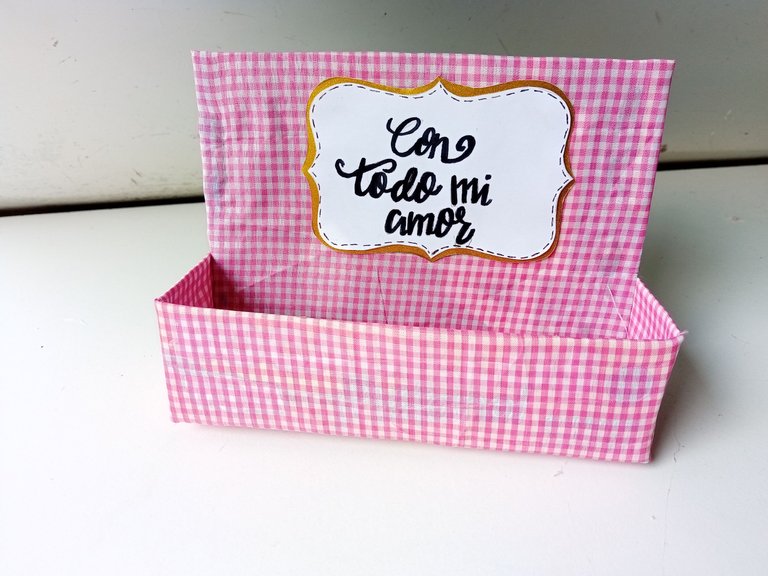
- PASO 5:
Seguidamente, recorté una pieza de hoja blanca con diseño de etiqueta a la cual le escribí un mensaje con marcador negro, esta la pegué sobre cartulina escarchada dorada, recorté dando la misma forma, pero dejando solo un borde de 0.5 cm.
- STEP 5:
Next, I cut out a piece of white paper with a label design on which I wrote a message with a black marker. I glued this onto gold frosted cardboard and cut it out in the same shape, but leaving only a 0.5 cm border.
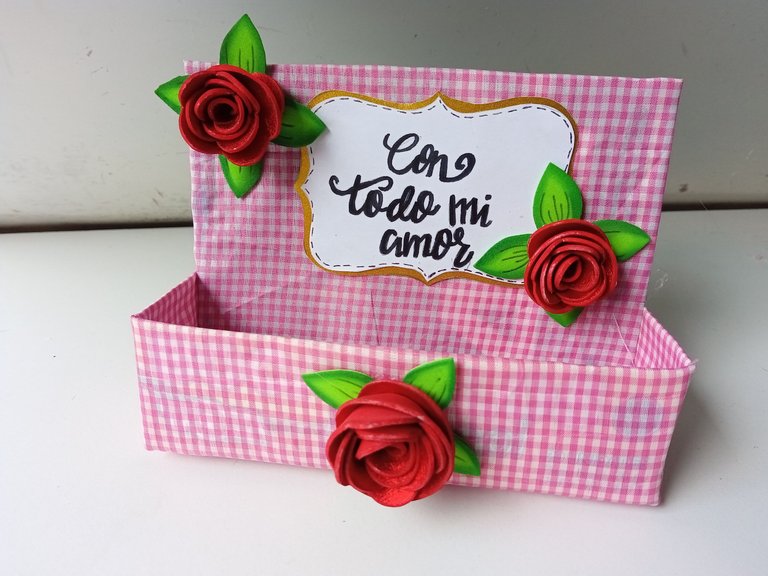
- PASO 6:
Finalmente, pegué el mensaje en medio de la pared trasera, dos de las flores en esta misma pared y en la pared de enfrente de la caja, la flor restante.
- STEP 6:
Finally, I glued the message in the middle of the back wall, two of the flowers on this same wall and on the wall in front of the box, the remaining flower.
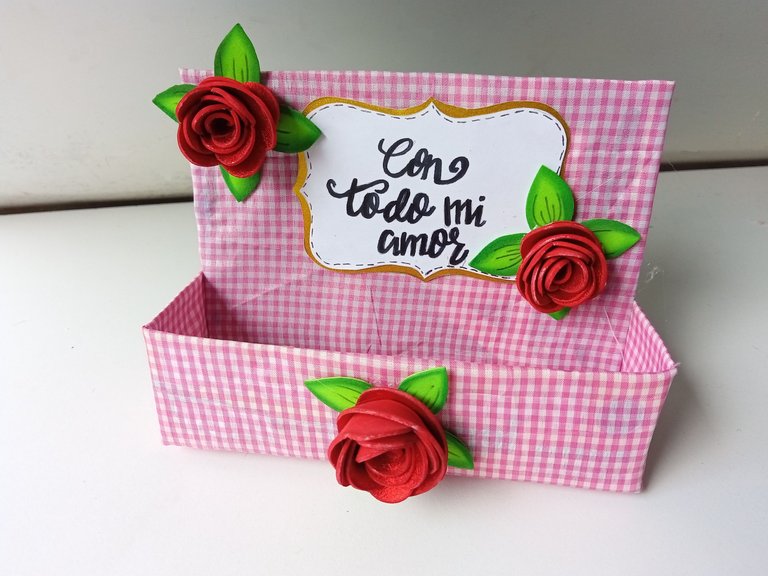
✨🌹¡And ready!🌹✨ This way you can make a beautiful gift box to give something to a loved one. You should keep in mind that any box is perfect to transform with this design, of course the ideal is to use your imagination and creativity to create something beautiful. I hope you liked the step by step and are encouraged to make it.
❤️Until the next post.
✨RESULTADO: | ✨RESULT:


Todas las fotografías son de mi propiedad.
Separador y Fotos editadas en Canva
All photographs are my property.
Photos edited in Canva
El reciclaje para mi, es lo mejor que hay!
Te quedó precioso, gracias por el paso a paso!!❤️
Así es, es muy bonito poder reciclar, crear cositas nuevas y bonitas.
Me alegra mucho que te haya gustado, amiga.💕
Olí necesita algo así para guardar sus lacitos y ganchitos 😍 está hermoso
Es verdad mi Eve, a Oli le viene bien un organizador para guardar sus colitas y lacitos.🥺💕🤭
Reutilizar los materiales de provecho siempre será una gran idea, lo podemos transformar en algo super lindo y útil a la vez. La tela que utilizaste y las rosas hacen de esta cajita una excelente idea para regalar.
Así es, siempre es bueno reciclar para intentar transformar en algo muy bonito, y así poder dar un detalle o utilizarlo para otro fin 💕
WOW! It is so beautiful. Wonderful design and it looks attractive. Well done! Keep it up!
Muchas gracias por sus bonitas palabras, me alegra mucho que les haya gustado esta cajita.💕
Wooow🌷🩷
Te quedo demasiado bello esto amiga, me encanta el diseño y también que se puede ajustar perfecto para un desayuno sorpresa ☺️😍😍
Como siempre está niña compartiéndolo bellezas!
Muchas gracias amiga bella!!!! Totalmente Ami, sería una bonita idea para un desayuno 🤭💕 Gracias por dejarme bellos comentarios ami linda.✨💕
Que linda mi Valen, no sé porque pero imaginé que quedaría perfecta para un desayuno sorpresa 😍 Gracias por compartirnos esta idea creativa 🩷
Hermosa idea ☺️👏 me encantó el estampado de la tela, y las flores le quedaron perfectas. Gracias por compartir tan lindo trabajo ☺️
Ay no ami que Dios bendiga esa creatividad tuya😍😍 todo te queda hermoso y muy delicado como dices jeje no importa si te tardas mucho o poco el resultado siempre es bellisimo🥰
Que lindura de cajita ami, esas flores le dan un toque aún más hermoso y la tarjetita la complementa muy bien. Es toda una belleza 😍
Hola amiga, que linda quedó tu caja y lo mejor que la hiciste reciclando.
Gracias por compartir.
Te ha quedado muy hermoso tu caja de regalo, es ideal para regalarlo a un ser querido con unos dulces en su interior, gracias por compartir.
Tu comunidad artesana ahora es testigo
