
Felíz inicio de semana comunidad Holozing, nos encontramos en una nueva semana de oportunidades y de mucho trabajo, espero se encuentren bien de salud. El día de hoy les quiero compartir una nueva creación de manualidades inspiradas en el juego de Holozing espero les guste esta idea del atuendo del sanador de la luz varón.
Happy start to the week Holozing community, we find ourselves in a new week of opportunities and a lot of work, I hope you are in good health. Today I want to share with you a new craft creation inspired by the Holozing game. I hope you like this idea of the male light healer's outfit.
Quise realizar el atuendo del sanador de la luz varón en foami, cada uno de los sanadores posee un atuendo similar por ejemplo en el chaleco más sin embargo cambian los colores y su símbolo, en este caso realicé el chaleco y camisa del sanador masculino. A continuación les muestro el paso a paso y los materiales.
I wanted to make the outfit of the male healer of light in foami, each of the healers has a similar outfit, for example on the vest, but however the colors and their symbol change, in this case I made the vest and shirt of the male healer. Below I show you the step by step and the materials.
Materiales:
✅Foami blanco.
✅Foami gris.
✅Foami amarillo.
✅Marcador negro.
✅Foami color piel.
✅Tijera.
✅Silicón.
✅Lápiz.
Materials:
White foam.
Gray foam.
Yellow foam.
Black marker.
Skin-colored foami.
Scissors.
Silicone.
Pencil.
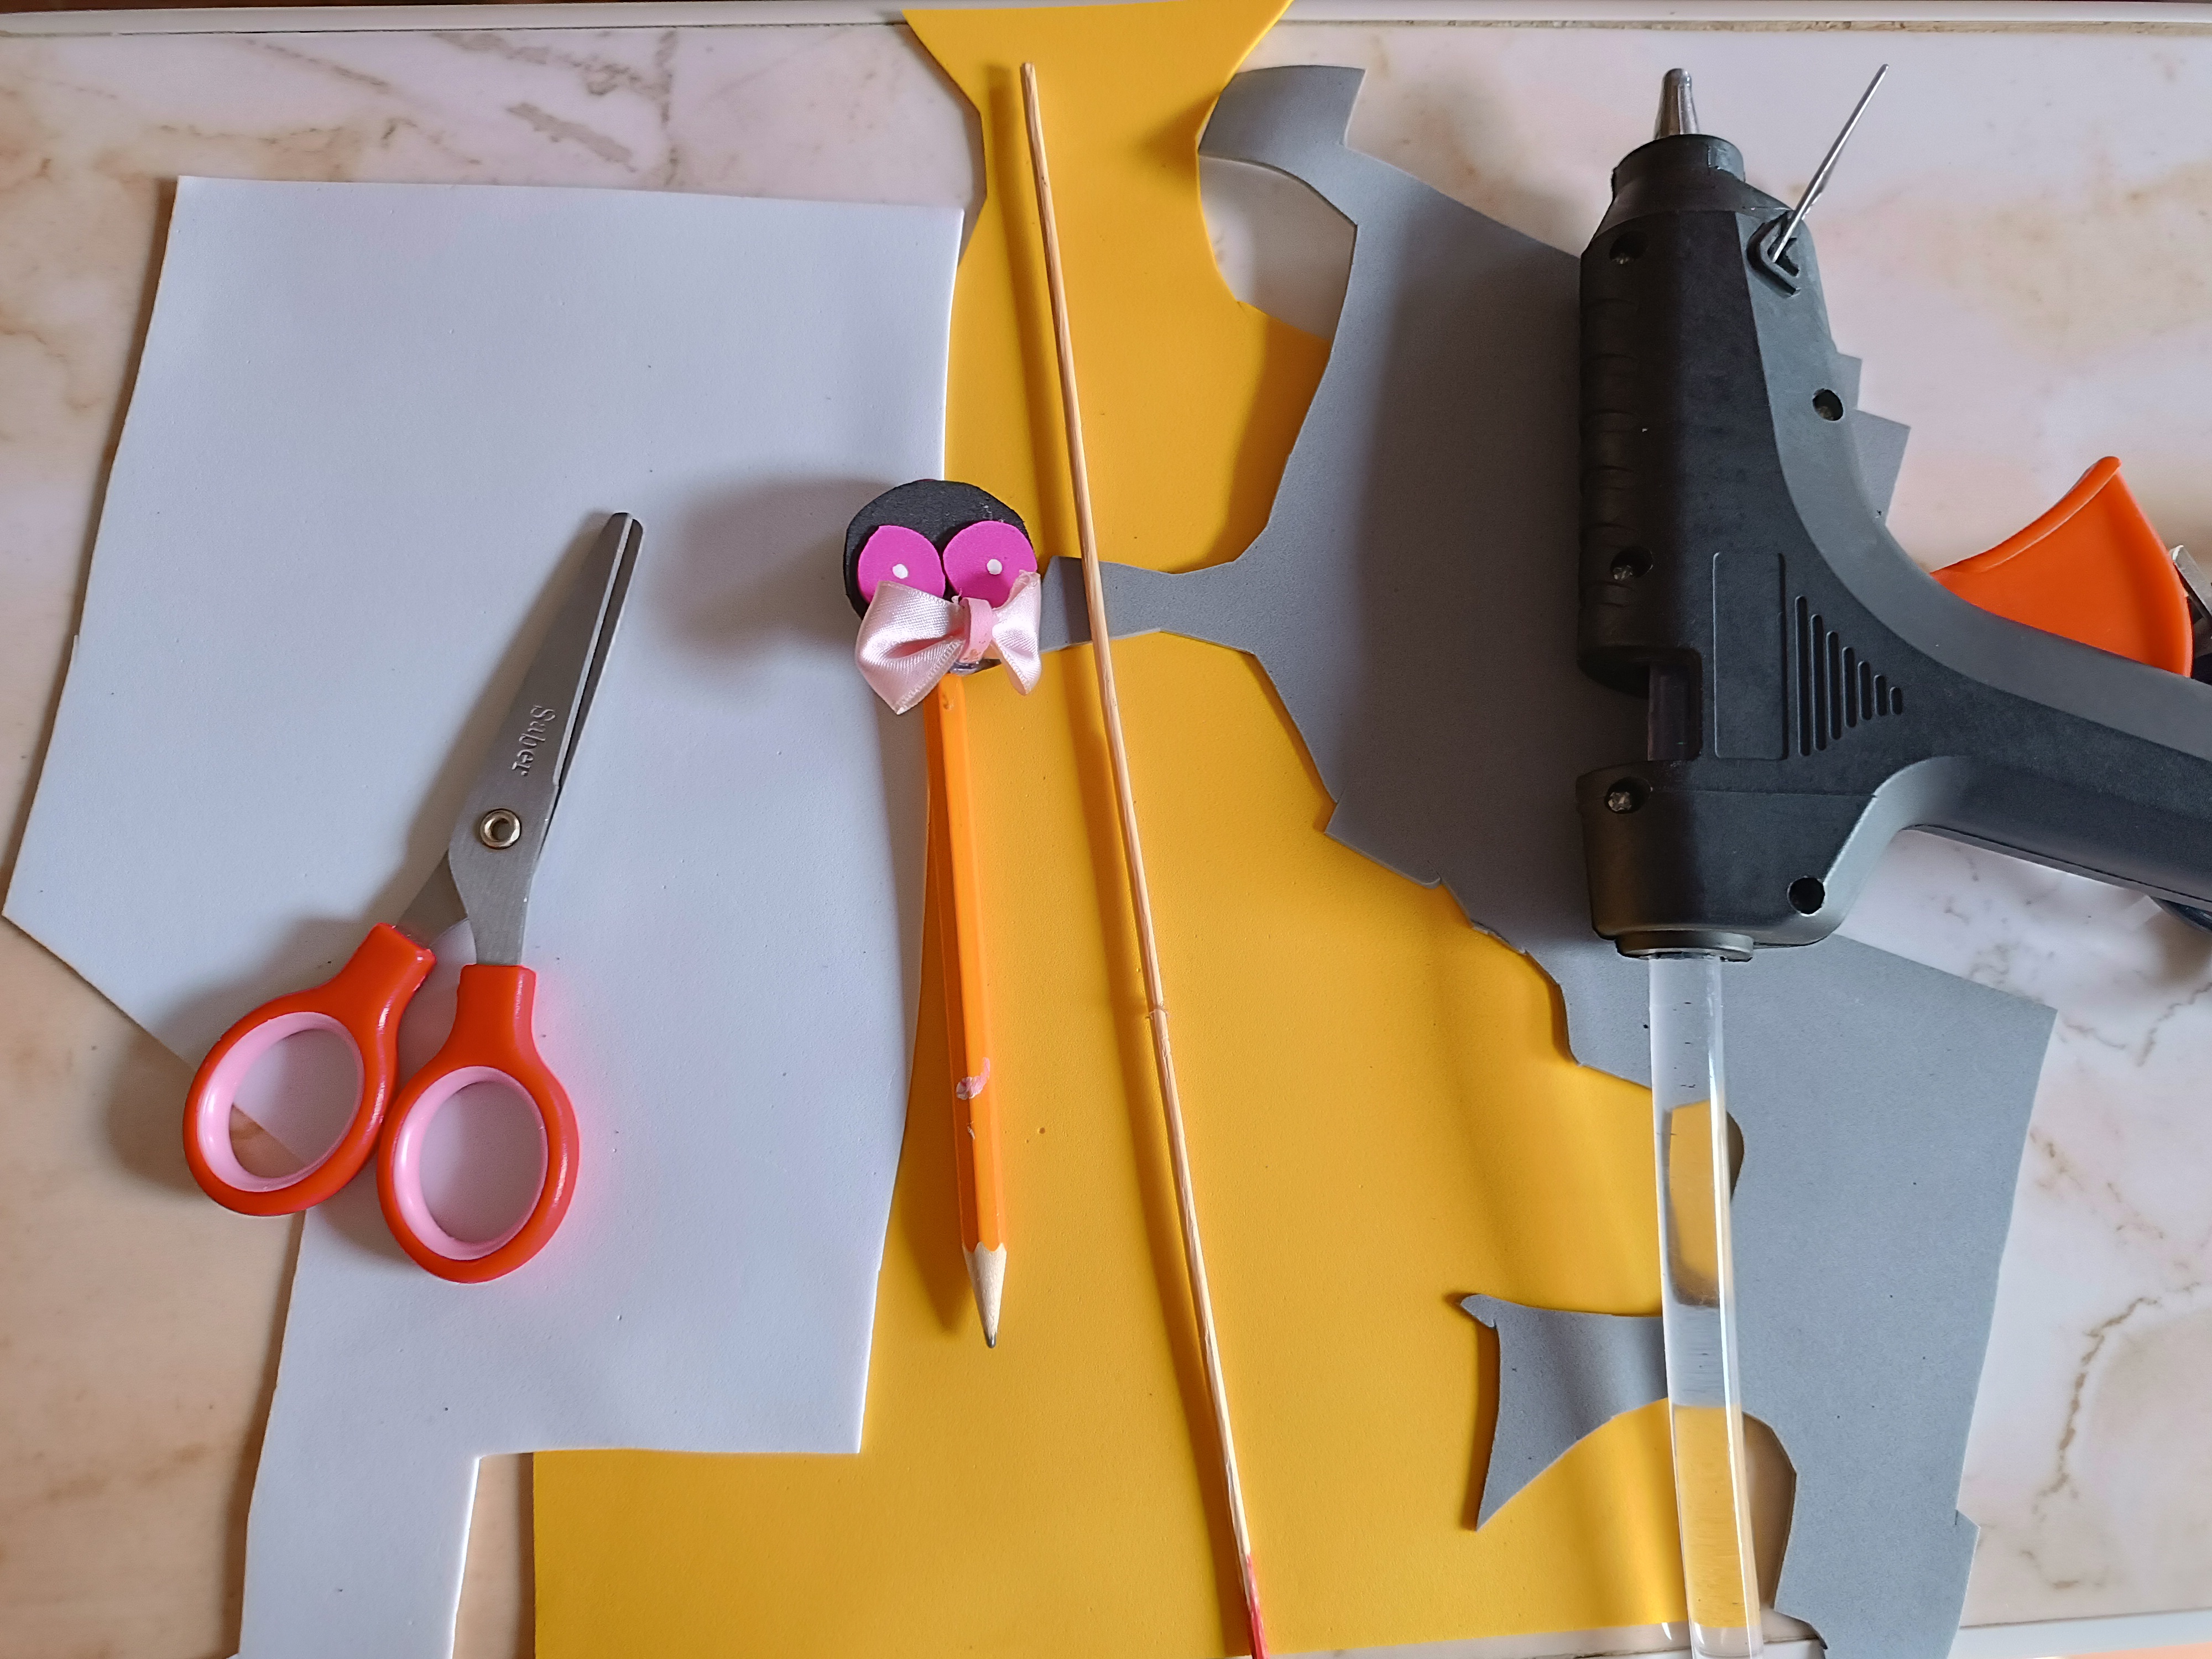
Paso a paso / Step by Step
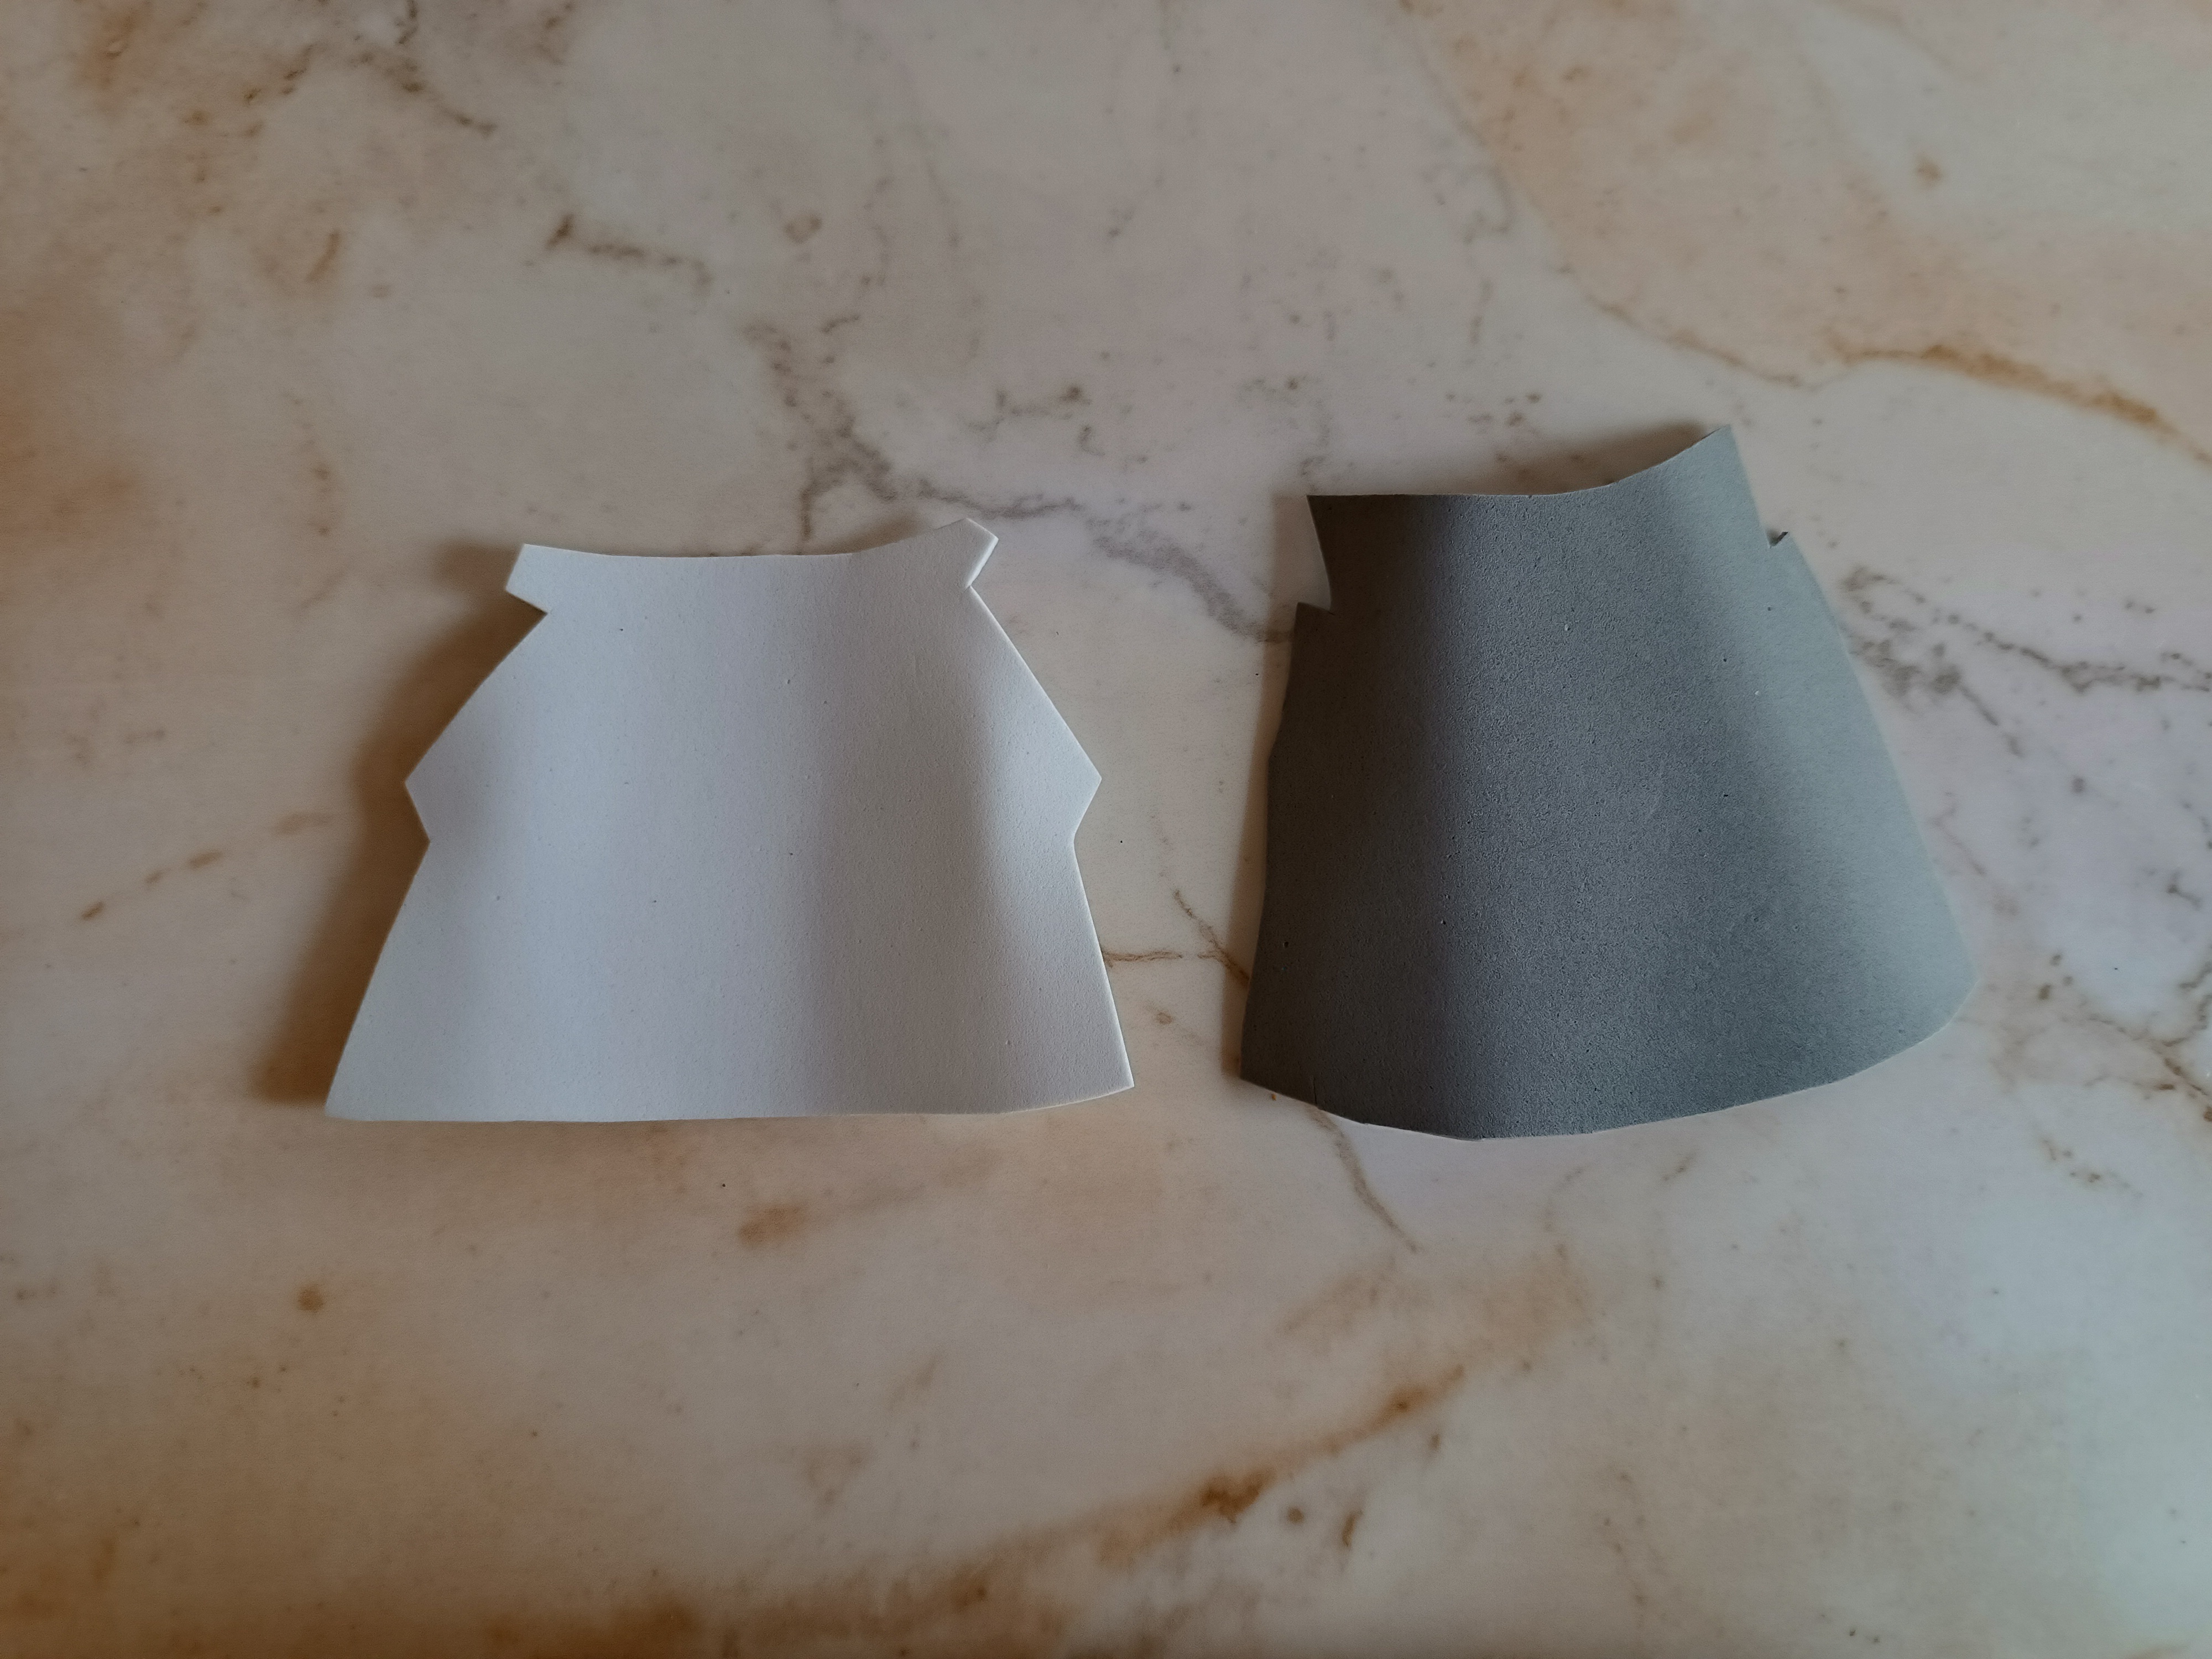
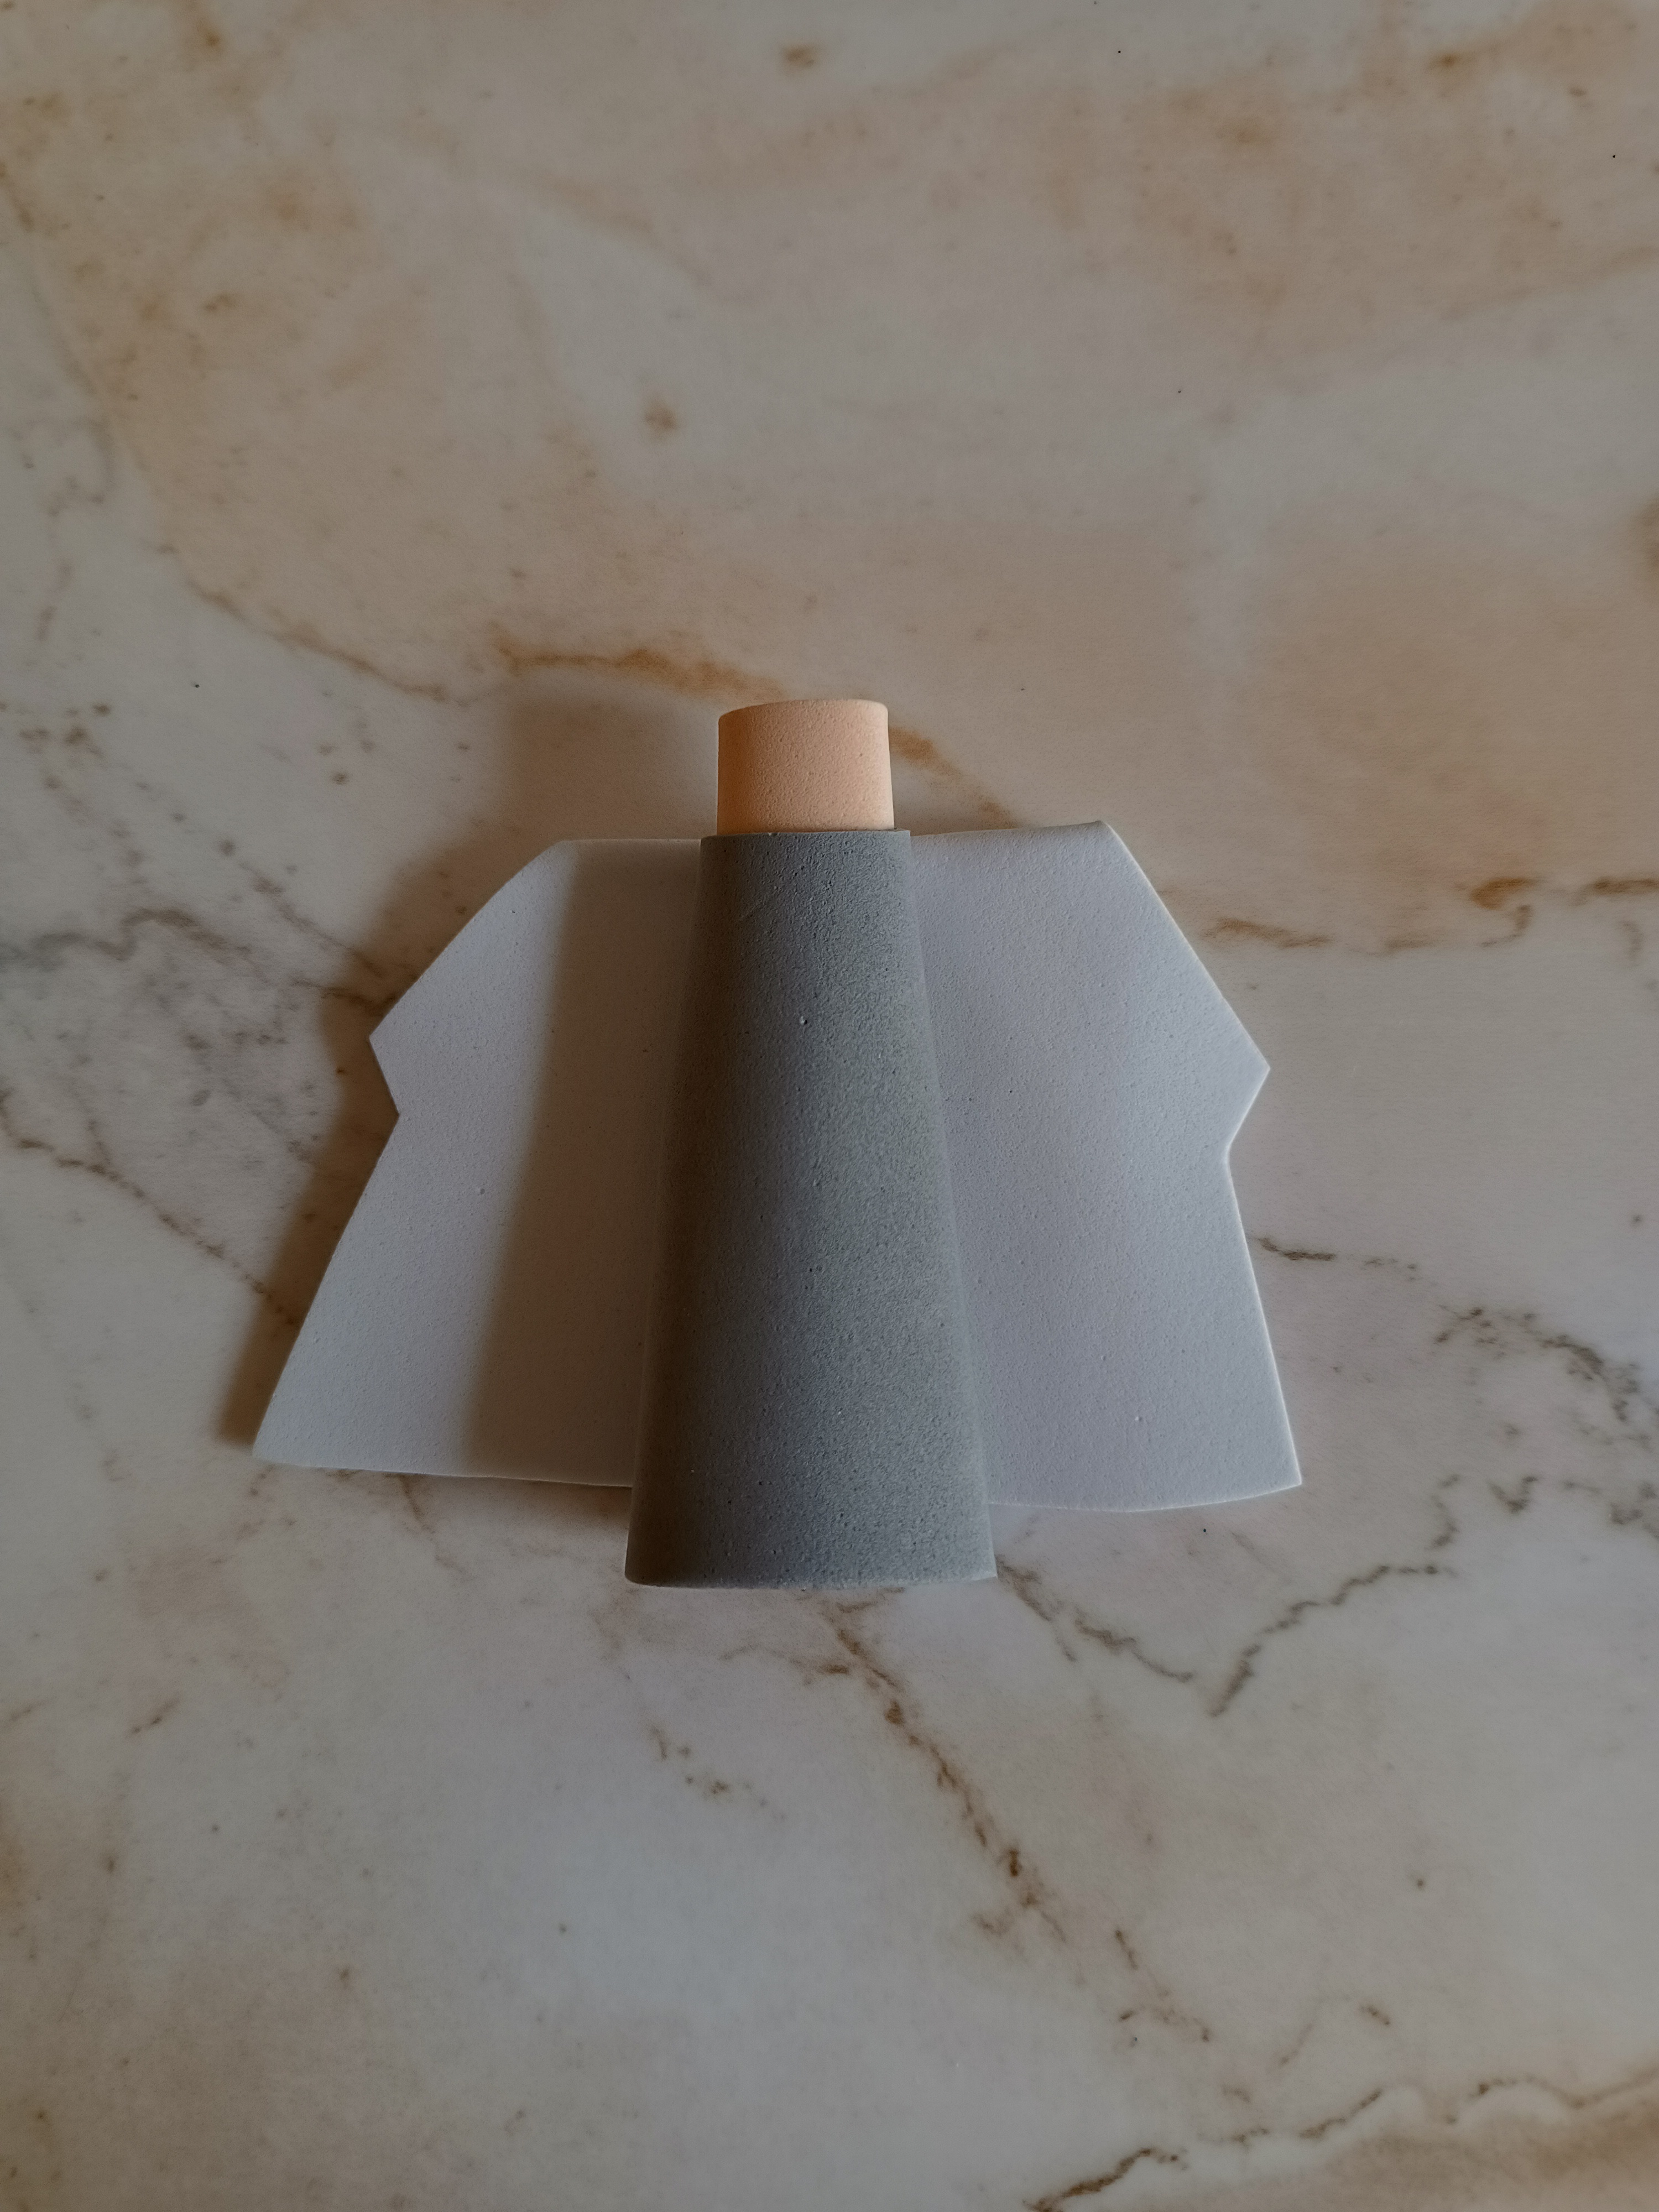
El primer paso es dibujar el patrón de chaqueta y camisa en hoja blanca, recortamos el molde y pasamos a dibujar sobre el foami realicé un cono con el foami gris está será la camiseta coloqué un círculo del mismo foami debajo para dar soporte y coloqué también parte del cuello en color piel.
The first step is to draw the jacket and shirt pattern on a white sheet, we cut out the mold and start drawing on the foam. I made a cone with the gray foam. This will be the shirt. I placed a circle of the same foam underneath to provide support and I also placed part of it. of the neck in skin color.
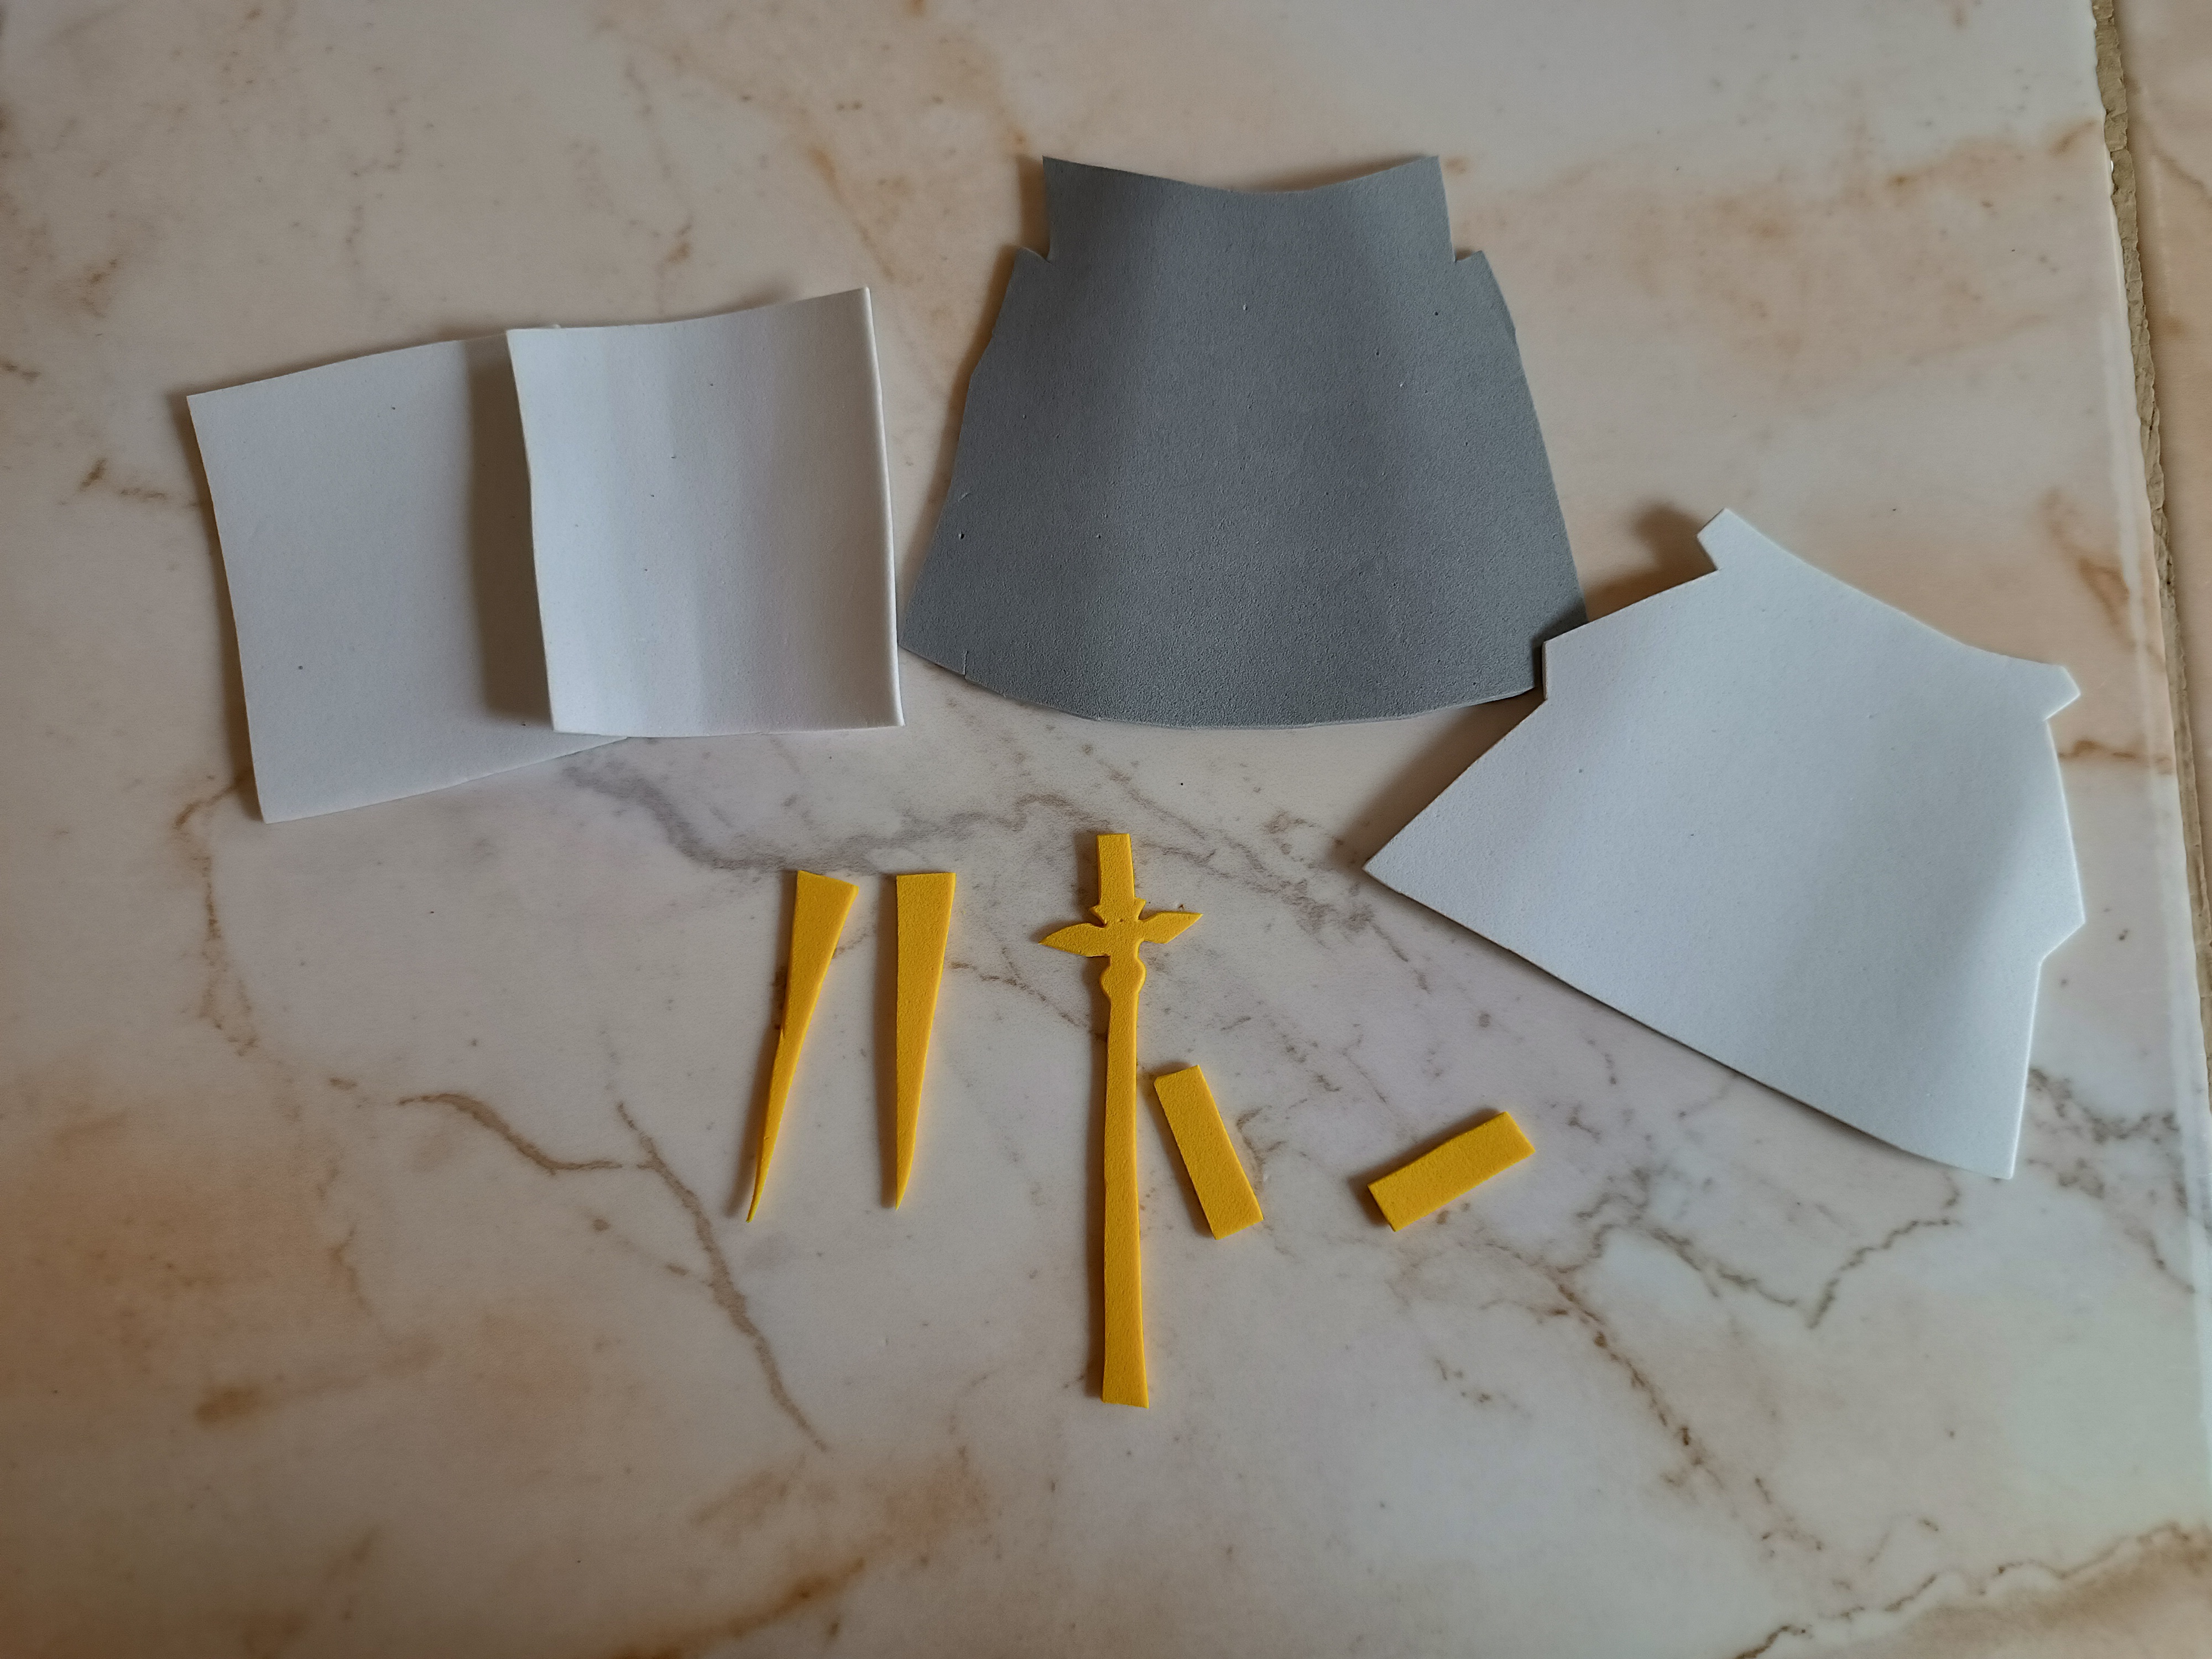
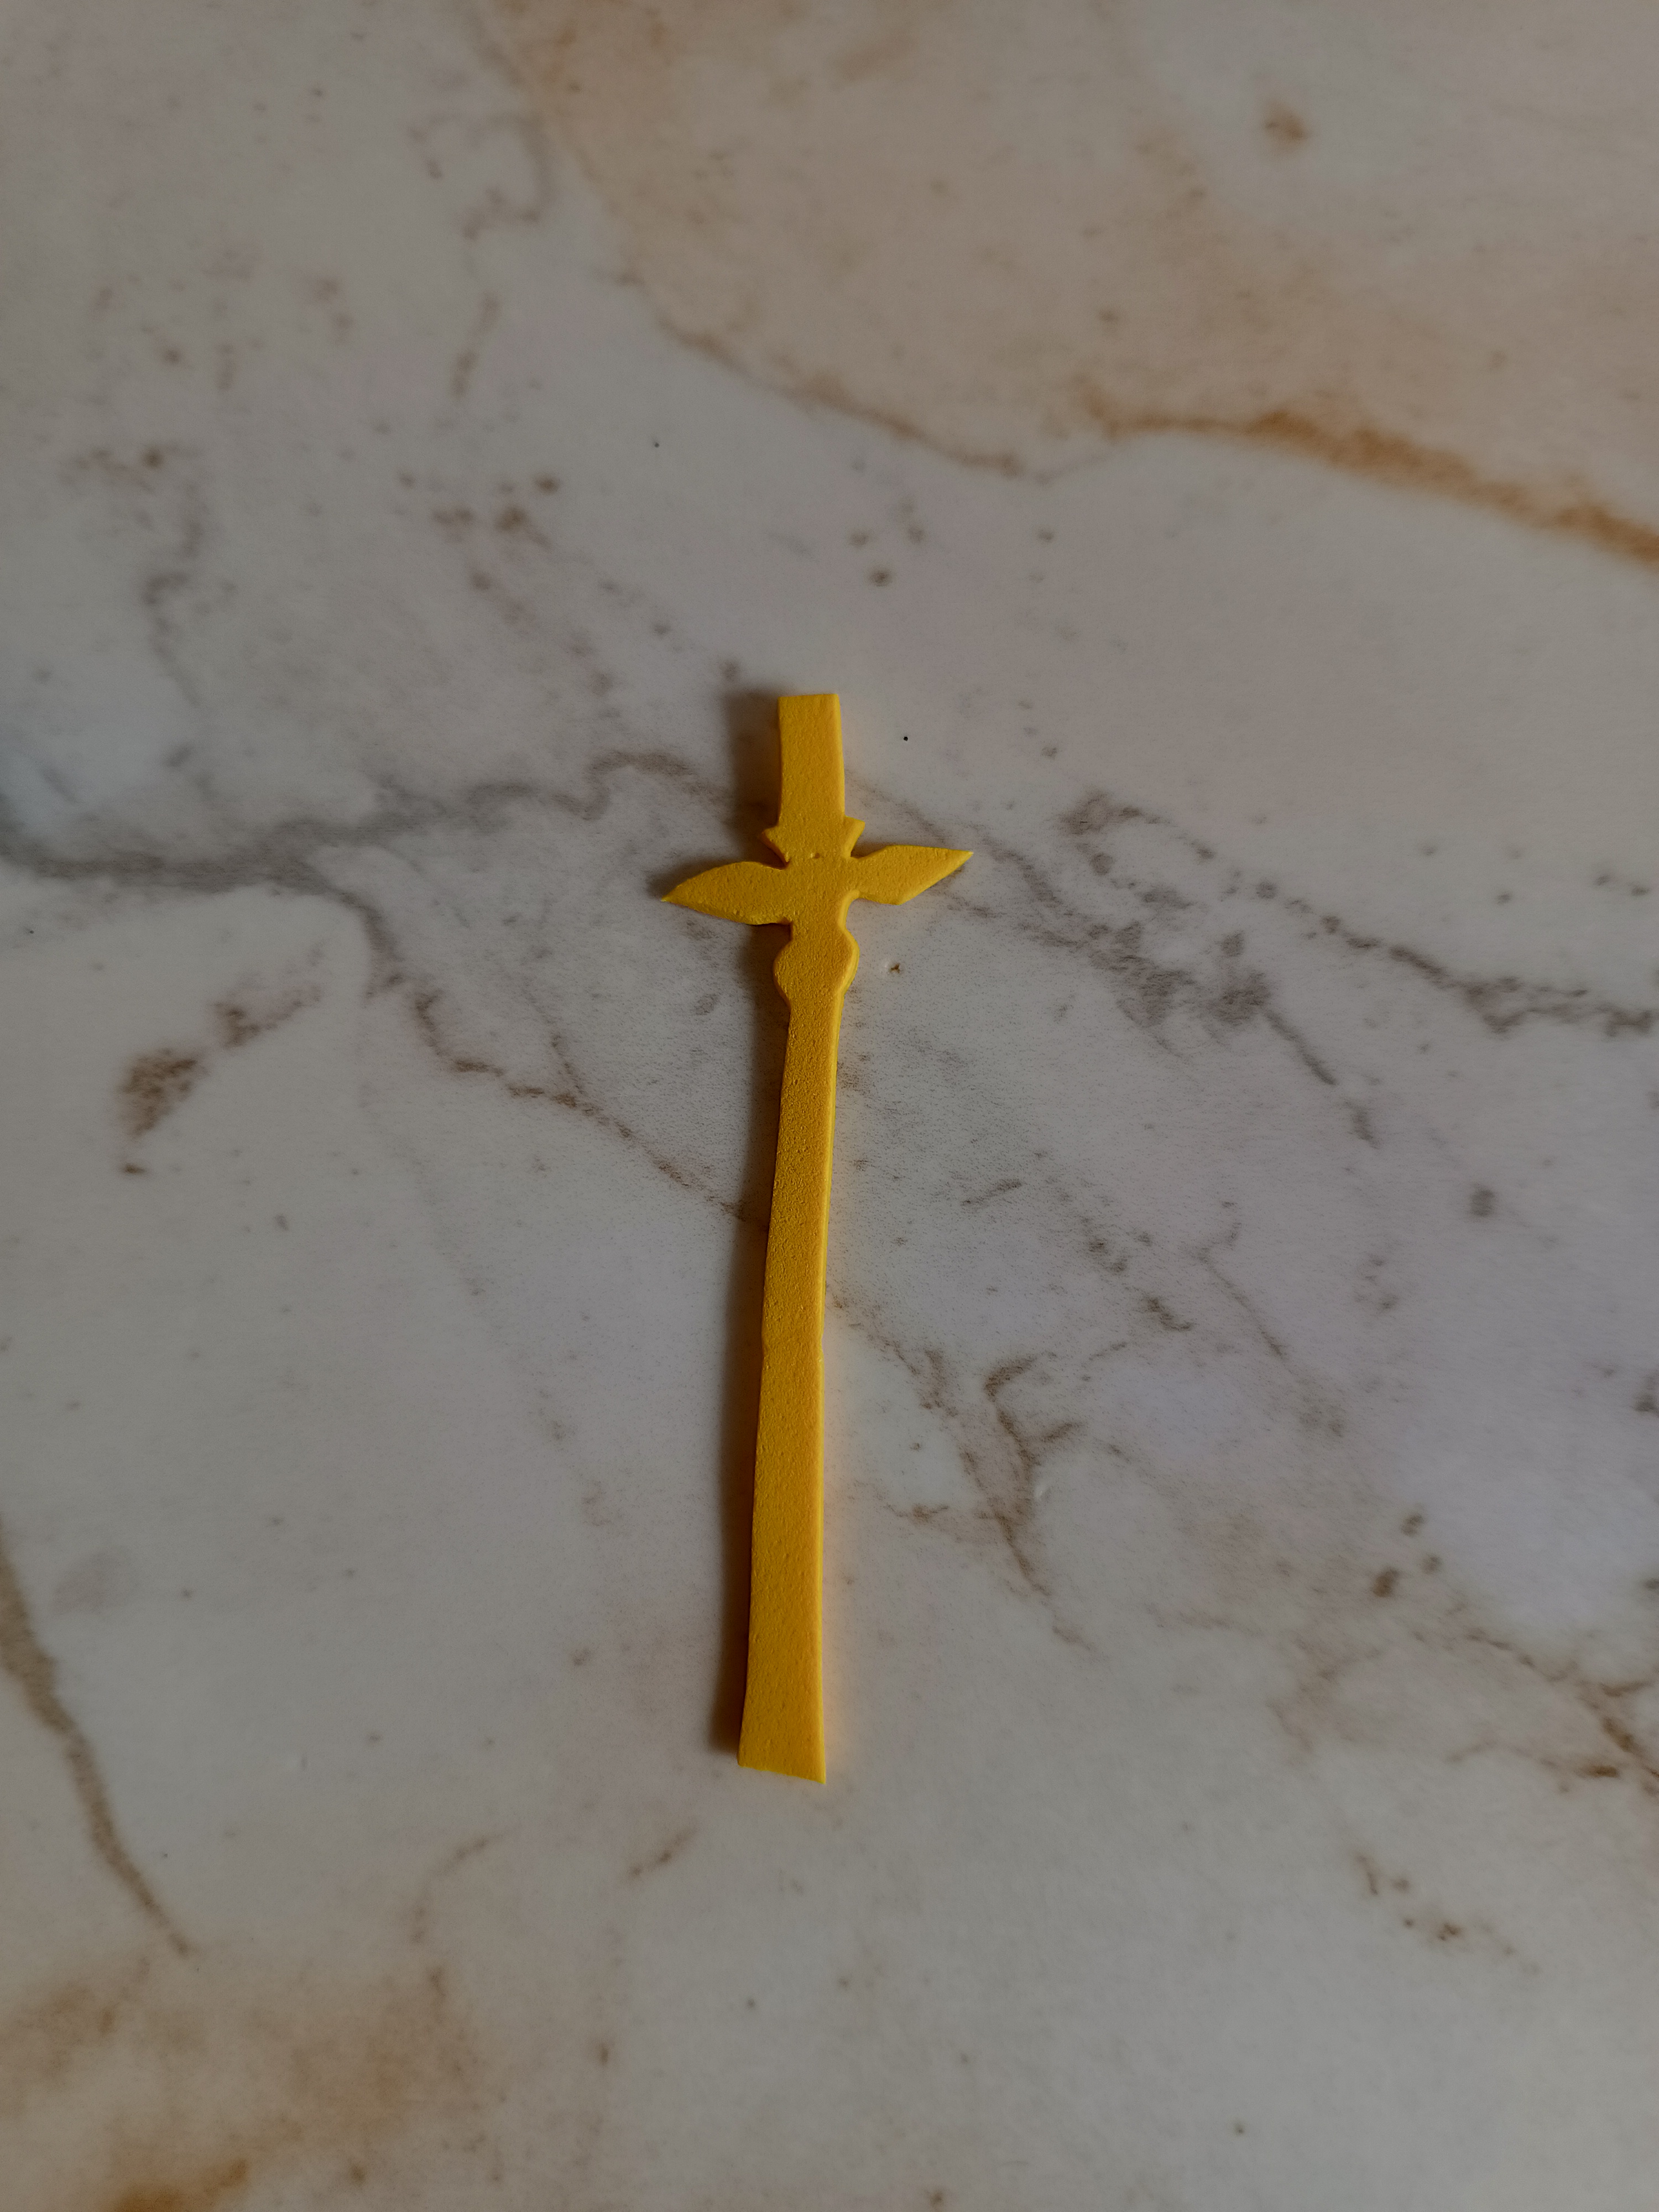
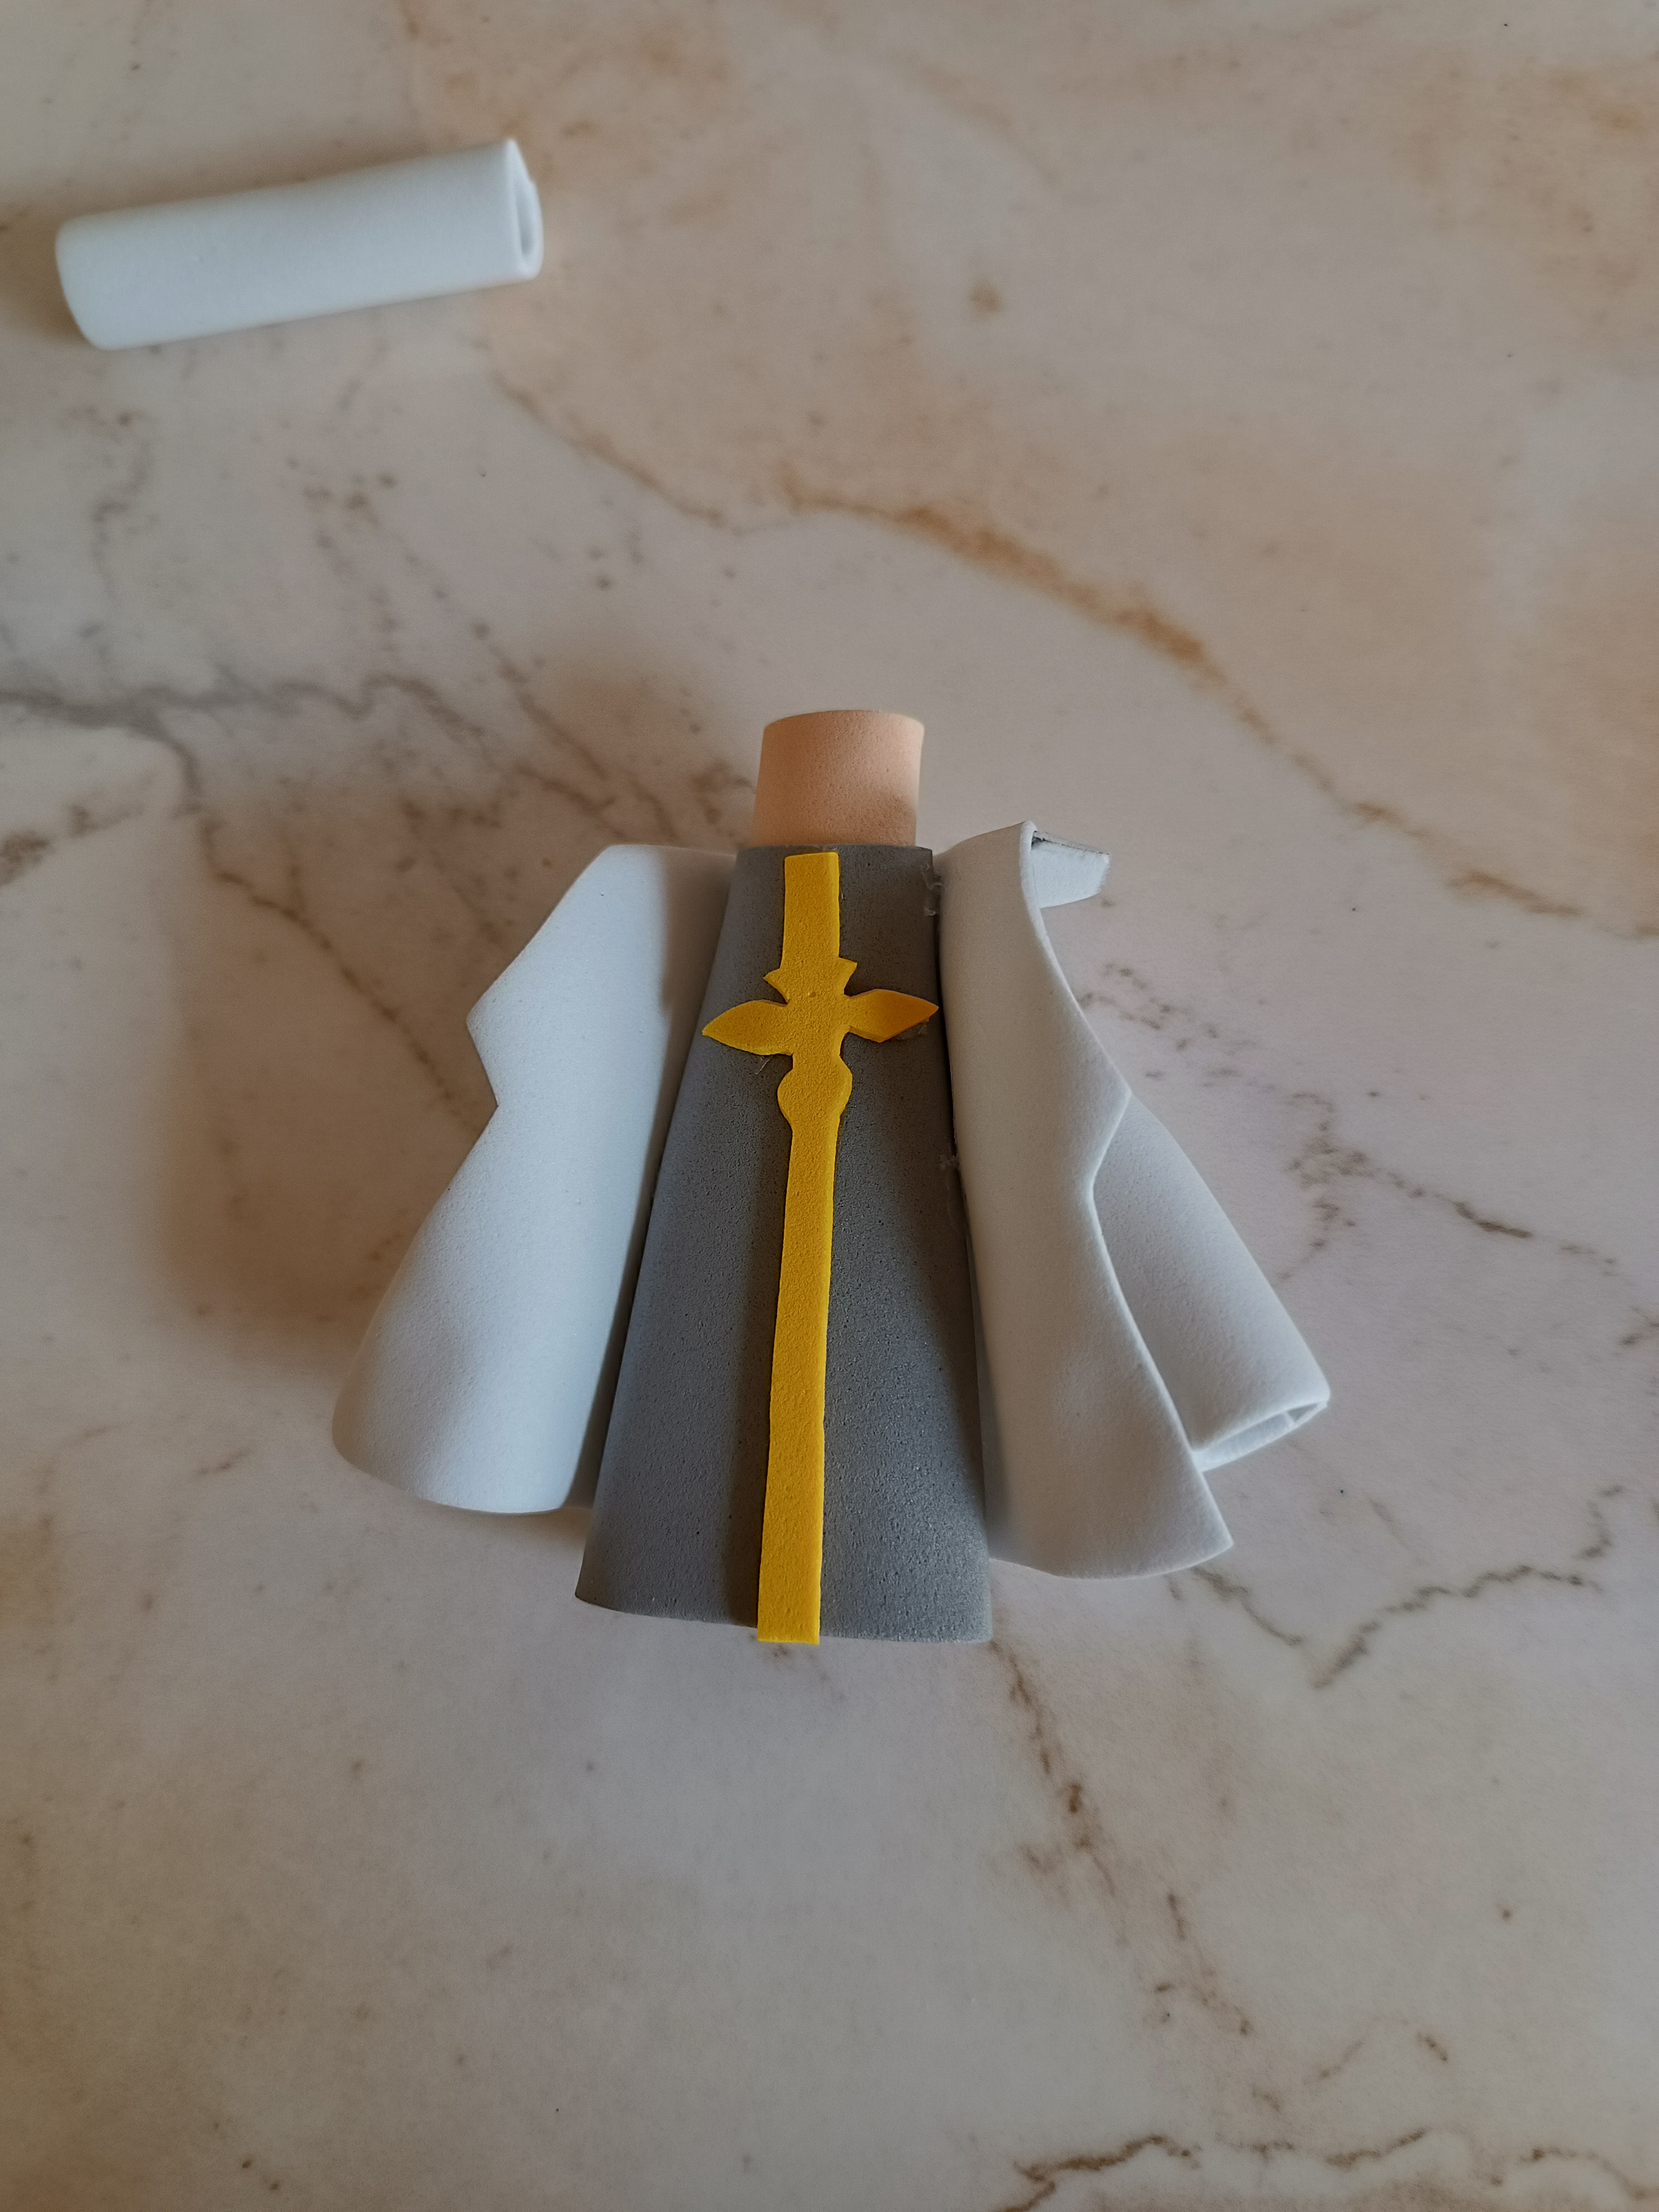
Corté dos cuadros pequeños de foami blanco que serán las mangas, dibujé el símbolo principal de la camisa gris en foami amarillo, también los detalles de la parte superior y manga, una vez lista la camisa la voy a pegar sobre el foami blanco.
I cut two small squares of white foam that will be the sleeves, I drew the main symbol of the gray shirt in yellow foam, also the details of the top and sleeve, once the shirt is ready I am going to glue it on the white foam.
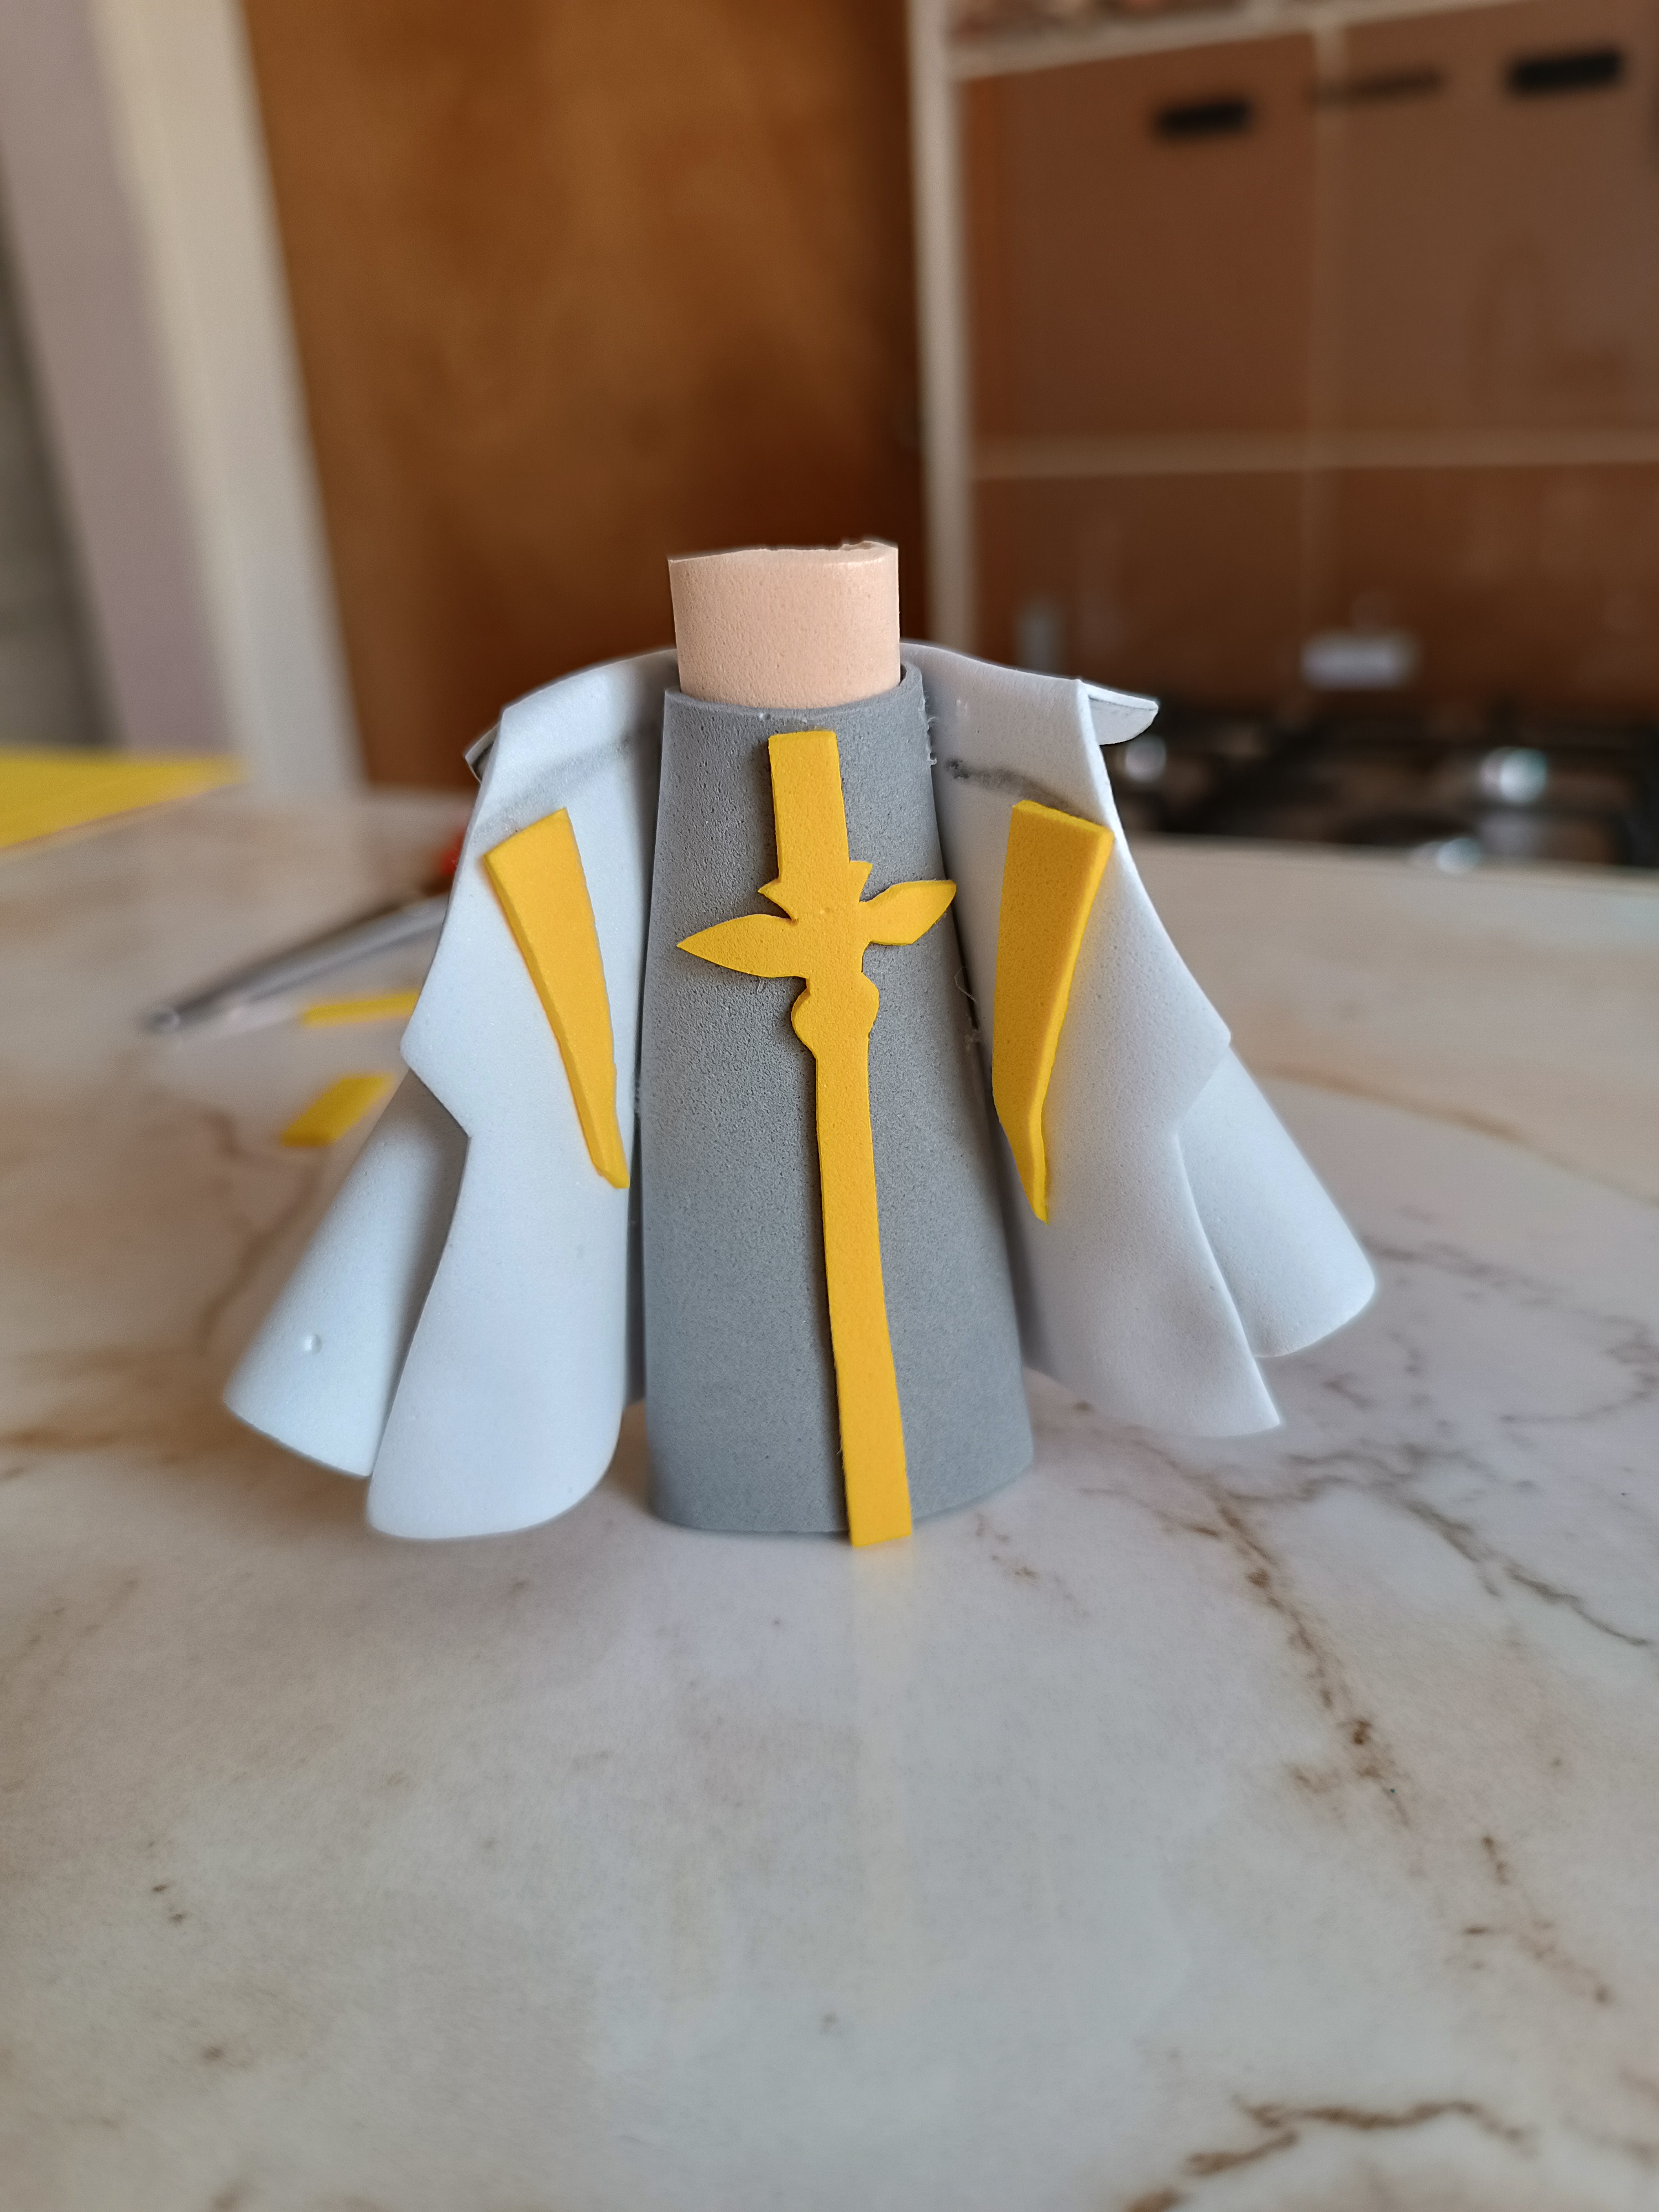
Con una plancha caliente apliqué calor en los bordes de la chaqueta, colocamos los detalles en amarillo, en la parte del cuello marque un poco y realicé puntos negros, también realicé dos pequeñas manos que sobre salen de la chaqueta.
With a hot iron I applied heat to the edges of the jacket, we placed the details in yellow, on the neck part I marked a little and made black dots, I also made two small hands that protrude from the jacket.
De esta forma hemos terminado el atuendo, queda super lindo y es fácil de realizar, muchas gracias por visitar mi publicación, nos vemos en una próxima oportunidad con más ideas creativas.
In this way we have finished the outfit, it looks super cute and is easy to make, thank you very much for visiting my publication, see you next time with more creative ideas.


Contenido original. - original content.
Los separadores y banner fueron realizados en Canva. - The dividers and banner were made in Canva.
Las fotografias son tomadas con mi teléfono Redmi Note 11s y editadas en PicsArt - The photographs are taken with my Redmi Note 11s phone and edited in PicsArt.
Traducción de: Google traductor - Translation of: Google translator.

@tipu curate 2
Upvoted 👌 (Mana: 0/71) Liquid rewards.
Gracias por el apoyo, saludos 👋🏽
Hermoso atuendo amiga, se ve espectacular. 🌷🌼🌸🌺🌻
Saludos!
Gracias amiga ☺️
Congratulations @marile21! You have completed the following achievement on the Hive blockchain And have been rewarded with New badge(s)
Your next target is to reach 3250 replies.
You can view your badges on your board and compare yourself to others in the Ranking
If you no longer want to receive notifications, reply to this comment with the word
STOPHermoso!