


Hello, my dear readers, I hope you had or are having an excellent day. I'm here again, I was absent for a while for personal and work reasons, but I didn't want to completely abandon this platform, it brings many interesting things, you learn something new every day, besides you can express what you know through a post and that's quite rewarding.
I am a mother of a 7 year old daughter and no matter how busy I am in any environment, there is one thing I can't escape from and that is the homework my daughter is sent to school. Every day she arrives with something new, as if the teachers don't know that sometimes we don't all have enough time to do the thousand and one things they ask of us, but well, we have to do them anyway.
This time the teacher asked my daughter to make a painting representing ‘The rhythm’, I didn't know how to do it, but after seeing a couple of images on the net, I decided to make this painting that I will explain step by step how I did it.
STEP BY STEP:
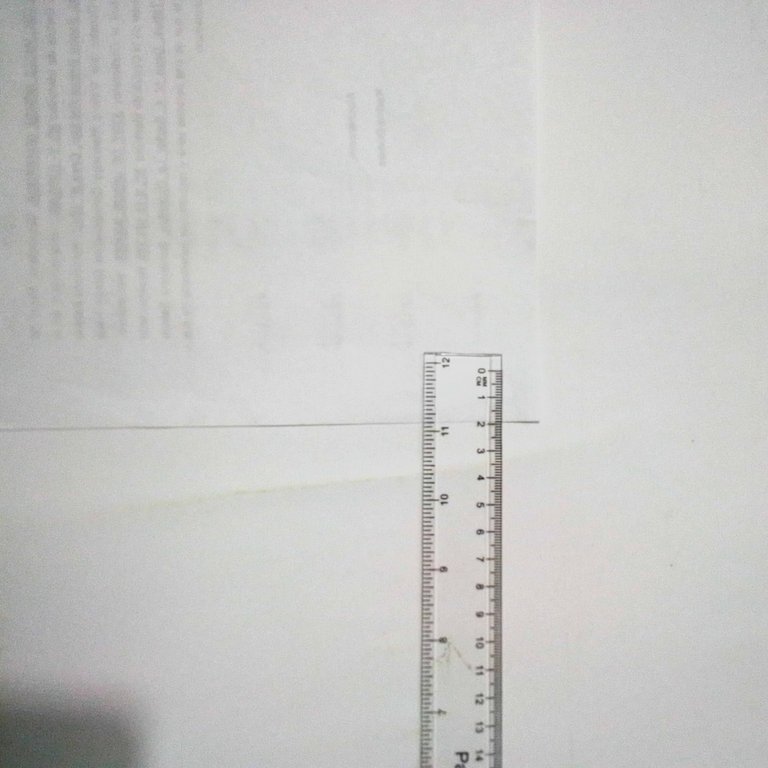
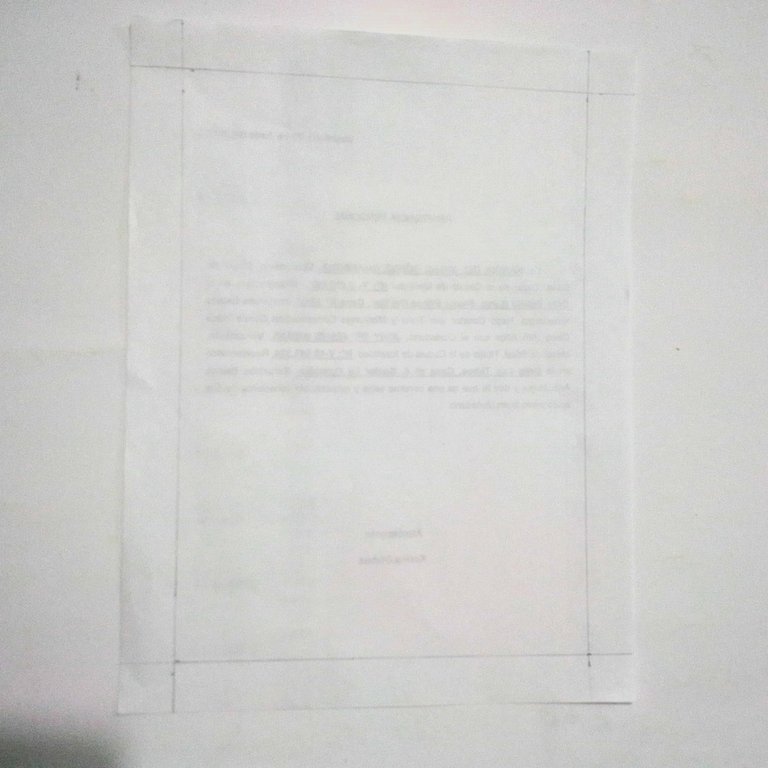
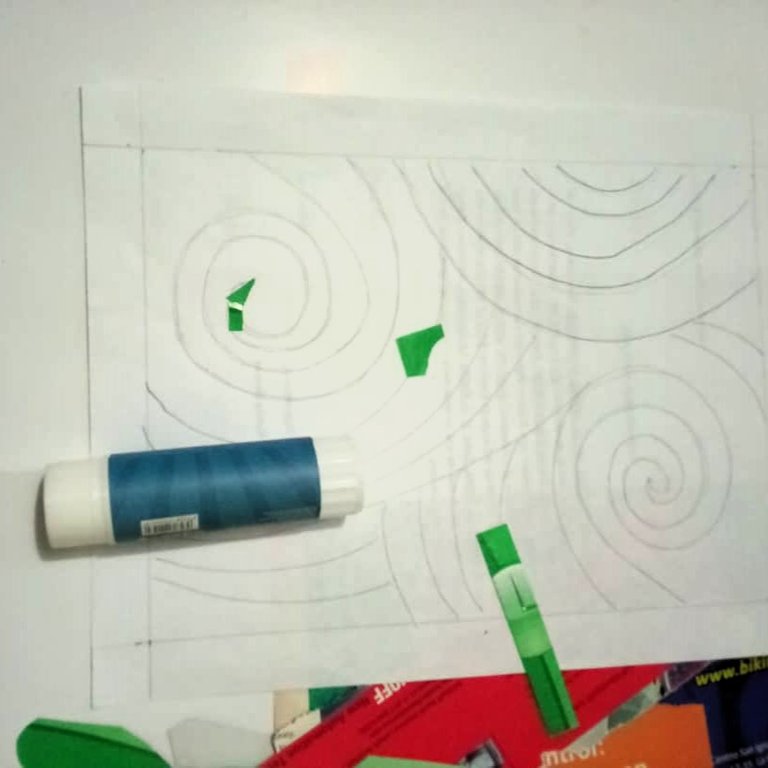
On a sheet of recycled paper, I will use it as a base to make the picture and with the help of the pencil and the ruler, make a frame of 2 cm all around.
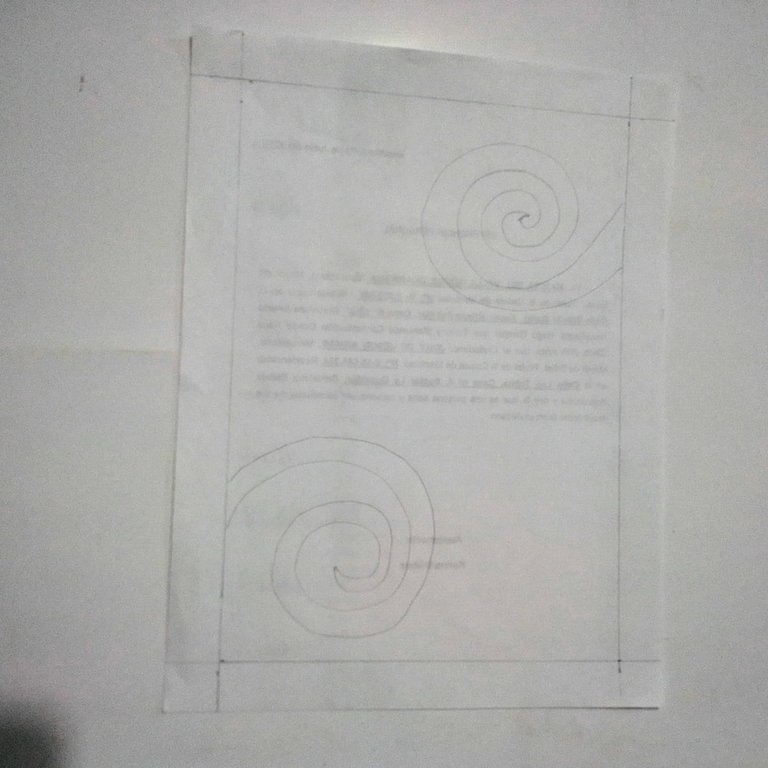
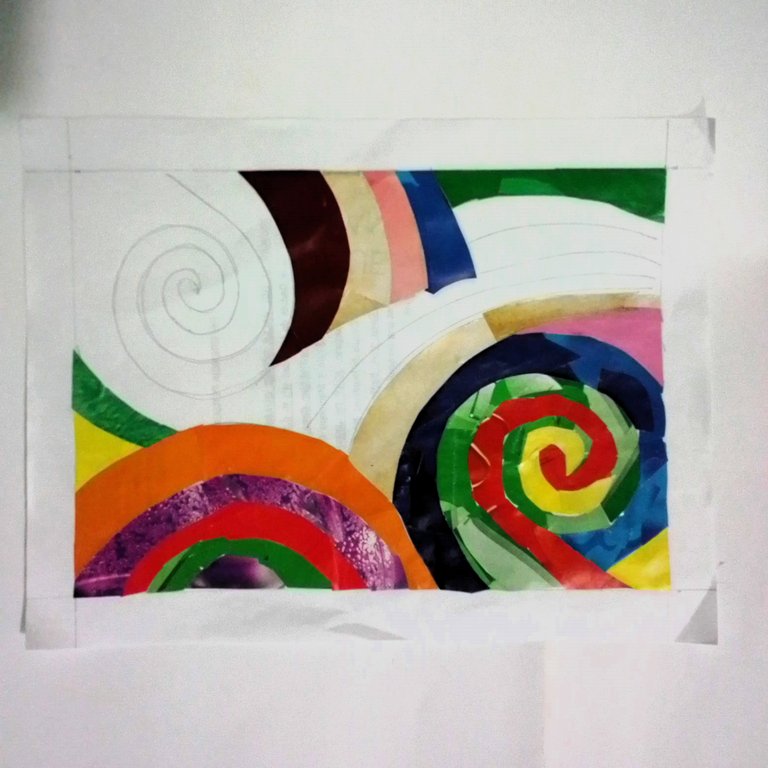
Once the frame was made, I proceeded to make a sketch of the design of the painting. I made 2 spirals in the corners, opposite each other, and to fill the empty spaces in the center, I made lines, like a kind of rainbow.

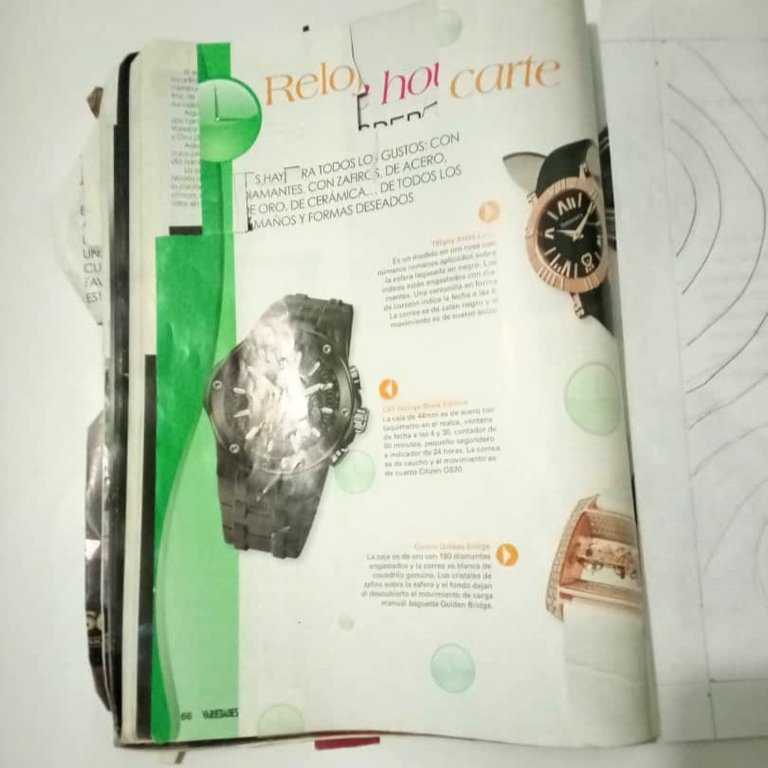
I wanted to make the picture so that I wouldn't have to apply layers of glue to make it glossy or anything like that. So, I thought about magazines, they are already glossy pages and would be ideal for what I want.
I found some old magazines and cut out strips of all the bright colours I could find on the pages.
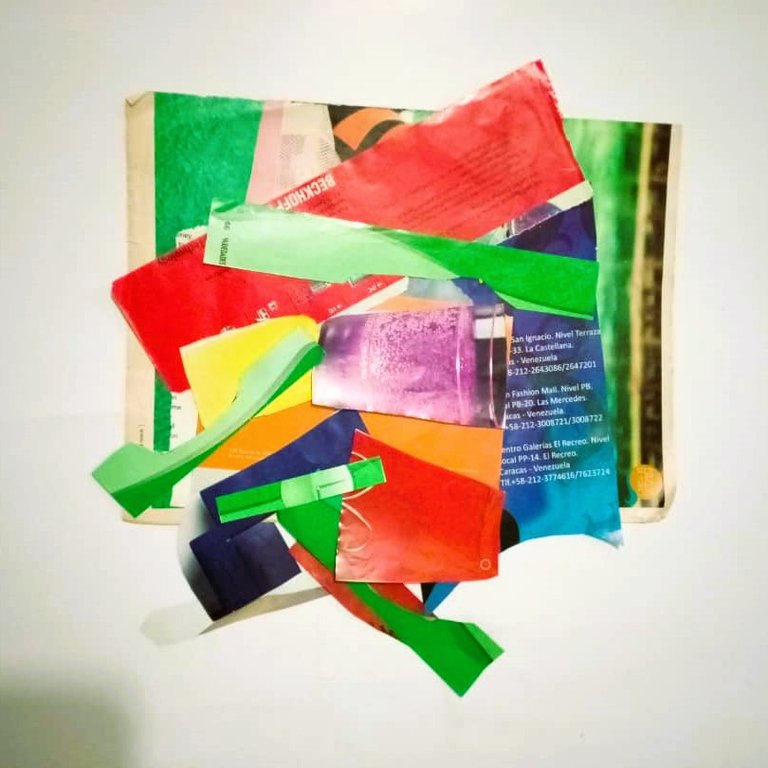
Now what I did was to cut out magazine scraps of any size, to start filling in the lines and I will start by making the spirals.

I kept making cut-outs to fill in the lines, in different colours so that it could look quite striking.
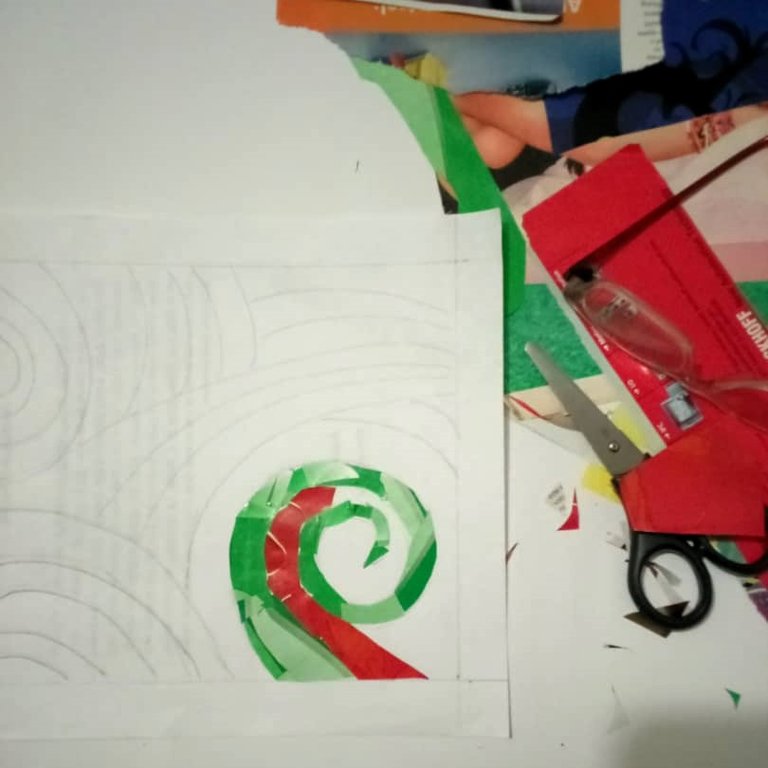
I filled in the lines in the center, sometimes with long cuts, sometimes with short cuts, all according to the colours I could cut out of the magazine, as I didn't want to have any letters left somewhere.
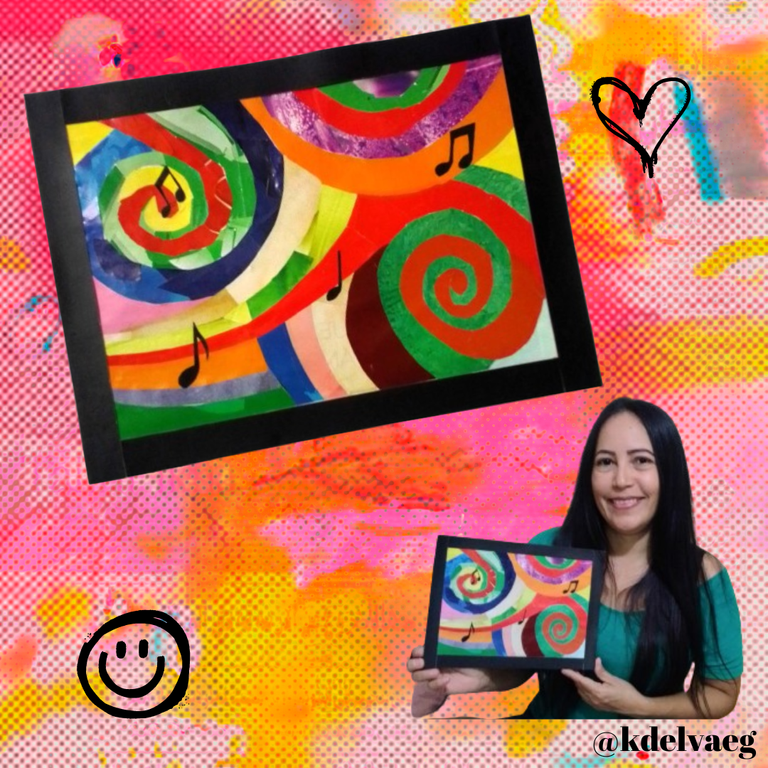
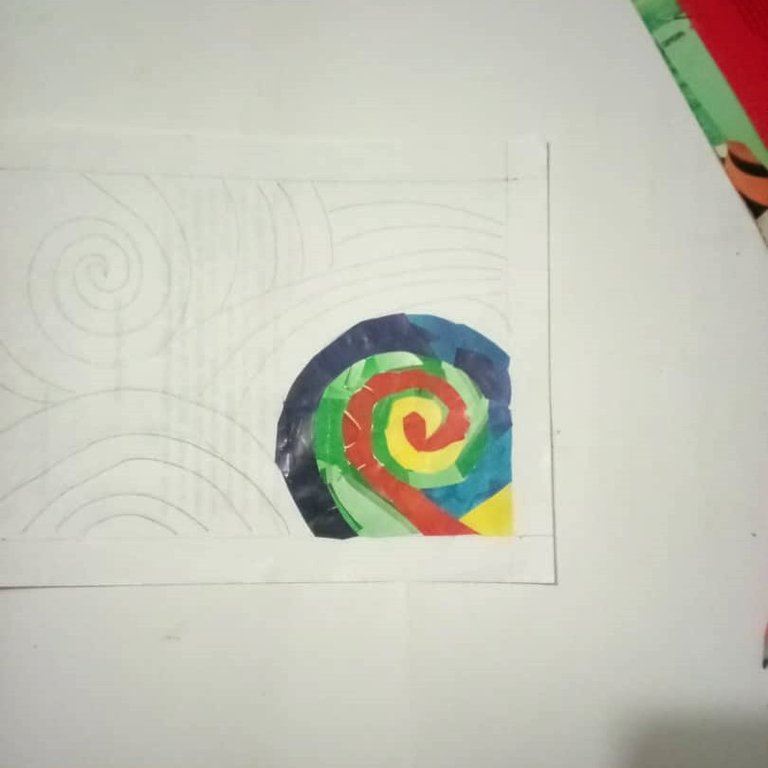
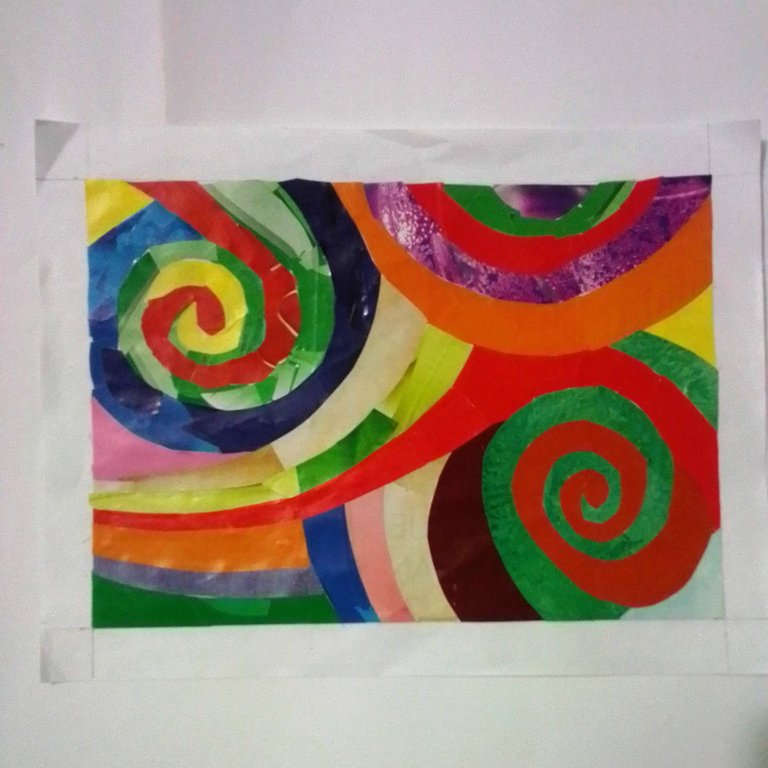
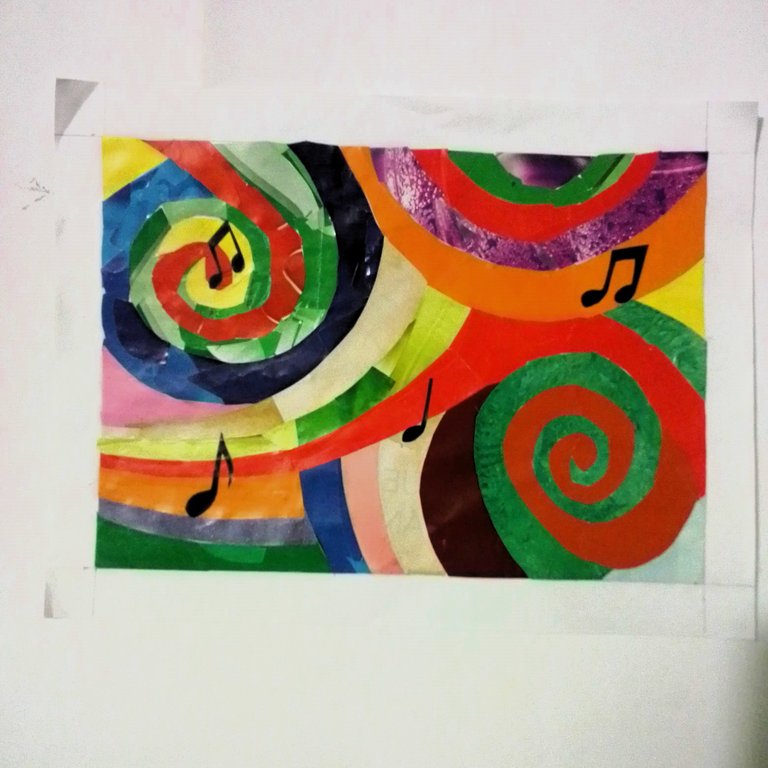
And this is how the complete design turned out.
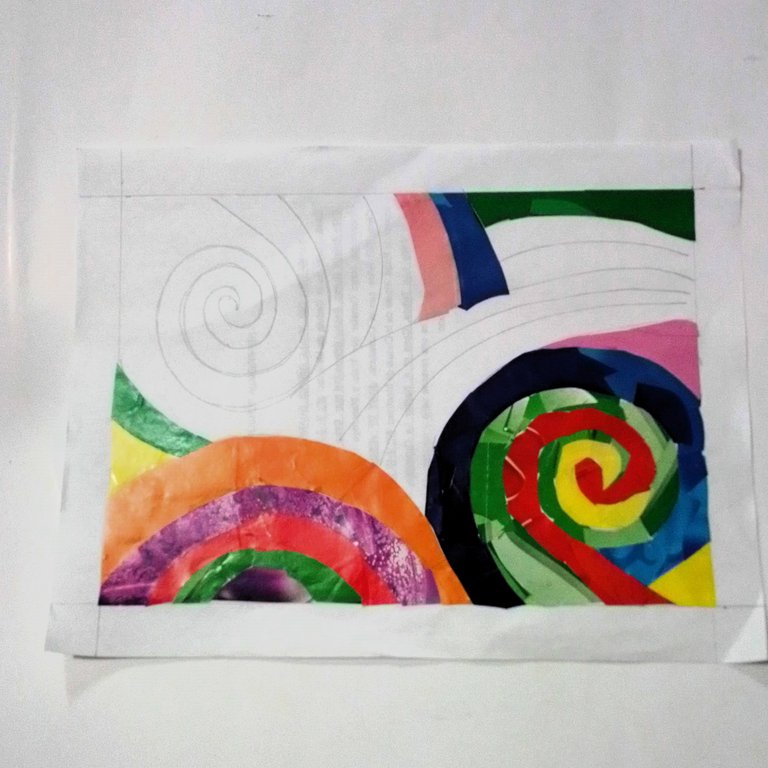
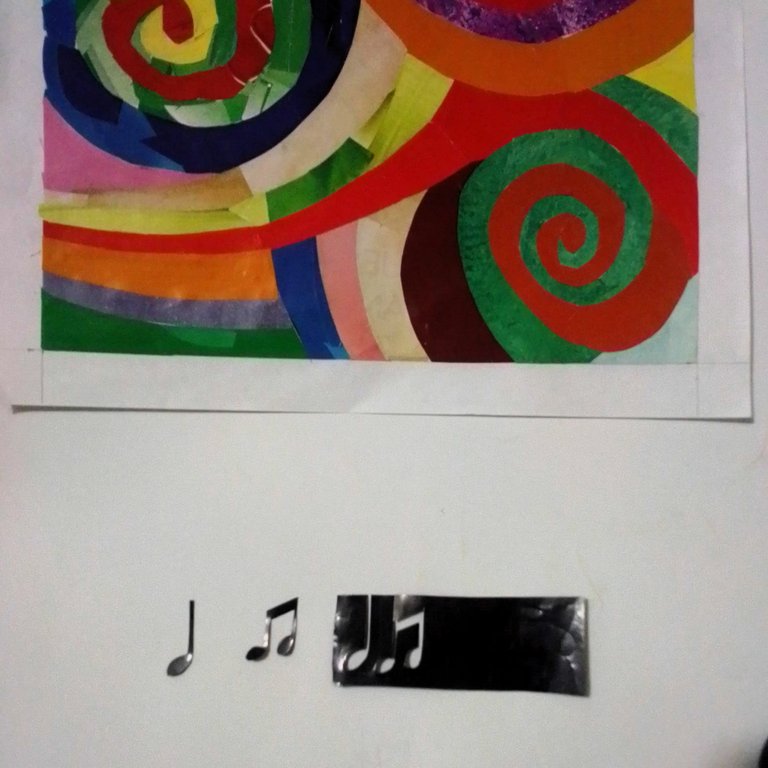
To decorate, I cut out some black musical notes, as shown in the image. I glued them scattered around the design.
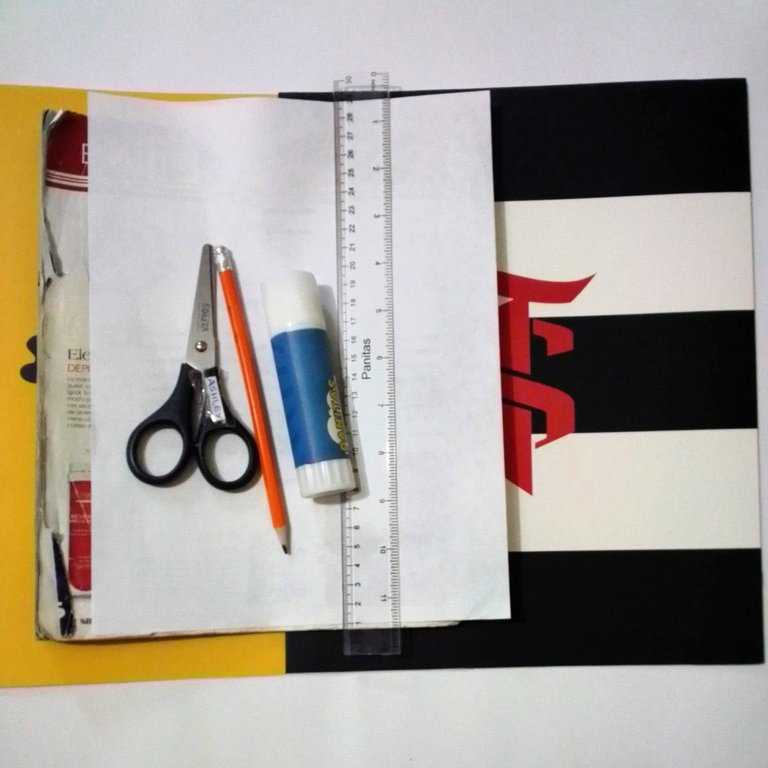
I had a carton from an advertisement I found in a supermarket, they were going to throw them away and as I saw them in good condition, I asked them to give them to me and they just gave them to me.
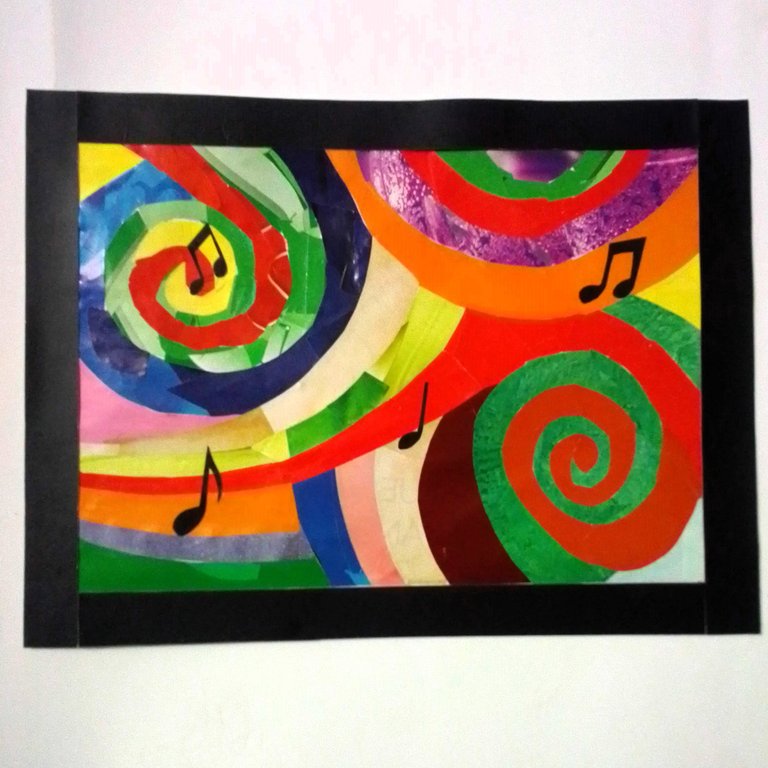
I knew that at some point I was going to use them, and this one fit me like a glove. As you can see, they are black, so I used them to make the base and the frame of the picture.
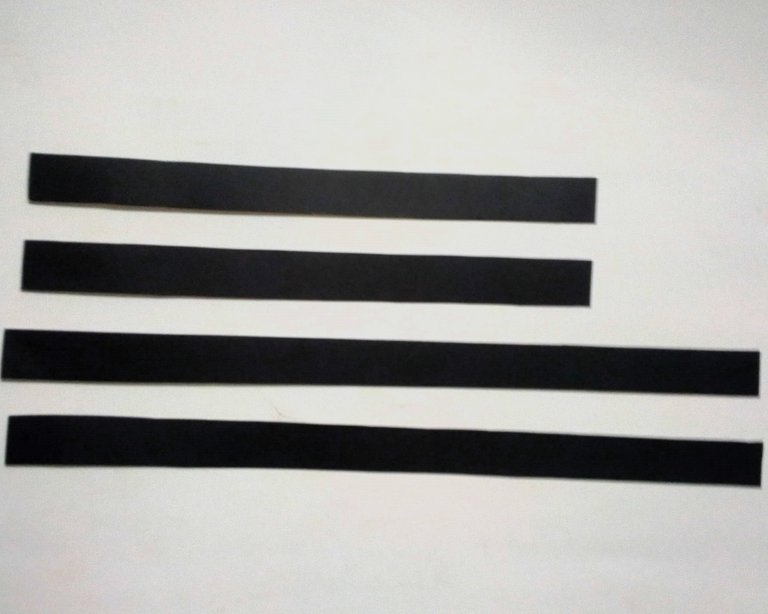
Cut out strips of paper the length of the sheet, these will be used to make the frame.
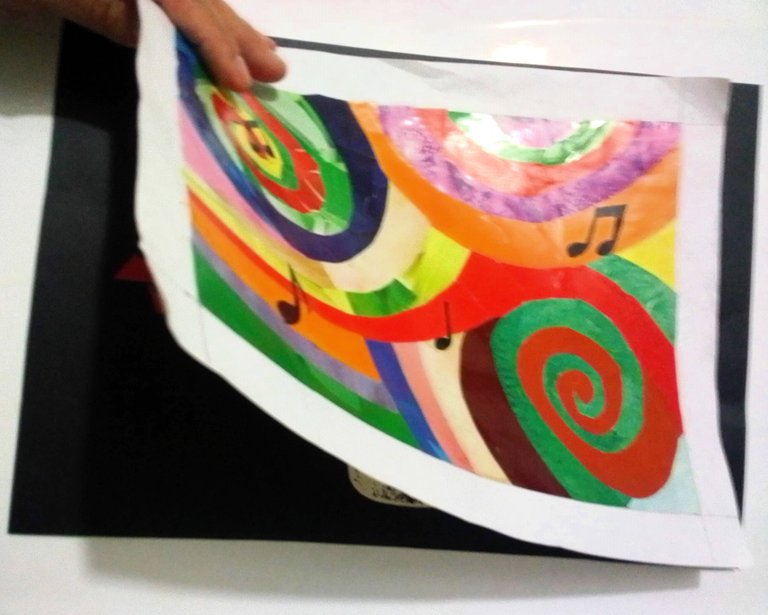
I glued the design to a piece of cardboard to give it more strength. And on the sides I glued the strips to form the frame I wanted.
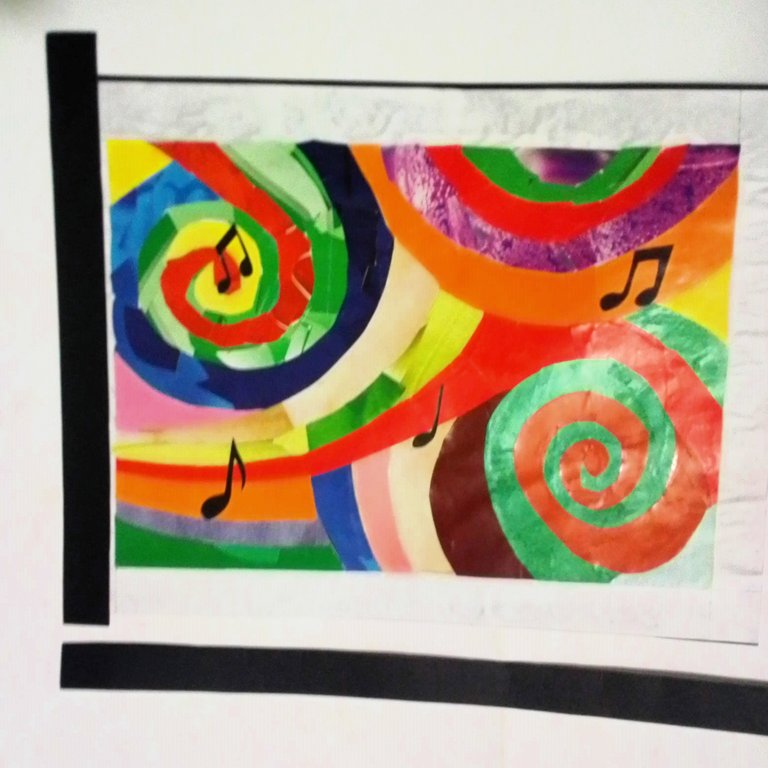
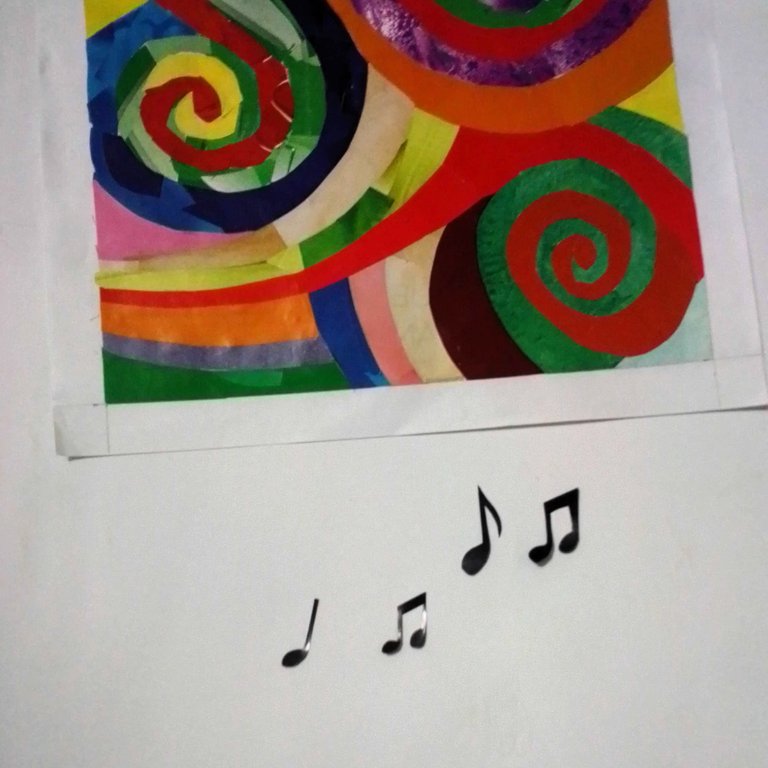
And that's how it turned out, I was satisfied with the final result, because the magazine sheets already have that shine, so nothing more is needed. The musical notes are because the theme to be presented is ‘The rhythm’ and I thought it was great the notes that expand through the spirals.
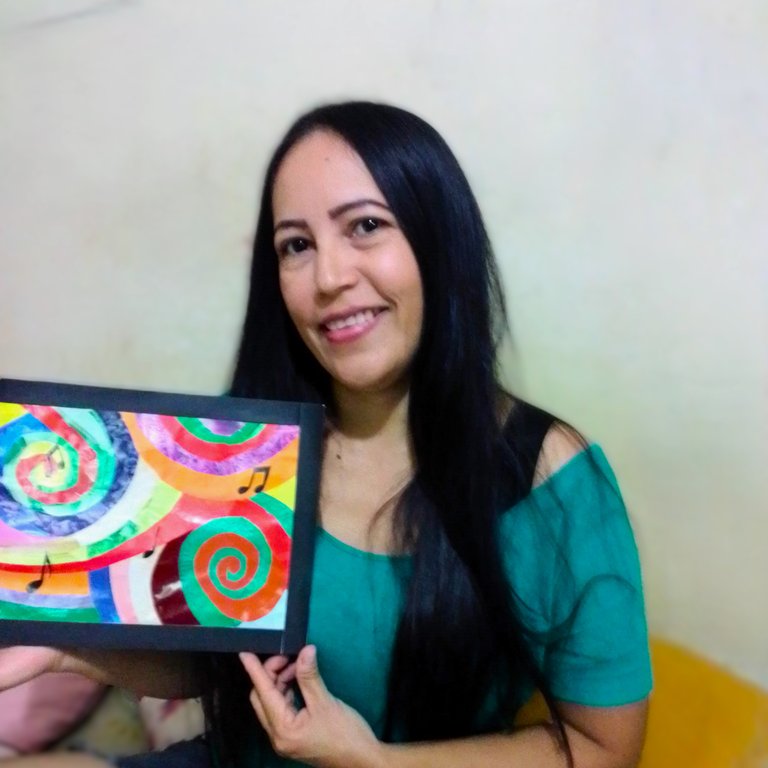
I hope you liked this tutorial that I gladly prepared for you. I say goodbye as always, but not before thanking you for taking some of your valuable time to visit my blog and support me. And as the saying goes: ‘Do good, without looking at whom’.
Content of the original creation:
🎼 All photos are mine, taken and edited with my Alcatel phone.
🎶 The cover image was made with the Canva app and edited by me.
🎼 The divider images were taken from glitter-graphics.com.
🎶 English translation was done with the help of Translate.google.com.
🎼 The letters indicating the languages were taken from cooltext.com.

Hola mis queridos lectores, espero que hayan tenido o tengan un excelente día. Por aquí estoy nuevamente, estuve un tiempo ausente por motivos personales y de trabajo, pero no quería abandonar por completo esta plataforma, que aporta muchas cosas interesantes, aprendes algo nuevo cada día, aparte de que puedes expresar lo que sabes a través de un post y eso es bastante gratificante.
Soy madre de una hija de 7 años y por muy ocupada que esté en cualquier entorno, hay algo de lo que no me puedo escapar y es de las tareas del colegio que le mandan a mi hija. Cada día llega con algo nuevo, como si las maestras no supieran que a veces no todos tenemos en tiempo suficiente para hacer las mil y una cosas que les piden, pero bueno, hay que hacerlas igual.
Esta vez la maestra le pidió a mi hija que hicieran un cuadro representando "El ritmo", no tenía de como hacerlo, pero después de ver un par de imágenes en la red, me decidí a hacer este cuadro que le explicaré paso a paso como lo realice.

PASO A PASO:
En una hoja de papel reciclada, la usaré como base para realizar el cuadro y con la ayuda del lápiz y la regla, realice un marco de 2 cm por todo el alrededor.
Una vez realizado el marco, procedo a hacer un bosquejo del diseño del cuadro. Realice unos 2 espirales en las esquinas, con sentido contrario uno del otro, y para rellenar los vacíos del centro, realice líneas, como especie de arcoíris.
Quería hacer el cuadro de manera que no tuviera que aplicar capas de pega para darle brillo o algo así. Por lo tanto, pensé en las revistas, ya son páginas brillosas y sería ideal para lo que quiero.
Busque unas revistas viejas y recorte tiras de todos los colores llamativos que pude encontrar en las páginas.
Ahora lo que hice fue recortar retazos de revista de cualquier tamaño, para empezar a rellenar las líneas y empezaré por realizar los espirales.
Seguí haciendo recortes para rellenar las líneas, de diferentes colores y que se pueda ver bastante llamativo.
Fui rellenando las líneas del centro, algunas veces con recortes largos, otros con recortes cortos, todo de acuerdo a los colores que pude recortar de la revista, lo que no quería era que me quedaran letras por algún lado.
Y así fue como quedo el diseño completo.
Para decorar, recorte unas notas musicales en color negro, tal como se aprecia en la imagen. Y se las pegué dispersa por el diseño.
Tenía un cartón que era de una publicidad que encontré en un supermercado, las iban a botar y como las vi en buen estado, les pedí que me las regalaran y me las dieron sin más.
Sabía que algún momento las iba a utilizar y este me cayó como anillo al dedo. Como pueden ver son de color negro, así que la use para hacer la base y el marco del cuadro.
Recorte unas tiras del largo de la hoja del papel, están me servirán para hacer el marco.
Pegue el diseño a un carton para darle mas fuerza. Y por los costados pegué las tiras formando el marco que deseaba.
Y así fue como quedo, quede satisfecha con el resultado final, pues las hojas de revista ya tienen ese brillo, así que no hace falta más nada. Las notas musicales son porque el tema a exponer es "El ritmo" y me pareció genial las notas que se expande a través de los espirales.
Espero que te haya gustado este tutorial que con mucho gusto preparé para ustedes. Me despido como siempre, no sin antes agradecerte por tomar parte de tu valioso tiempo en visitar mi blog y apoyarme. Y como dice el refrán: "Haz el bien, sin mirar a quién".
Contenido de la creación original:
🎼 Todas las fotos son mías, tomadas y editadas con mi teléfono Alcatel.
🎶 La imagen de portada fue hecha con la aplicación Canva y editados por mí.
🎼 Las imágenes del separador fueron tomadas de glitter-graphics.com.
🎶 La traducción al inglés se hizo con la ayuda de Translate.google.com
🎼 Las letras que indican los idiomas fueron tomadas de cooltext.com
This is a nice painting and all the colors blend in with fine effect.
Well done
(ENG)
Hi. Greetings to all, especially to: @yuslove, @diyhub, @lismarcarolina2, @luisanarincon7, @rosana6, @yasmarit. I want to apologise for not replying in time to your comments, for reasons beyond my control (lack of internet) I couldn't reply. I want to thank you for taking a little of your time to read my post, to support me, and I am very happy that you liked my work, that gives me more encouragement to continue. Thank you immensely, and greetings and success to all of you. I look forward to seeing you in my next post. 😘🤗
(ESP)
This is a really nice bit of painting work. A great way for your daughter to learn too. Nice work
Wow, me encantó esta técnica de collage, el resultado es maravilloso. 👏👏👏
que bonito quedo!
how beautiful it is!
buena idea la de los recortes de las revistas.
Congratulations @kdelvaeg! You have completed the following achievement on the Hive blockchain And have been rewarded with New badge(s)
Your next target is to reach 600 replies.
You can view your badges on your board and compare yourself to others in the Ranking
If you no longer want to receive notifications, reply to this comment with the word
STOPde verdad una obra de arte...
Congratulations @kdelvaeg! You received a personal badge!
You can view your badges on your board and compare yourself to others in the Ranking