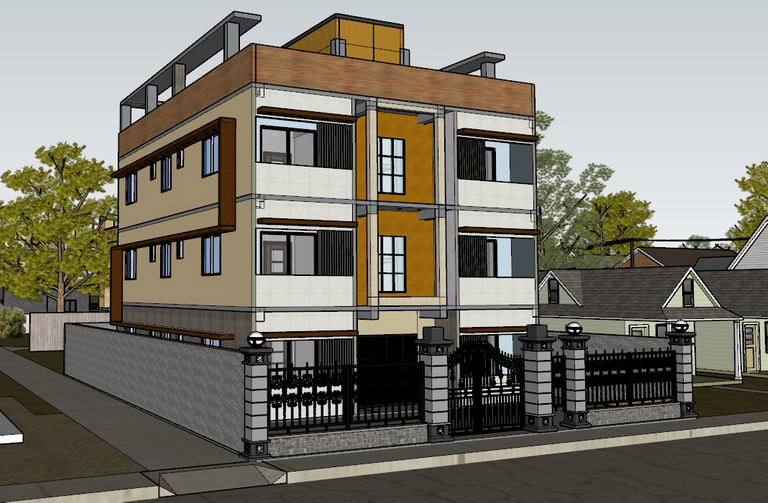
Hope everybody is doing well. I do all the 3D design of the house because of my hobby. Sometimes I design some 3D for someone special. So the picture of the house you are looking at is the house design of one of my colleagues. It has not yet been created. But the work will start in a few days. So his design came to me for a reason. I made this 3D design by looking at that design. His design is done in 2D. I did 3d of it. I'll tell you exactly how I made it.
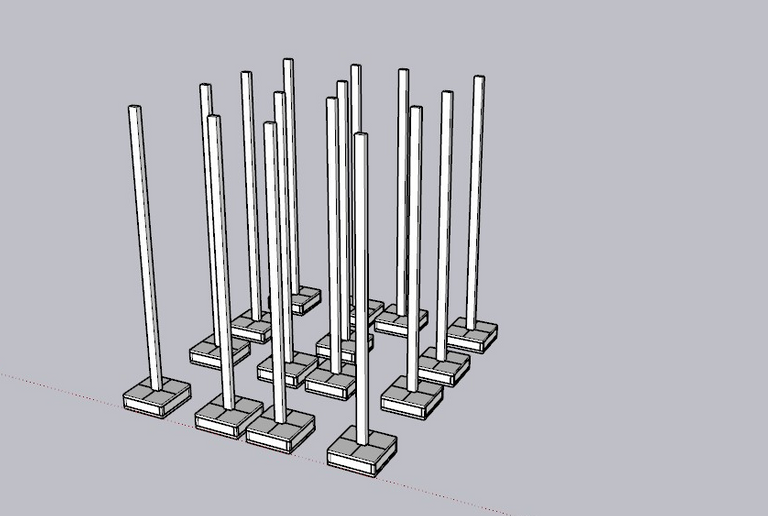
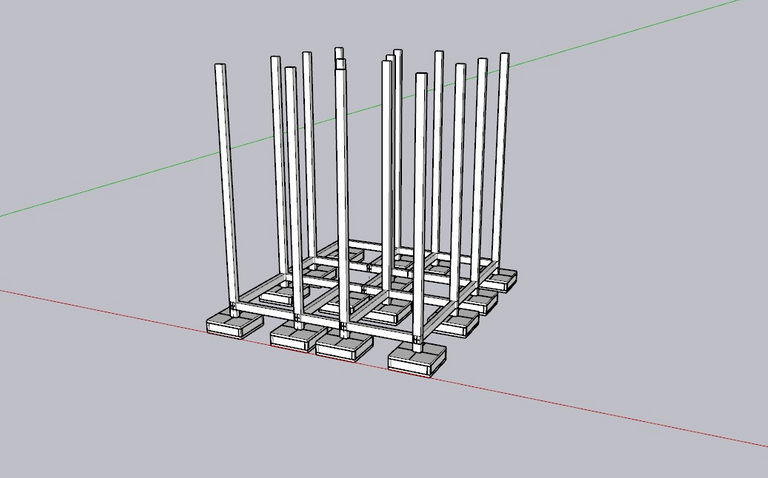
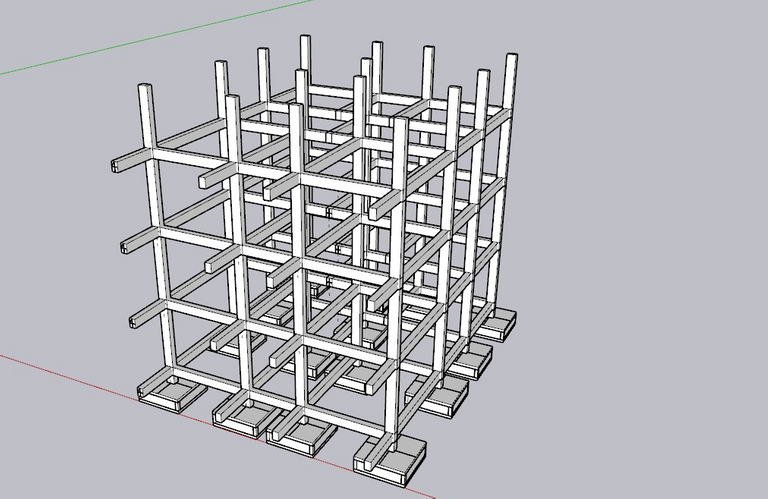
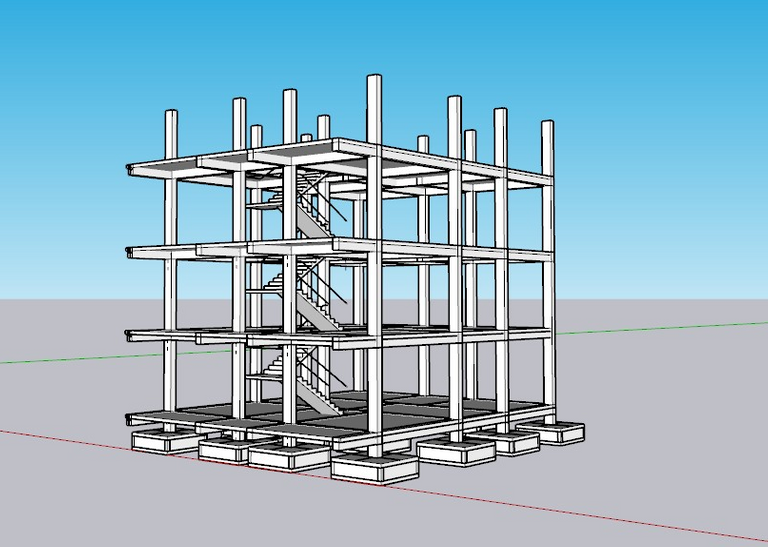
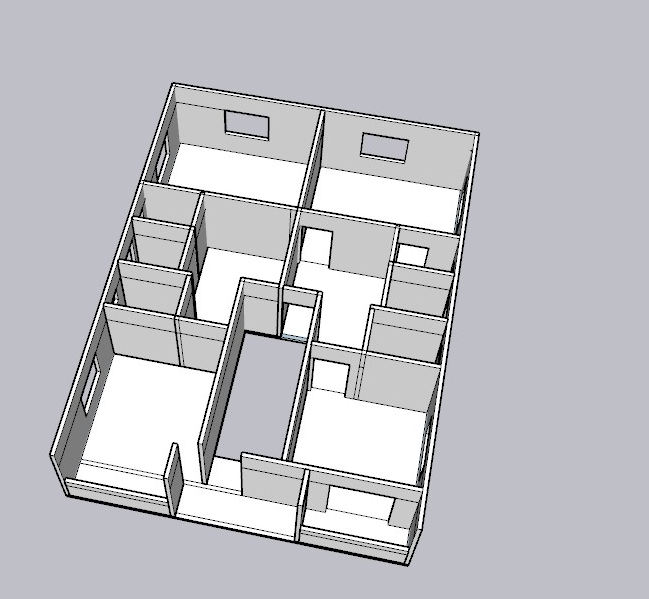
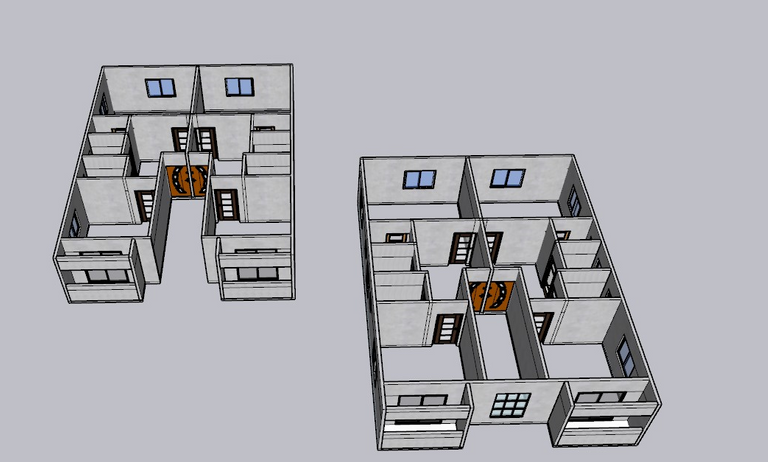
When building a structure in reality, it has to start from the bottom. I work that way too. Since the dimensions of all the structures are described in 2D, it has become much easier for me to do this. The size of the structure is kept (44'8 "* 36'10"). There are a total of 15 foundations. And one column in each foundation. These shapes are all rectangular. And I boxed each part of them separately and then grouped them. Working in groups is an advantage. And the parts can be moved easily. First I took a rectangular box the size of the foundation and grouped it. Then I took another box on it in the shape of a column and set it on the foundation and grouped the two parts together. After completing each task, they all have to form a group together. After that grade beams and then general beams have to be worked. These have to be made in separate boxes. In the case of beams, the distance between one and the other has to be maintained. If it is more or less, after the rest of the work on the floor, they will not match the structure. And this is the biggest advantage of working in a group. If there is any mistake, only the wrong part can be easily moved. The rest of the parts are not a problem. Then work the stairs and slabs. U-shaped stairs are used here. Equal trades have been used on each side. In this case I have used the power plugin of the software. Auto stairs can be made where the map is set. And in the case of slabs, it has to be seen so that it merges with the beam from all sides. Because when you are in the room you can see the beams of your upper slab but not the beams below your feet. It will fit into the slab. It's like real work. Then there is the work of room planning. In this case, two units have been placed on each floor. And the two shapes and designs are the same. So if you make any one side. Because if you mirror one side, it will become the other side.
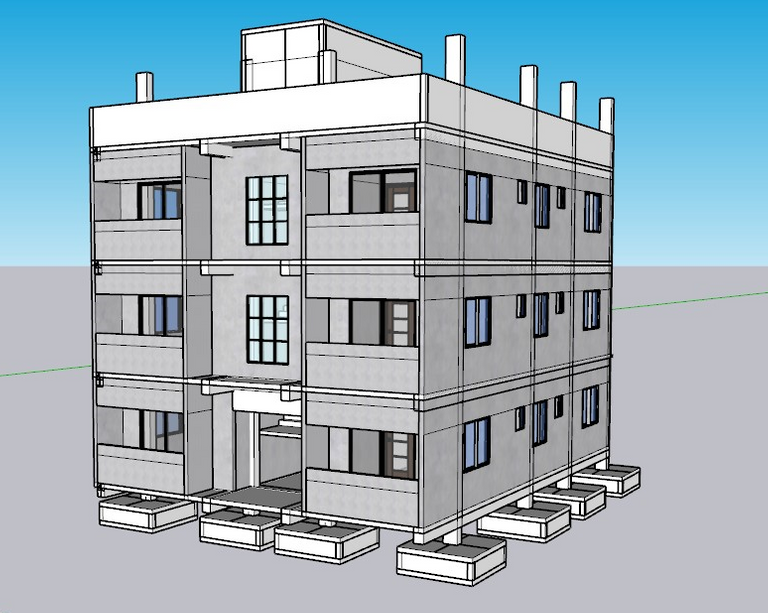
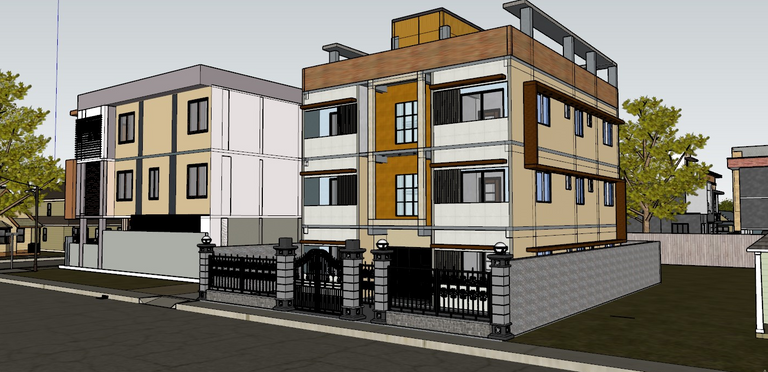
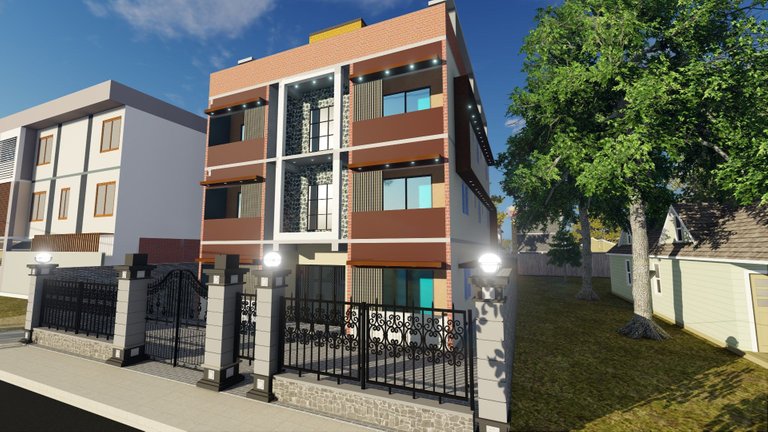
Here I have made all of them following the 2D design. And the doors and windows used in this design I have collected from 3D Warehouse. I have done 3D work of this design in sketchup software and rendering work in lumion software. I have used some temporary textures in sketchup when using textures. After importing the model in lumion, I changed all the textures and gave the original texture with which I rendered the model. In this case, the texture has to be changed many times. Because a lot of times not all textures fit everywhere. The ones I used, they seemed right to me. This was the whole process. Here the sizes have to be taken very seriously because every part depends on them. And this is especially true when rendering after capture. This is because after rendering, when a part does not look right, it is seen that there is an error in the size. And then it becomes a lot harder to fix. So each part has to be grouped and placed in the right size.
Here are some pictures of each process of this design. I hope you like it