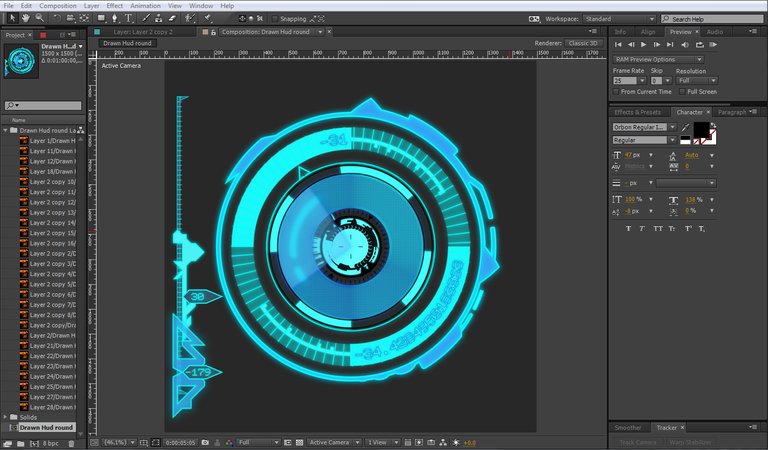
In this post I'd like to share with you another one of my HUD (Heads Up Display) animations. This one was put together slightly differently than the one in my last HUD post. In this animation I first used Adobe Illustrator to create the HUD. design. Illustrator is a piece of vector based graphics software that allows you to create layers using vector shapes without any loss of quality when resizing.
In this tutorial I shall first show you how I first put together the layers that made up the final animation and then how it was animated using Adobe After Effects. After Effects it's a powerful, industry standard, animation and motion graphics software. It's used for compositing graphics and text into video as well as animating images and logos.
H.U.D. BLUE GAZE
ILLUSTRATOR
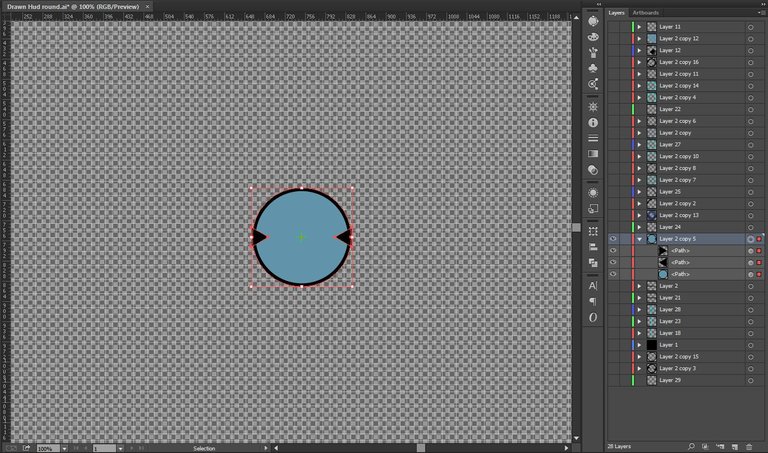
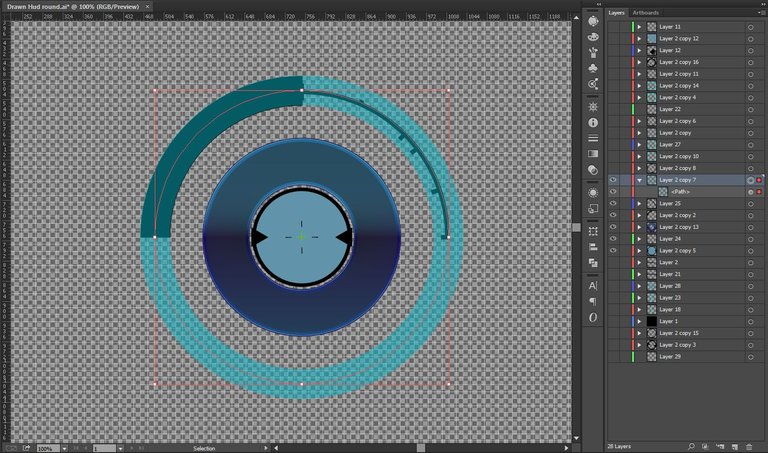
I started with a simple circle shape colored it blue, added a black stroke, and added 2 triangles opposite each other pointing inwards.
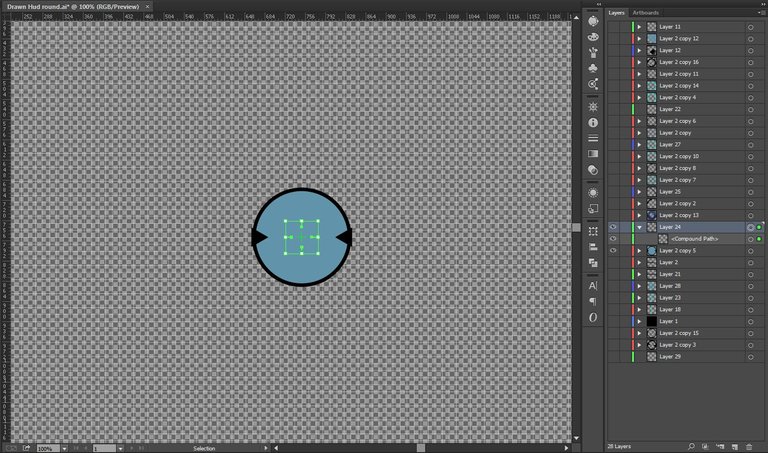
I then added a crosshair using 4 small lines.
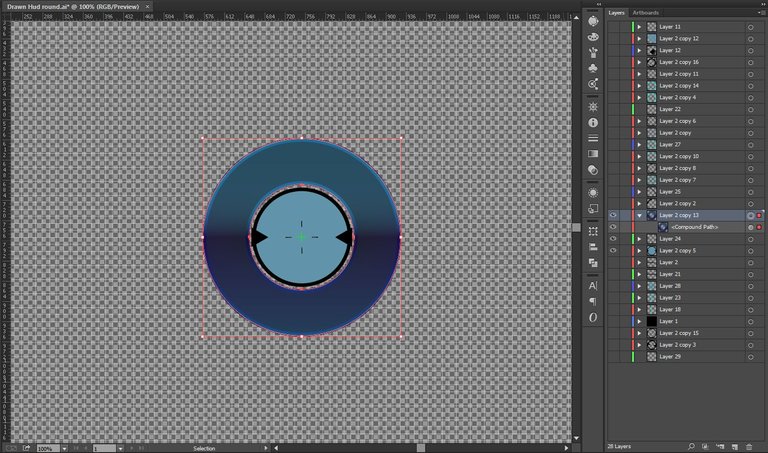
Here I added a circle, cut the middle out by making into a subtraction compound layer, and added a liner gradient.
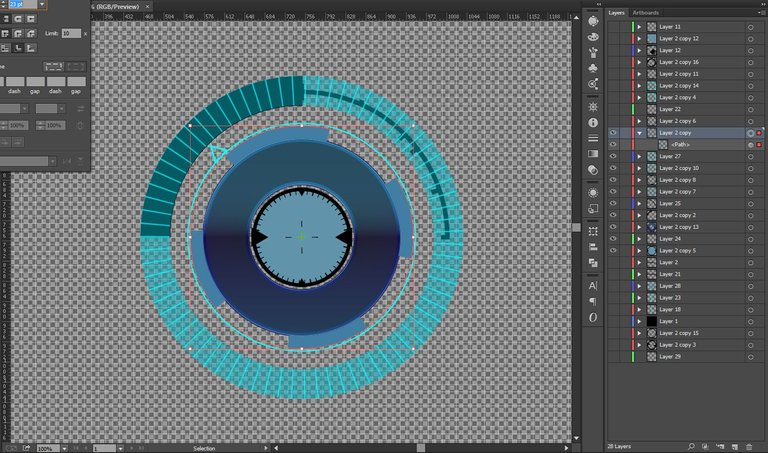
Next is made 2 quarter circles and stoke them with 2 different line thicknesses. The line on the right I also added a few small lines pointing inwards.

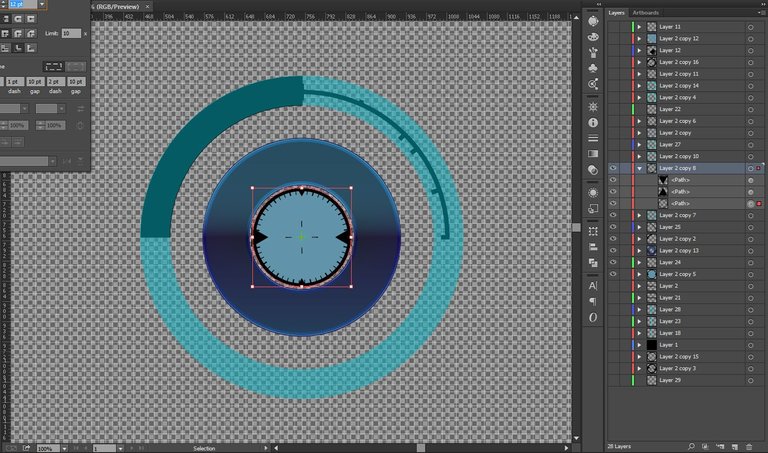
I covered the previous lines with a simple circle that had 50% opacity.
I added some evenly dashed lines in the center ring.
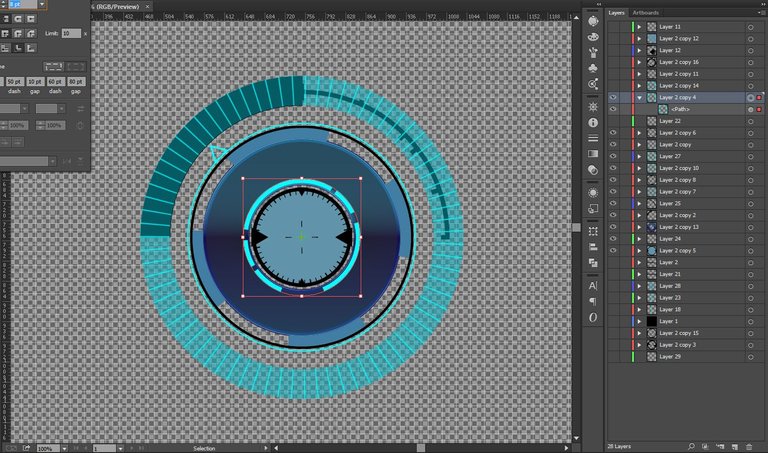
I include another simple circle, this time I addded a little arrow secion on one part of the circle.
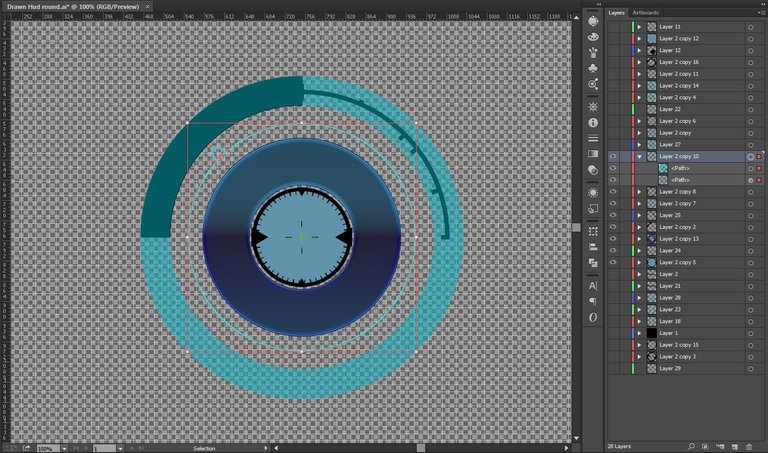
More dashed lines.
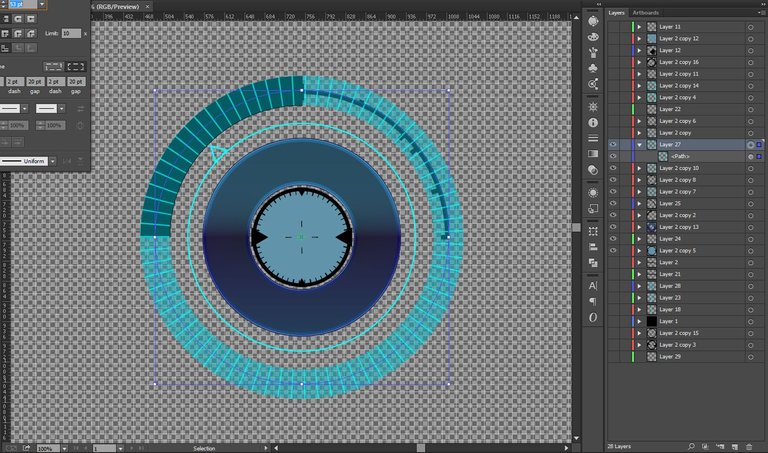
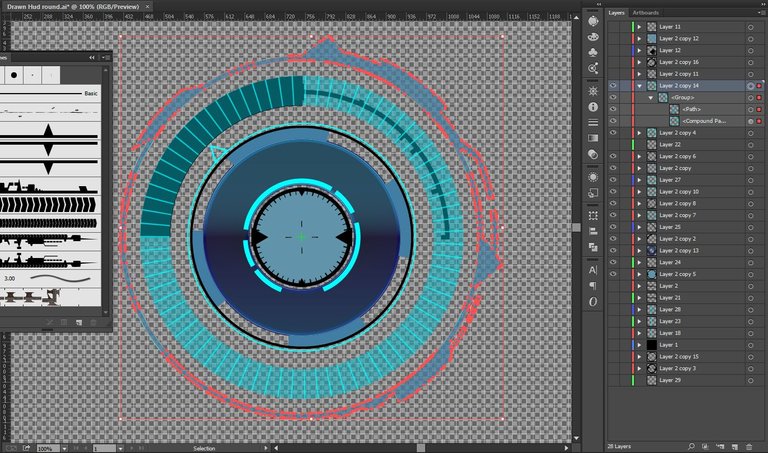
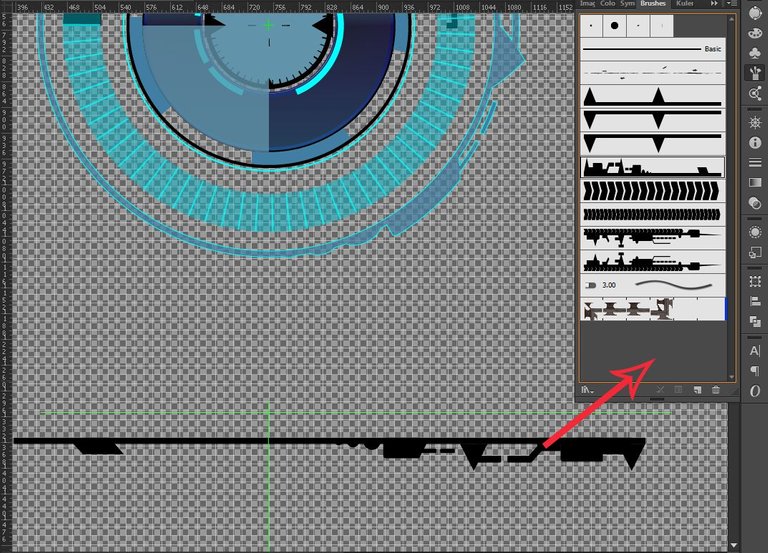
Next I used a custom brush to create the abstract shape on the outer circle.
To make your own custom brush first create the shape you want like so.
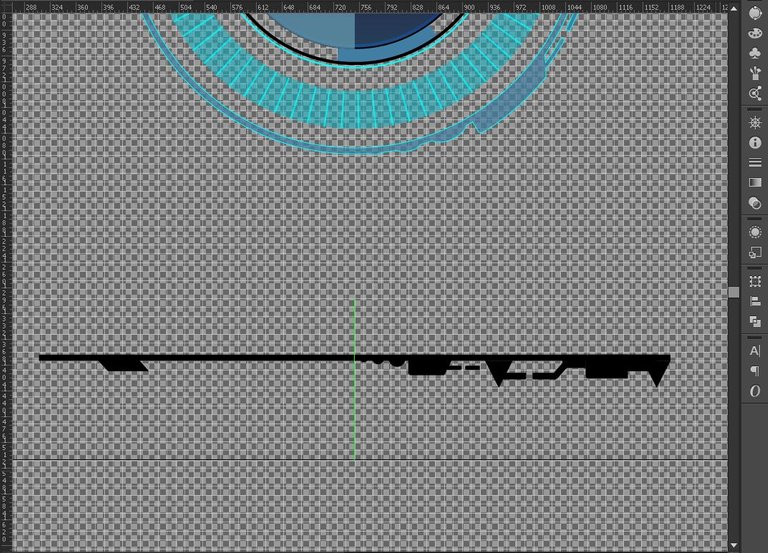
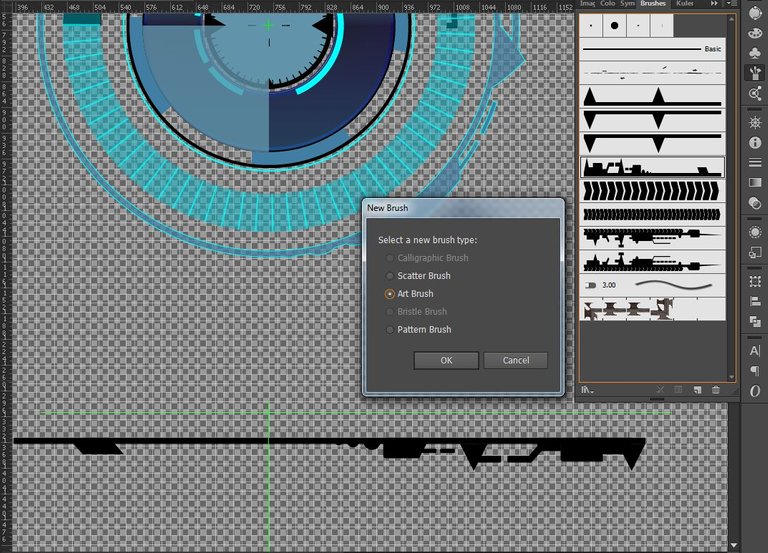
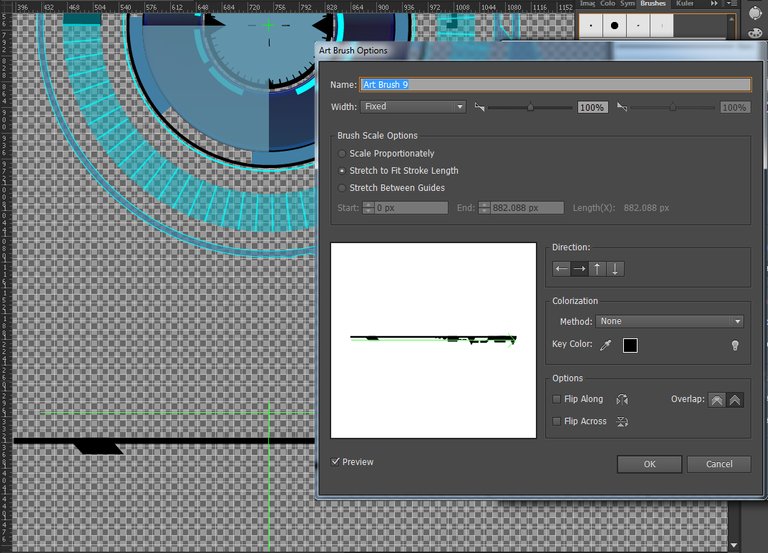
Next simply drag the shape you want to use as your brush into your brush panel and select art brush in the pop up window. Then hit ok on the art brush options panel.
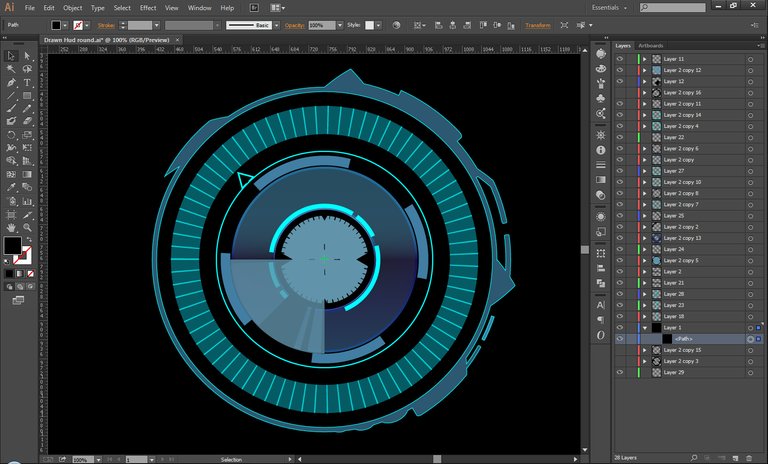
You can then use this shape to stroke any shape line you want. Below is the finished design in Adobe Illustrator.
AFTER EFFECTS
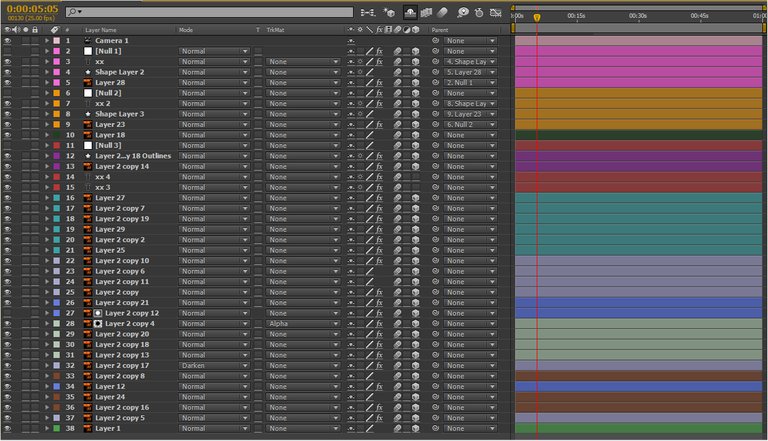
Open your Illustrator file in After Effects and pick maintain layer sizes. This will import all your layers into your project.
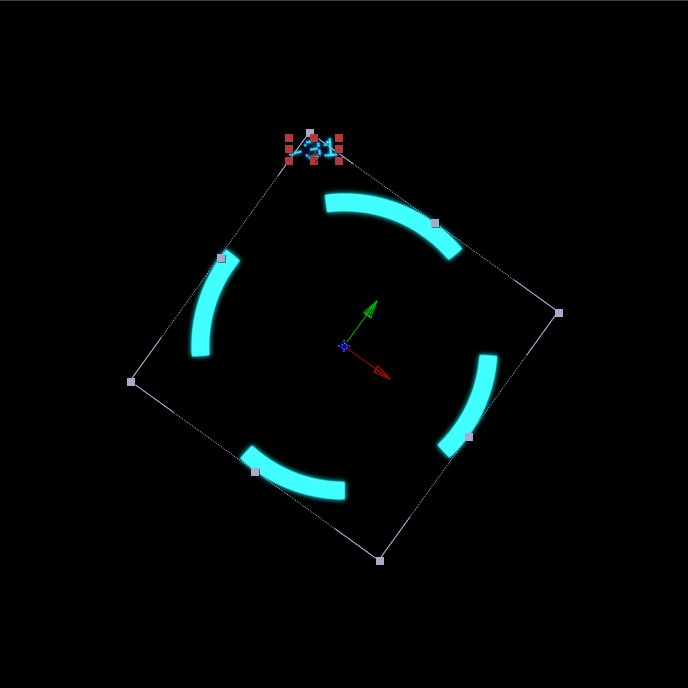
I used various After Effects expression like I did in my last HUD animation to automatically rotate the circle layers and then added a glow adjustment layer.
You may have noticed in this animation the numbers change in line with the shapes moving. Again I used expressions to automate this. The numbers reference the position of the rotating shape and change them accordingly. below I have used layer 25 as an example.
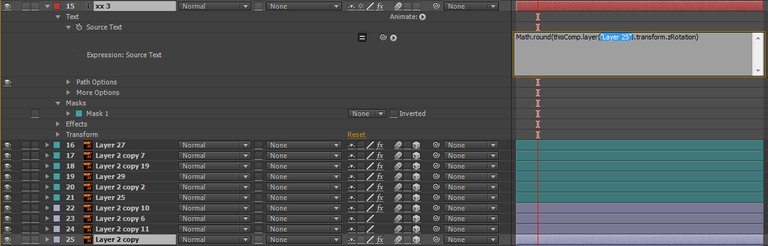
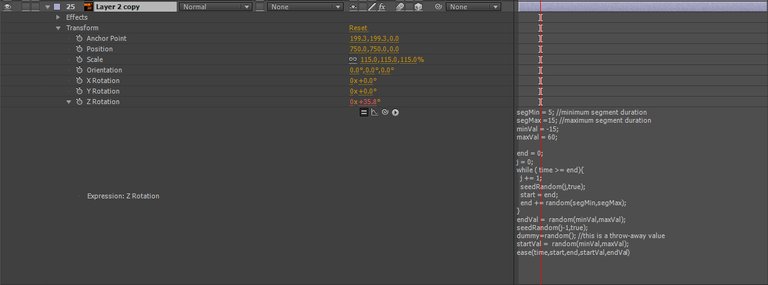
Here is the expression I used to make this happen.
segMin = 5; //minimum segment duration
segMax =15; //maximum segment duration
minVal = -15;
maxVal = 60;

end = 0;
j = 0;
while ( time >= end){
  j += 1;
  seedRandom(j,true);
  start = end;
  end += random(segMin,segMax);
}
endVal =  random(minVal,maxVal);
seedRandom(j-1,true);
dummy=random(); //this is a throw-away value
startVal =  random(minVal,maxVal);
ease(time,start,end,startVal,endVal)
Thank you for allowing me to share this project with you. These are my favorite types of animations to make, not only do they look cool but they also cover a lot of different aspects of both After Effects and Illustrator. Feel free to leave any questions below.
If you would like a custom made, personalized animated .gif for your Steemit posts please check out the post below and leave a reply in the comments section.
Wow ! That looks really cool , love the color , its very creative ! I want to THANK YOU SO MUCH For your awesome donation in my POP Contest ! Its was a awesome surprise when I woke up , and when added to another donation of 5.00 SD we now have 15.00 SD to add to whatever the SD the post pays out !! Its Awesome ! You will for sure be mentioned in my winners post tomorrow when a new #popcontest 4 STARTS !! THANKS !!👍👍👍
This post has received a 13.29 % upvote from @lovejuice thanks to: @fortified. They have officially sprayed their dank amps all over your post rewards. GOOD TIMES! Vote for Aggroed!