
Wombat Free EOS Wallet
Wombat is an EOS Wallet where you can create for Free a Wallet. We need for this Tutorial the Wombat Wallet. If you create an Account make sure you safe you Back Up Data on Google Drive then we need this to log in into the Wombat Chrome Extension.
You can download the Wombat App for iOS & Android and as mentioned you need the Google Chrome Extension.
You need for this Tutorial the Wombat Chrome Extension

.png)

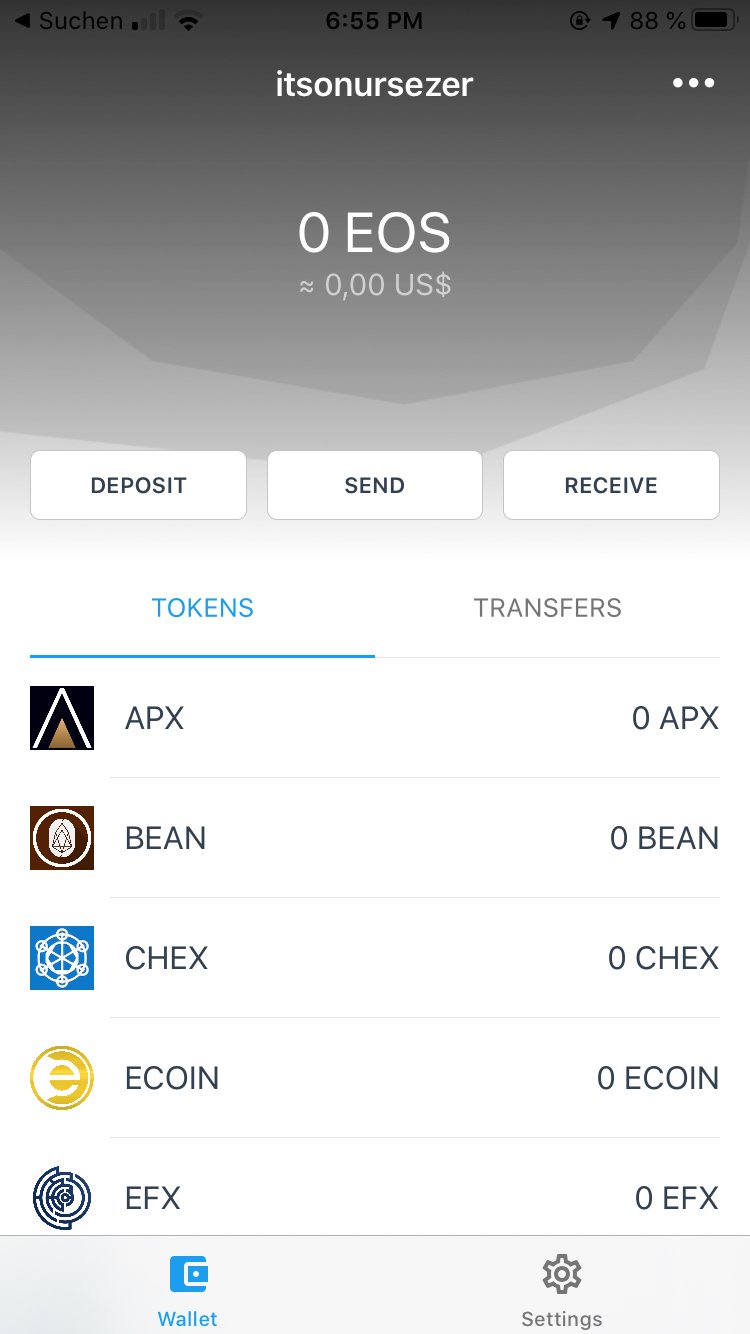
Wombat Wallet in iOS (iphone 6s)
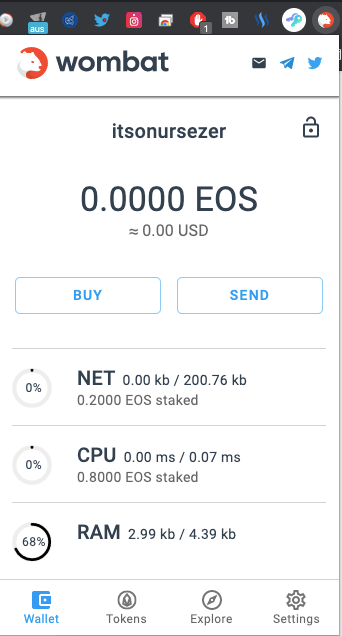
Wombat Wallet over Chrome Extension
Step 1: Buy EOS
You can buy EOS in Wombat with a Credit Card. Just click on "DEPOSIT" in the App and you will forwarded to the Payment page. If you on Desktop then click in the Extension the "BUY" button you will forwarded too to the same page.
Your Wallet Address is your EOS Username, in my case it is "itsonursezer"
PS: If you already have EOS on another Wallet just send it to your Wombat Wallet
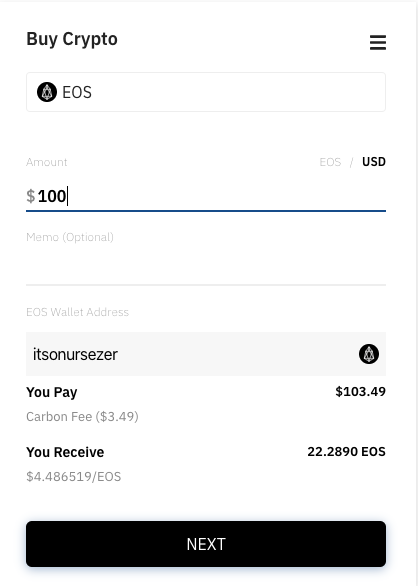
Payment Page from Wombat
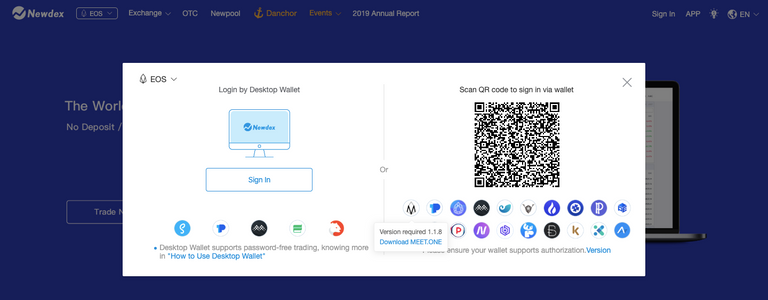
Step 2: Log In into NewDex with Wombat
Now you go the NewDex Page (newdex.io) and click on the top right on "Sign-In".
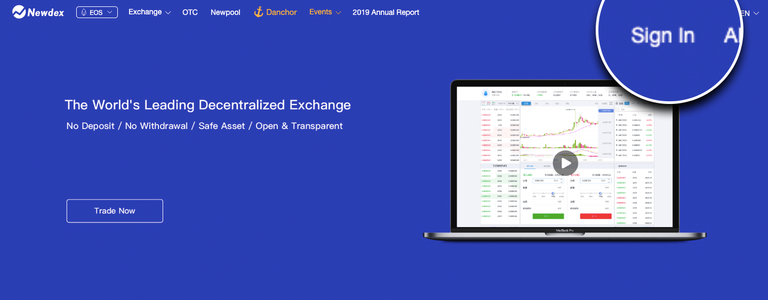
Then the Sign-In Window will pop up. If you logged in into your Wombat Wallet in Chrome Extension you just need to click again on Sign-In and VOILA you have logged in NewDex with your Wombat Wallet.
If you logged in, you'll see your Username/Wallet Address in the right top, directly next to V0 (V-Zero)

Step 3: Buy APX with EOS
To Buy APX with your EOS you need to go to this page ➡️ APX/EOS Buy Page
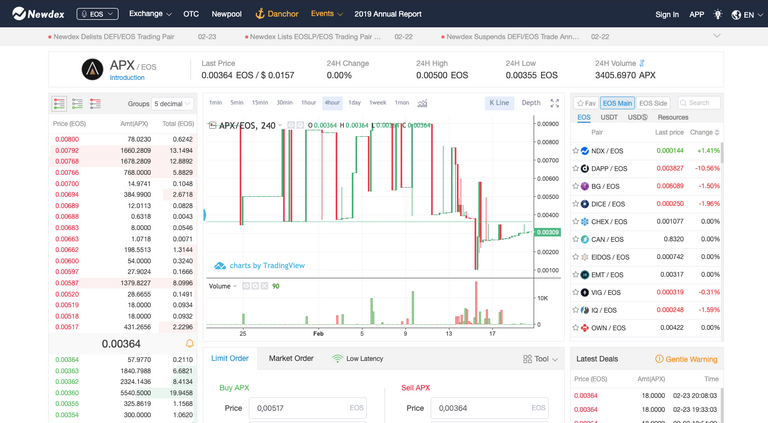
Then scroll down to Limit Order and buy APX but pay attention you need to type in your EOS Price per APX. Sometime it set little bit higher. My advice is copy and past the price above.
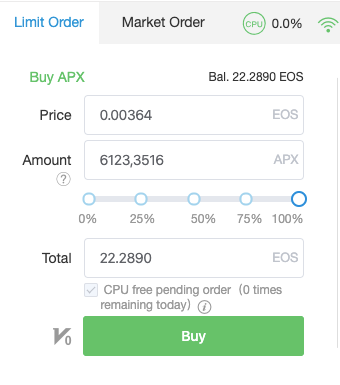
After set the order to buy you need to wait 'till the order is through and if it's through you will see the bought amount in your Wombat Wallet under "APX"
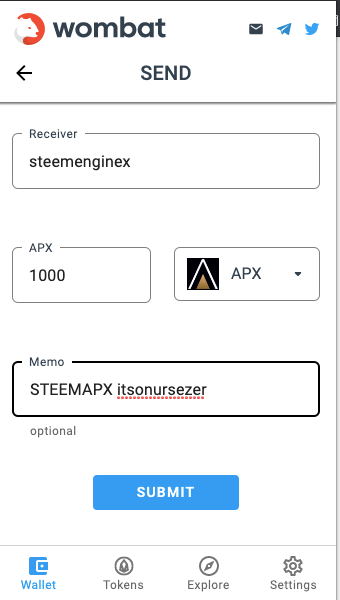
Step 4: Send from Wombat to Steem-Engine/APPICS Wallet
Now you need to send your APX Tokens to Steem-Engine/Appics Wallet.
If you send APX from your EOS Wallet to Steem-Engine the receiver Address will always be
"steemenginex"
Then you need ALWAYS type the MEMO in. The Memo is "STEEMAPX YOURUSERNAME. Replace YOURUSERNAME with your APPICS/STEEMIT Username.
Conclusion:
Receiver: steemenginex
Memo: STEEMAPX YOURUSERNAME
Step 5: Power Up/Stake your new bought tokens
Thats really easy 😉 when you log in into Steem-Engine and look at the APX Line at the end you'll see two lock icons. Click on the closed one and then choose your amount which you will power up.
awesome work onur!! thank you for creating this
Your Welcome 😉
This really is a great tutorial
and APX on telos is comin soon