How's it going steemians? Its been a while since the movie CAPTAIN AMERICA CIVIL WAR has been released into the world of cinema.
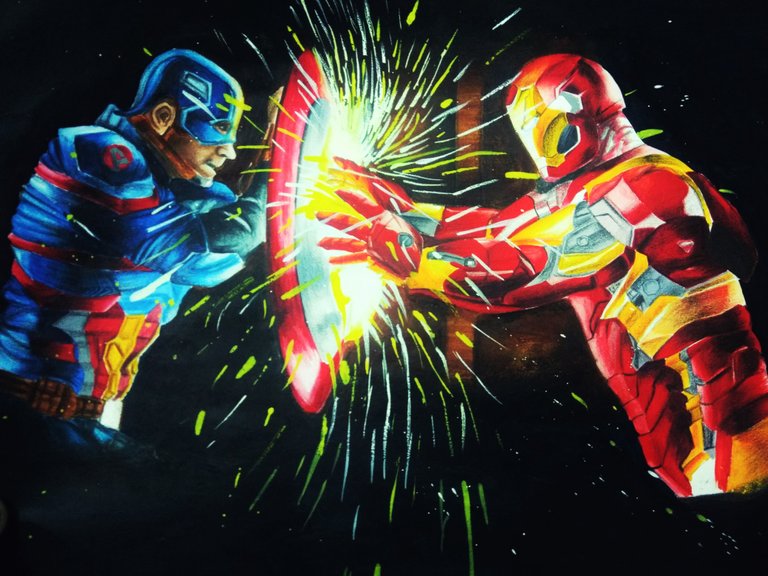
It's an epic MARVEL movie which has earned $1.1 worldwide. I am a marvel fan myself and thus, decided to make a civil war poster. It took me a lot of time to complete this poster, probably a day or two. The final picture after I had done making it is below -
It's a great movie and if you haven't already seen it, please have a look at the trailer below -
It's a great movie and if you haven't already seen it, please have a look at the trailer below -
WELL, THE STEPS TAKEN ARE BELOW
STEP 1
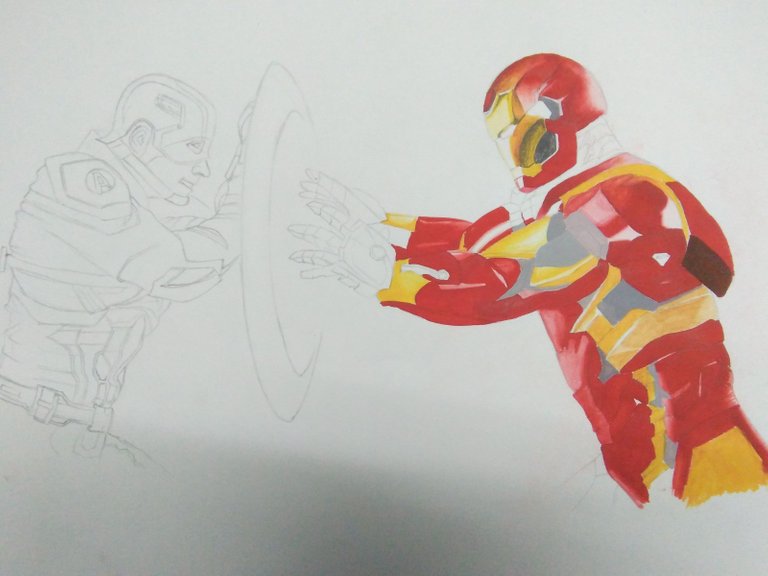
🔵 First off, draw the outline of the characters you choose, here I have chosen Captain America and Iron Man. Use water colors to paint the Iron Man. Use yellow for the lighter region, orange for the darker region, red for the darkest region. Try to make it as realistic as you can. At first, you wont be getting even a glimpse of how your poster would look after you've done. So do not give up in the middle thinking that what you've made is nothing but a load of crap. Mine looked like a crap too at first as you can see below -
STEP 2
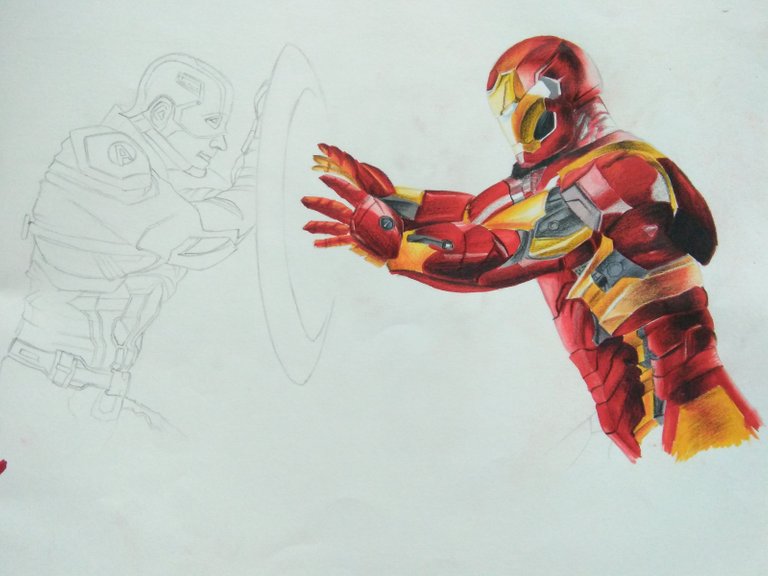
🔵 Secondly, make the darker regions dark by using pencil colors. Here's an advice : at any point of time like this, does not matter whether you're making this poster or something else, use only pencil colors. Do not ever use wax crayons. It will just mess up your poster as a whole.
At the area of depressions, shade some parts by your perspective in order to make it realistic. Our main objective here is to make the poster realistic, not the carbon copy of the original poster. Use your creativity. Use white pencil color if you are bound to use it. After you've done shading, you should get something like this -
STEP 3
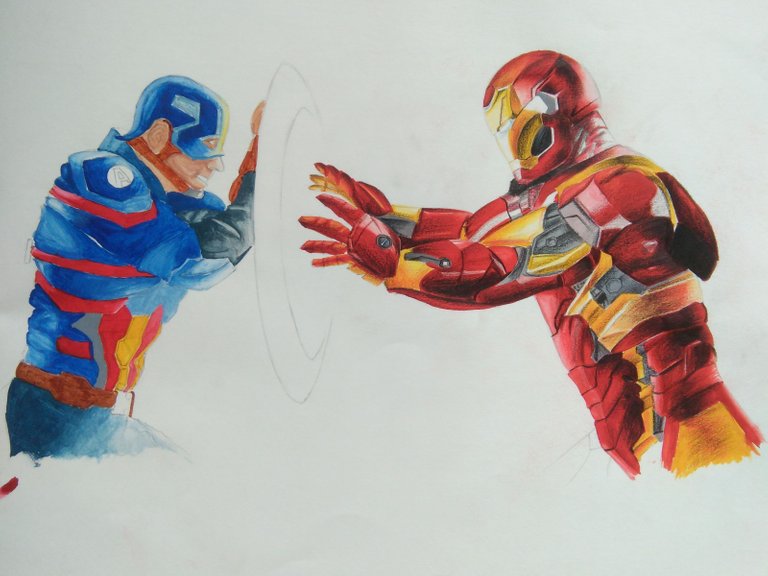
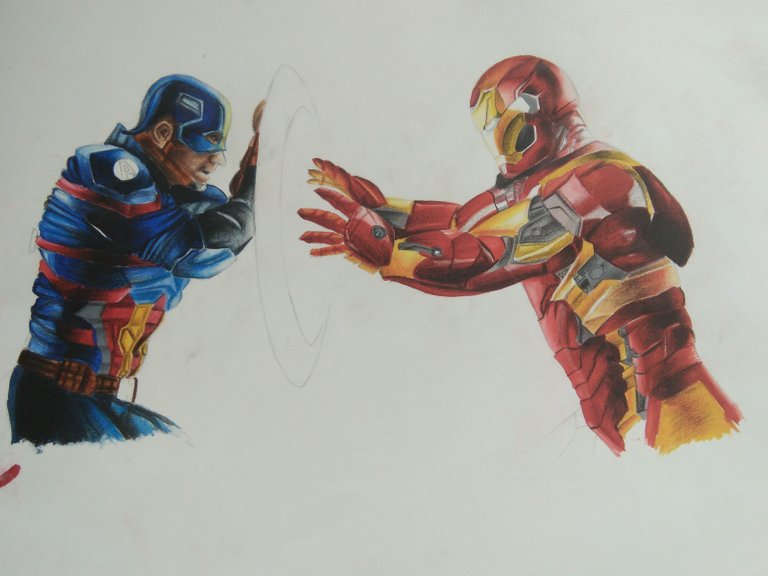
🔵 Now it's time to make our lovely Captain America. First off, paint him by using blue colors with different depths. Use dark blue at the areas where light would not fall and light blue where the light would fall. It would be difficult to make the uniform of Cap. because it has an enormous amount of logos. Make his helmet blue too. It would look ugly at first but similarly, you need to move on with it. The picture's below -
STEP 4
🔵 Now its time to shade our Cap. As his uniform is not made of iron but cloth fibers, we've got to put more attention to the shading part. Do not shade the portion behind the Cap. Shade the middle portion of the cap as it would be the place where shadow couldn't fall. Use black and blue pencil colors to do this job. Use your creativity and shade it by your perspective. Use brown pencil color to shade the skin. Do not mess it up as you don't want your favorite super hero to be ugly. Make him handsome, ya'll. The final picture would show up to be something like this -
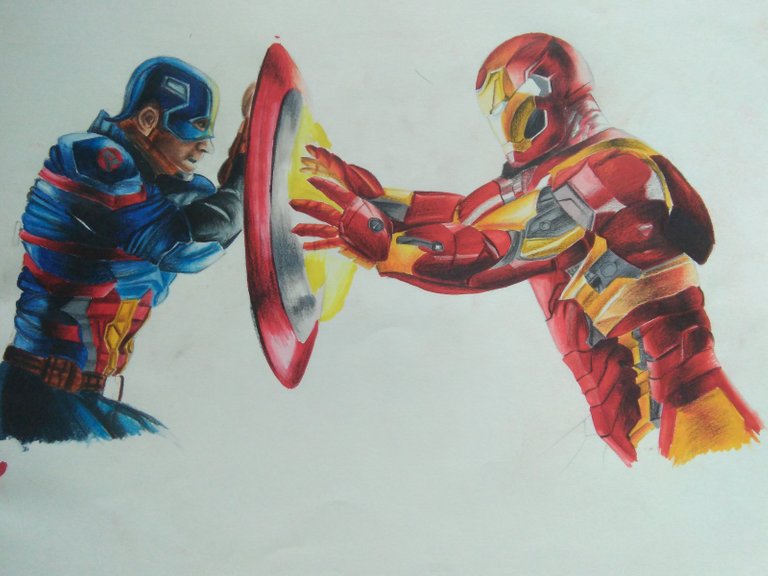
STEP 5
🔵 Now paint the shield of captain america. Its is made up of 4 concentric circles. The hands of Iron Man covers up the two inner concentric circles so you don't need to worry about those. For the outermost circle, use red paint. Make some areas lighter and some areas darker as it is round in shape and somewhat bulged outwards. Use gray paint for the 2nd circle. Use black pencil color to shade the shield to make it realistic. Use yellow color for the inner concentric circles because that's the part where Iron Man would shoot his heat ray and sparks would come out. Use white color at some regions. You need not shade this part. The final picture should be like this -
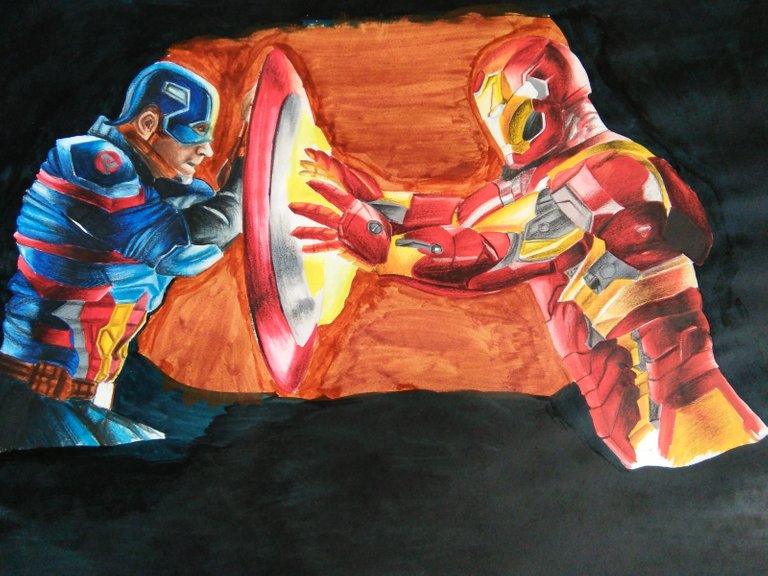
STEP 6
🔵 Do not get started off on making the sparks by being too excited. You've got to color the background first. Use black color to paint the background. Use pure black at the edges and do not paint the central portion of the paper. Paint the left off region by brown color. This would give an impact on your poster as pure black color for the background would look very lame. Yeah, the overall poster here looks like crap but, carry on. This is what I got -
STEP 7
🔵 Its finally time to use crayon colors. Whoa, saying this brings relief to your heart, doesn't it? The good-ol wax crayons are back to business. Grab a black one. Use this to blend the black color to the brown color. Use fingers or a tissue paper for this. Be careful, do not blacken the dress of captain or the suit of Iron Man cause' you've done a lot of hard-work to make 'em. You don't wanna screw this up at the last moment. So be very careful. Now you could see the impact I was talking about in the previous step. Looks good, doesn't it? Here's the picture -
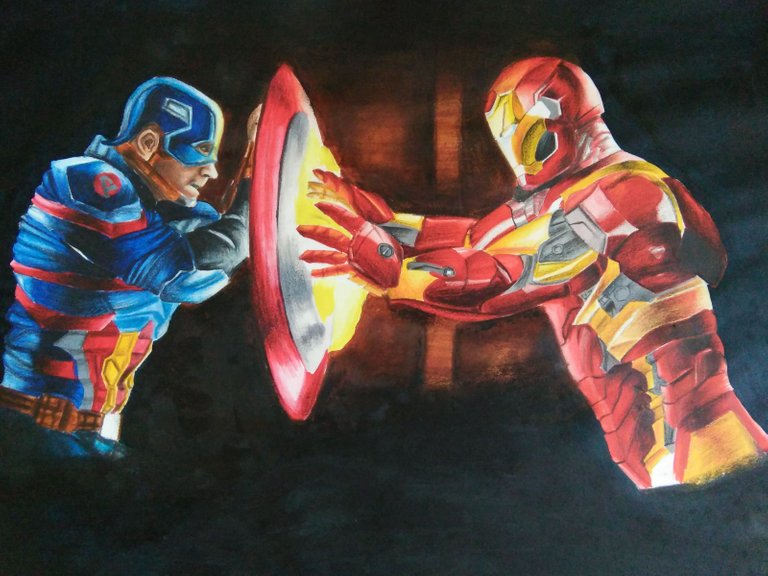
STEP 8
🔵 Now its finally time to make the sparks. Use various shades of yellow water color in order to do so and use the white one too. Draw different lines of varying sizes. Draw thick lines at some part and thin lines at some. Or else, just jerk the wet paintbrush above the poster and it would create some lines. This can save your time and also make your poster fabulous. The final picture of my poster is THIS
THANK YOU FOR WATCHING! HOPE YOU HAD A GOOD TIME READING THIS ARTICLE.
IF YOU ARE AN ART ENTHUSIAST AND WISH TO SEE MORE POSTS LIKE THIS, PLEASE DO UPVOTE, COMMENT AND RESTEEM.
HERE'S THE LINK TO MY PROFILE

wow, thats really creative! :-)
thank you. I'm glad that you liked it
Ooh! You are really good at it!!! :)
Thank you very much, I'm glad you liked it. 😊😊