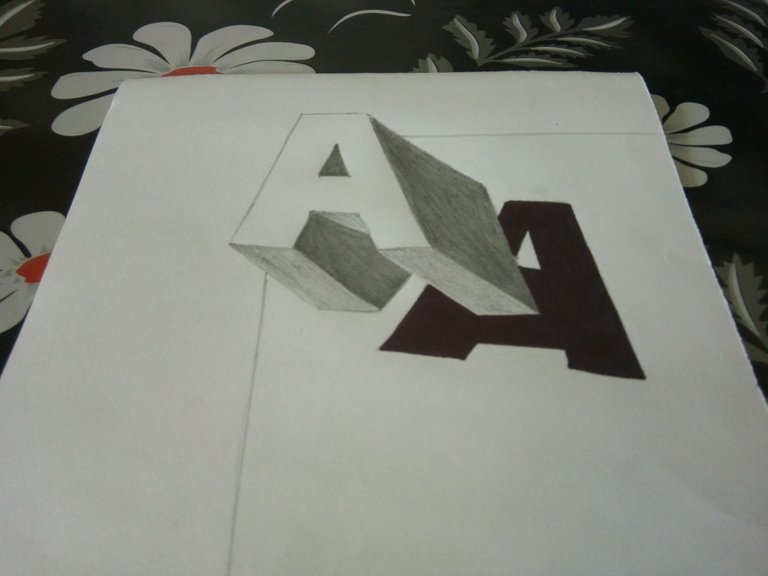
What's going on homies? This is @aman.shady here and today I'm going to give you a tutorial on how to draw a realistic 3D floating letter as shown below -
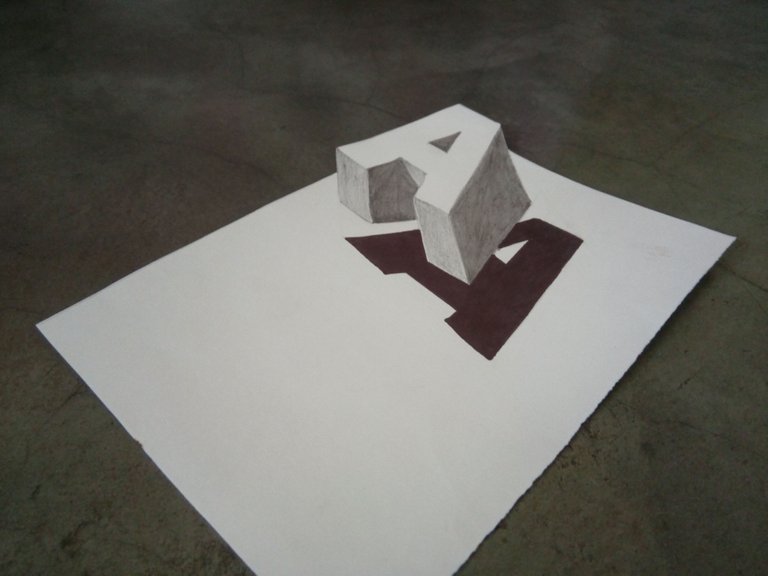
SO LET'S HAVE A START, SHALL WE?
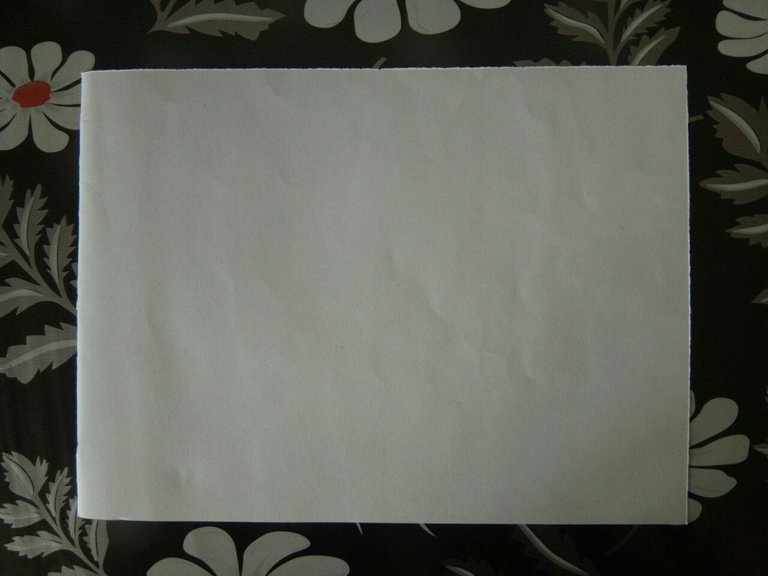
STEP 1
Start off with a medium sized sheet of paper of white colour. Make sure that it is clean and not dirty. If it has pencil marks all around, make it clean by using an eraser. It would look something like this
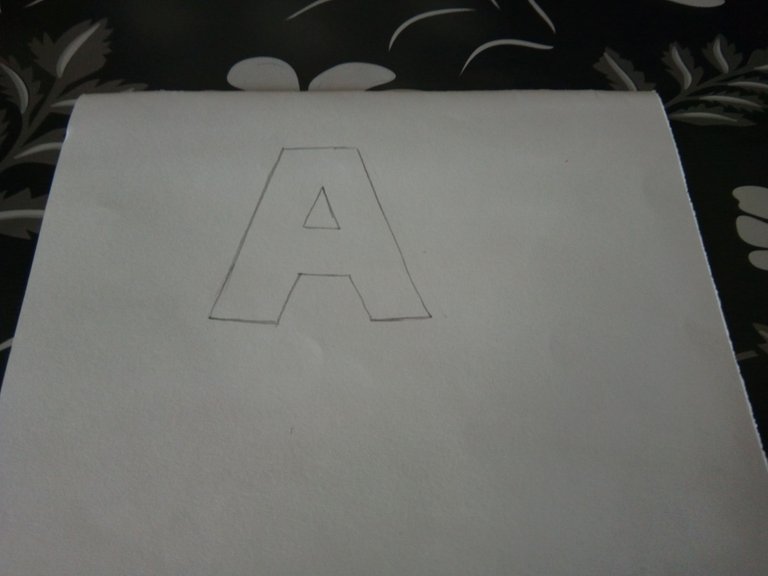
STEP 2
Now draw a block letter 'A' (I drew an A but you can choose whatever letter you want). Make sure that you don't make the outline of the letter too dark. If you did, erasing it would be difficult. Therefore, use a light hand in order to do this. After you've done, it should look something like this
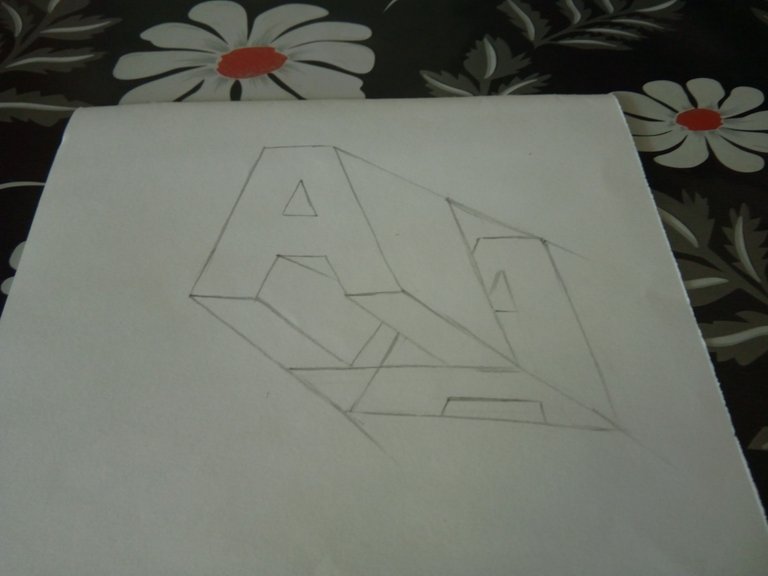
STEP 3
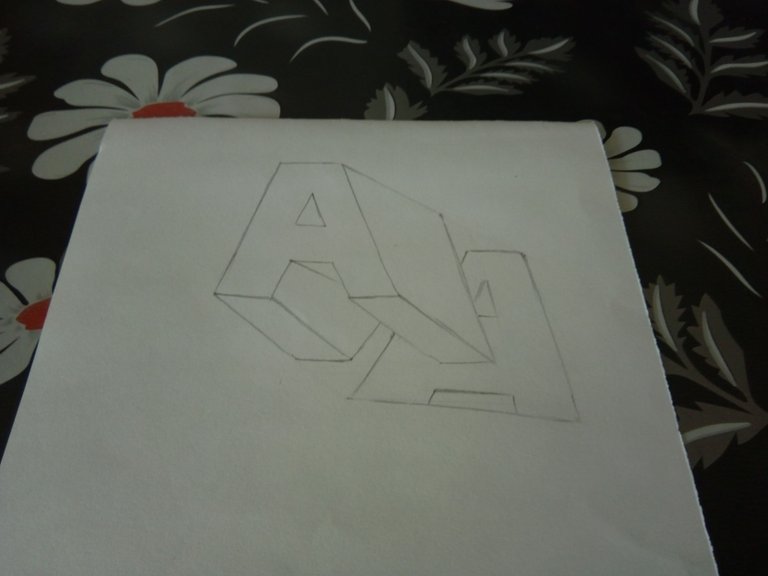
Now draw some 3D lines in order to make the letter realistic. The letter casts a shadow on the ground. Therefore draw the lines long enough so that it would be easier for you to draw it's shadow. After you've done, it should look something like this
STEP 4
Now erase the unnecessary lines that are left off. This would leave you with of the 3D letter and it's shadow. Make sure that you draw the shadow exactly as you've drawn the block because, you know, objects cast shadows of the same size. After you've done erasing, it should look something like this
STEP 5
Now shade the block. I mean light shade the parts to make it look realistic. Use very light hands in order to do so. Do not mess it up. After you've done shading, it should look something like this
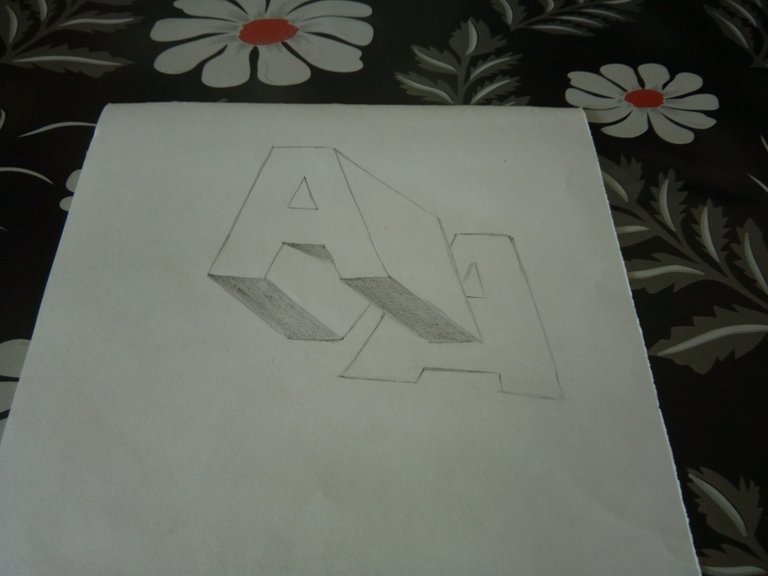
STEP 6
Now dark shade the block. I mean darken some parts to make it look attractive and real. Use heavy hand to do this. After you've done, you should get this
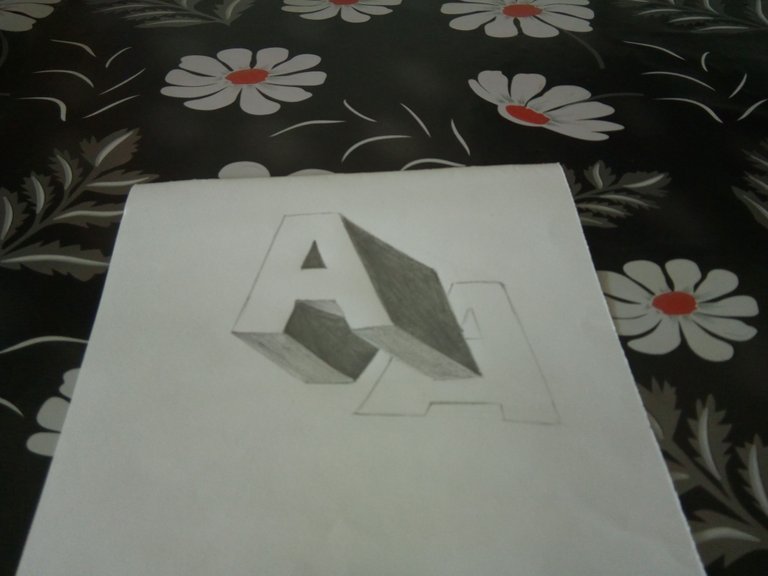
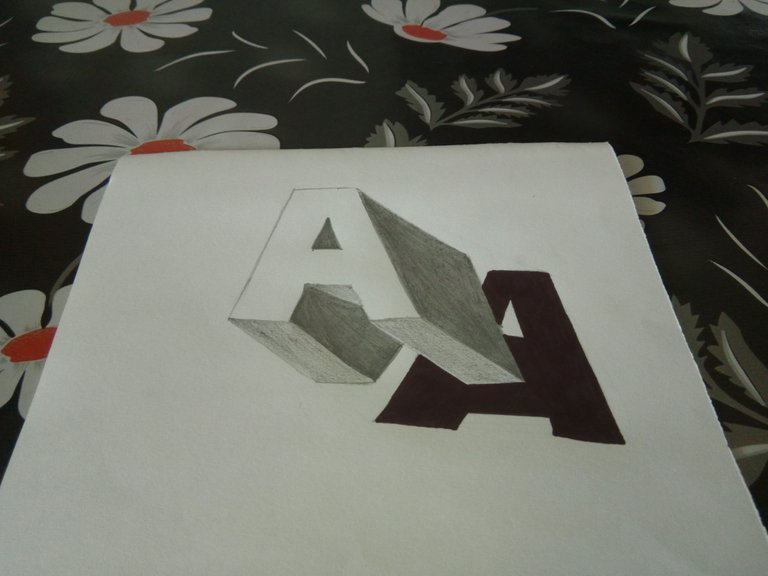
STEP 7
Now use a marker and blacken the shadow. Make it pure black. This is an easy task and I am sure you would do it well. After you've done, let the ink dry. You should get something like this
STEP 8
Now it's the time to use scissors. In order to make it perfectly right, you might wanna draw some lines first as I did. But if you are expert in origami, you need not draw the lines. I drew the lines like this so that it would be easier for me to cut it
STEP 9, THE FINAL STEP
Now cut the paper along the lines. Be very careful at this part and do not mess it up. You could use a blade instead of a scissor as per your convenience. I used a scissor. So it should look something like this
IT LOOKS REALISTIC ONLY WHEN YOU LOOK IT BY A CERTAIN ANGLE. KEEP SEARCHING THE VIEW UNTIL YOUR DRAWING STARTS TO LOOK REALISTIC. AND ONCE YOU'VE FOUND IT, YOU'RE DONE..

I HAVE TAKEN THIS IDEA FROM A YOUTUBE CHANNEL NAMED PIN KORO. GO CHECK OUT HIS Channel. HE'S A GREAT ARTIST.
IF YOU ARE A FAN OF ART AND WISH TO SEE MORE ARTICLES LIKE THIS, PLEASE DO UPVOTE COMMENT AND RESTEEM. IT HELPS ME A LOT.
SO LET'S HAVE A START, SHALL WE?
STEP 1
Start off with a medium sized sheet of paper of white colour. Make sure that it is clean and not dirty. If it has pencil marks all around, make it clean by using an eraser. It would look something like this
STEP 2
Now draw a block letter 'A' (I drew an A but you can choose whatever letter you want). Make sure that you don't make the outline of the letter too dark. If you did, erasing it would be difficult. Therefore, use a light hand in order to do this. After you've done, it should look something like this
STEP 3
Now draw some 3D lines in order to make the letter realistic. The letter casts a shadow on the ground. Therefore draw the lines long enough so that it would be easier for you to draw it's shadow. After you've done, it should look something like this
STEP 4
Now erase the unnecessary lines that are left off. This would leave you with of the 3D letter and it's shadow. Make sure that you draw the shadow exactly as you've drawn the block because, you know, objects cast shadows of the same size. After you've done erasing, it should look something like this
STEP 5
Now shade the block. I mean light shade the parts to make it look realistic. Use very light hands in order to do so. Do not mess it up. After you've done shading, it should look something like this
STEP 6
Now dark shade the block. I mean darken some parts to make it look attractive and real. Use heavy hand to do this. After you've done, you should get this
STEP 7
Now use a marker and blacken the shadow. Make it pure black. This is an easy task and I am sure you would do it well. After you've done, let the ink dry. You should get something like this
STEP 8
Now it's the time to use scissors. In order to make it perfectly right, you might wanna draw some lines first as I did. But if you are expert in origami, you need not draw the lines. I drew the lines like this so that it would be easier for me to cut it
STEP 9, THE FINAL STEP
Now cut the paper along the lines. Be very careful at this part and do not mess it up. You could use a blade instead of a scissor as per your convenience. I used a scissor. So it should look something like this
IT LOOKS REALISTIC ONLY WHEN YOU LOOK IT BY A CERTAIN ANGLE. KEEP SEARCHING THE VIEW UNTIL YOUR DRAWING STARTS TO LOOK REALISTIC. AND ONCE YOU'VE FOUND IT, YOU'RE DONE..
I HAVE TAKEN THIS IDEA FROM A YOUTUBE CHANNEL NAMED PIN KORO. GO CHECK OUT HIS Channel. HE'S A GREAT ARTIST.
IF YOU ARE A FAN OF ART AND WISH TO SEE MORE ARTICLES LIKE THIS, PLEASE DO UPVOTE COMMENT AND RESTEEM. IT HELPS ME A LOT.
Now use a marker and blacken the shadow. Make it pure black. This is an easy task and I am sure you would do it well. After you've done, let the ink dry. You should get something like this
STEP 8
Now it's the time to use scissors. In order to make it perfectly right, you might wanna draw some lines first as I did. But if you are expert in origami, you need not draw the lines. I drew the lines like this so that it would be easier for me to cut it
STEP 9, THE FINAL STEP
Now cut the paper along the lines. Be very careful at this part and do not mess it up. You could use a blade instead of a scissor as per your convenience. I used a scissor. So it should look something like this
IT LOOKS REALISTIC ONLY WHEN YOU LOOK IT BY A CERTAIN ANGLE. KEEP SEARCHING THE VIEW UNTIL YOUR DRAWING STARTS TO LOOK REALISTIC. AND ONCE YOU'VE FOUND IT, YOU'RE DONE..
Cool! Looks like it would be fun to do with a group of kids like in kindergarten class or something :)
Yep it would be fun indeed