¡Hello Steemit Community!


For this Basic Guide, I want to explain through a drawing that I am doing, a practice that I had not applied before. This has the function of helping to locate the objects in space, by this I mean that thanks to this grid we can make our drawing with more accuracy.
Before applying this method, I had mishaps in terms of accurately locating the objects in the drawing, I had good execution with the shadows but I still needed to know the proportions. This is the second time that I apply this grid, it has worked perfectly and improved the quality of the drawing, the neatness and must of all the proportion that I was looking for. I understand that this is taught in drawing courses, I had not knowledge of this, so I want to share this basic guide where I explain how I do the grid. My second intention of this drawing is that, for being a free practice person, I had some errors that I will show you later.
The first thing we have to take into account is that the initial draft is very important if we want a perfect drawing, when we start to draw, we do not know this problem and give more importance to the shadows, and yes, they are really the key to realism, but thanks to the draft we can provide our drawing correctly, this grid set to the shadow game will create this realism that we are looking for so much.

To start this sample, I selected an image and I printed it in a way that occupies the whole sheet. I recommend to print the image and have the reference to our reach, then we can create the grid from our phone or computer (I'll explain it later).
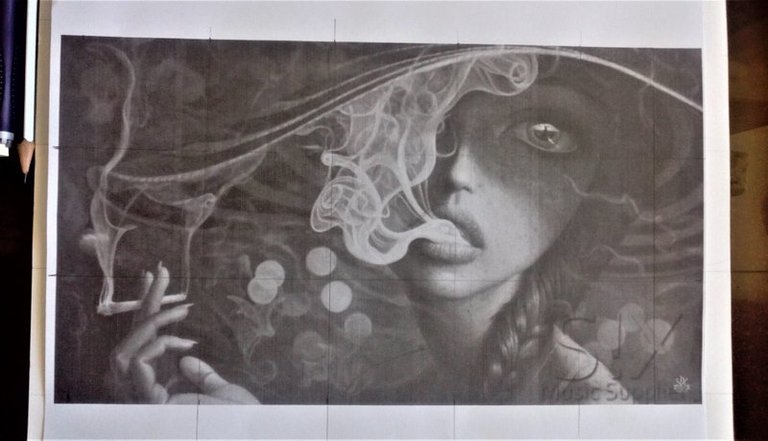
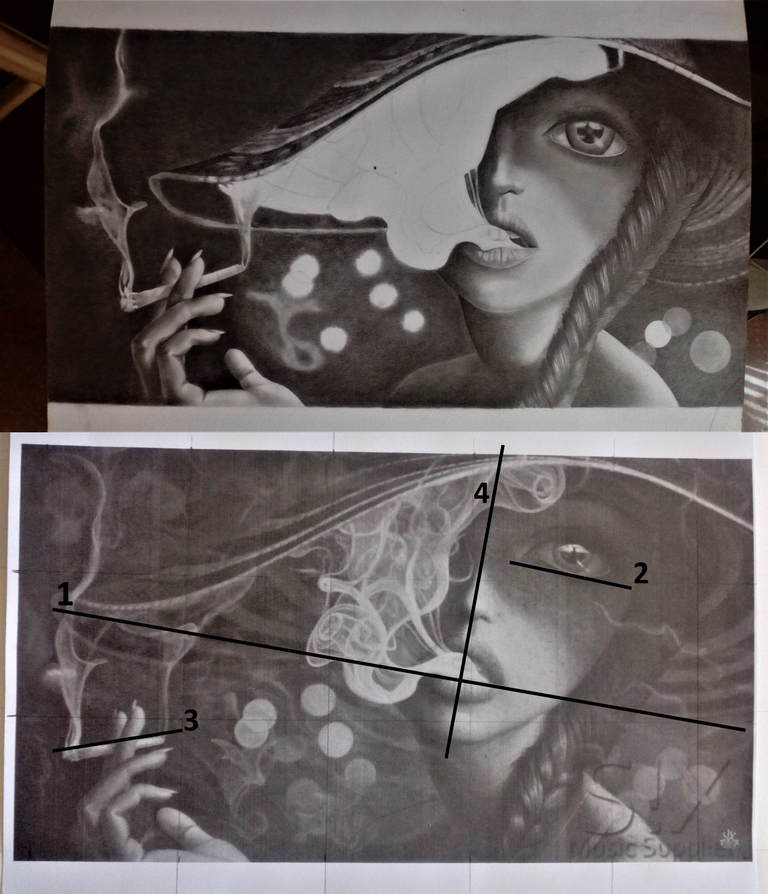
After we have our printed image we must decide what type of grid we want, it can be any measure such as 5x5 or 6x6, the smaller the grid the better, because you can place more accurately all the elements on the paper. As we use this type of grid, we will be able to enlarge it, I have seen artists who only create a central line and a transversal one creating a cross section (the main idea in order to reach this level).
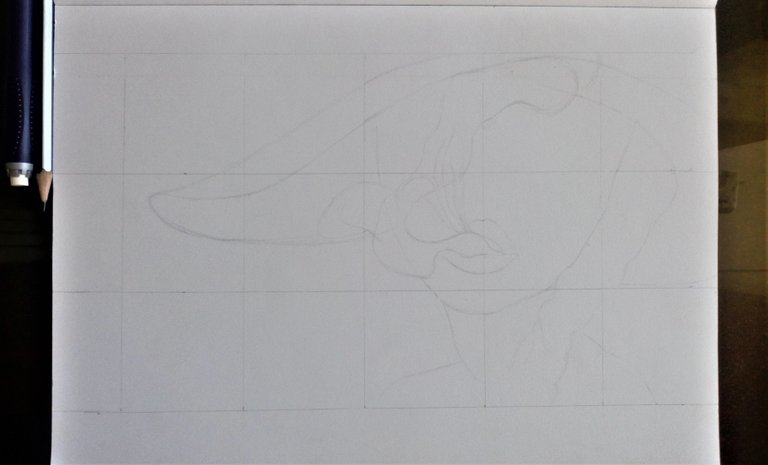

Having into account that the lines should be drawn gently so that when we use the draft, don't mistreat the sheet and also of course, that they do not interfere when we are making the drawing.
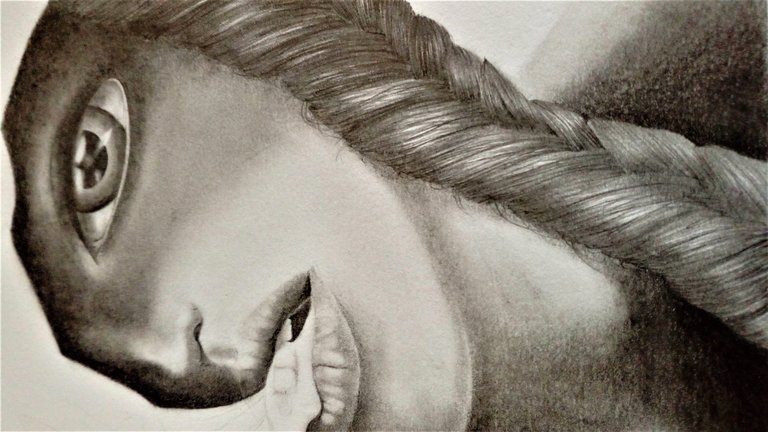
We mark the most important features of the object or person that we want to draw, the small details are made as you are doing the drawing, it is a way to do it so that the drawing is much more neat.
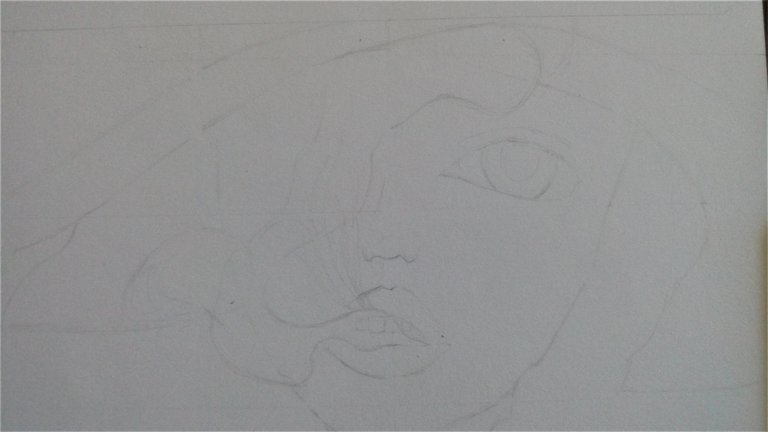
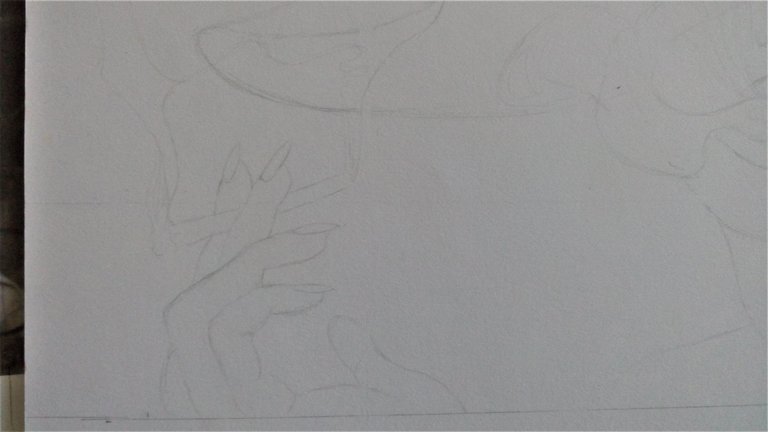
Then delete all the lines of the grid, leaving just our draft. This step is optional since you can choose to erase the lines where there are blank spaces and then shade over these lines, that's why the importance of making the lines quite clear.
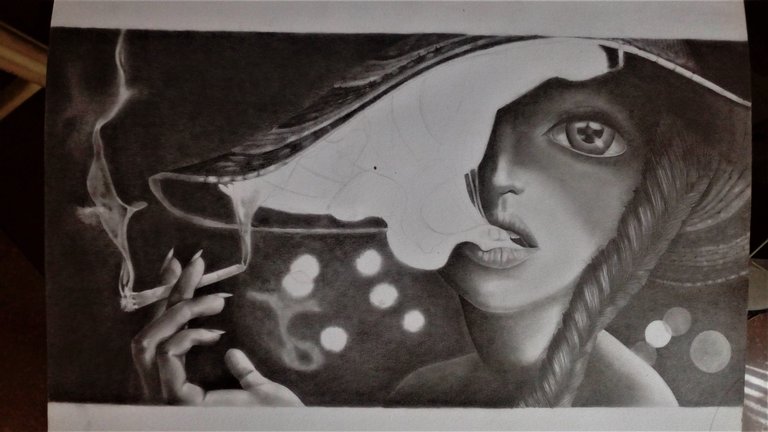
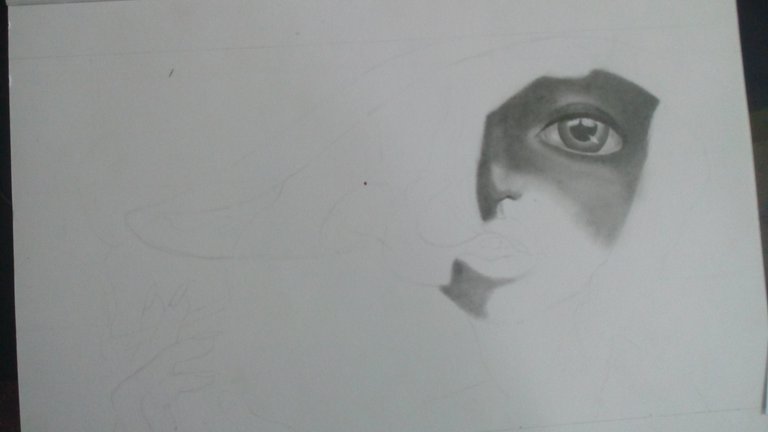
Now we are ready to start the shading of our drawing.

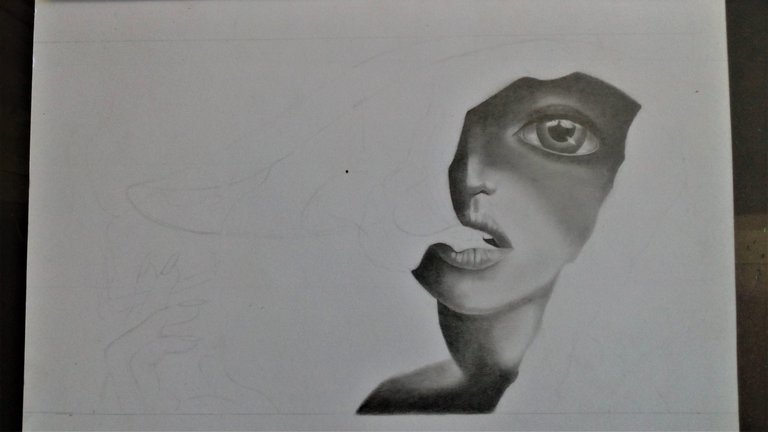


I think that without the use of the grid I could not be able to get the similarity that I was looking for, it is much improved in terms of proportion and use of space.

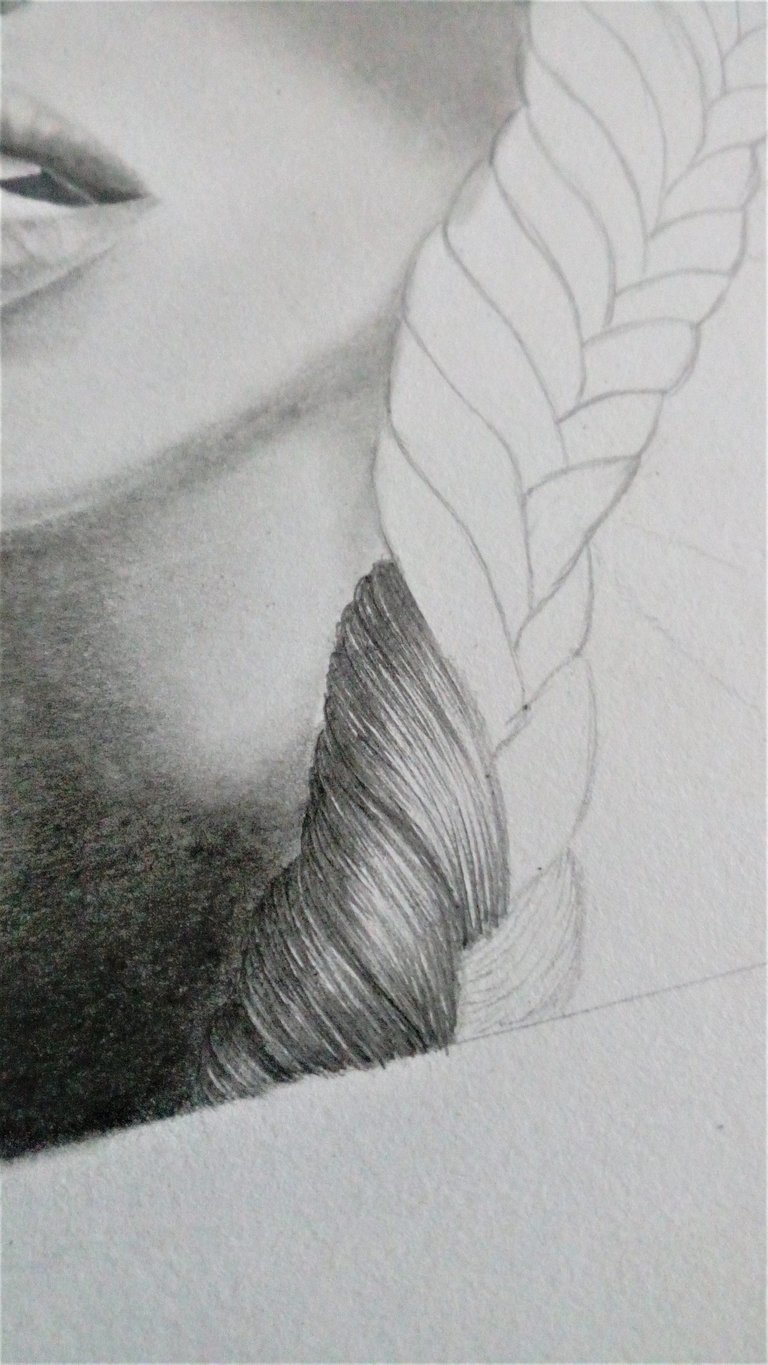
All these mistakes that I made, were for not reviewing both the angles and the dimensions of the objects, this gives us a big difference between the reference and the drawing. Those details that at first glance when we have the draft do not notice, are the ones that when we apply the shadows, it will be noticed "from here to Beijing" that they are big errors. But there is no reason to be sad, to make mistakes is a human thing. This shows us that little by little as we are using the grid we can have the opportunity to be more meticulous with our initial sketch and of course the importance of the observation and patience we must have at the time of doing a drawing.
Drawing is an art that anyone can learn, with constant practice and dedication.

Now, if we can not print the reference image for any reason, we can use our computer or telephone to create this grid.
Before explaining, I will clarify that when I do it in this way I do not apply measures as such. But it is still a very good way to guide our first strokes.
To make the grid, I overlay on the screen of the phone or laptop a piece of transparent paper that covers everything to avoid staining. With the help of a thin tip marker, I start drawing a line in the middle of the screen and from there I display the grid, if you feel insecure doing the grid to the eye, you can measure the space between each frame in order to have better accuracy. We have to take into account the format of the paper, we make the same grid that we made on the screen to our blank sheet and then we begin to do our first strokes.
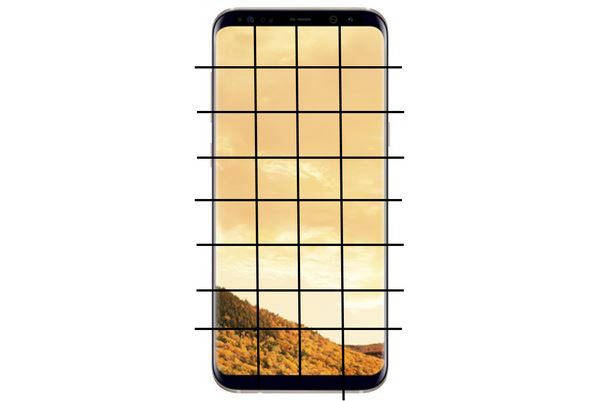
It is very important to fix the transparent paper with a piece of adhesive tape to prevent it from moving, otherwise it would change the reference of the objects.

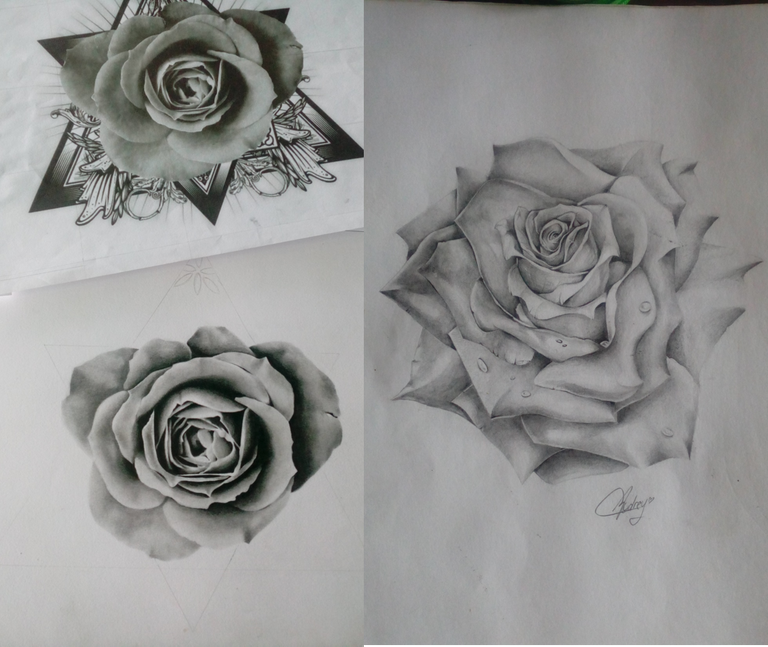
Finally I want to show you an example of a rose that I did without any guides and another one with the use of the grid. Although the two roses are at different angles, you can appreciate the difference given by the guide lines when we do a drawing, We must take into account that between drawings i had learned another shadow technique.
We conclude this Basic Guide to Drawing # 3, my intention is to teach you the basics concepts for a successful drawing, I will appreciate if you pass this information in such a way that will help many people that are interested to learn a simply way to get a better draw.
Once again, thanks for reading, it has been a pleasure to write to you this guide, thanks.
¡Until a next Drawing Guide!
"The artist is nothing without a gift, but the gift is nothing without work." - Émile Zola