If you are an artist and want to show your work and sell it at art galleries or through your local art guild, many require you to present your work in frames for display. That can get very expensive since framing even a small painting can cost over a hundred dollars. Even if you are only painting for family and friends, it is nice to give someone a gift of art that doesn’t end up costing the recipient a bunch of money.
I have been a woodworker for a number of years so I already had the tools I needed to build nice shadow box frames for my paintings. I also had a pile of scrap strips of cherry, mahogany, walnut and other nice hardwoods that I have had leftover from past projects. So this project really just cost me some time. Your local lumberyard will often have a scrap bin where they sell small boards perfect for framing for a buck or two per board.
To do this project, it is easiest if you have the following tools and supplies:
- Miter saw (small one costs a little over $100 USD)
- framing vise ($15 USD)
- carpenters glue ($3 USD)
- black spray paint ($2 USD)
- blue painters tape ($2 USD)
- picture hanging hardware ($3 USD)
- plywood or other cheap wood for the inner frame ($5 USD)
- hardwood pieces for the outer frame ($5-$20 USD depending on the type of wood)
So for the price of one custom frame, you can have everything you need to build all the frames you need.
Step 1 - Build the Inner Frame
First you will need to build the inner frame that the painting will be attached to. It will be one eighth inch larger than than painting on all sides so for the 16”x20” canvas in the example, the inner frame should be 16 1/4” by 20 1/4”. I used scrap 2 inch strips of plywood to build the inner frame. These were leftovers from a previous shelving project.
To get a frame with the dimensions of 20 1/4” by 16 1/4” I cut four 16 1/4” lengths of the 2” plywood strips and glued and screwed them together.
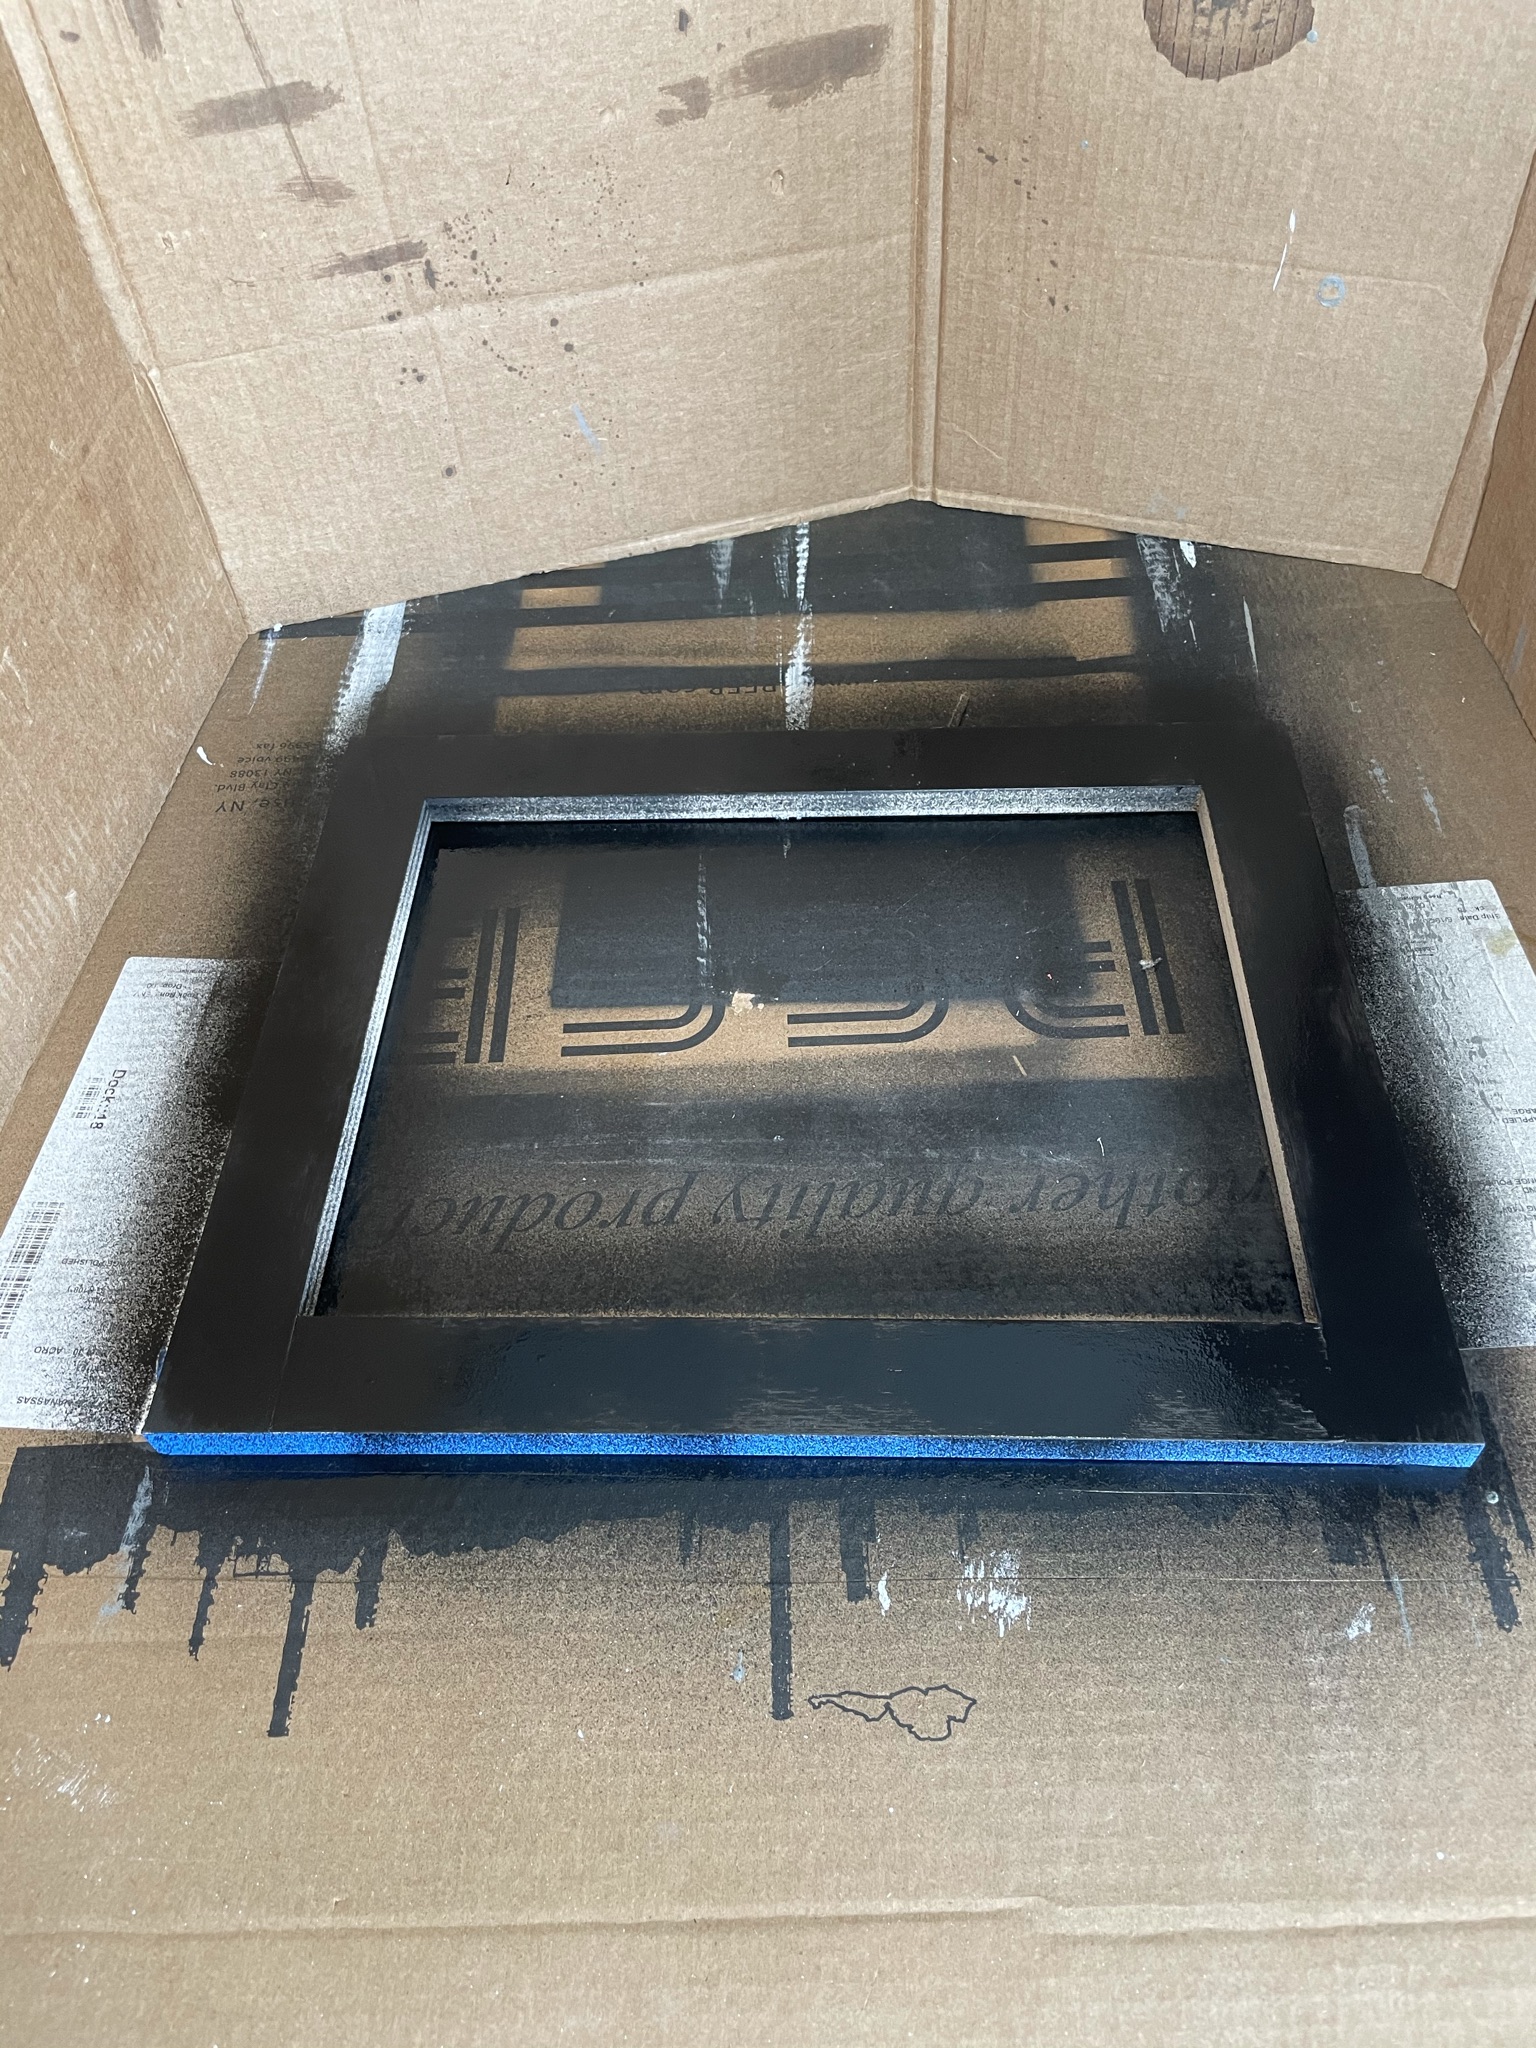
Step 2 - Paint the inner frame
I tape the outside edges of the inner frame with painters tape to keep the paint off the wood. You’ll later glue the outer frame pieces to these edges and the glue is stronger on unpainted wood.

I then spray paint the front of the frame with black paint. I’ve used flat black and gloss black, whatever I’ve had in the cabinet. Only an eighth inch of this black will show so the quality of the paint doesn’t really matter.
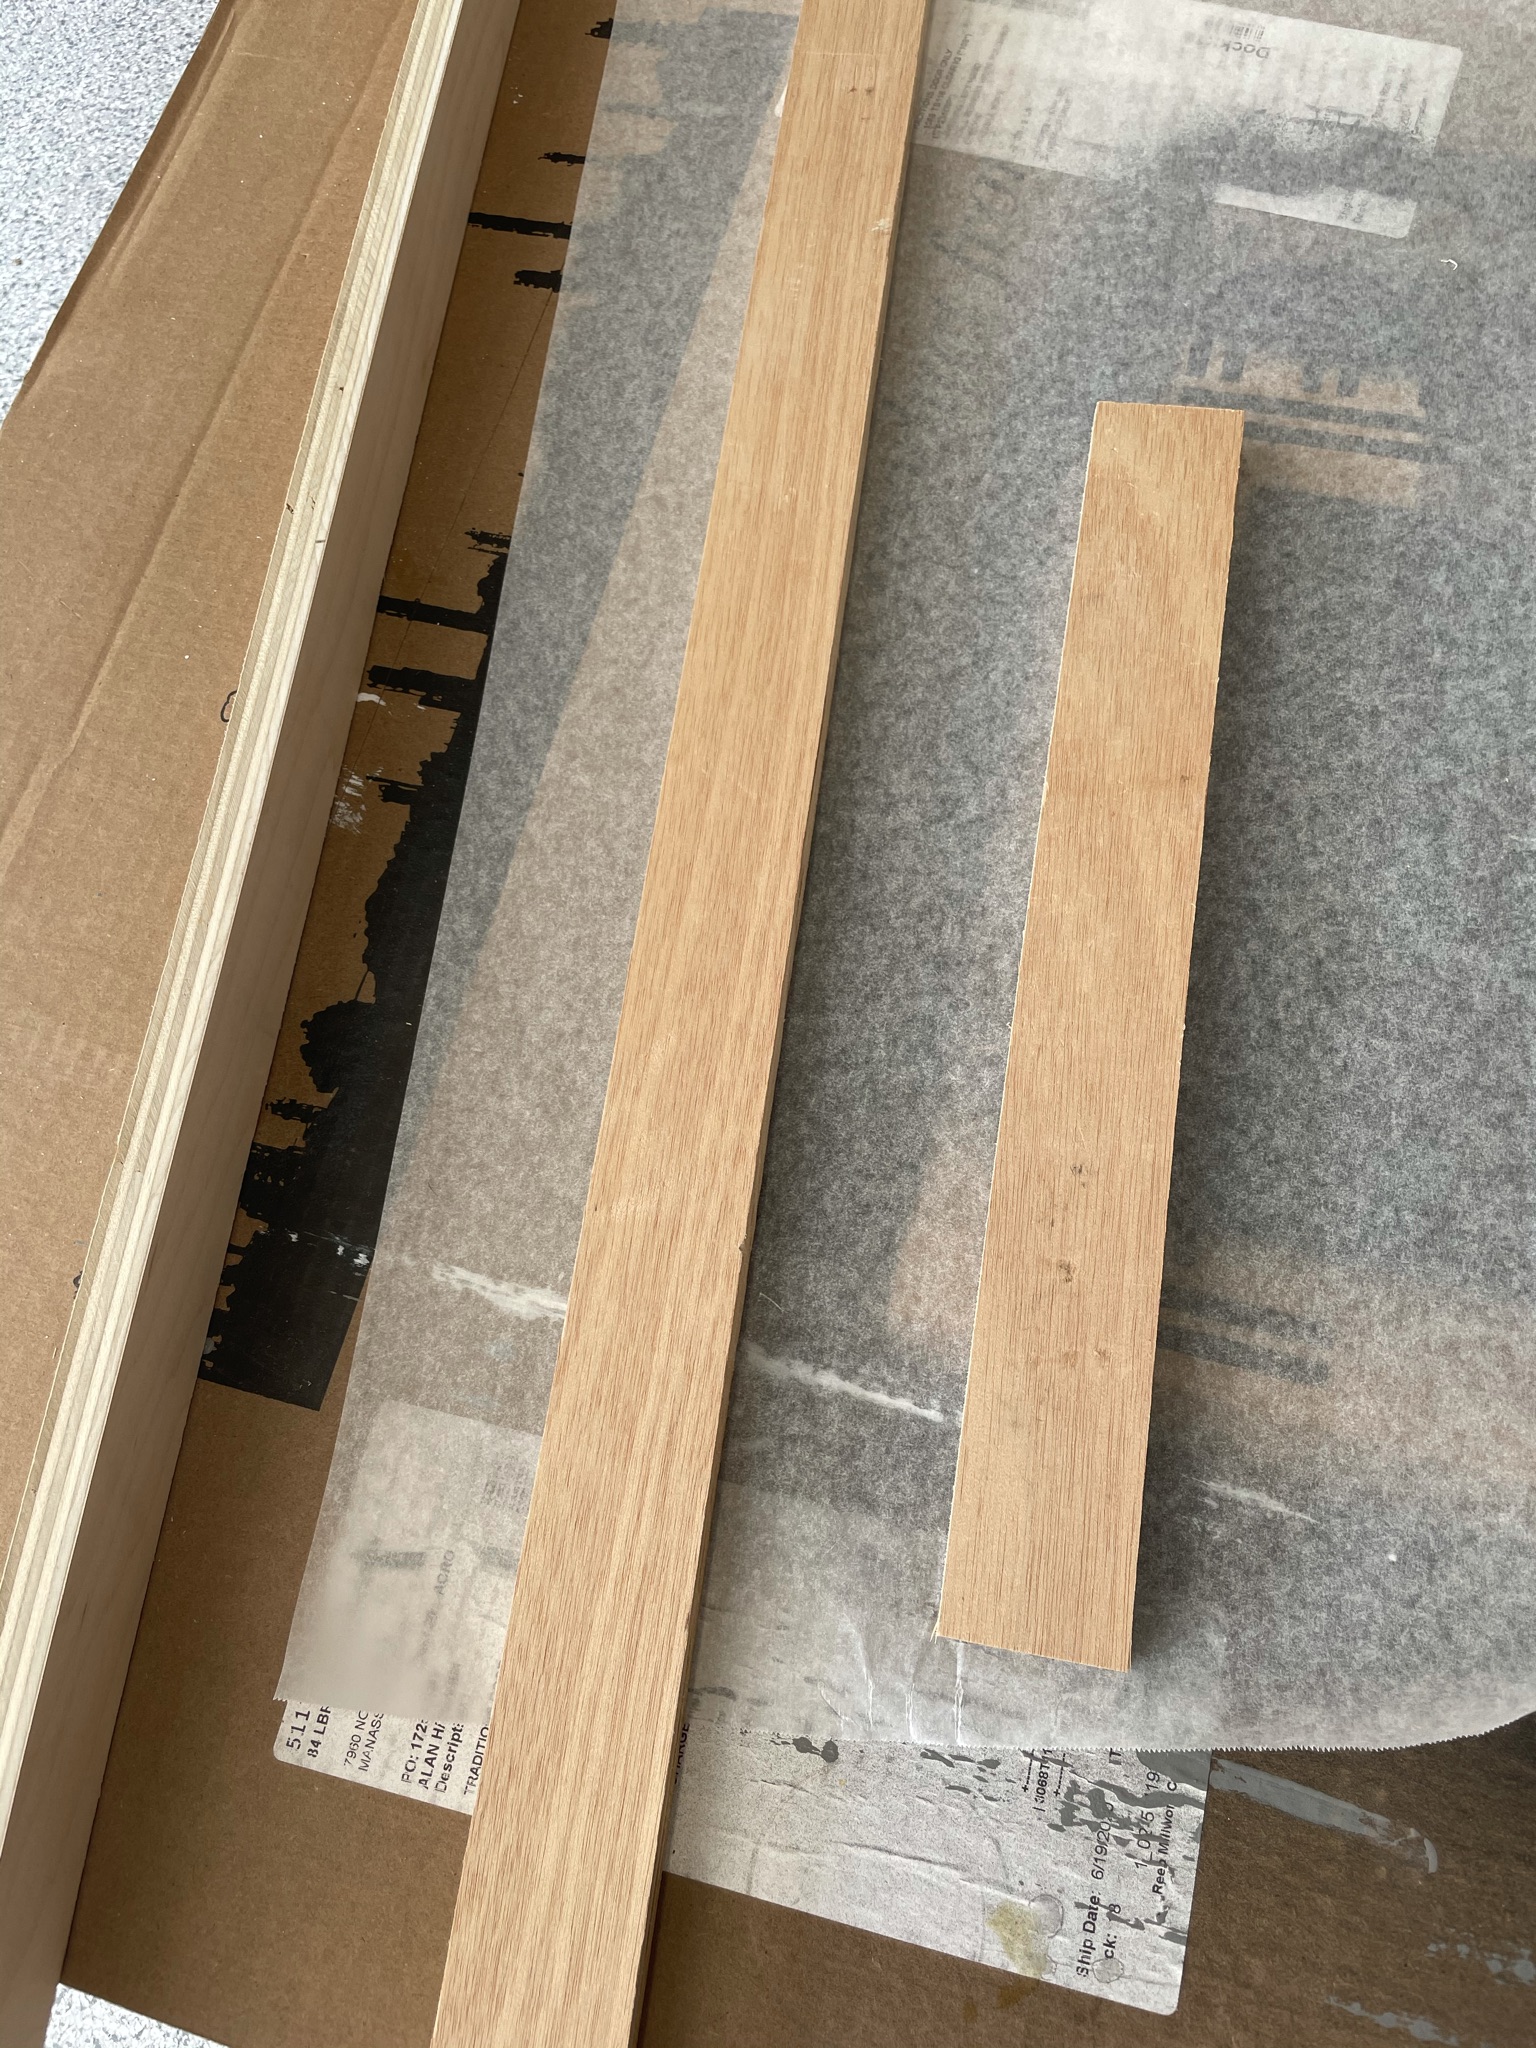
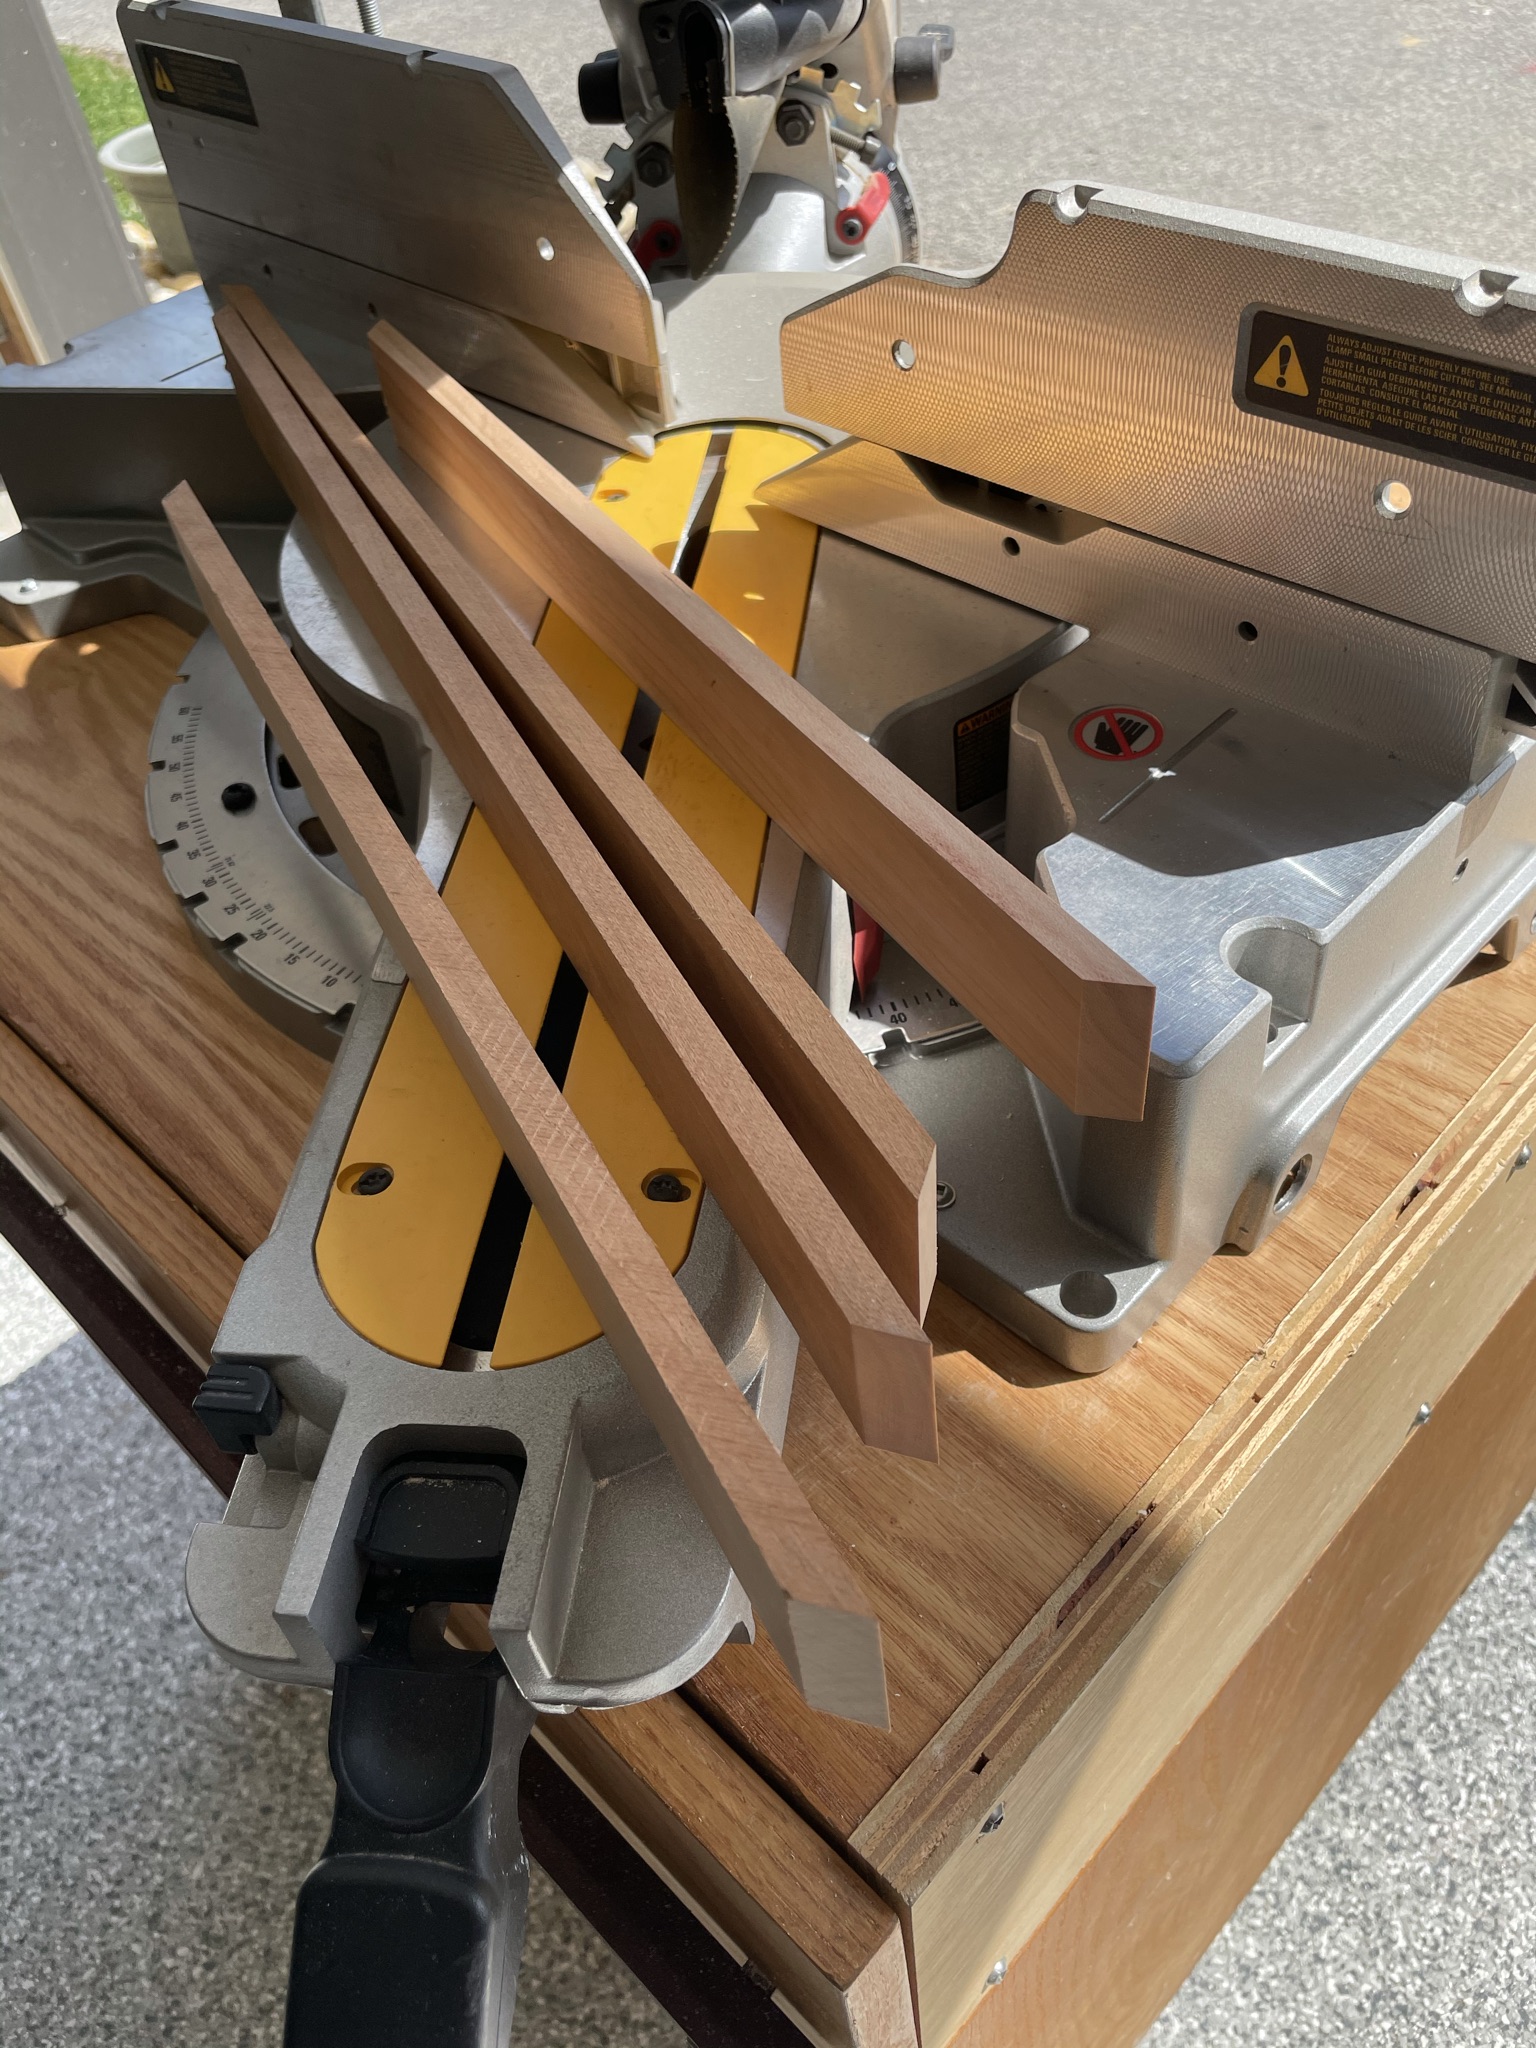
Step 3 - Cut the outer frame
Cut the 45 degree mitred corners for the outer frame pieces. I cut each side piece a hair long and then shave it off until it fits the side of the inner frame exactly. This is a crucial step to ensure the frame looks professionally done. If you are off, the corners won’t match up exactly when you glue all four pieces on to the inner frame. Take your time.
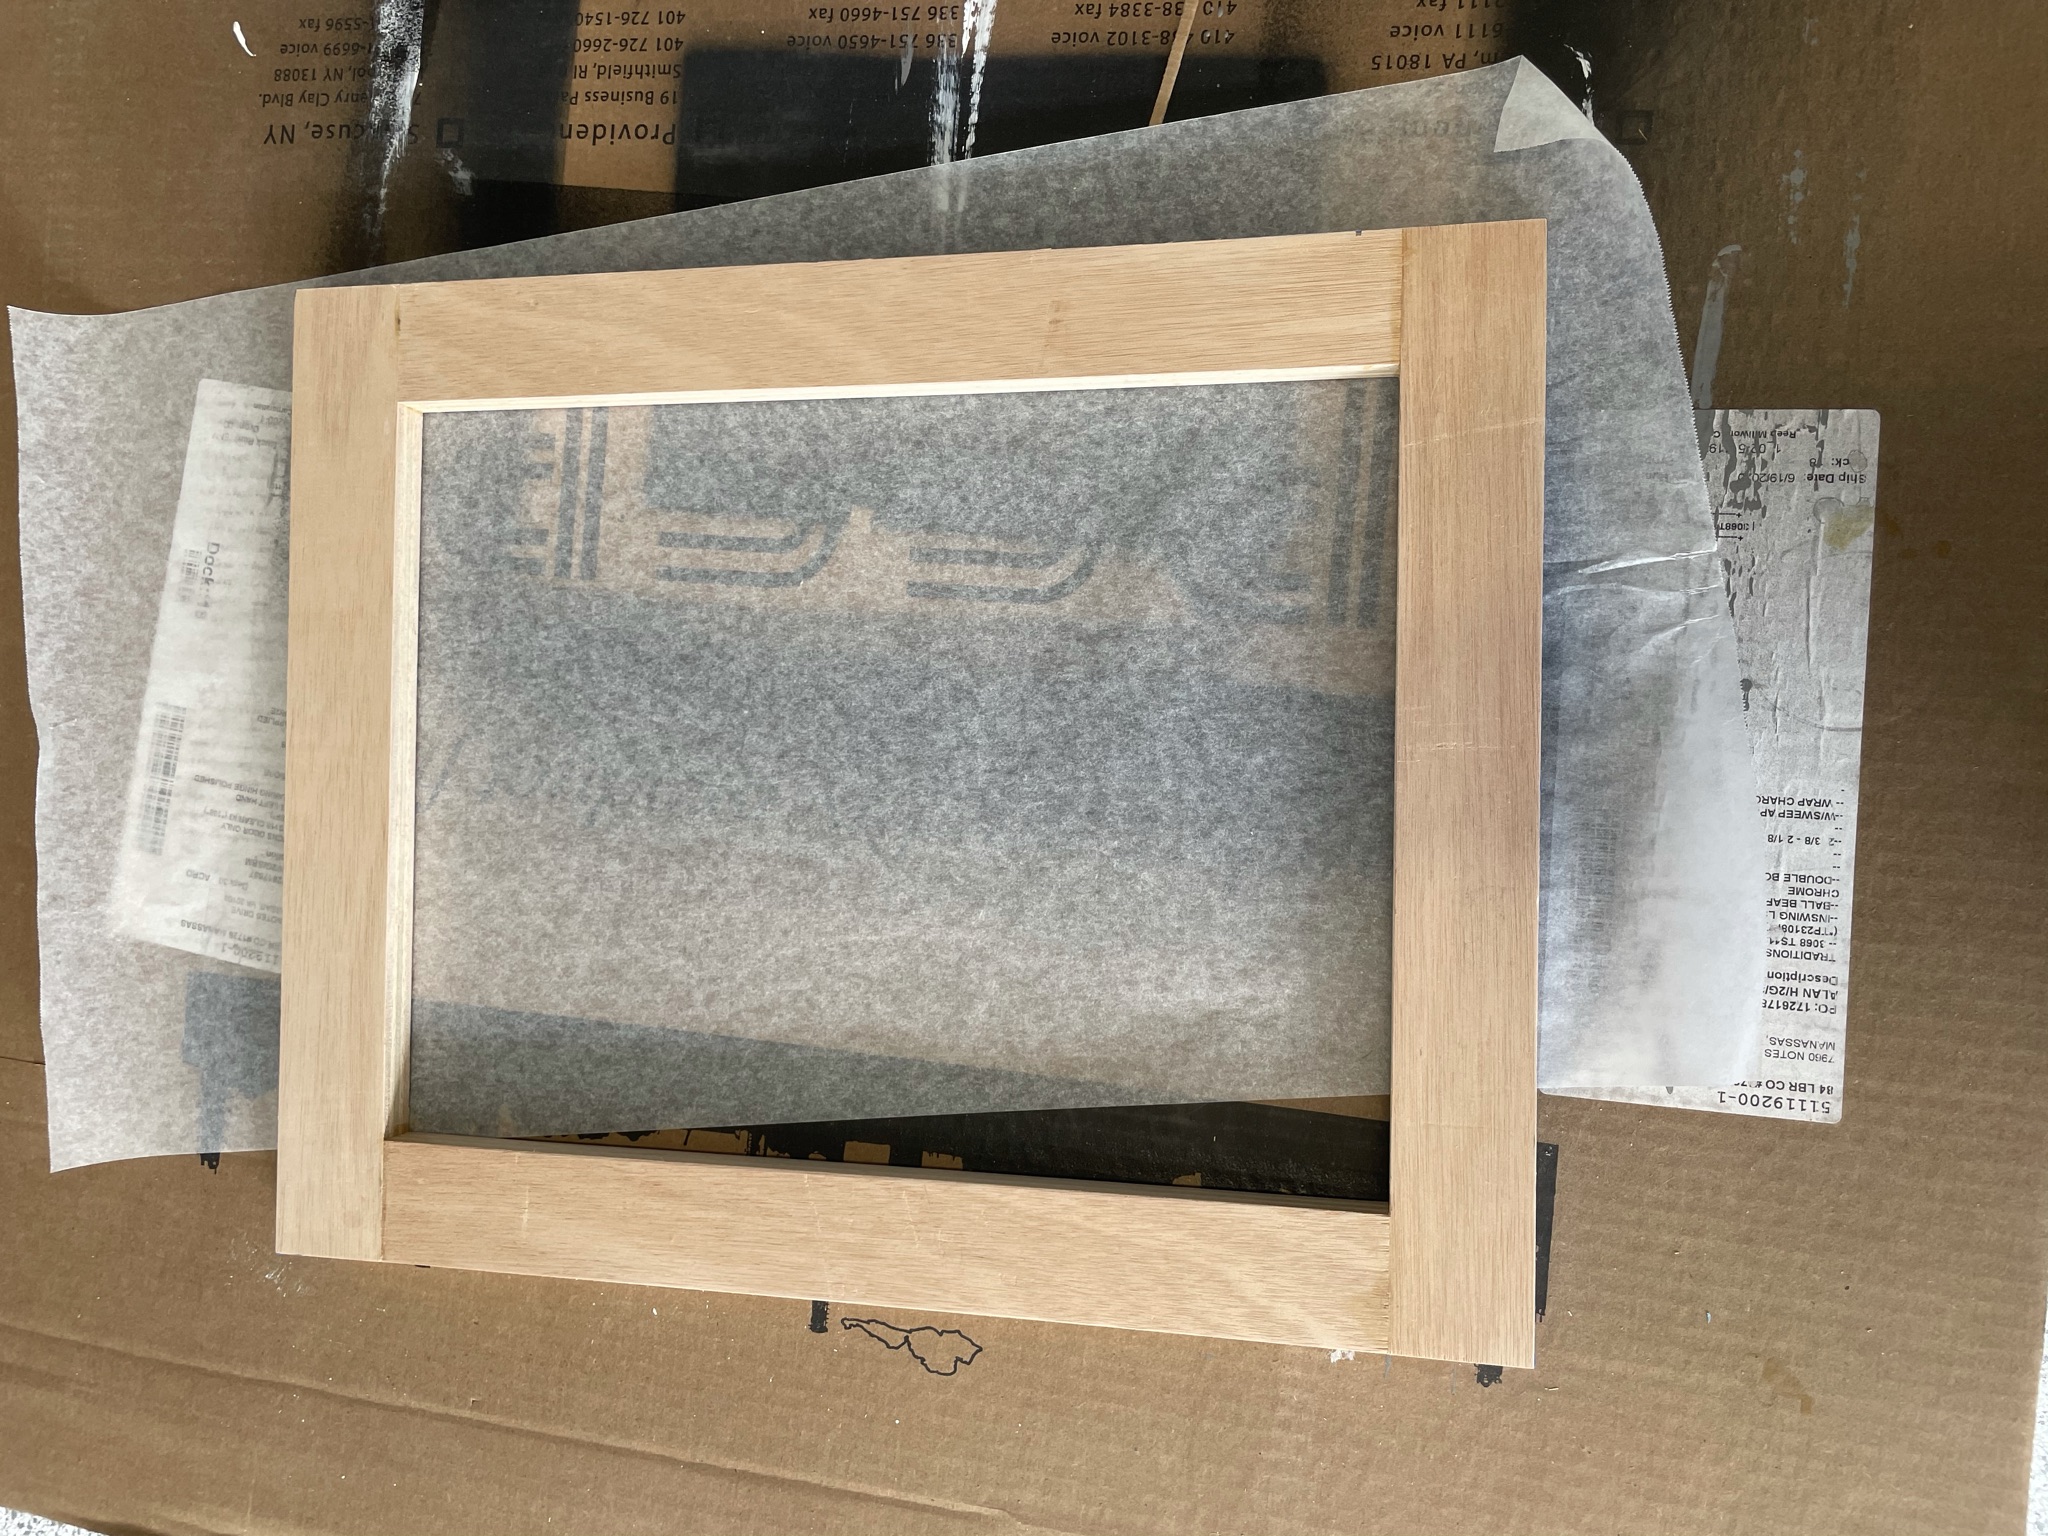
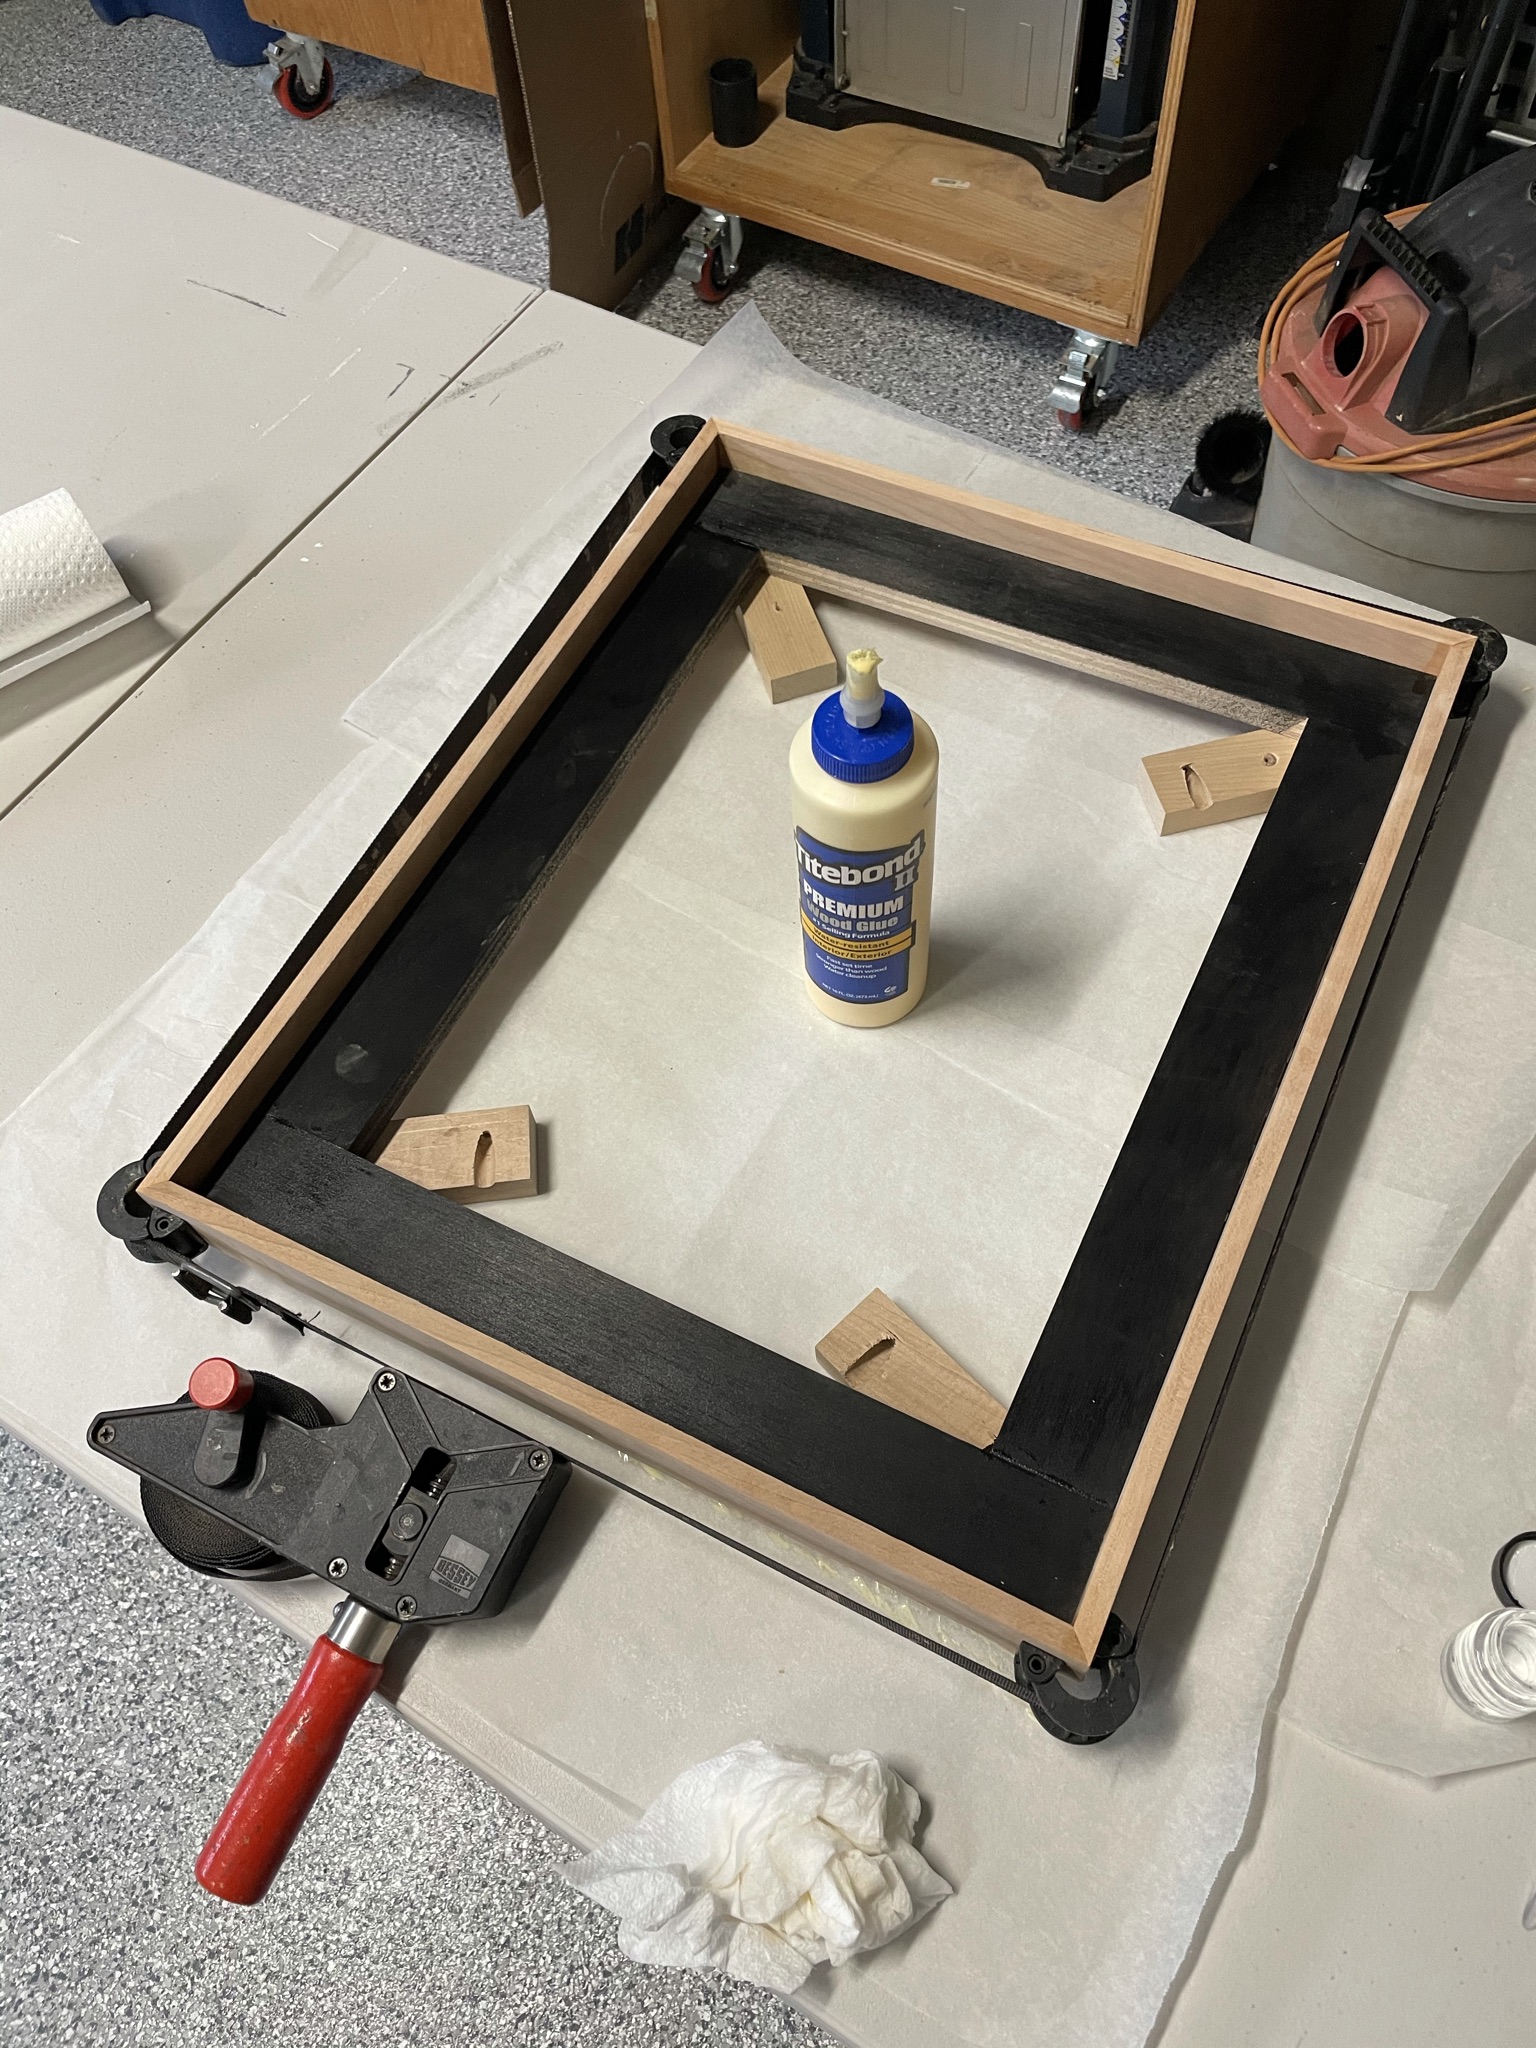
Step 4 - Glue the outer frame to the inner frame
Now it’s time to take the four mitred outer frame pieces and glue them to the sides of the inner frame. I have a strap vise that you can get on Amazon for $15 that makes this glue up pretty easy.
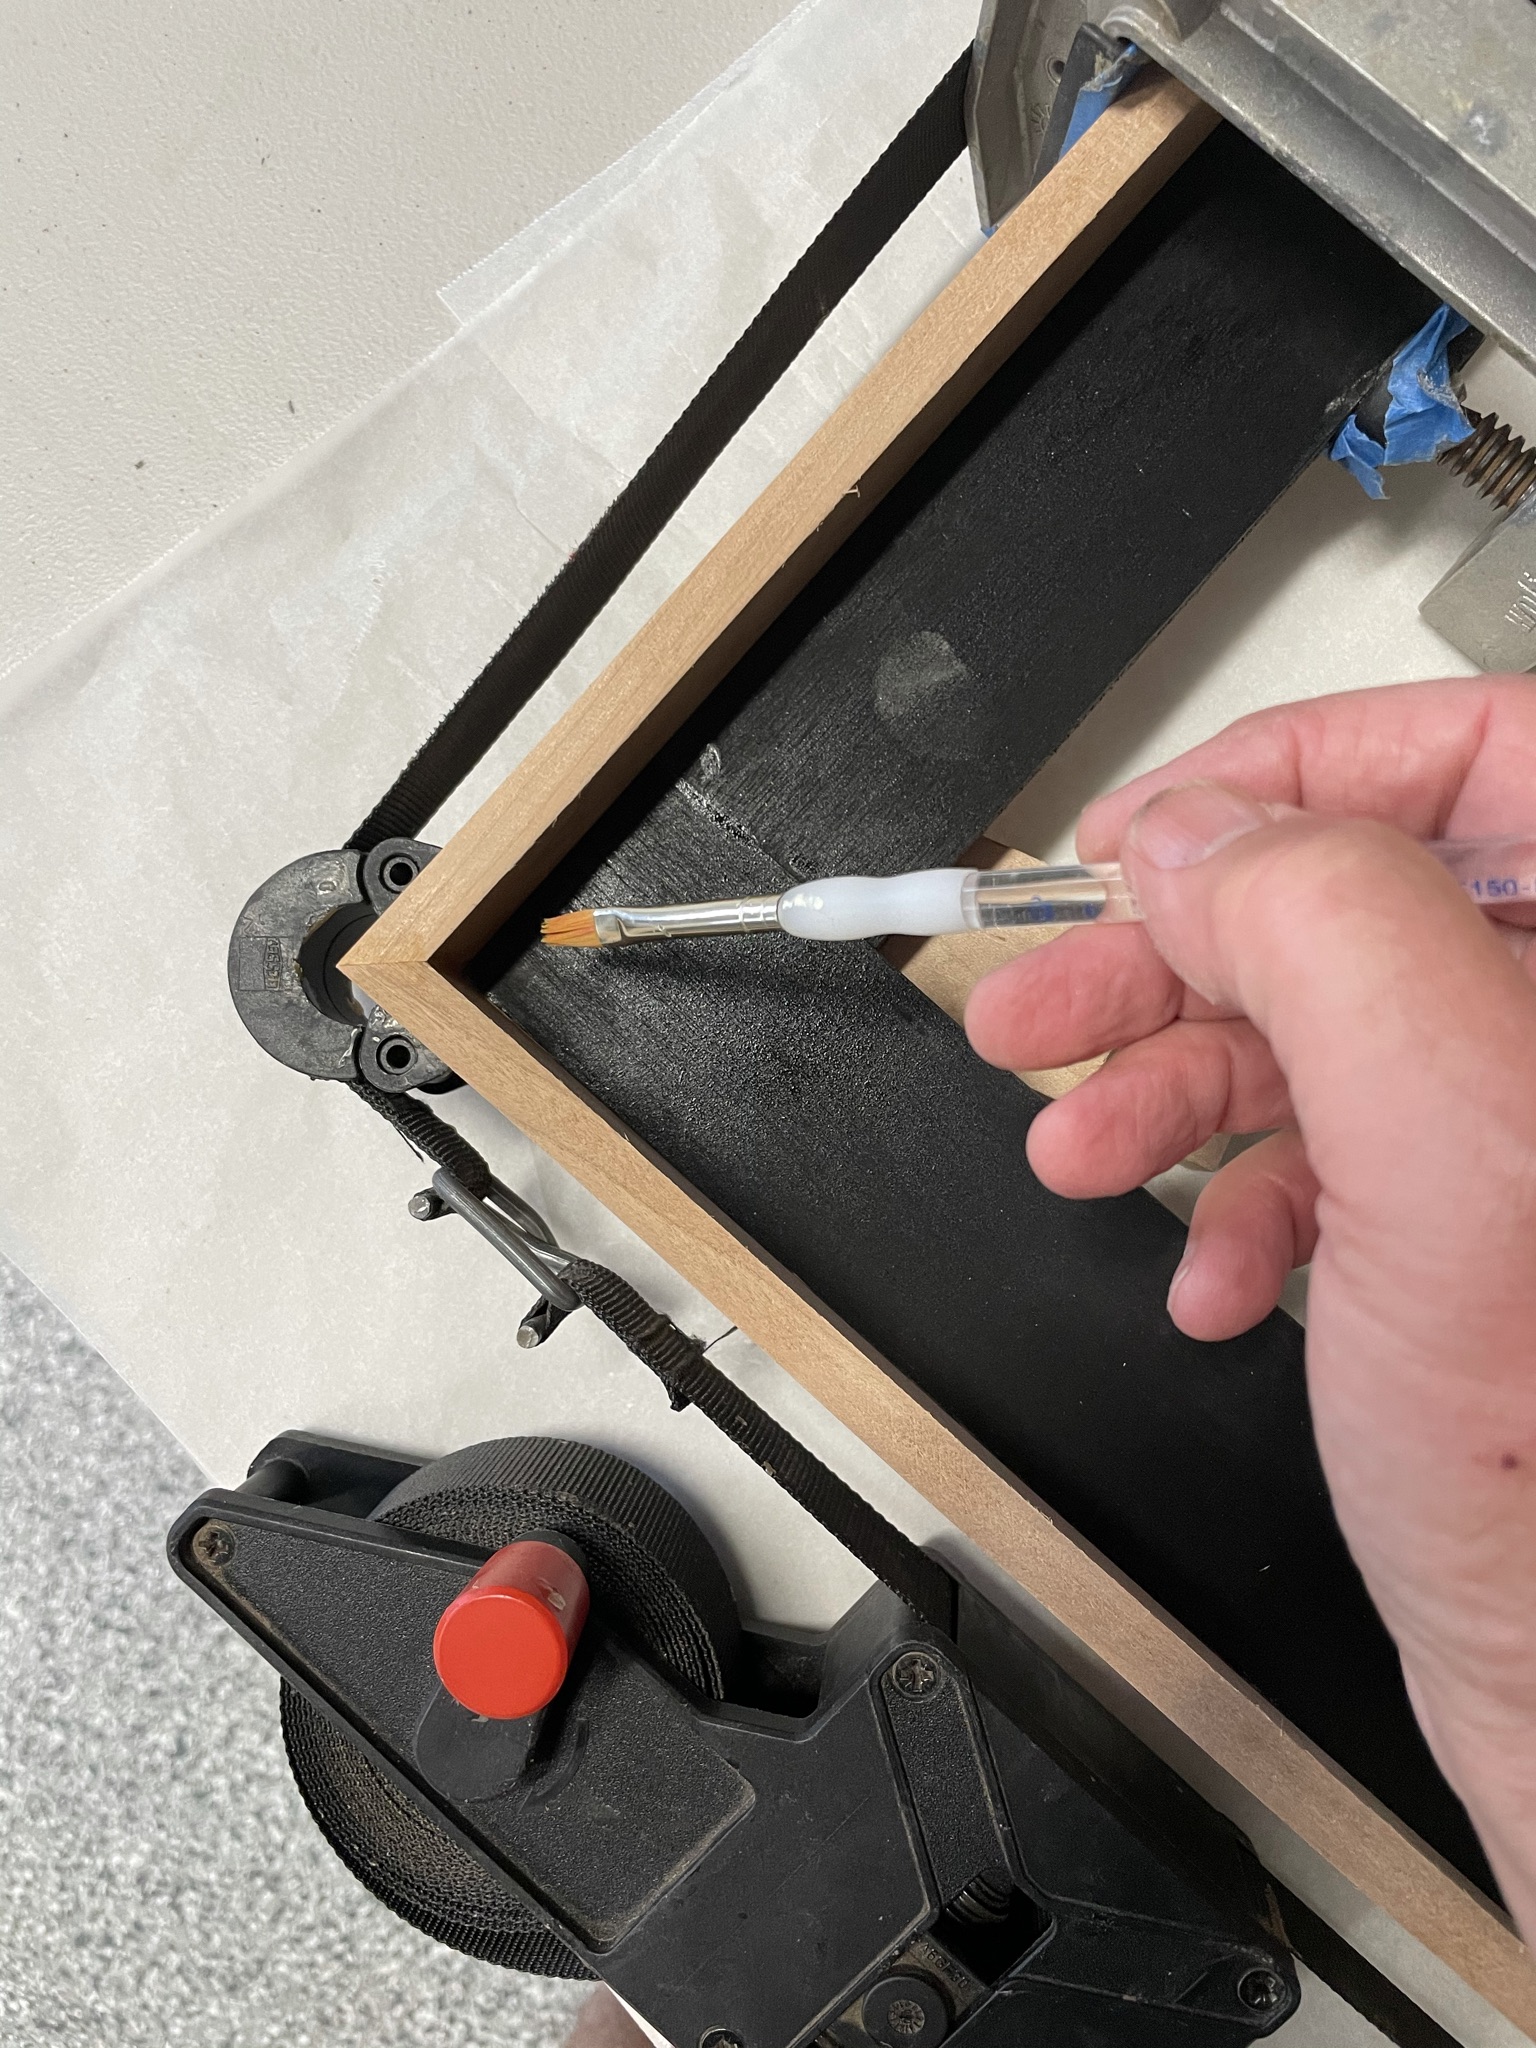
I use an old paint brush and some water to clean the squeezed out glue from the inside corners and anywhere else. Cleaning immediately will make sanding much easier later when the glue dries.
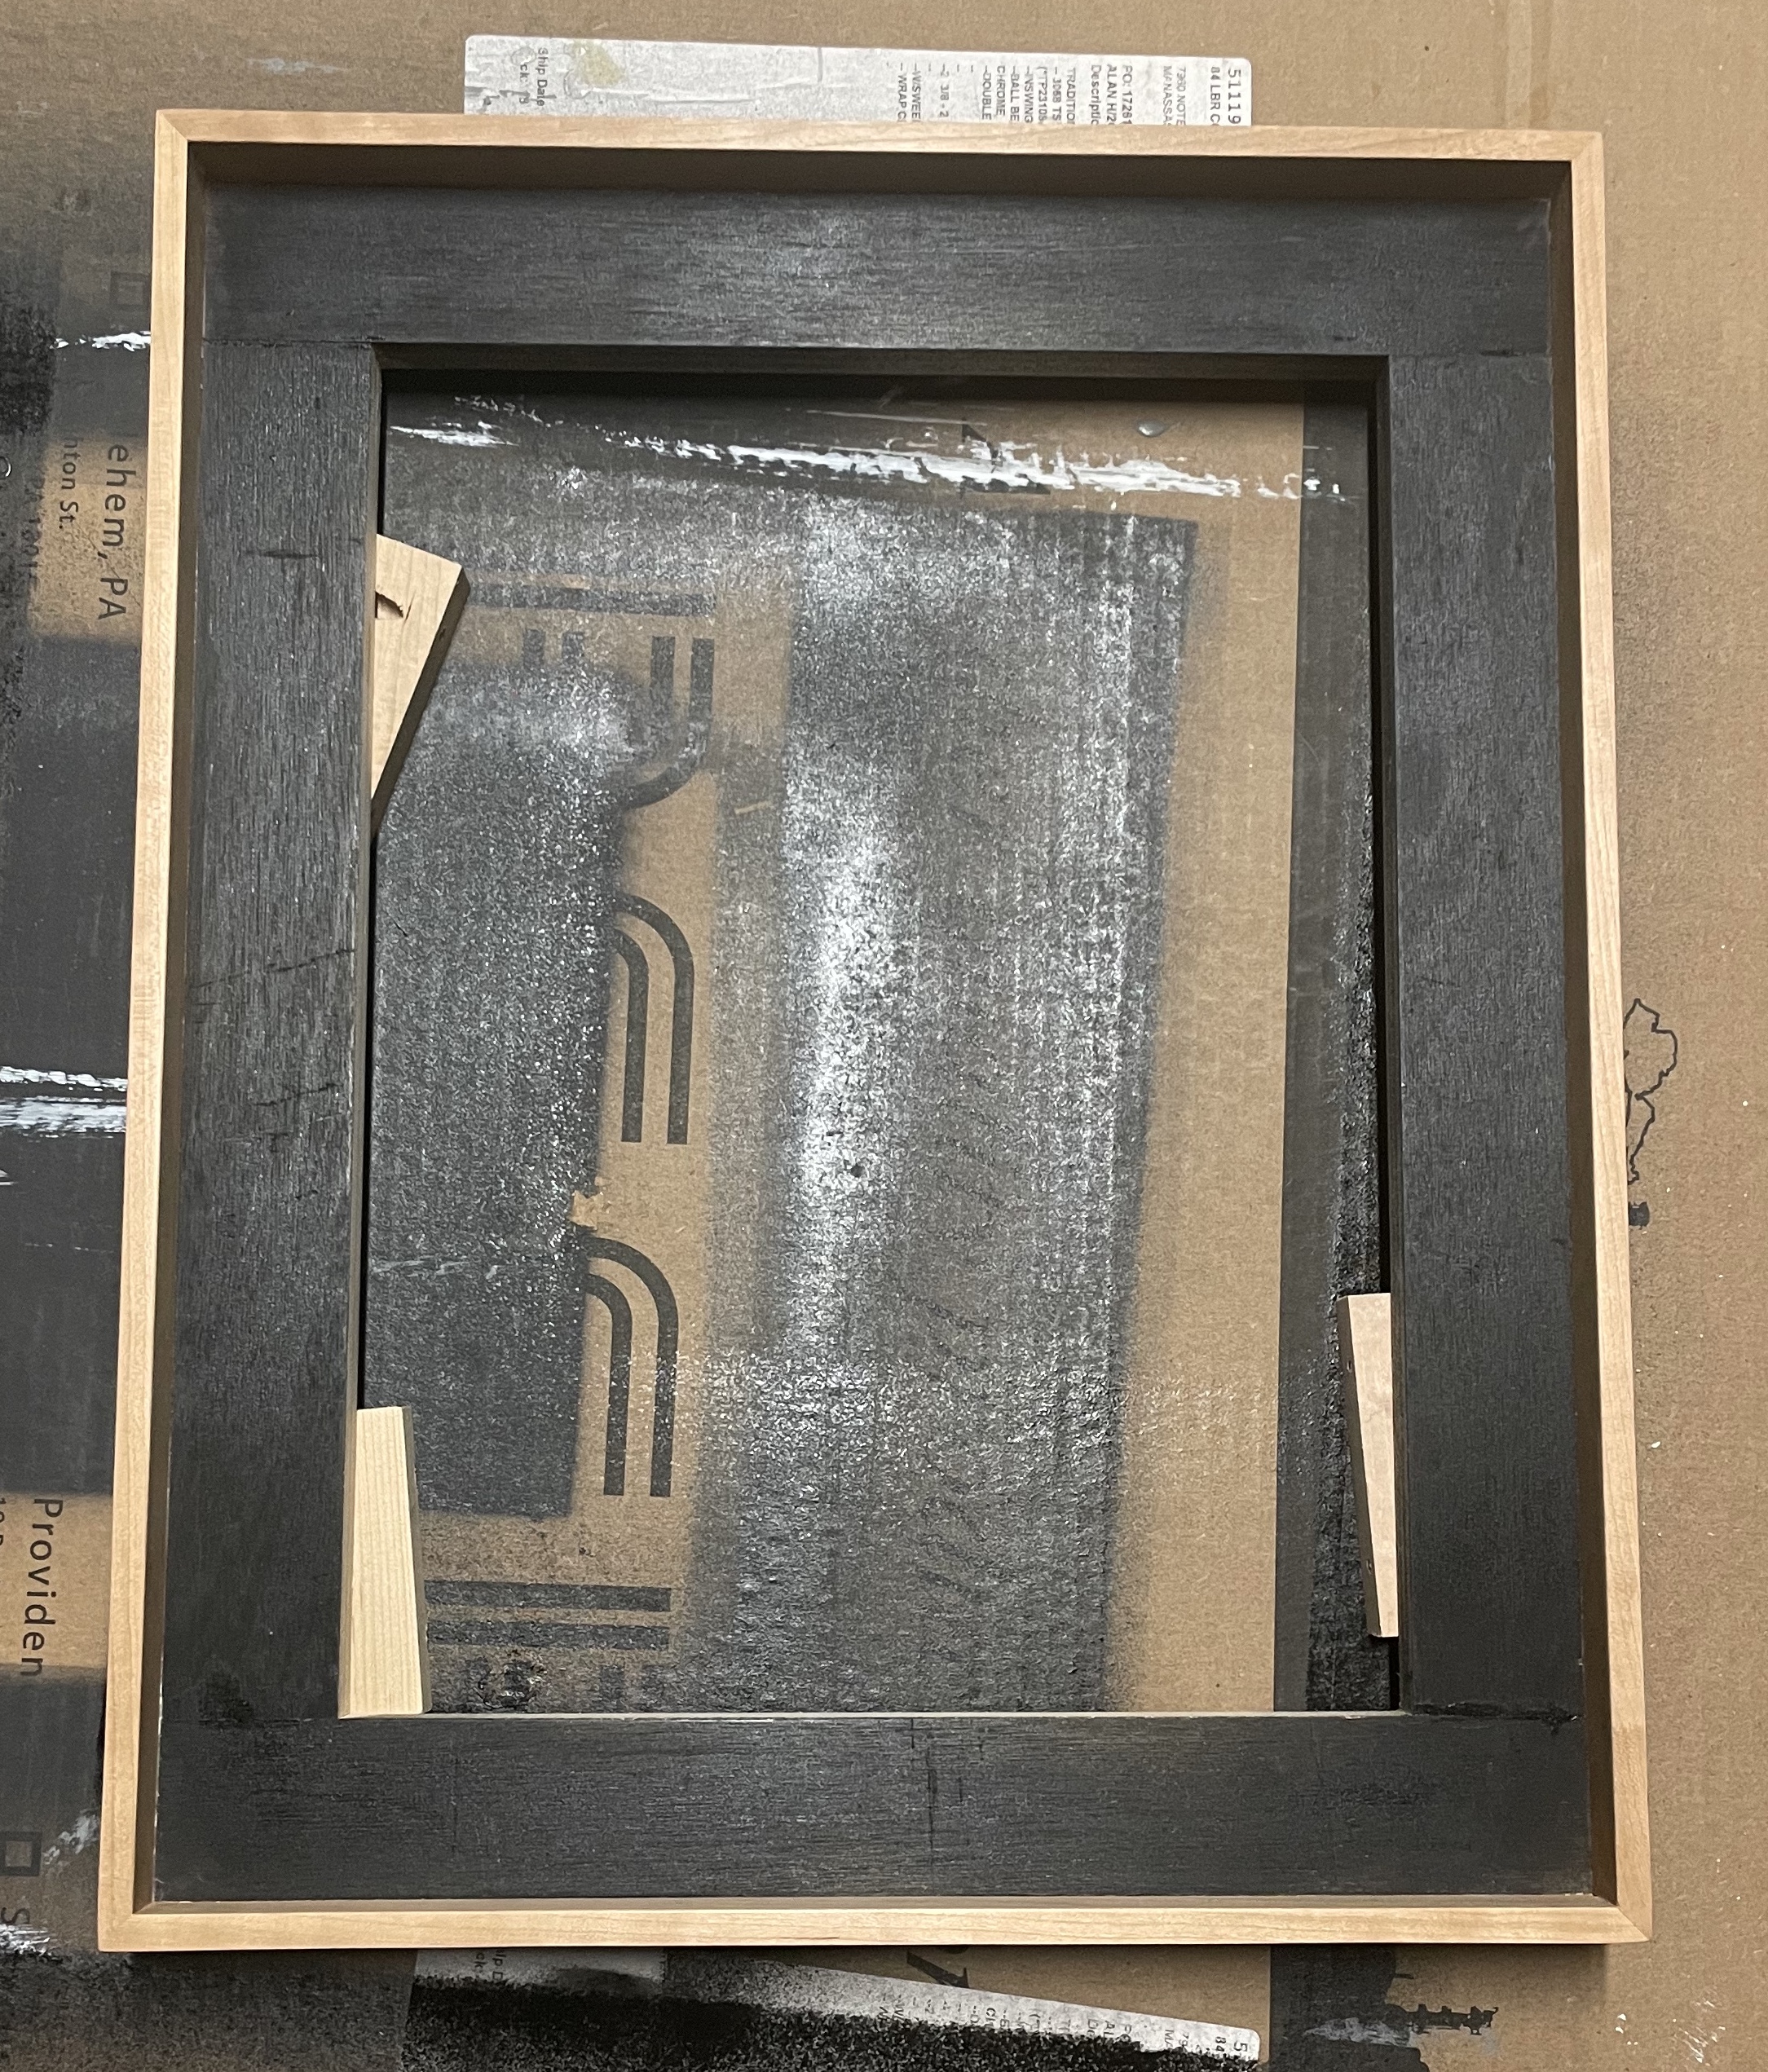
Step 6 - Sanding and finishing
I let the glue dry overnight and then sand the outer frame with 150, 220, and the 320 grit sandpaper. I vacuum and brush off the entire frame and then wipe it down with a cloth rag, being careful not to snag the cloth on the wood corners. I then tape the black sections on the inner frame and put three coats of hand rubbed polyurethane finish on the outer frame.
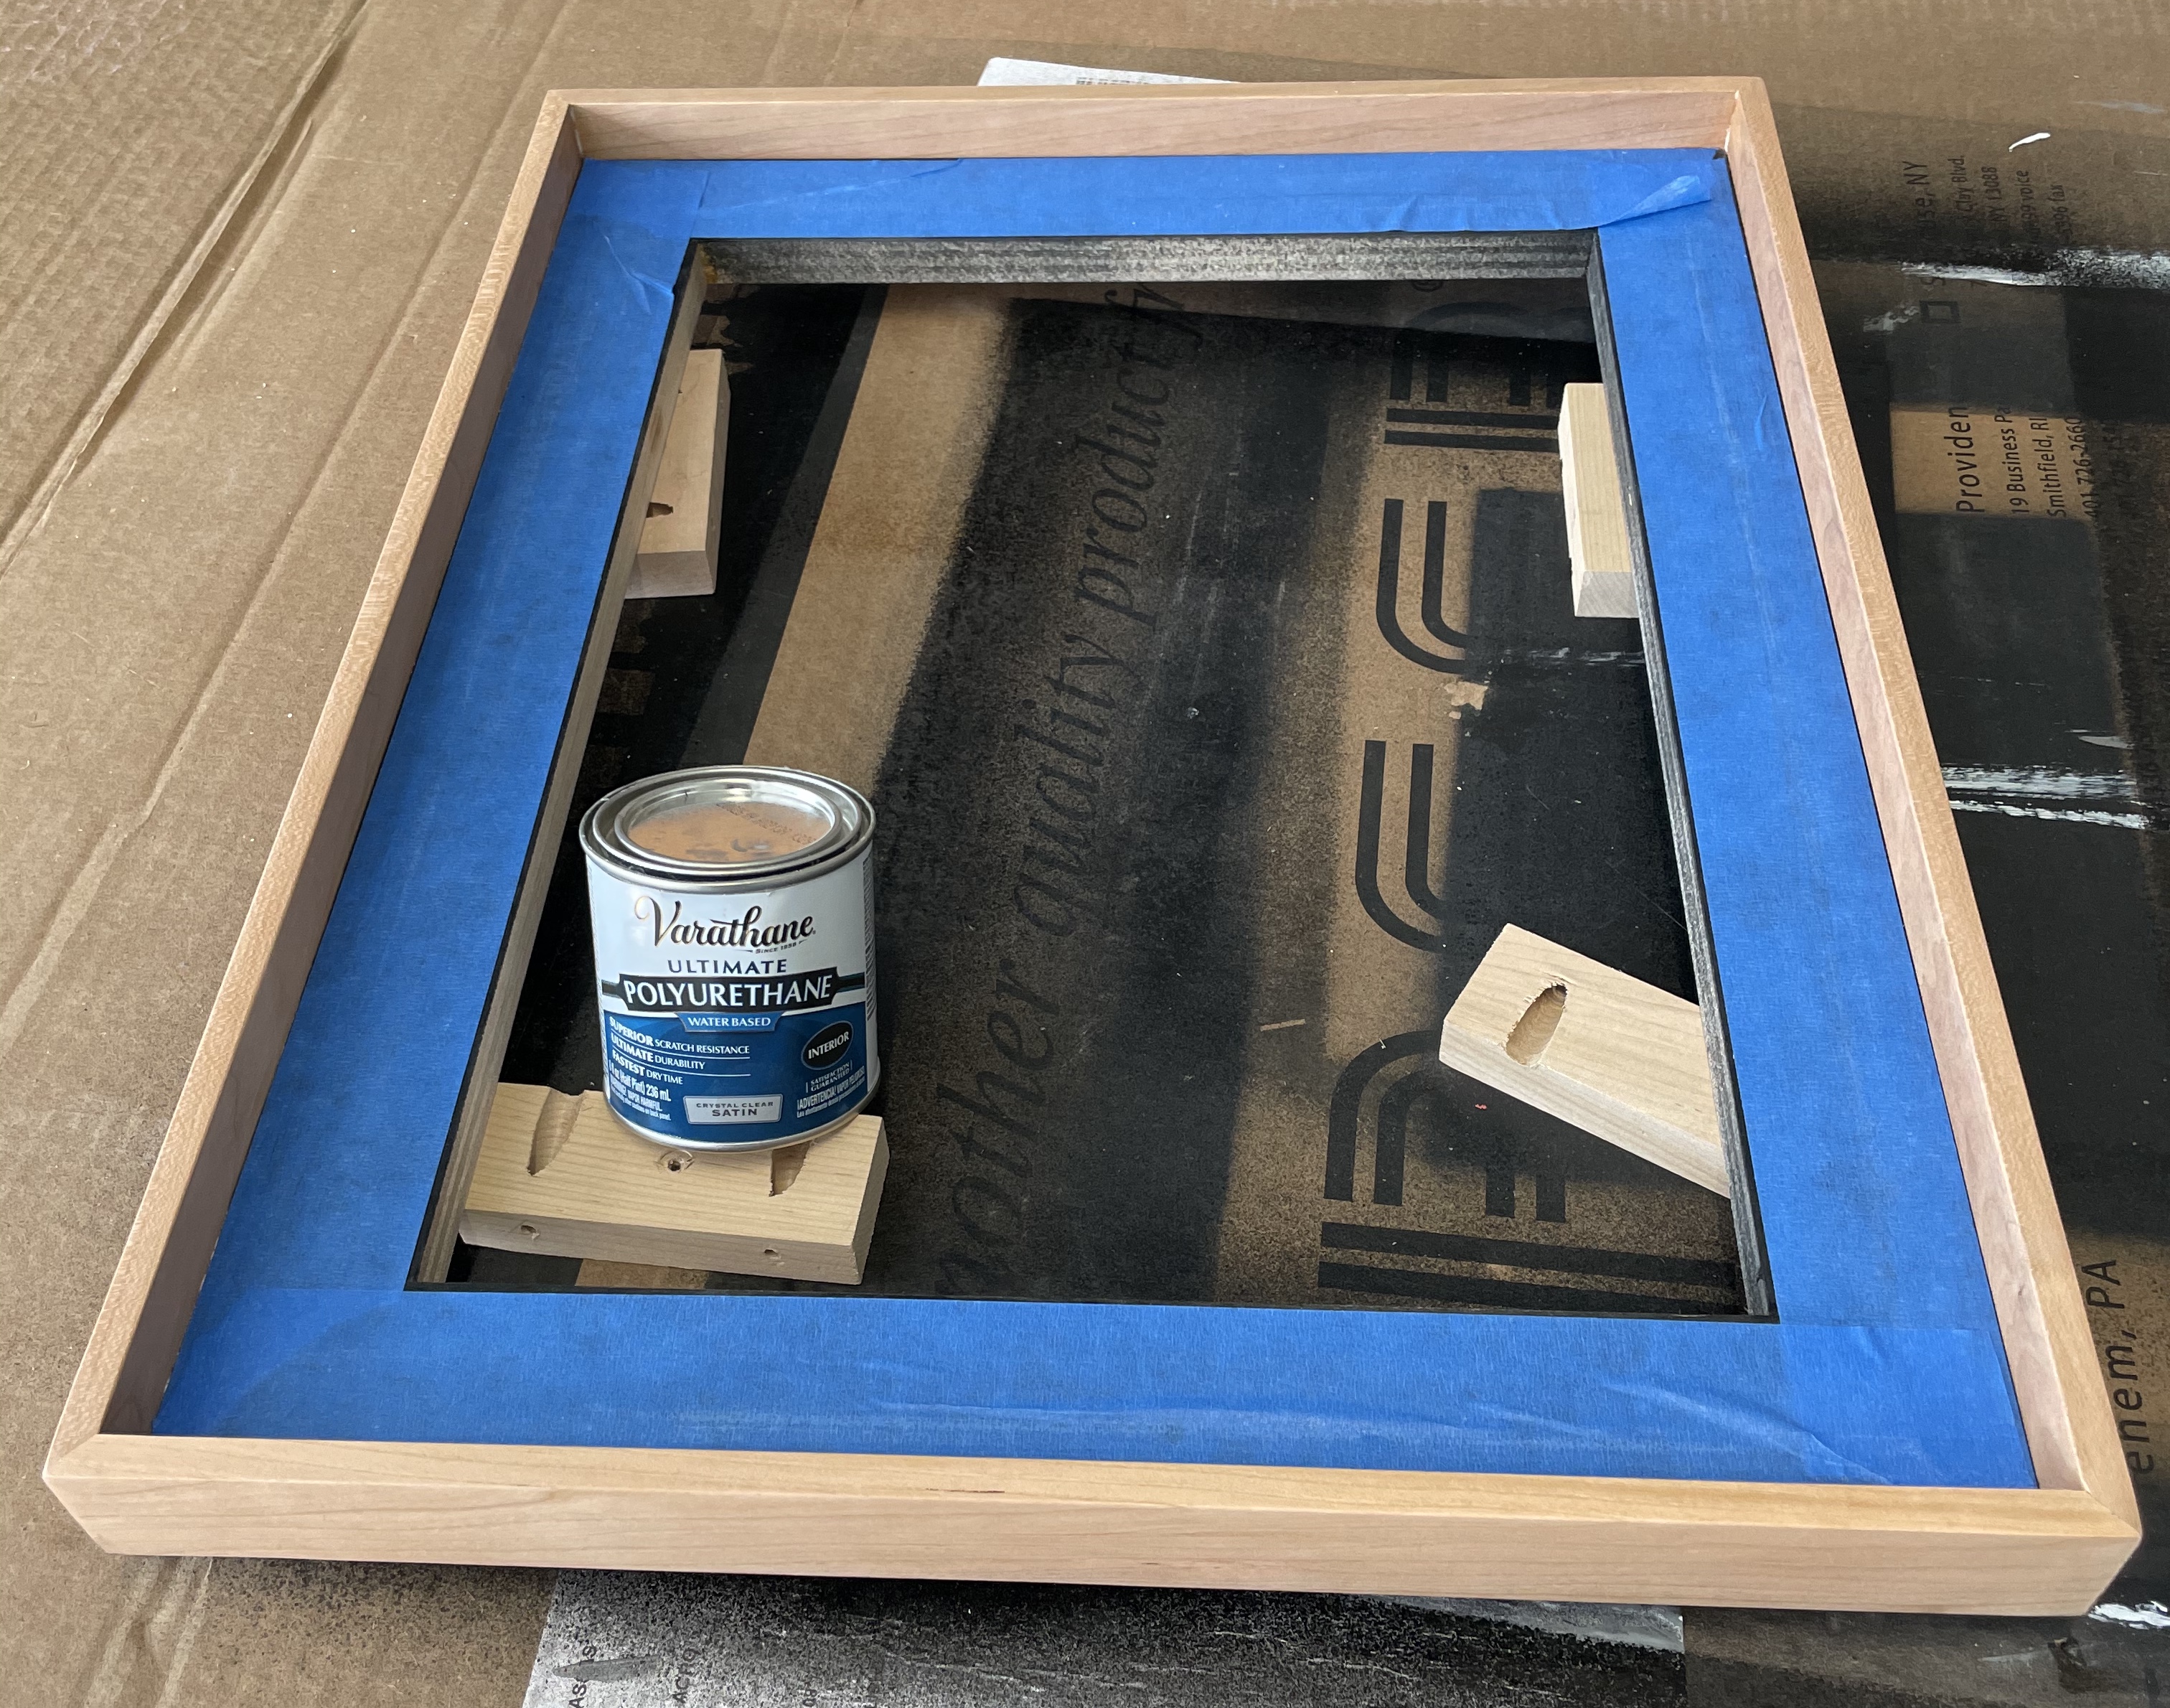
I sand again with 320 grit before the last coat of poly. After the poly dries, I pull off the blue tape.
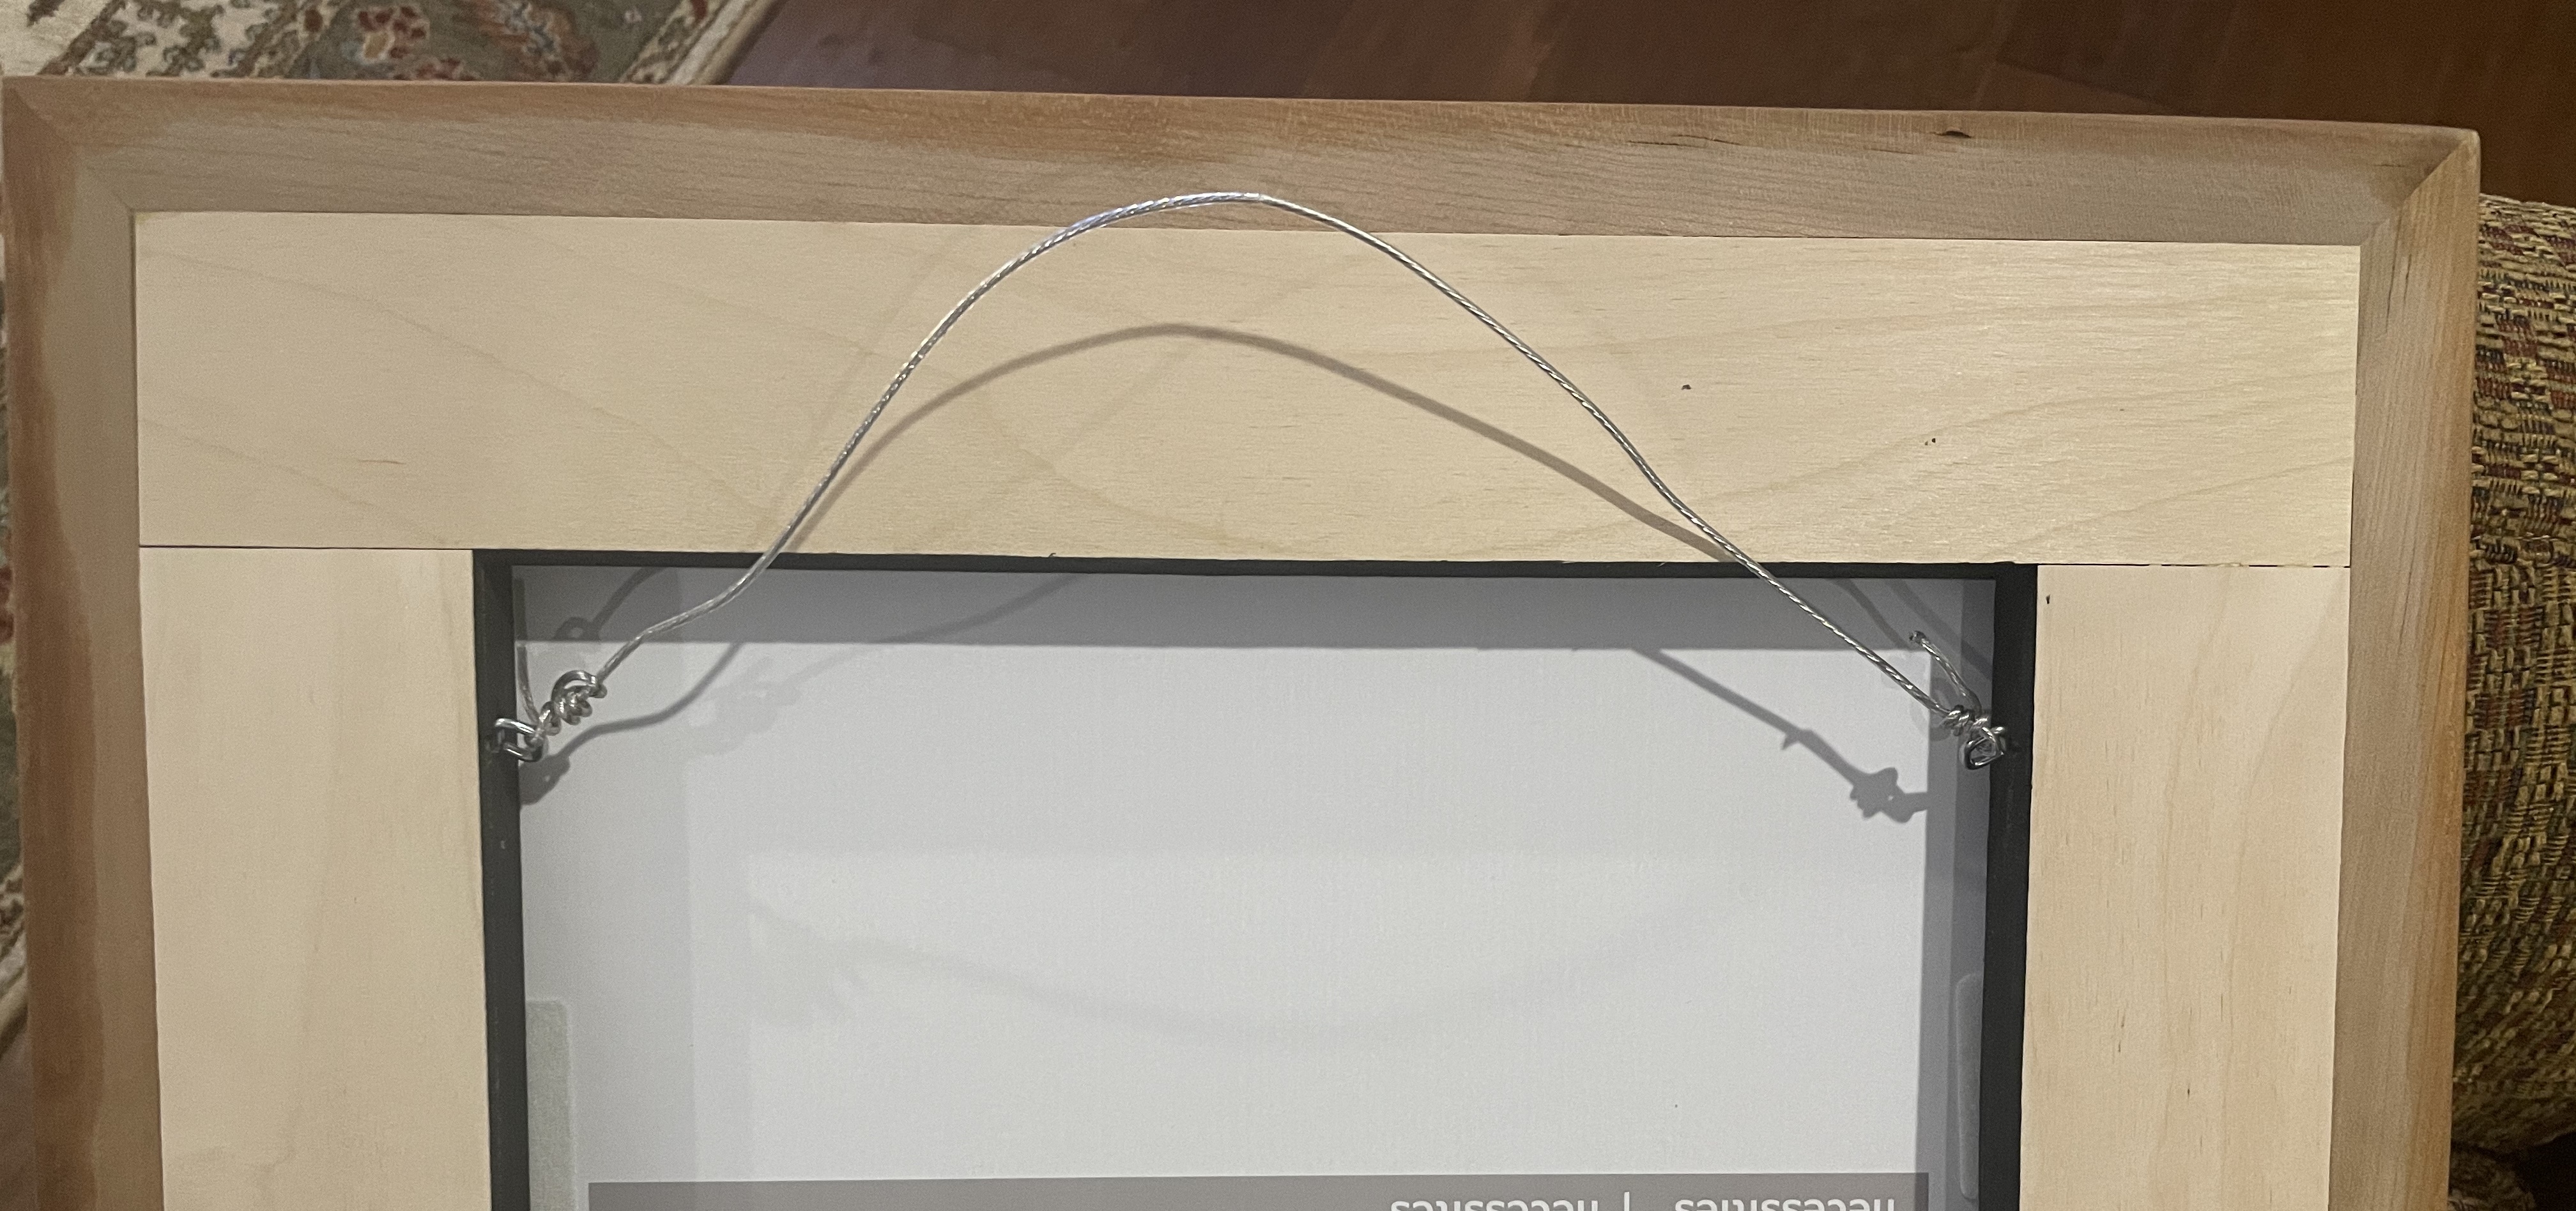
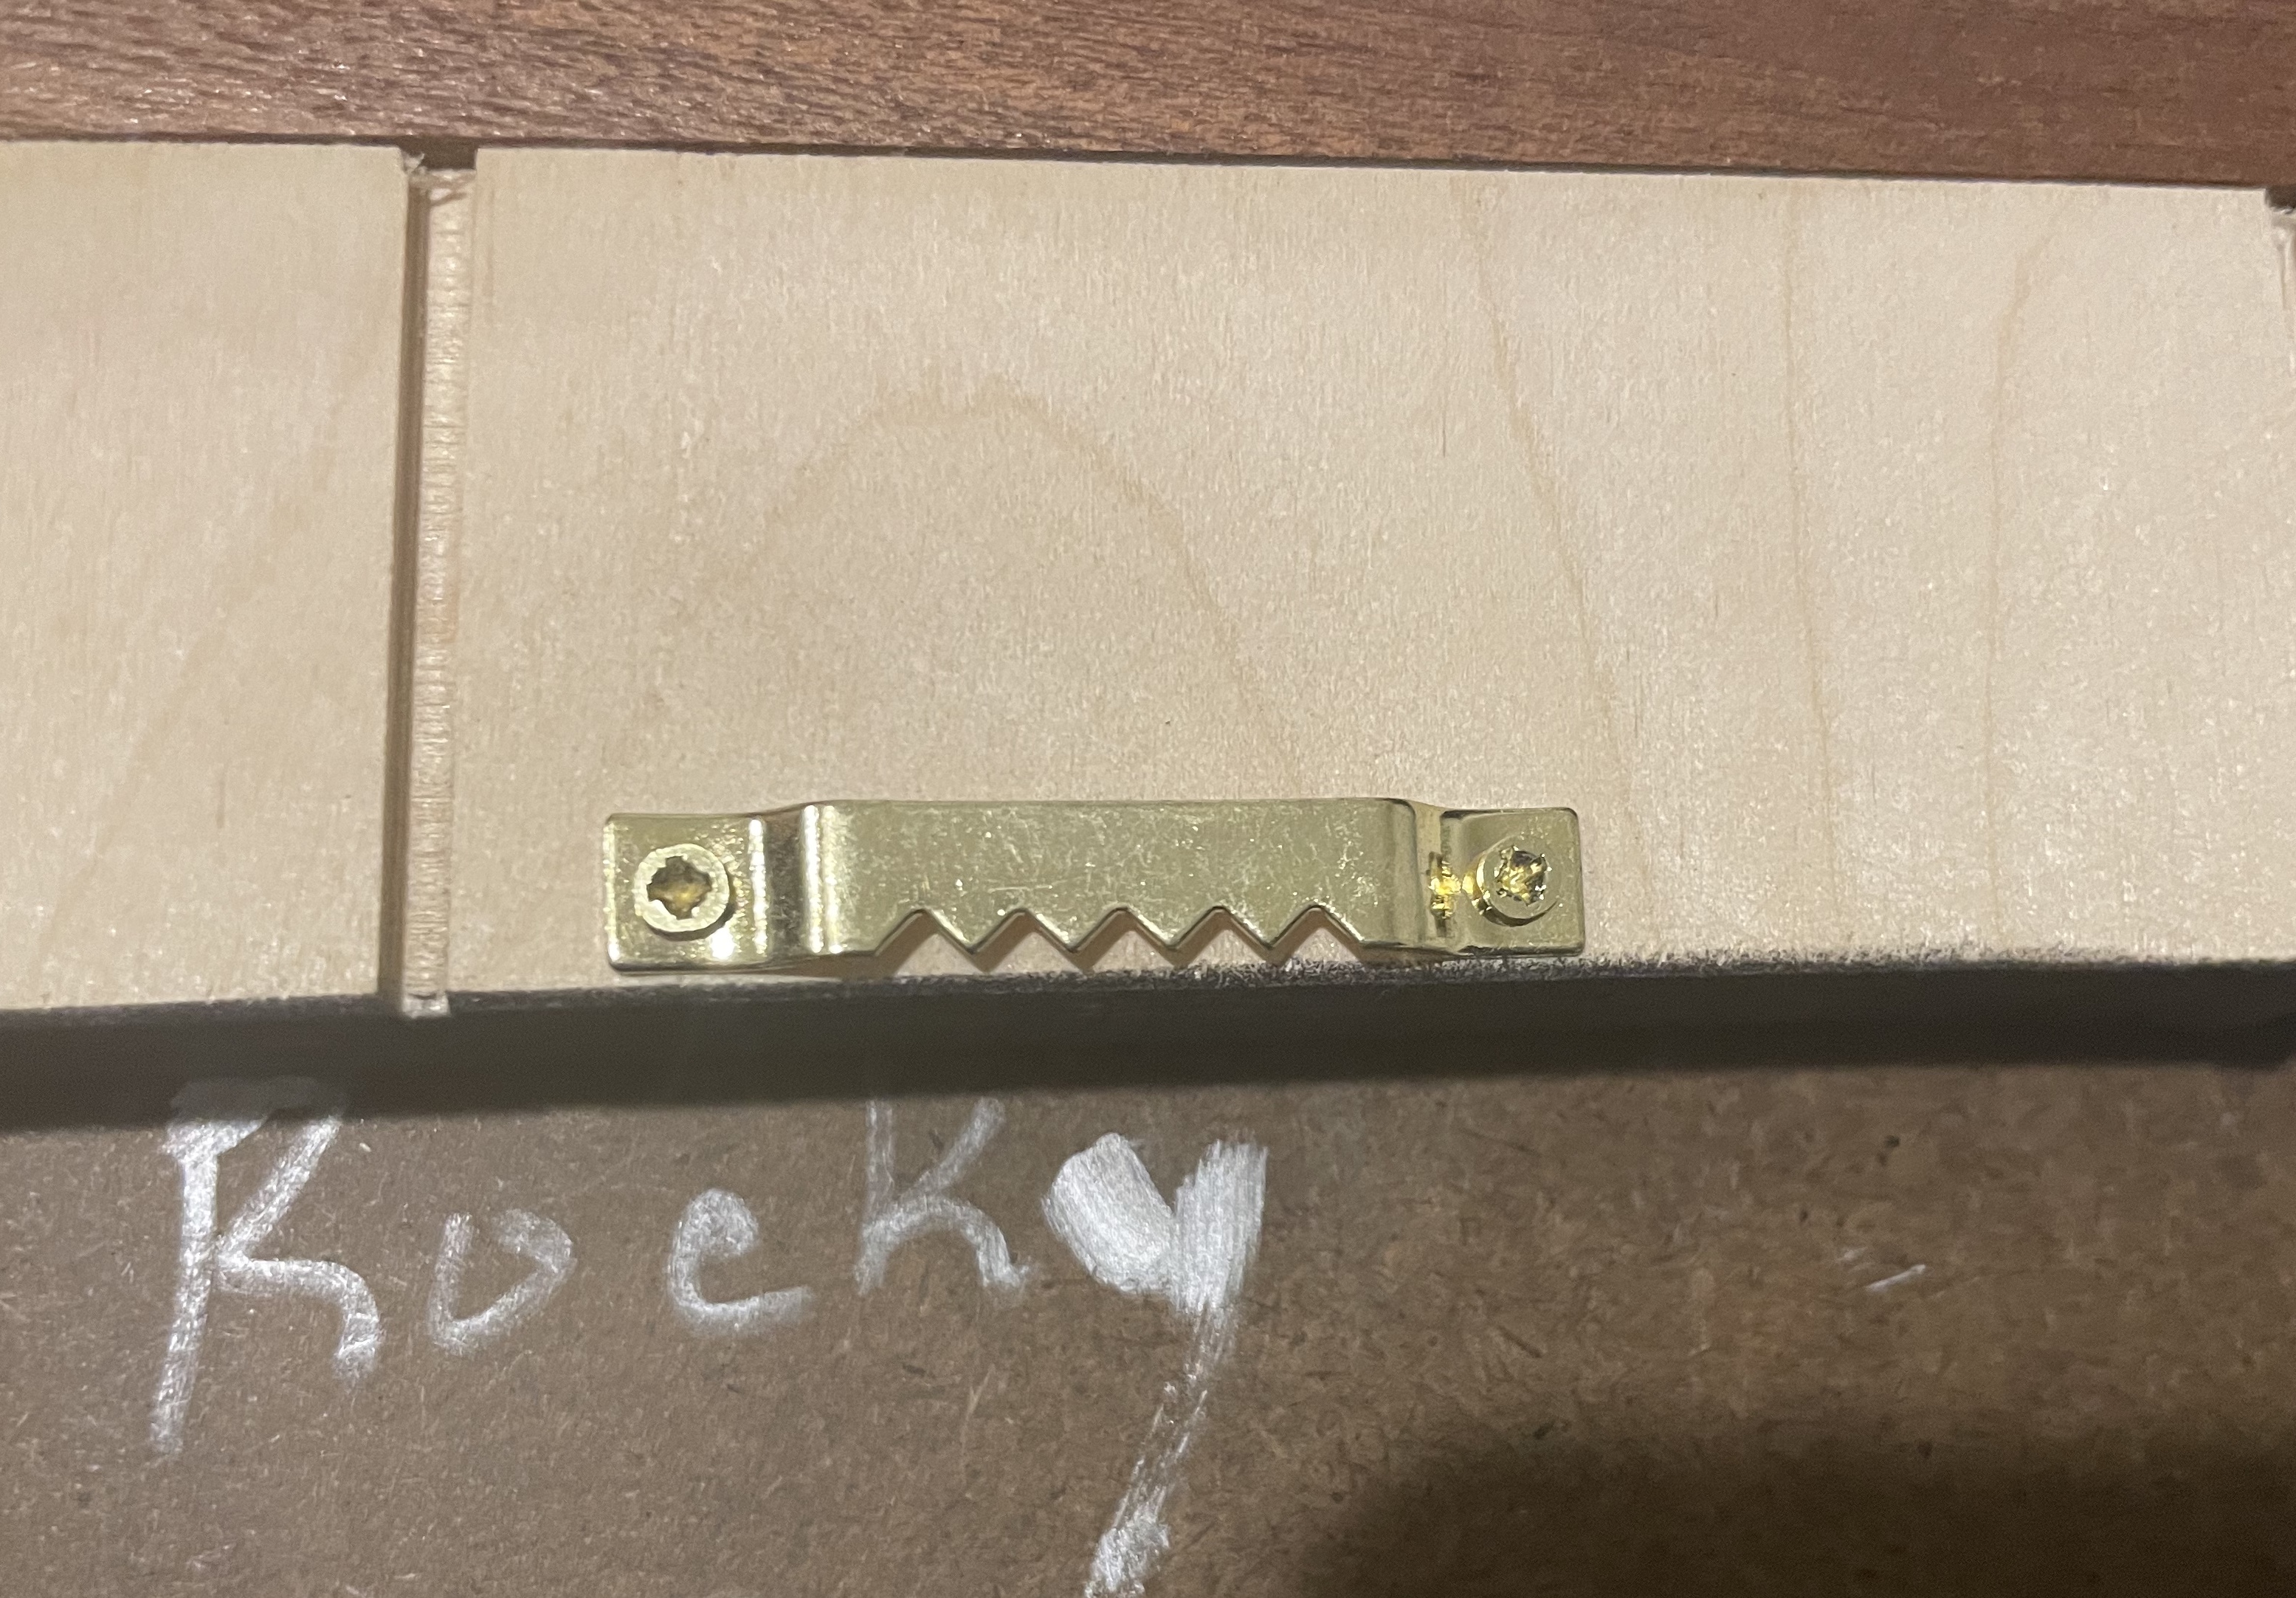
Step 7 - Attach hanging hardware
Depending on the size of the painting, I either use a small slotted bracket or a wire and two eyehook screws to prepare the piece to hang on a wall.
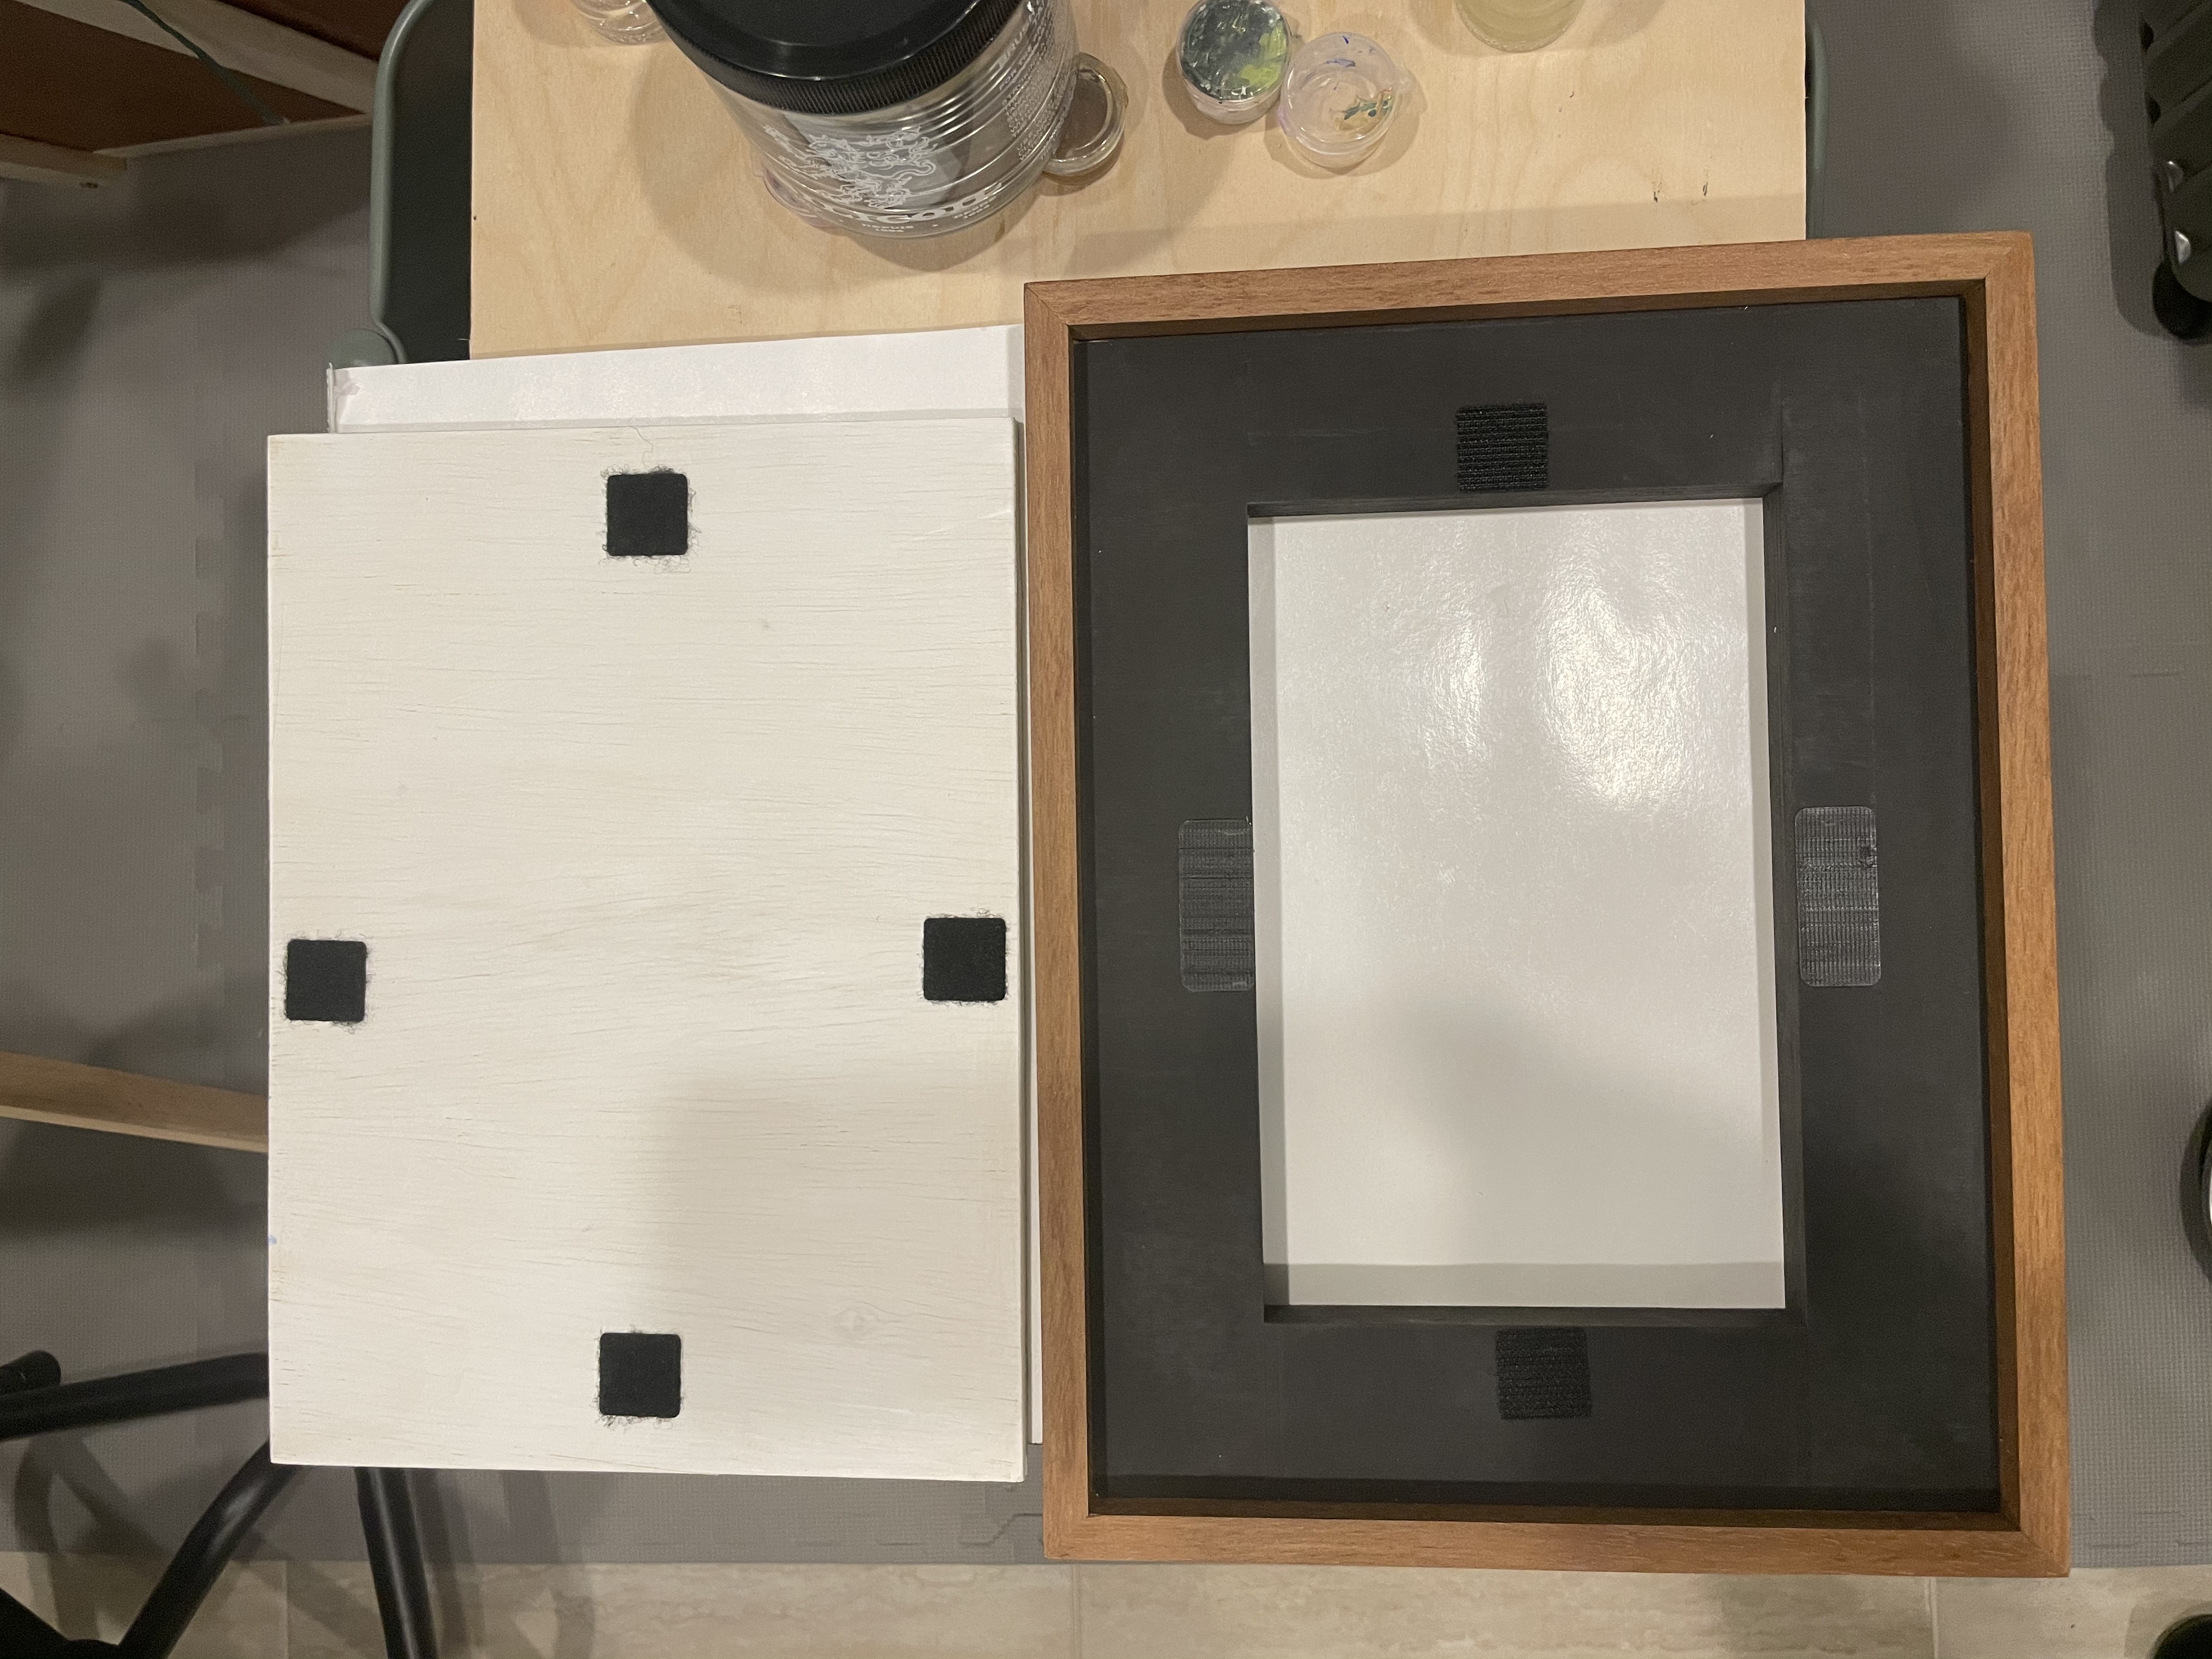
Step 8 - Attach painting to frame
There are several ways to attach the panel or canvas to the inner frame. For small paintings on canvas or wood panels, I attach them to the frame using four little squares of Velcro. That gives me the ability to quickly and easily swap a panel out of a frame in seconds and put another one in.
If I am mounting a stretched canvas, I will drill four holes through the black part of the inner frame and the put screws through the inner frame from the back into the wooden stretcher that the canvas is mounted to. It is still easy to remove if I decide to reuse the frame for another painting.
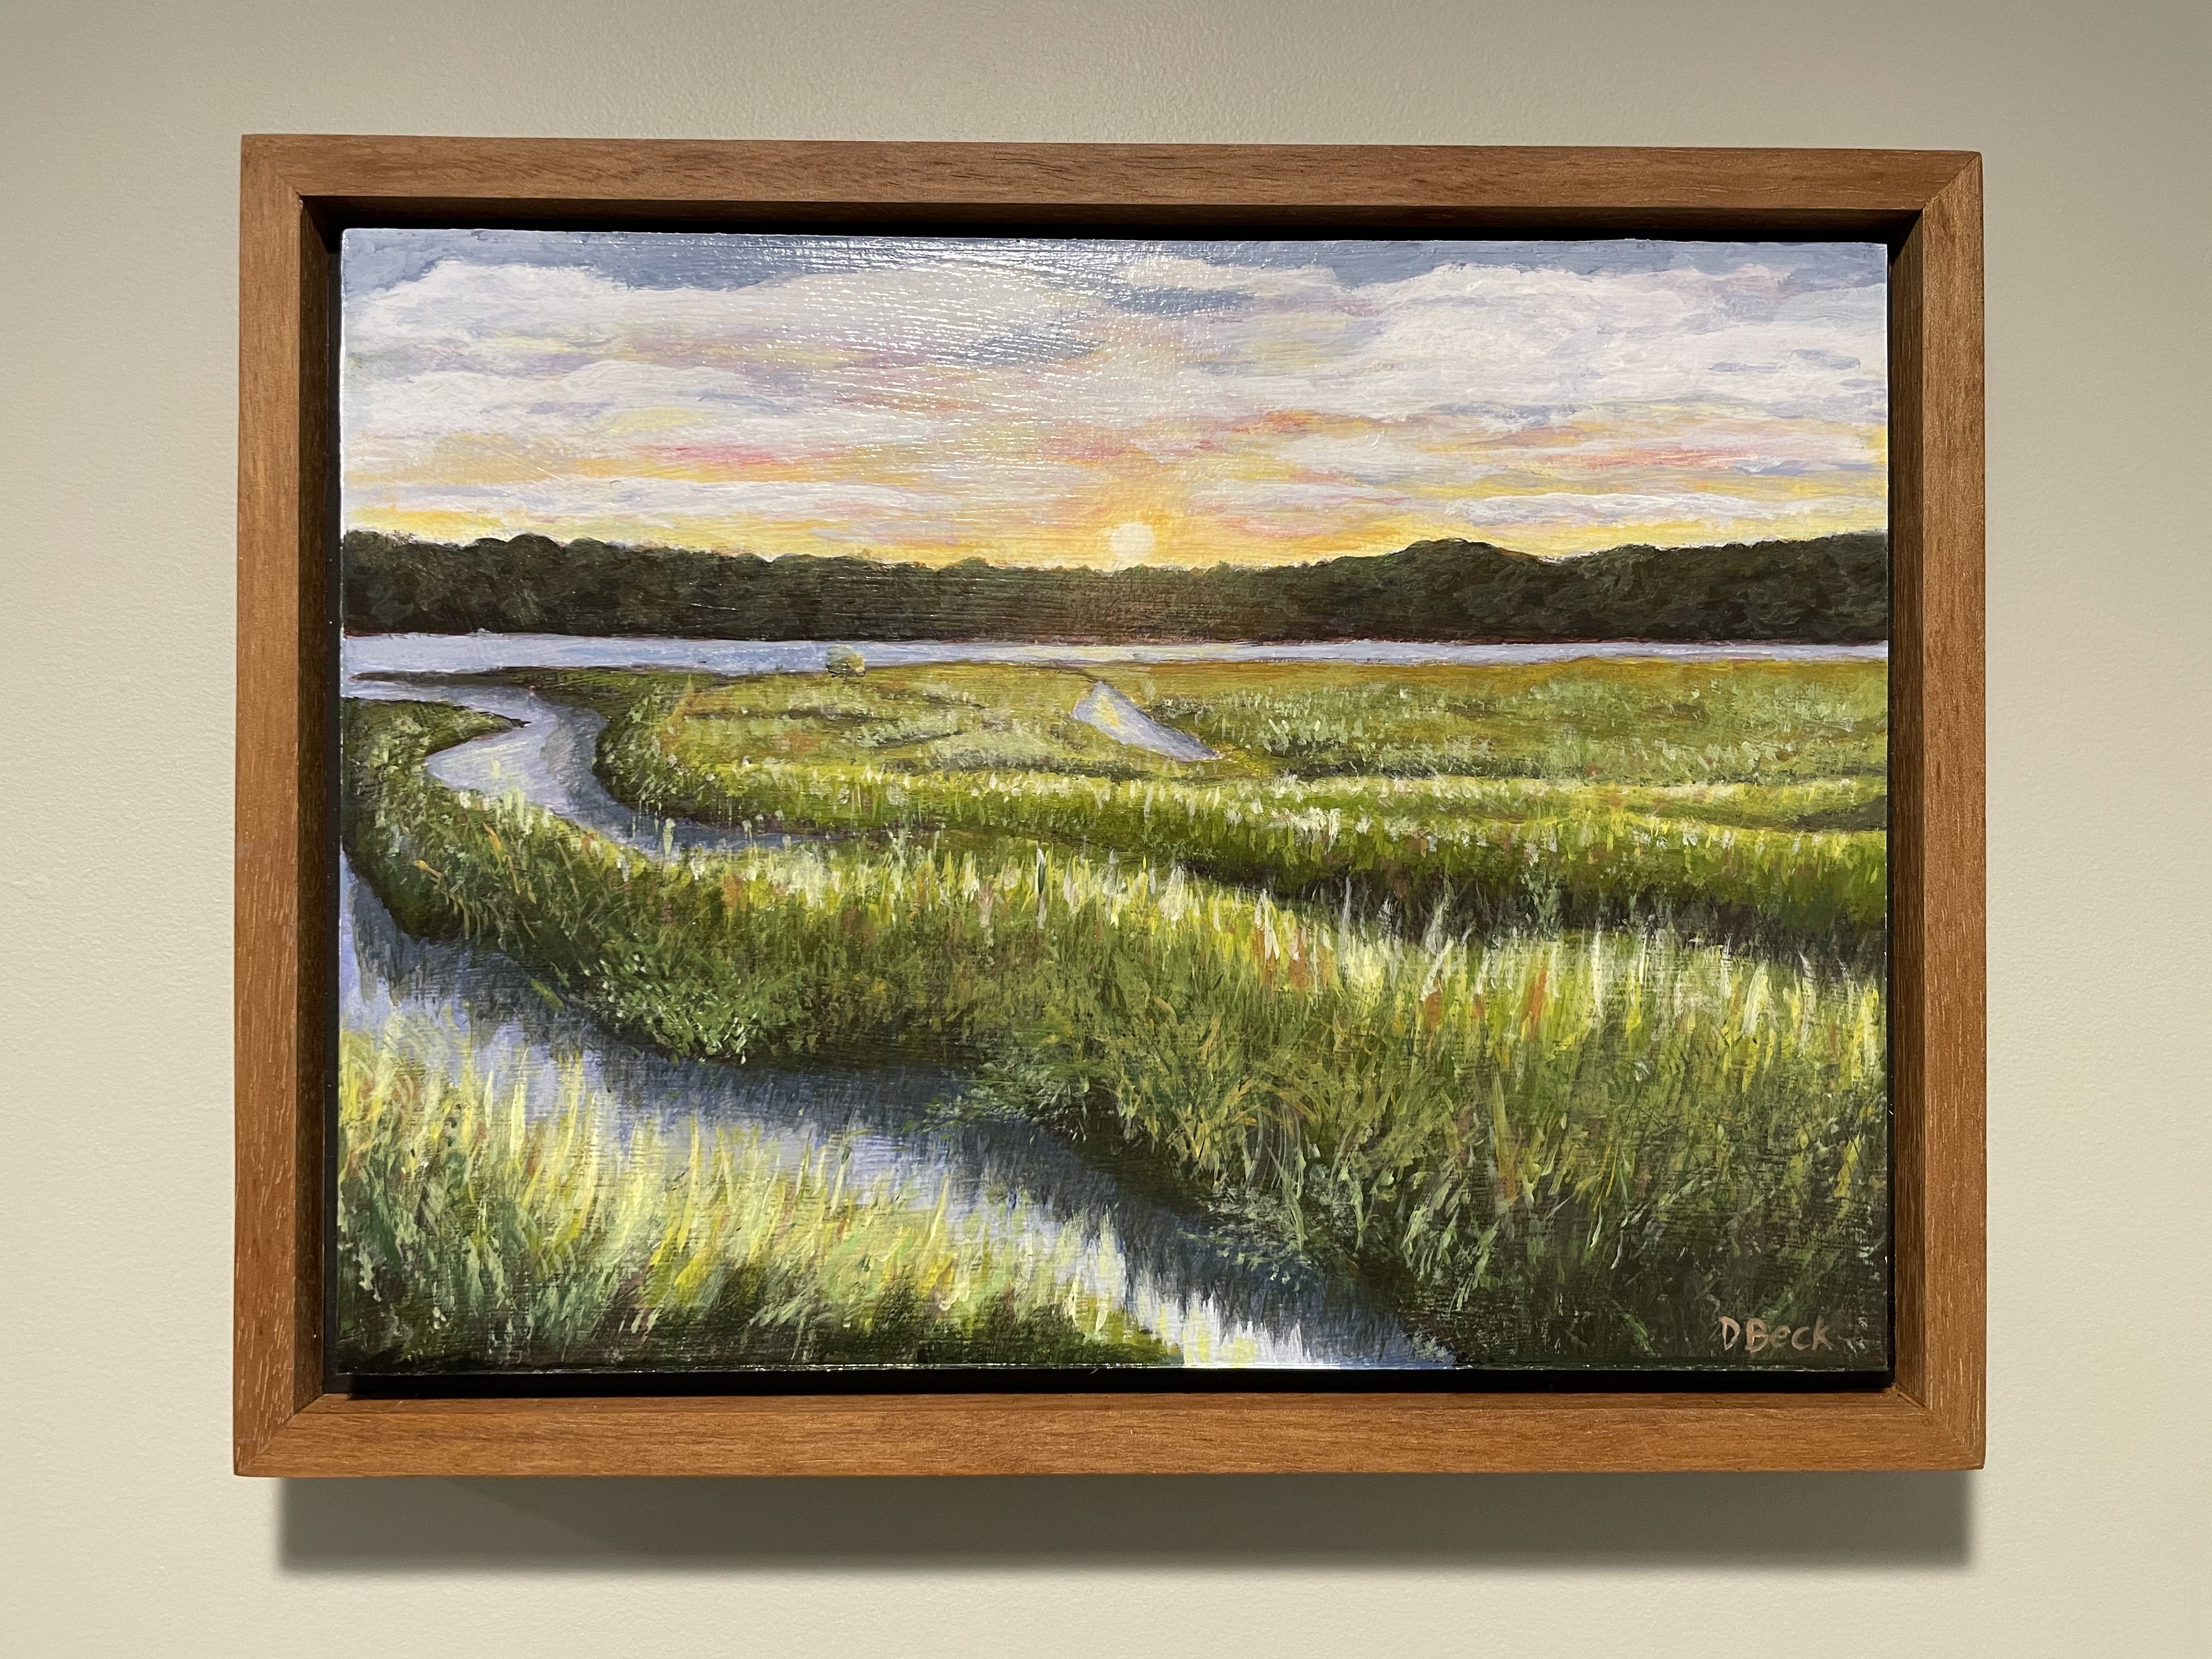
I hope you find this project easy to build and that you enjoy not just that beautiful painting you brought or created, but also the beautiful frame you built with your own two hands (and some tools😁).
All images in this post were created by me. If you would like to use any of these images please let me know.