In this lesson, special attention is paid to the basics of the drawing, such as movement, lighting, tone study and composition. We will use the traditional approach to drawing using a set of abstract shapes to distribute light and shadow.
This approach can be used in conceptual drawings to quickly sketch ideas, and will save time, while allowing you to effectively work out the light and shadow to further create a quality illustration.
Before you head to the drawing, you should start with some research to find the foundation for further work and a certain direction, as well as many image sources. Try not to hurry up at this step, relax and be open to new knowledge.
Despite the fact that there are a lot of great brushes for Photoshop that you could use in this lesson, the best result is achieved with standard hard and soft round brushes for everything except the background.
Step 1
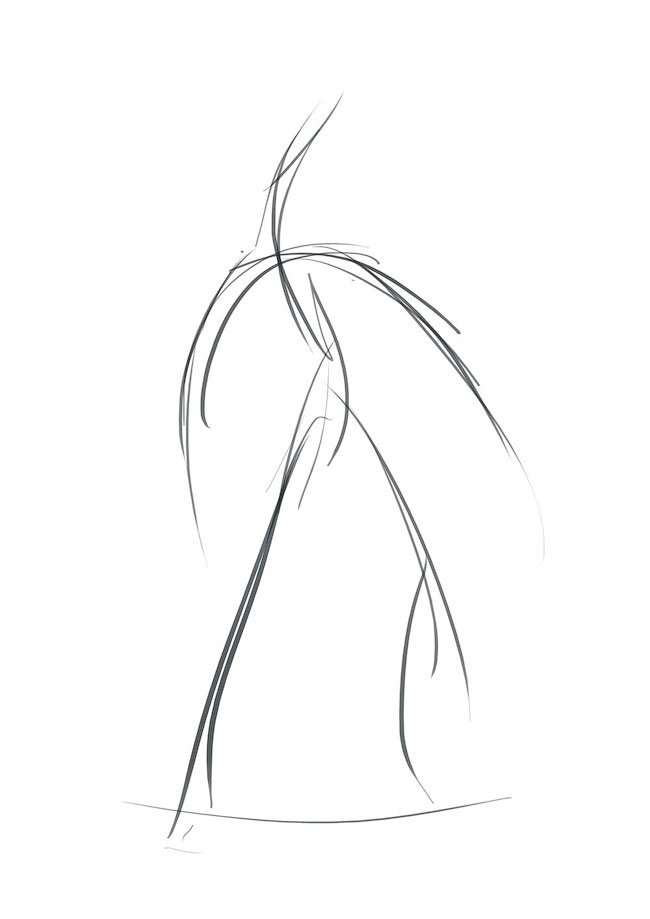
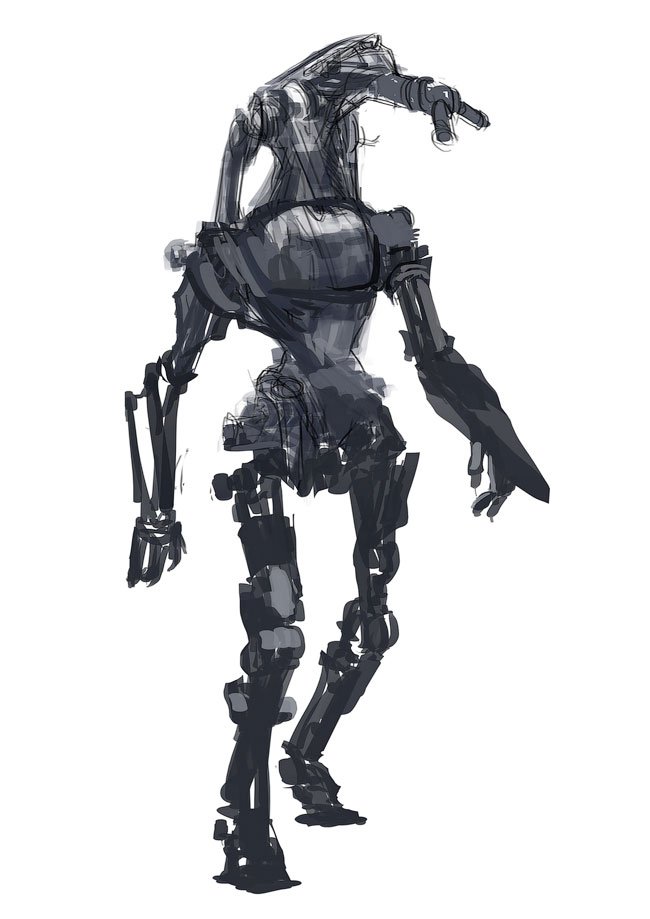
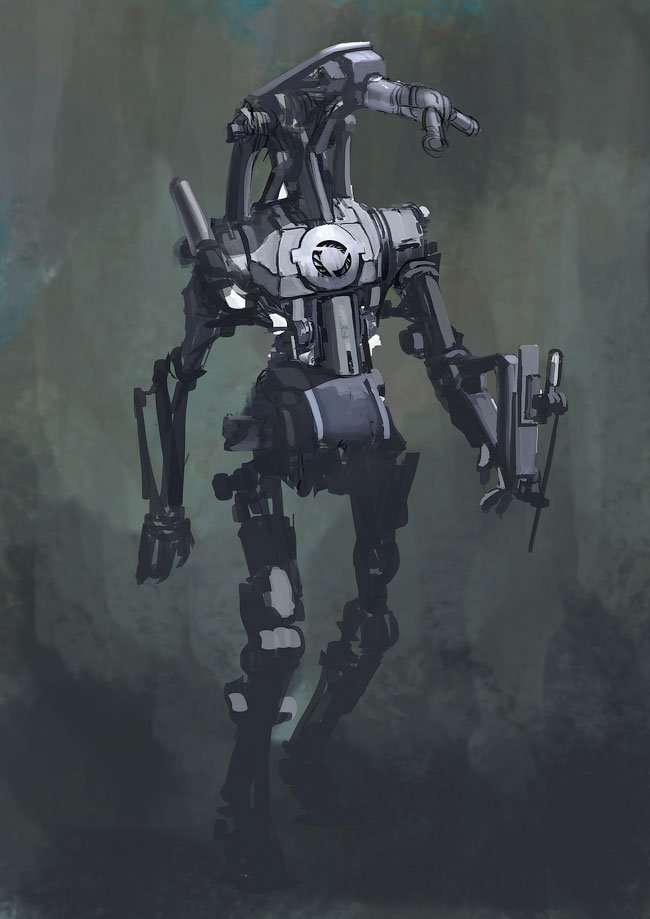
After doing some research, we can start thinking about the design of our robot. It is important to start by choosing a pose, and then think about how the weight will be distributed over the body of the robot. Do this - like everything else in this tutorial - on a new empty layer above the background so that we can later add elements for it.
Here I wanted to create the feeling that the robot is moving through the forest with such a sluggish gait that a noisy metal robot can go.
These quick sketches can save time in a protracted drawing process, and also set the mood for all work.
Step 2
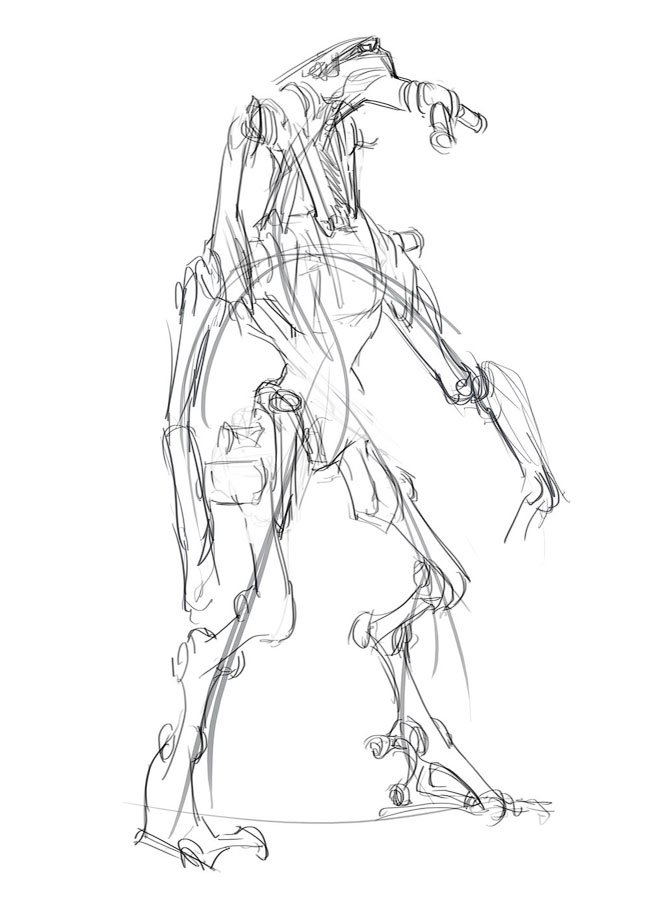
The next step is to create a quick linear sketch. Developing a robot is not an easy task, but be sure to take enough time to come up with some interesting shapes and determine the logical center of the image.
Do not forget about the relative size and location of your blocks (the original blocks, where you later add details). It will be necessary to include in the design at least three main blocks of different sizes, in order to create a certain hierarchy in your composition.
Step 3
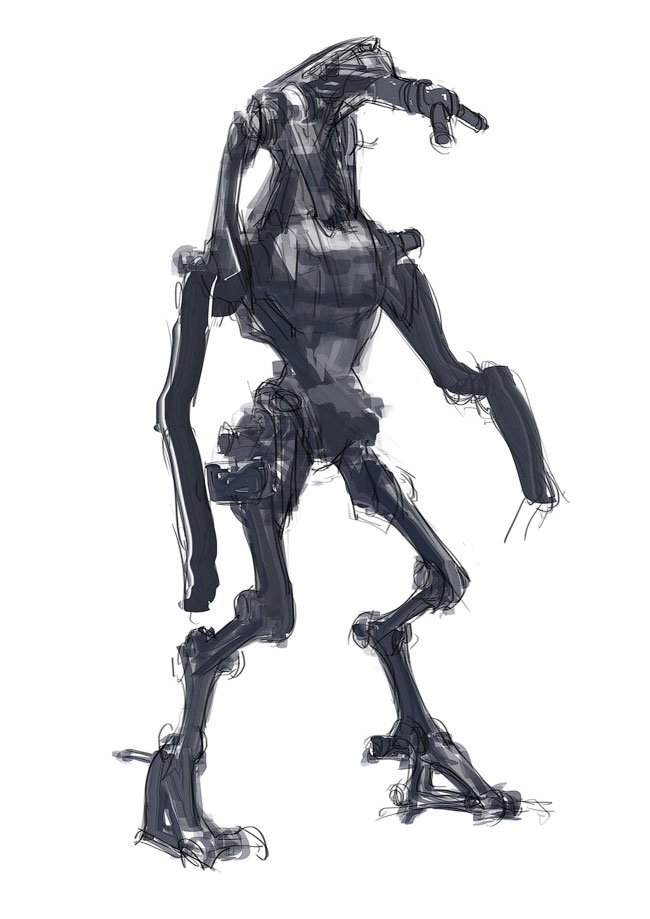
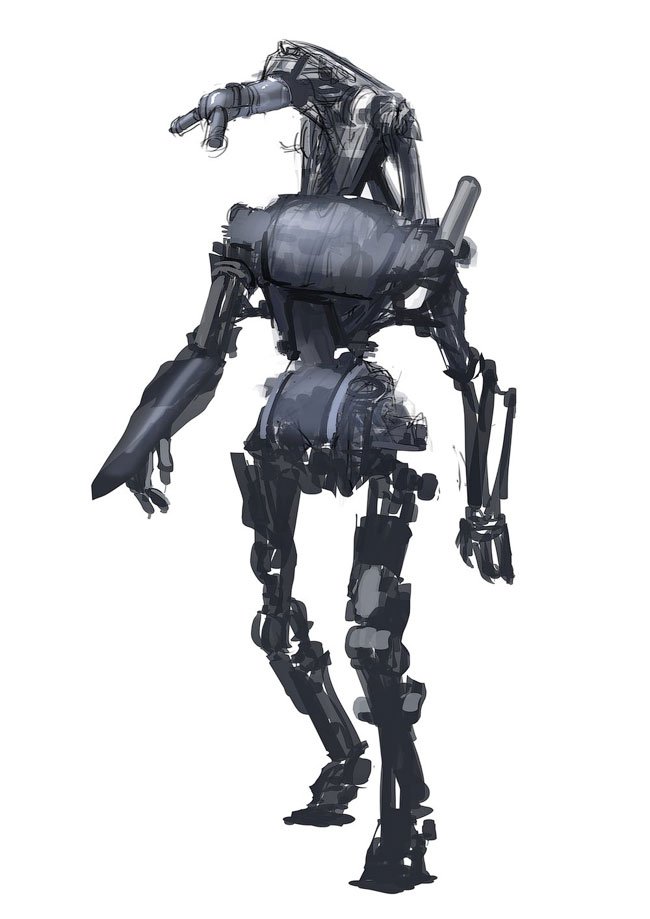
Add some color and pay attention to the robot's silhouette. We want his form to be sufficiently clear to the observer.
Constantly check how clear the silhouette. Also, you can sketch the lighted areas to make the basic shape more clear.
Step 4
We are still at an early stage of creating our image, so that we can easily make even serious changes.
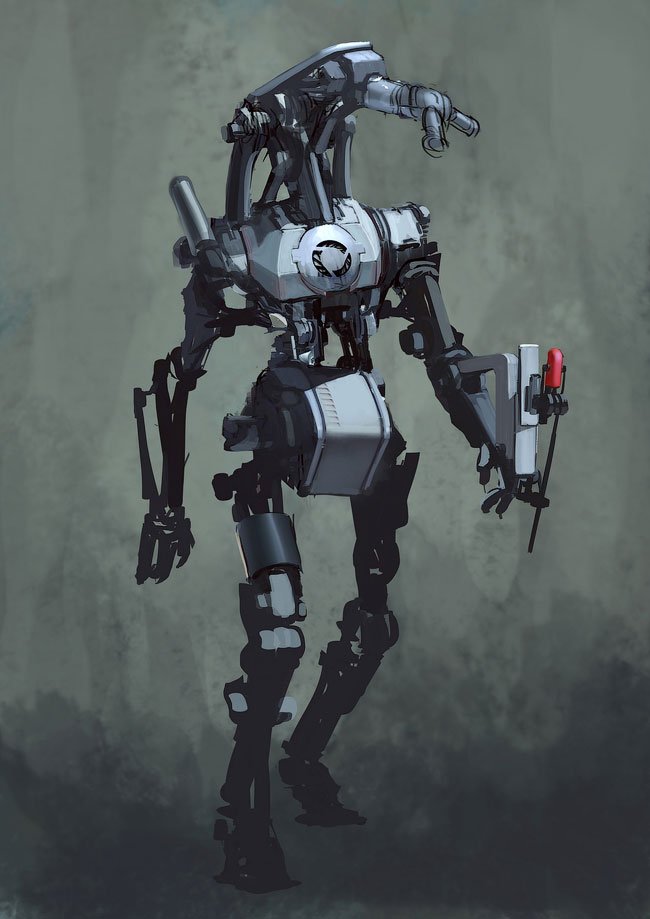
Then I changed the pose, adding a twist and a tilt to make it more natural - even though this drawing, you should always think in three-dimensional space, making changes on all three axes - X, Y, and Z. Also, this change creates depth and gives liveliness to the scene.
Step 5
Periodically rotate your canvas to look at the image differently. In an inverted kind of faults become more obvious, and therefore you can fix everything before it's too late.
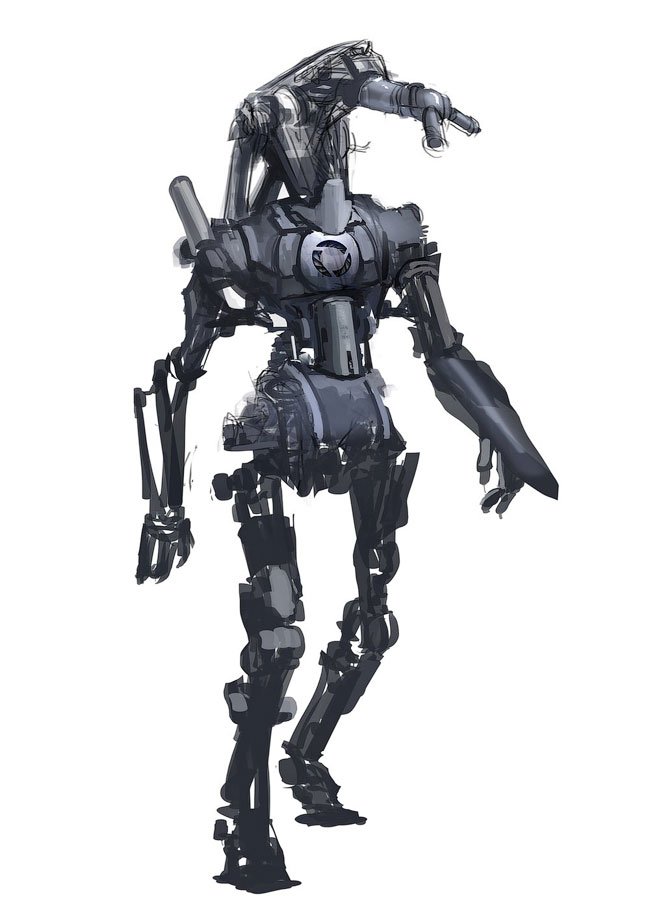
The central part of this image is the robot's head, and therefore one should think about lighting, which will complement it well.
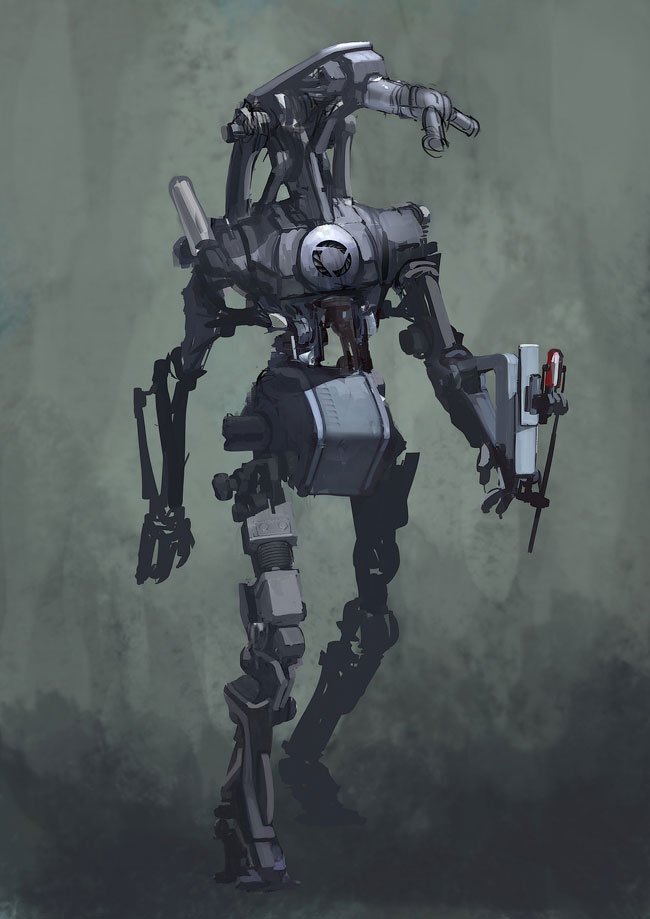
Step 6
By experimenting with the forms of the internal parts of the robot, you can divide large masses with contrasting tones in such a way that the eyes of the observer rest, and also bring them to the main part of the image - in this case, the robot's head.
Step 7
Once you have decided on the design of the robot and the mood of the picture, let's create shadows and select the light and dark areas. Do not complicate the task at this stage - you just need to group the areas of light and shadow, and create abstract forms that will show how these areas are distributed on the robot's body.
This stage will help us to decide whether additional details should be added (in the field of light).
Step 8
You could start by drawing a background, but I wanted to focus on the robot's design.
The background tones are selected in such a way that they merge with the color of the robot's legs, contrasting with his head and chest, with a smooth transition from contrast to the place where the colors almost merge.
Step 9
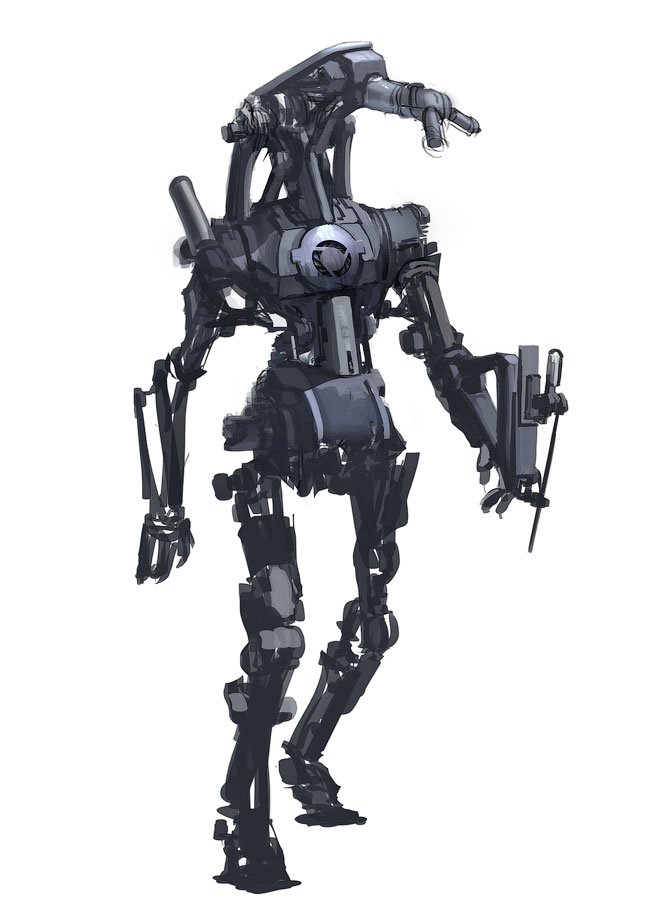
In this step, I added a few color accents - with warm colors I diluted the overall cool tone of the image. Color contrast can also be used as a tool to direct the observer's attention to the desired point.
Step 10
Next, add a few minor details. It is important to consider how your robot really moves, especially in the area of the joints, so do not forget to periodically return to the source images and draw inspiration there. Remember that the form follows from the function.
Step 11
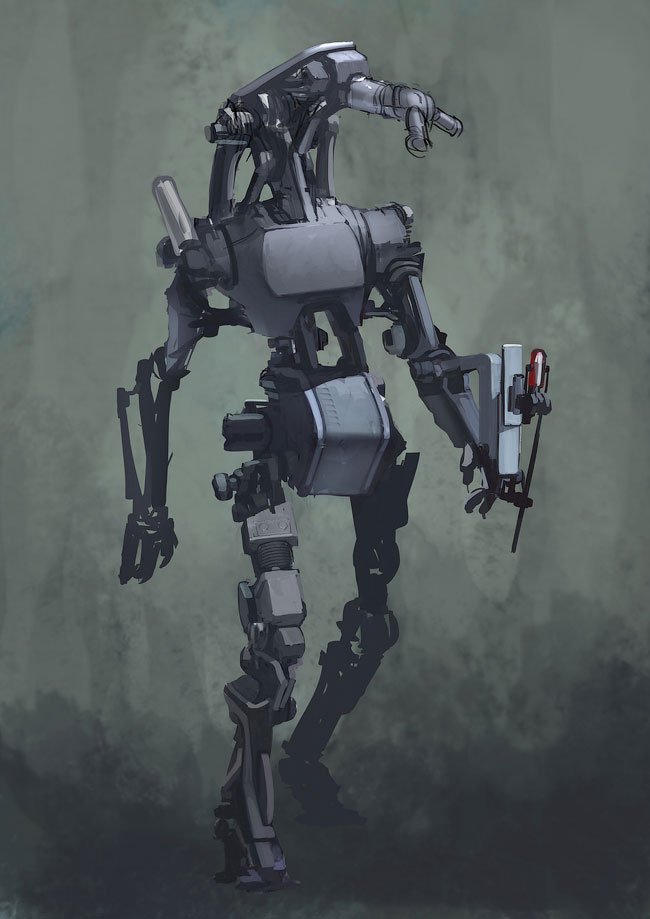
Then I slightly changed the pose and simplified the design, which was quite simple, since the parts were on different layers.
I moved the torso back so that it bent more towards the leg, on which the weight of the body is transferred, for greater stability. The design of the torso attracted too much attention, so I decided to redesign the design and roll it back to the basics.
Step 12
After I returned to the original design, it's time to work on the details again. If you need to do the same in your work, as before, first look at your source images, and then add design elements that harmoniously fit into the overall picture and will not distract from the logical center of the drawing.
This part is important for creating a visual language for your image, which directly affects how an observer reacts to your work. In this work, I used a fairly coarse, almost symmetrical style, creating a feeling of post-industrial, as it were, "used".
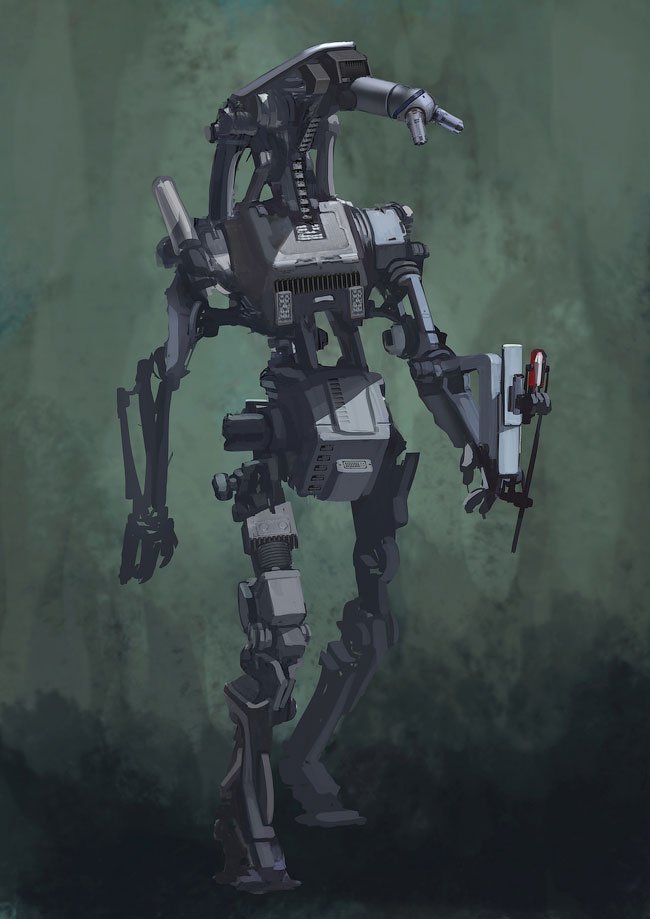
Step 13
Often it is worth working on the main elements of the drawing at the very least, since this will help you make sure that they work efficiently. In this case, contrast is your most powerful tool. If the center does not stand out, then what is the center?
Also at this stage, I added a few spots of reflected light and darkened the background to make the robot come to the fore.
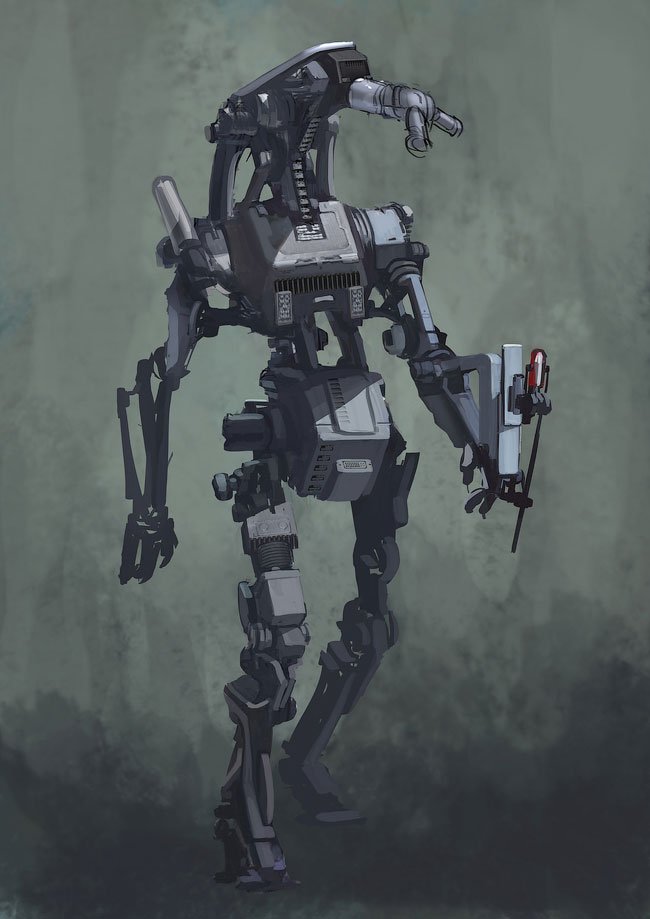
Step 14
Here, some additions were needed, such as adding color accents and working out the details of the composition center - that is, the head.
I reduced the amount of detail in the dark areas, turning them into hints of detail. This will allow the viewer's eyes to focus on the illuminated part of the robot.
In the process, I recommend that you pay attention to the corners - where the elaboration should be more detailed, the corners should be made more sharp, and in the shade it is better to do them more softly.
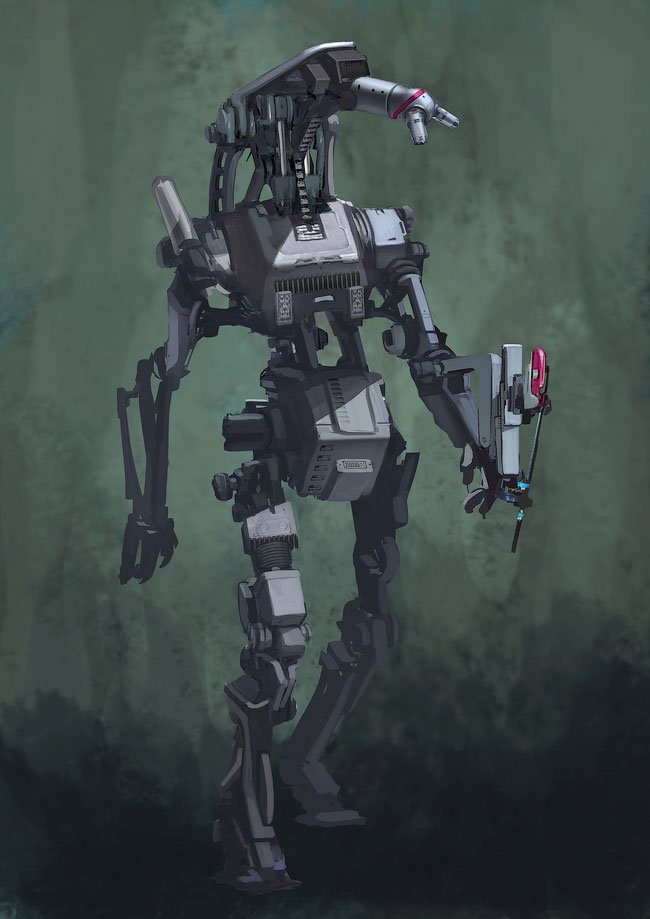
Step 15
Finish drawing by making the last few adjustments, in particular, adjusting the brightness and contrast, as well as color correction, to separate your robot from the background. For example, I increased the contrast and added the effect of an additional light source above and behind the robot.
However, be careful not to overdo these effects.
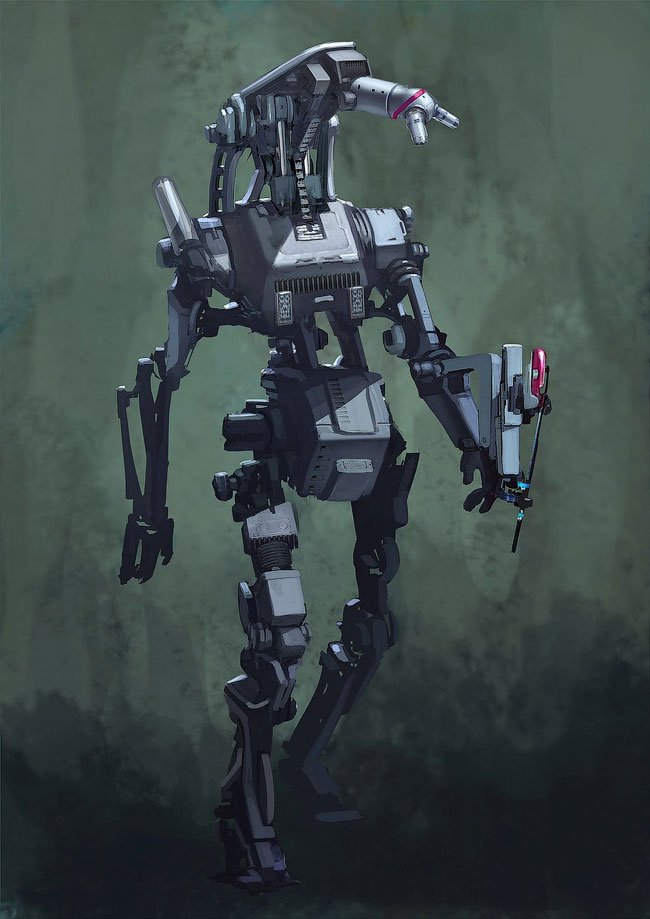
Source: https://www.digitalartsonline.co.uk/tutorials/photoshop/create-digital-painting-of-robot-mech/#1
Not indicating that the content you copy/paste is not your original art could be seen as plagiarism.
Repeated plagiarized art posts are considered spam. Spam is discouraged by the community, and may result in action from the cheetah bot.
#art (https://steemit.com/trending/art)
Please refrain from using “art” tag for posting other people's creations without proper attribution or explicitly stating it's not yours.
If you are actually the original author, please do reply to let us know!
Thank You!
More Info: Abuse Guide - 2017.
Amazing work!