
- Adjust the workspace
Step 1
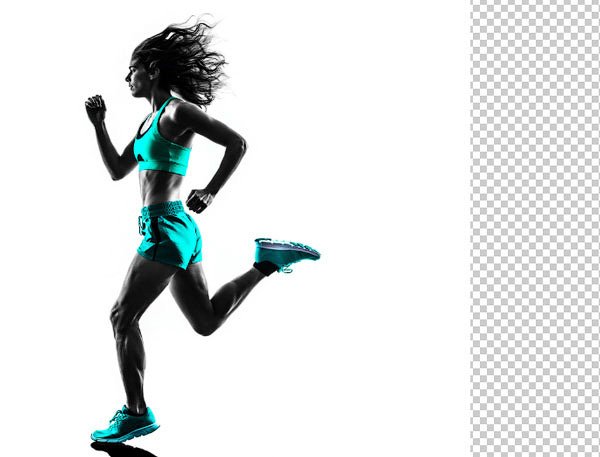
Let's start! Open your original image in Photoshop. If you want to add more space to your image, which shows the dynamics of movement, then just adjust the dimensions, for this go Image - Canvas Size. This image with a runner has a current dimensions of 3.9 × 5.2 inches, so I'm going to change these dimensions to 6 × 5.2 inches. Double click on the layer with the runner, in this case it's the layer with the background layer to convert it to Layer 1. Using the Move Tool  (V), move the runner to the left side of the scene.
Translator's note: the effect of a pixel blast looks great in photos with motion dynamics, so the author increases the size of the image.
Step 1
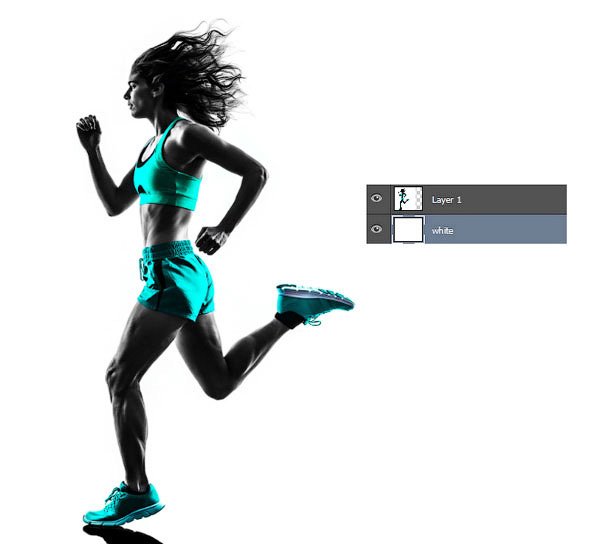
Create a new layer, fill this layer with white color. Slide this layer down, positioned below the layer with the runner to close the transparent pixels.
Translator's note: 1. You can name the layer with white fill White (White) 2. The author closes the transparent pixels formed after changing the canvas size.
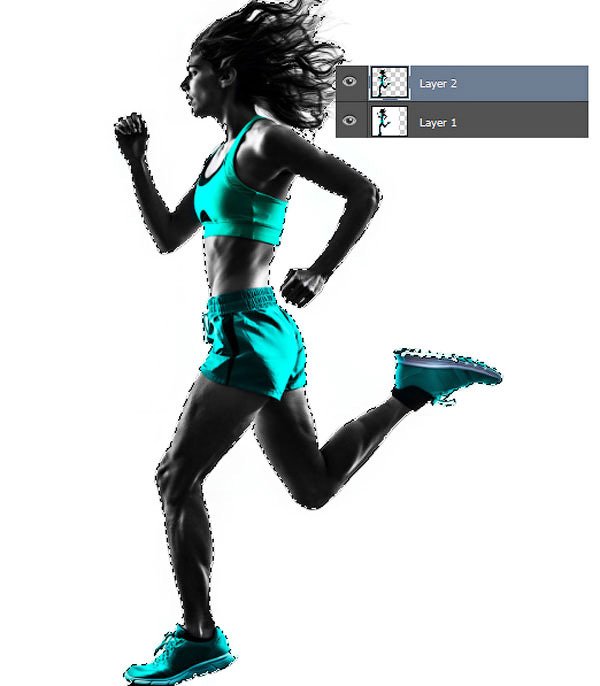
Now select the Magic Wand Tool  (W). With this tool, select the white background. Right-click on the layer and select Inverse in the window that appears. Next, use the Polygonal Lasso Tool (L) to add any areas to the selected area that could have been cropped when selected, thus completely selecting the object in the photo. When you finish correction of the selected area, press the keys (Ctrl + J) to duplicate the image of your model on a new layer.
Step 2
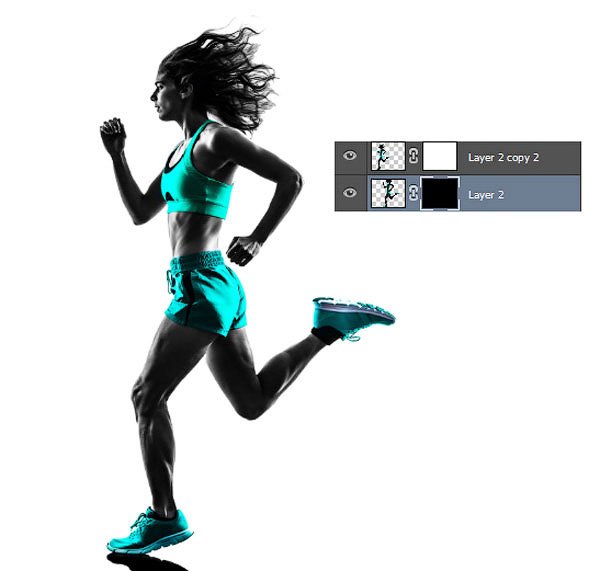
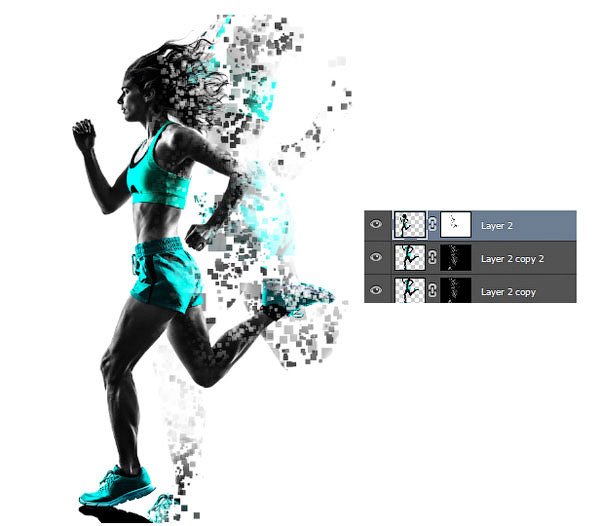
Press Ctrl + J again to create another duplicate of the image with the runner. Next, remove the original layer with the image of a runner on a white background. Press the keys (Ctrl + T) to activate the free transformation mode. Zoom the image of the runner. Arrange the second enlarged runner duplicate to the right of the first layer with the runner. Duplicate the layer with the increased scale of the runner, and then temporarily turn off the visibility of this duplicate layer, which we use later.
Next, to each layer with a runner, add a layer mask. Layer-mask layer with a runner with the original dimensions, should remain white. Select the Paint Bucket Tool  (G) to fill the layer with the layer mask with the enlarged image of the runner. Filling the layer mask with black color will hide the image of the runner.
Step 3
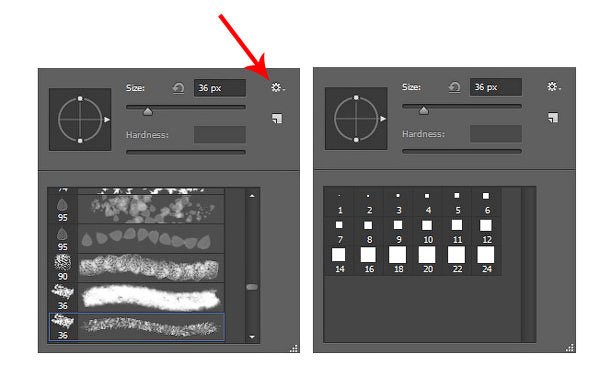
Next, we'll set up a pixel brush! Select the Brush Tool .png) (B). Right-click anywhere on the canvas and the brush settings window appears, click on the small icon in the upper right corner of the settings panel to open the menu. Now select the Square Brushes option from the drop-down menu. When a window appears that asks to replace the existing brushes with new ones, click the 'OK' button.
(B). Right-click anywhere on the canvas and the brush settings window appears, click on the small icon in the upper right corner of the settings panel to open the menu. Now select the Square Brushes option from the drop-down menu. When a window appears that asks to replace the existing brushes with new ones, click the 'OK' button.
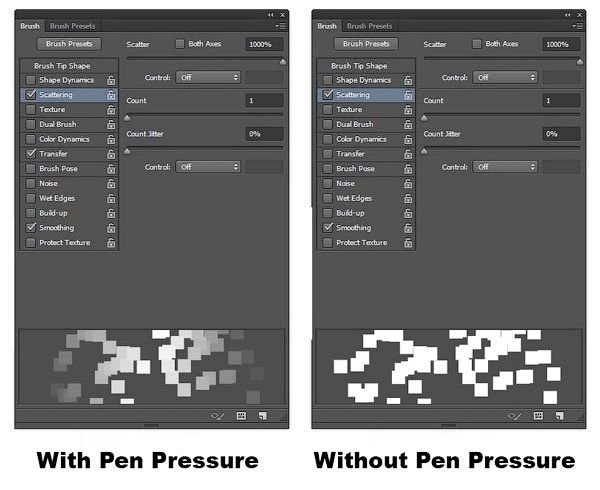
Press the key (F9) to display the Brush tab. Select one of the square brushes, then go to the Scattering setting. Set the Scatter to 1000%. If you work with the tablet, you can also use the Pen Pressure for Opacity option, which will make the edges of the squares lighter, otherwise the edges will be stiff.
Step 4
Now we use the customized brush to create a pixel explosion effect. Go to the layer with the black layer mask. Start drawing white squares on the black layer mask, gradually restoring individual fragments of the enlarged image of the runner.
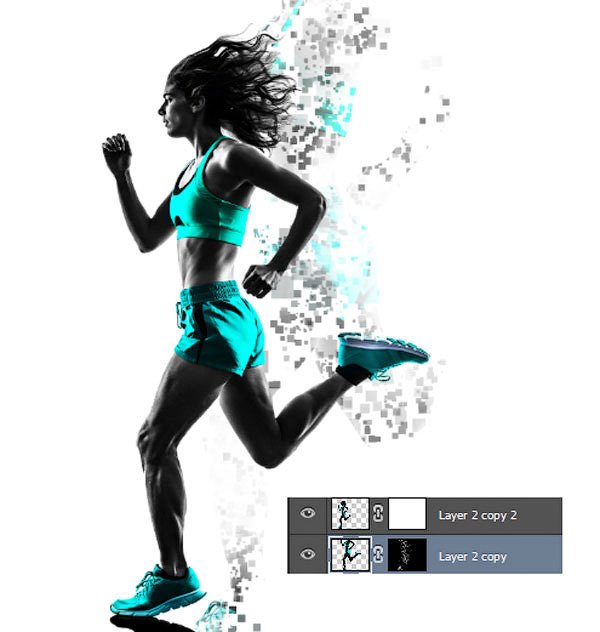
Duplicate this layer to make the pixel effect more pronounced. Now do the same with the layer with the white layer mask. This time, use a black brush, paint the runner with a brush, breaking her body into small squares. Vary the brush size for a variety of effect.
Step 5
Now turn on the visibility of the duplicate layer with the enlarged image of the runner. Arrange this duplicate layer below the layer with the runner with a white mask layer. Next, go to Filter - Blur - Motion Blur (Filter> Blur> Motion Blur). Set the Angle to 47 degrees, and the Distance to 762 px.
- Final pixels
Step 1
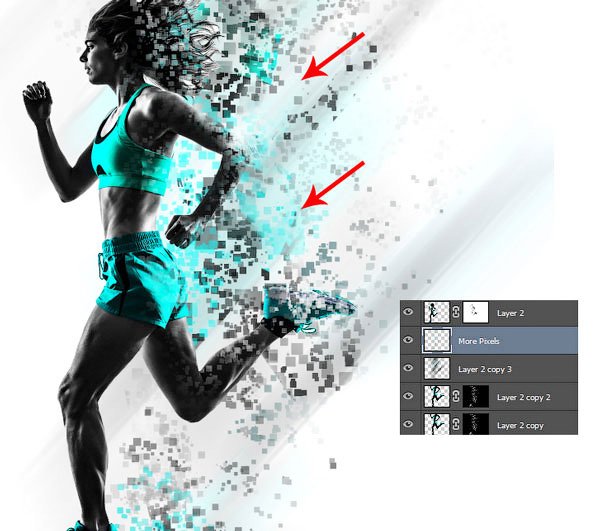
To complete the effect, add more pixels to fit all the elements of the scene well. Create a new layer on top of the blur layer in motion, on this layer we will apply the pixel brush that we used earlier. Select the Brush Tool (B), use the (alt) key to select color shades from the runner image. Use selected color shades to add squares, as well as to strengthen the dynamics and intensify the explosion. With the Eraser Tool  (E), you can remove extra pixels at any time.
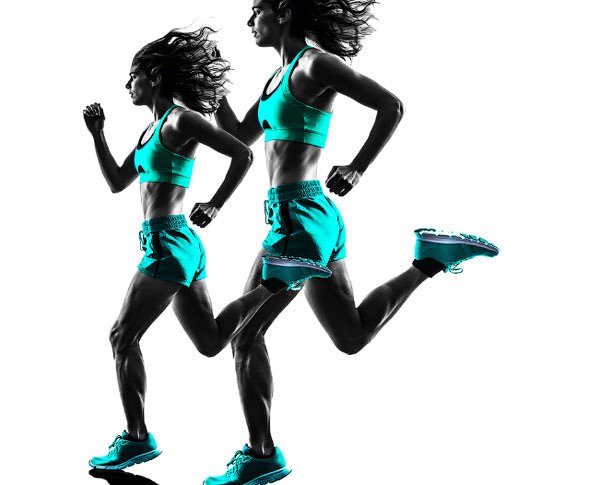
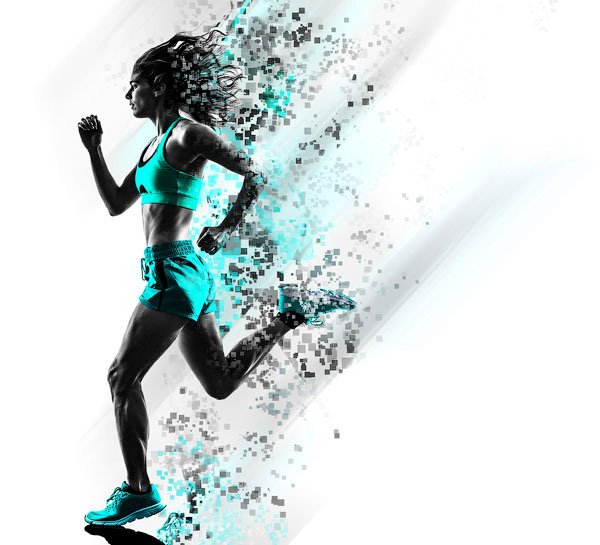
Result:

I hope that you liked this simple and interesting effect. Try to recreate this effect in your photos, as well as share your work in the comments to the lesson.
The final result:
Source: https://sites.google.com/site/mdk0501gruppa256/4-1-dopolnitelnye-raboty-photoshop
Not indicating that the content you copy/paste is not your original art could be seen as plagiarism.
Repeated plagiarized art posts are considered spam. Spam is discouraged by the community, and may result in action from the cheetah bot.
#art (https://steemit.com/trending/art)
Please refrain from using “art” tag for posting other people's creations without proper attribution or explicitly stating it's not yours.
If you are actually the original author, please do reply to let us know!
Thank You!
More Info: Abuse Guide - 2017.