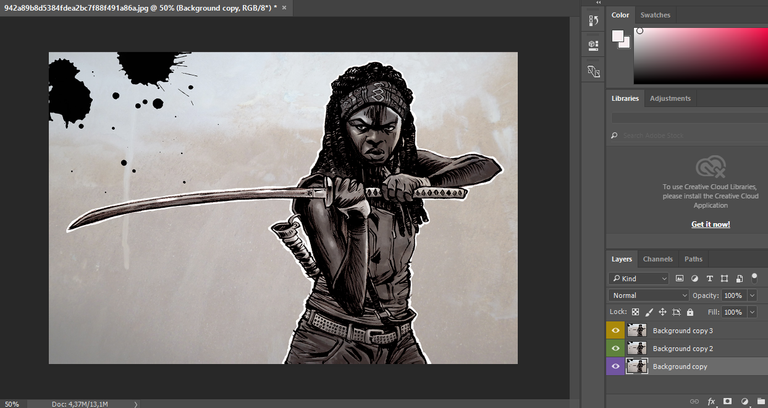
Let's use next picture for this lesson

Linking layers in the Photoshop is used to capture the current layout of elements on different layers into a single whole. At the same time, it is not about combining all the elements into one layer - they continue to exist on separate layers.
When is it useful?
Let's say you make a collage consisting of several elements. For example, in my collage, 4 elements (orange, face, left and right hand) were used:
As a result, each layer is in its place - positioned relative to each other. So we created a single composition. But there may be a need to move it to another location of the image. To accidentally damage the relative positioning of elements, layers can be linked.
In order to link the layers in the Photoshop, you need to select all the necessary layers in the palette (how to select two or more layers in the palette), then select any of these actions:
select the Layers command - Link Layers (Link Layers);
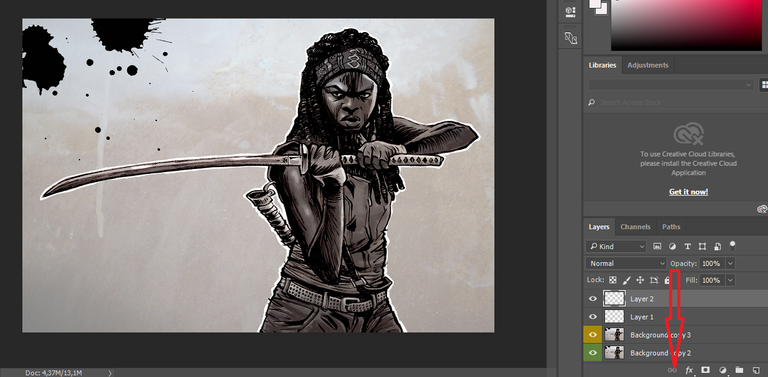
Click the chain icon at the bottom of the palette;
right-click on any highlighted layer and select Link Layers in the context menu;
open the palette menu and select the Assign Layers command.
After that, the icon of the chain will appear on the right side of each linked layer.
Now it is not necessary to choose all related layers at all, you just have to click on any of them and start moving it - and the rest will move with it at the same time. Thus, none of the layers will lose its relative positioning. Also, having selected only one layer, and let's say, by calling the Free Transform tool, all the associated layers will be highlighted in the frame, which means that the transformation will touch them together.
Of course, you can simply select all the layers and do all the same with them. But if we are not talking about 4 layers, and let's say about 20, let alone 100 in them, and, in addition, the layers that form a separate collage element are scattered throughout the palette (who downstairs who is at the top of the palette, who in her middle) - you can easily get confused, that you need to highlight. It's better in such cases to link everything once and then to be sure that you are all under control and not forgotten.
How to add an additional layer to the created link
To do this, select all the associated layers (the Layer command - Select Linked Layers), then hold down the Ctrl key and click on the new layer. After that repeat one of the above actions (the easiest way is to click on the icon of the chain).
Cancel communication:
"Separate" layers can be both individually and all together.
If you need to remove an extra layer from the connection, select it and click the chain icon.
To delete the entire connection, you must first select all the associated layers. To do this either manually select them in the palette, or use the Layers command - Select Linked Layers. After that, click on the chain icon or the Layers - Deselect Linked Layers command.
How to move one of the linked layers without affecting the rest?
If you suddenly needed to change the position of one layer, and he is part of a group of connected, then one can use one of two methods.
Hold down the Ctrl key, click on the thumbnail of the required layer. As a result, "marching ants" - a dedicated area - should appear around its contents. After that, you can take the Move tool and start moving this element. He will easily separate from his connection temporarily and will move without affecting the remaining layers. Remove selection Ctrl + D, and the layer will return to its original mode.
Hold down the Shift key, right-click on the icon of the chain drawn on the layer itself. There should appear a red overlapping icon - a temporary switch off signal.