Hey there! Are you ready to improve your coloring skills again? Then grab your colored pencils and we'll apply the lessons from the first tutorial into an actual drawing. If you haven't already seen the first tutorial I made, you can check it out over here. I will also avoid using artsy terms and color names just so that it would be easier to understand (Also I'm a self-taught artist so I don't know a lot of techy terms haha). Ok then, let's get started!
Note: This post contains an abundance of pictures
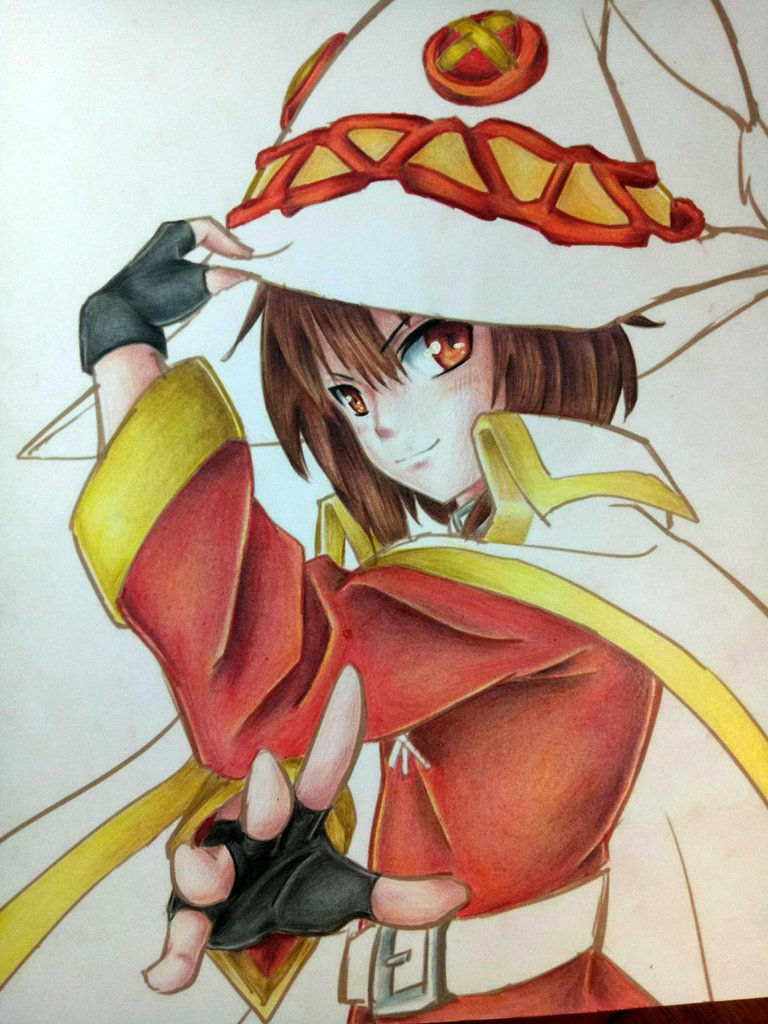
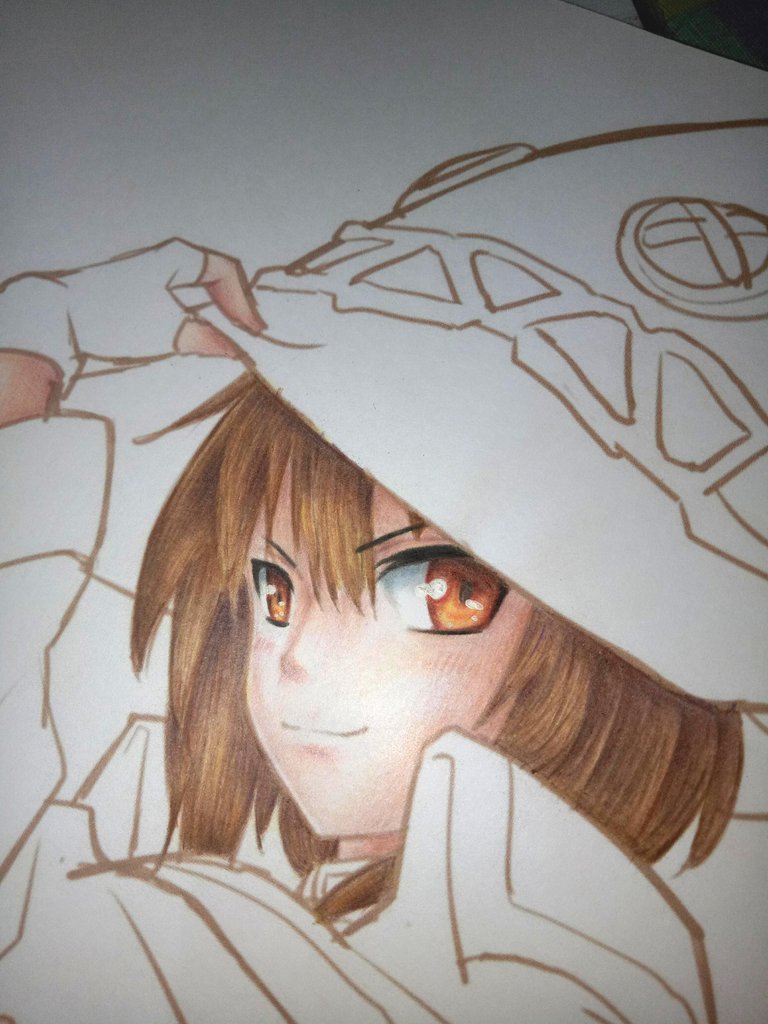
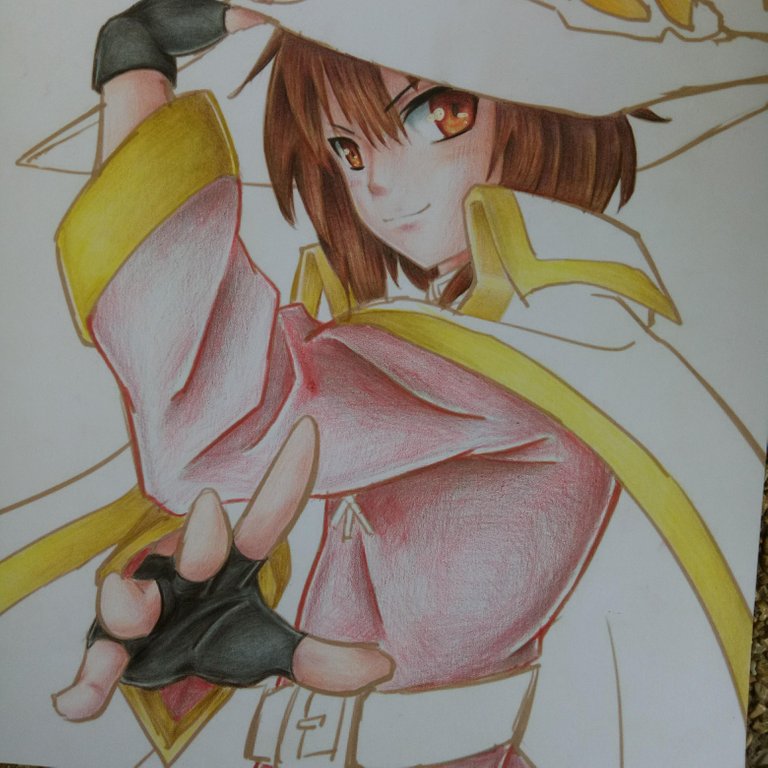
First we need something to color. Since a lot of my friends (especially from Facebook) also requested this tutorial, I decided to focus on the coloring only. So, I got this lineart sketch from deviantart made by zzzjack. Go check him out.
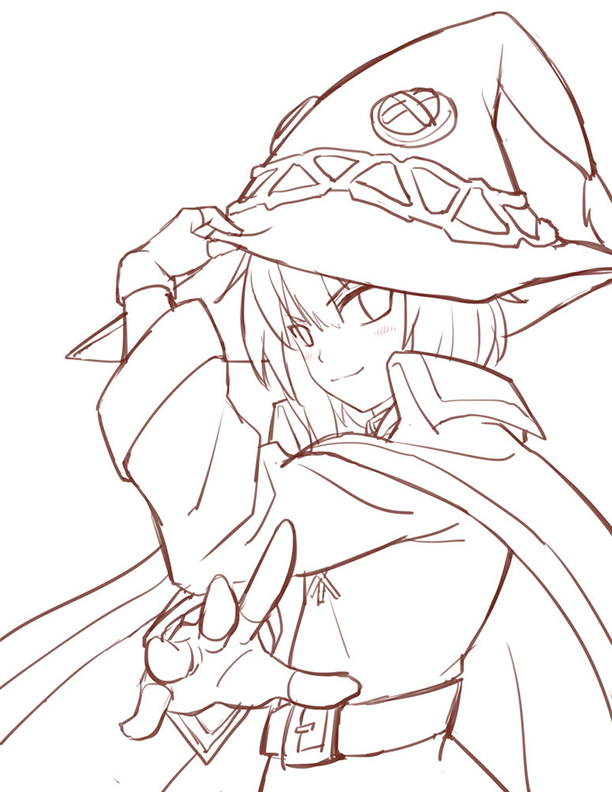
This is Megumin from the anime Kono Suba. This sketch doesn't have a color reference so this is also a challenge on my part to figure out shadows. Again, I'm using the Faber Castell Classic Colored Pencils
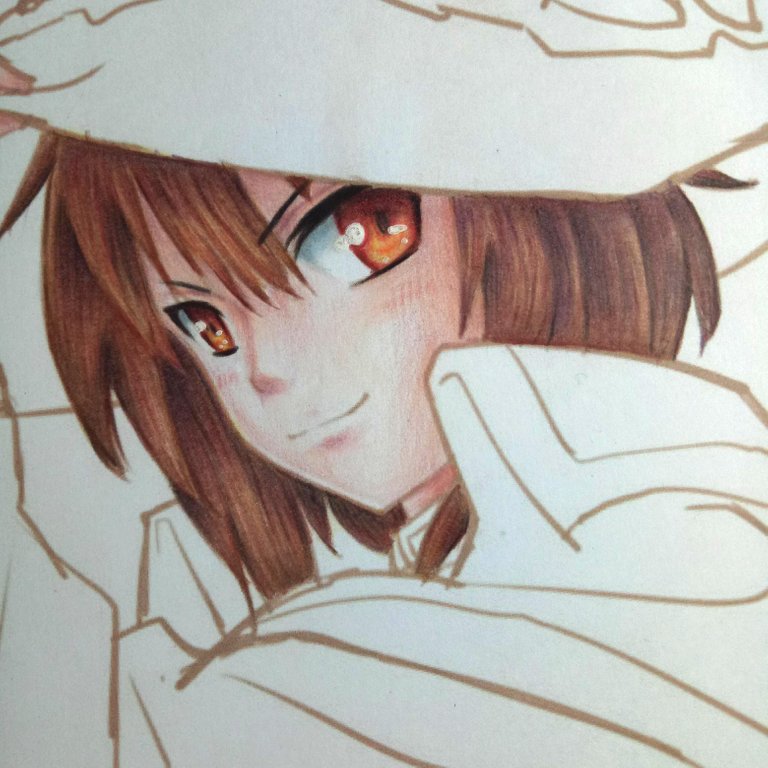
Let's recap. So we have learned that blending complementary colors together can create darker shades of color. For example, we'll start coloring the eye. Megumin has red eyes, so I colored the eyes green first, like so...
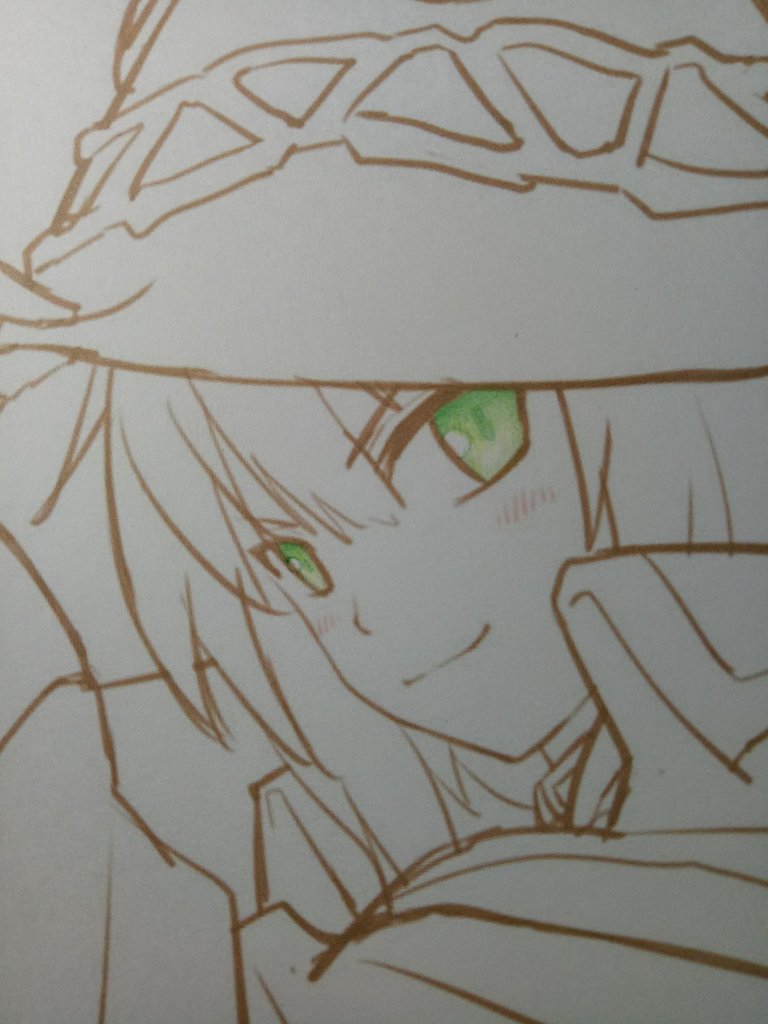
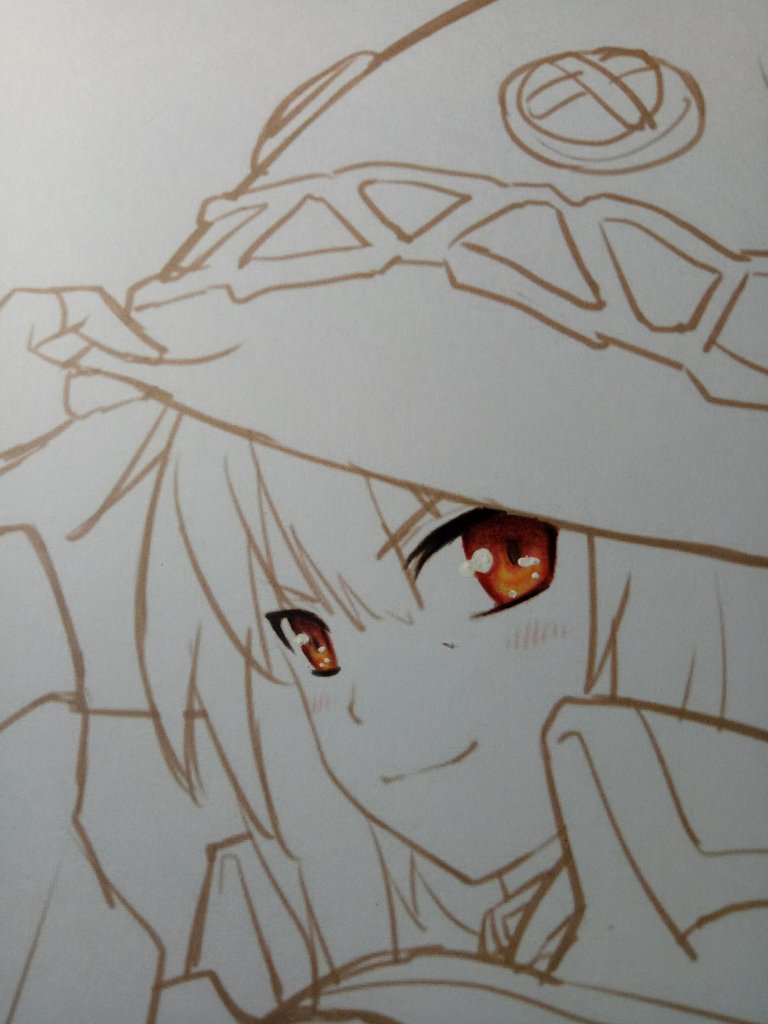
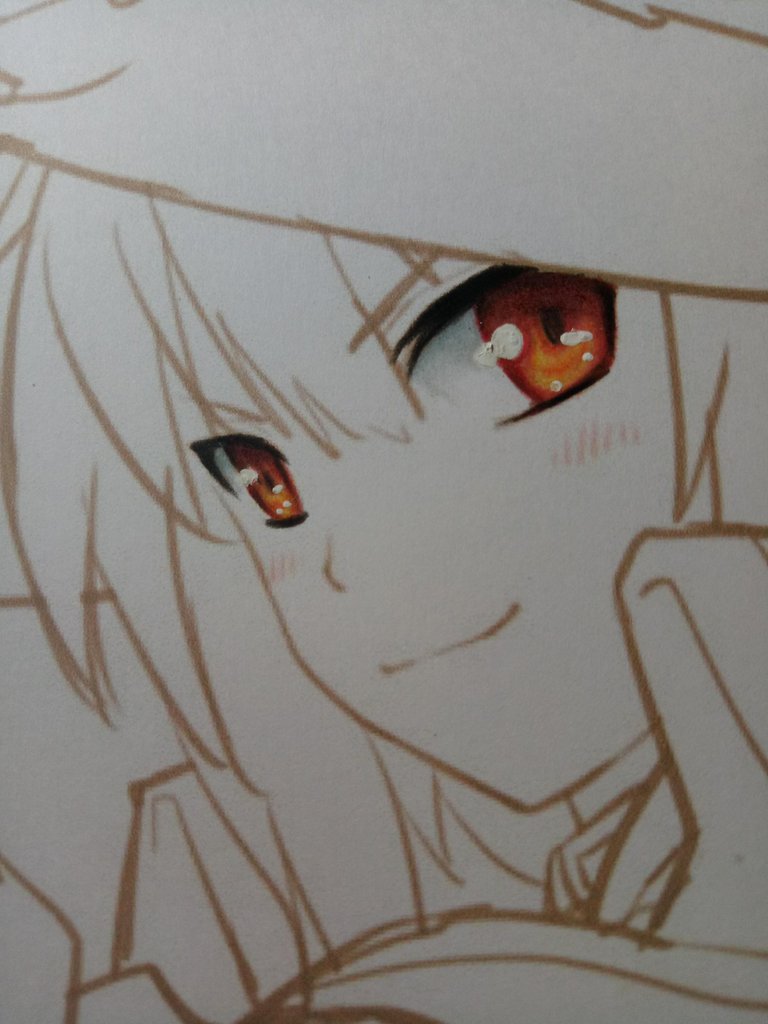
To achieve smooth blending of colors, remember that you must be able to master coloring from dark to light. Just like I said in the first tutorial, practice it until you won't be able to see the individual hatched lines. Watch the gif I made for that. It's hard to explain the process I made coloring the eyes. I could make a new post about that. Comment down below if you'd want that.
A lot of how I color starts like this. Color the dark areas with a color that's opposite (most of the time) to the original color of the subject. It's really hard to explain the coloring process in words so let me just show you.
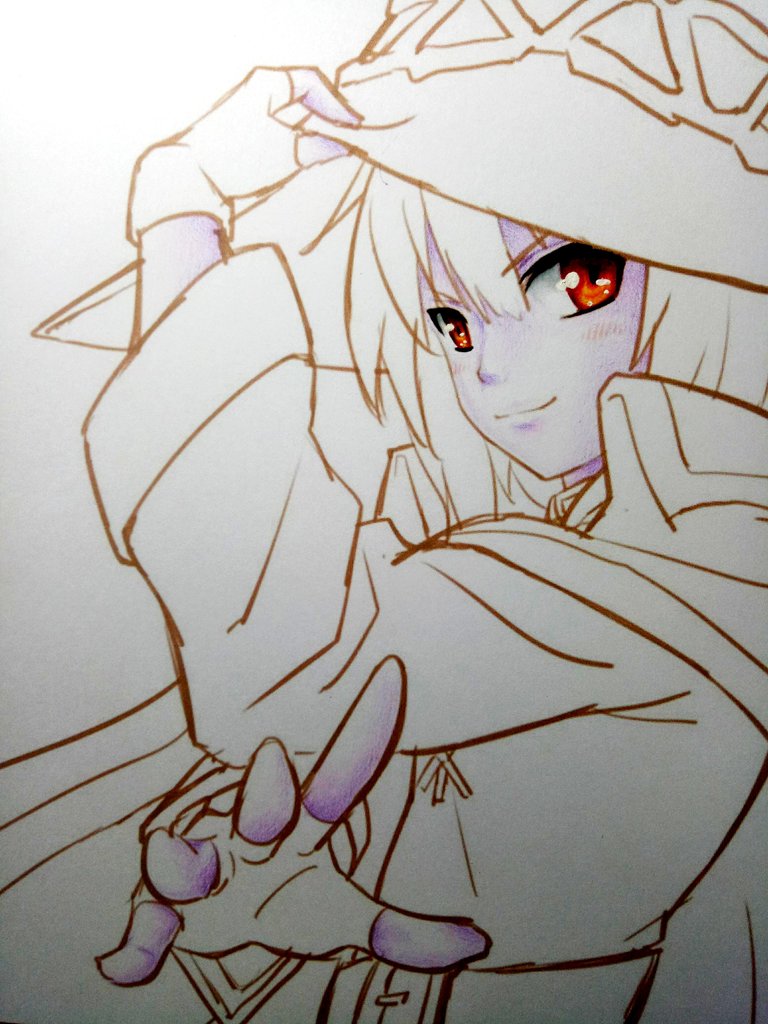
I taught in the first tutorial about the many combinations of skin tone. You can use any of them, but I decided to use purple, light pink, and peach for Megumin. I colored the dark areas of the skin purple, and then used the light pink as a cheat to easily achieve the dark to light transition of the color. You can always use a colored pencil with a lighter pigment (eg. light pink, sky blue, yellow, yellow green, yellow orange, etc.) to easily achieve dark to light. Just try to experiment.
So to continue, I'm going to start coloring peach. Let the magic begin!!!
WHOOOOOSHHHH!!! I only used 3 colors (and only 1 layer for each color) for the skin tone. By doing the first two layers of purple and pink, you can contrast the light and dark areas. Just remember that you're always supposed to be coloring LIGHTLY on the first layer, or it will NOT BLEND.
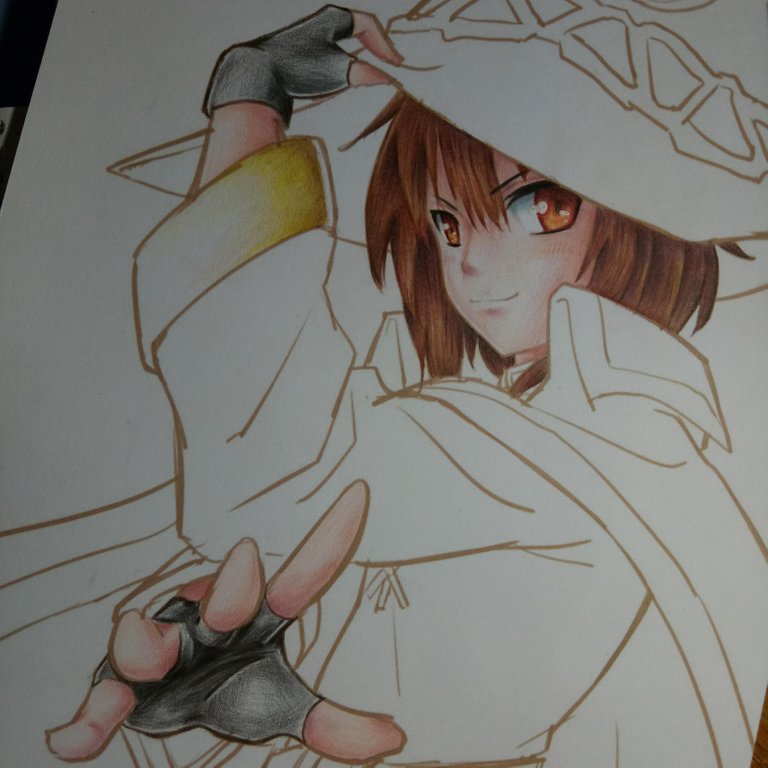
Now how about colors like brown? If they're not on the basic version of the color wheel, then what should I use to create darker shades of brown?
Now I would recommend to NEVER use black for shadows, UNLESS you can't add any more layers. Perhaps coloring her hair would help to explain it.
So I used purple and yellow alternately to recreate where I want the shadows to be. (I learned this through experimenting combining colors btw). Then it's just a repeated layer of brown, then purple, then yellow, then brown again, until I was able to achieve this...
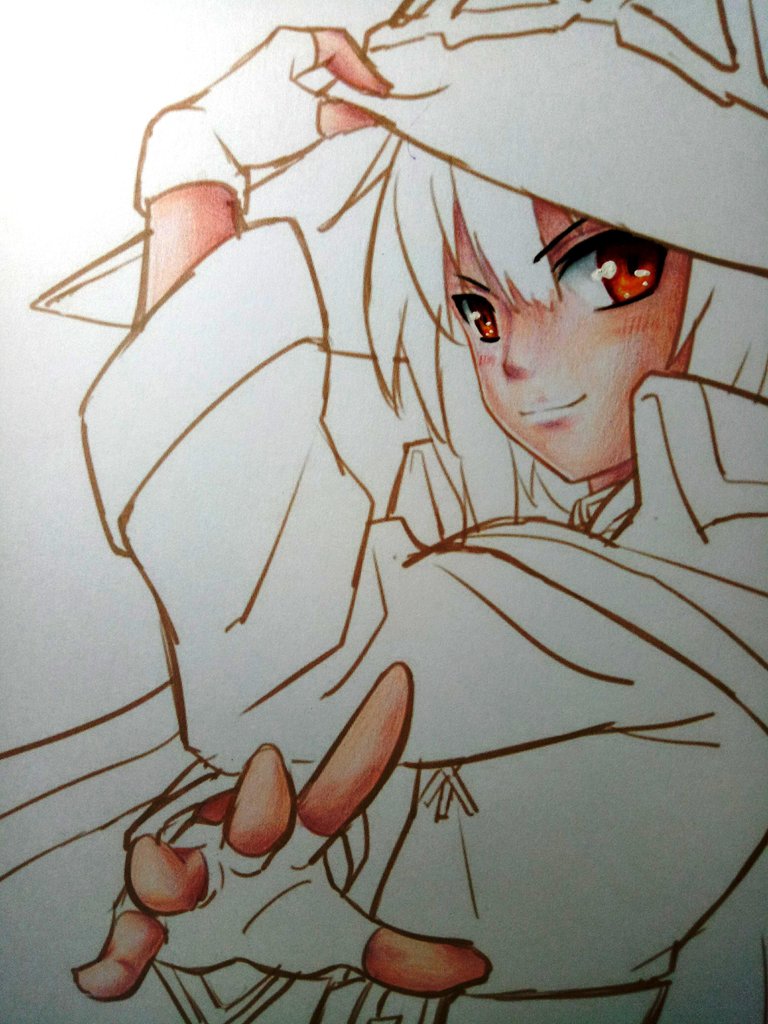
Okay so it was fine until I checked a her picture. I noticed that her hair was a lot more... chocolatey (I guess haha) so I layered it again with another color. Just search for Indian red. It's like a brownish red.
It's becoming hard to blend so I resorted to using black. By my experience, the black pigment can always stain the paper no matter how many layers you put. Just be careful though. Too many layers can also damage the paper.
So after fixing her hair. It turned out like this...
Just remember than you can fix minor mistakes, or even improve it by adding more layers of color and blending them.
Just a tip when coloring black subjects: add a first layer of sky blue

They will serve as a guide to where dark areas will go. They also help to remove white spots. For example...
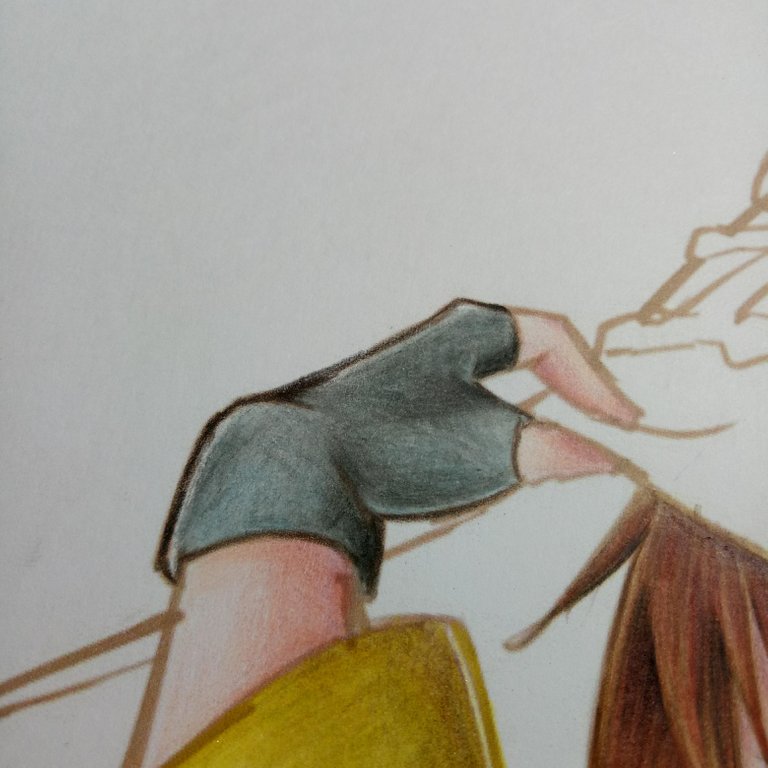
I have colored each layer in this order: sky blue, gray, black, and sky blue again. You may not notice in this photo, but sky blue is the last layer
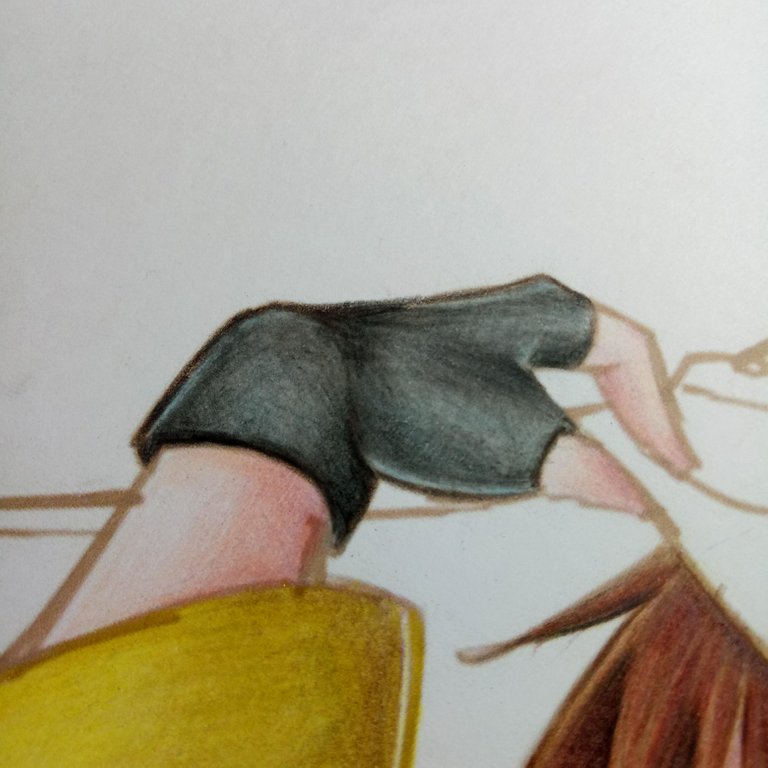
After, I colored it black again just to contrast the dark areas of the glove
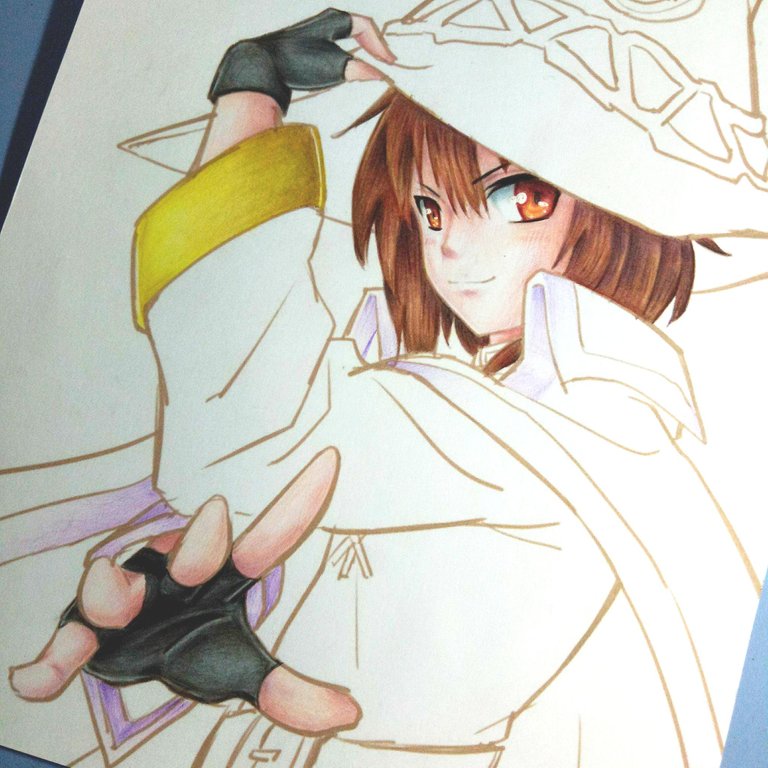
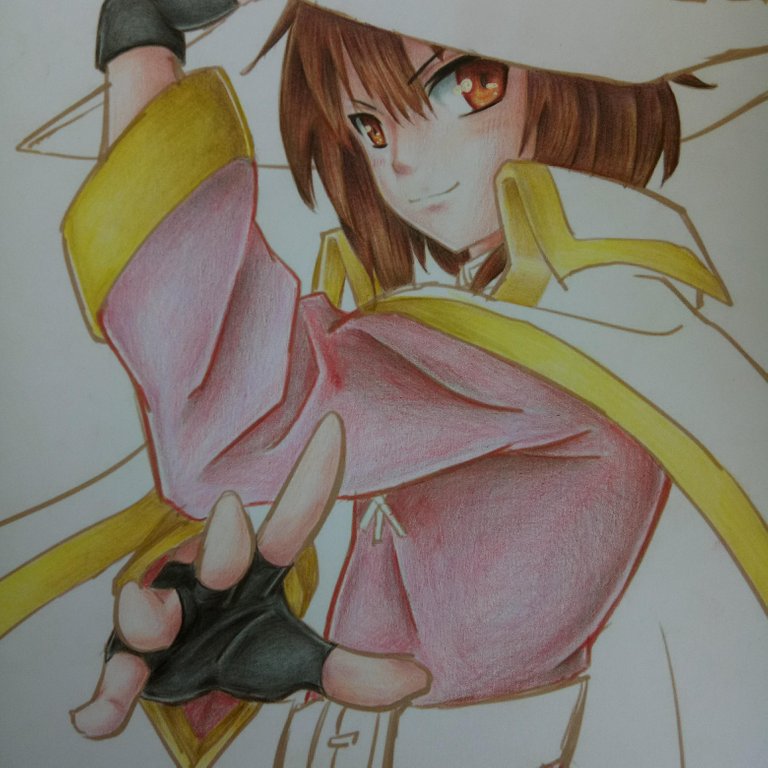
Ok so for her sleeves and outlines of her cape, I just colored it purple where the shadows would be, and just colored the whole thing yellow. I also had a gold colored pencil so I added it on to improve the dark to light transition. If I didn't have gold though, I would probably experiment using yellow green.

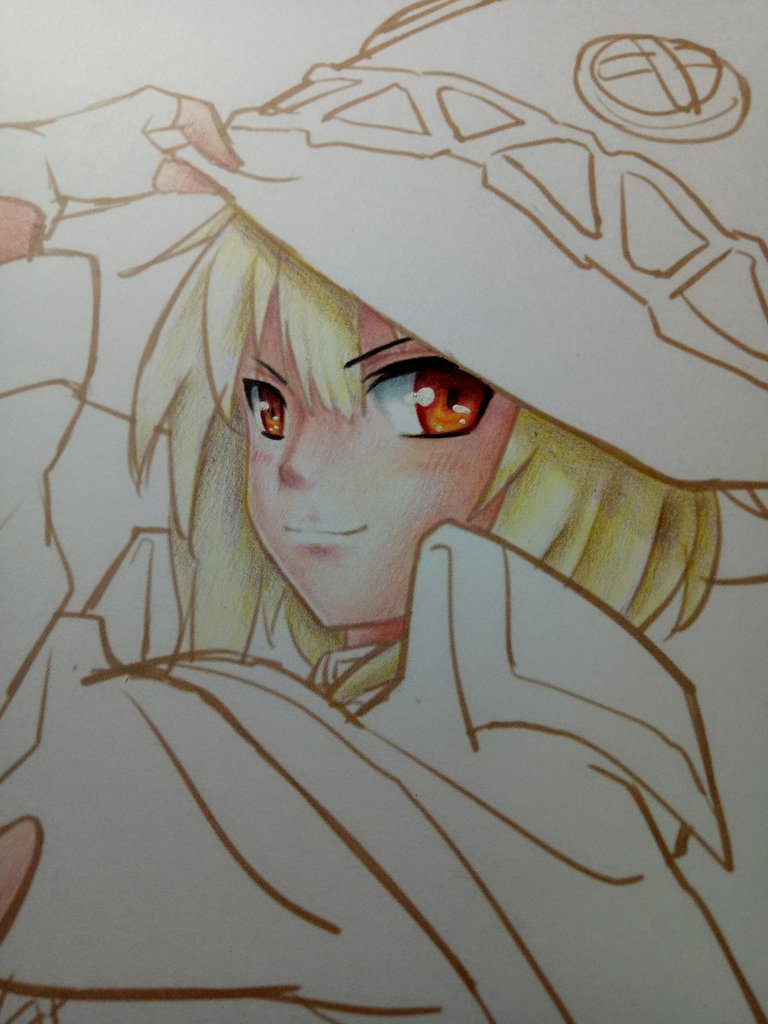
It's also up to you to experiment!
So for this next one, I will try to push the limits of how many layers of color I can do.
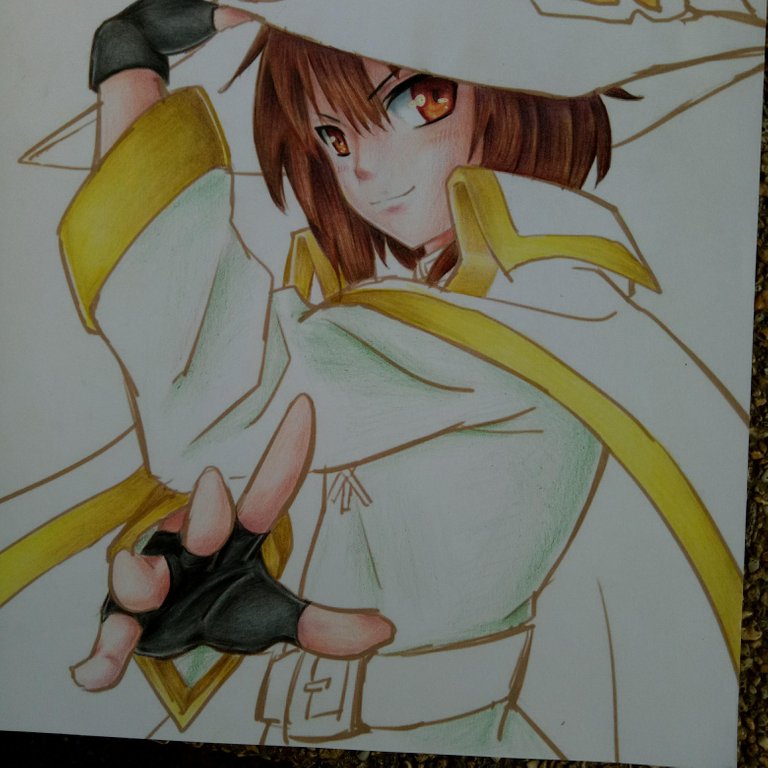
For the first layer, I just colored the dark areas green. I always try to visualize where the shadows would be if I don't have a reference. Just color it very lightly so that we can add more layers.
Next, I used sky blue just to help improve the dark to light transition
After that, I finally color it red. Red is the original color of her robe(???) (I don't know my clothes haha). BUT, I can still add more layers.
I just added a little bit of light pink to help eliminate the white spots.

After that, I wanted to contrast the dark areas a lot more, so I added a layer of blue. Now here comes the final step
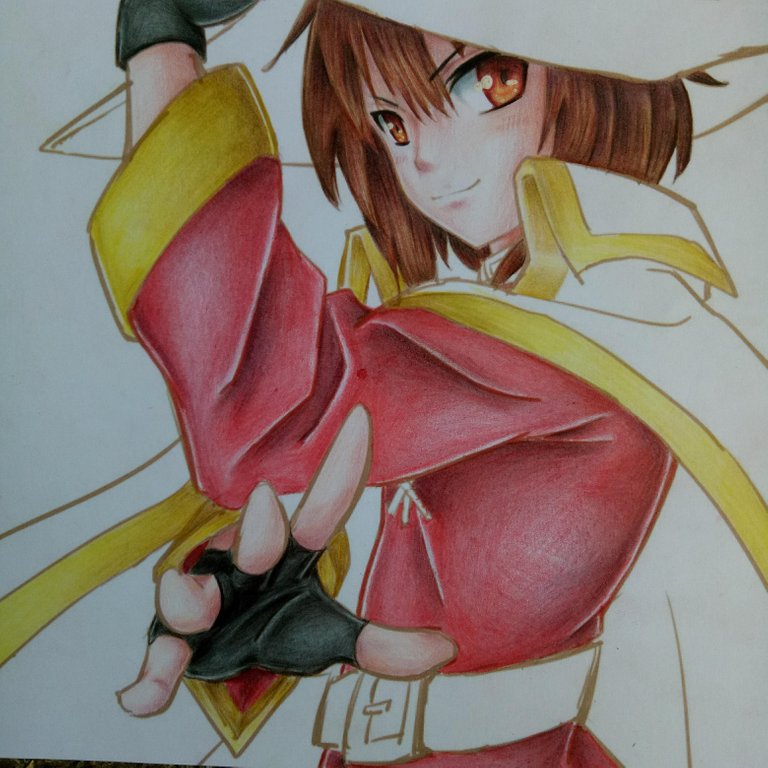
Taa Daa~~~ I color the whole thing red again to show its final outcome. It turned out alright, but it seemed kind of dull to me. I decided to make a gamble and added a layer of yellow.
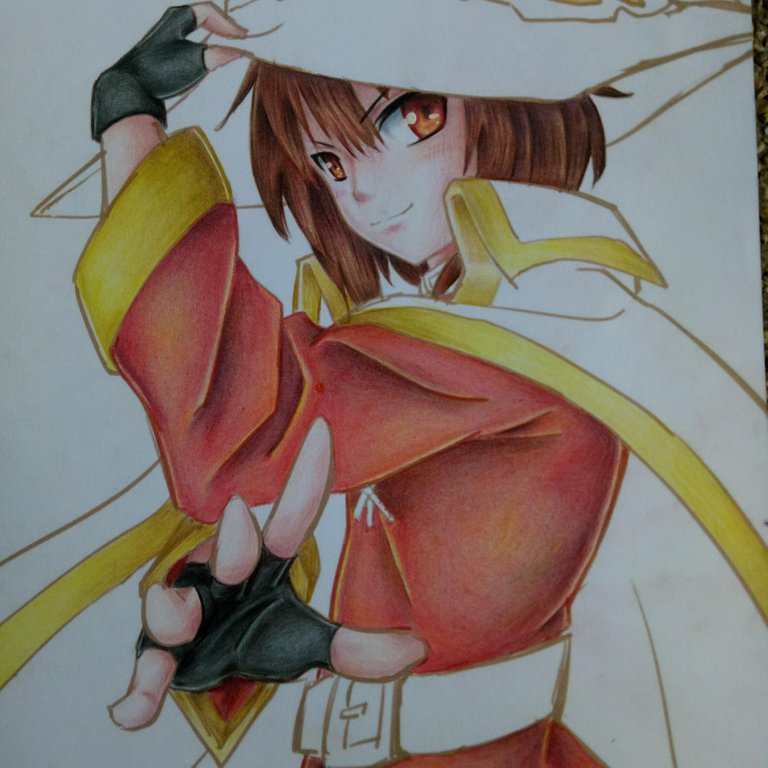
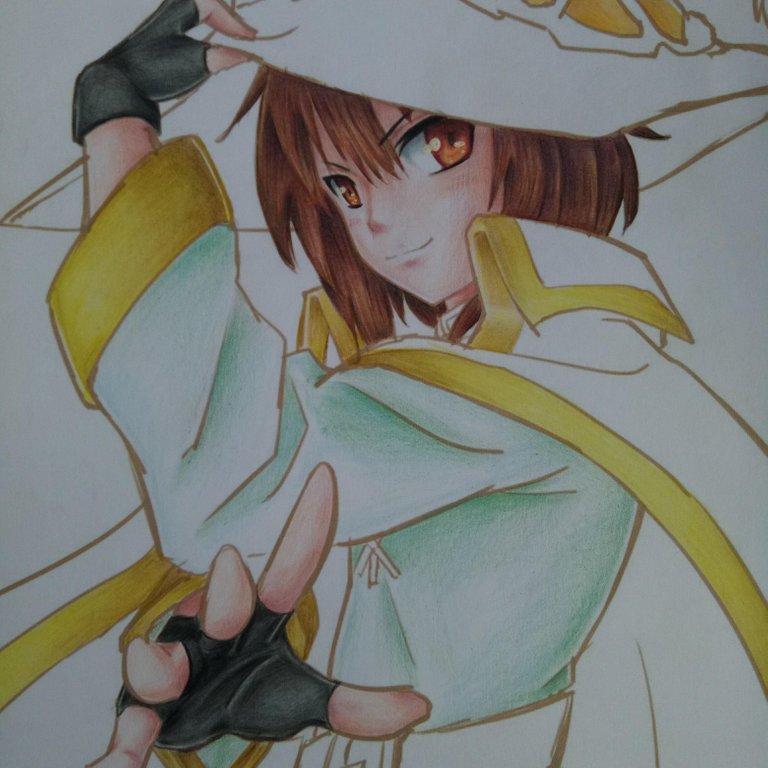
Well, there you have it. It was hard to blend a lot of colors. I would not recommend doing this if you're not used to coloring lightly. I would also not recommend this if you're using cheap colored pencils. The most affordable and most reliable Colored Pencil for me is the Faber Castell Classic Colored Pencils. They cost at around P280.00 or 5 US dollars. I know that other countries have better brands, but for Filipino artists, use colored pencils around the 300 peso mark. Colleen Colored Pencils are also really good for blending. The pigment really sticks to the paper. My only problem with Colleen is that it gets exhausted easily. The wax is soft and easy to break.
That's all for this tutorial. I probably won't be doing any for a while. If you have any more questions, I'll gladly entertain them. I'll share the finished output tomorrow for you guys.
Upvote if you liked the tutorial. Resteem if you also want to share this knowledge to others. Help to share the love for art <3. Follow me if you want more of my content. Thanks for reading :)
This was great! You're so clear in the way you explain and your art is amazing! Awesome work!
I'm trying to start up a discord chat for minnow writers and artists for a convenient place to start making connections, supporting and following one another etc. I'm just now asking people so it's nothing spectacular but if you're interested let me know!
Thanks! I'd love to join. I don't have a discord account so I might actually make one now haha.
This is amazing, you have great skills I was blown away (pun intended) by the way you colored the eyes, keep up this amazing work!
Thank you :) Did her explosions get to you? hahahaha.
I'm glad you liked it.
It was love at first bang lol