Hello everyone, today I'll be showing my process for a cheeb Penelope here with her Ladybug friend.
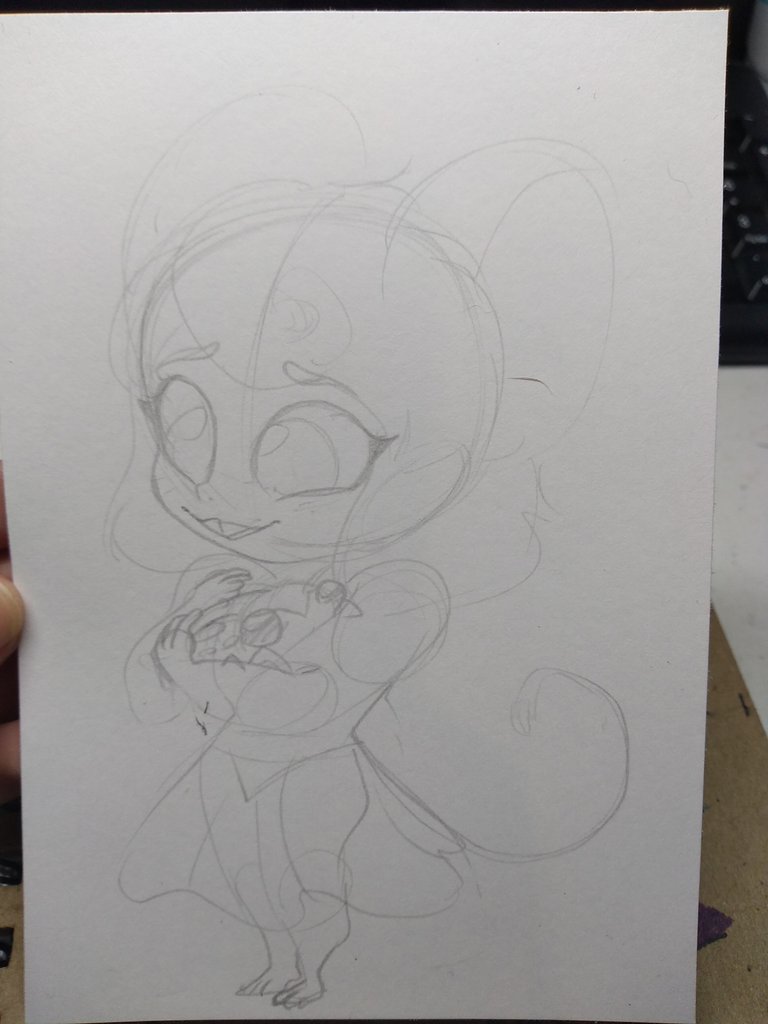
I always start with a quick pencil sketch to work out kinks and to work out changes if need be. It will always look a bit rough as you'll see how I changed the ladybug's looks later in the inking stage.
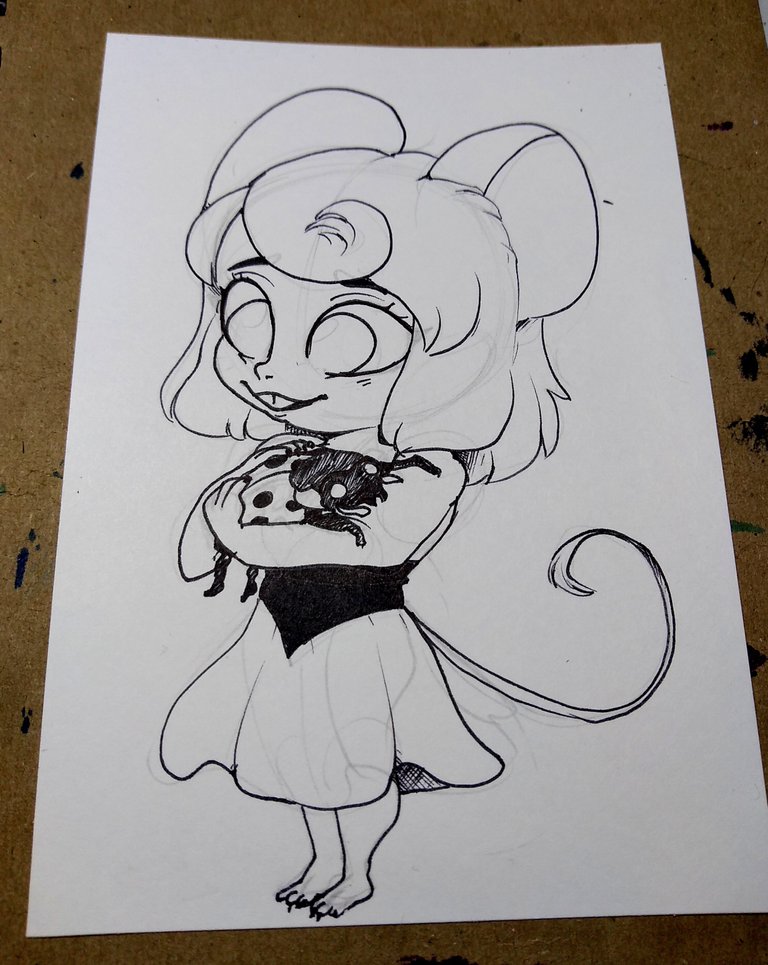
Next, I go onto inking the penciling, trying to be careful how I make my lines.
As a tip, it is always good to have a photocopy of your drawing before you start inking just so that way you won't get nervous like me when I ink
I let the inks dry for thirty minutes before I start putting in the colors.
Though letting your inks dry overnight is suggested if you want clean lineart with no smudges
Generally, when I begin coloring, I start with the hair and skin before I start doing the clothes. It's easier to do this first so that you can get an idea of what colors you want your illustration character to wear. 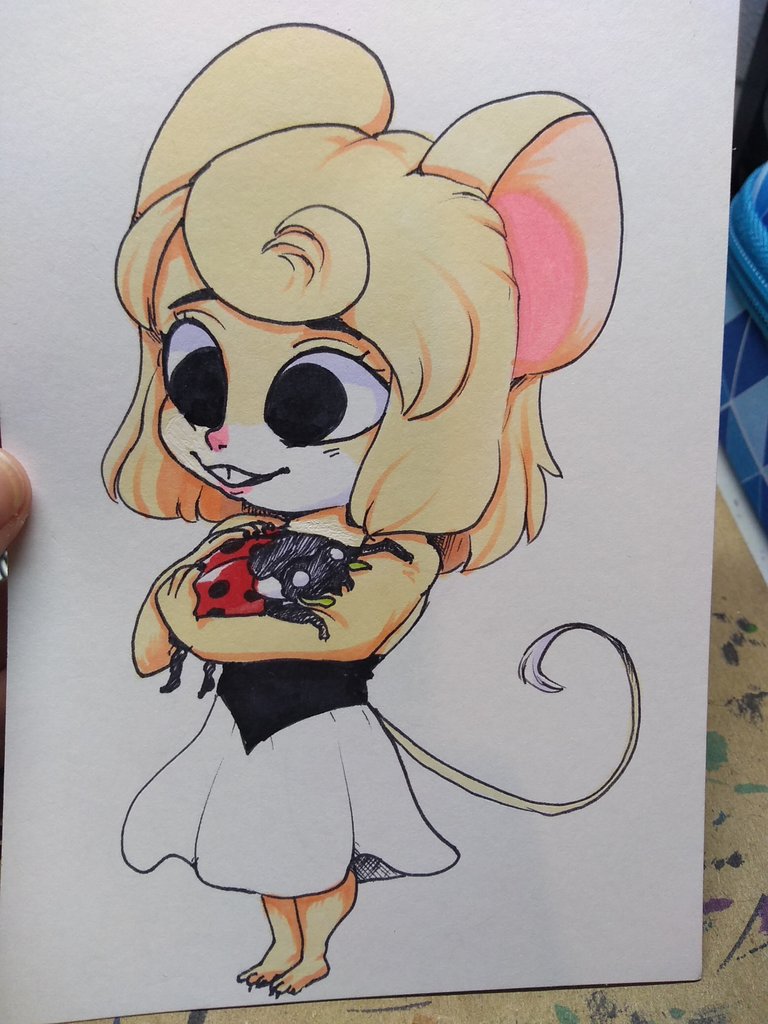
Now I move onto doing her cute polka dot dress. I thought it would be cute to have her matching the ladybug after testing out colors on a little piece of scrap paper here. 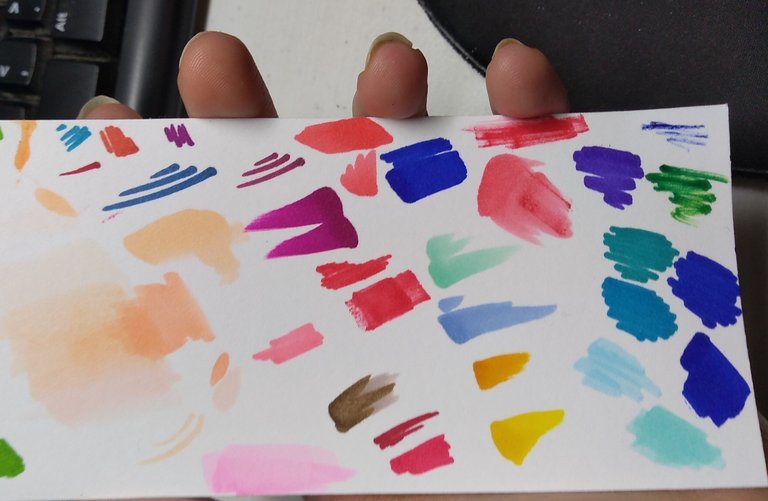
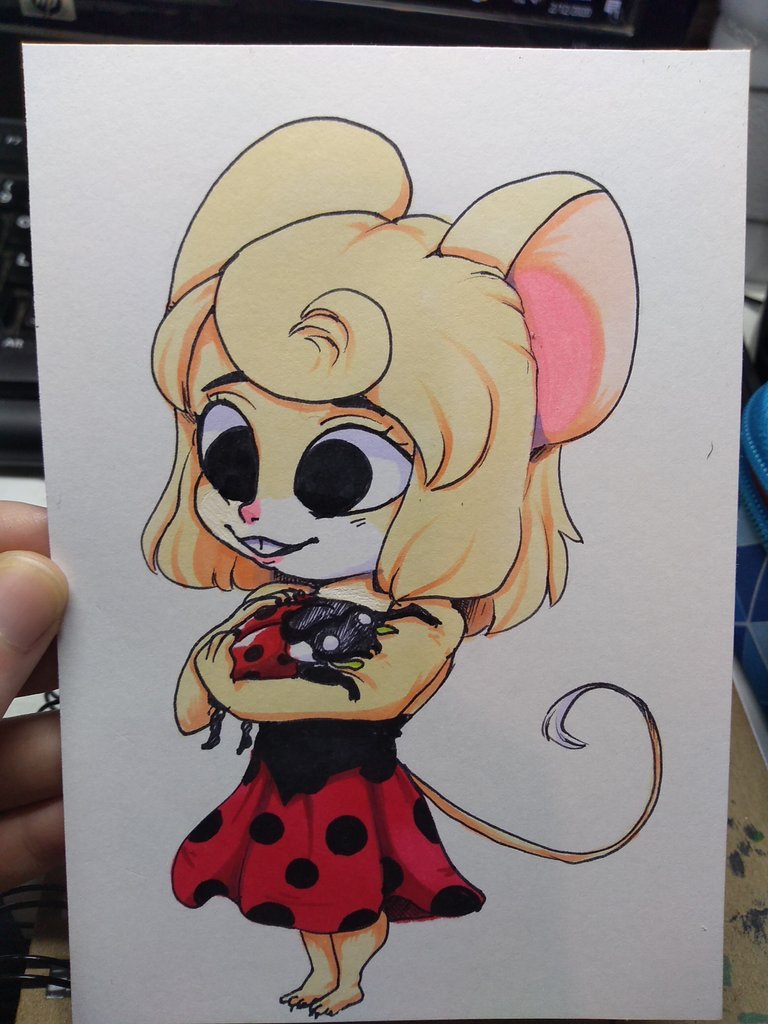
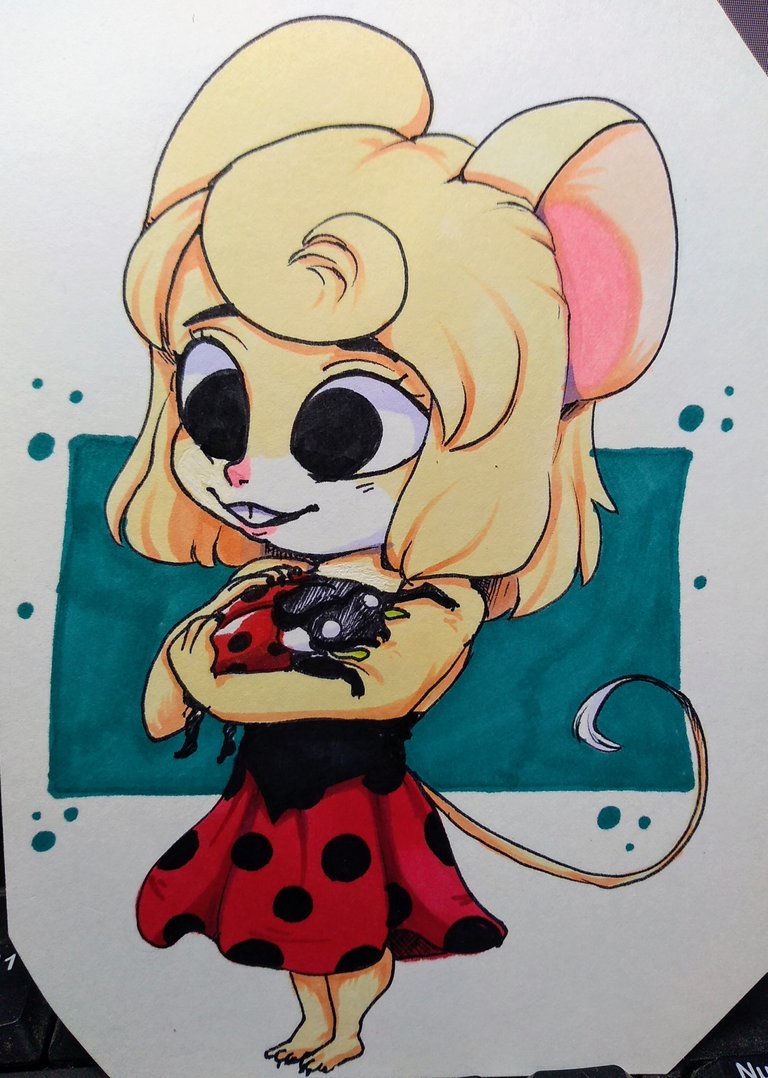
I add a little extra background to make them pop and this is the end result.
Supplies
Master's Touch Markers 7 and 9.
Copic Markers E93 and BV02.
Ohulu Brushtip Markers R8.
Artkills Markers Black and Red.
TouchNew 133.
Sharpie fine liner.
HB 2 pencil.
Card stock paper.
Permanent aqua green marker.
Staedtler Eraser.
White gelly roll pen.