Here I am again, and in the tutorial of this post we will draw the character Monkey D. Luffy from the anime called One Piece.
By default, first I present the walkthrough in video, more easily; Then I'll write it down if you can't keep up with the video.
Come on!
Video walkthrough
Below is the full video, just hit play!
Walkthrough written
Now let's go to the written step by step, where I will detail the drawing in parts.
This is for you who cannot follow the video. Come on!
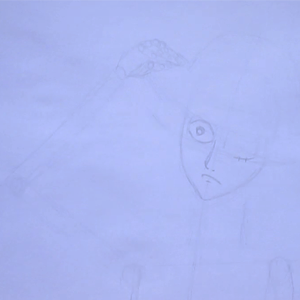
Step 1
First let's draw the character's face, and for that, basically take the shape of a lemon and use it to make the eye, which is wide open; and make the ball in the center.
For the nose, just make two points, and a curved line and rising to the right eyebrow.
For the mouth, just make a curved line down below the nose, and another much smaller line just below the mouth.
The left eye will be plugged, so make only the scar it has under that eye.
To shape the face, make a pointed chin as this is a characteristic of the character.
Step 2
Now to make the hat, just draw a very oval circle just above the character's eyes, and above that circle, draw a bowl facing down.
Then just make another bent line in that bowl, representing the cloth on the hat.
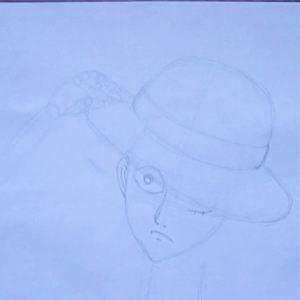
Step 3
Starting with the hair and neck, just make thin, curved triangles and go down, while the character's neck, by characteristic, is thin.

Step 4
For the shoulders and arm, it's simple to do since the character is not very muscular so follow the contours of a thin person.
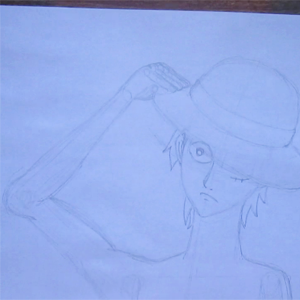
Step 5
Finally the shirt.
Do it by circumventing the character's body traces, and open, demonstrating the X scar the character has on his chest.
On the sleeves and underside of the shirt, make the little twists, giving her more movement and reality.
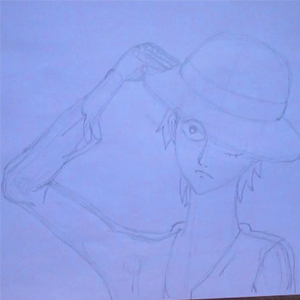
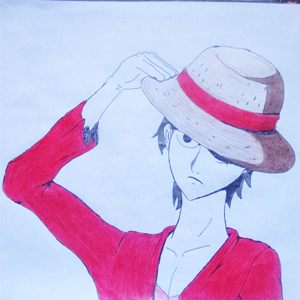
Final Result
Okay, this is the end result.
If you want you can do the complete painting!