H
ullo! Hope everybody is fine and doing good!!
I hope this article will be slightly more entertaining and interesting!!! ....atleast more than all the other physicsy articles that keep popping out of my blog!!
Today, we'll dive into the world of Blender!
![]()
You all must have at some point or the other watched animated movies! Which of those did you like the most?
MiNiOnNnsssz!?

...was it this one?!
Ever wondered how these movies were made, or did you ever thought that since most of the work is done on a computer without the need of expensive sets and paying actors..."Can't I do my own movie?!"
Well, Blender is a free software where you can make just that!
More over, Blender is FREE and OPEN-SOURCE.
Well, as you may have already guessed, Blender is maintained by an organisation, you can find it's official website here: https://blender.org
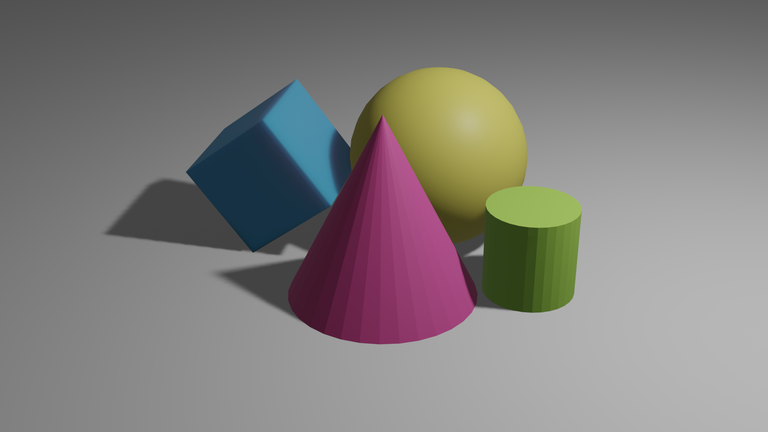
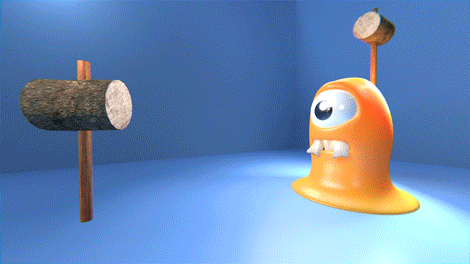
Blender also releases Open Movies regularly to showcase its new features and capabilities.Here, I am attaching the three which I liked the best:
Blender open movies are always good and fun to watch! Hopefully these must have given you an idea as to what Blender can do.
Having said that, now let's dive straight into Blender, and make something for ourselves.
Downloading Blender
You can download the latest version for Blender (Windows, Linux or Mac) from here: https://www.blender.org/download/

(The current version as I write this article is 3.0)
Linux Users : Can simply use the terminal command
sudo apt install blenderto install the software on their system.
Opening Blender For the First Time
Opening an interesting software for the first time is always an exciting thing, even if you know nothing about it, you can always press a few buttons here and there, and mess around till the hype fades out! Haha!
So lets open up our software and see the interface!
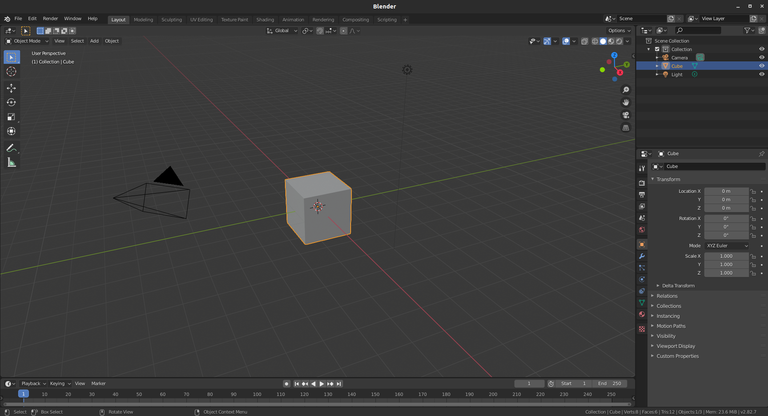
Wow! That's what the interface of the app looks like! The central main portion is called the viewport. You can see the default cube and the camera on the left of it. On the right of the cube, you can see the light which looks more like a ball with a piece of string attached at the bottom.
Our First Blender Render
Now that we have already seen the interface, the next exciting thing is to make something for ourselves using the software!
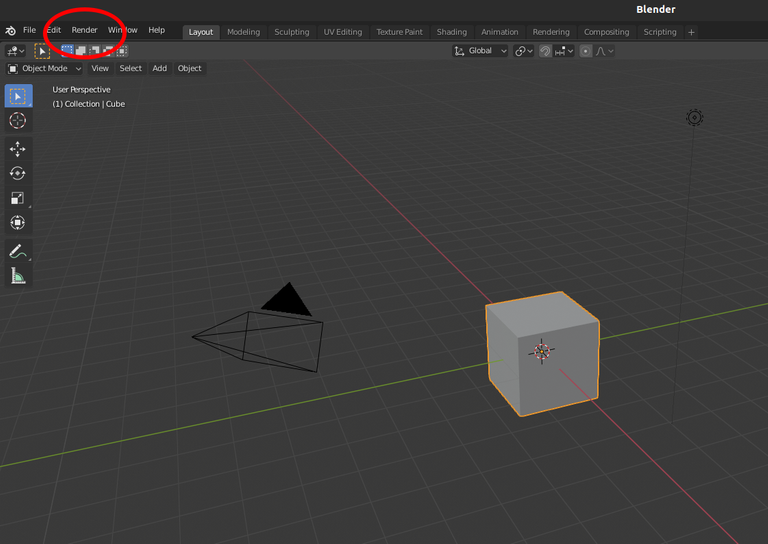
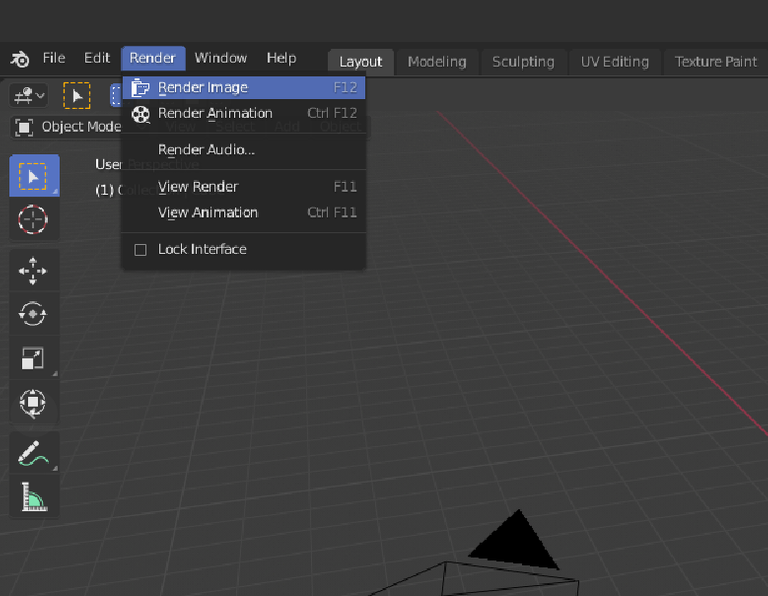
Just open the software, and follow these steps....we'll be rendering the default scene in Blender which is basically the default cube as seen by the camera under the light from the lamp we have in our scene....!
⇩
⇩
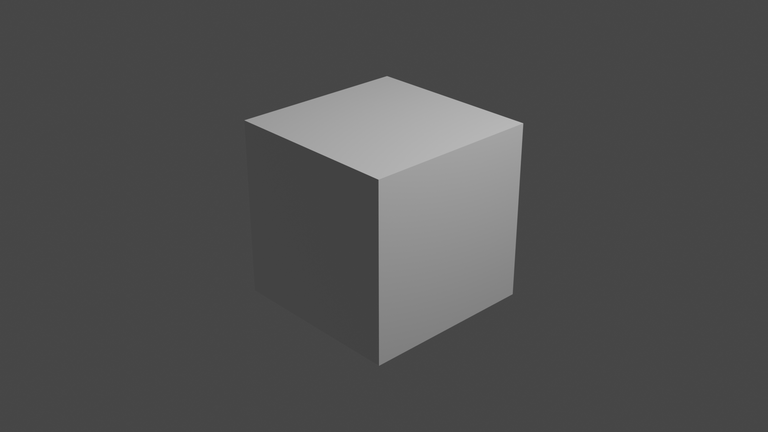
Wow! There you have your first render using Blender!! 🥳
You can save it on your PC, and share it with your friends!
Making the Cube More Interesting
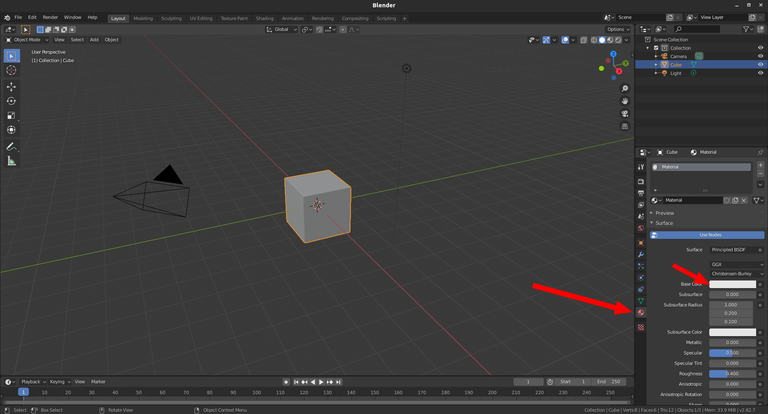
Well, some of you may be thinking that this cube looks so boring what so great about it, so let's just add some color to it. We'll just make it light blue!
So, just click on the cube, and then follow these steps :
⇩
Now select the base-colour.

⇩
Just render the scene again, and you should now get a blue cube rendered as an image!!
Making the Scene More Lively
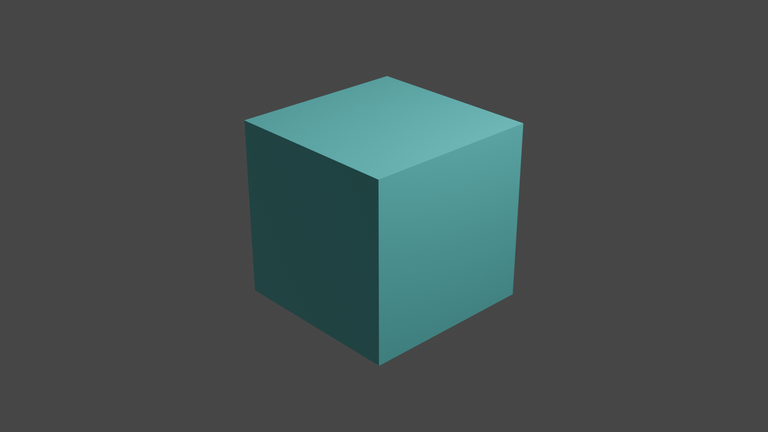
If we want we can also throw in some other shapes, and colour them up as we did for the cube. You can use the following shortcuts and steps:
- Adding new object :
Shift+A⟶ Mesh ⟶ (Select your shape) - Move a shape : Select the shape ⟶ Press
G⟶ (move) - Scale a shape : Select the shape ⟶ Press
S⟶ (move your mouse to scale) - Rotate a shape : Select the shape ⟶ Press
R⟶ (move mouse to rotate)
Here, I tried adding some more shapes....
Getting A Perspective
So, okay..you may be thinking..."Now I can create and render a simple scene in Blender...but where does this road take me...?"
Well. you are right, its good to have some perspective. So, in my knowledge, moving ahead with Blender, we'll learn the following:
- Creating simple, yet photo-realistic scene in Blender. To start with the scene can be a simple doughnut on a plate!

- Creating and rendering complex scenes.

- Mastering Animations in Blender.
- Possibly making your own short film on Blender!! 😉
There You Go! Now you know where we are headed! 😅
Future of this Blog Post
This blog post is a part of a series on Blender Animation. In the next post in this series, we'll follow along some interesting online tutorials on making savory doughnuts! If it interests you, please feel free to follow along...
See you in the next post in the series...keep blending!
Best,
Martin Medro
Copyrights & Credits
(All images and media used in this article are my own creation unless otherwise stated.)
- Blender Logo : https://en.wikipedia.org/wiki/Blender_(software)
- Minions - Despicable Me Image : https://en.wikipedia.org/wiki/Minions_(Despicable_Me)
- Blender : Doughnut on a Plate :
- Blender Complex Scene : https://www.creativebloq.com/features/17-top-tips-for-modelling-a-complex-3d-city-scene
- Blender Animation Sample : https://www.blendernation.com/2017/09/20/gif-animations-made-blender/
- Blender open movies (Youtube) : https://youtu.be/WhWc3b3KhnY, https://youtu.be/PVGeM40dABA, https://youtu.be/mN0zPOpADL4
Congratulations @medro-martin! You have completed the following achievement on the Hive blockchain and have been rewarded with new badge(s):
Your next target is to reach 21000 upvotes.
You can view your badges on your board and compare yourself to others in the Ranking
If you no longer want to receive notifications, reply to this comment with the word
STOPSupport the HiveBuzz project. Vote for our proposal!