photo taken from, Casio Exilim EX-ZS6 de 16.1 MPX
Lately I have slept, because I am working to improve my drawing techniques, but when I decide to sleep my mind takes me to very crazy worlds ... to think that you are playing volleyball in the clouds with a bird, they are very crazy dreams, sincerely I already feel Alicia.
✬✬✬ materials✬✬✬
Block paper bond measures (21 x 29)
Graphite pencils: 3h, 3B, 6B
Diffusers: #3, #6
Time: 5 hrs
Date: 20-05-2018
Guide image
Transformed to black and white with the help of Word


photo taken from, Casio Exilim EX-ZS6 de 16.1 MPX
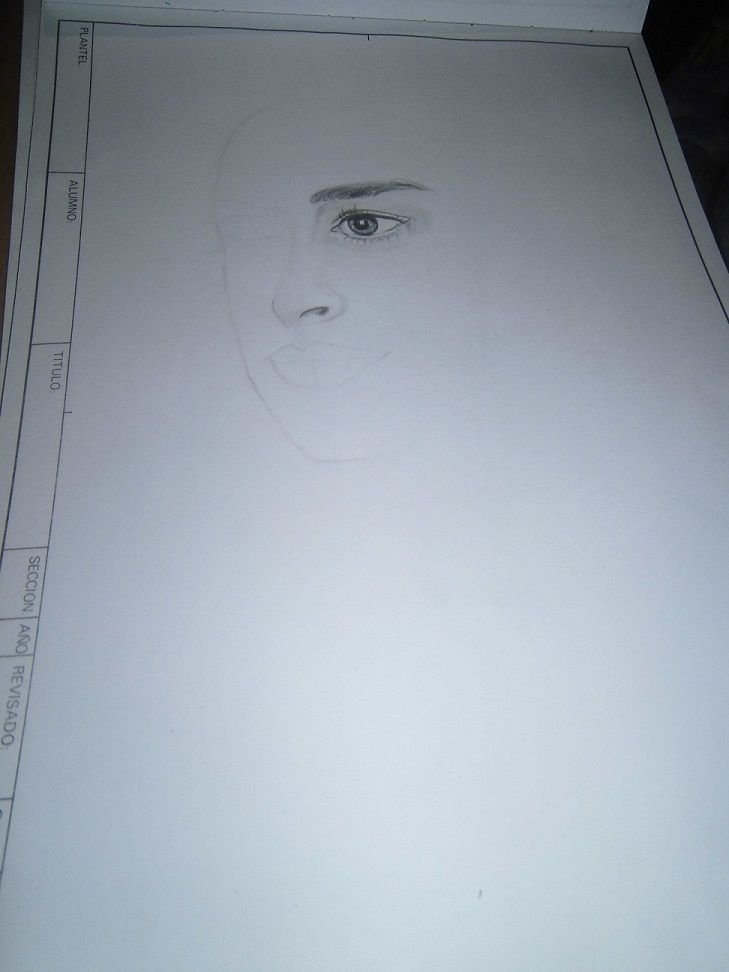
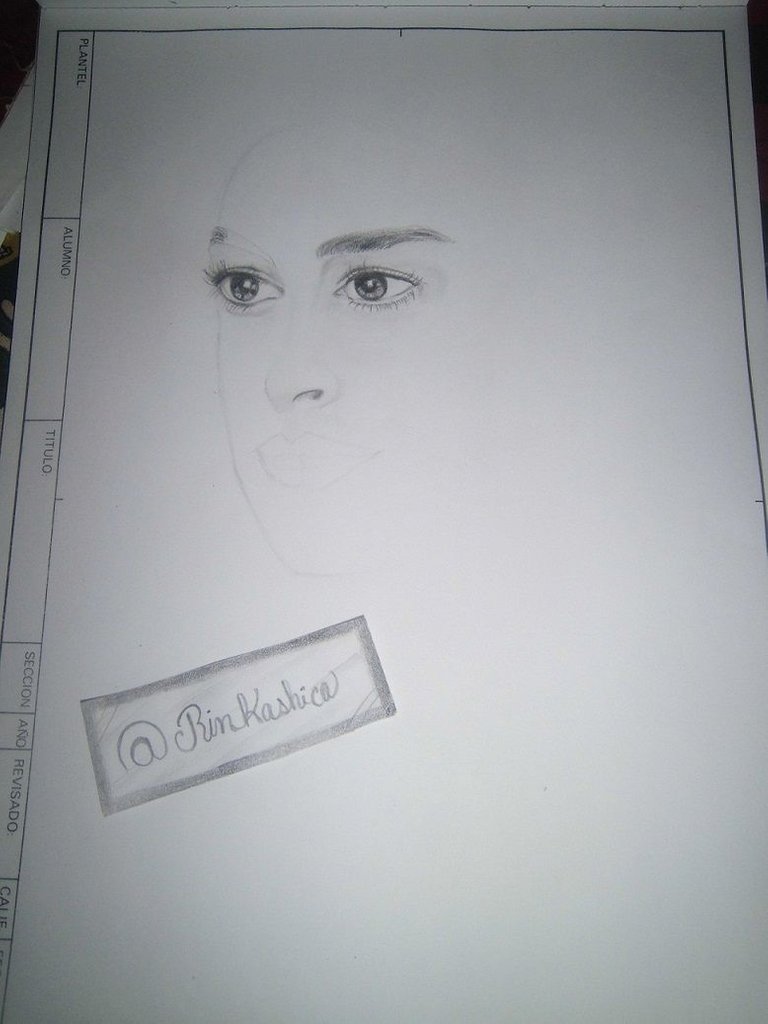
Once I had planned the sketch my next step was the
realization of the eyes, first with the 3H pencil to define the
lines like eyelids, pupils, eyebrows including the brightness that should remain
in pupil I do this to not lose the points that are clear, then
with the 6B pencil I retouched the areas that were of an intense black.
The main characteristic that you will notice will be the big eyelashes that
own eyes and it was something that I dedicated myself to especially
achieve even more realism, without neglecting the use of
#3 diffuser that helped me to shade the eyelids and nose,
for this moment it's been almost half hour only in eyes (ʘ‿ʘ) ⚔️⚔️

photo taken from, Casio Exilim EX-ZS6 de 16.1 MPX

photo taken from, Casio Exilim EX-ZS6 de 16.1 MPX
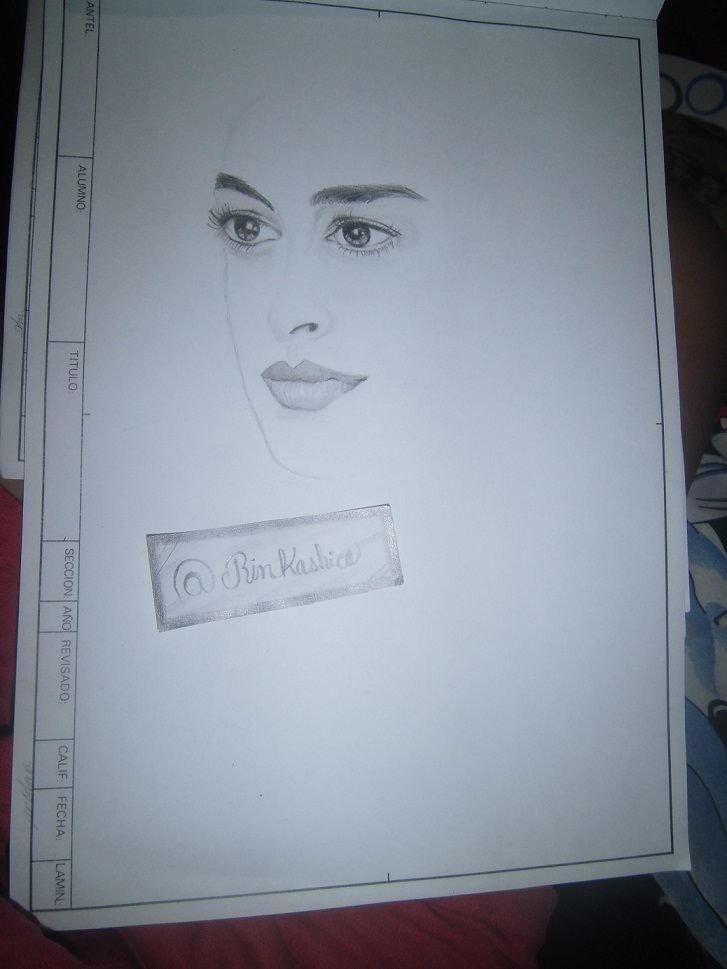
The next thing was to make the lips which were very fleshy,
so I did them with extreme care when using pencil 3B, 6B and
diffuser #3.

photo taken from, Casio Exilim EX-ZS6 de 16.1 MPX
I must admit that I had no idea how to do the hair, then
I wanted to try making a totally dark background with the 6B pencil,
then with the pencil 3H I defined the lines of the hair and finally use
the graphite that was left in the diffuser # 6 by the previous background and thus
It was like I gave the hair a contrast to make it look white.
✬✬✬ This was the final result ✬✬✬

photo taken from, Casio Exilim EX-ZS6 de 16.1 MPX


This is really nice. Thanks for showing off your work.
thank you, I strive every day to improve
Congratulations @rinkashica! You have completed some achievement on Steemit and have been rewarded with new badge(s) :
Click on any badge to view your own Board of Honor on SteemitBoard.
To support your work, I also upvoted your post!
For more information about SteemitBoard, click here
If you no longer want to receive notifications, reply to this comment with the word
STOPCongratulations! This post has been upvoted from the communal account, @minnowsupport, by rinkashica from the Minnow Support Project. It's a witness project run by aggroed, ausbitbank, teamsteem, theprophet0, someguy123, neoxian, followbtcnews, and netuoso. The goal is to help Steemit grow by supporting Minnows. Please find us at the Peace, Abundance, and Liberty Network (PALnet) Discord Channel. It's a completely public and open space to all members of the Steemit community who voluntarily choose to be there.
If you would like to delegate to the Minnow Support Project you can do so by clicking on the following links: 50SP, 100SP, 250SP, 500SP, 1000SP, 5000SP.
Be sure to leave at least 50SP undelegated on your account.