photo taken from, Casio Exilim EX-ZS6 de 16.1 MPX

Step 1: Taking a photo as a reference, start with the sketch for this occasion use the poster that launched MARVEL of the Scarlet Witch which was the best, the colors, the attitude, the clothes; I want a family size to visualize it better here I leave the link.
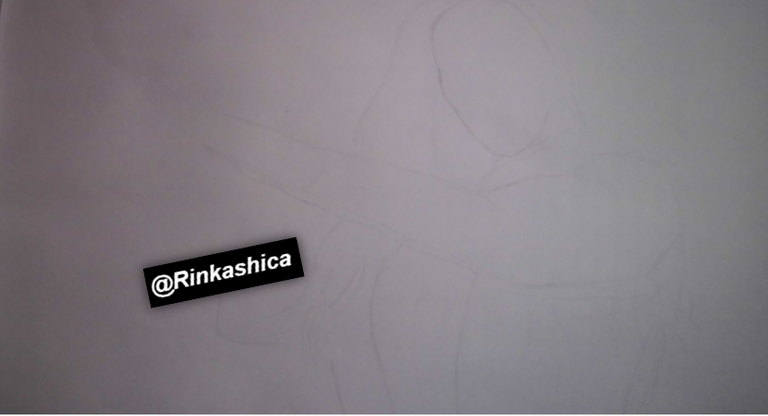
photo taken from, Casio Exilim EX-ZS6 de 16.1 MPX
(http://atomix.vg/galeria-los-posters-de-personajes-de-avengers-infinity-war/avengers-infinity-war-scarlet-witch/)
Step 2: With a drawing pencil H, define the details of the clothing even if you want the reflections that go in it, then with a pencil B, softer, start placing the shadows where needed.
For the next two photos, I used the 3H first for details on the clothes, and then from the face the 5B as black tone to define the hair and in the clothes for the wrinkles, worked together with a thick diffuser.
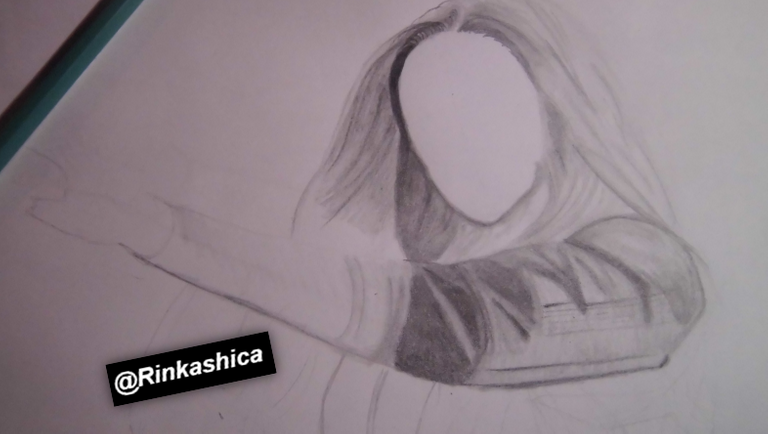
photo taken from, Casio Exilim EX-ZS6 de 16.1 MPX
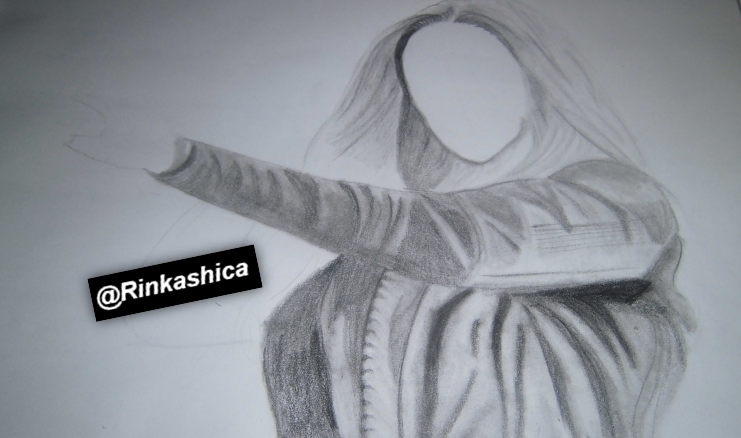
photo taken from, Casio Exilim EX-ZS6 de 16.1 MPX
Step 3: With a pencil H the eyes are made and darkened with the pencil B.
It is ideal to leave the face to the end, because it requires many details and dedication, so that it is as similar as possible to the original photo, it is not easy but neither can I attest to that.
I recommend that you make use of the 3H pencil for the pupil and eyebrow eyelids, then with the 6B pencil they darken and with the help of a thin diffuser they will give depth to the look, it will not be necessary to draw as such the nose or the lips, with the Graphite remaining in the diffuser can be easily done.
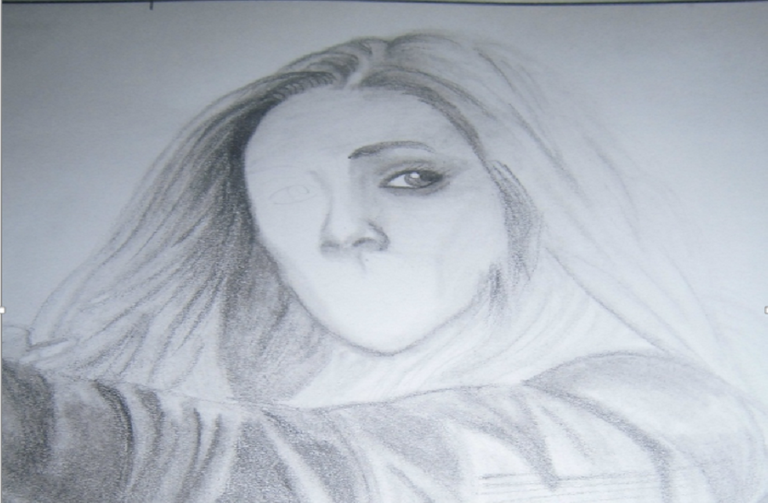
photo taken from, Casio Exilim EX-ZS6 de 16.1 MPX

photo taken from, Casio Exilim EX-ZS6 de 16.1 MPX
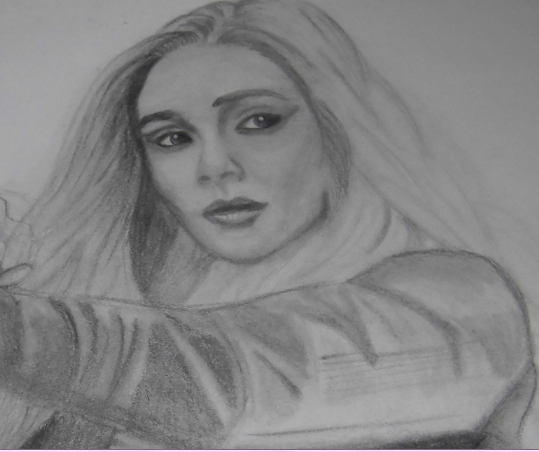
Step 4: Last touches, and for this I recommend you see very well the original photo, the face, the clothes, the hair, the light and dark, make sure everything is in place and finish the drawing.

photo taken from, Casio Exilim EX-ZS6 de 16.1 MPX
✬✬✬This was the final result ✬✬✬
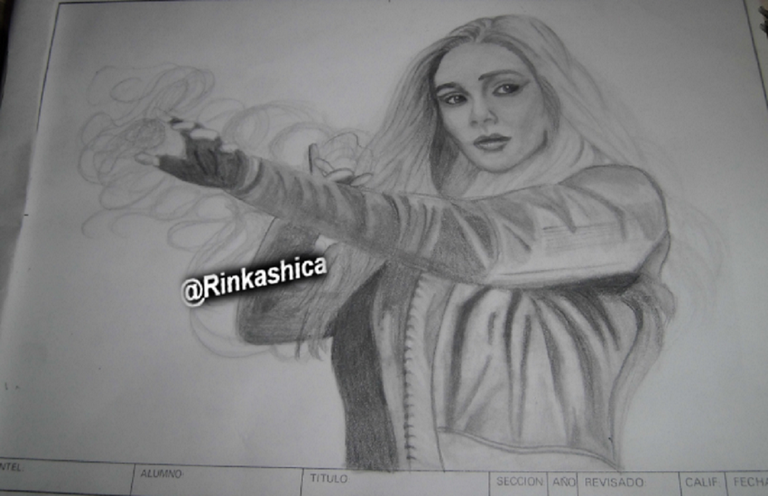
photo taken from, Casio Exilim EX-ZS6 de 16.1 MPX
↖(^▽^)↗↖(^▽^)↗
𝑰 𝒉𝒐𝒑𝒆 𝒚𝒐𝒖 𝒍𝒊𝒌𝒆𝒅 𝒎𝒚 𝒅𝒓𝒂𝒘𝒊𝒏𝒈, 𝒊𝒇 𝒔𝒐, 𝒅𝒐 𝒏𝒐𝒕 𝒇𝒐𝒓𝒈𝒆𝒕 𝒗𝒐𝒕𝒆 𝒂𝒏𝒅 𝒇𝒐𝒍𝒍𝒐𝒘 𝒎𝒆 𝒕𝒐 𝒈𝒆𝒕 𝒎𝒐𝒓𝒆 𝒄𝒐𝒏𝒕𝒆𝒏𝒕, 𝒖𝒏𝒕𝒊𝒍 𝒕𝒉𝒆 𝒏𝒆𝒙𝒕 (>‿◠)✌
https://steemit.com/~witnesses