Hi friends!
Today I have something special for you! A first linocut tutorial by me :)
For those who may not know that, I own a small artistic business. I make cotton bags, bagpacks, cosmetic bags and decorate them with my art, usually linocuts. So far I've created many feline linocuts, and boy, are they popular in comparison to my other patterns! There are many cat-lovers out there, and it makes me really happy to see how pleased they are with my prints. For this reason I thought it would be fun to show you in detail how I create an exemplary linocat :) And you can check my other felines in the gallery at the end of this tutorial, if you'd like.
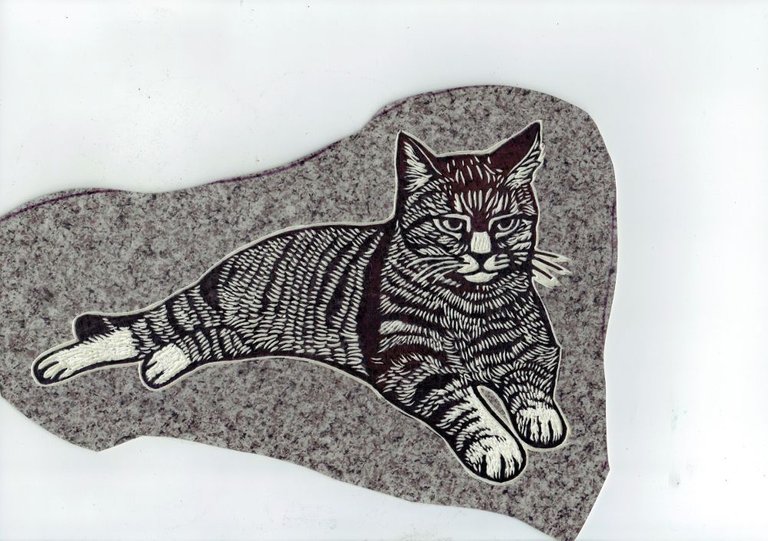
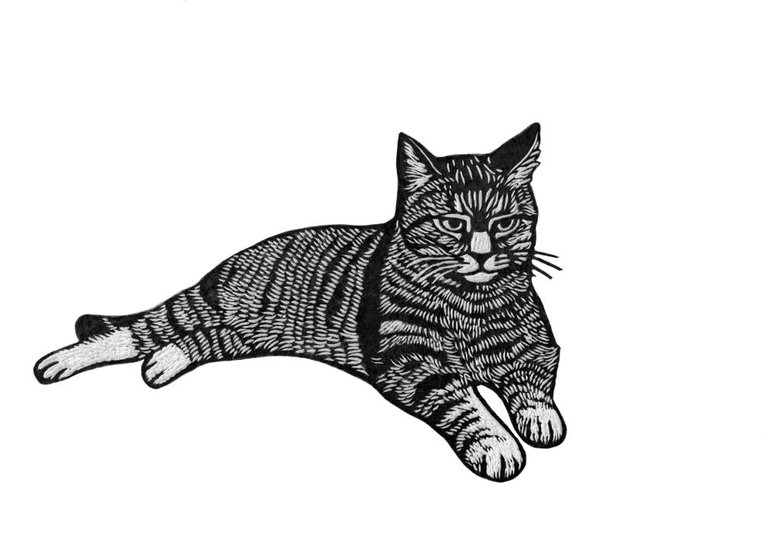
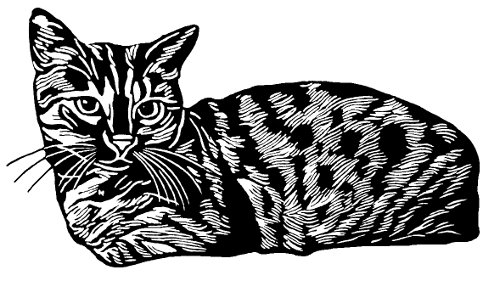
Below you can see the final effect, that has been processed digitally for further professional use.

A digitally processed linocut, 29,7 x 42 cm
Well, isn't she majestic! Hehe. And a kind of dangerous, too! She is called Gress, which is short from Tigress (in Polish it would be Grysia, from Tygrysia). This name was given to her by a close person of mine. Gress is a very charismatic and graceful cat, quite cheerful and chatty, though she can also be a deadly, murderous little thing!
But fear not, her viciousness concerns mostly those tasty treats you have on your plate, human. Give them to her right away, I tell ya! Yeah, Gress likes to eat whatever delicious dish you've got there on the table, even if her own bowl is full of meat and high-quality cat food. Some acquired taste, I guess :)
ABOUT THE LINOCUT PRINTMAKING TECHNIQUE
Linocut is a technique in which you cut the pattern on a sheet of linoleum using knives or chisels. After you finish cutting, you ink your linocut with a roller. The ink will cover the uncut parts of the lino, which create your pattern. Then you press the lino, with inked side to the medium, and the pattern will be printed as a mirror image. You can use a variety of inks and paints and paper, fabric, card, even wood etc. as a medium.
I myself am absolutely crazy about linocut. I've created my first linocut when I was 18 I think, and I was influenced by this artistic encounter ever since :) What I mean, is that my drawings started to gain more and more contrast and definition, as well as drift towards black and white. You could observe this effect in my pointilistic artwork that I posted here on Steemit. Black and white, bold outlines and very contrasty, right? :)
What I like about this artistic direction is that it allows me to draw an essence of a shape that I find beautiful. I also enjoy not only drawing those beautiful shapes, but also carving them afterwards. This requires investing yourself in the artwork, but also prolongs the pleasure of making art, and somehow allows you to imprint mentally the shape, pattern you love, with greater intensity. That's how I experience linocut. I may not have the right words for it, but hopefully you'll get what I mean :)

TOOLS AND MATERIALS THAT I USED FOR THIS LINO
- pencil;
- paper;
- carbon paper;
- craft knife;
- lino sheet;
- sandpaper;
- marker;
- chisels- different types;
- pastry board (I'd say bamboo is best option) and/or a plastic pad;
- nitrile gloves;
- Graphic tablet (but you'll be fine even without one).
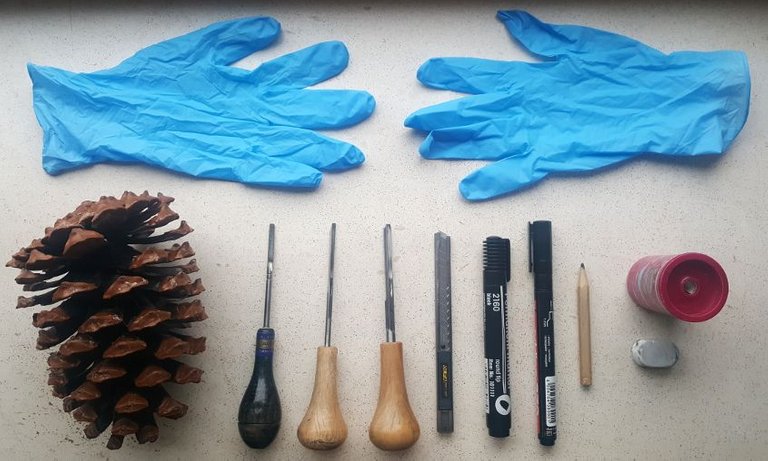
NItrile gloves, chisels, knive, markers, pencil, eraser and a pencil sharpener :)
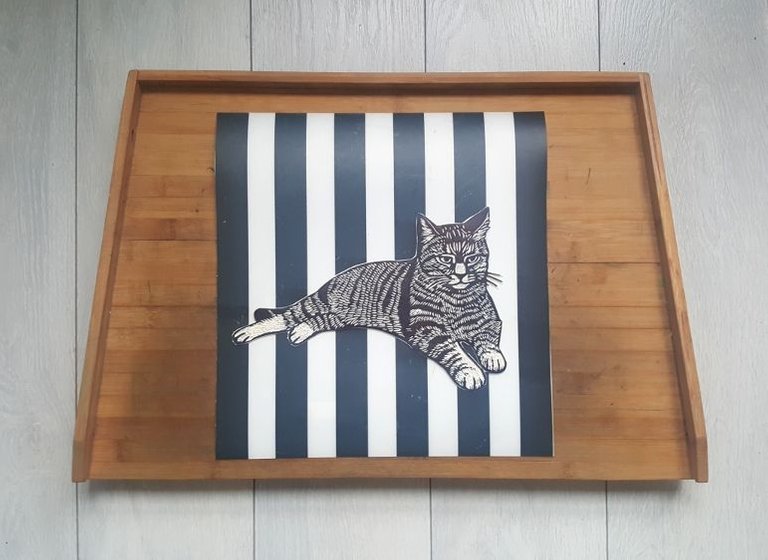
A solid bamboo pastry board and a plastic pad
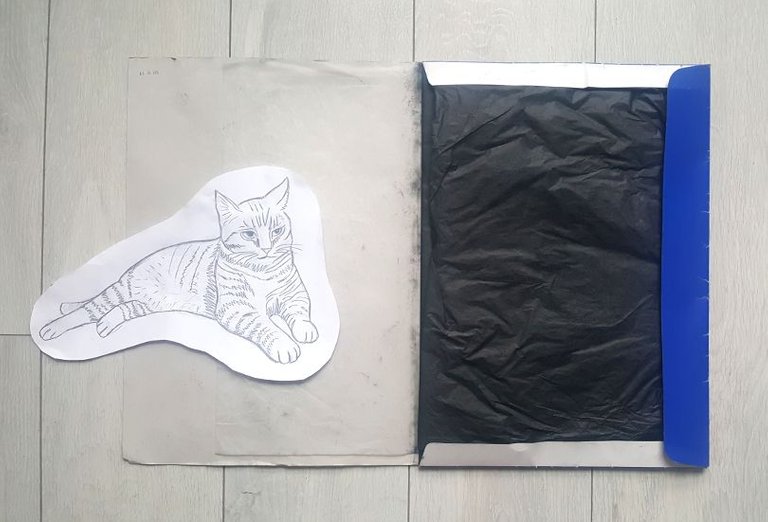
A carbon paper, size A3
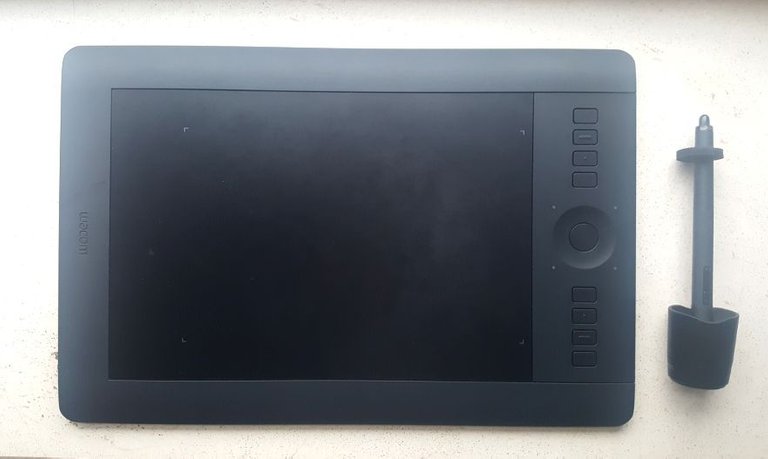
Wacom Intuos Tablet. All photos taken with my Samsung Galaxy :)
SAFETY TIPS TO MAKE CHISELLING SAFE
From the conversations I had with many artists and linocut fans I know that this technique is linked to injuries and wrist pain. Well, I have my ways to overcome those tricky threats. I'll share my secrets with you :)
IN ORDER TO MAKE YOUR LINOCUT EXPERIENCE SAFER, YOU WOULD NEED:
Gloves: I use and recommend nitrile gloves; if you're gloved, you don't have to worry about getting your hands dirty while holding/pressing the lino down with one hand and cutting it with the second one, and you got your hands protected from some minor cuts as well;
Different sizes and shapes of chisels: the V- and U-shaped chisels are best for the precise, detailed cuts, and those with more wide-opened blade are best for getting rid of bigger surfaces of the print; using a small bladed chisels for big surfaces, and too big chisels for to small details is counterproductive and can be potentially dangerous, because out of tiredness and impatience one can get quite inattentive or frustrated- been there, done that... resulted in a loud OUCH more often than I'd like to admit;
To matt the lino sheet with sandpaper: this should make the surface of the lino mat; even a slightly slippery lino makes it harder for your wrist, as it makes it more difficult for the chisel to cut into the sheet, to control your incision while you're on it, and very often leads to your hand slipping away from the lino altogether with the chisel;
To use soft type of lino: you can buy an artistic lino that is softer (e.g. for kids), or you can use a lino bought in a home improvement store- but make sure it has a suitable coating and thickness for this purpose; softer, elastic lino is easier and hence safer to cut;
To leave some allowance space around the pattern while chiselling and then get rid of it: this will make it easier for you to keep the lino in one place with your hand and much more comfortable to chisel out the pattern; in most cases I get rid of this spare lino when I'm finished instead of cutting it out; but it all depends on the design;
To use a board or a plastic pad for your base: this way you get less stressed about destroying the surface that you care about (like, your desk or table), and very often pastry boards or lino dedicated boards have protruding edges which help to keep the lino sheet in one place; most of them also has a mat surface so the lino doesn't slide under your hands; I mostly use board and pad combined;
To always move the chisel or knive away from your body and hands: this usually means an upward movement, as you can turn around the lino for the most convenient position; you should also try to avoid leaving your hand in a way of a chisel (usually happens when you try to chisel to the side- better turn around the whole lino to cut it in the upward direction).
Those are most basic tips for a safer experience. They're not very hard to incorporate to your artworking process, but they go a long way.
And good news is that those ways not only translate to more safety, but also to more precision in cutting and undisturbed FUN :)
I will try to incorporate those tips in the description of the process down below, but I wanted to make sure draw the essence for you. If you have your own tips for safety I'd love to hear them!
STAGES OF ARTWORK
- Drawing the pattern.
- Transferring the pattern onto the lino with a carbon paper (or you can draw directly on the lino sheet).
- Chiselling and cutting the pattern with a knive.
- Scanning for a digital processing.
- Inking/putting paint on the cut out design.
- Impressing it onto the medium (paper, fabric etc.) by hand or using graphic press.
- Enjoying :)
This part of my tutorial will cover the stages 1-4, and the the second one will deal with the rest, as inking and printing is a whole other adventure, and I would like to be thorough for you, guys :)
PROGRESS STEP BY STEP
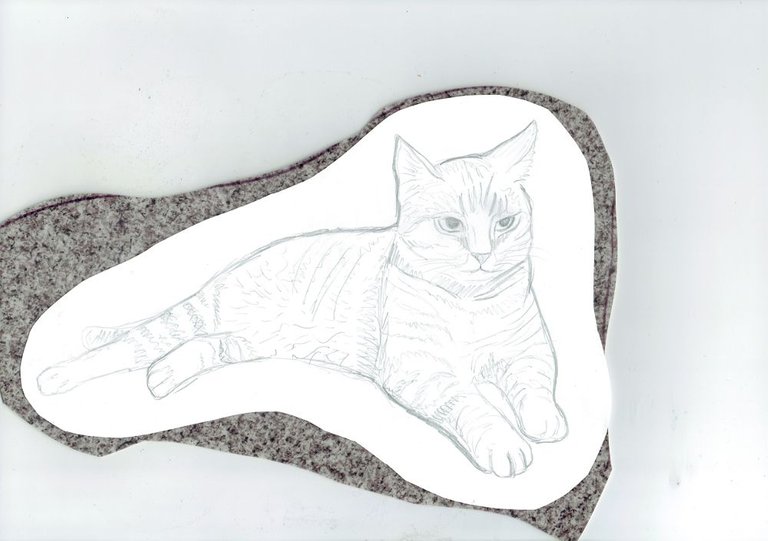
I started with a pencil sketch of Gress on an A3 paper, and cut it out with an allowance space around for safety and convenience. You can draw directly on the lino if you want, but after many trials I prefer to create my drawings on paper first.
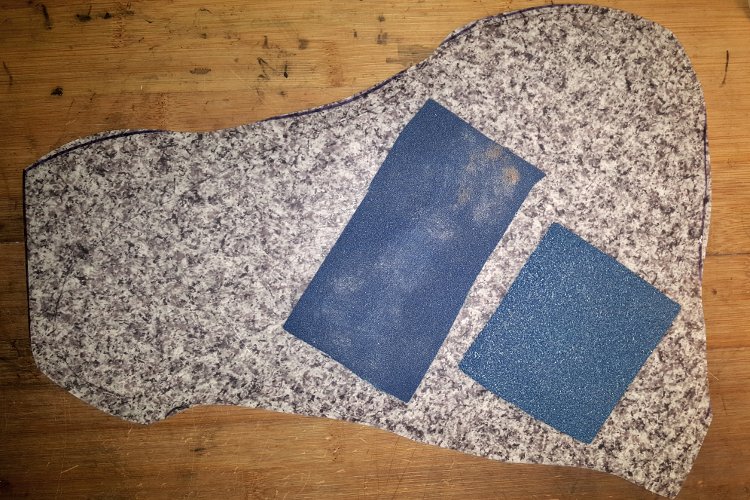
Underneath you can see a piece of a lino of a corresponding size. I use lino bought in a home improvement store, because it's cheaper and softer than the artistic lino. But the most important property of it is that because it's sold in running meters, I can have any size and shape of sheet I want.
Before I transfer my drawing onto the lino sheet, I have to treat lino with a sandpaper first, to make it mat. I use two types of sandpaper- first a coarse one, to quickly process the whole area, and then the finer one, to polish it and get rid of any irregularities.
Next, I transfer the sketch onto the lino. I redrew the pattern with a marker right away, for the sake of visibility and precision. I like the usual rough look of linos, but always strive for the polished look at the same time, and having a distinct sketch is what helps with that :)
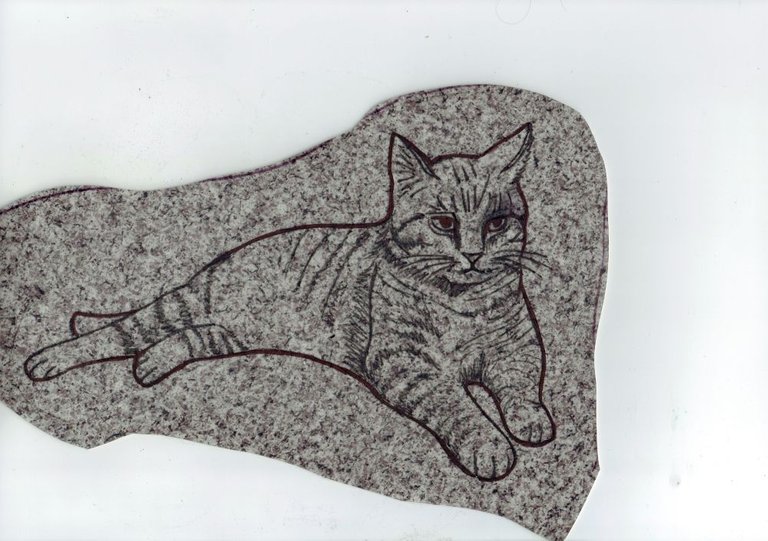
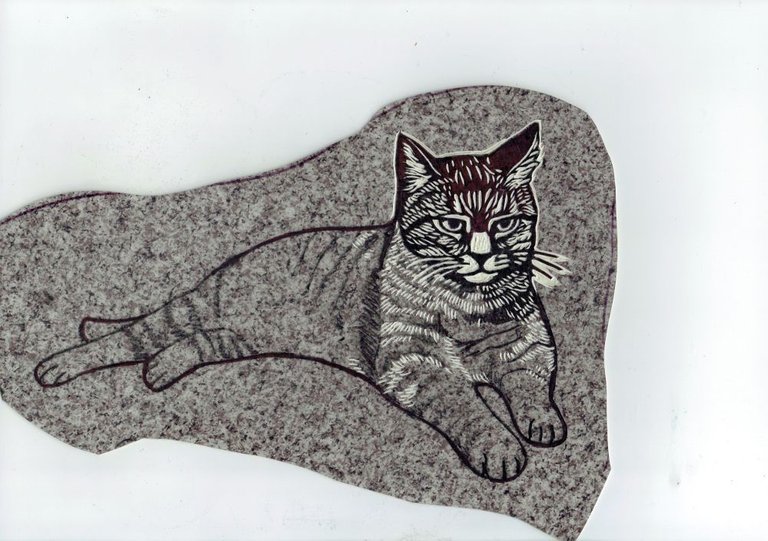
I started to cut my pattern with a small v-shaped chisel. Small blades are best for small details. I chose to go for the eyes first, because I wanted to put it behind me. I find eyes to be the most difficult part of any artwork, but in case of linocuts it's even more trickier. There's almost no going back if you make a mistake and cut out a piece you didn't want to cut, or your hand slips, or some decision turns out to be a disaster :)
It's relatively easy to ruin a lino with a wrong move. But I have also found certain ways to avoid this kind of nuisance, more on it down below.
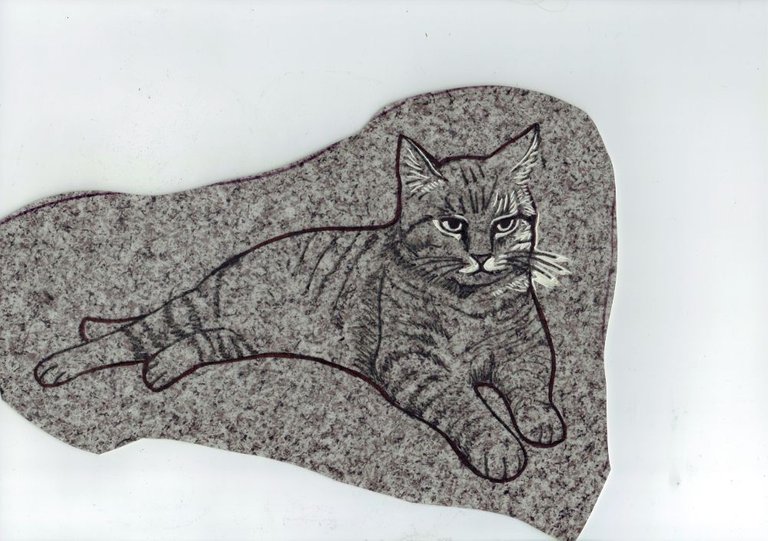
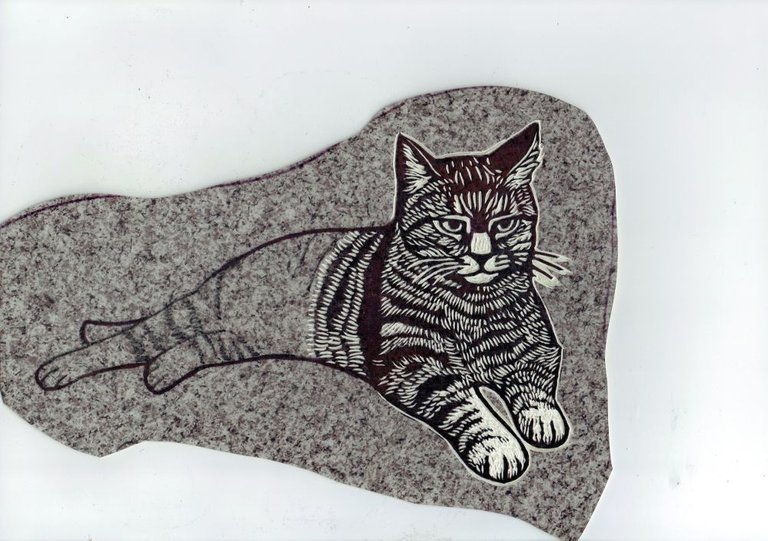
When you create a linocut, you want to balance black and white parts of it just right. It can sometimes be a challenge. What works well for me is to trace the black part of the design with black marker. This way I can see instantly if I cut out the head ok. Besides, if I'm not sure if I should cut some space out (which will leave it white), I very often put a piece of white paper on the lino to see how it could potentially look. I did this with the space above the cat's nose. I was very uncertain if it would look good after I cut it, and the piece of white paper helped me to decide.
But what if I cut it all wrong anyway? Well, sometimes I repair this kind of tragedy with a super glue. This works to a certain degree. It's best to glue back the exact piece you've cut out, and then try to got rid of the glue stain with a sandpaper (because the glue might make it hard later on for the ink or paint to stay on the surface, and in consequence, ruin the prints). If the same exact piece is lost, you can try to repair the lino with a piece of similar size and shape, but it often results in protruding bulge, incomplete filling of the missing spot and same printing problems as described above.
I was also considering filling the gap with a polymer clay like fimo, sculpey etc., but to be honest, I haven't tried this myself before. I will let you know if the
And if all failed, you can always try to repair the design using software, after you scan it. I did it in some cases.
As you can see, my progression was gradual and organized, from head to toes :) As you can observe, the direction of the fur cuts was supposed to correspond to the orientation of fur in real life. Black spaces are meant to represent the stripey patterns of Gress.
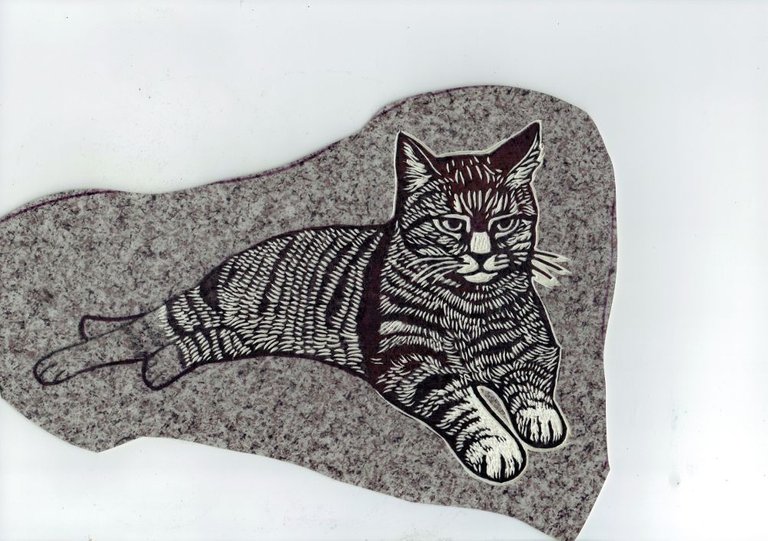
At this point I decided to move on to the digital part. This is the point when you can get rid of the allowance with a craft knive.
DIGITAL PROCESSING OF GRESS
I need to process my art digitally in order to be able to print it on surfaces that require other print technology than linocut, e.g. ceramics, heavy denim etc.
Using my tablet and GIMP I got rid of the scan's background and desaturated Gress.
Then, using Levels, I attempted to deepen the black and white and the contrast between them, to make the transition between them more distinct.

Then I sat down with my tablet, and using the white paintbrush tool I cleaned Gress from any black spots that shouldn't be there.

And then it was time to use black paint brush, and fill all the spaces that got washed out of the colour. I was able to repair some minor details, too. Those changes may seem subtle, but it was a lot of work and it will result in a much better, precise vector graphic.
And here's a detailed GIF, showing you the whole process :)
The process took me a lot of time, and I wanted it all to be very nicely done for this tutorial. But it's just how it is with linocuts, too- they take a lot of time and patience to be finished. There are moments of hesitation and frustration, but when you get to that final stage... it's pure delight :)
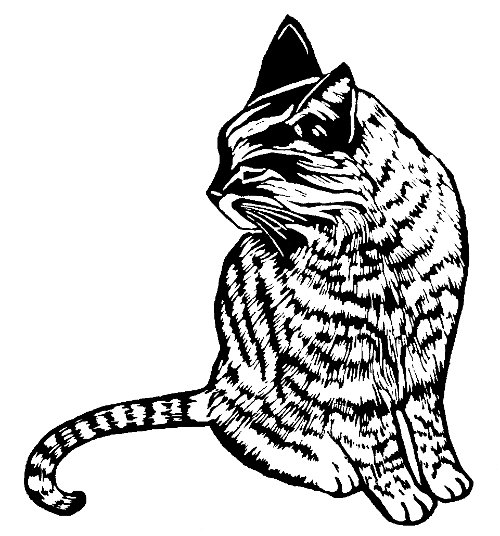
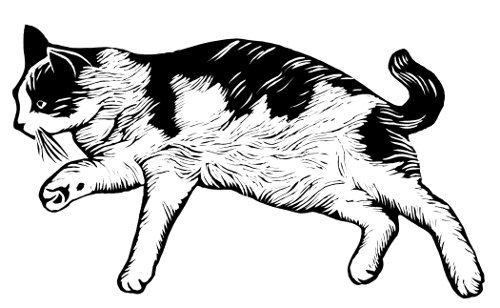
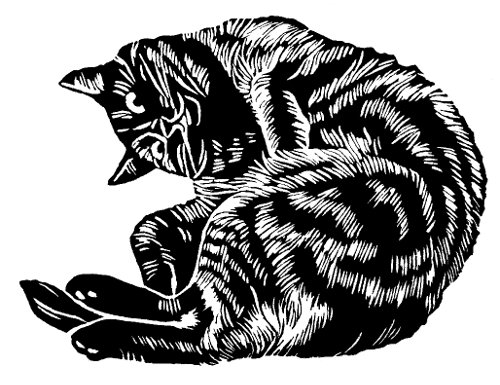
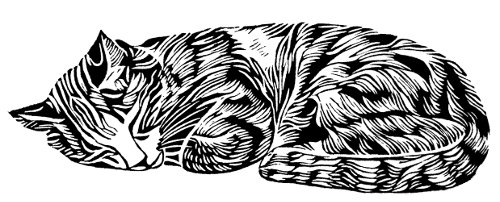
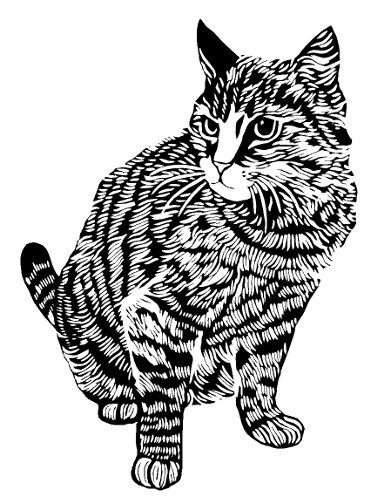
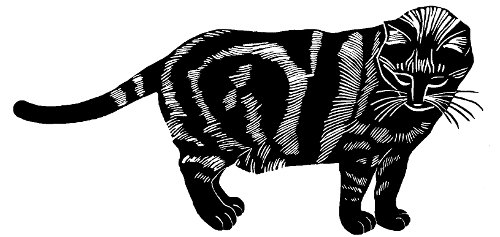
GALLERY OF MY OTHER LINOCATS:
I hope you liked Gress, guys!
If you're curious how my other linocats look like, you can check out this little collection of mine.
As I said before, cats are a very popular art theme. The reason I do them so eagerly is the fact that obviously I adore cats, but it's also that cats are an extremely nice, grateful linocut theme. Maybe it's their lovely shape, maybe their expressive demeanor, or maybe their patterned fur :)
Anyways, that's why I created so many linocats, as you can see below.

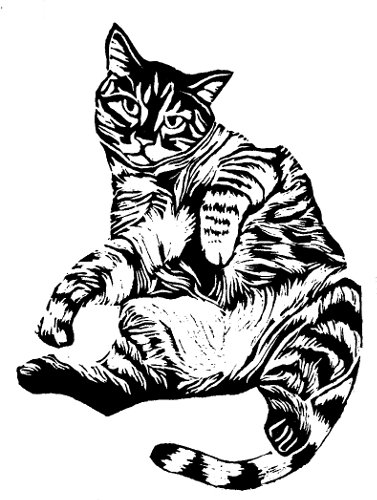
So, which one is your favourite one? I'd love to know, guys! :D
MY OTHER RECENT ARTWORK TUTORIALS:
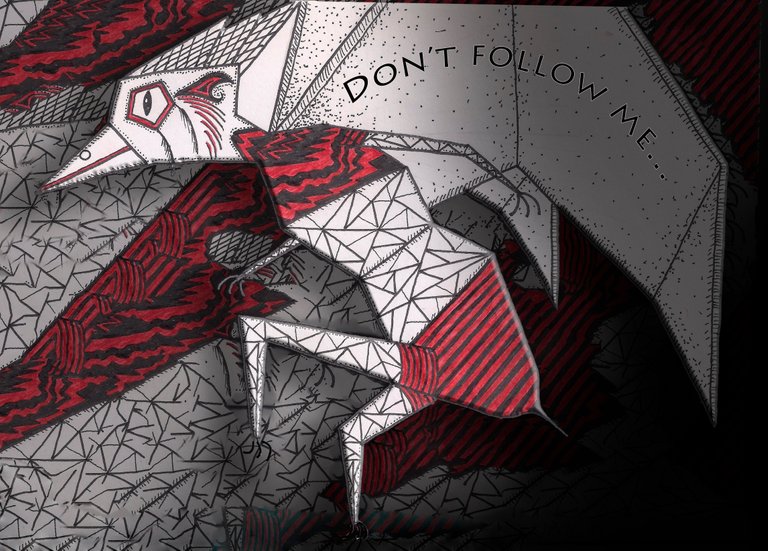
Entry for Sketch Off Contest -Lady Loki- Edition 2: The Club of Antiheroes
A mighty black rooster- original artwork - a step by step progress
Contest Entry for ART EXPLOSION WEEK 24: Theme LIGHT
I hope you liked my turorial, guys!
I dream about creating video tutorials, to enhance the educational value of what I present to you, but getting there is a gradual process for me. Please keep your fingers crossed for me :)
I'm very happy you stepped by and took a look at my tutorial. I appreciate that you took your time and checked out what I got you. I'd love to know what you think! And as always...

This is super fab post! The step by step is just so thorough and detailed and well described * ___ * And all of your lino cats are just supersuper pretty and adorable <3
upvotes
This is so nicely put together! I got a little excited seeing this in the educational tag for steemitbloggers, and hoped it would actually share some knowledge.
Hot diggety dog! This is a great gress lino, and i feel way more confident attempting something like this with your well structured example.
Nice artwork!
upvoted and following!
hope you like mine too!
Good luck!
How timely! I've been considering making linocuts recently.
How about taping your fingers or using a fillet glove on your non-cutting hand? I hear it saves you from random nicks and cuts.
They are all so beautiful!
Thank you for sharing your work process with us <3
Thank you @shlomit, very sweet of you to show support! :) Do you hang out a lot on Steem Artists? Maybe we could chat there :D
Love,
Klaudia
Oh yes, I am there of course and would be happy to chat!
I was assigned to curate their photo_studio room ;)
I've been meaning to get into linocuts for so long and now I'm thinking of going and buying myself some tools! Seems like such a meditative process. Love your collection of linocats!
Thank you @manouche, I'm very happy to hear such nice words :) I really hope this tutorial to be helpful to others :) yeah, it is a meditative process, and quite relaxing, too. I'd love to see your linocuts :) I forgot to mention it in the tutorial, but my experience is that chisel with longer blade and round handle (like those on my photo) work better than small, short chisels.
All the best,
Klaudia :)
I absolutely love these. You hit my week spots for handmade print and cats. Genius!
Thank you @zeitgleich, that's very cool of you to check it out :) Means a lot to me to hear words of encouragement from a pro like yourself!
Ohohoho you flatter me flat 😚 You are the winning!
painting cats are very beautiful, I like your painting
Thanks!
okay friend, thank you back
A cat can spend five or more hours a day grooming himself.
You got a 1.55% upvote from @buildawhale courtesy of @shinyforest!
If you believe this post is spam or abuse, please report it to our Discord #abuse channel.
If you want to support our Curation Digest or our Spam & Abuse prevention efforts, please vote @themarkymark as witness.
This post has received gratitude of 1.42 % from @appreciator thanks to: @shinyforest.
Many people in China consider cats a "warming" food that is perfect to eat during the winter