In this post I will walk you through on my step by step process of drawing the lips using the Ipad Pro and Apple Pencil but you can also do this if you are using a drawing tablet or computer mouse in Photoshop.

In this one I used the app called Autodesk Sketchbook. Its a free app in the app store but you can also use Procreate, but you have to pay P 500 for the app. But for me Sketchbook will do.
Let us start.
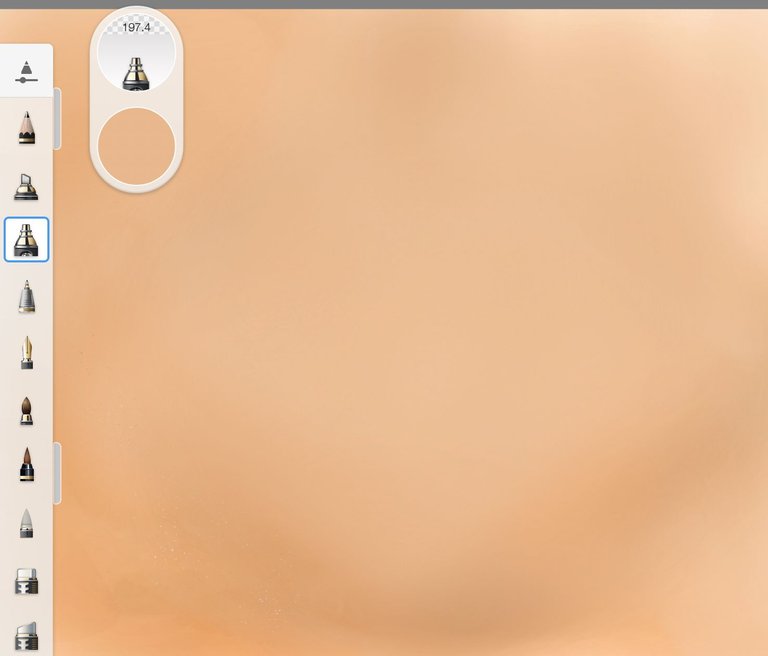
Step 1:
Create the canvas and start painting the background which is the skin tone of the face. I used the large Spray Paint tool.
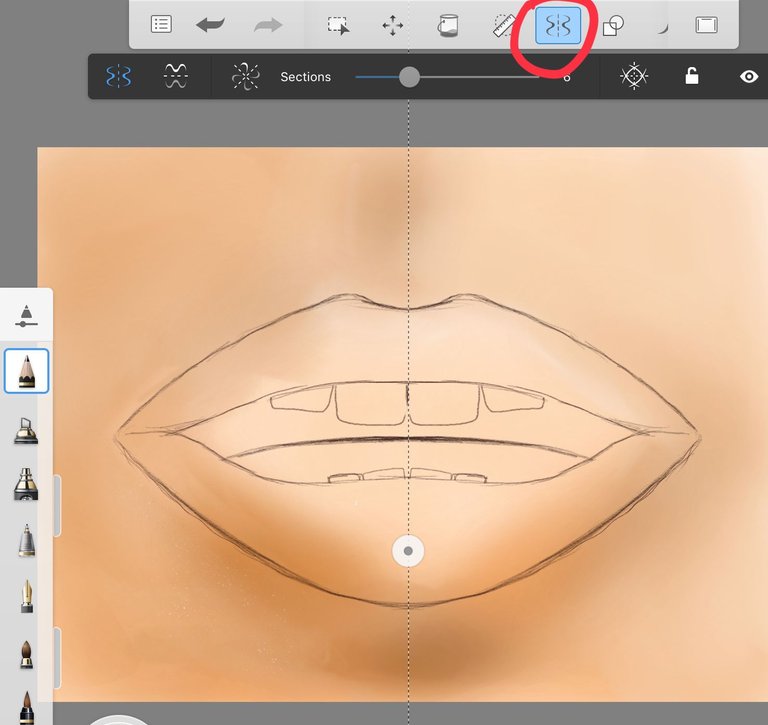
Step 2:
Create another layer, use the symetrical tool then start doing the rough sketch of the shape of the lips. The symetical tool will help you to create a symetrical drawing so you can achieve the perfect shape of the lips. This will also make your job a lot more easier.
Step 3:
Create another layer for the coloring part. Color the lips using a brush tool set the opacity and the flow low so you can have a smooth transition of colors. Just tweak the brush on your desired setting. Make the top part of the lip darker and make the other one lighter. A good reference from the net will help you a lot in choosing the right color and values of your art work.

Step 4:
Now its time to add the hues, shadows, and the highlights. Create another layer then start putting the right values on your artwork. Again a good reference wil help you a lot. You can explore from different brushes, just always set your brush settings to a low flow and low opacity so you can have a smooth gradient of colors.
Step 5.
Now the real magic begins, this step is the most exciting part becasue this make your artwork more realistic.
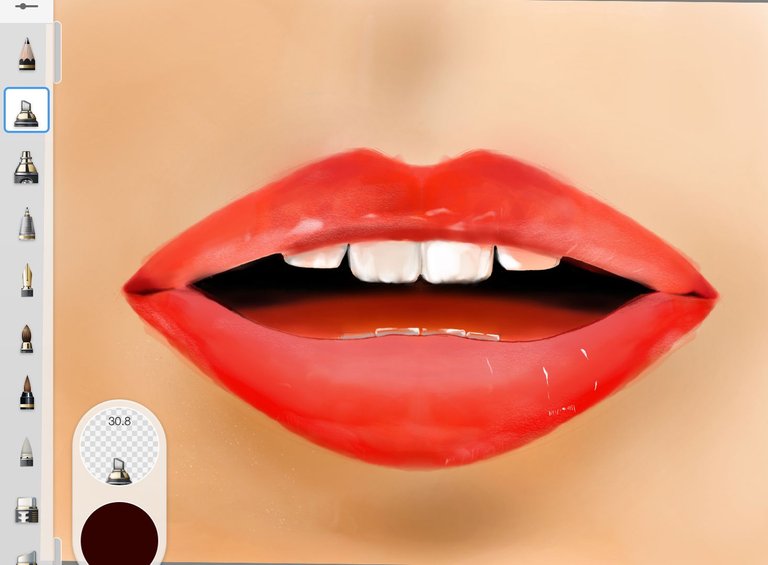
Create another layer then start putting some solid white on the surface of the lips. You should always imagine where is the source of light coming from, in this one the light is coming in the front.

Step 6:
Finally add more details. You can use different brushes to create a nice texture on your artwork.
Add more shadow and highlights to make it pop even more.
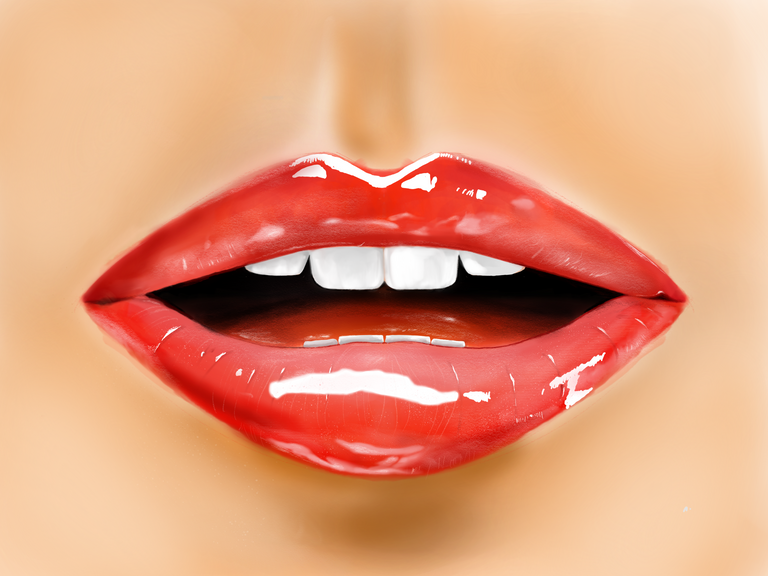
Here is the screen shot video I recorded:
Viola! You are done.
Hope you like it. Thank you guys.
wow, looks realistic enough. beautifully made.
naglaway ako pre. :D
Nice one.🤘
Thank you for the tutorial :)
Congratulations! This post has been upvoted from the communal account, @minnowsupport, by st3llar from the Minnow Support Project. It's a witness project run by aggroed, ausbitbank, teamsteem, theprophet0, someguy123, neoxian, followbtcnews, and netuoso. The goal is to help Steemit grow by supporting Minnows. Please find us at the Peace, Abundance, and Liberty Network (PALnet) Discord Channel. It's a completely public and open space to all members of the Steemit community who voluntarily choose to be there.
If you would like to delegate to the Minnow Support Project you can do so by clicking on the following links: 50SP, 100SP, 250SP, 500SP, 1000SP, 5000SP.
Be sure to leave at least 50SP undelegated on your account.
Galing! Sa layering ako lgi nahihirapan. Sana kasing gling kita heheehhe!
wow, glossy red lips!