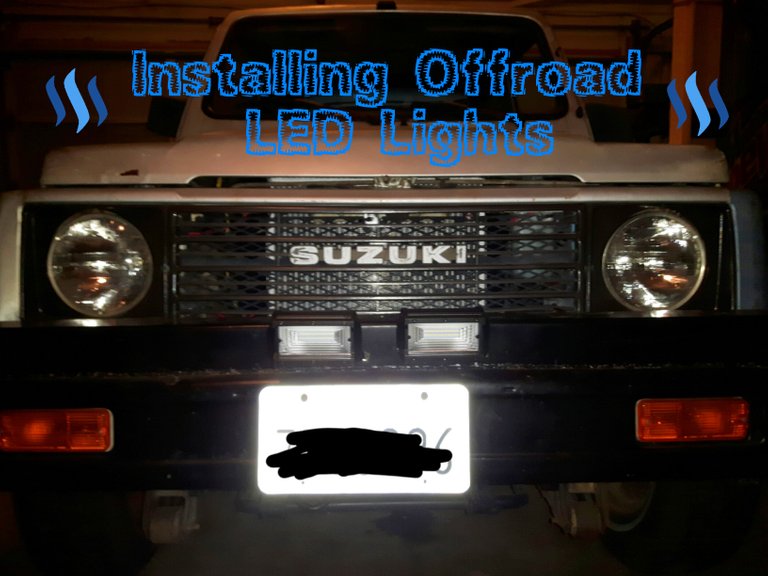
Brightening Up The Holiday Season!
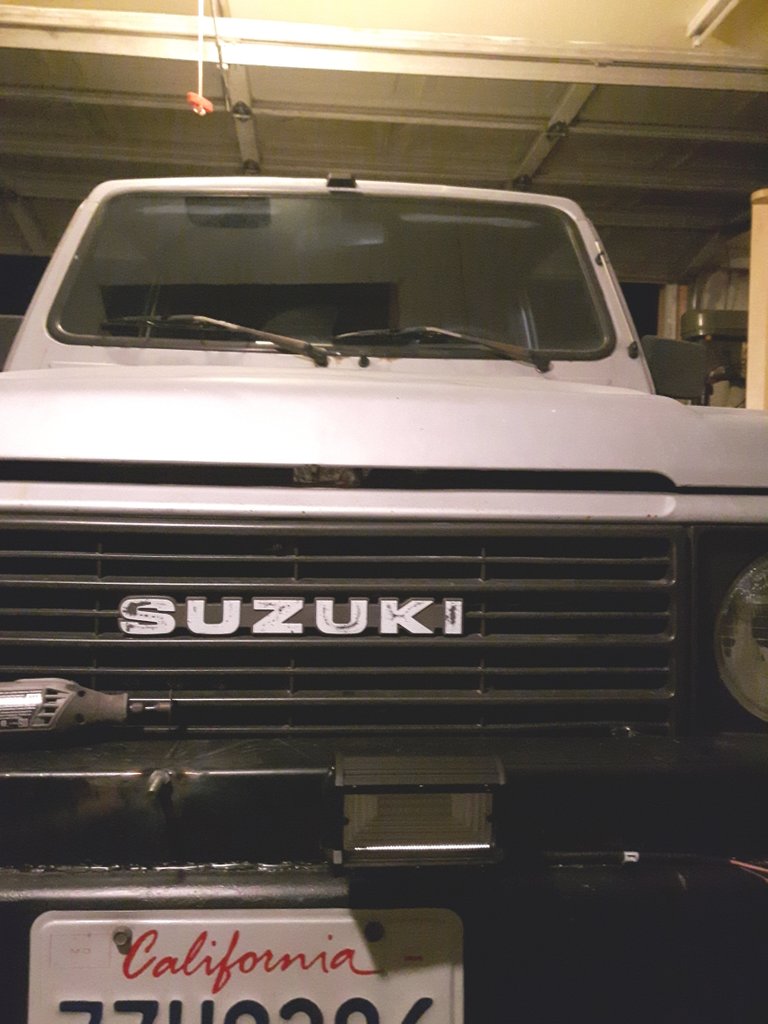
 How is everyone out there? When you own a vehicle that is older than 30 years, the headlights can dim over time. Even newly purchased headlights can be weak and insufficient and High Intensity Diode light upgrades can be costly. A few weeks ago @beckymeep purchased some small cheap LED light bars to be installed on both her vehicles. A few minor setbacks left them sitting on the shelf until recently. I decided I would install them as a holiday treat to her (not a gift but me showing how much she means to me). I was in need of utilizing her Suzuki Samurai so the LED lights were a must. I simply mounted them to the huge bumper the previous owner had installed.
 This post can be used as a guide to help you install light bars of your own. Risk of electric shock is common so make sure during installation the battery is unplugged.
Items Needed For This Installation.
- 12 gauge or 10 gauge wire (depending on the wattage of the light bar)
- 12 volt 20 amp fuse
- 12 volt 20 amp brass on/off switch
- wire shrink wrap
- various wire connectors (best to purchase multipack)
- solder
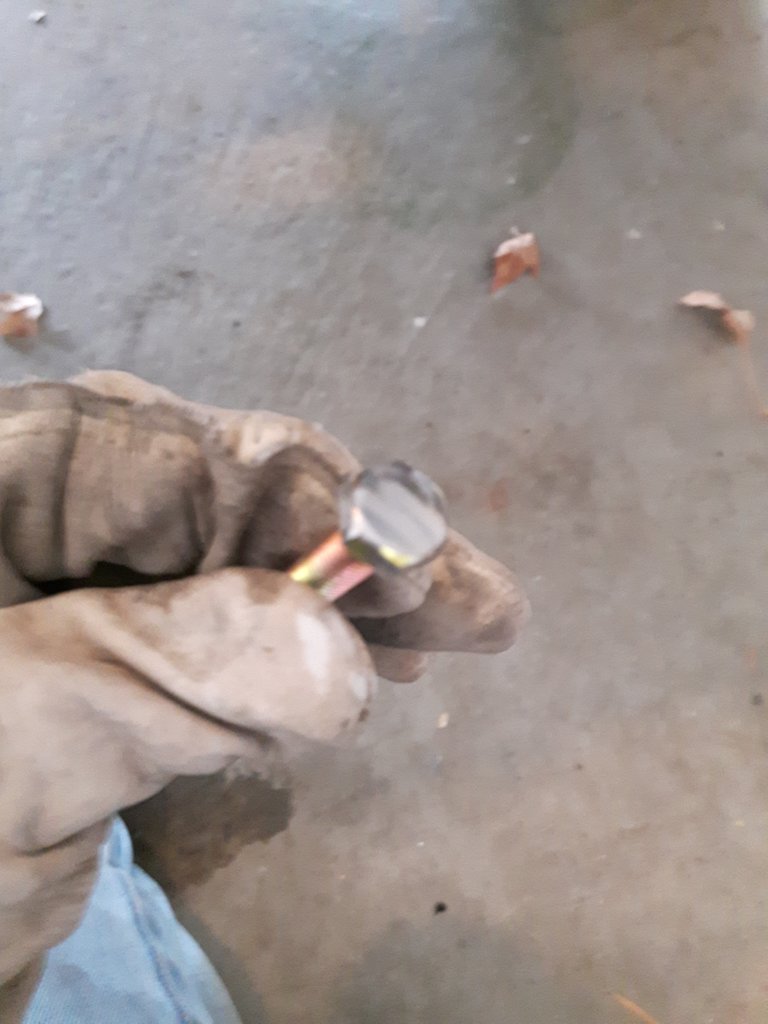
- 2 M10x1.25 bolts, split washers and nuts
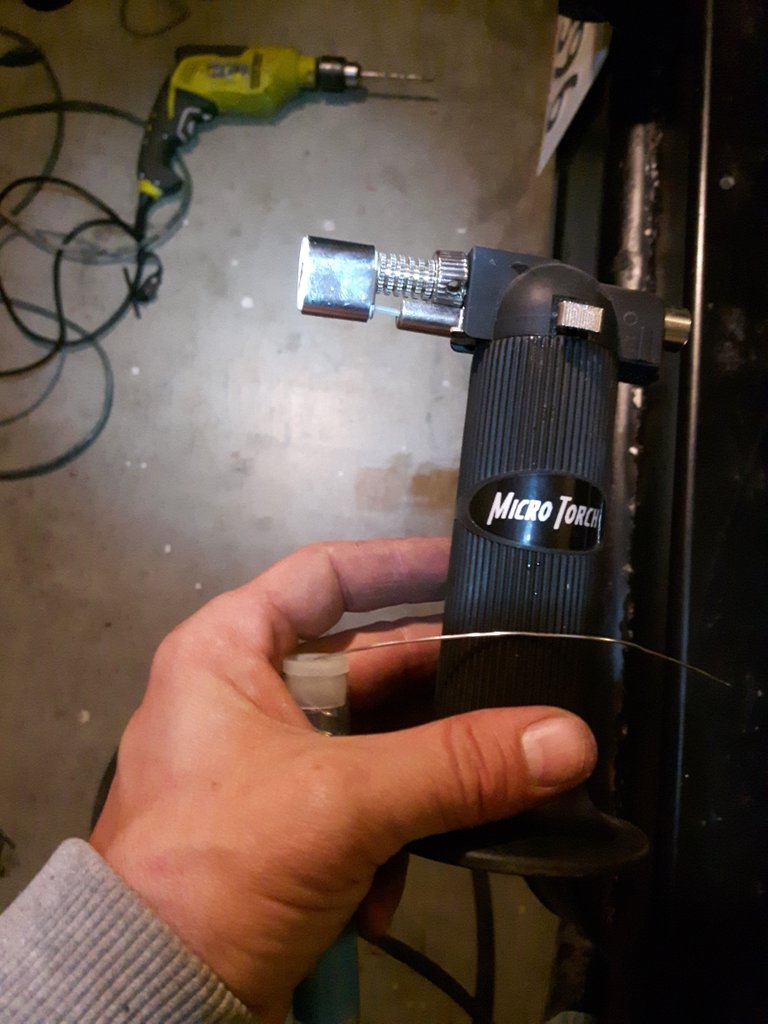
Tools used are pictured below
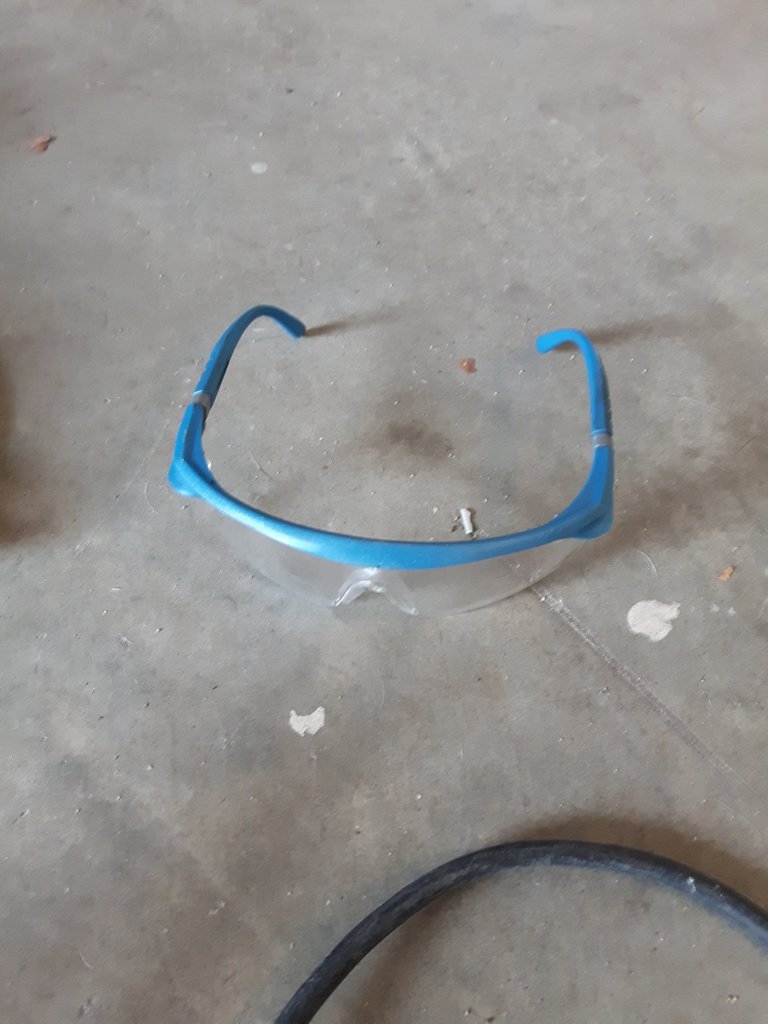
Make sure you have your safety glasses ready
I hate to switch off disks on an angle grinder so I keep two around; one with a grinding wheel and one with a cutting disk.
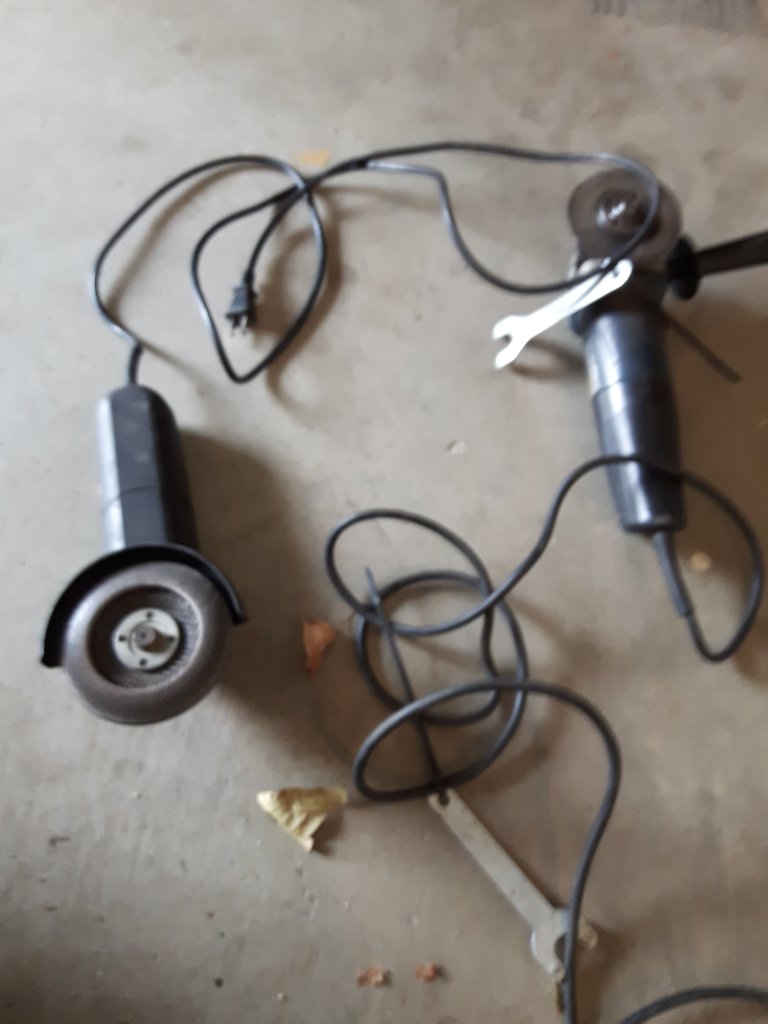
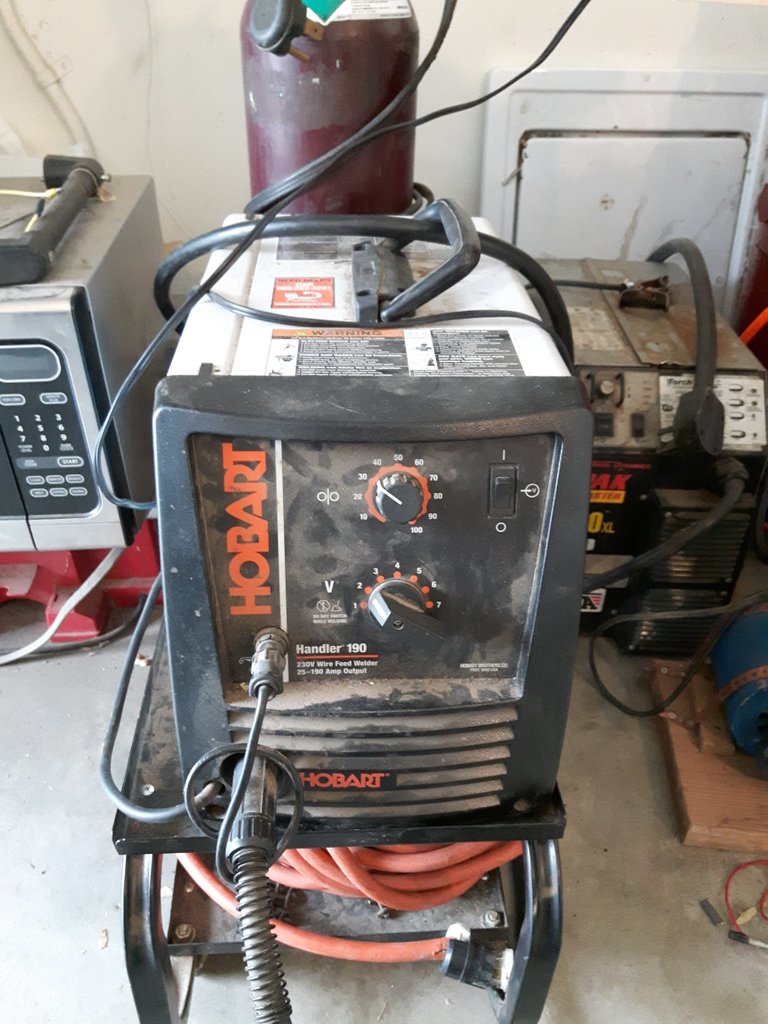
I also needed the ol welder for this job
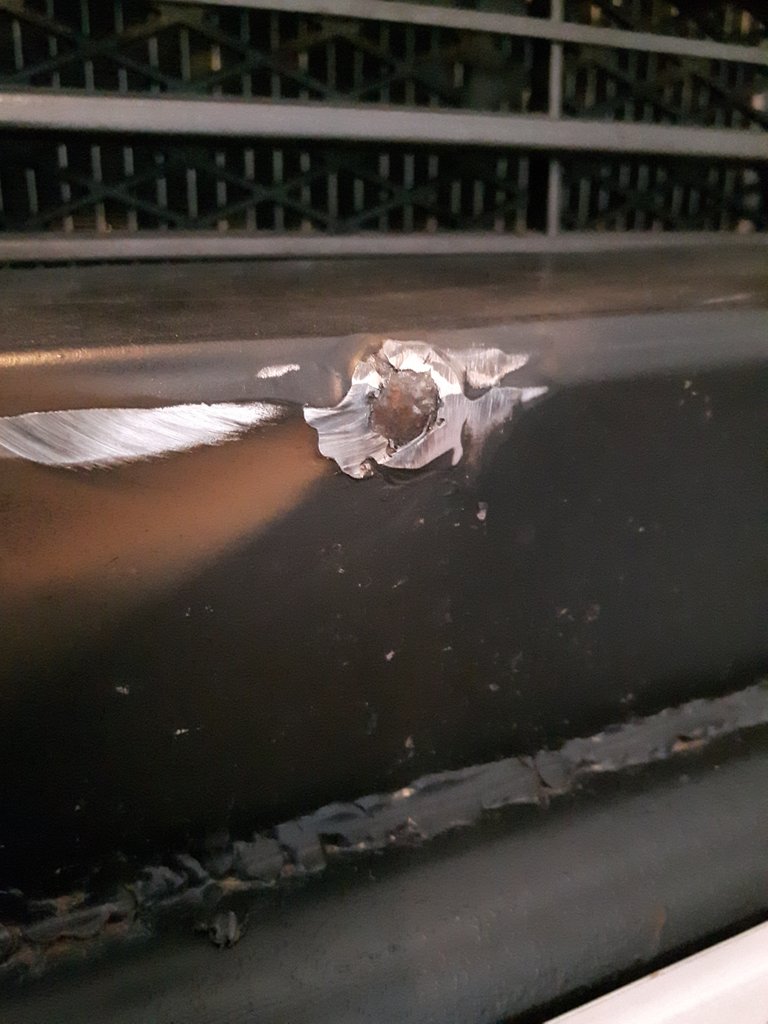
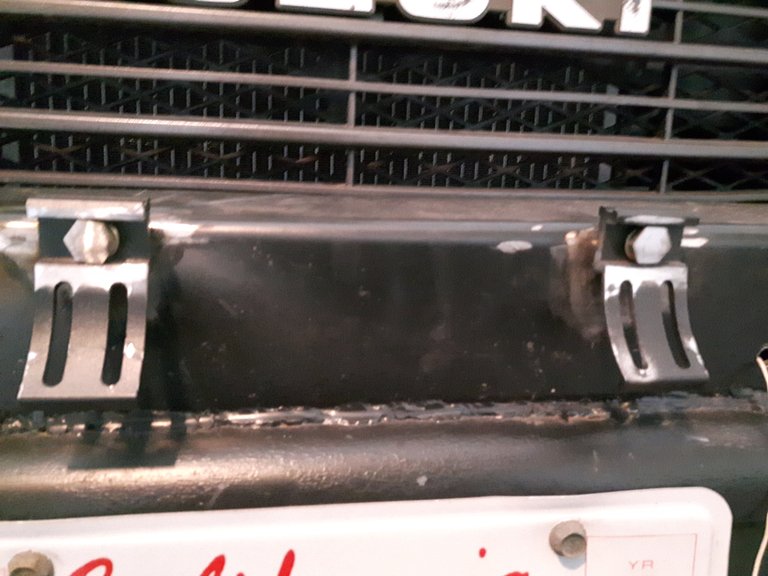
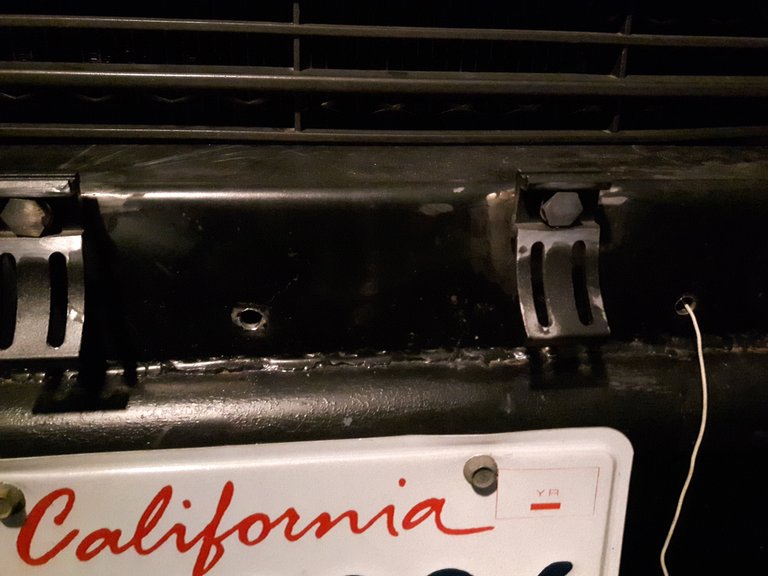
There were two welded on bolts that used to hold the licence plate. They have since been left sitting, but were too small to mount the lights to. I wanted a larger bolt with a tighter fit so it did not have wiggle room.
I used the angle grinder with the cutting disk to cut off those old bolts. The grinding wheel was then used to clean up the area for welding. I decided to do one light at a time so that if I messed one up I could correct the error on the next light.
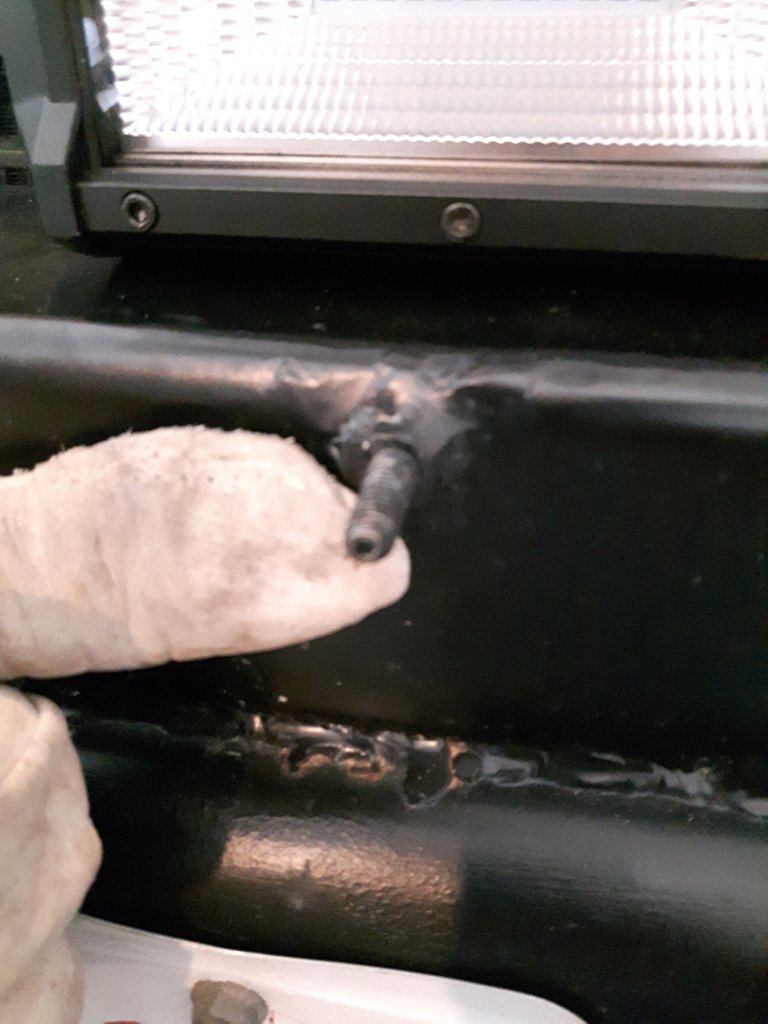
The new bolts needed were M10x1.25 bolts and their corresponding lock washers and nuts. To weld the bolt to the bumper, the finish needed to be ground off.
I then used a magnet to hold the bolt strait and flush to the bumper. I proceeded to tack and weld the bolt to the bumper.
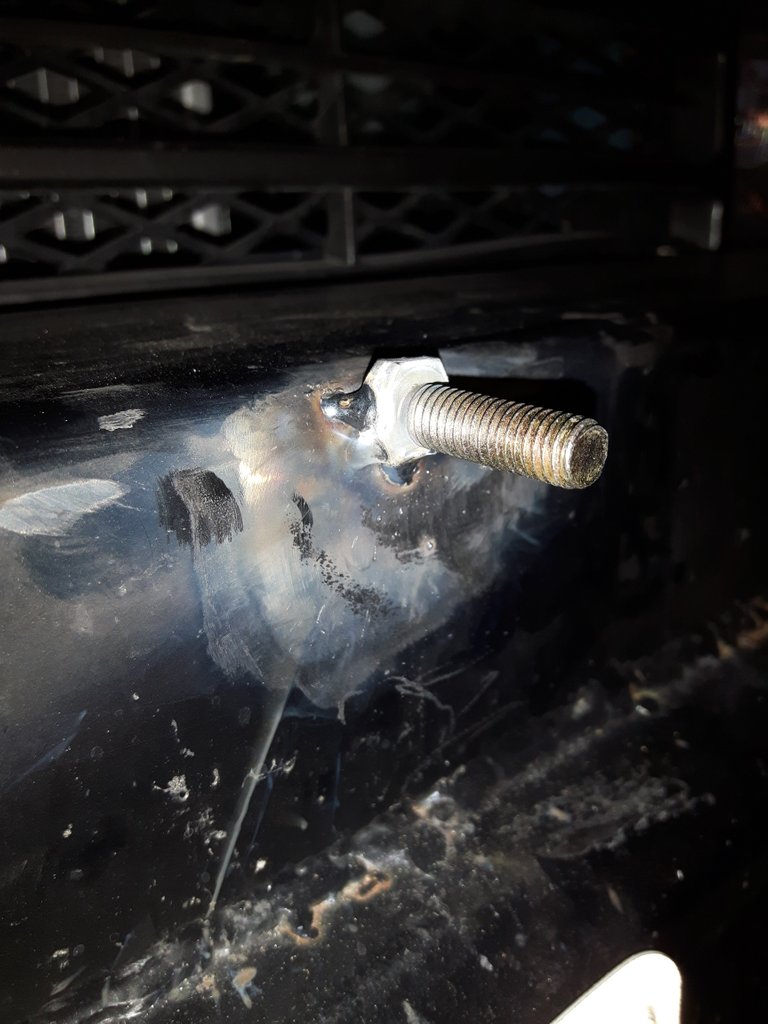
Once the bolt was welded up, I bolted up the mounting bracket to see how much of the bolt needed to be cut off.
I then used a Dremel tool with a cutting wheel to cut the bolt to size. A dremel was needed because I did not want to cut into the mounting bracket at all.
After mocking up the light I learned quickly the bolt and nut needed to be ground down quite a bit to allow the light to be tightened down completely for the correct angle. I was not worried about this as the lights would essentially be permanently mounted.
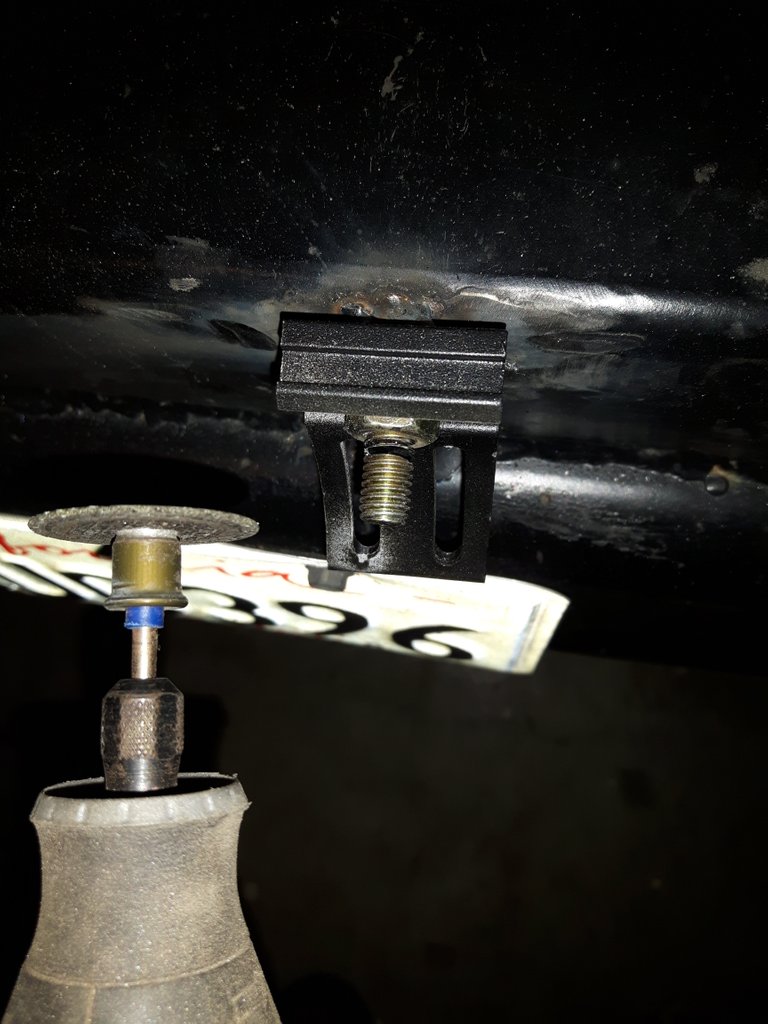
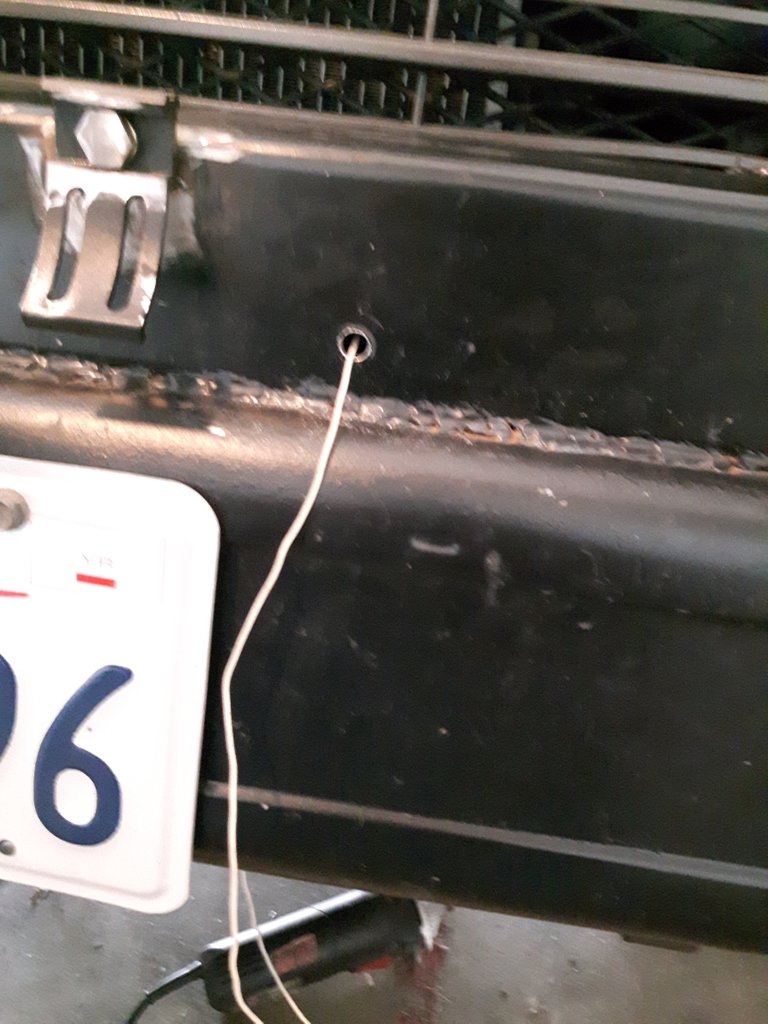
After grinding down the bolt and nut I once again mocked up the light to see were I would need to drill to allow the wiring to nicely go through to the engine bay.
After painstaking hours of drilling with both hammer drill bits and regular bits, I was able to punch through. It took around 7 hours to drill both holes which led me to believe this was no mild steel bumper. After the pathway was drilled I passed through some very thin wire as a way of pulling through the larger wiring harness on the lights. Everything was to be a nice snug fit.
I continued on to the next light, welding up the bolt and duplicating the work I had just done.
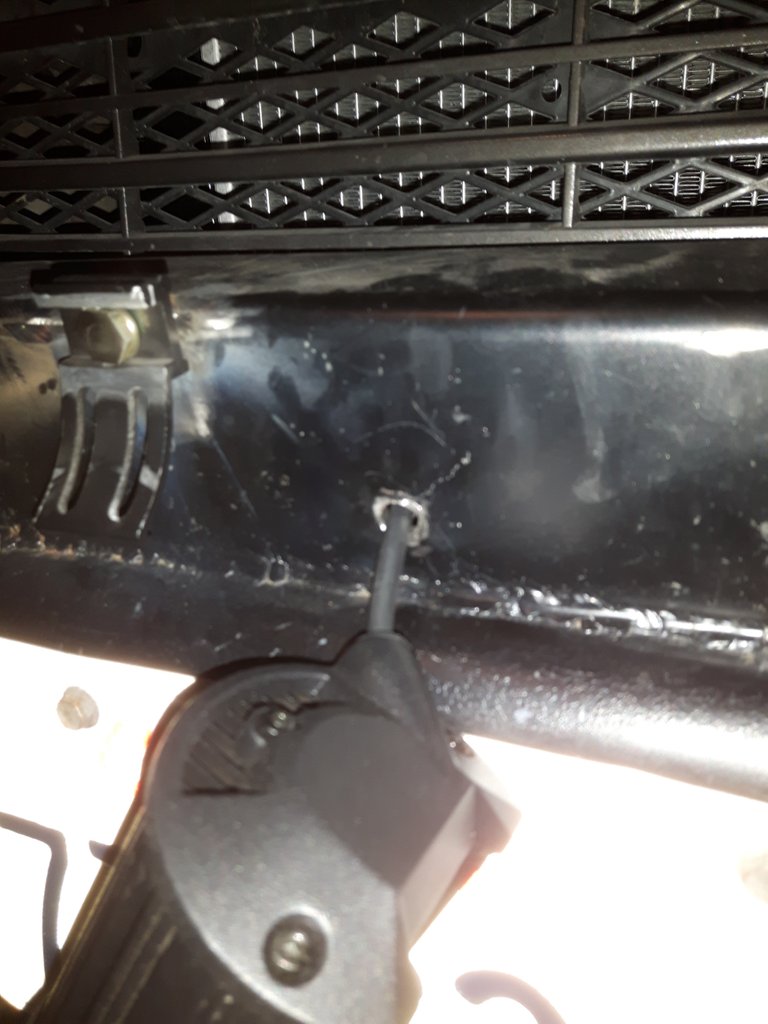
When it came to the second set of drill holes, I purchased new bits all in vain. The new bits still did nothing in cutting through whatever metal this bumper was. I was irrate and turned to the one tool I had to deal with this job...my plasma cutter.
The plasma is still a restoration in progress as parts for it are VERY pricey, but it does cut for a second or two so it was perfect for blowing a hole through the metal that I could then widen out in less time than drilling completely through. The front side was easy but the back side was a little more difficult to reach.
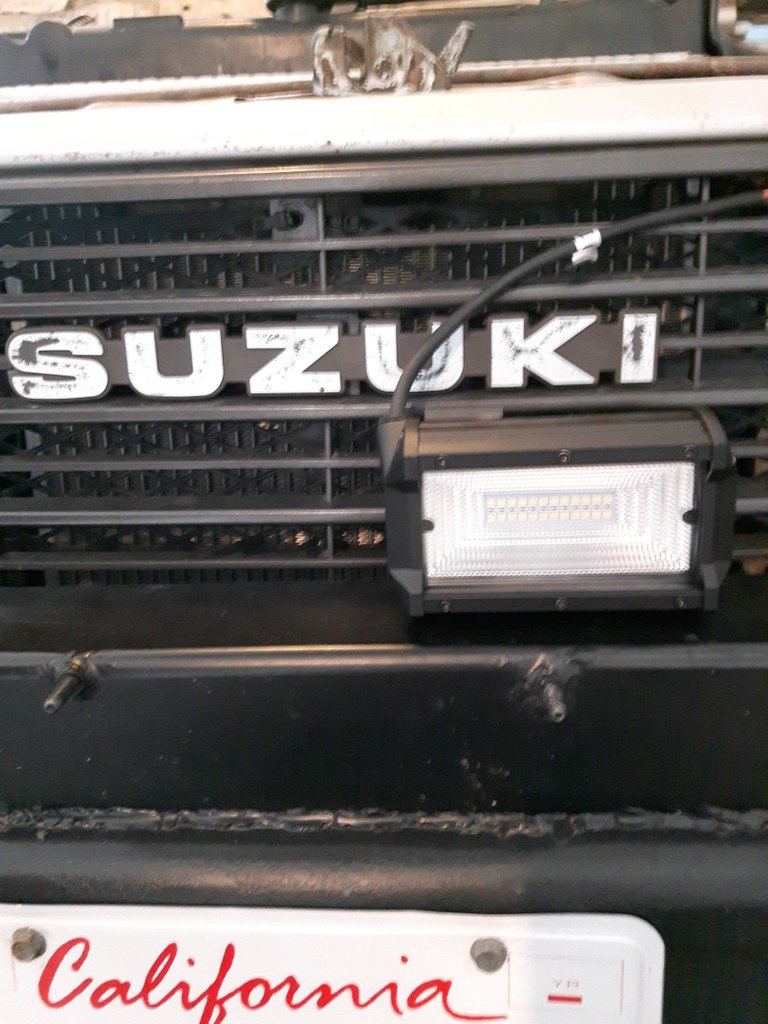
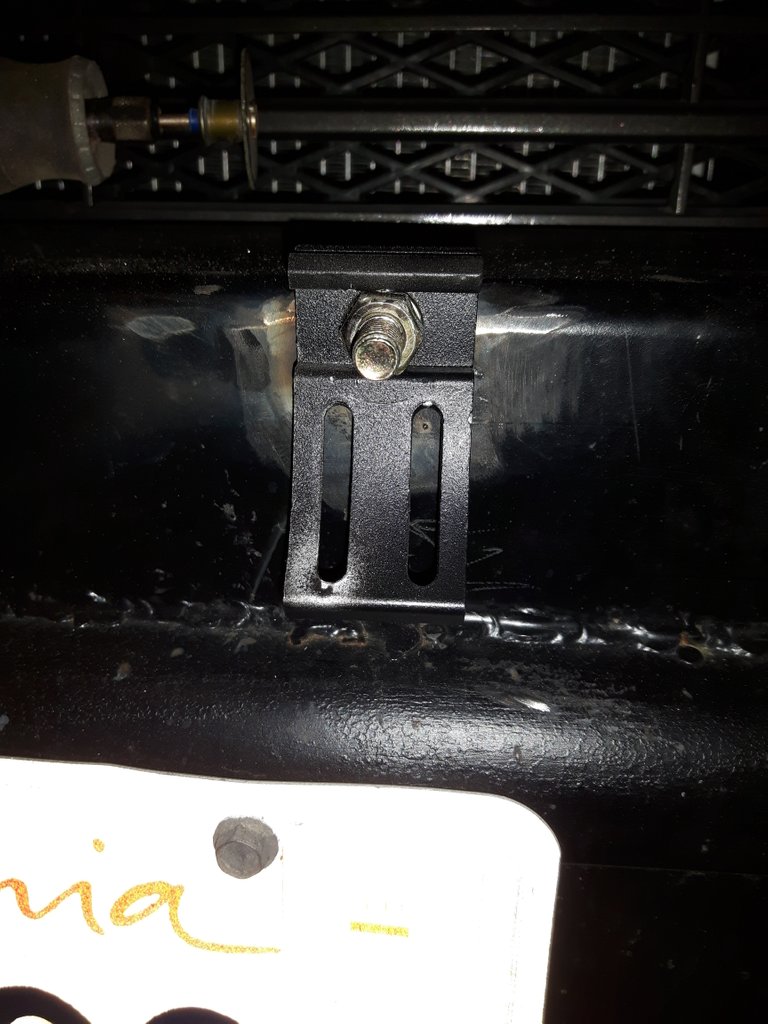
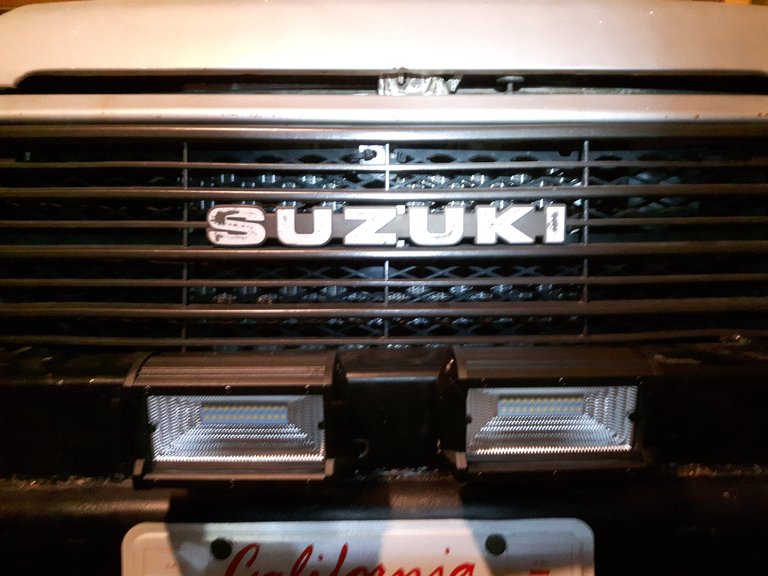
I then mounted both lights, first passing the wiring harness through the drilled holes.
The drilled holes helped in a clean look for the mounted lights. I wanted the lights to be angled slightly downward and slightly outward.
Now it was time to wire them up. The way @beckymeep wanted them wired up was to a switch controlled by ignition power. This way even if the lights were left on, once the key switch was turned to off all power quit completely. Both lights were close enough that their harnesses barely reached together so that I could daisy chain the wiring. Both grounds were soldered to a single wire and both lives were soldered to a single wire. Electrical tape was used in place of shrink wrap but several layers were built up.
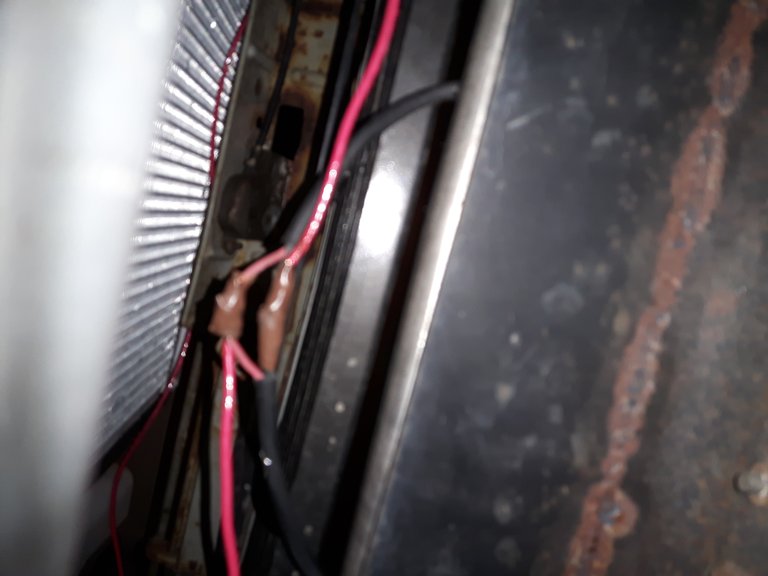
To solder the wires I used a blow torch instead of a soldering iron, an iron takes a while to heat up wire while a torch can be used to solder wires quickly.
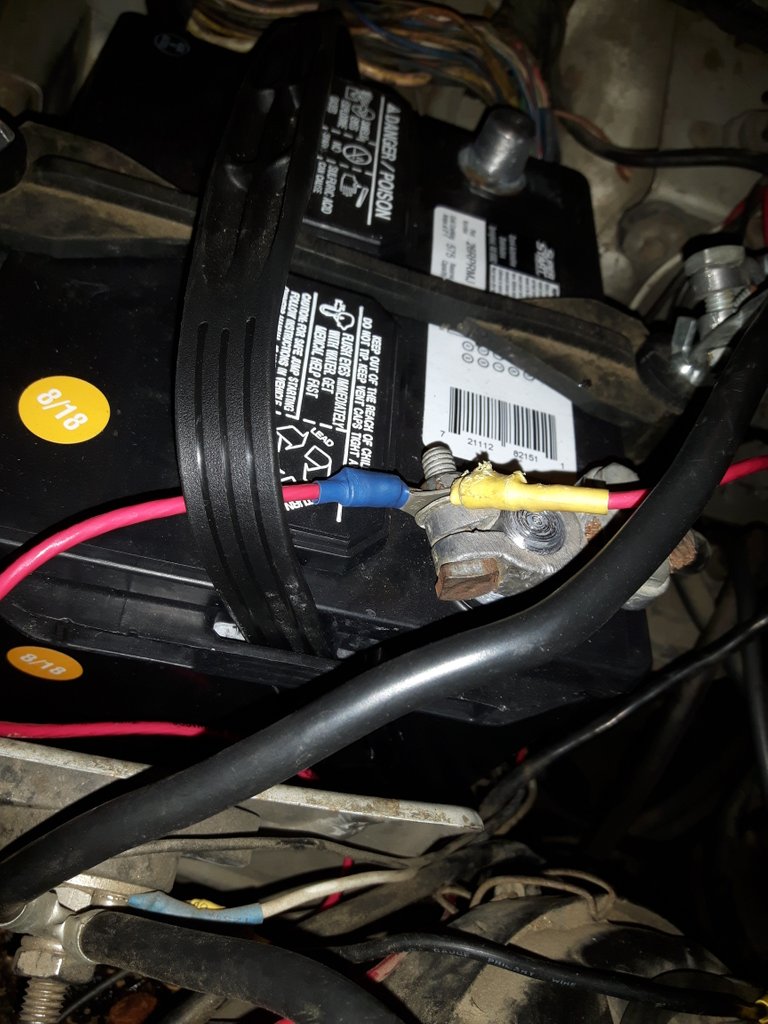
The ground wire (black) went strait to the battery negative (-). The proper connector was attached to the wire using wire crimps and then mechanically soldered to the wire. Heat shrink was then used to create a clean connection.
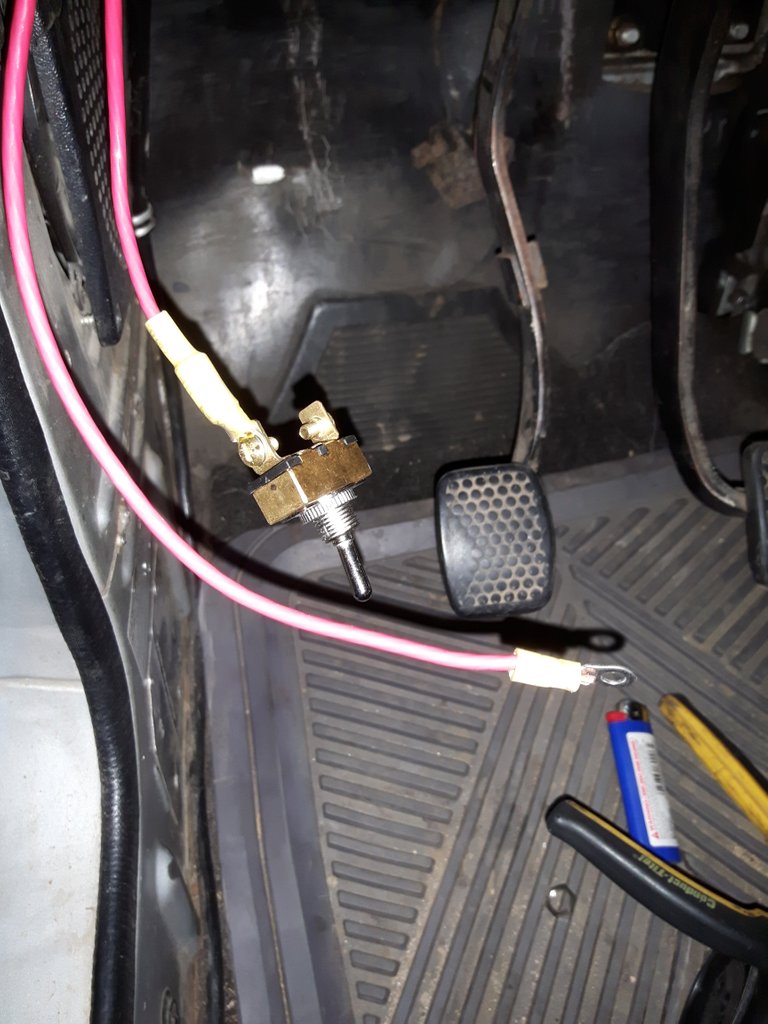
The live wire (red) coming from the lights was passed through the firewall and using the proper connector and procedure used prior was screwed on to the switch. As its an on/off switch the position does not matter as the little label was able to be adjusted.
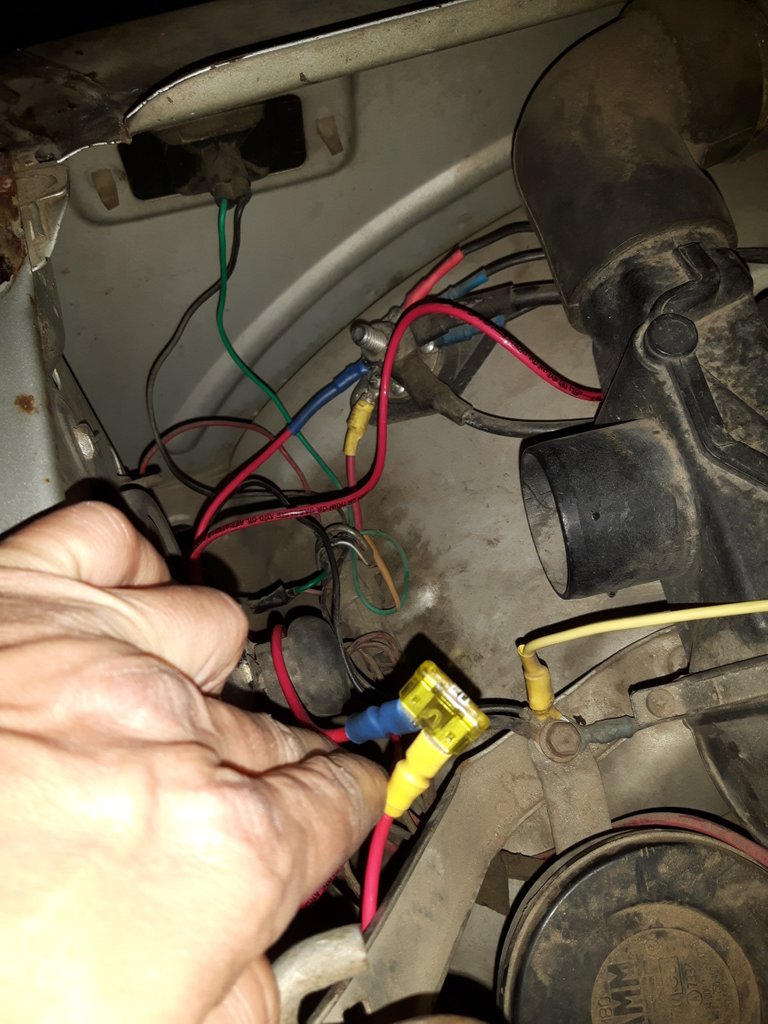
A second wire was ran from a power distribution block that was accessory key power on (you can choose to run a wire strait to the battery positive (+) but just make sure you turn off the lights before leaving the vehicle). A 20 amp fuse was put in line to prevent damage to the switch. Electrical tape was then wound around the base of the fuse to keep the wires in place. That wire was then ran through the fire wall and attached to the opposing screw on the brass switch.
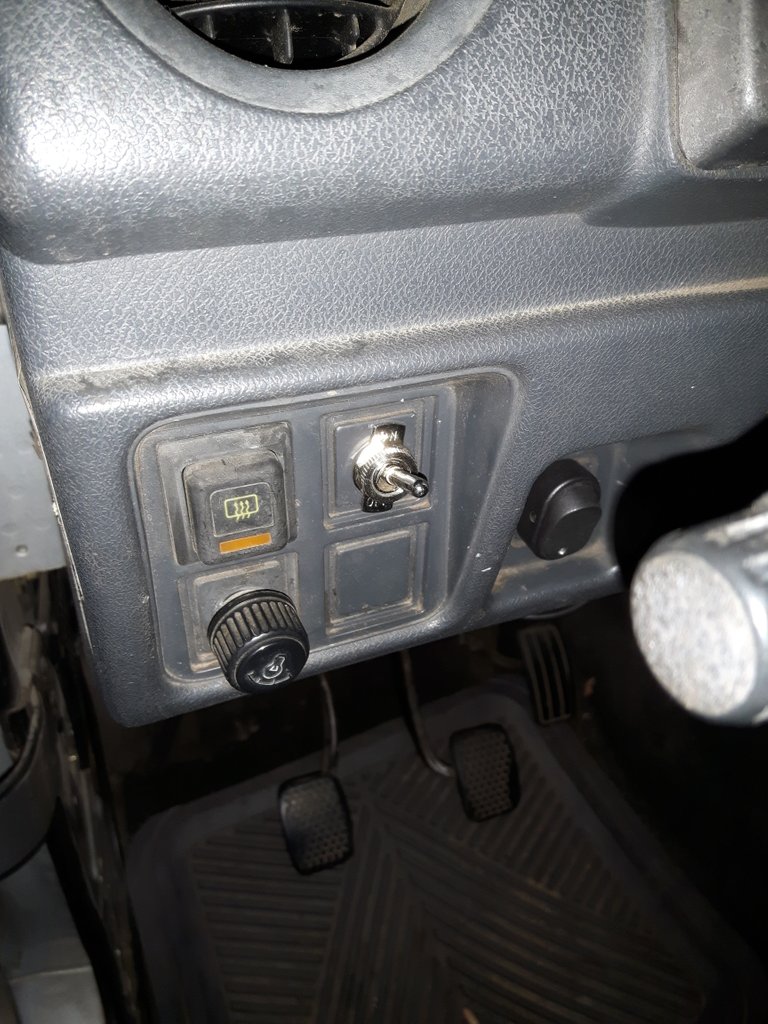
A proper mounting location for the switch was chosen.
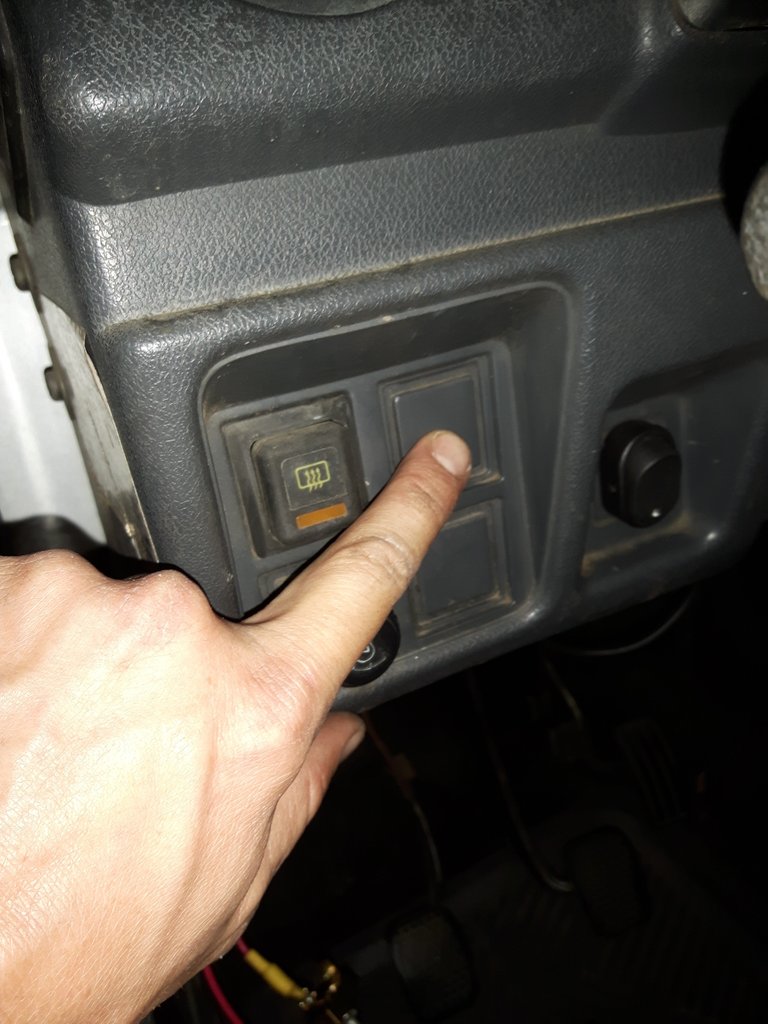
A 1/2 inch drill bit was used to create the hole for the switch.
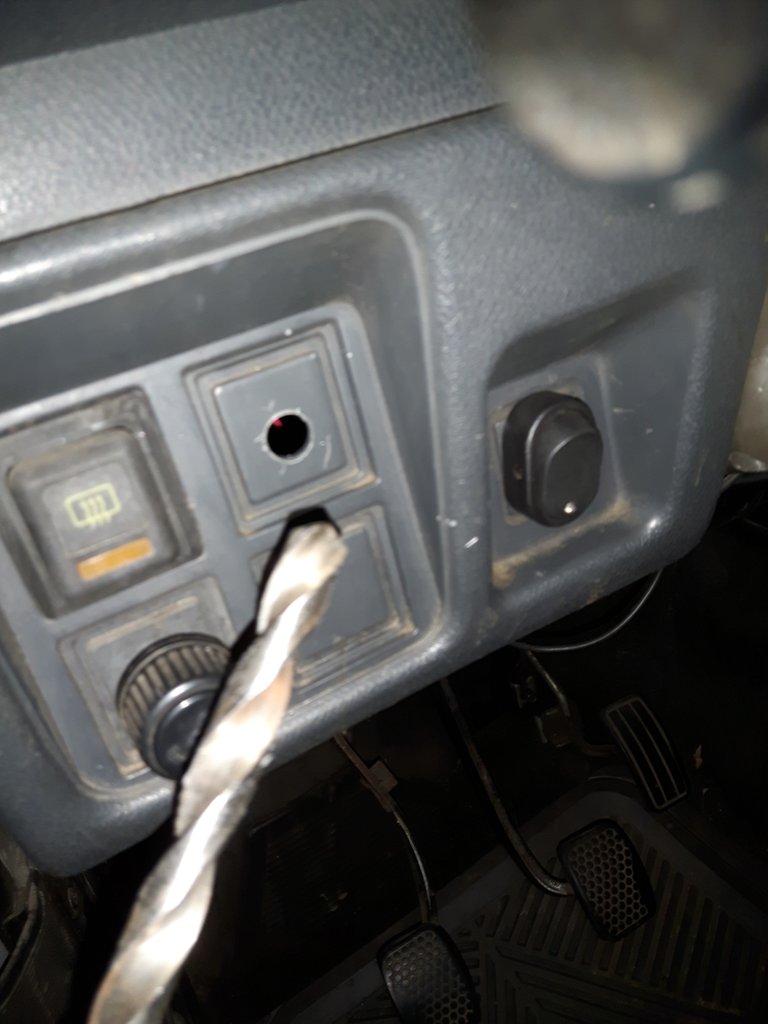
The switch was then passed through the rear of the panel and screwed down tightly.
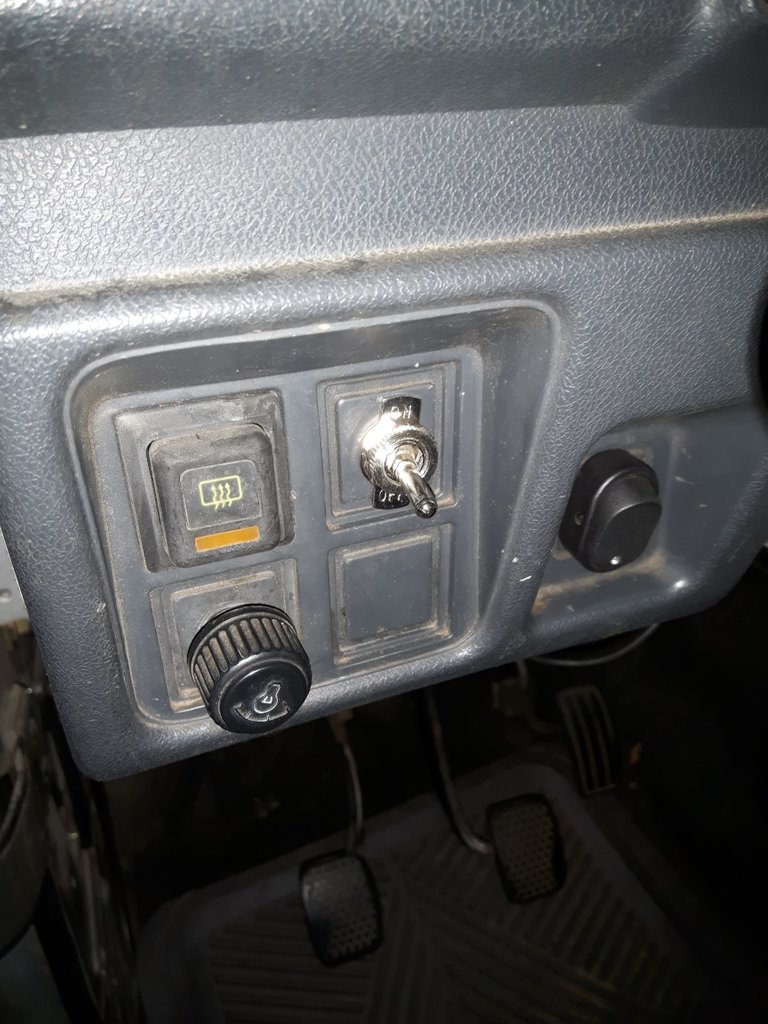
The battery terminal was then reattached and the car key set to the accessory position.
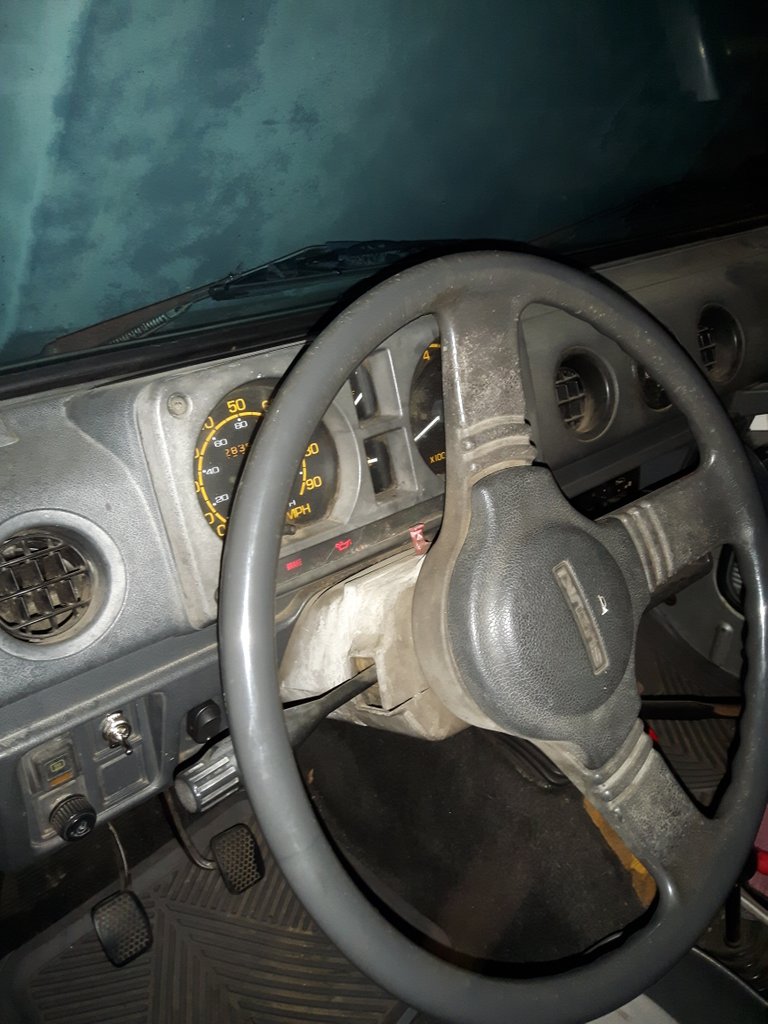
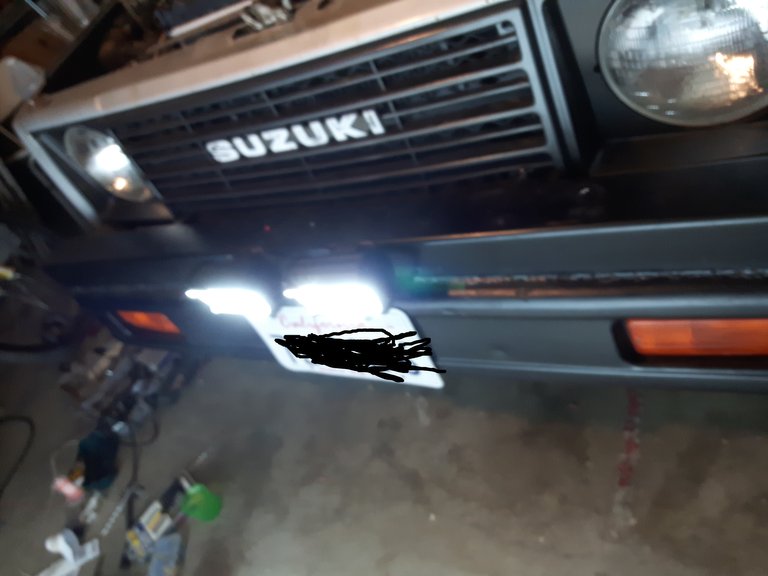
I then proceeded to turn the lights on and hope all my hard work payed off.
To my satisfaction as well as @beckymeep's, the lights illuminated bright. They outperformed the stock headlights and even high beams. I have since tested them and have no need for the stock lights when these are on. They are strictly for offroad use only.
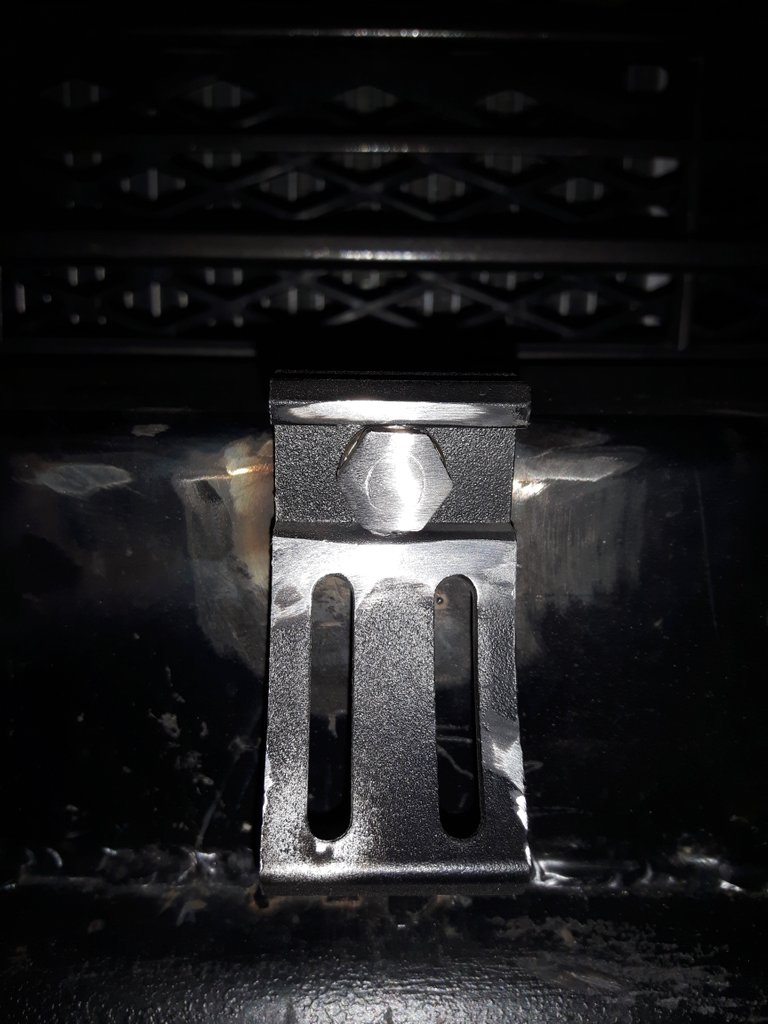
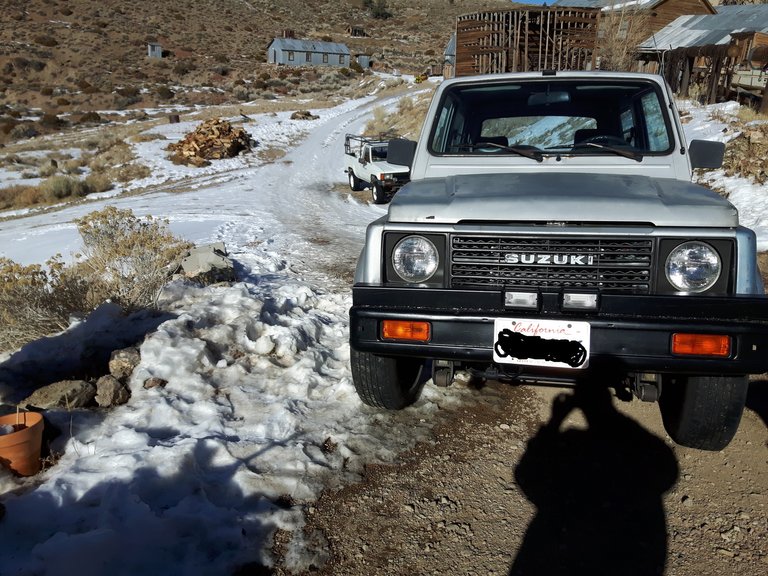
The clean look leaves me very satisfied. A small amount of black spray paint was added to keep the welds and grinded areas from rusting.
I hope you enjoyed this build and it helps you install your own LED light bars. Thank you for stopping by!

All photos, unless otherwise stated or sourced, were taken by @csusbgeochem1 and may not be reused without permission. Animations and cover photo created by @csusbgeochem1 using GIMP.
If you found this story interesting you can find more like it by following @socalsteemit and help us expand the Steemit community together

#SoCalSteemit is building and supporting the Steemit community of Southern California. If you are from SoCal and are into creating quality content here on Steemit, we'd love for you to follow us @SoCalSteemit and join our group on Discord
Thank you so much for being part of the #socalsteemit community.
I can't speak for everyone, but I'm doing alright. Thanks for asking!
Oh ya, and good job on the lights! One of my headlights is out again. I'm gonna try to fix it tomorrow.
Hey! I'm doing pretty well too :) Thanks for asking.
Nice job getting the lights installed. For on-road driving, you might want to look into replacing the sealed beams with proper H4 headlights and wiring in a relay harness with upgraded wiring... it's a weekend project that will give the sammy modern headlights :)
One thing I might recommend is getting an actual fuse holder. They are relatively cheap, and will protect the fuse somewhat... they also make changing the fuses much easier.
Congratulations @csusbgeochem1! You have completed the following achievement on the Steem blockchain and have been rewarded with new badge(s) :
Click here to view your Board
If you no longer want to receive notifications, reply to this comment with the word
STOP