I was motivated to write about this because of the challenges I faced while documenting API endpoints for a mobile app I worked on as the Software (Back-end) Engineer, the API documentations were needed so that the company contracted to build the web version of the app will easily implement the API endpoints in their Design Screens. I won't want any engineer out there to encounter similar challenges.
The APIs I built has a lot of endpoints and I haven't documented an API before, so it was challenging for me at that time. I watched series of video tutorials, I was getting more confused because I needed to know how to properly document my API to be detailed enough for anybody you consume.
So enough with the story, let's dive in:
Things you need to know:
- You should already know to test your API endpoints with postman.
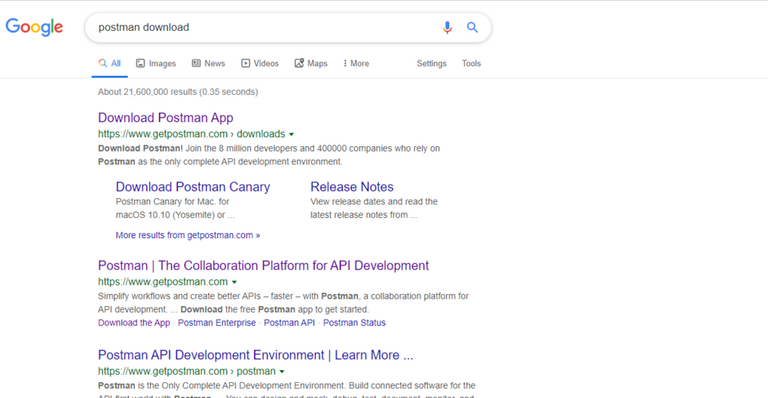
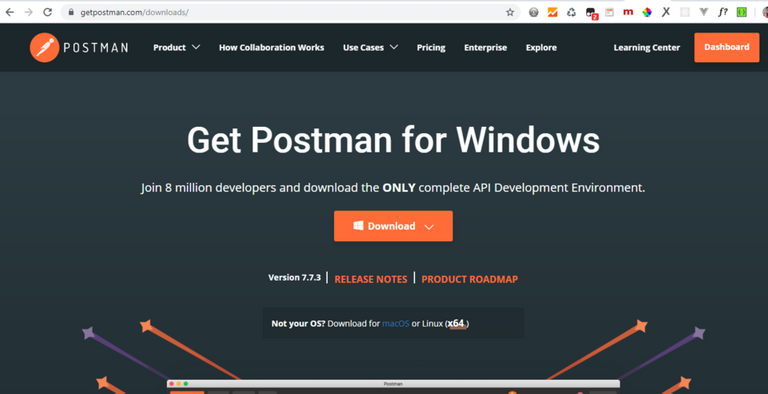
Step 1: Download and Install Postman
Go to Google and search for Postman
Step 2: Sign up or Sign in on Postman
After downloading and installing postman, it will require you to sign in if you already have an account or sign up if otherwise.
Step 3: Create a Collection
After you have signed in to post man close the first screen that pops up:
close this popup
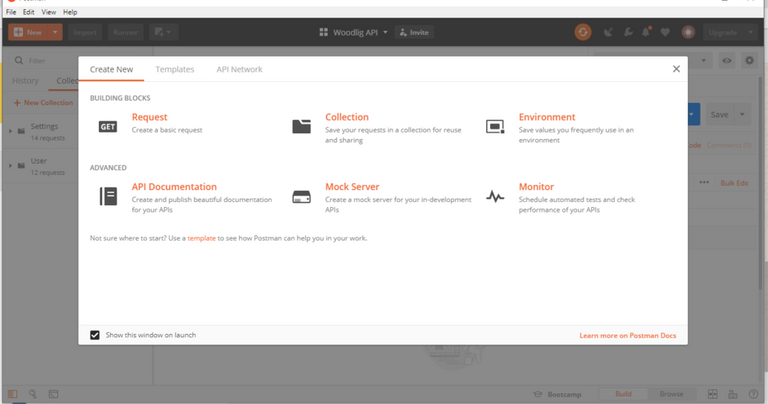
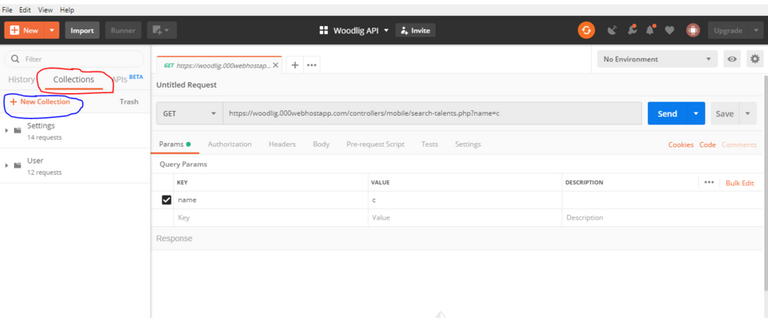
After closing the popup screen, you see the following screen, that is where all the magic happens
Step 4: Create a Collection
A collection is like a way of grouping your API/Documentation to a particular action they perform. For instance I created a collection called User - this contains endpoints and documentation that handles everything about a user which are (registering a user, login a user into the app, login a user out).
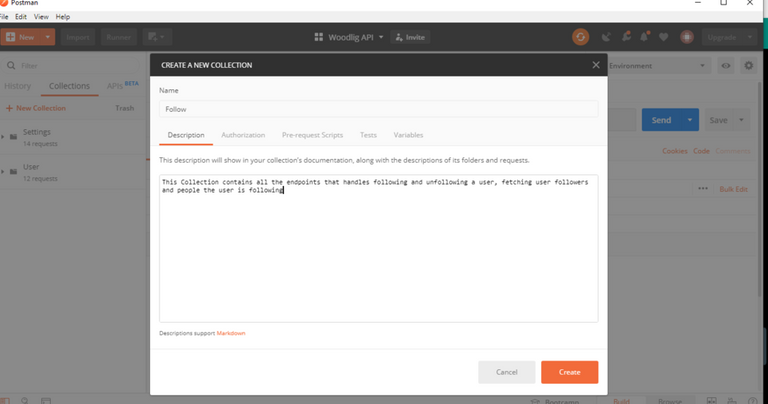
Creating a Collection
Here I created a collection called Follow and I also gave a description of what the collection is about.
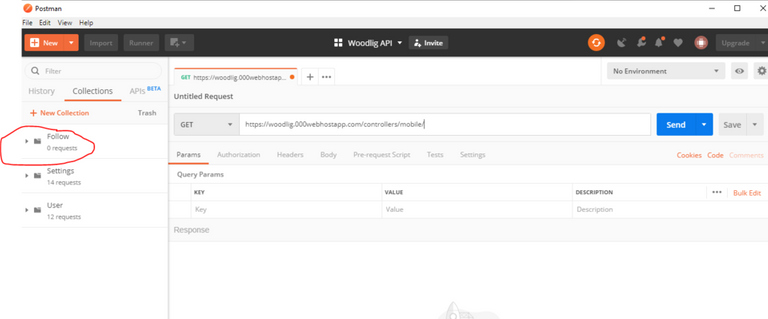
So once you have created the collection, the collection you created will be added to you list of collections.
The newly created Collection has been added to the list.
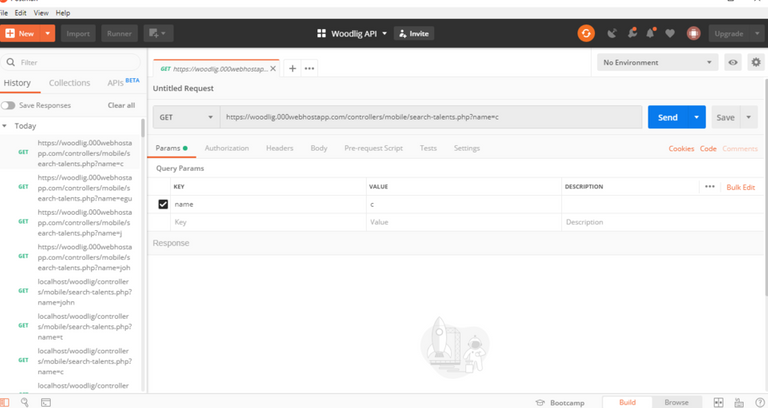
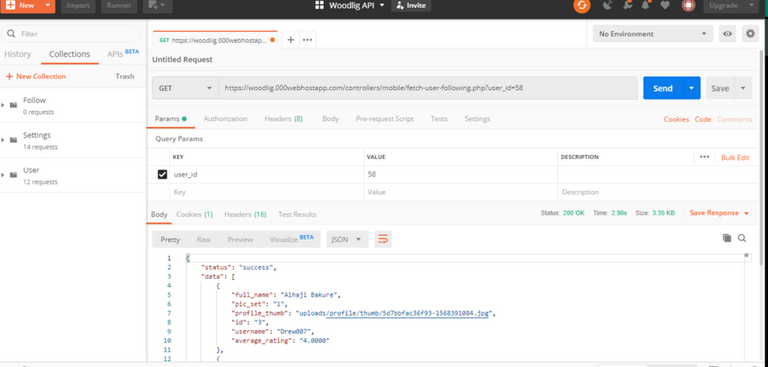
Step 5: Create your API Request with Postman
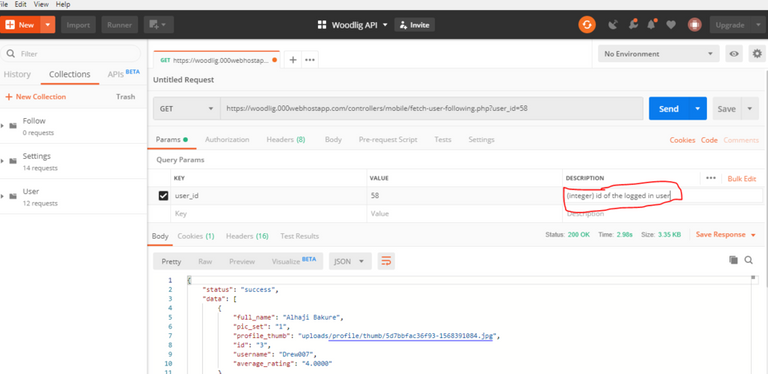
Creating an API request is simply testing/calling your API URL(endpoint) with the appropriate parameters. The following image will explain better
This image has parameters and values required for the endpoint to function properly(user_id with a value of 58).
Step 6: Add description beside the parameter's value
Add a description to each parameter to enable API consumers understand the data type and the kind of values expected. See image below
Added description to parameter - value pairs.
Step 7: Save the request to an appropriate Collection
Now you will save your API request to the collection you created earlier. In this case you will in the Follow collection.
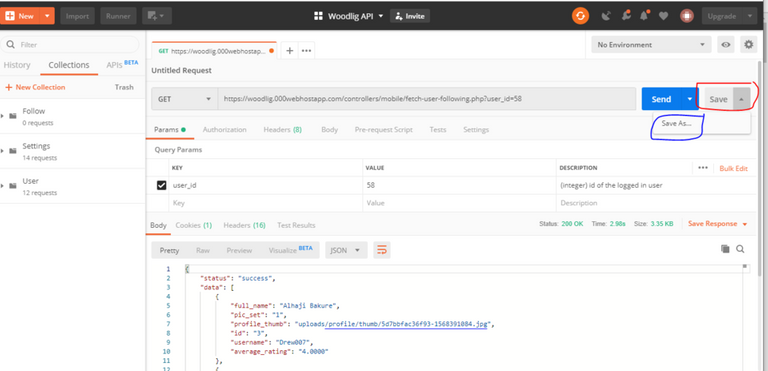
Use proper naming to align with endpoint function and also give proper description of what that particular endpoint does. Just like the example in the image below:

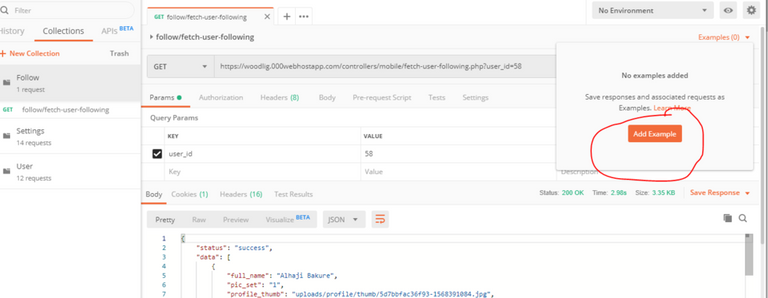
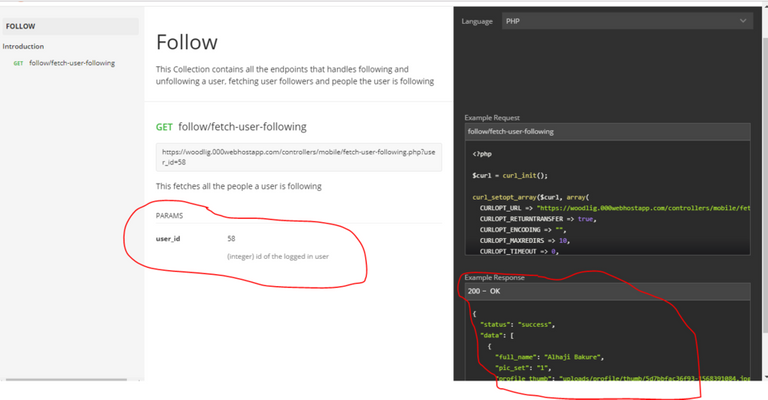
Step 8: Add Example Response
This shows the API consumers possible response they will get if successful
The following images will guide you :
As you can see in this image, the endpoint has been add to the Follow Collection. Click on example(circle with in the above image).
Click on add example
Click on save example to save the response to the request

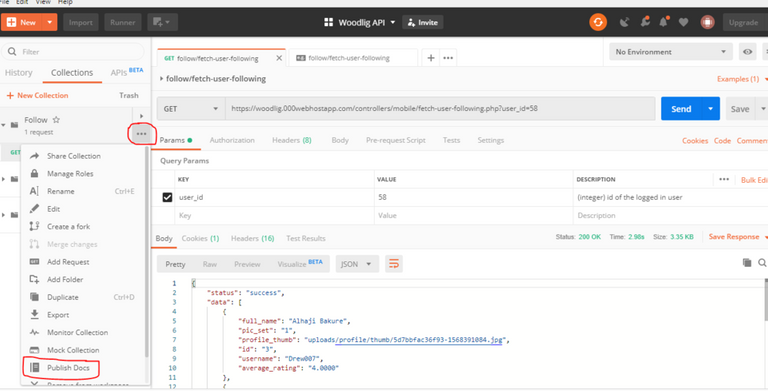
Step 9: Publish the collection:
When you publish a collection, a link will be generated which you can share to possible users that will consume the API.
- The images below will guide you through the publishing process.
Click on Publish Docs: This will redirect you to your browser.
In your browser Click on the Publish Collection button: This will generate a shareable link for you.

Click on the link to view documentation or copy the link and share to API consumers.
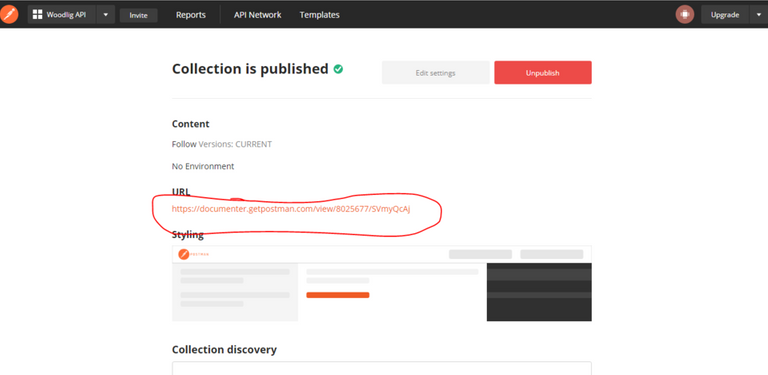
This is how the documentation will look.
Note: You can add as many endpoints requests as possible to the published Collection.
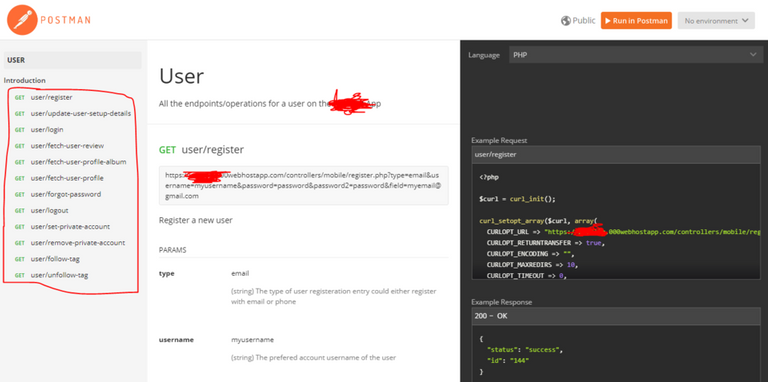
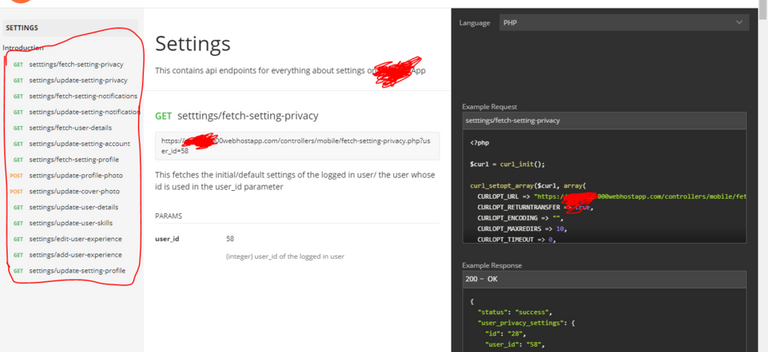
See images of my other Published Collections with properly documented endpoints.
Endpoints for Users
Endpoints for Settings
Congratulations @casweeney! You received a personal award!
You can view your badges on your Steem Board and compare to others on the Steem Ranking
Vote for @Steemitboard as a witness to get one more award and increased upvotes!