Before
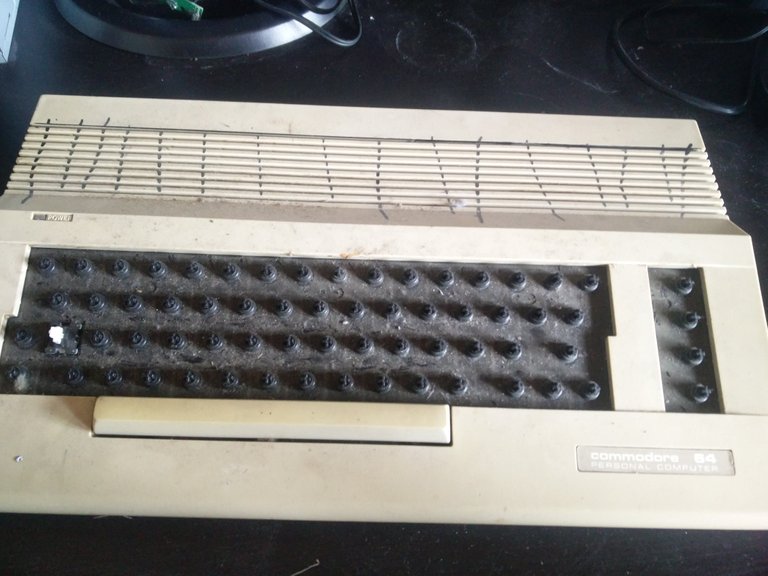
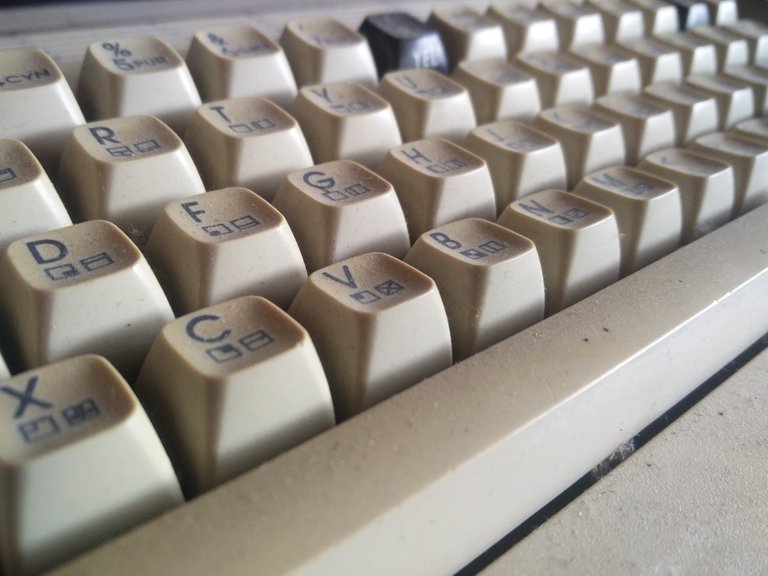
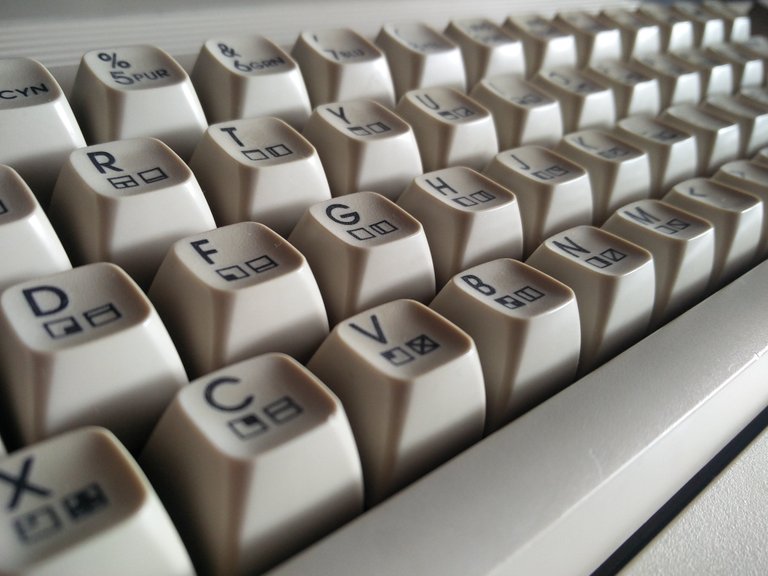
The plastics were yellowed, everything was dusty and somebody drew on it with a permanent marker...
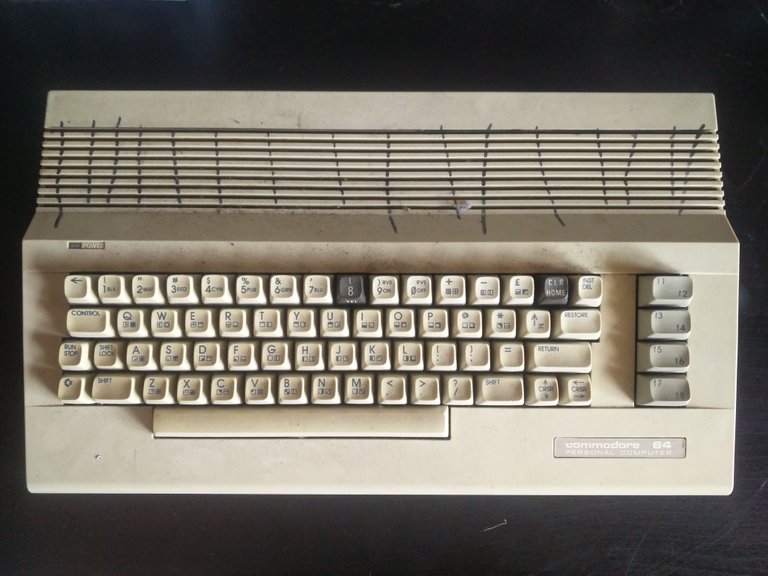

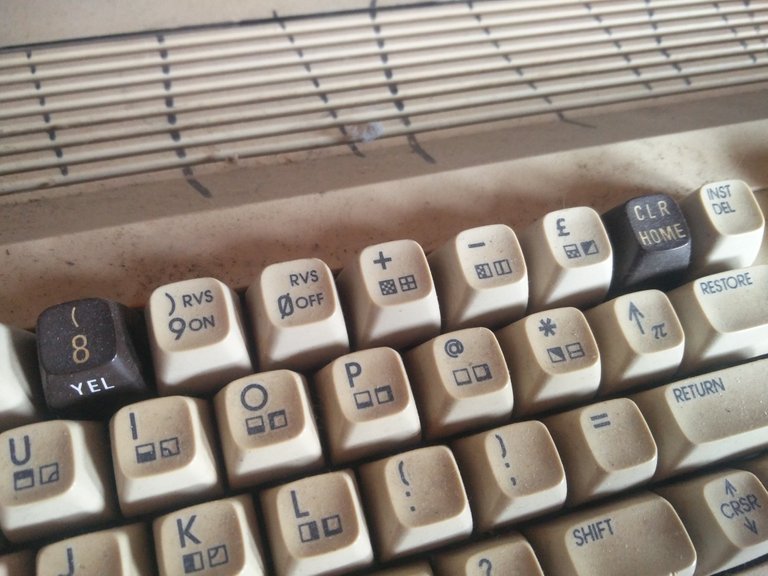
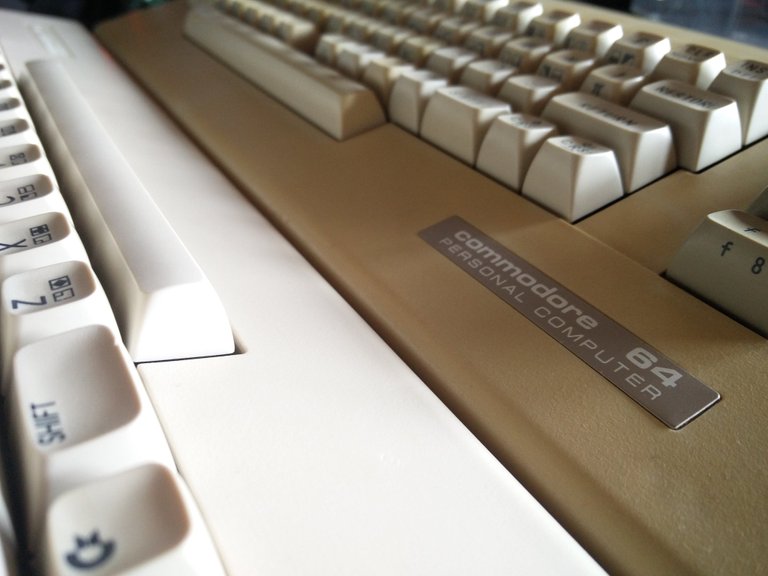
Also, two keys were replaced with black keys from the older version of the C64.
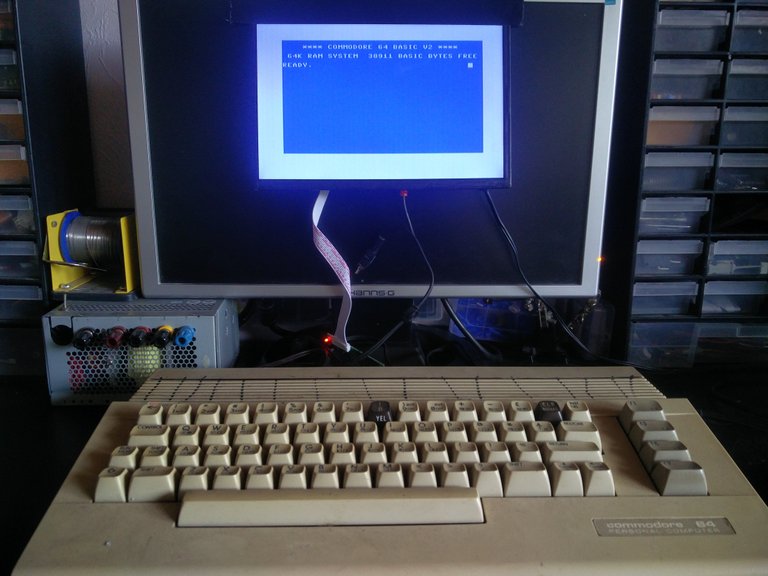
So, I first started with testing, if it still works. After plugging it in, it works perfectly fine!
Disassembly
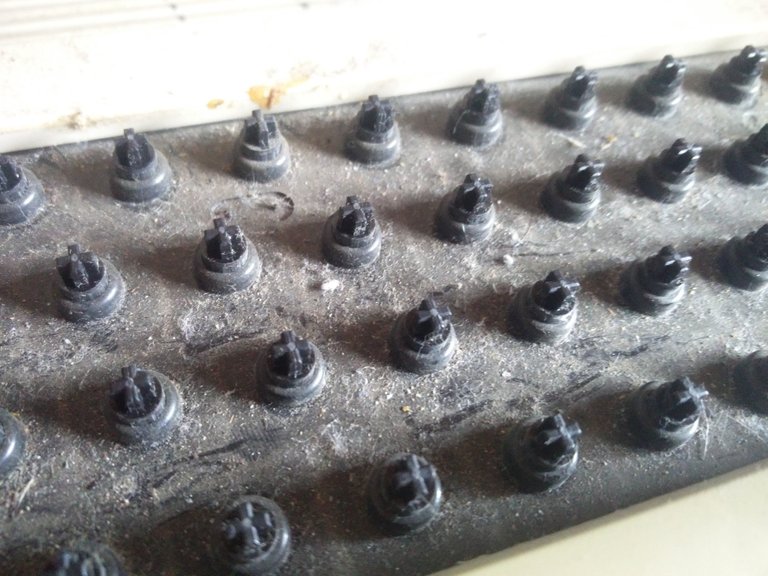
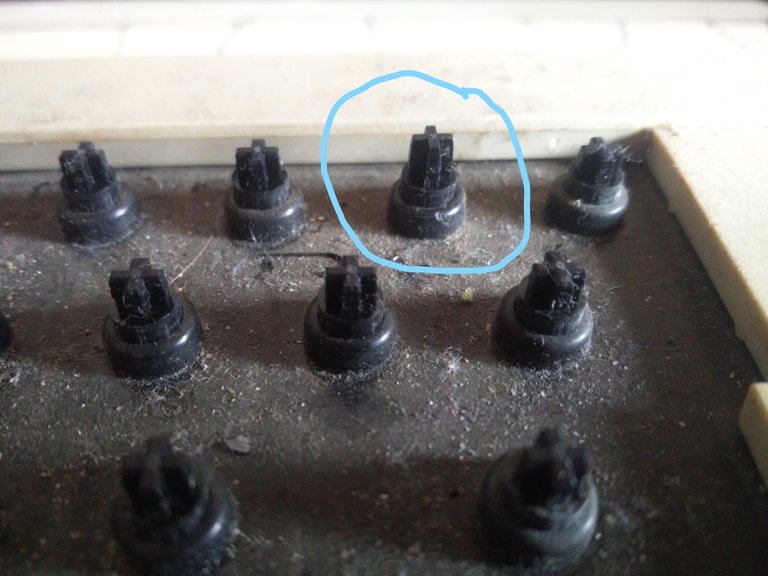
I started the disassembly by removing the keys. I used a thin metal pry-tool to gently pry up each key. This showed, how dirty and disgusting the keyboard was! I noticed, that one pin was longer than the other! You’ll see why, later on.

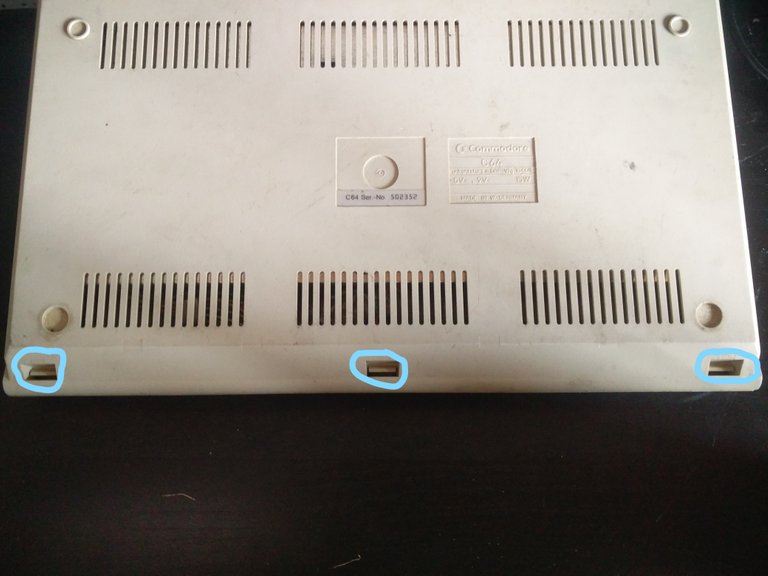
Then I opened the C64 up by unclipping three latches.
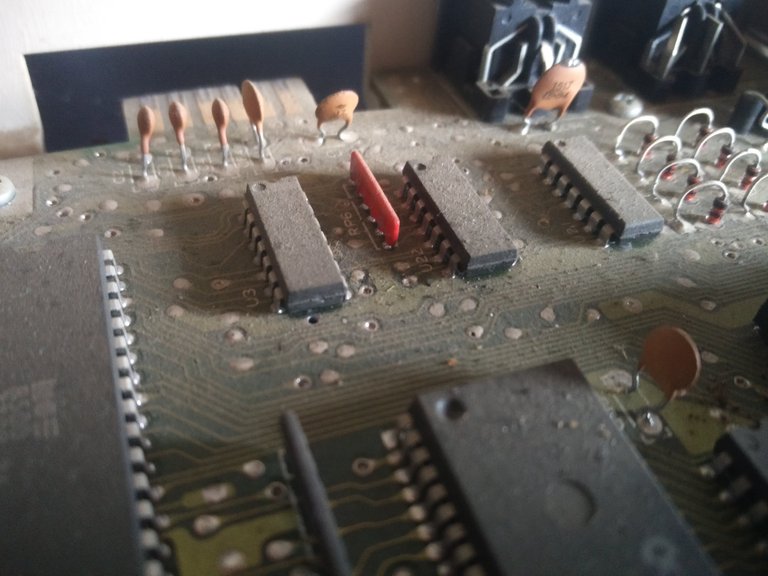
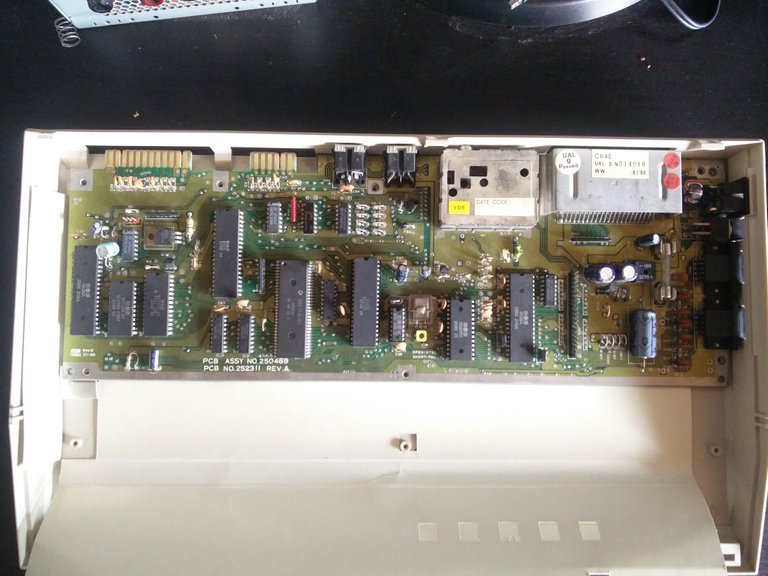
I removed the shielding and this revealed the dusty and dirty motherboard.
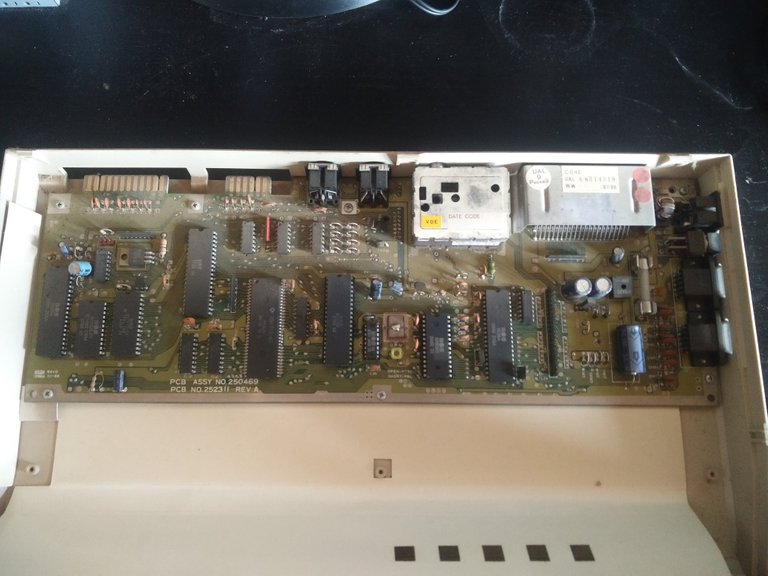
I removed the motherboard and the shield and started working on the keyboard.
The keyboard was very easy to remove. First unplug it and then release a few more latches. (Don’t forget to remove the power LED)
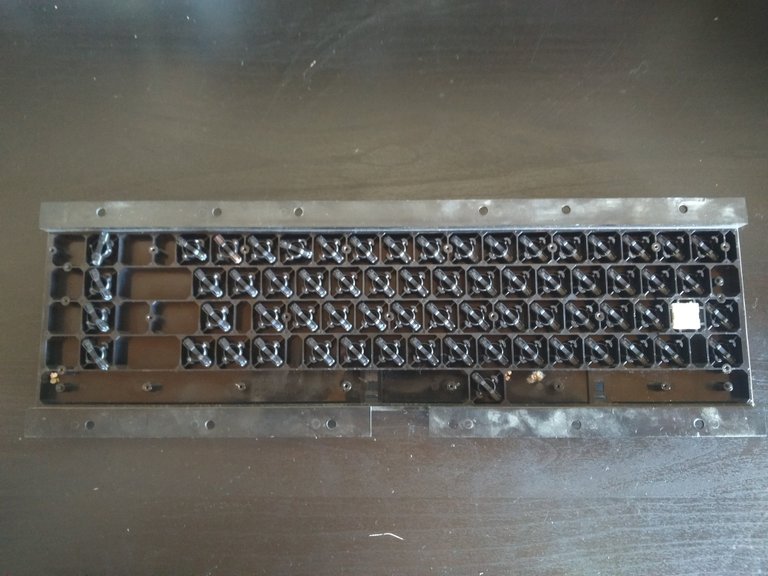
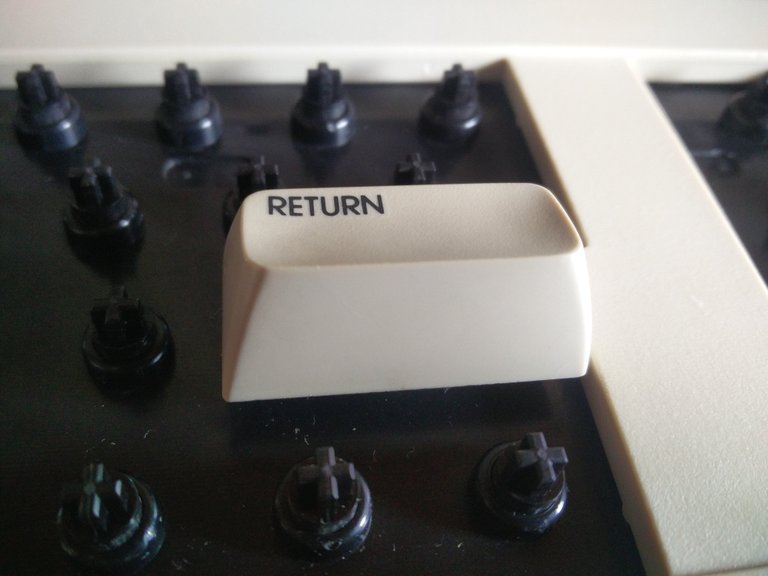
To tear the keyboard down, I removed 24 (!) screws on the bottom and desoldering the shift lock key. This revealed, that the one pin, which was longer than the others, in fact was a wrong replacement part, like the two black keys.
.jpg)

Cleaning
The C64 was very dirty, so I started cleaning it. For the case I used a special sponge (Don’t ask me, what it is made of…) to remove the dirt and the marker lines. It worked perfectly!
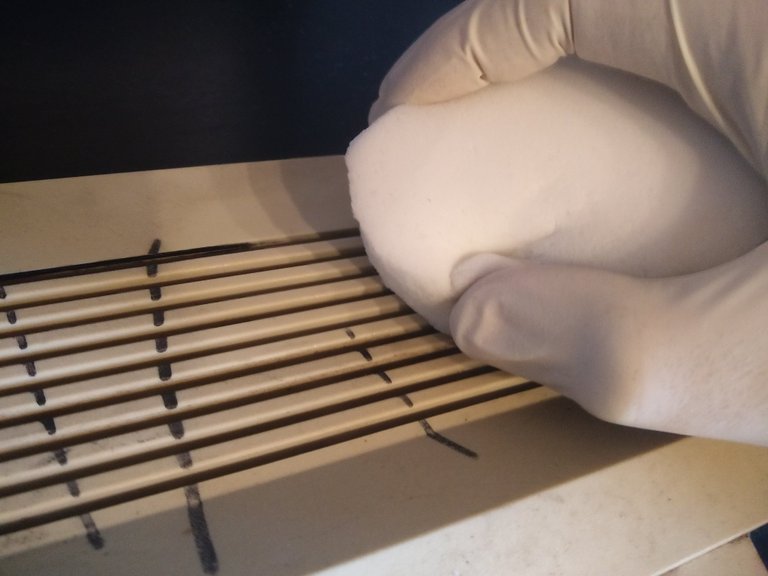
For the motherboard and the keyboard-frame, I just used an old toothbrush and some rubbing alcohol to clean it.
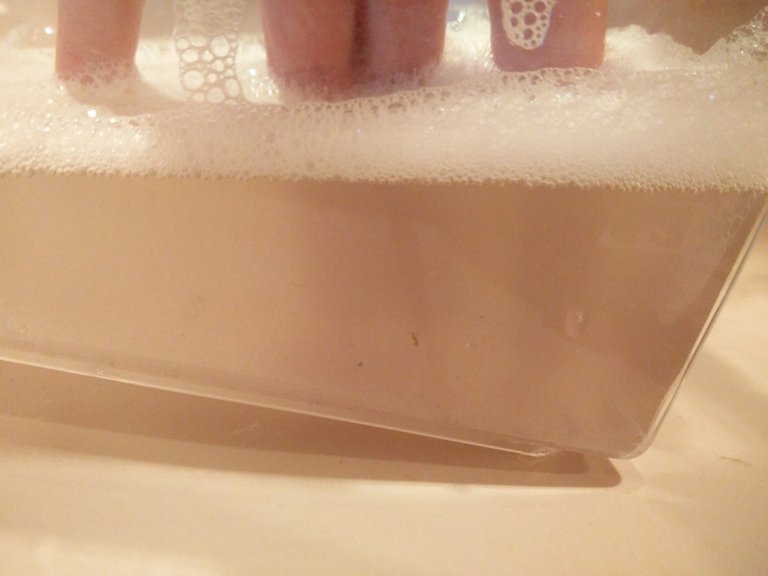
I cleaned the keys by giving them a good wash with soap and water. (Look how dirty the water is, after the first wash!) After five washes, the keys were clean again.

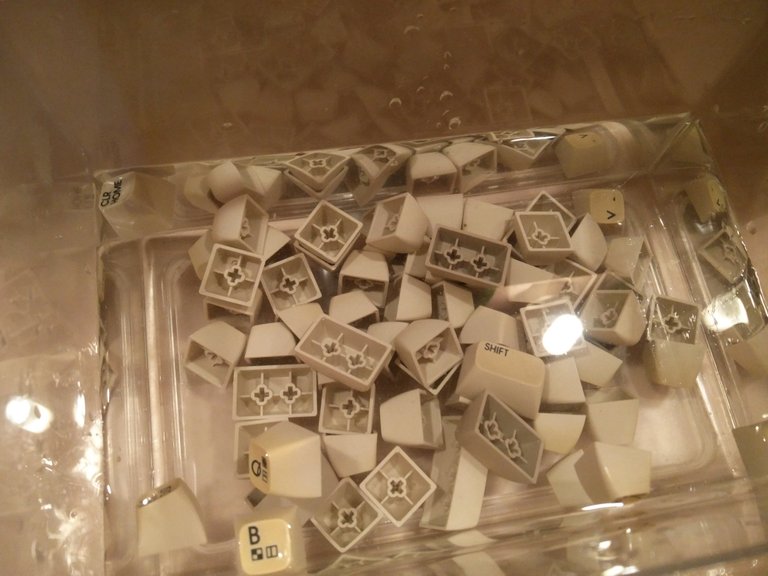
The springs, I just brushed of the dust, because water would cause them to rust.
Fixing the yellowed plastics
To fix the yellowed plastics I used a hydrogen-peroxide cream. First, I coated every key and covered it with cling film, so it wouldn’t dry out. I repeated this with the top and the bottom of the case.
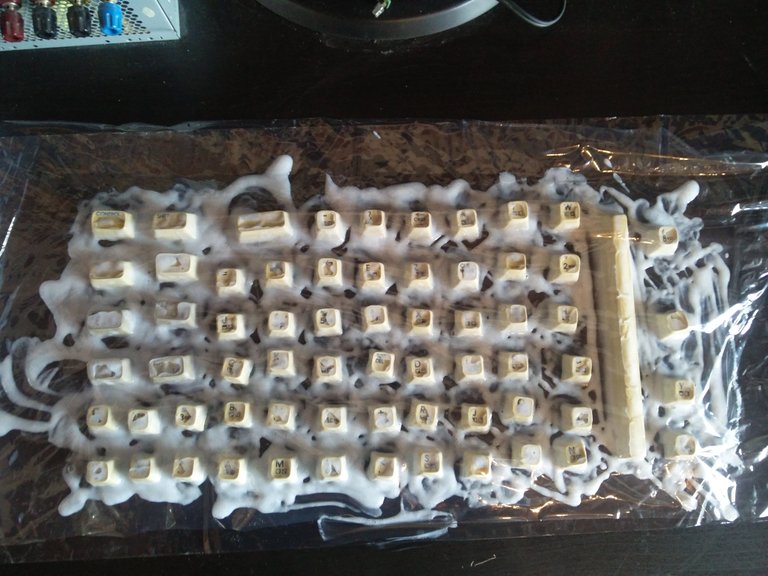
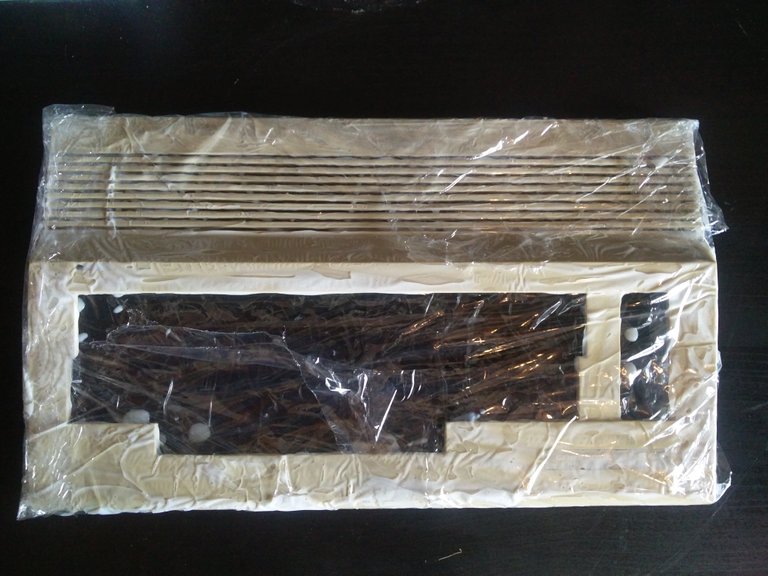
After I was done coating them, I laid the parts in the sun, because hydrogen-peroxide needs UV-Light to react with the yellowed plastics.
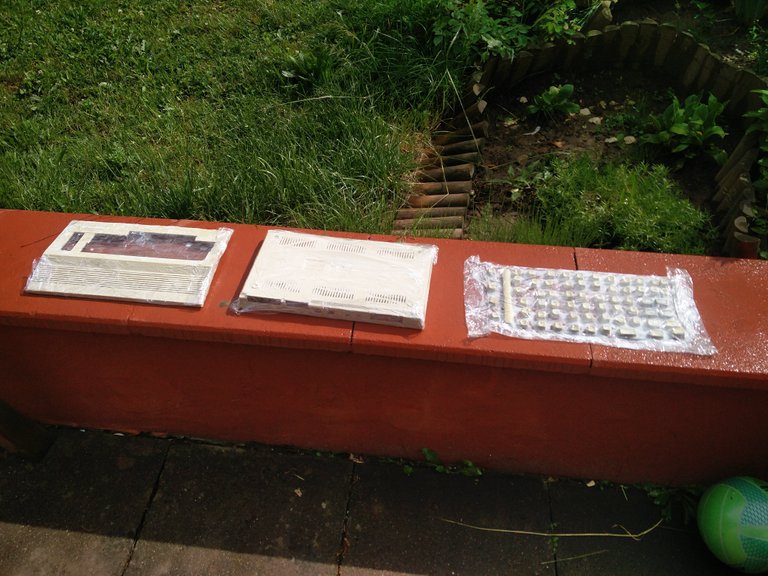
Because the weather was pretty bad, I let them outside the whole day. Normally, it would only take about 1-2 hours on a sunny day.
I washed everything and started with the assembly.
Assembly
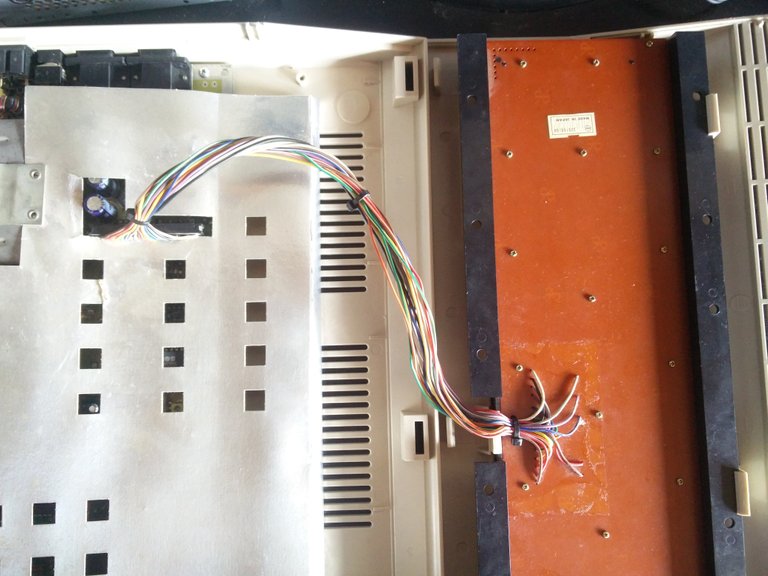
I started, by putting the shielding and the motherboard back inside the case and screwing it tight. One of the screw-hole-stems broke off, so I glued it back into place.

I replaced the wrong sized pin and screw the keyboard back together.
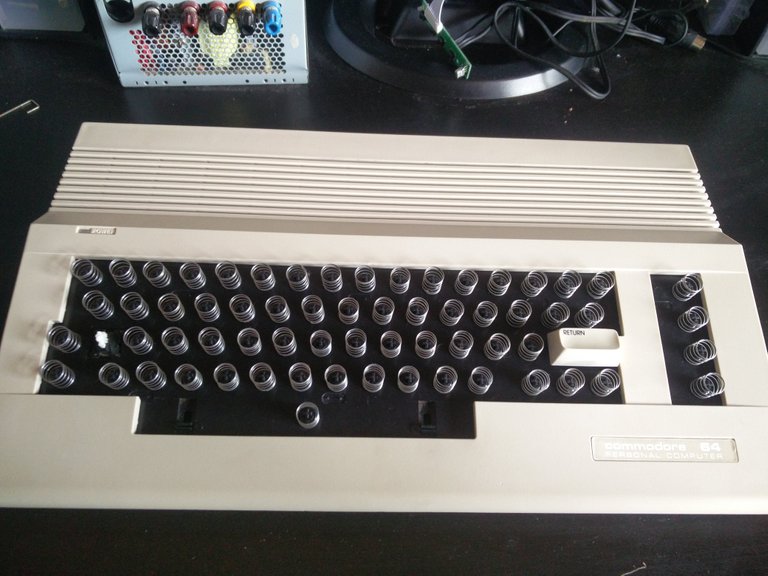
I plugged the keyboard back into the motherboard and clipped it into the top-half of the case.
Before closing the C64 up again, I connected the power LED because the cable of it is very short. Then I was able to just close the case because it doesn’t need any screws.

I put every spring in its position and started putting the keys back where they belong.
Before and after comparison
I also used a C64 of the same model I got from the same owner to show you the difference, hydrogen-peroxide and the sun makes.
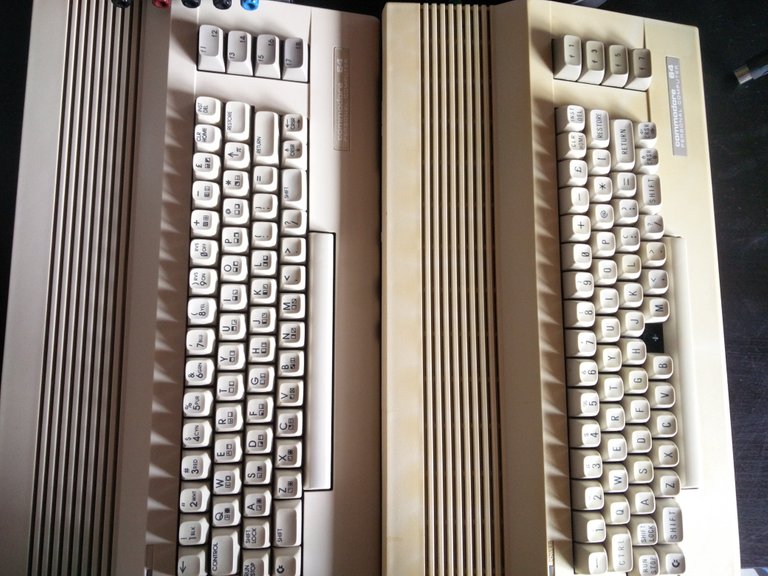
The difference betweeb vefore and after is amazing! That was lucky it still worked when you first started it, saved a ton of work I'm sure! Thanks for sharing.
You're right!
But I've also fixed broken ones before :)
I've never built a computer, let alone taken one apart and then fixed it, so I'm inpressed! I might actually give building my own computer a shot these next couple of months, do you have any recommendations on where to start? I was planning to work through some youtube demos a friend had sent me, and of course see if anyone had posted about this topic on steemit!
just try, there's not much, that you can do wrong :)
That was kind of my thinking, just jump in and see what happens. Thanks.
yeah, no problem :)
Loved the post. It brings back many memories. I have an old C64 sitting in the cupboard. Time to dust it off and get it going again! Thanks for sharing. I have resteemed!
Do it!
It's a very fun and easy project :)
And you can always get great results!
If you have any questions, just ask.
@nojo121 dang this is tight.
Thanks :)
Wow this is incredible. Repairing / taking apart electronics is a dying art these days.
I know, and i love it! I'll do more projects in the future :)
Love the detail! great post :)
Thanks :)
Very good work! Very detailed - good pictures with explanations. . Thank you for another quality post.
Thanks for the good feedback!
I love doing this stuff, when other people like it too :)
Congratulations @nojo121! You have completed some achievement on Steemit and have been rewarded with new badge(s) :
Click on any badge to view your own Board of Honnor on SteemitBoard.
For more information about SteemitBoard, click here
If you no longer want to receive notifications, reply to this comment with the word
STOPBy upvoting this notification, you can help all Steemit users. Learn how here!
Steady, very creative
Thanks :)
meep
Great job!
Thanks :)
Wonderful post. The Commodore was my first computer.
Thanks! You're right!
ATM I'm playing Pac Man on it... it's so fun :D
Nice, I remember playing Chuckie Egg on on a Commodore 64.
I just started playing maniac mansion. It's awesome :)
Are those... are those keycaps compatible with Cherry MX Switches??? I would love having commodore 64 keys on my mechanical keyboard!
This is sooo cool!
I've just tried it, unfortunatly... Not.
The cross in the c64 key is bigger tan the cross of cherry mx.
But, you know what?
That would be awesome.
You just gave me an inspiration for my next project!
I will get this to work! :)
I had no idea you could fix the yellowing like that!
yeah, it's amazing. isn't it?
Really cool post, @nojo121 I remember the days of C64 well!
Thanks :)
You really did a nice job on restoring that keyboard and case!
Supercool project man, you should let the computergame museums of the world know how they can maintain and polish their treasures!!