Alrighty, lets get back to this Steampunk Top Hat...shall we?
If you missed the first 2 parts, they can be found here:
Part 1:
https://steemit.com/cosplay/@balfore/balfore-s-builds-steampunk-top-hat-part-1
Part 2
https://steemit.com/tutorial/@balfore/balfore-s-builds-steampunk-top-hat-part-2
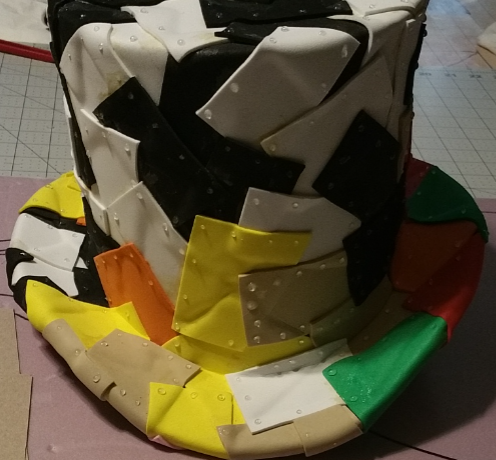
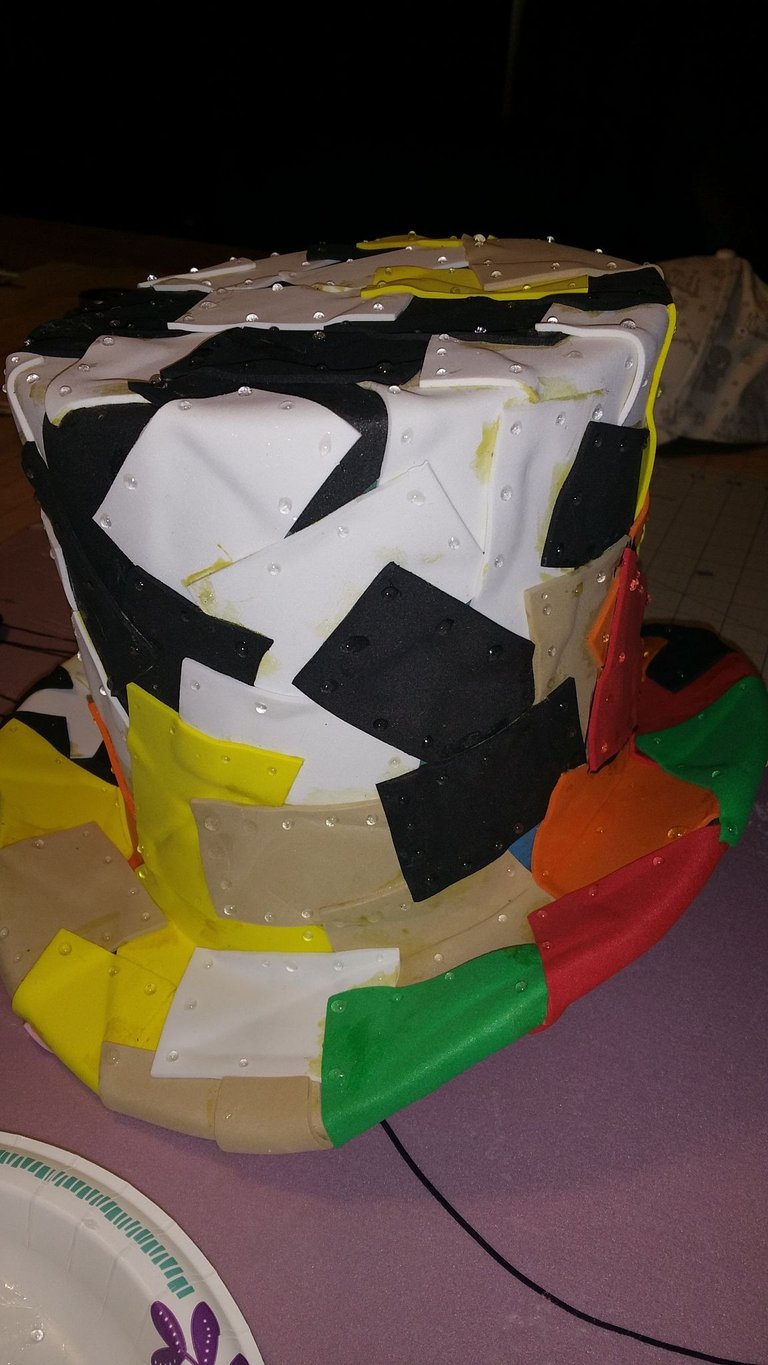
Here is what you should have at this point:
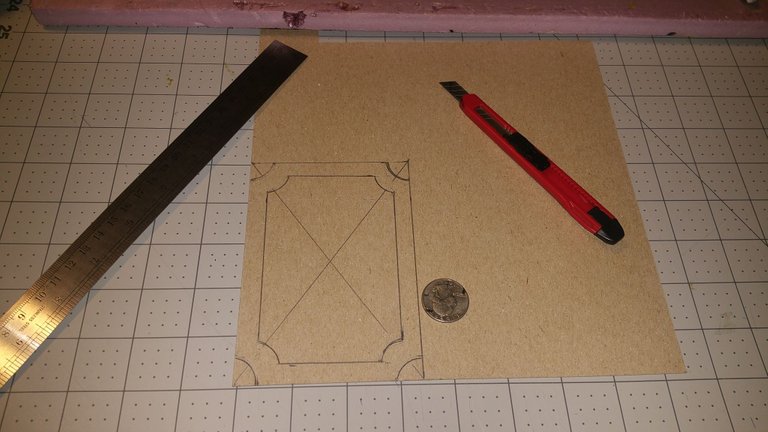
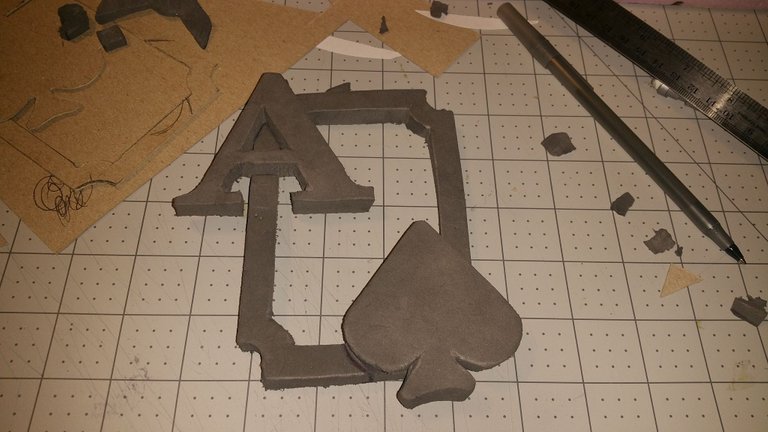
Next: I wanted to make this one themed with playing cards. So I made a template with some chipboard/card stock like this:
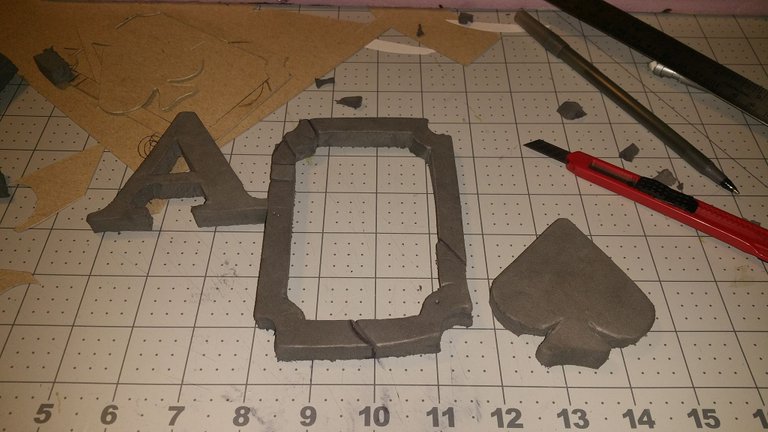
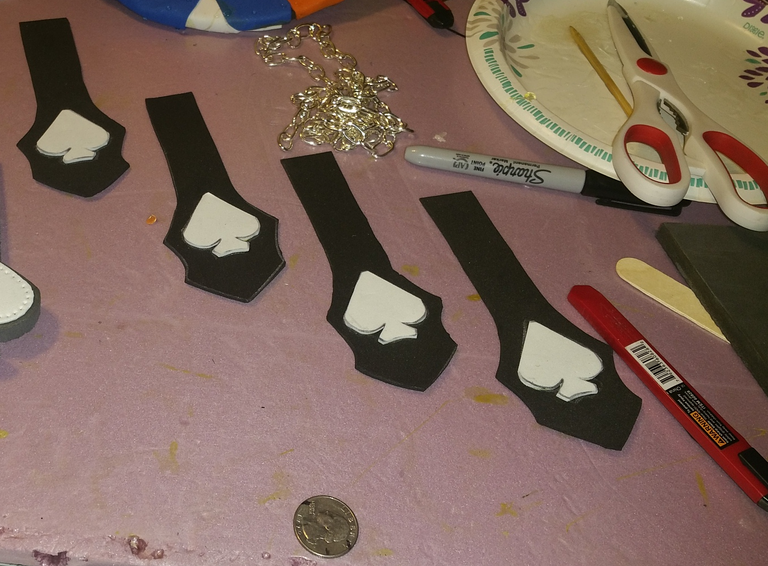
Using 5mm floor mat (you can get this from Harbor Freight), I cut out the design, and also cut out these three designs:
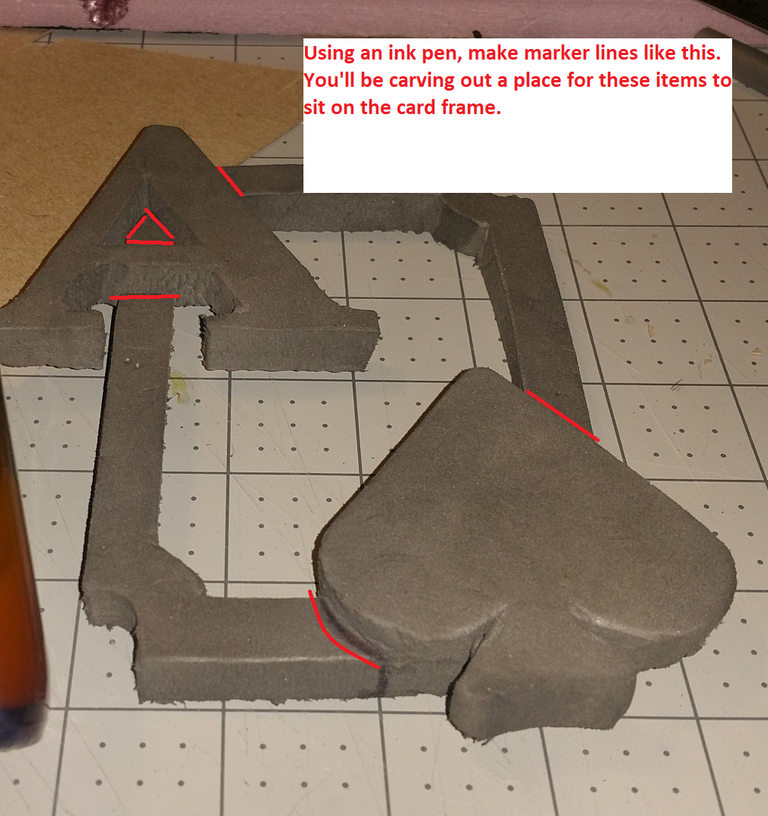
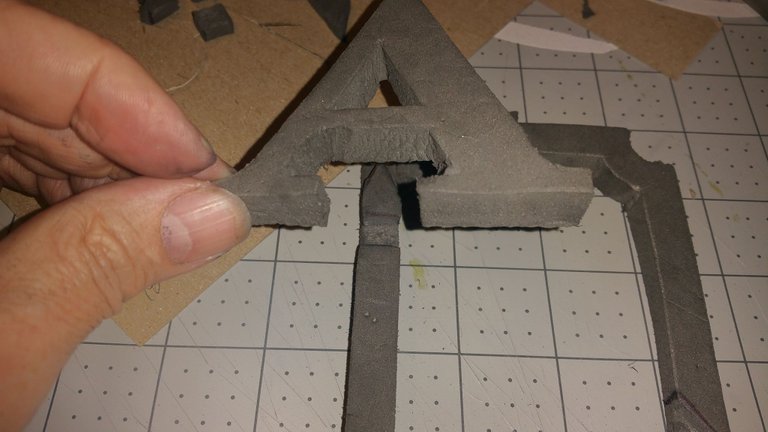
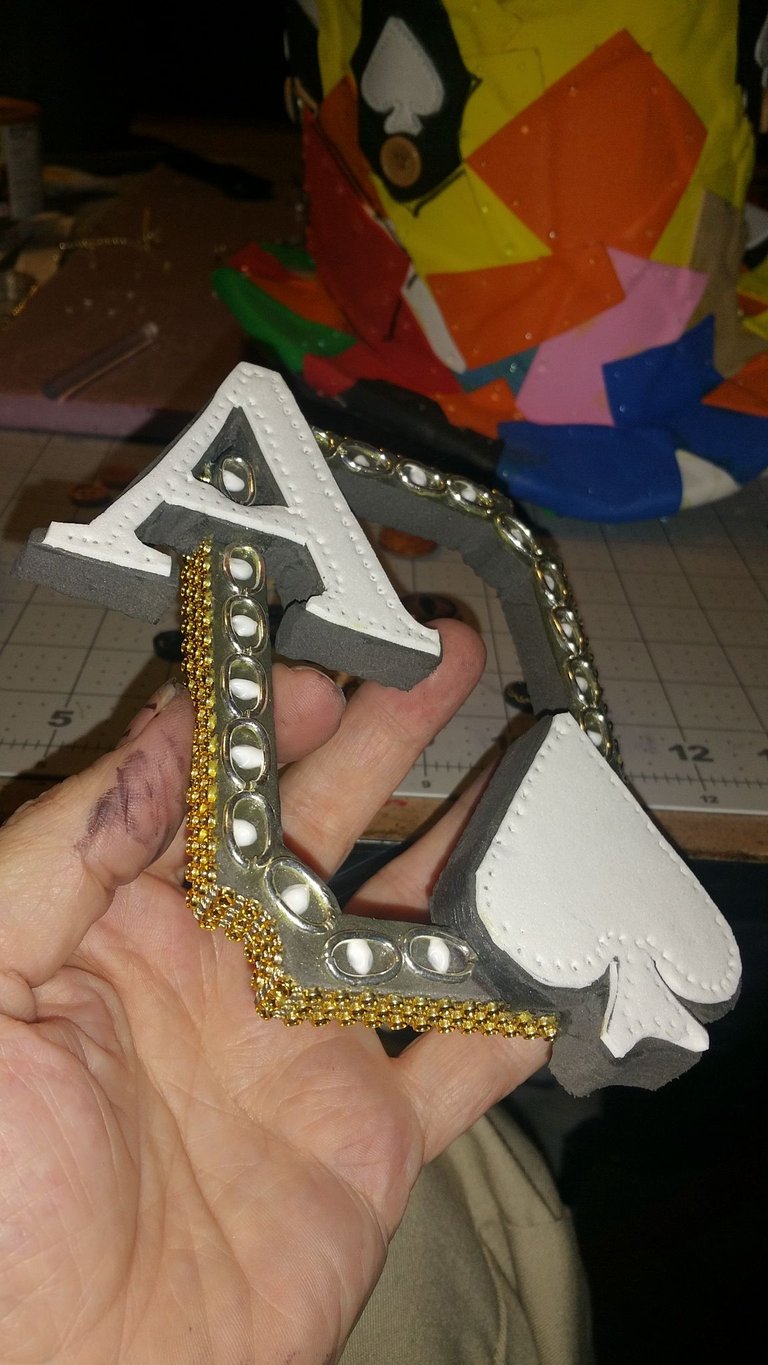
Lay the "A" and the "Spade" (you can use whatever suit you like, I just chose the spade), and make marker lines like so:
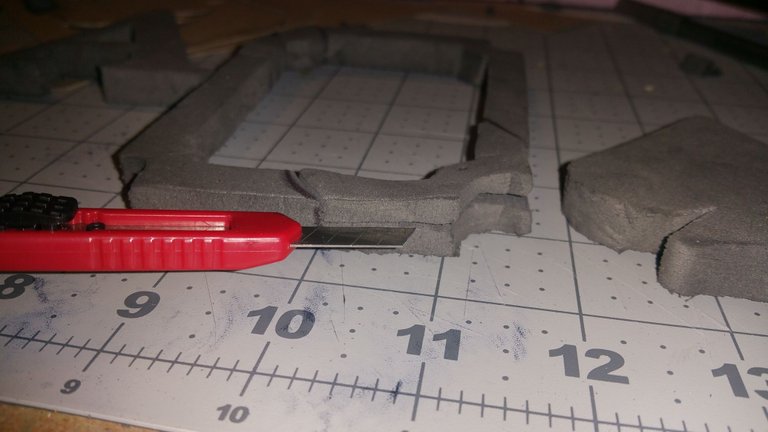
Carefully carve out a space for these pieces to sit:
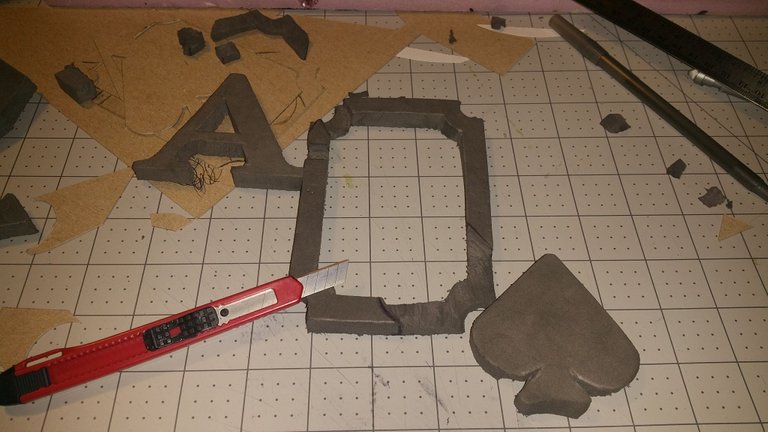
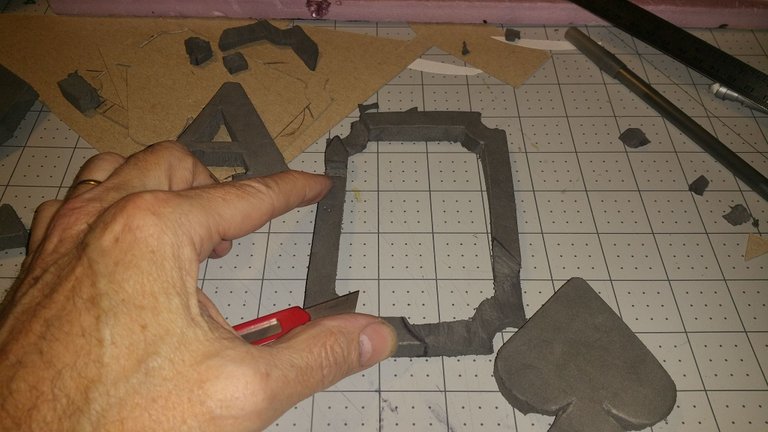
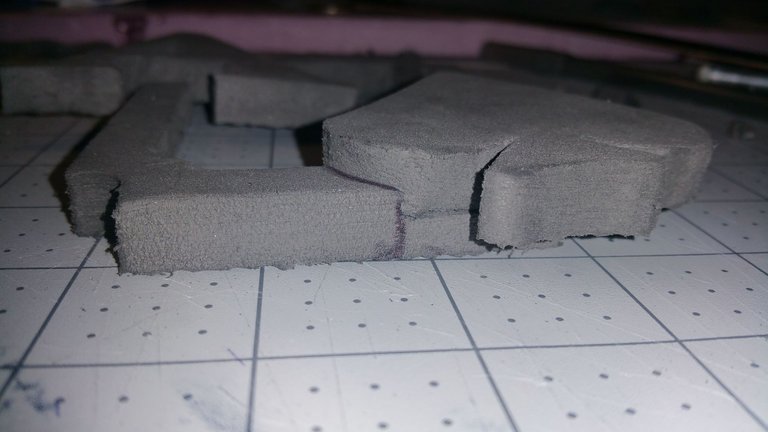
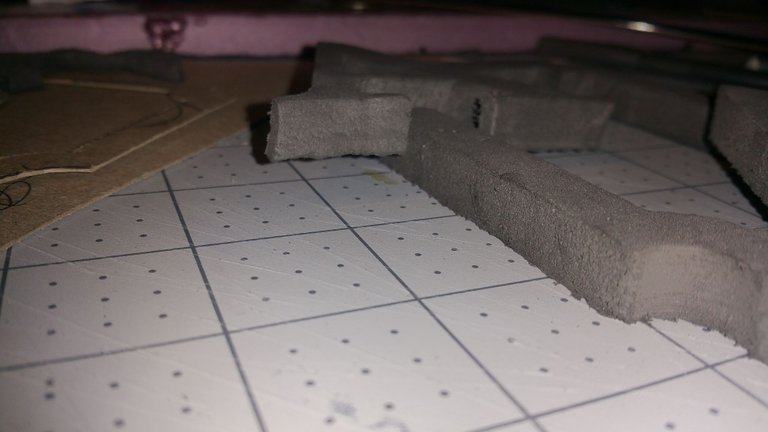
Go ahead and glue them in:

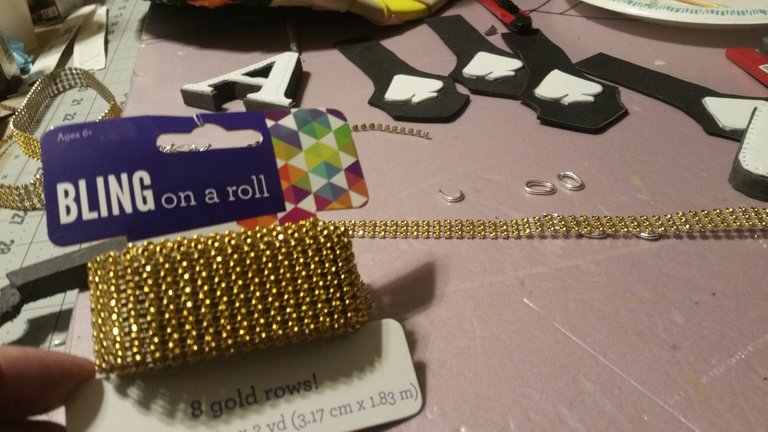
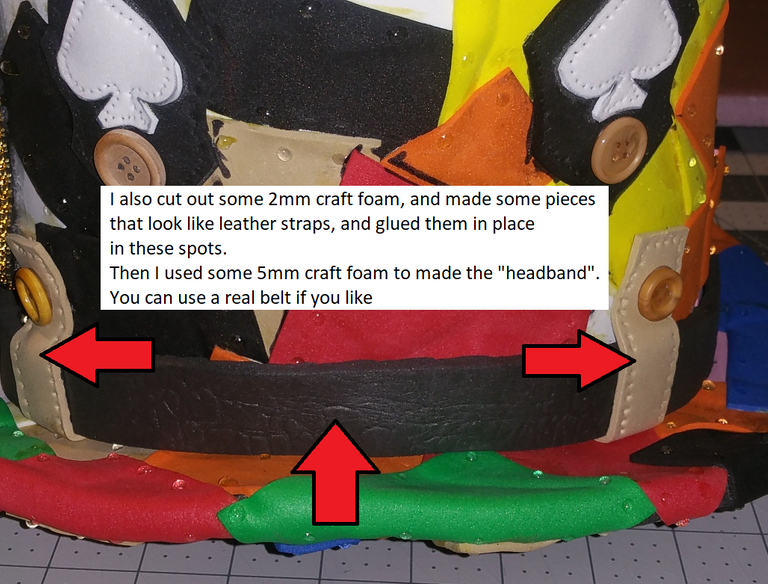
Cut out some craft 2 to 3mm foam to look like these tabs. Make 4 of them, Also cut out small versions of the card suit you chose, and glue them in place like this:
I added some craft foam to the large pieces as well:
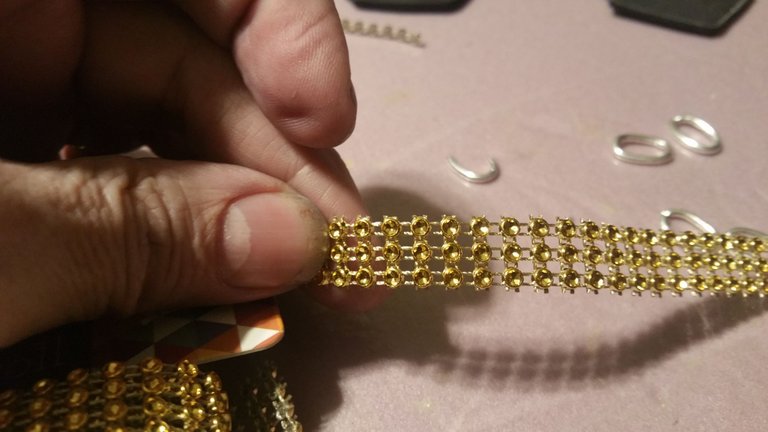
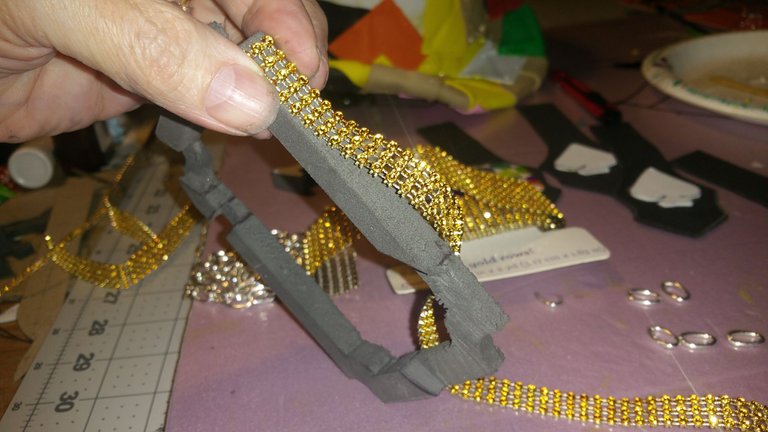
I found this stuff at Walmart, I thought I would add it to some of the trimming:
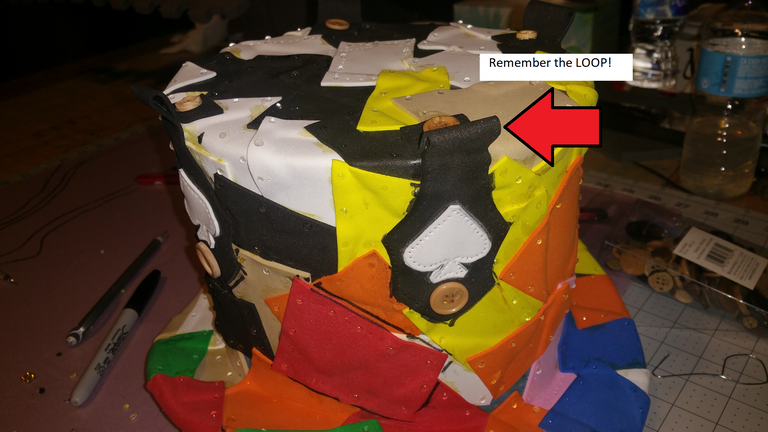
Now, glue on those 4 "tabs" you made, like this (be sure to make a loop at the top):

Don't forget the LOOP... makes it look cool...LOL
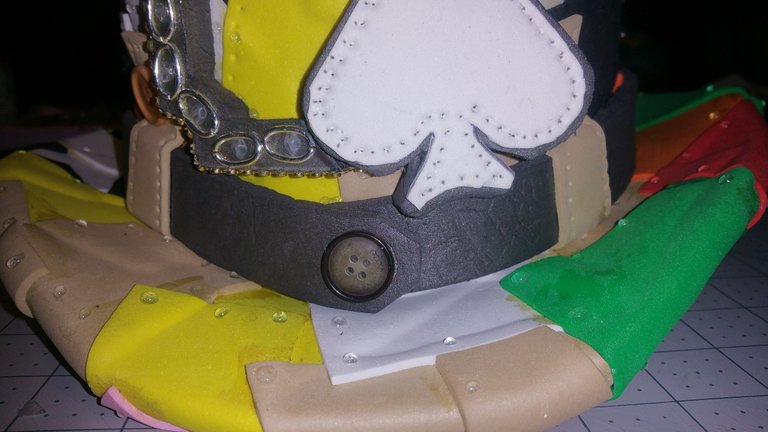
I grabbed some buttons from Walmart as well, and glues them on these spots:
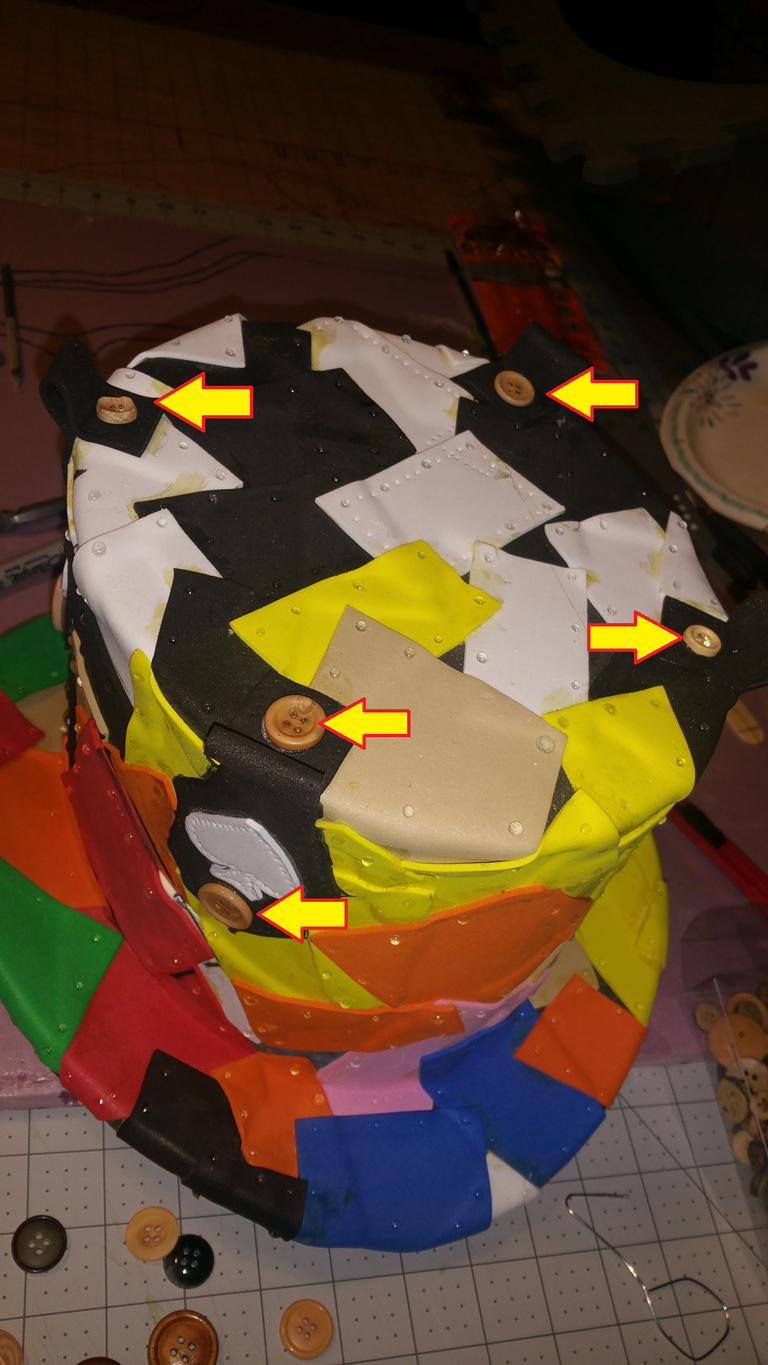
...and here:

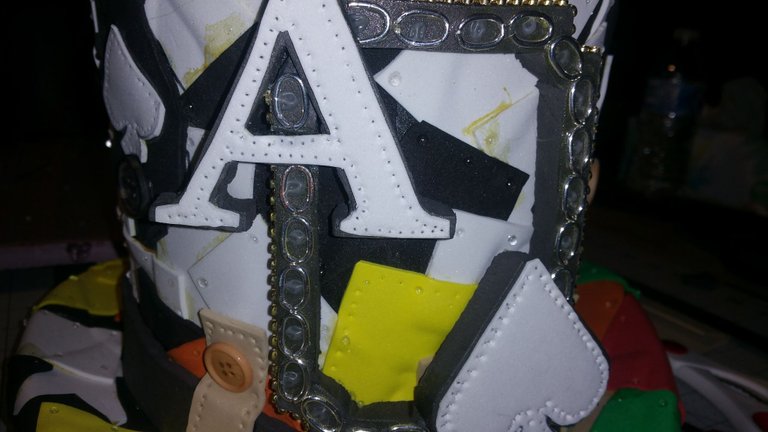
Glue the "card" on the front. Be sure to decorate it however you want.
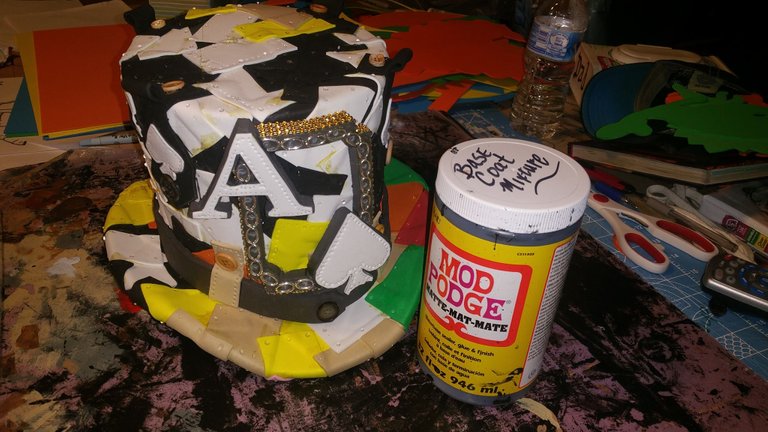
(NOTE: if you want to decorate it with tiny gems or glitter, you may want to wait until you put a base-coat of black paint/ModPodge. Then add all the bling)
Grab your 50/50 mix of ModPodge and acrylic black paint, and put a base coat on...all over it.
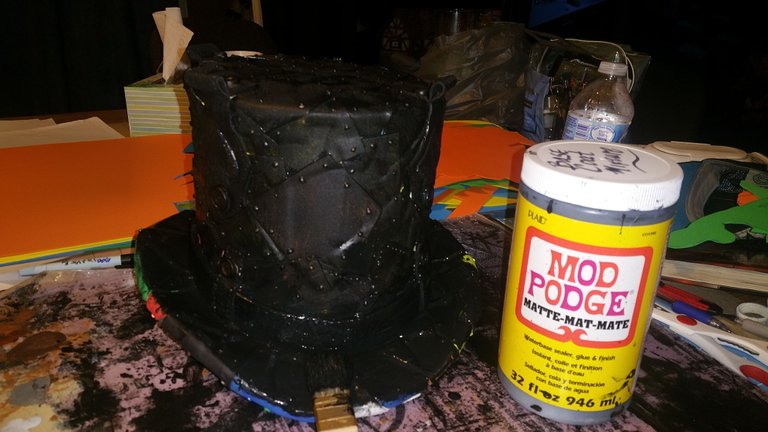
That's where we'll end today. Tune in next time to add those finishing touches to you're hat.
Well, I sincerely hope you're enjoying this build, and I hope you're making your own.
Let me know what you think? Ask questions.
I'd love to hear from you!