Why in the world would someone write about doing a maintenance job on a boom truck? Good question.
I am writing about this, at least to me, major equipment maintenance job because I was sort of anxious about undertaking it and when I searched for information about how to go about it. I came up empty.
Seriously, I couldn’t find factory recommendations or even themtube videos about it.
I was hoping to find some information to give me a game plan and perhaps put my mind at ease.
Spoiler alert. Things are always harder to do in the imagination than they usually turn out to be in reality.
Anyway, I figured that it wouldn’t hurt to share my experiences having just tackled the job in the off chance that someone else finds themselves in my situation.
I decided that it would probably be a good idea to replace all the bushings that would likely have seen the same amount of wear even though the company that inspected it only wrote up the Heel Pin pair.
The first set of bushings was by far the easiest. The top pair of bushings for the lift cylinder. The pin drove out without too much trouble and the bushings weren’t even all that worn.
I discovered that the fiberglass bushings made for this could be driven into place with a large soft blow hammer.
I cleaned up the holes and the pin using solvent and 220 grit sandpaper.
The other end of the cylinder was a different story.
It took me a full two to three hours, using heat and a bigger sledgehammer to drive that pin out.
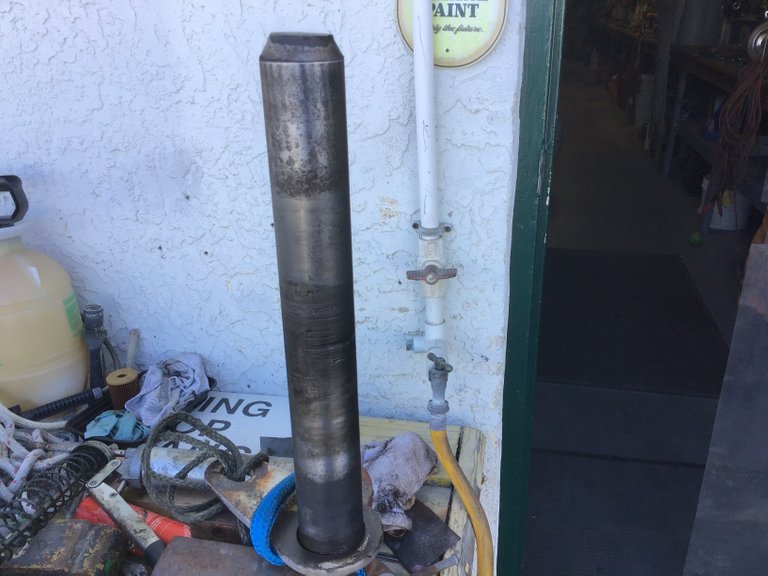
I am convinced that pin hadn’t been out in thirty years.
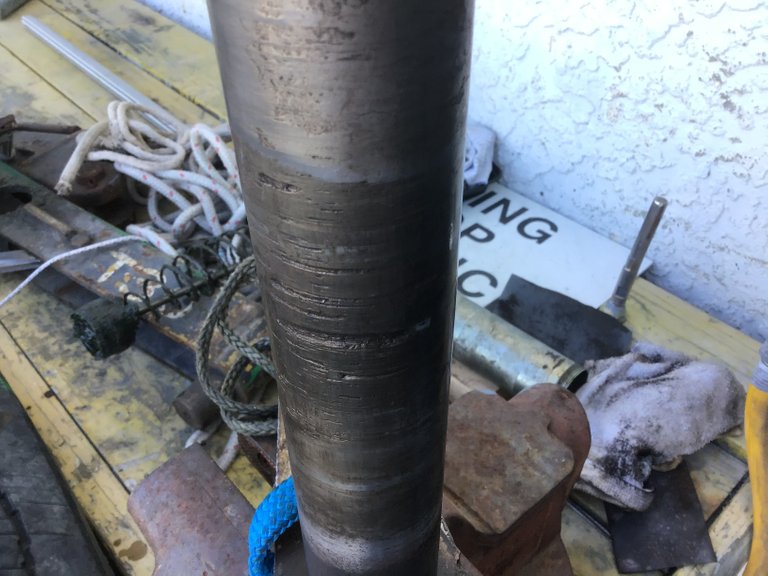
The bushings were entirely shot and the pin shows metal on metal wear. But the main difference is that end of the cylinder is attached to a thicker part of the truck.
The pin is actually going through about twice as much steel. That much more area to corrode and stick.

We installed the new bushings, bought a used pin to replace the damaged one and using the old pin to help align the holes. It went together much easier than it came apart.
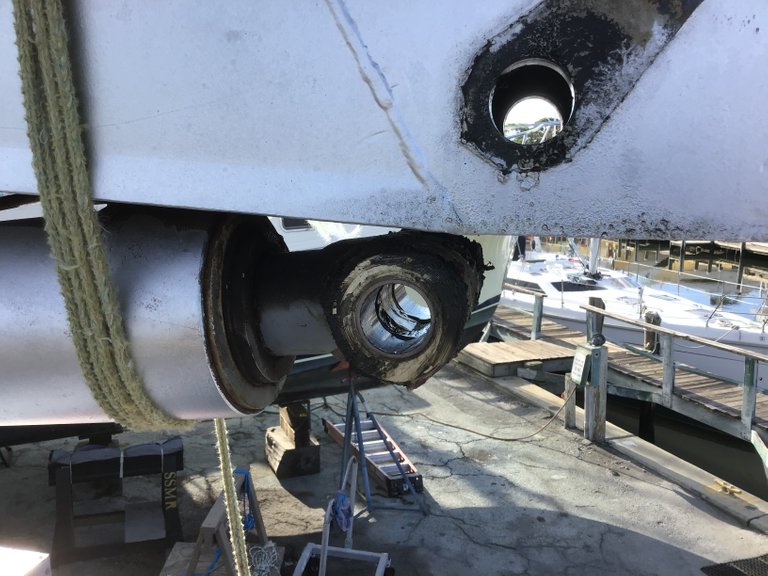
So finally today I did the Heel Pin bushings.
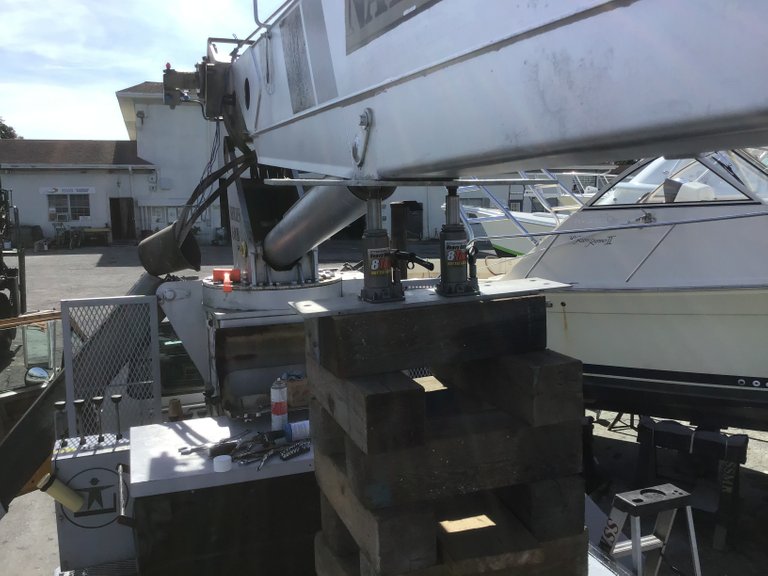
I built up a cribbing from the deck and using a couple of 8ton bottle jacks under the reinforced part of the boom where the lift cylinder attaches. I was able to take the weight off the pin and drive it out. Out of the three pins. That one came out the easiest. That was encouraging.
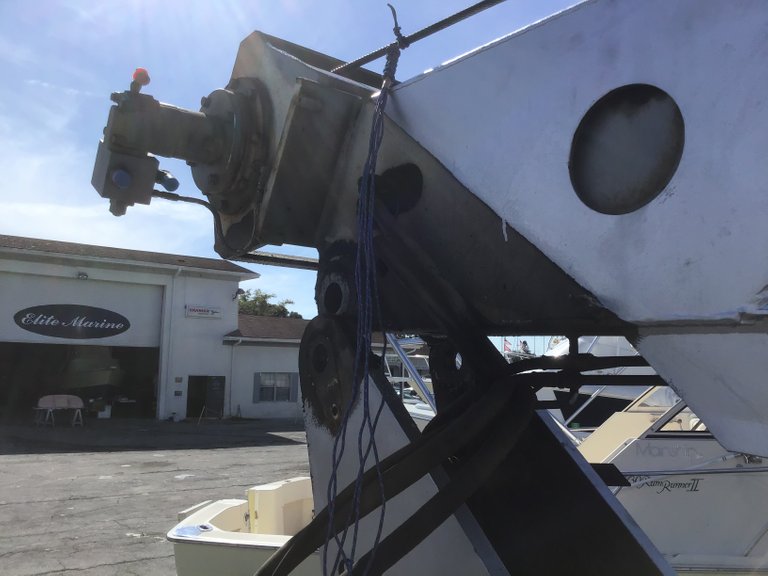
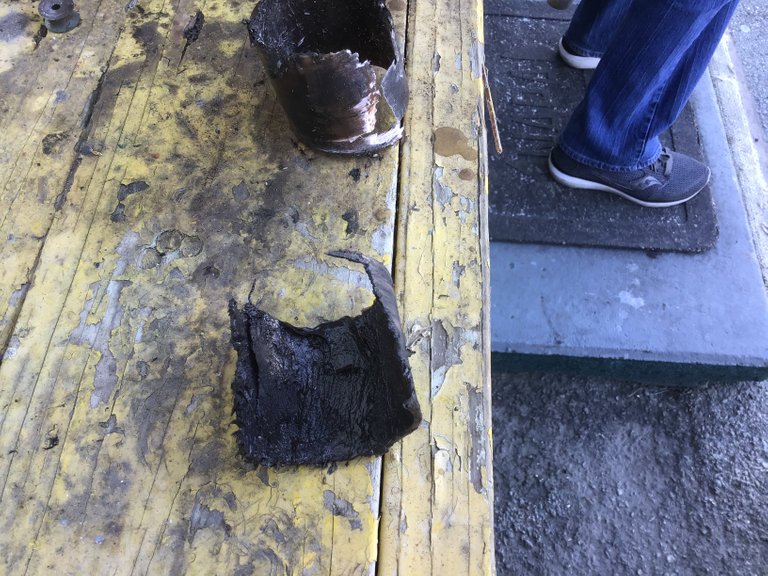
I jacked it clear of the holes in the turntable ears and removed the old bushings. They were pretty bad.
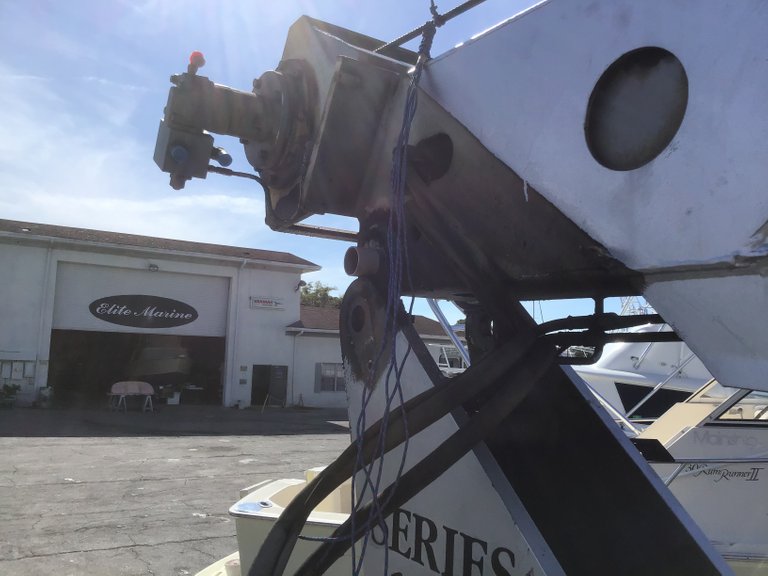
Getting ready to set the bushing.
I am really glad to have this done. And I am glad that I did it myself. I learned a lot, discovered and replaced a hydraulic hose that I hadn’t noticed was so degraded and I have rectified the main issues that needed to be done.
Awful greasy job though.
Hope this helps someone someday.

Happy Thanksgiving