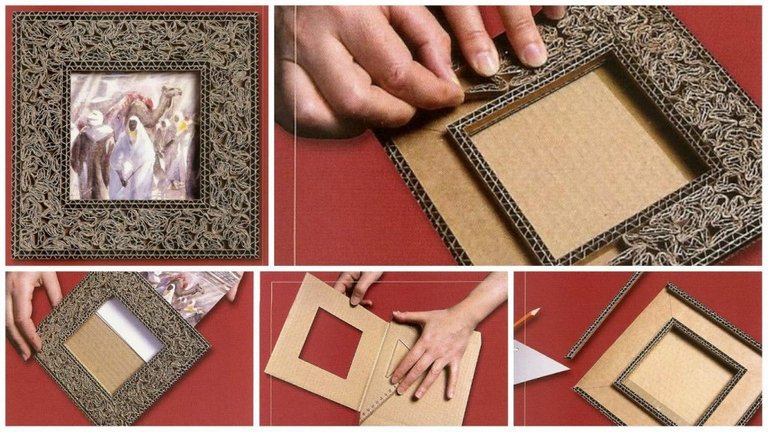
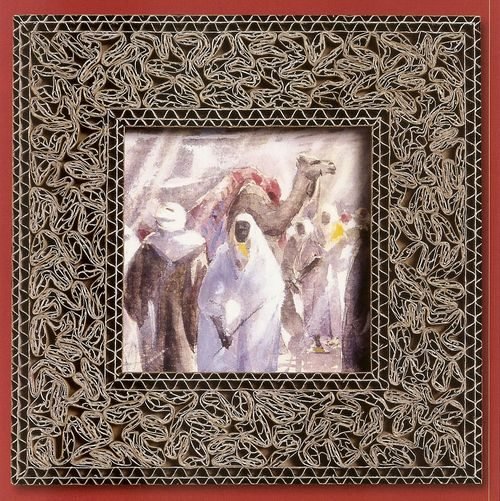
The board brings a warm, natural feeling to this beautiful setting.
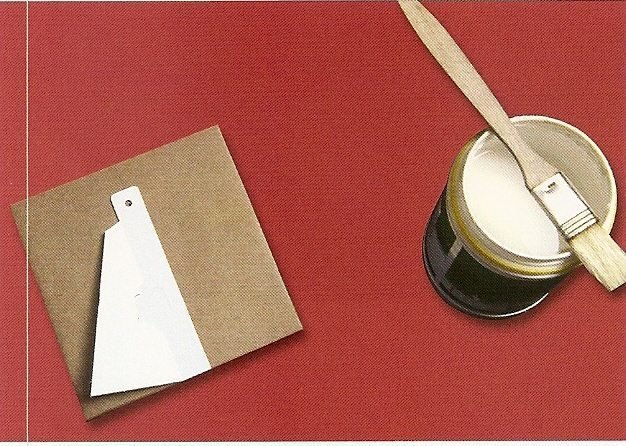
Project!
Step 1.
Fold with a central pre-folds square.
This is after you have carefully measured the size of your picture and determined the size your picture frame will take.
Step 2.
Fold and glue the tabs against the back support.
This step is done to make your frame stronger and provide room to house the intended picture.
Step 3.
Paste the fixed part of the bridge in the middle of the back support.
Before now a bridge should have be calved by the designer in a shape and size of your choice. a typical example is seen in the picture above.
Step 4.
Make a hole in the center circle. Thread the hook in it and open inside.
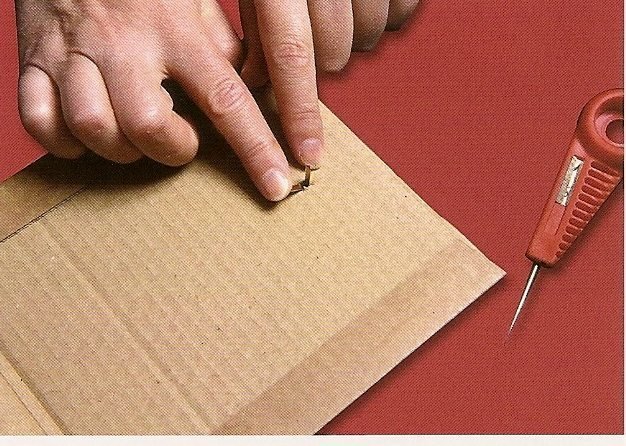
This is done to properly position the bridge so as to give the frame the desired balance.
Step 5.
Stick a piece of adhesive tape on the branches in the teaser.
This step is to firmly keep the bridge in place and also promote longevity of the frames lifespan.
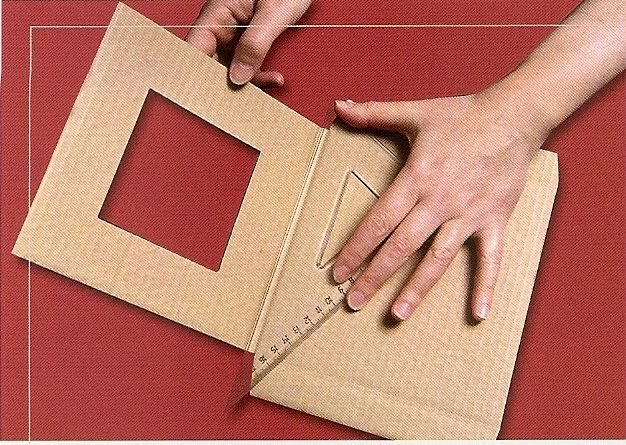
Step 6.
Fold and glue the tabs on the window.
This step is done to make your frame stronger and provide room to house the intended picture.
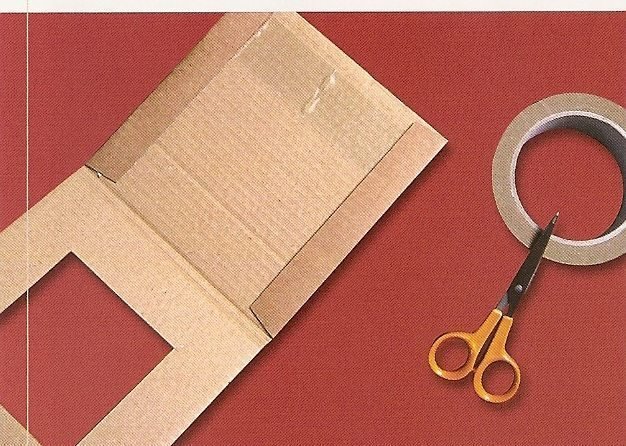
Step 7.
Cut the tabs for the window design.
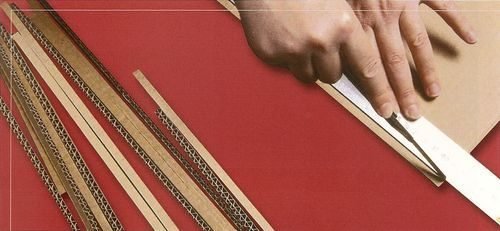
Cut strips that will be used to design the edges and periphery of the frame.
NOTE: This strips should be of the same height
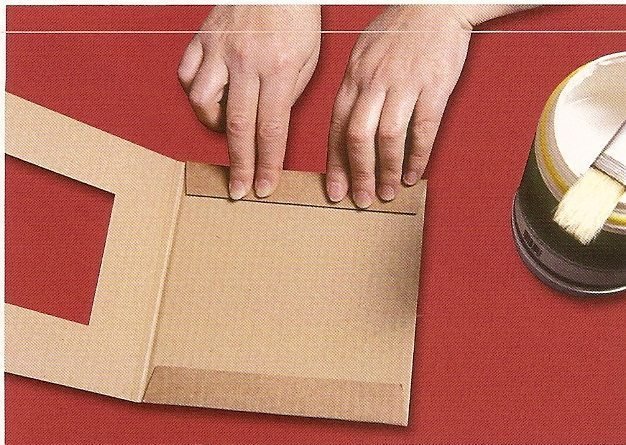
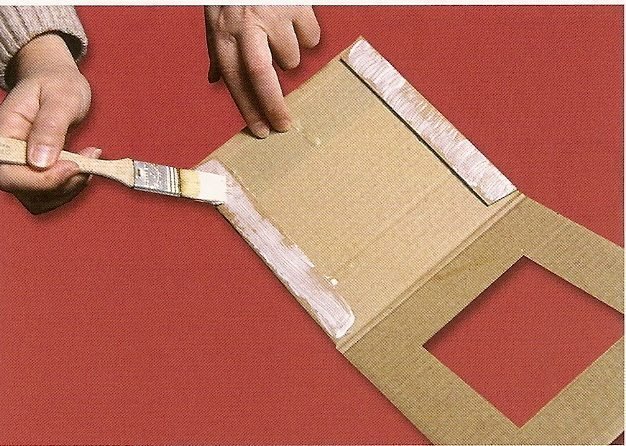
Step 8.
Paste strips around the window and on the periphery.
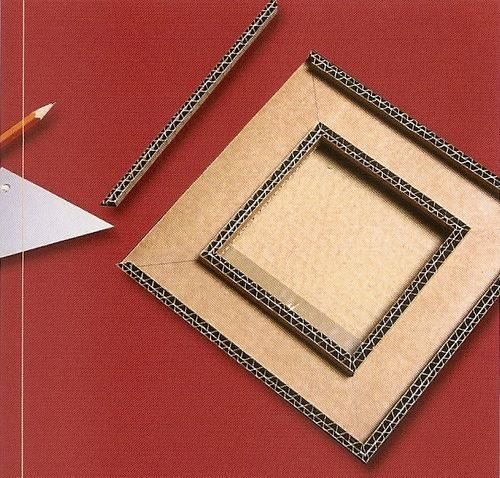
Just as illustrated in the diagram above cut the carton to a suitable height and glue them to the periphery of the frame to add design to the frame.
Step 9.
Crush with the rule the remaining bands by flattening the flutes.
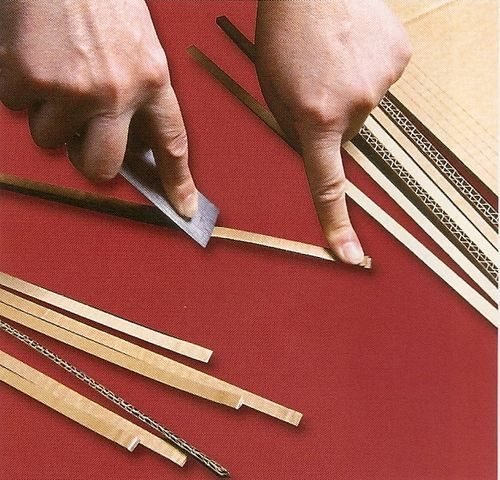
Use the scale rule to press the remaining bands by flattening the flutes so your new stripes look like the ones in the next picture.
Step 10.
Glue the support surface, and placed in the crushed strips twisting them randomly.
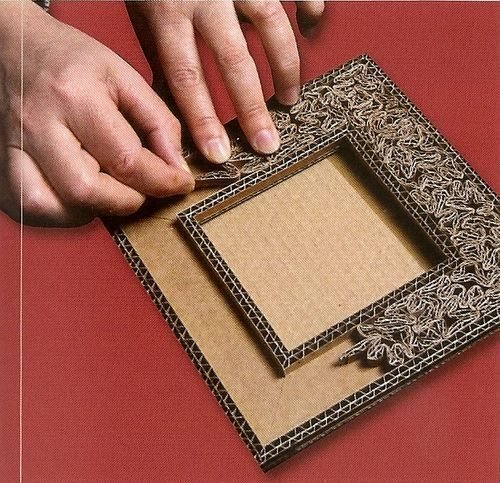
Glue the crushed strips in place twisting them randomly for design
Final step.
insert your picture.
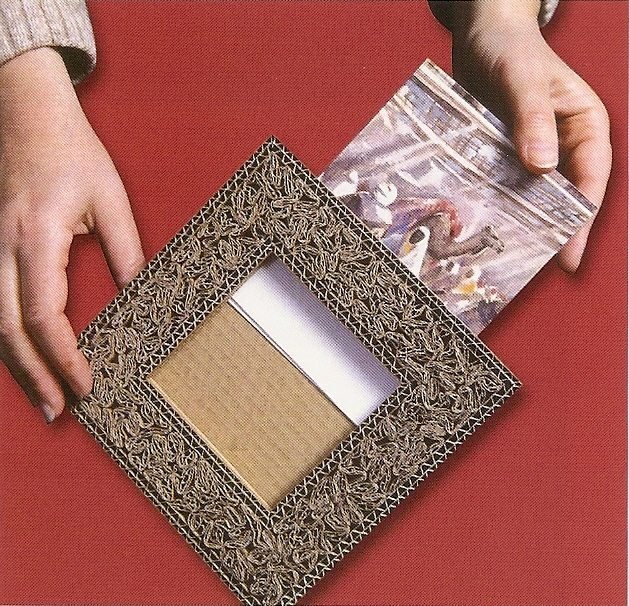
Slide within a paper base to the dimensions of the glass. Locate in pencil the 4 corners of the window.Position and glue the subject mentor on paper. Slide the subject and the glass together in the frame.
End result.
If you like what i do...