Hey Steemit Artist and Designer,
I wanted to share an installation that I collaborated with my design studio during my first year at architecture school. This project was a competition between 50+ students broken into 4 groups. I would like to share, my personal experience of this 4 month long process. Beginning with the iterative projects the led to the final design and fabrication of the image above.
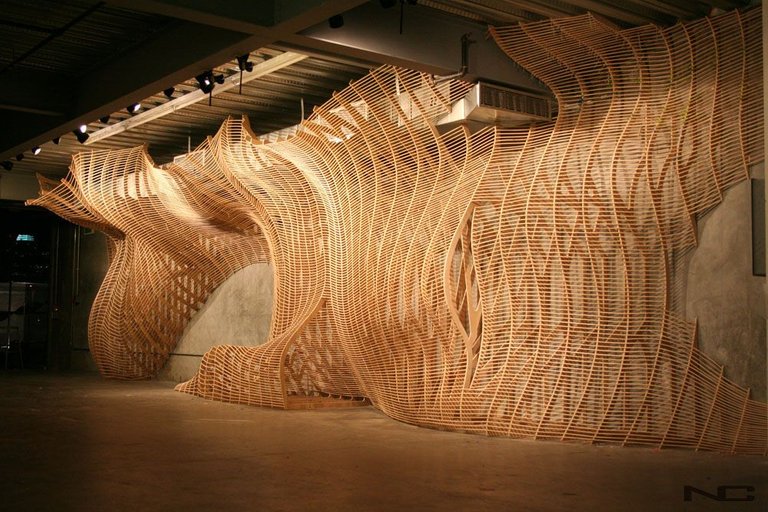
PRIMITIVES - Laminar Flow Installation
This project started by examining relationships that systematically change when introduced to a new set of criteria. These relationships are a set of incremental studies, to the larger full scale project.
The first exercise explored the relationship of the sum of parts to the greater whole. I began by photographing emergent pattern in the city and extrapolating the unit within the larger system. The first exercise utilizes photography as a graphic language and tool.
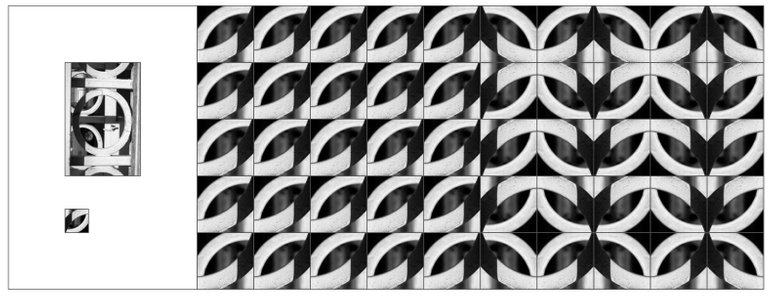
The image above illustrates how the unit within the system can drastically change a system by applying simple set of rotational rules. This one rules now has the ability to change the relationships from unit to unit, changing the system as a whole. From this matrix we extracted a line/ vector unit and applied new rule sets: Scale, Shift, and Rotate.
.jpg)
After a few iterations I selected 4 systematic patterns that began to create a depth of field and began to inform a new dimensional reading.
.jpg)
.jpg)
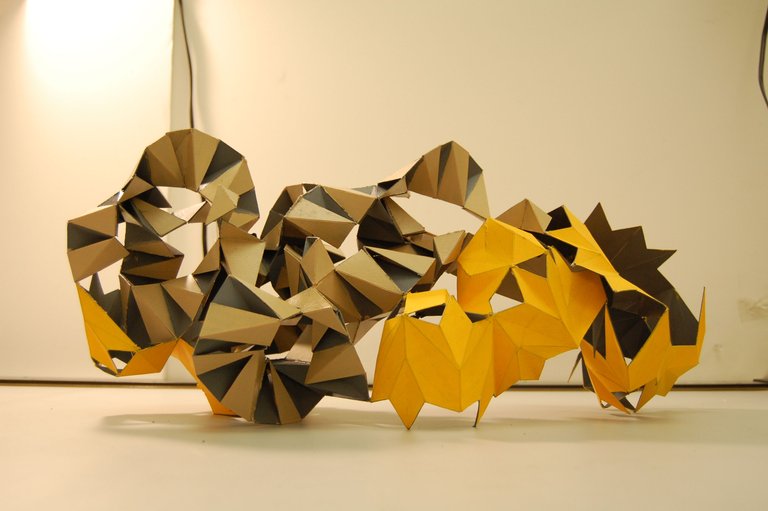
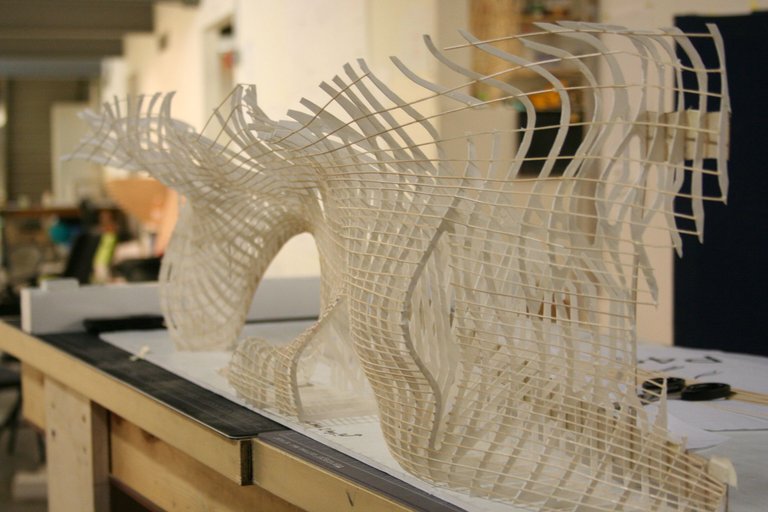
From here, I began to explore the 3 dimensional qualities found in the previous exercise and began the next exercise. This is where I began to go back and forth between 2D and 3D tools and modes of representation to further develop the project. From the four matrix of patterns about I created a new 3D unit using a structural method of construction called "triangulation". This process was how I created the unit below.
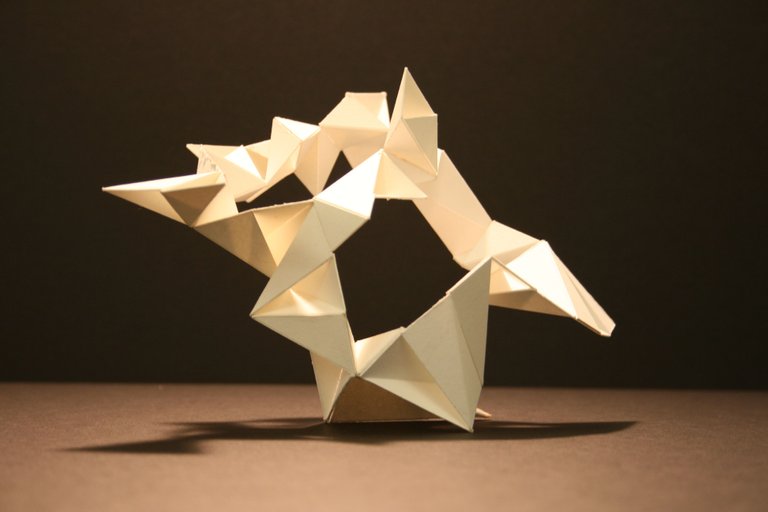
This unit was then deconstructed to understand this modular and construct able characteristics. Also this reconstructive process allowed me to understand the scalable attributes to understand the modularity of the unit. I then create a documentation for others to be able to reconstruct the unit through visual modes of representation.
.jpg)
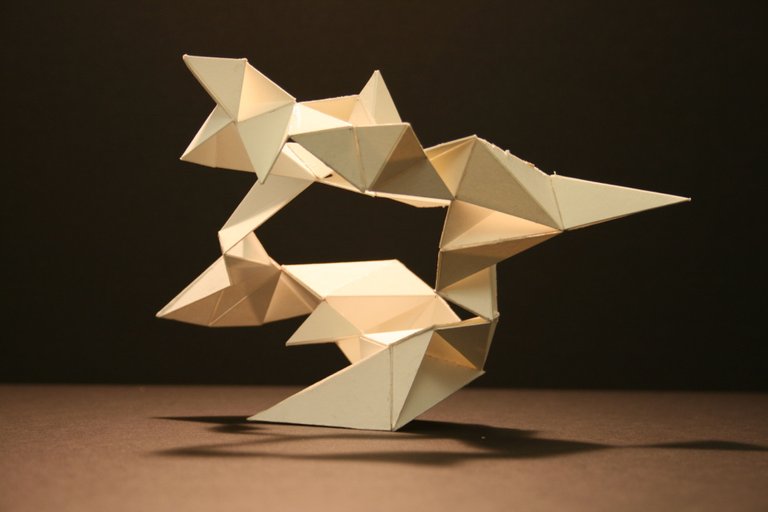
Which I then used to recreate one other units and combine it with Mine. This exercise was a great way to explore how one system adapts to a completely new and different system. This exercise of merging two system yielded the models below.
At this point in the project, I learned that our physical world is defined by multiplicity of systems constantly converging and diverging from one another. And simple rules can create exponential change within any given system. I took this knowledge and began the competition phase of the project.
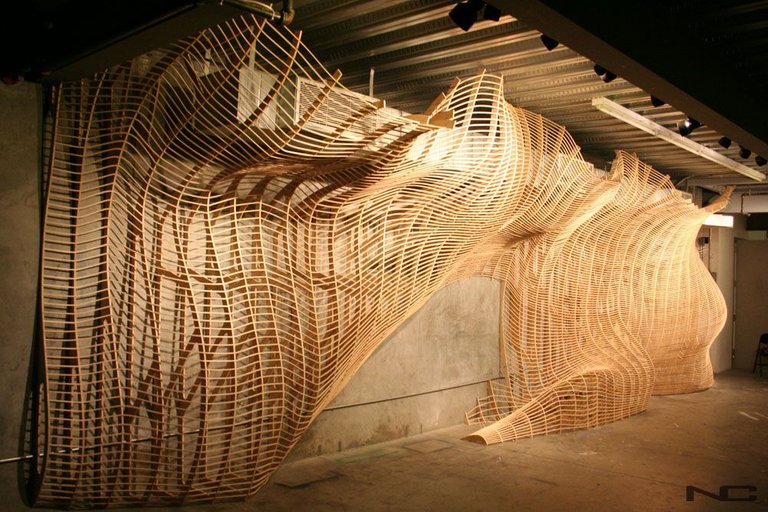
I began the installation project by competing amoungst others in my studio. Over the course of 2 weeks I began to produce large models using conventional materials like plywood and basswood. The conceptual framework was based on "laminar flow" and "ship making" as a means to understand the affect of material and also structural integrity.
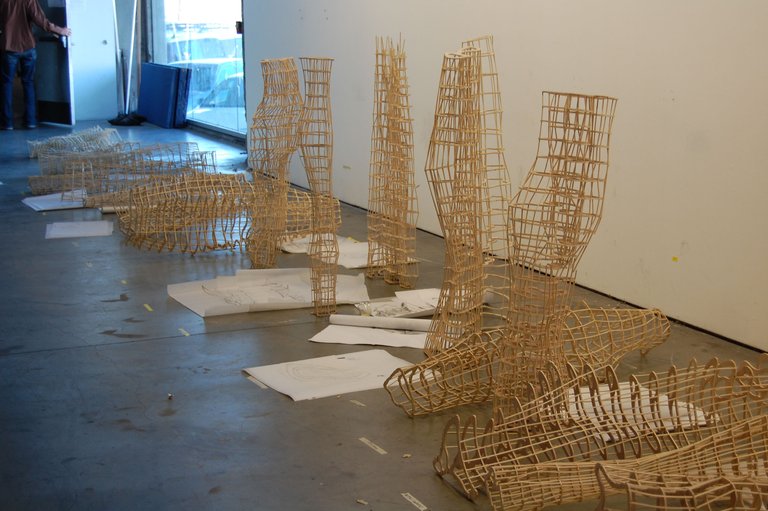
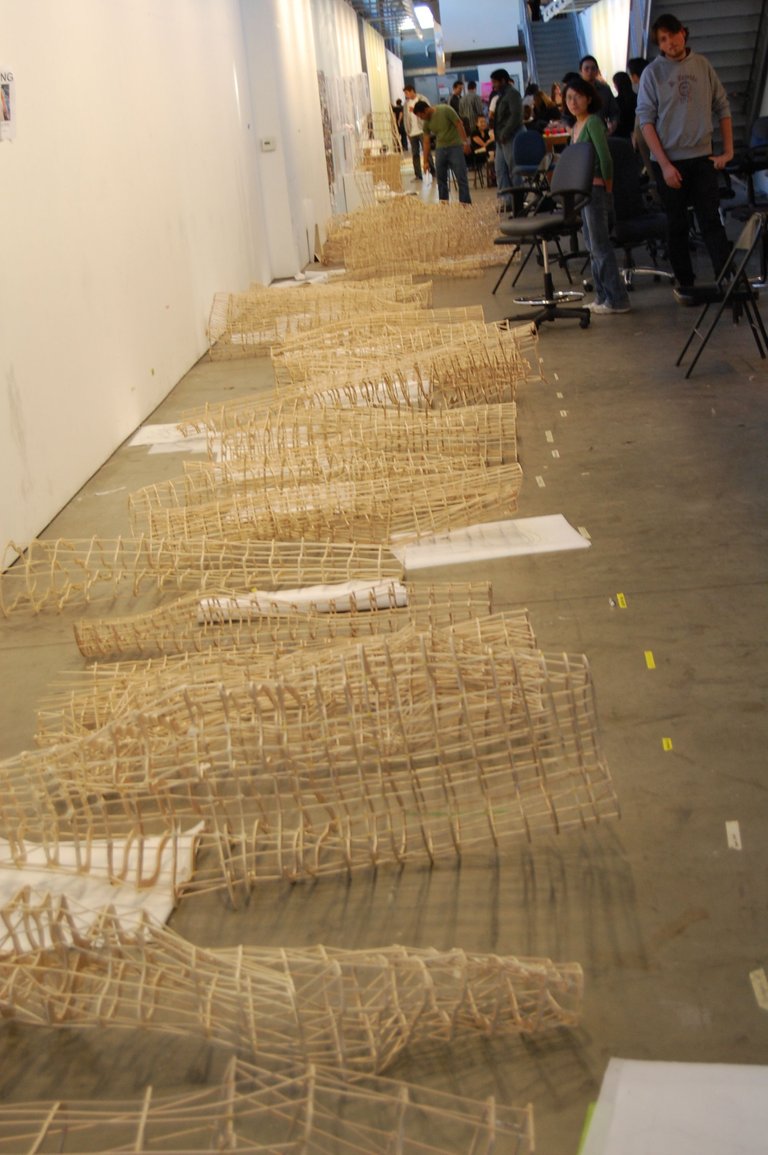
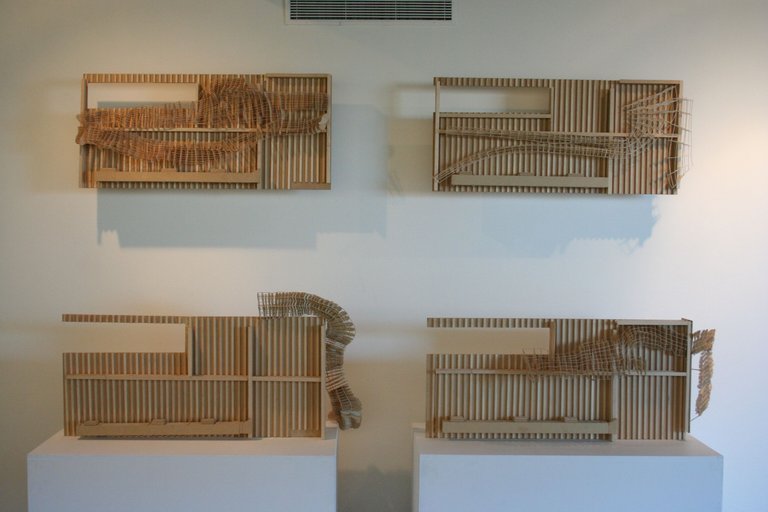
After the individual competition round, we selected 4 groups based on the concepts behind each students previous models. The four group then began to work together to create a 1 to 1 scale mockup of the proposal for the final installation design and location. Here are the proposal from each group.
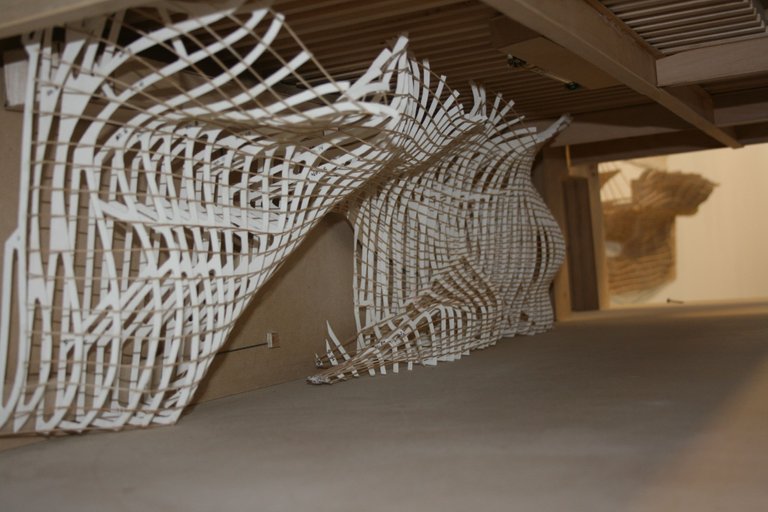
We then went through a design panel of 15 jury members whom had the opportunity to critique and select the final design. Once selected we then began to redesign the project to accommodate the site and its restrictions. We began by making a digital model in Rhino and then tested our idea by building a physical model at 1" scale. (image below)
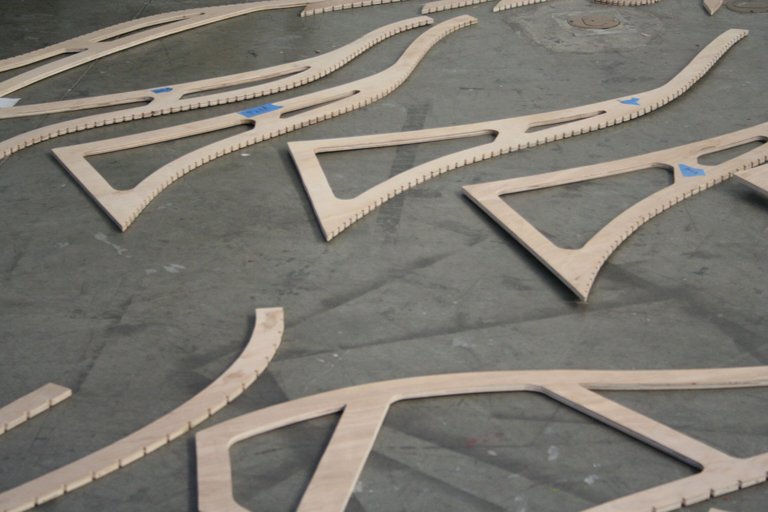
Once the design was finalized we began to organize the methods of construction. The installation can be broken down into 2 structural parts.
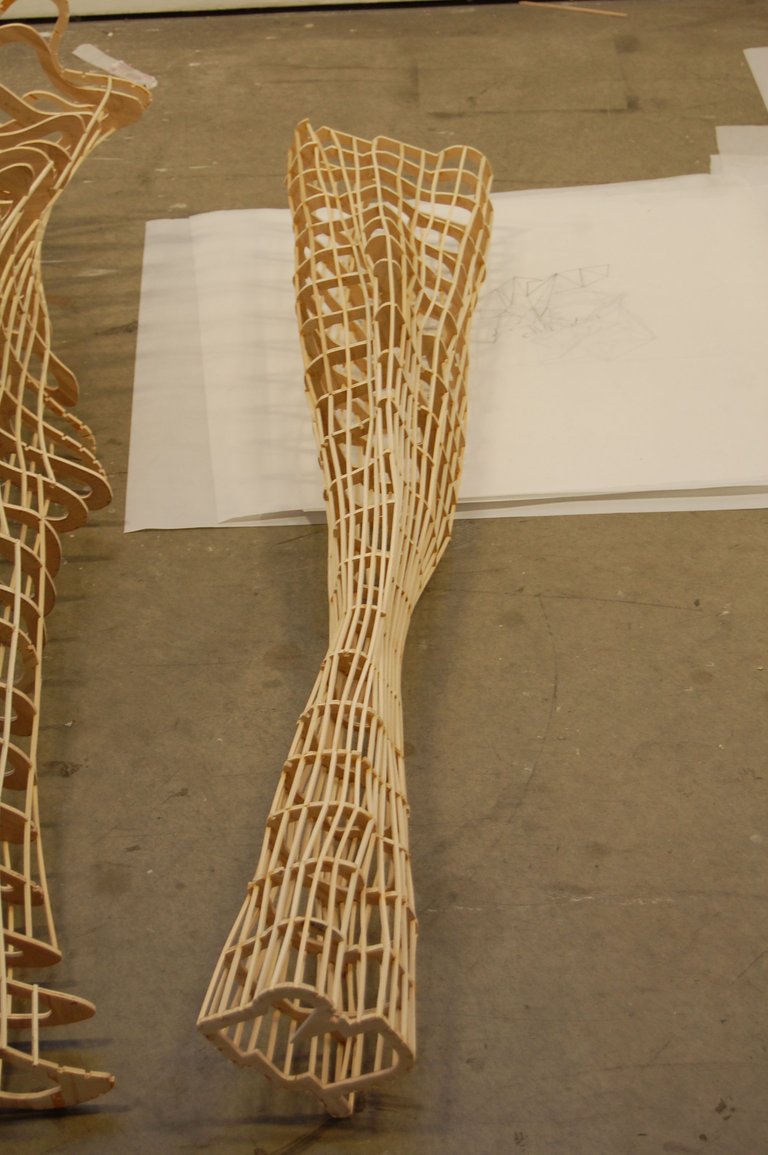
- The Profiles, which are to be cut by laminating a templates strategically onto 4x8 sheets of 3/4" plywood. Then these profiles were cut using a jig saw. These profiles are then joined using a Japanese dovetail joinery. The profiles are then notched on the outer edge for the the secondary structure.
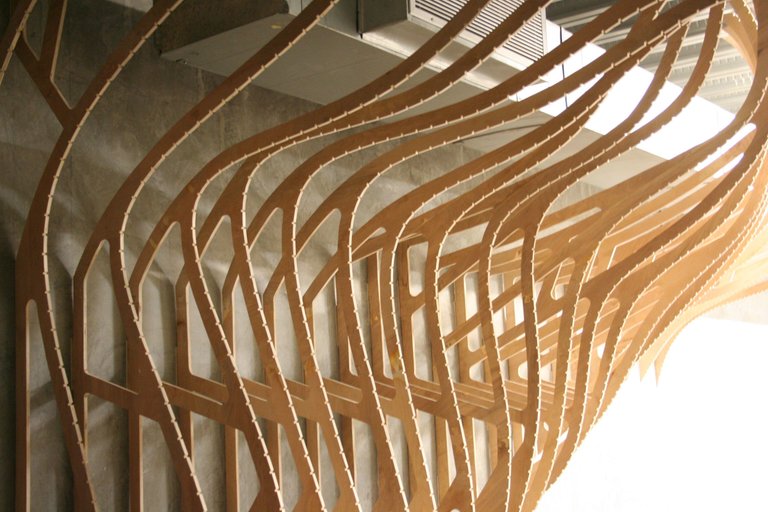
- The Ribs, are the secondary structure that create the rigidity holding all profiles in place. This system is was created using basswood that was soaked in "cold water". Typically when bending wood, a steaming process is common. for this projects the 1/2" ribs were much to thin to be treated with warm/ hot water, which caused the ribs to snap when bending. We noticed that cold water work better to insure structural integrity.
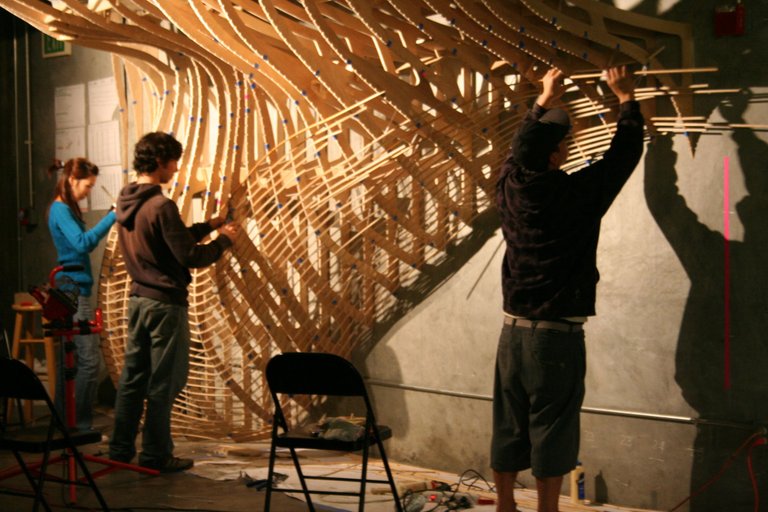
This project was constructed by 50, 1st year student with a total of 6000+ connections and a high level of craftsmanship which has proven the test of time. This installation still stand in the corridor of our school after 11 years since its completion. Overall this project, from it's conceptual framework to the fabrication of parts, has been the cornerstone of everything i believe to be the pedagogical and professional practice of Architecture.
Hope you all have enjoyed this post. Please support me by: UPVOTING/ COMMENTING/ FOLLOWING / RESTEEM this post.