
Hubby's on a timely and much deserved annual leave at the moment which means I have an extra set of hands/babysitter and can find time to do and make things like I used to pre baby days.
Bella is at the "sponge" age. Even though she still has a short attention span, when she's interested she learns very quickly.
I take a lot of queues from watching her while she's playing and watching TV. When something manages to hold her attention for longer than 10 minutes I know that she's interested and absorbing information. I know to give her more or it and test her memory afterwards to reinforce what she's learned.
Not surprisingly, daughter of mine, was glued to the TV watching a show about colours. 30 mins of peace and quiet while she took in all the information, which was repeated in 7 different ways for 30 odd minutes.
The next day I decided to make this colour mat.
Colour Mat Teaching Aid
I have to admit. This colour mat is definitely one of my better ideas over the years.
It's simple to use, easy to clean (chuck it in the washing machine), only 1 piece to pick up come tidy up time, it's super portable and so easy to make!
Here's what I used.
Tools & Materials
Cricut Explore Air 2 (or any cutting machine)
Scissors
Siser Electric HTV (Heat Transfer Vinyl)
Heat Press (or a household iron)
40x40cm Napkin from Kmart
STEP 01. DESIGN
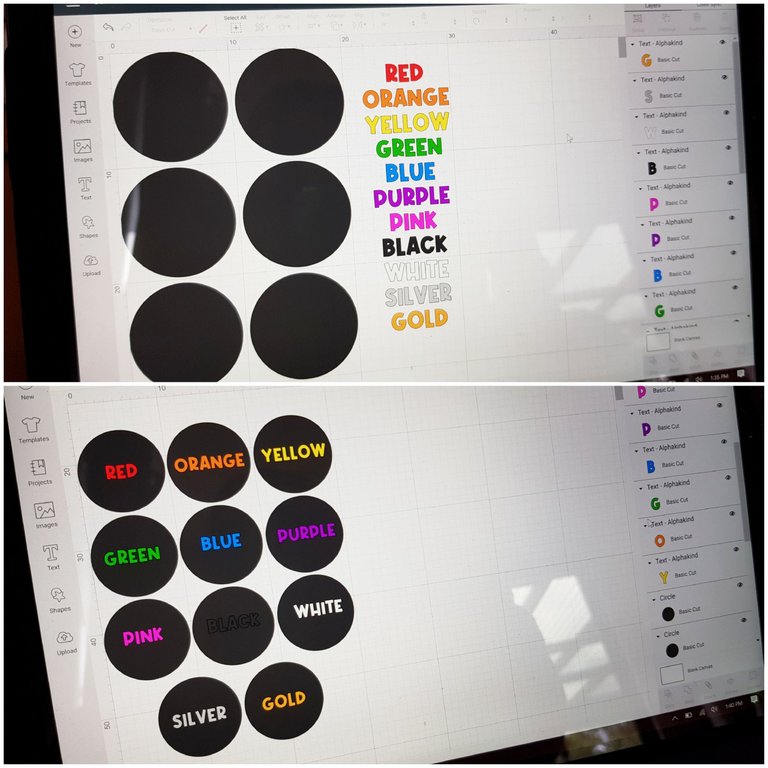
Using Cricut Design Space I created circles and typed out the name of the colours. I centered the text inside the circles and cut the text out of the circles using the "Slice" function.
Each circle was then colour coded so I could cut one circle at a time.
STEP 02. CUT & PLACE
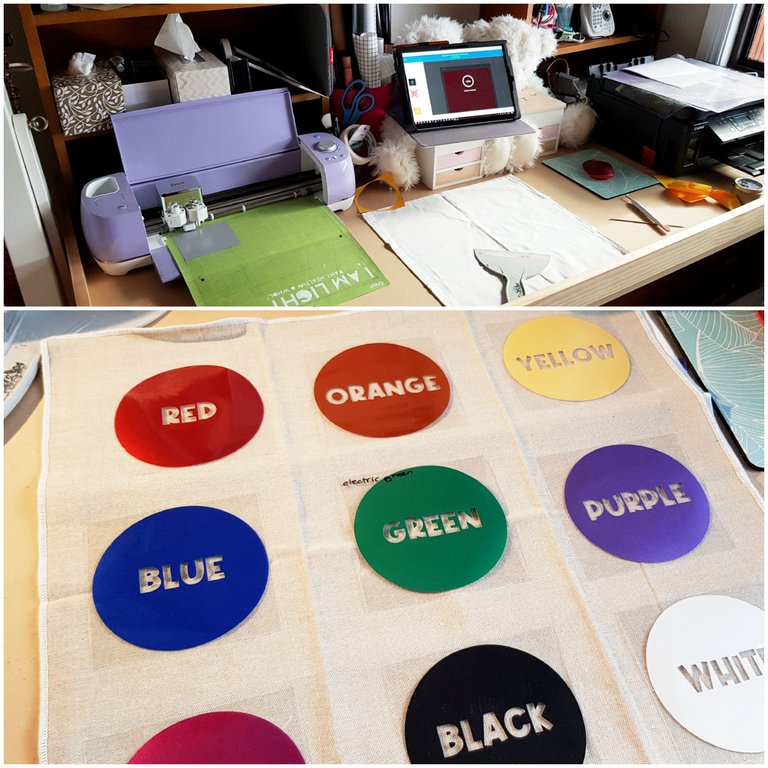
I wanted my circles to be about 9cm in diameter which meant cutting the vinyl into 10cm squares prior to placing it on my cricut mat for the machine to cut.
Once the circles have been cut it was time to "weed"/remove the parts I didn't want, which were the outside of the circle and the text.
NOTE: Since the design has writing on it and iron on vinyl are placed face down on the cutting mat, it's important to remember to "MIRROR" the design prior to cutting.
STEP 03. IRON
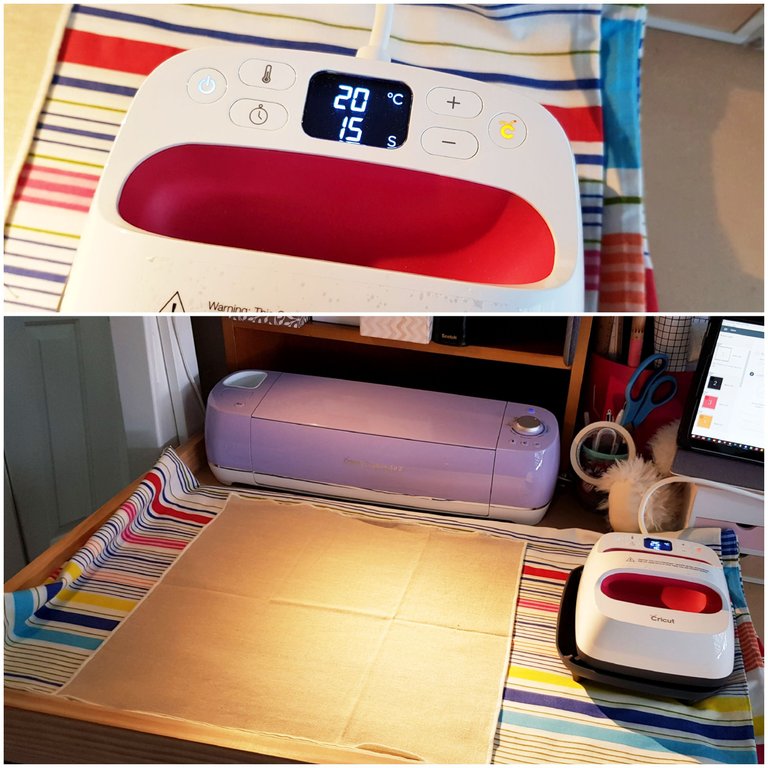
Once I knew where I wanted everything to go, I ironed the napkin to remove any creases and lines while I was waiting for the heat press to reach the recommended temperature of 155 degrees celsius.
You can (and I have) used a normal household iron before but with this type of material, having a heat press makes life easier.
As you can see on my cricut heat press I can set the temperature and time, which is a feature that's so handy to have especially when working with iron on vinyl.
Not all vinyls are the same and depending on which brand and type you're using, you may need higher temps and longer press times.
The heat press also has a solid base meaning there's no steam holes that will affect the press. I should also mention steam is a big no NO when it comes to iron on vinyl, the steam will actually stop the vinyl from sticking so make sure if you're using an iron to turn the steam function off.
Once all the circles were ironed on, I turned the napkin over to do another round of pressing at 165c for 5 seconds, just for good measure.
TAADAAAA!
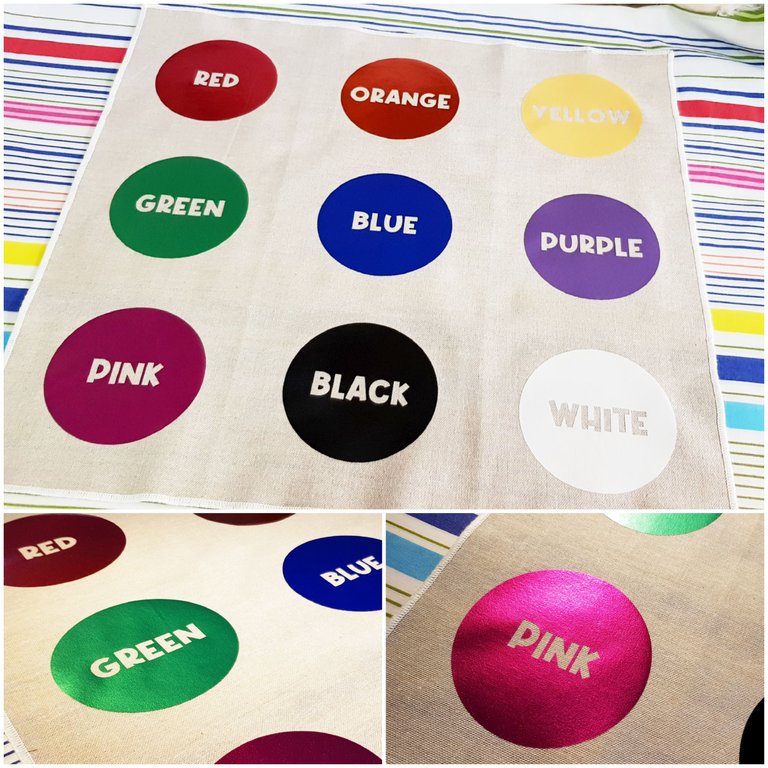
And she's done! I love the shimmer from the Siser Electric HTV. It definitely adds a little magic to the mat. Bella seems to love it too.
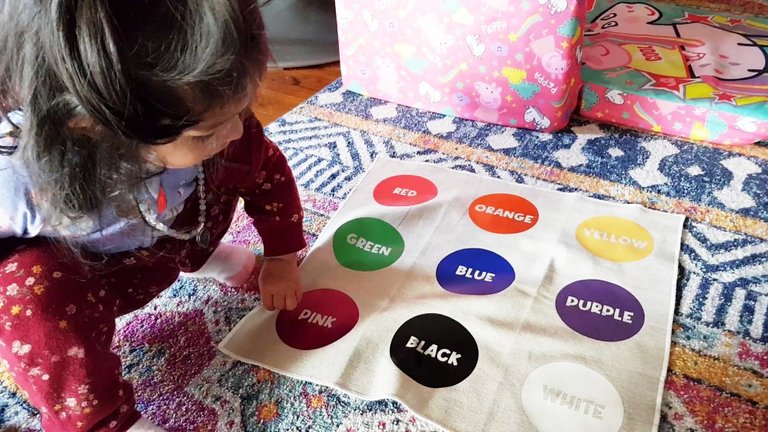
She was all "AHHHHHH!!!" when she saw the mat lol. To test it and her, I asked her where red was and she immediately pointed to it! I asked her where blue was and she pointed to that too! 👏👏👏👏👏
Bolstered by this win, I decided to make another mat, but this time with the alphabet 😁
Keep an eyeball out for that post.
That's about it! We're off to play in the backyard. Hope you all have a fab day!

What a cool idea.
Thank you!
A very useful mat for the learning of the little ones, you and your little one have done a great job, congratulations.
Thank you so much! 🥰
Your content has been voted as a part of Encouragement program. Keep up the good work!
Use Ecency daily to boost your growth on platform!
Support Ecency
Vote for Proposal
Delegate HP and earn more
Thank you!
You are full of creative ideas @bearone, ones that are sure to assist your little girls learning ability.
whoa.. love it.. i don't have a cricut so I guess if I will have to make one, I'd use paint nalng into the cloth...