Make Your Own Custom Lighter
Hi all, I'm writing today to show you how to make your own custom lighter cover. Its really easy but attention to detail will really show in the final product. For my example, I used grid paper and basic boarders to make it easier to follow the process. Let's get to it!
Step 1: The Layout
image
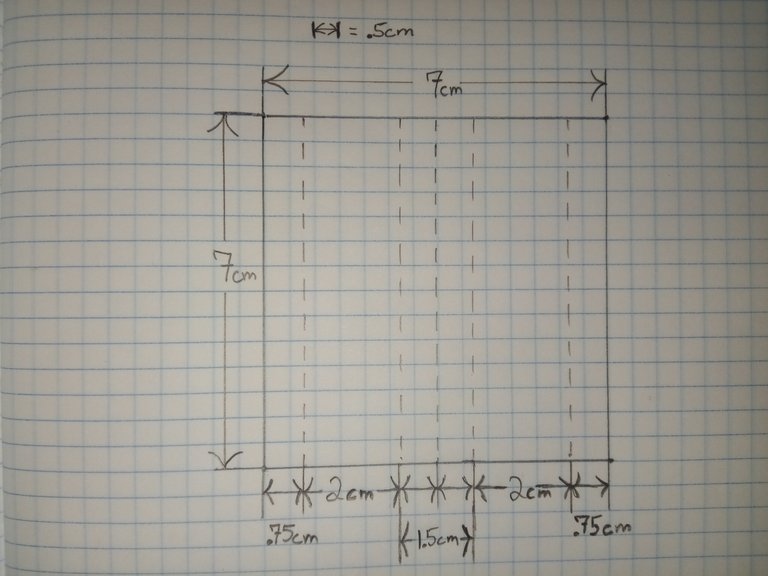
The image is pretty self explanatory. Main outline, center line, and edge lines so you know where the side of the lighter is, versus the flatter front and back face. As you will see in the steps to follow the layout is a bit large. I did this intentionally to be sure to cover the entire lighter, and to allow for slight error cutting it out. The exact dimensions are closer to, just under 7cm tall and 6.5cm around.
Step 2: Cut It Out
image
Again, not much to say, but take your time. There is wiggle room but don't take it for granted.
Step 3: Ready The Tape
image
Now we cut a piece of packing tape longer than the cover. Most tape isn't 7cm wide so 2 pieces are usually required. You want to place the image side down to the sticky part of the tape, leaving loose tape on both sides. Be sure to tape horizontally across the cover. I like to line the top up with the first piece of tape so I dont need to cut more than necessary. Again, take your time and try to avoid bubbles/folds. You only get one shot, if it sticks and you pull it back you can tear the cover or remove some of the design.

Step 4: Line It Up and Tape
image
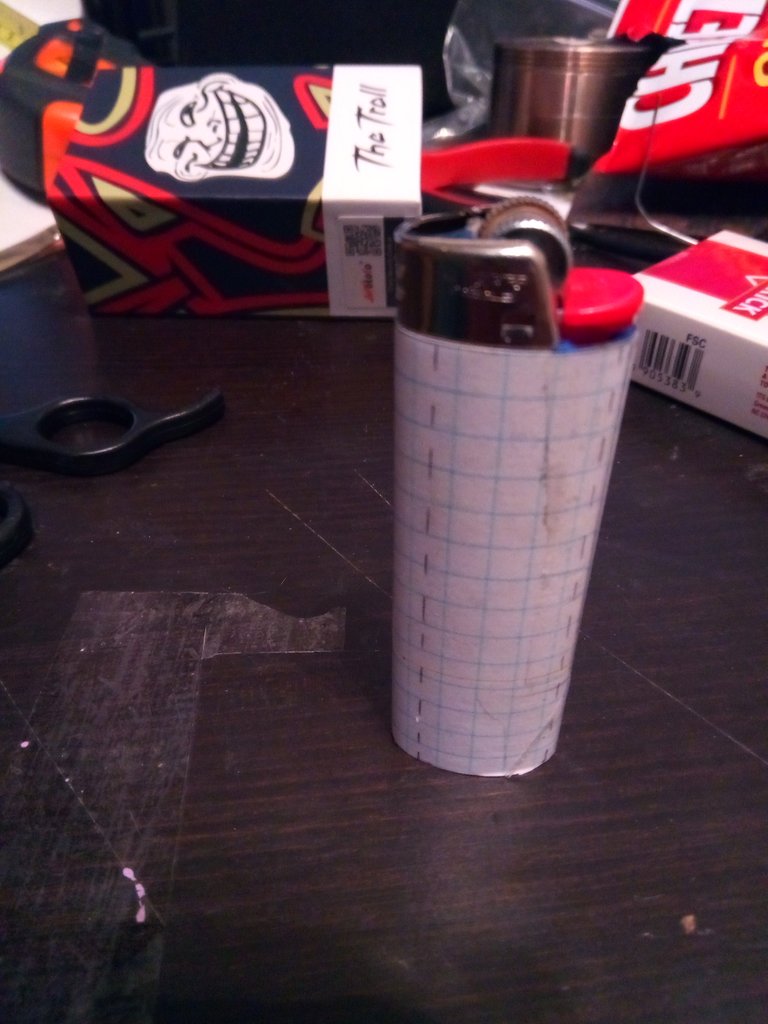
I was sloppy with this one, but it was just for the tutorial. I find it best to line up the center of the cover with with the center of a side.(because the template is larger that exact) Making sure the top is lined up, smooth from the front of the lighter over the side, pushin the tape flat down. Don't worry about the extra at the bottom, that will be removed later.
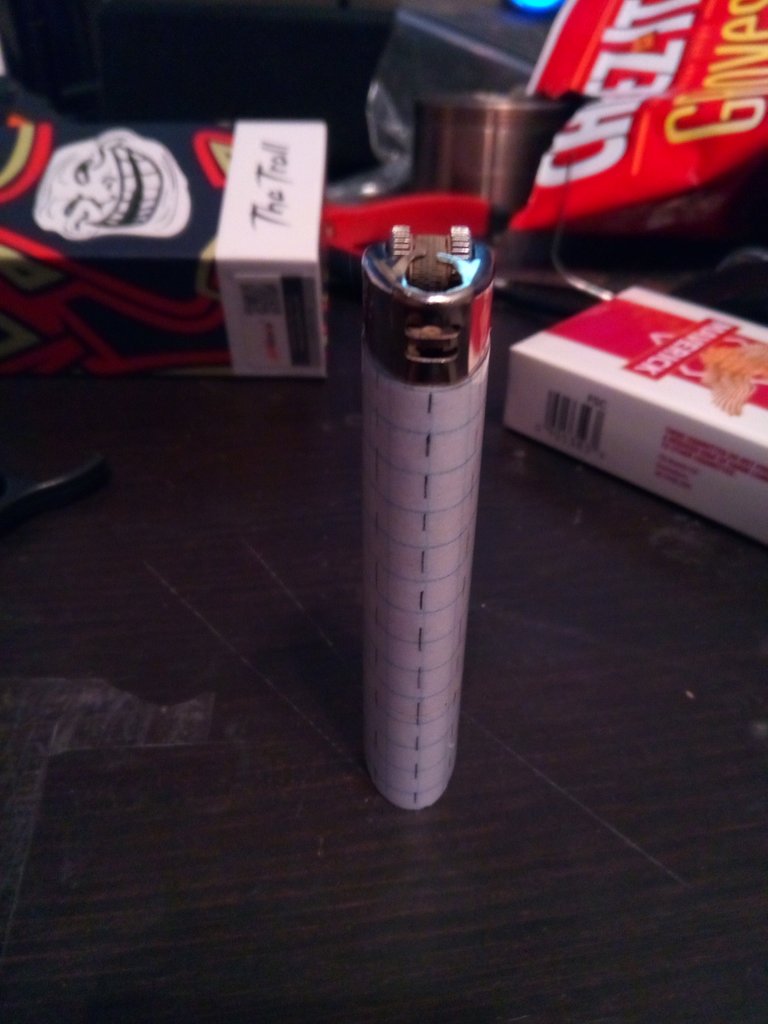
Now, starting from the freshly taped part, smooth back across the cover all the way around the lighter. Make sure the cover is smooth and tight, then push the tape down smooth. Cut away any extra cover/tape at the bottom and you're done!
End Notes:
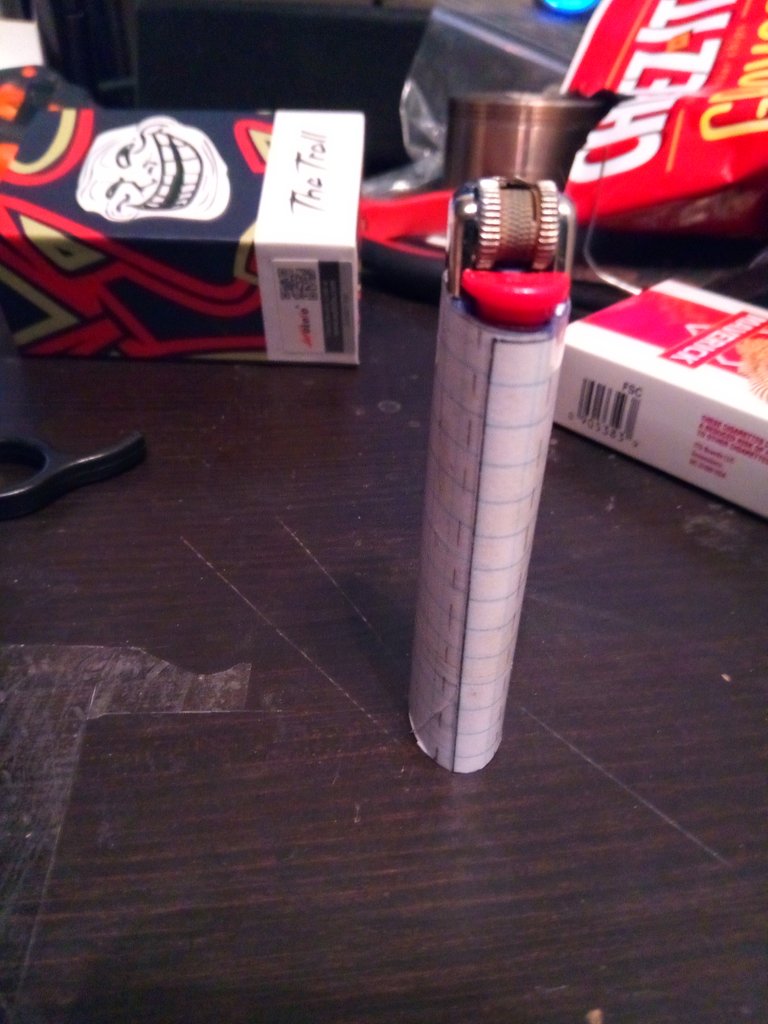
As you can see in this last image, 7cm across leaves a fair bit to overlap, this is why I center the lighter to the centerline of the cover(first pic of finished lighter). In future attempts I will likely use just over 6.5cm for the covers width. Thanks for reading, and if you try this out I'd like to see your finished product, and hear any feedback.