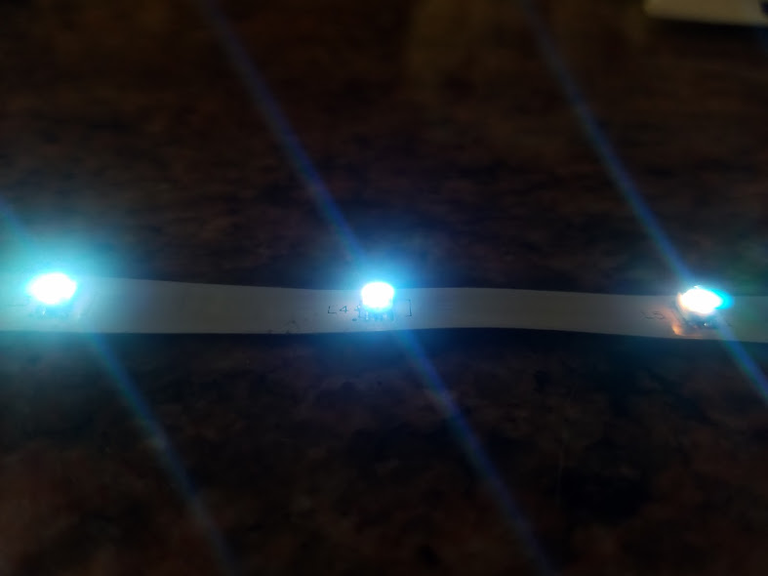
LEDs are found in almost every electronic device today. They are either used as an indication or a light source. I designed a flexible circuit board to hold several LEDs for a custom 12 volt multicolor light.
I'll show you the components, software, and manufacturer I used to turn this idea into a reality.
I'll show you the components, software, and manufacturer I used to turn this idea into a reality.

When working with LEDs there's some basic math that you have to keep in mind. LEDs can easily burn out if the voltage isn't just right so we need to regulate that voltage before it goes into the LED. Here's a LED Resistor Calculator from Digikey, so you don't have to do the math. This resistor calculator with tell you what resistor value, in ohms, and at what power rating you'll need. The LEDs I used had 3 different LED chips inside them so I had to calculate for each individual chip for red, green, and blue.
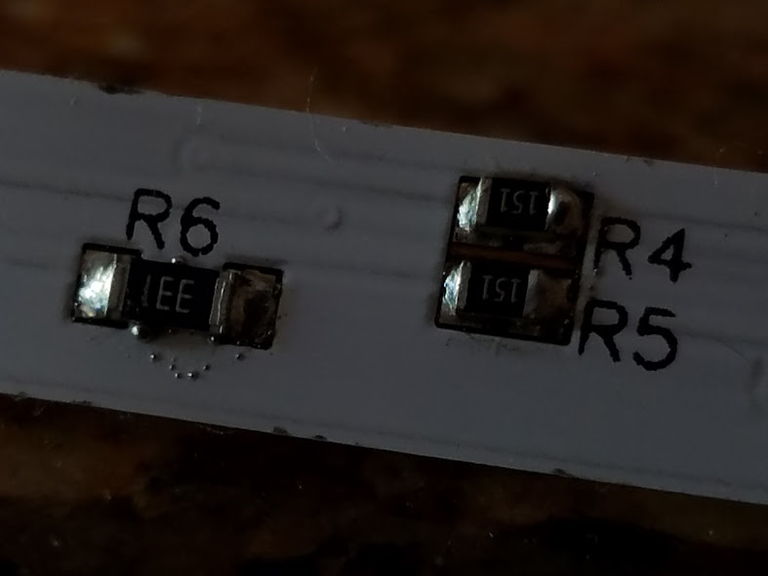
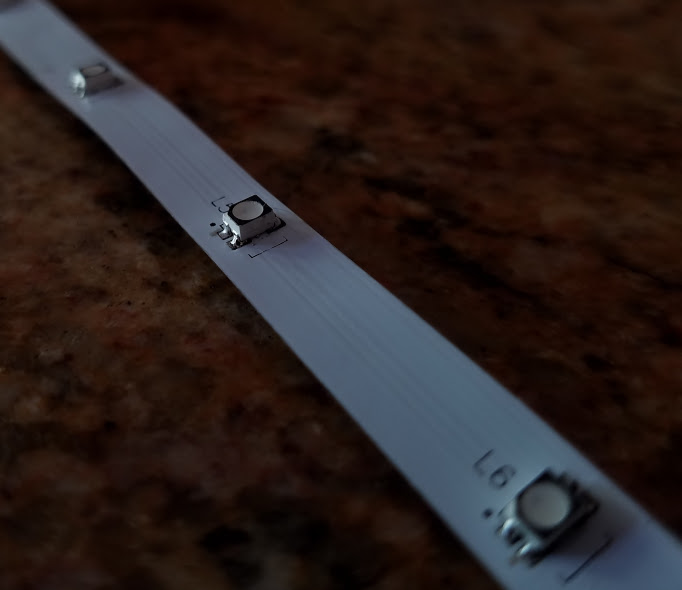
To start off with designing the 12 volt flexible strip I had to pick the LEDs that I thought would be the perfect size for my application. So I picked 3228 RGB LEDs because of their size and the amount of light they could produce. By using the resistor calculator I knew I needed only 2 different resistors because 2 of the colors had the same voltage requirements, the red needing 2.1 volts and green and blue needing 3.1 volts. The green and blue chips require at least a 110 ohm resistor for each group of 3, so I picked a 0805 size at 110 ohm. The red chip needed a lot lower voltage so the resistor required would have to be 232 ohms for each group of 3, so I went with a 1206 size at 232 ohms.
Since I found all the parts I needed to run RGB LEDs off 12 volts I had to design the circuit board. There's tons of software out there that you can download to design circuit boards but they are really messy. Most circuit board designing software is made to design really complex boards with 4 or more layers of wire. I only needed to design a simple 2 layer board so I used Autodesk Circuits.
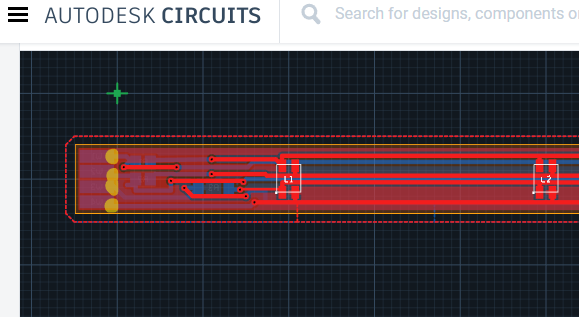
It doesn't take much time to figure out the tools in the software so you can start designing your boards very quickly. It took just a few hours to lay down the tiny thin wires for my flexible LEd strip. After I was 100% sure that it was finished and that all the parts would fit on to the board, I sent the order off with the files to pcbway.com. Within an hour they approved my design so all I had left to do was to order the components and other parts.
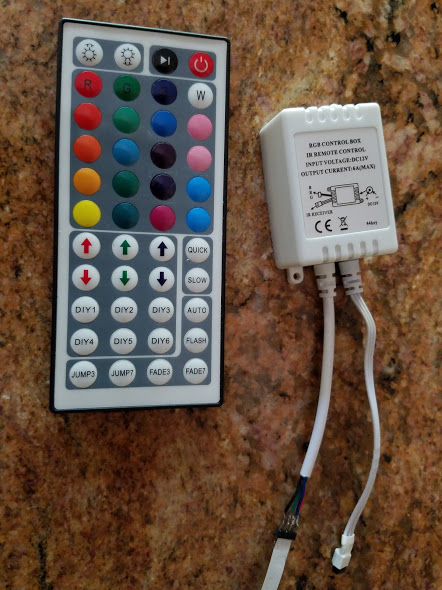
One of the most important parts is the RGB LED Controller. It allows you control the brightness and color of the whole LED strip. It even comes with a remote so you don't have to walk up to the strip and start flipping switches.
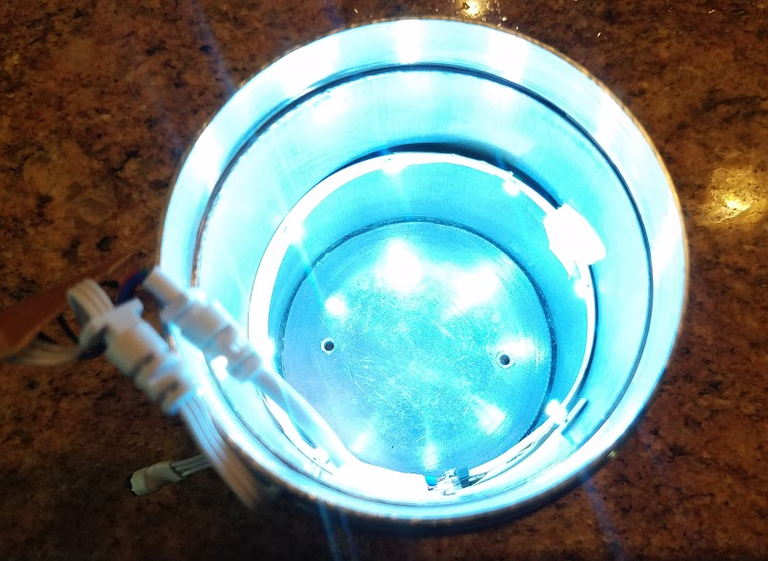
Overall I'm quite happy with the way RGB LED strip came out. PCBWay.com produced professional looking circuit boards. Next time I will adjust the design to run the LEDs in groups of 4 instead of 3 because the strip ran quite hot and were much brighter than I expected. The 12 volt power supply actually supplied 12.4 volts. I would much rather under-power the LEDs for a longer lifespan.
Here's a link to this flexible circuit board design that I designed so you can make it and/or modify it yourself. If you do want a circuit board made all you need to do is submit an order with the correct files to PCBWay.com but you can also check out PCBShopper.com to find a great deal on solid circuit boards. I would also be happy to help you with your own circuit designs.
Part List with Links
3228 RGB LEDs
0805 110 ohm Resistors
1206 232 ohm Resistors
Files for Circuit Boards
Solder Paste
RGB LED Controller
12 Volt Power Supply
Thank you for exploring!

Can you make Fifi a light up collar now?
I would love to do that!
Nice work man. This looks like a nice piece of Flexible PCB
Thank you! The guy I designed it for ended up taking off without a word of thanks or contribution to my home business. Ended up seeing my flexible boards in a few of his products a few months later... At least I know I can design god boards lol