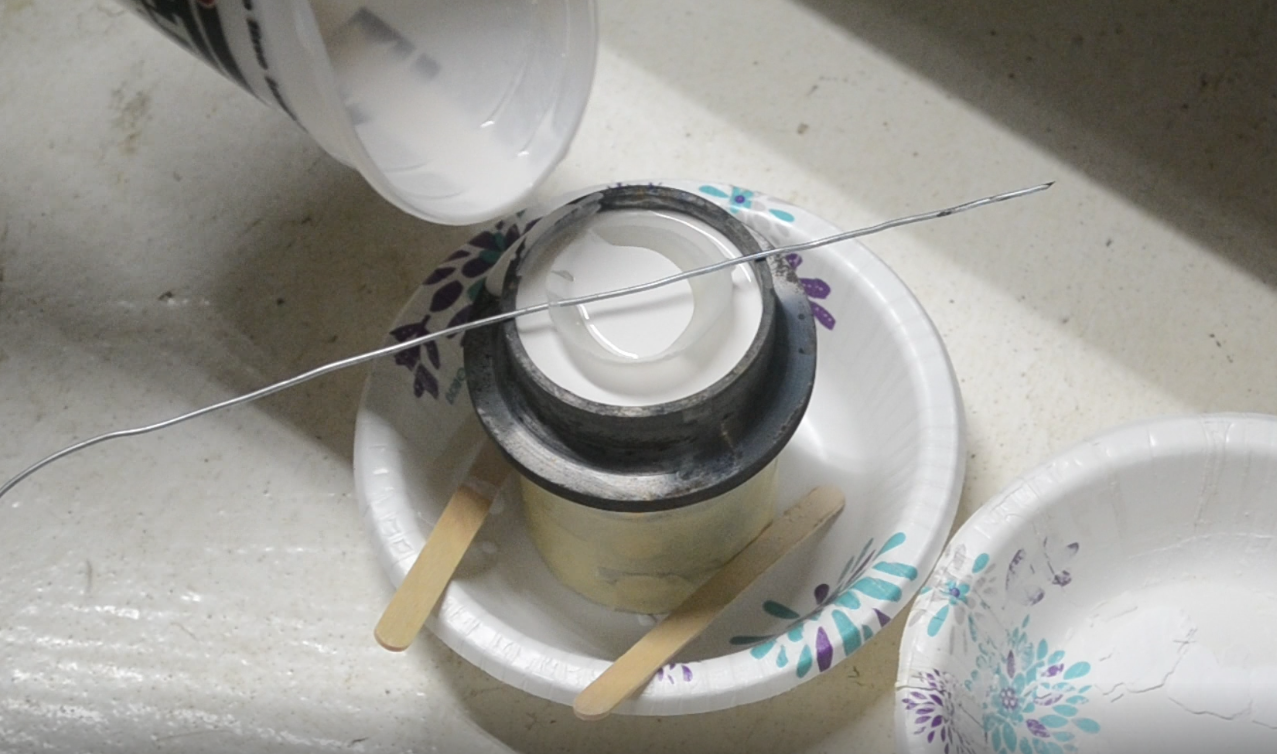
Today, I finally had a break from disruptions long enough to make another mould. The first improvement to my process that I'd like to make is part orientation. This next run doesn't include a slag trap, mainly because I'm using a clean ingot to start, but it does include another tiny cup:
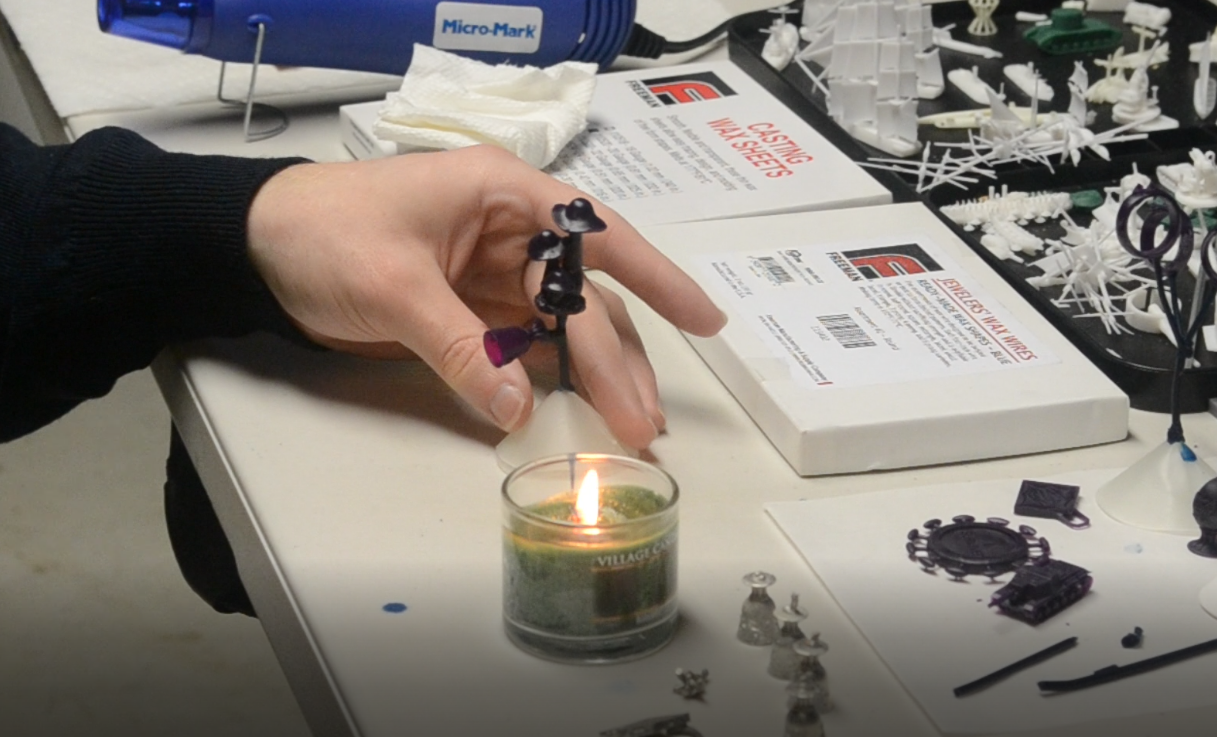
The cup is oriented horizontally, more or less, so a massive air bubble trapped in the bottom shouldn't be an issue with this one. The second change I made is the replacement of the wax rods attached to the cone with a wire straight through it.
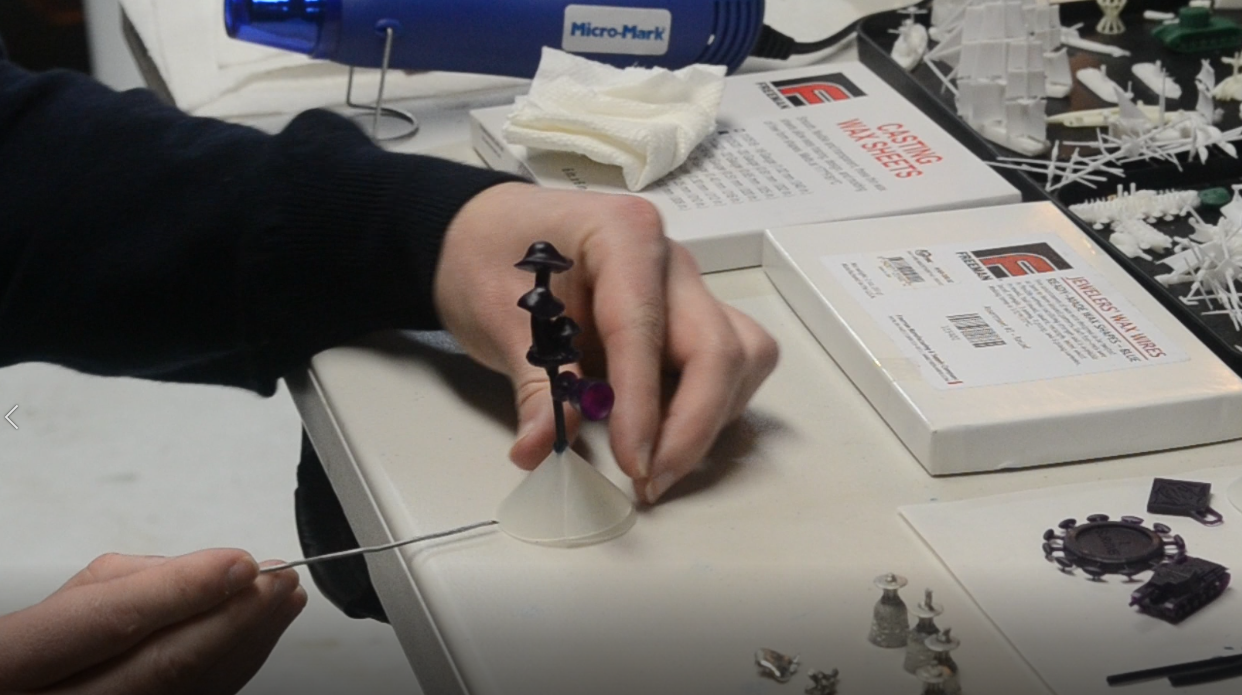
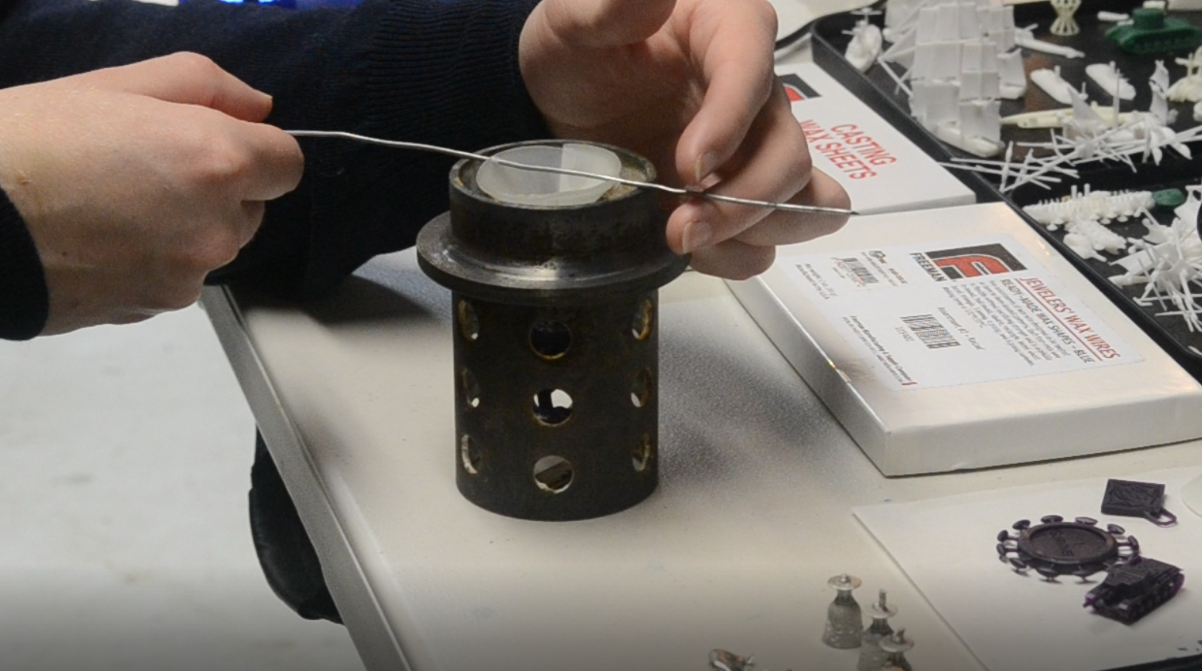
This way, the support is reusable, and I don't have to waste larger wax rods as part of my support structure. The most important change that I made to my process, at least for now, was to increase the de-gassing time of the investment. I left it in the vacuum chamber for ten minutes, which ended up reducing the volume by a noticeable amount (I used the same amount of powder and water as I did last time). Judging by the appearance of the mould after curing, it appears that I have succeeded in removing a lot more bubbles.
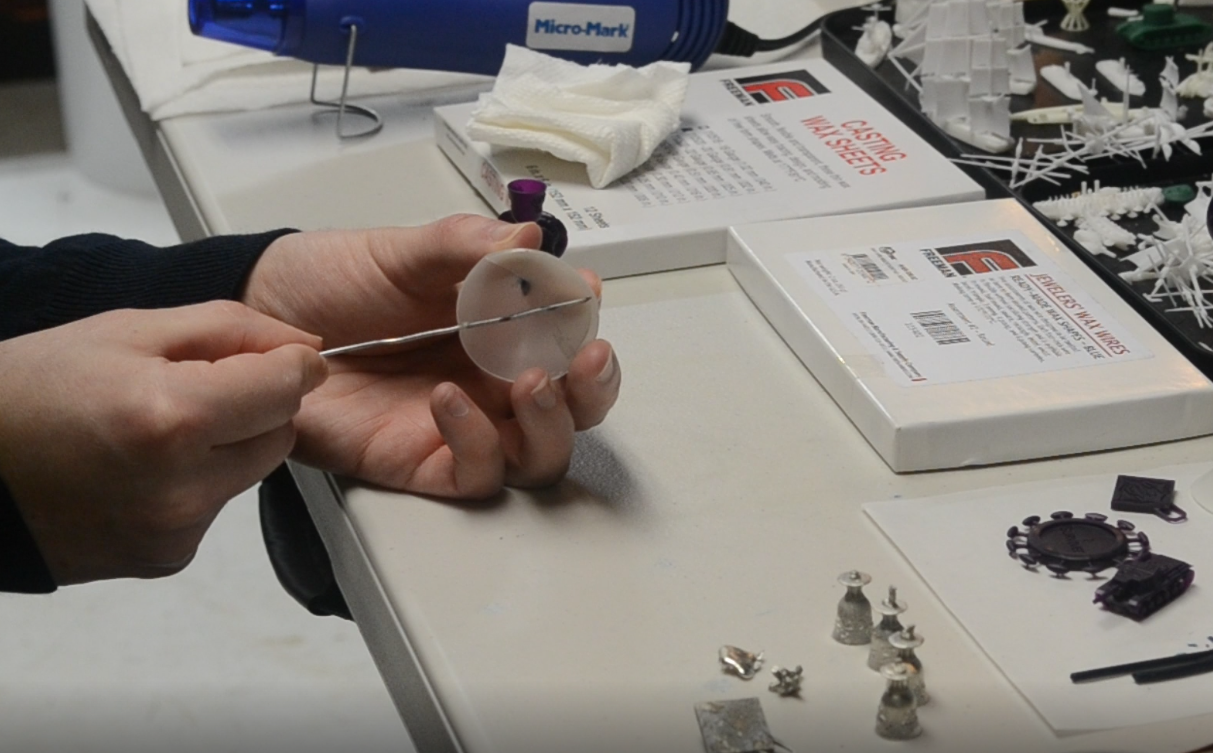
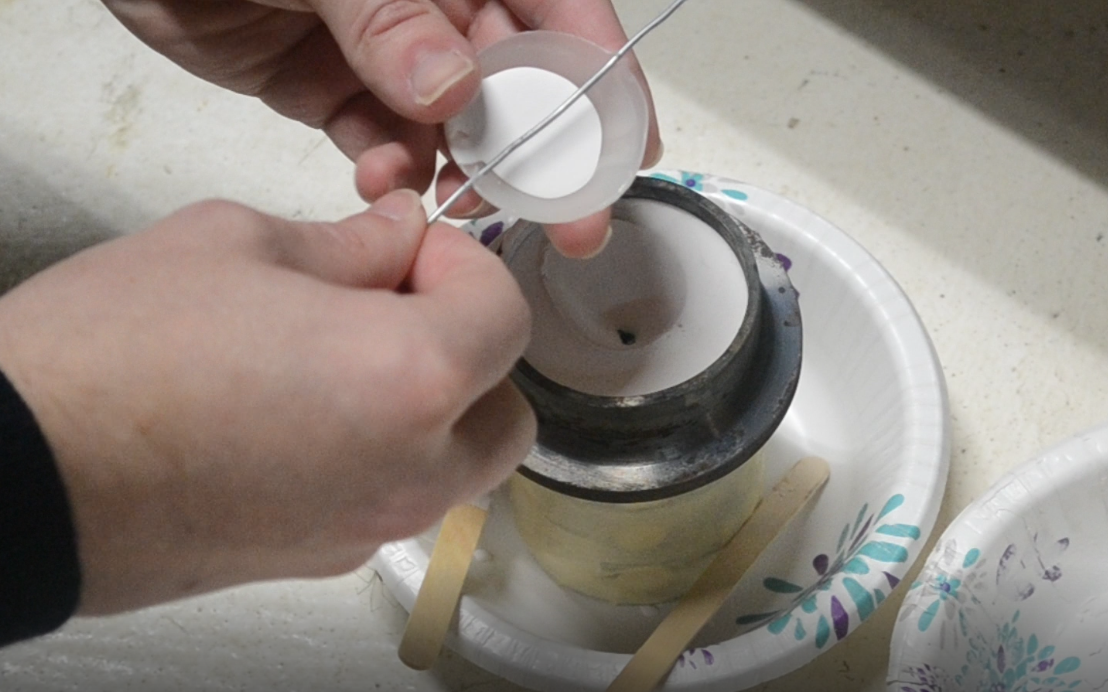
The wire makes removal of the wax cone considerably easier, incidentally:
The next change to the process will be a risky one - I'm going to eliminate the tedious ramping time in the kiln and just heat it up to 700 degrees right away - hopefully the mould doesn't crack from the relatively rapid temperature increase. A slow ramp, after all, is much more important with large moulds than with small ones. After leaving it at 700 degrees for an hour, as I did before, I'll then heat it up to 1350, hold it for two hours, and then cool it down to 300 before pouring in the molten tin. Hopefully there won't be as much of a delay before the next post.