Hello DIY community, the festive season is approaching quickly and I am excited to participate in this month's DIY contest themed "Christmas".
I had different ideas buzzing in my head and decided to participate in the contest. As a matter of fact, I might submit more entries because there are lots of Christmas-inspired DIY and it would be nice to share them.

So for this DIY contest, I made a snowman. The movie titled Frozen came to my mind and I couldn't resist the urge to create a snowman because the character did great in the movie plus it's one of my dreams to build a snowman someday since it doesn't fail in Nigeria.
If I can't build it with snow, I can definitely create it with cardboard. I tried and it was cool.
Material used;
White cardboard.
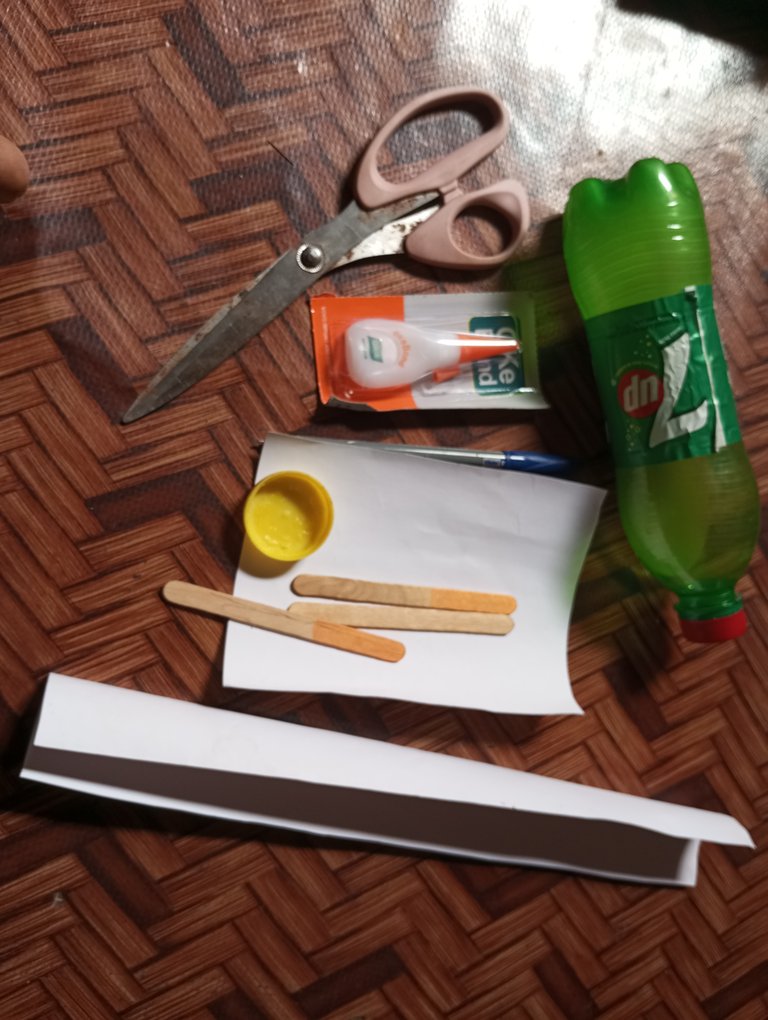
Gum
Scissors
To make the job easy, I started by cutting out all the shapes I needed which are.
Circle for the body and head of the snowman.
Triangle for the cap.
Rectangle for a design on the cap.


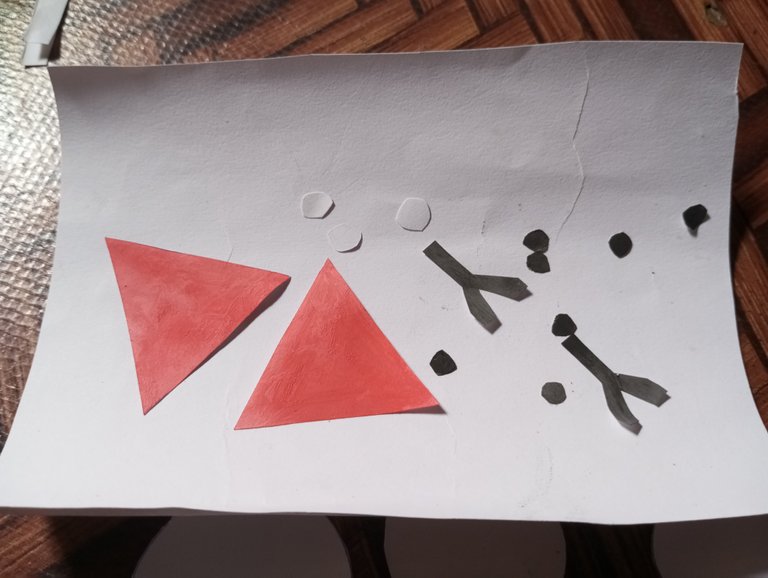
Circle for button.
Y shape for the hand.
Triangle for the nose.
I started by joining the head and body together with gum.
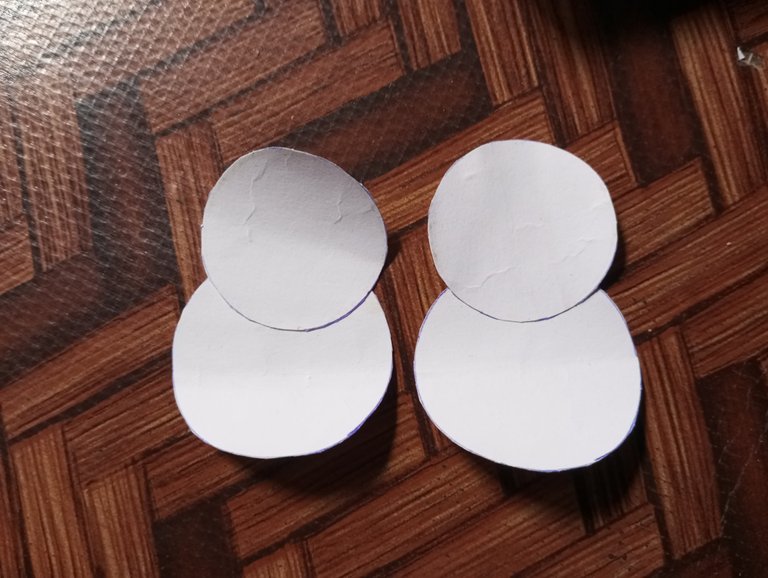
I rubbed a little gum on the upper part of the body and placed the head on it.
I already coloured the cap and added a small circle to the edge make it look cool.
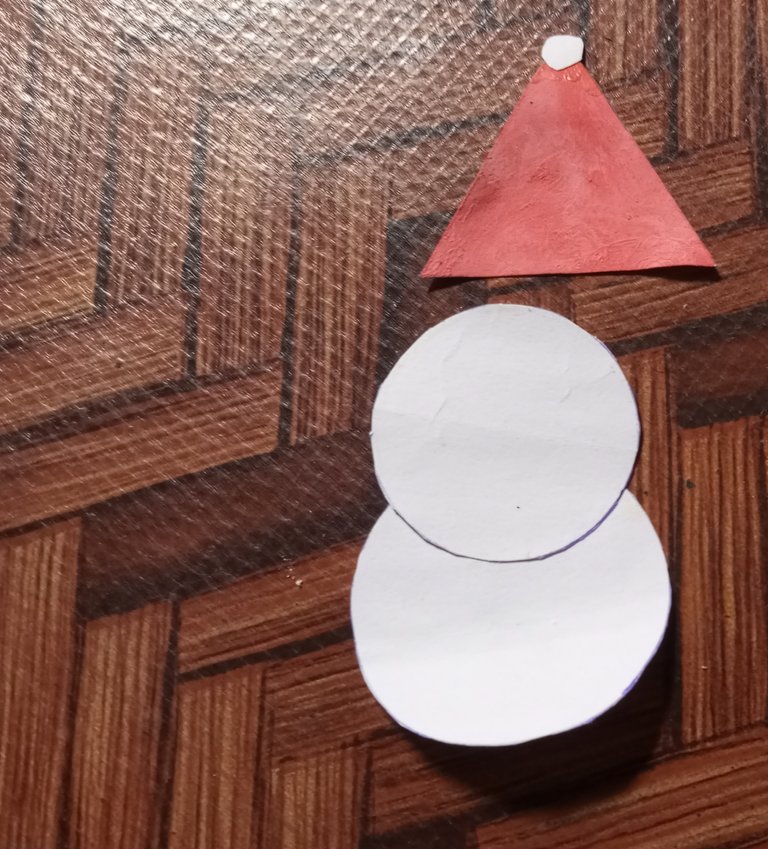
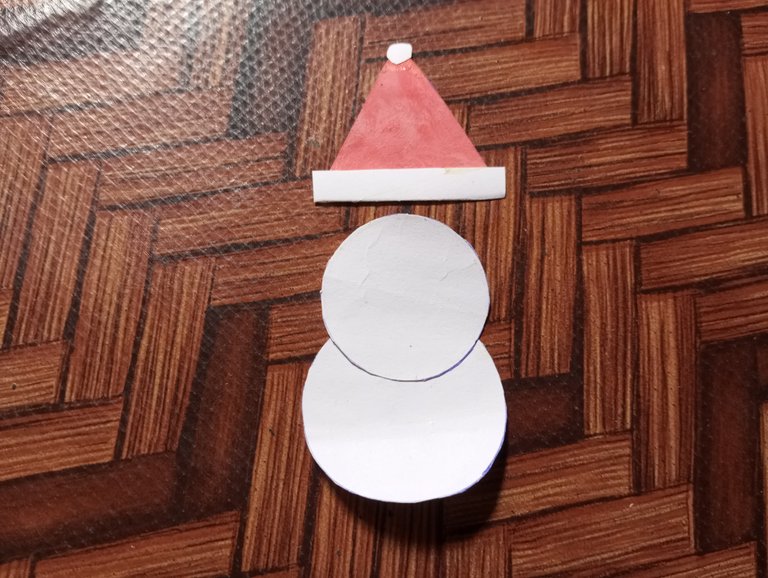
I gummed the rectangle to the down part of the cap and it added to the beauty.
I gummed the three buttons to the body of the snowman.


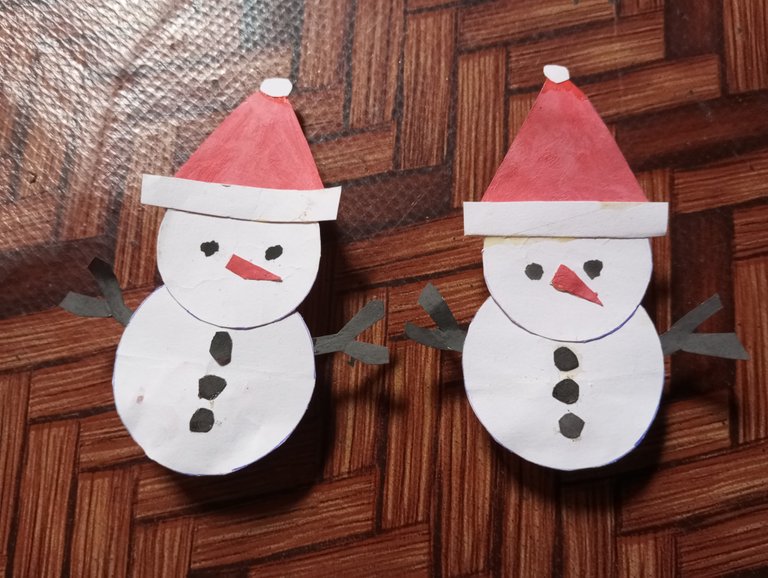
The snowman hands came in after and everything was perfect.
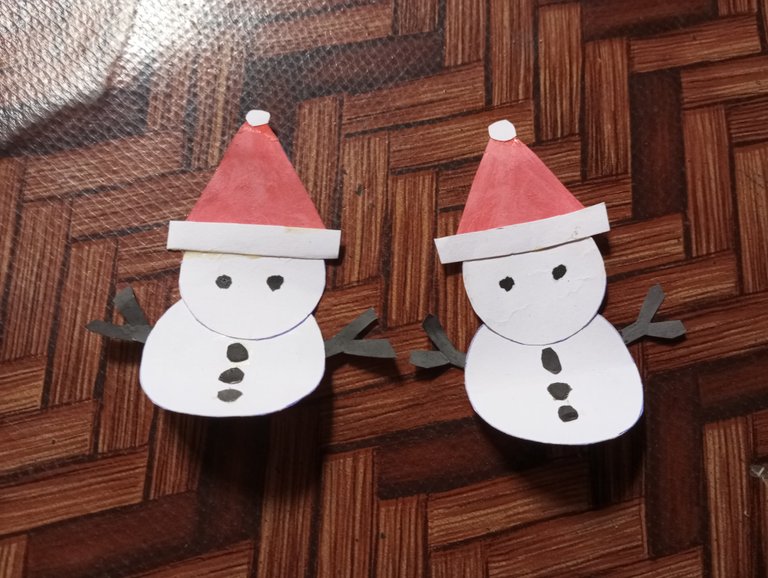
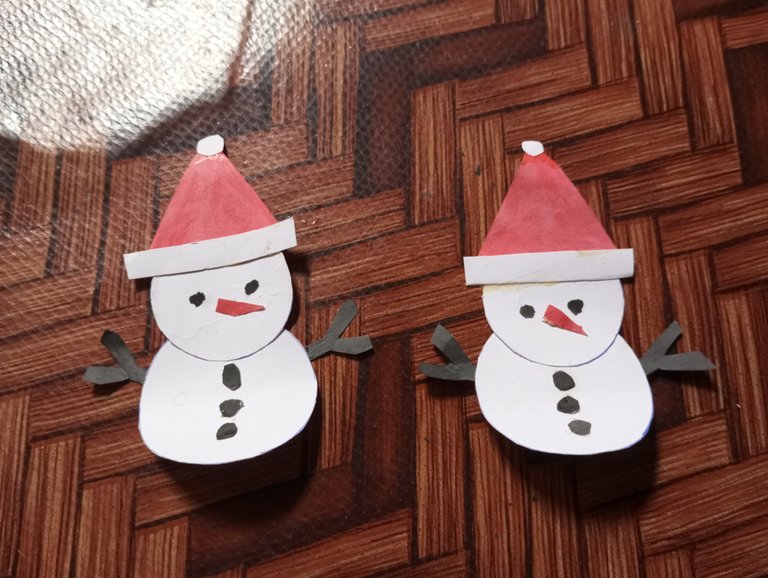
I gummed the eyes as well before putting the nose in its place. Aren't they cute?
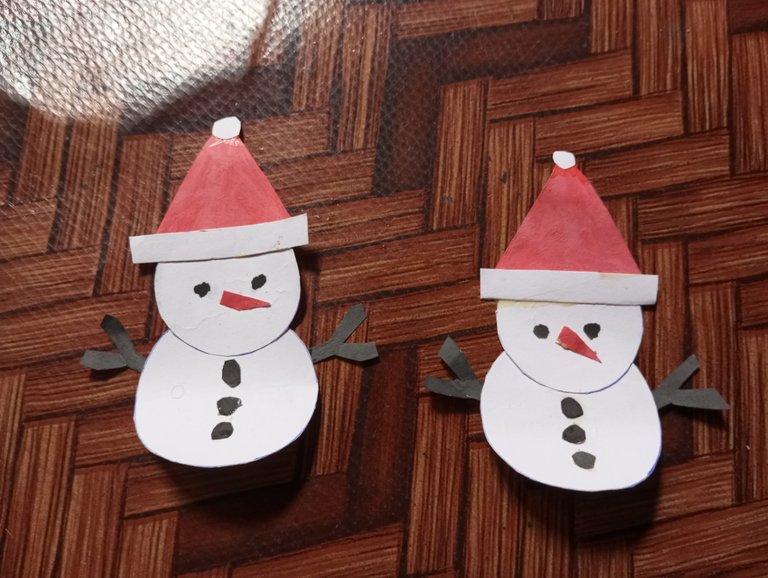
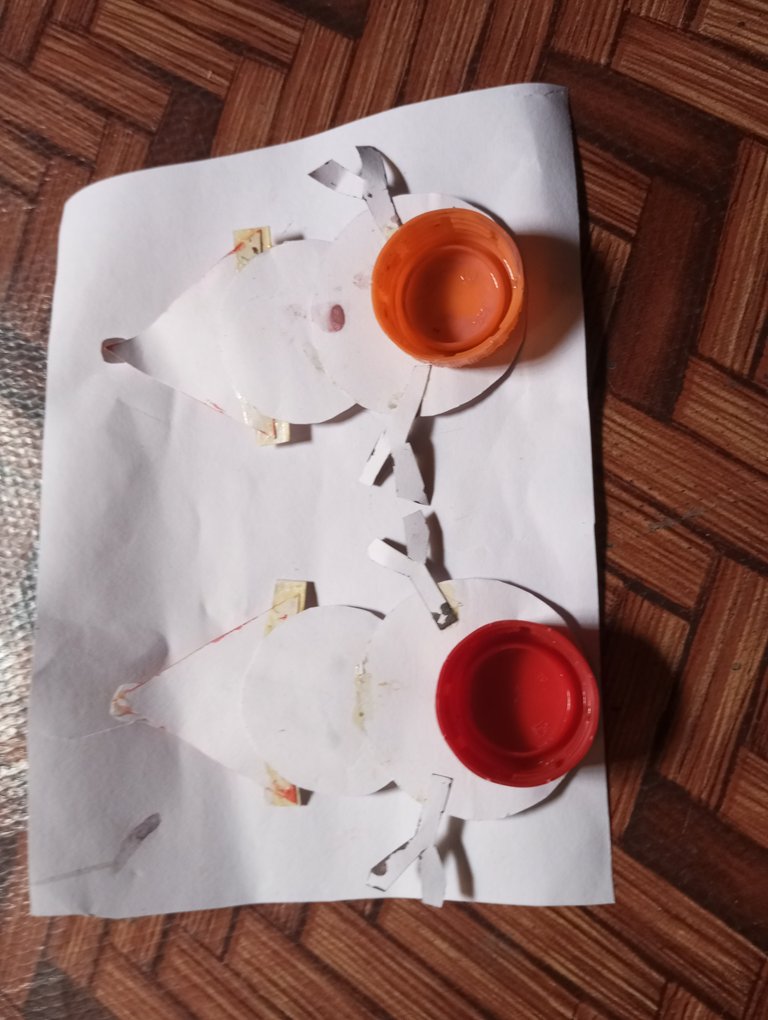

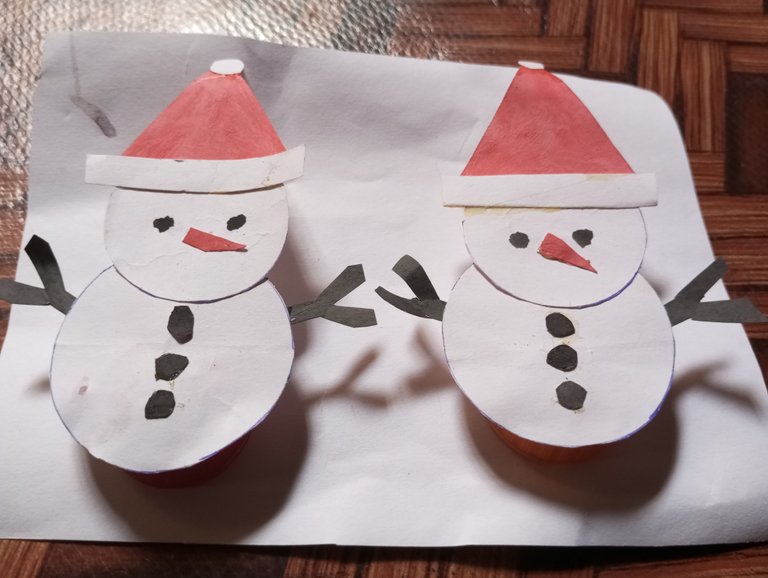
The snowman couldn't stand alone so I used a pet drink cover to support it behind so that it and move left and right if the wind touches it.
I spent a very short time on the snowman which I didn't expect, I thought it would take a lot of time but it didn't.
I hope you all love it. Happy Christmas in advance.