So I stopped doing the DIY posts a while back, because, well, I stopped doing much DIY stuff. I was trying to get a small online business off the ground that pretty much took up all my time. Unfortunately I've decided recently to scale that back because the profitability has been unexpectedly low, so now I'm back to doing DIY projects that have been put off. I didn't have a post in mind for this little project, but I thought that there was a cool enough story behind it that I decided to put one together anyway.
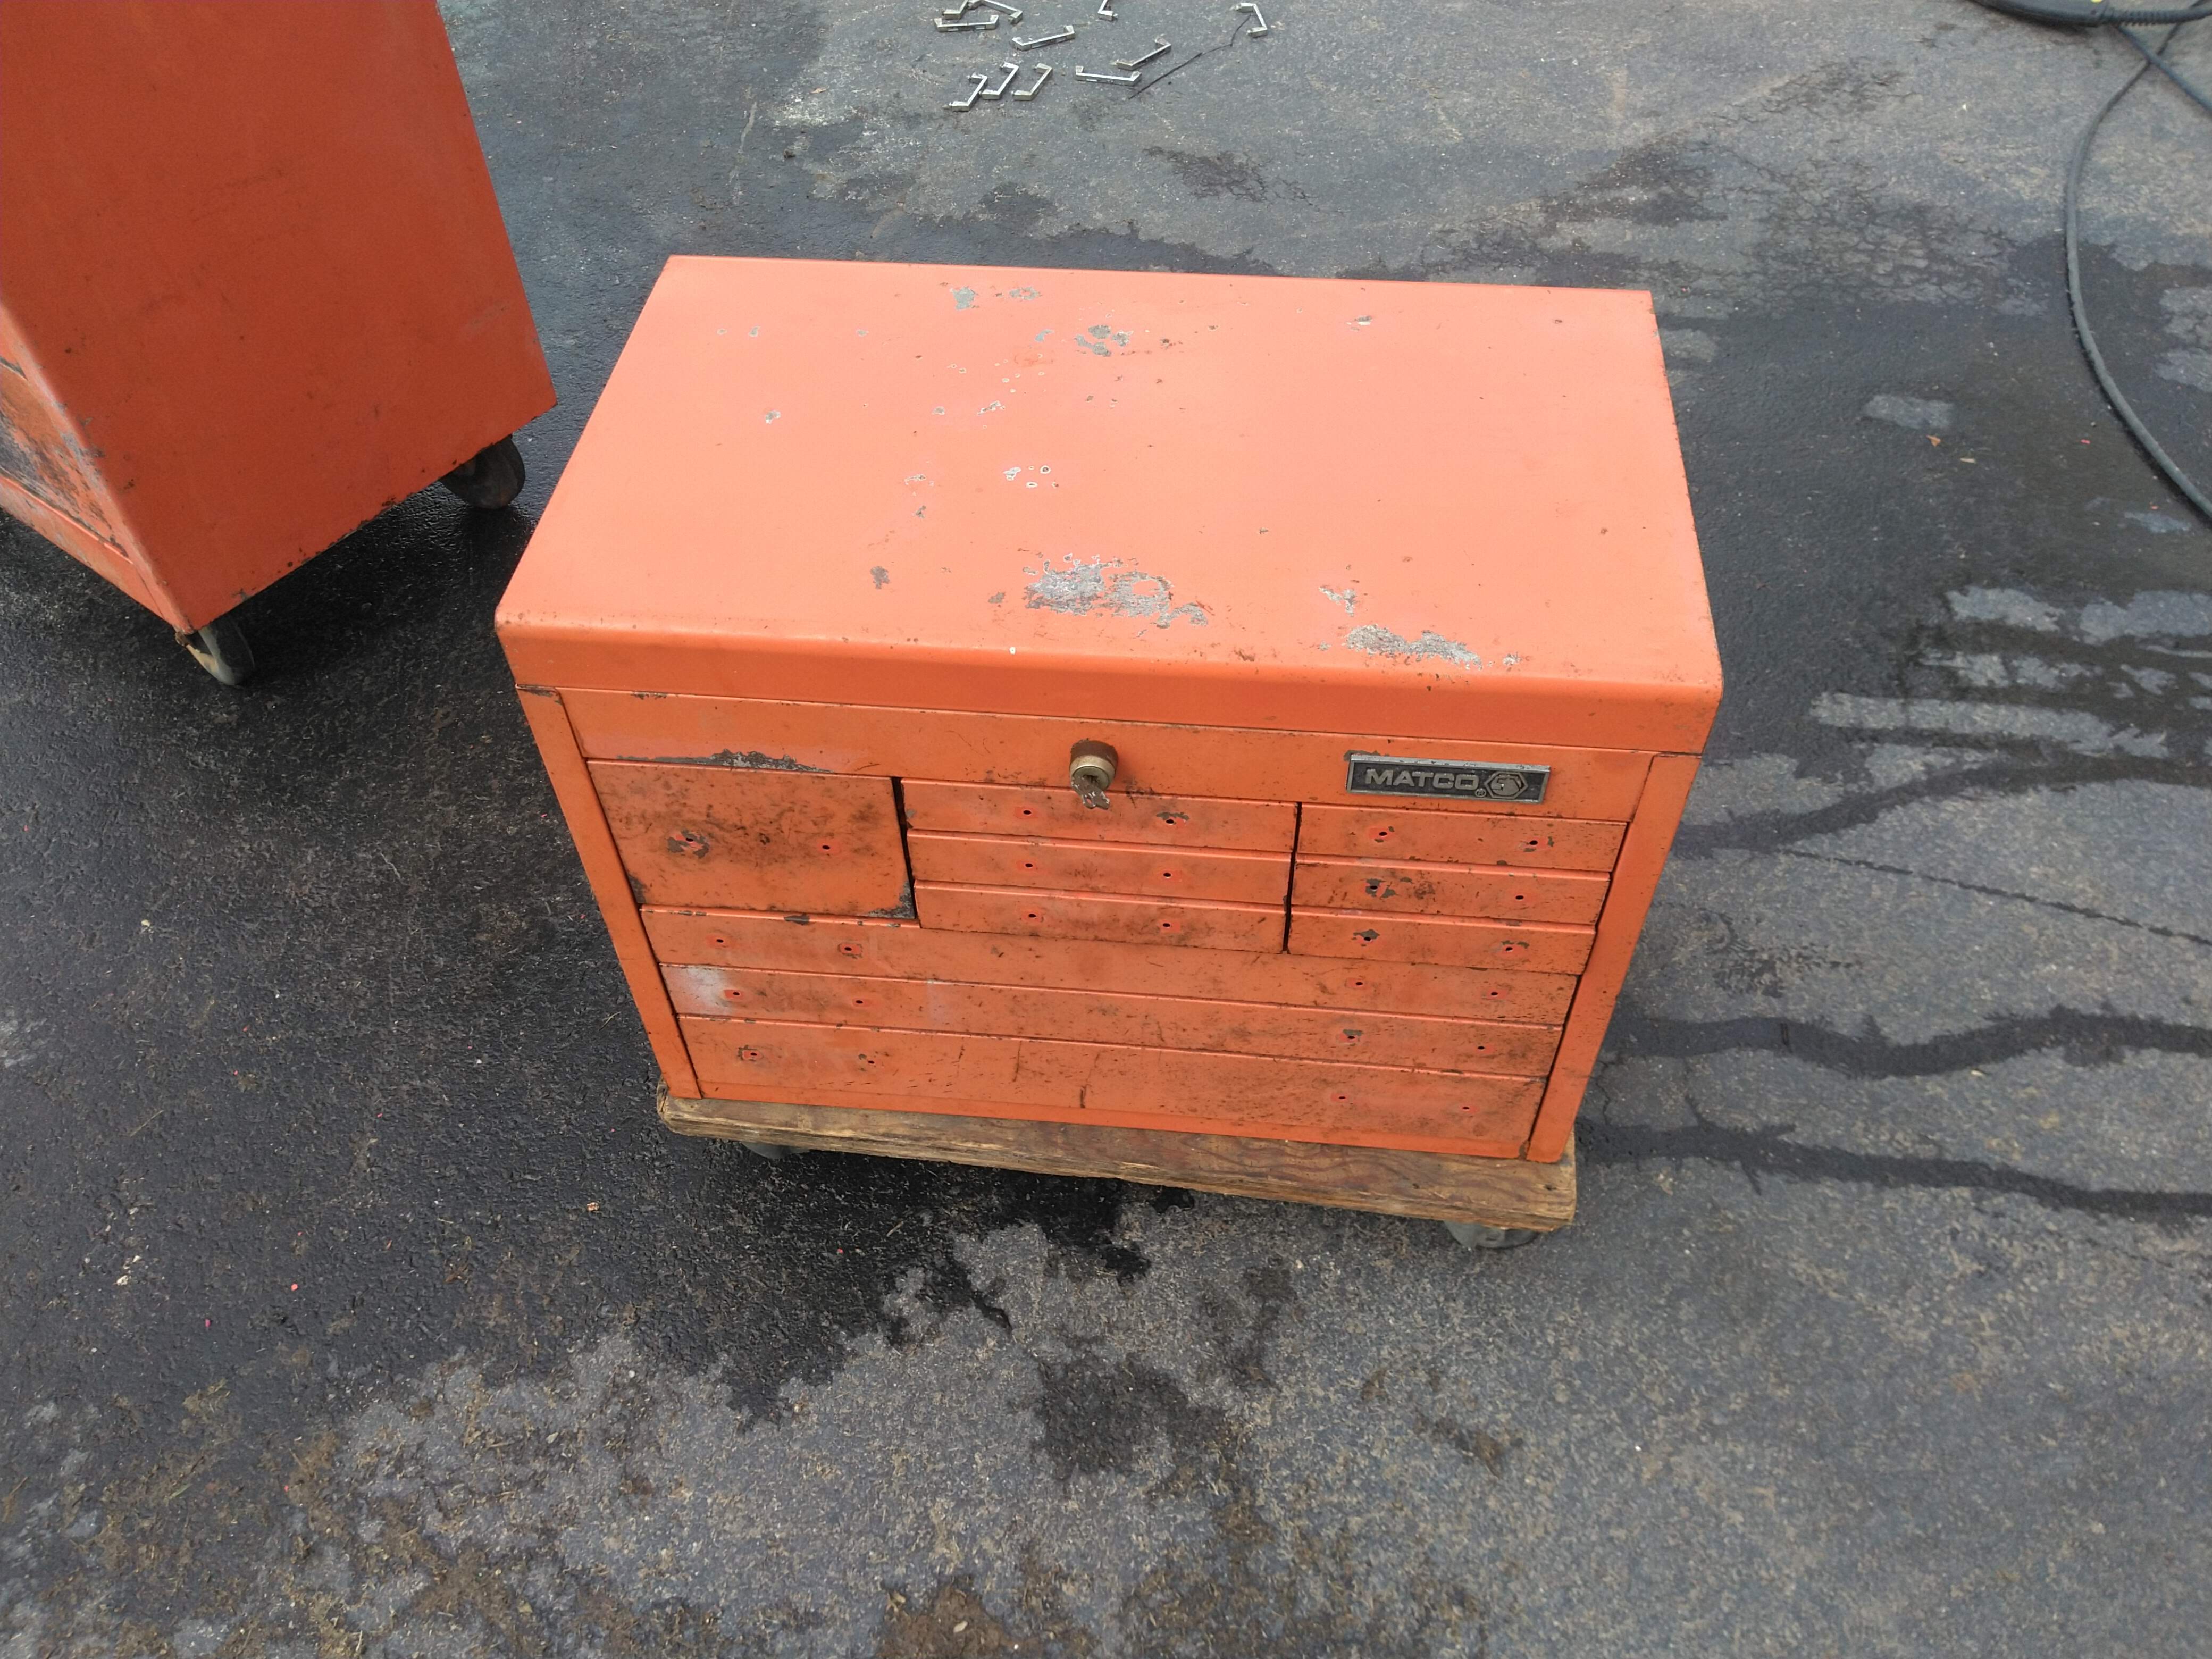
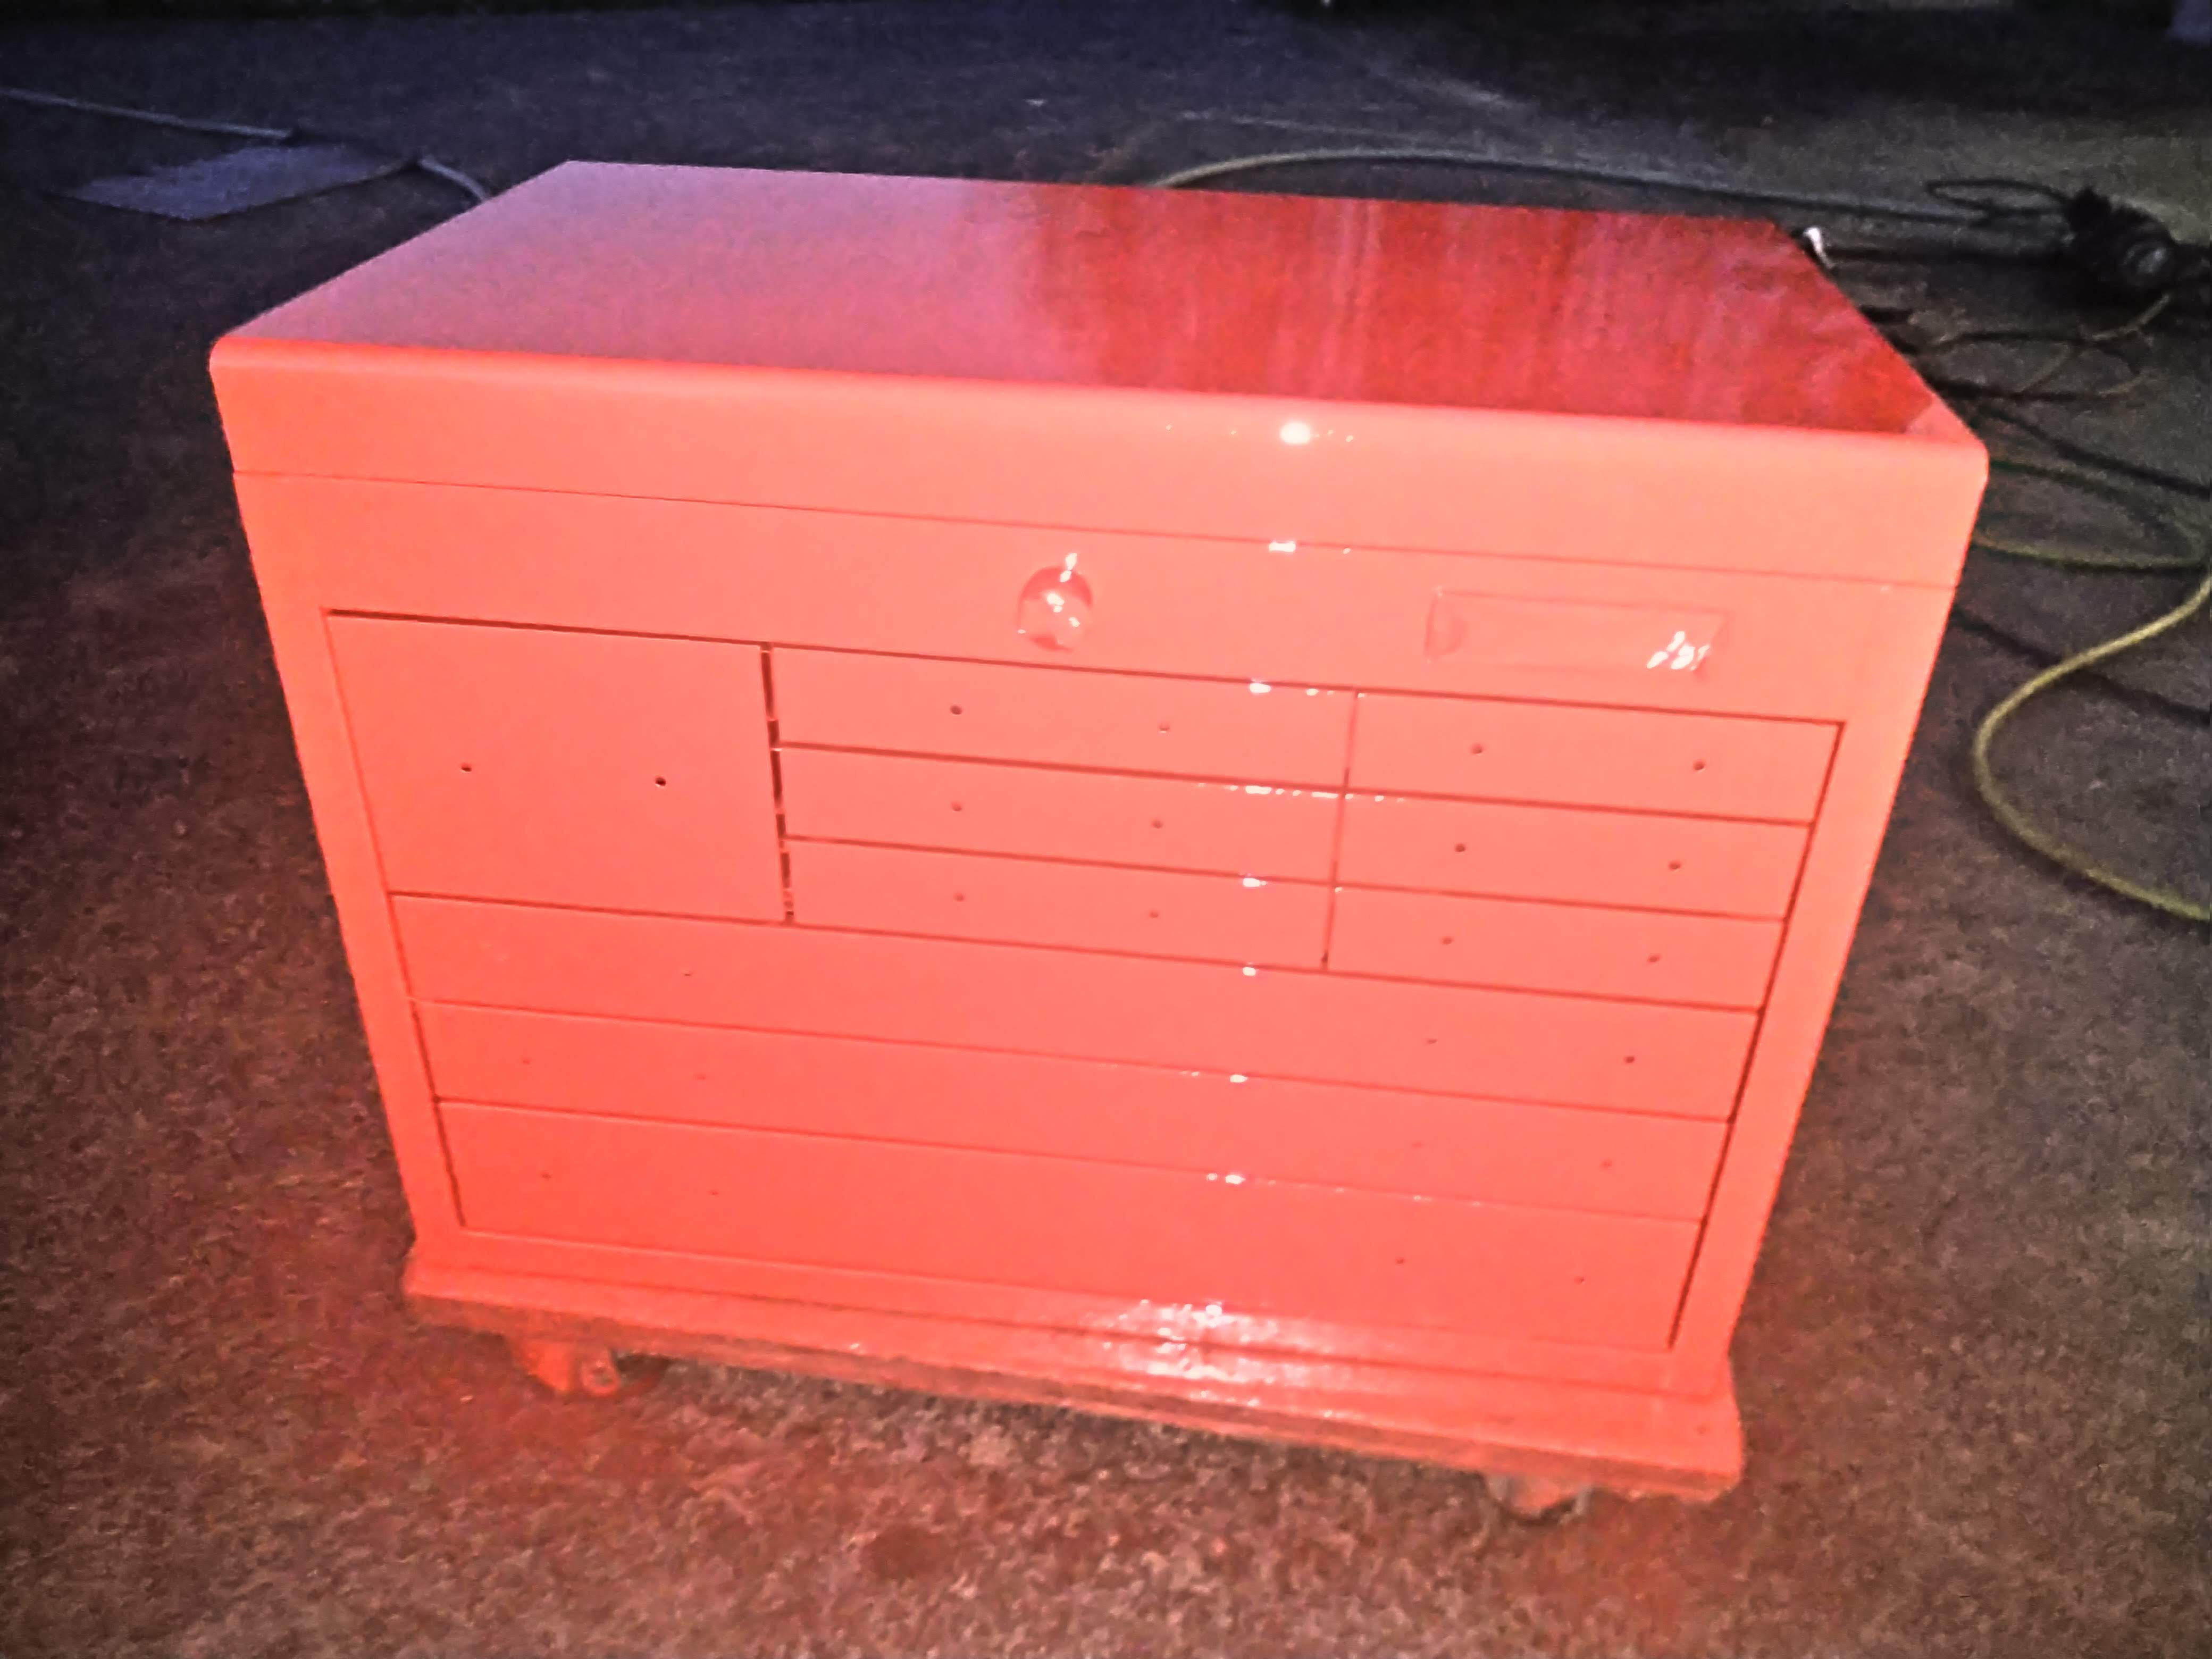
Above is roughly what the box looked like when I picked it up off of Craigslist. I didn't get a true before pic of it, but trust me it looked worse before I pressure washed it off, scrubbed it, pressure washed it again and then sanded it down, which is what you see here. Still pretty rough looking, I know. The reason being that it spent its whole life in a barn being used for working on tractors. I don't know how old it is, but considering the state of it, the fact that it was stored indoors and just the general style, I'd say at least 40 years old, probably more. The two things that drew me in were that it was Matco, so decent enough quality to mess with, and it was dirt cheap. People these days generally think that sheet metal toolboxes are made out of silver and gold. I got this one for $100. Even the cheap ones at the big box stores with a similar drawer count are going for $400-500, so it was worth the time to clean it up and paint it.
When I went to go pick it up, the guy who was selling it was the original owner's son. He's a much older man than me, but we hit it off right away and we got talking in the house before taking all the old man's tools out of the box and making the deal. Turns out jos old man was in and out of the hospital for various ailments recently, and while still recovering, came down with Covid and passed late last year. I was sad to hear of this, but I felt really at home there almost to the point that it was like I had been there before.
Somehow the conversation led to books and Louis L'Amour, the old historical fiction writer. My best friend from high school, who passed away when we were both 18, turned me on to L'Amour's books because his grandfather, who was an artist, supposedly knew Louis L'Amour personally. I got really into his books because they were good fun westerns, but also because he was so meticulous about his historical research. I probably learned as much about history reading Louis L'Amour fiction as I did in all my years of schooling. Not all of hist books were westerns either, so you can imagine the breadth of his knowledge as a historian. Well, his old man and I must be kindred spirits, because he had a huge pile of paperbacks, roughly a quarter of which were written by, you guessed it, Louis L'Amour. They were for sale and also dirt cheap, so I bought them all. I have some of the titles already, but there are dozens I haven't read yet. I can't wait to tear into them all. I'm excited to try out the new-to-me authors as well.
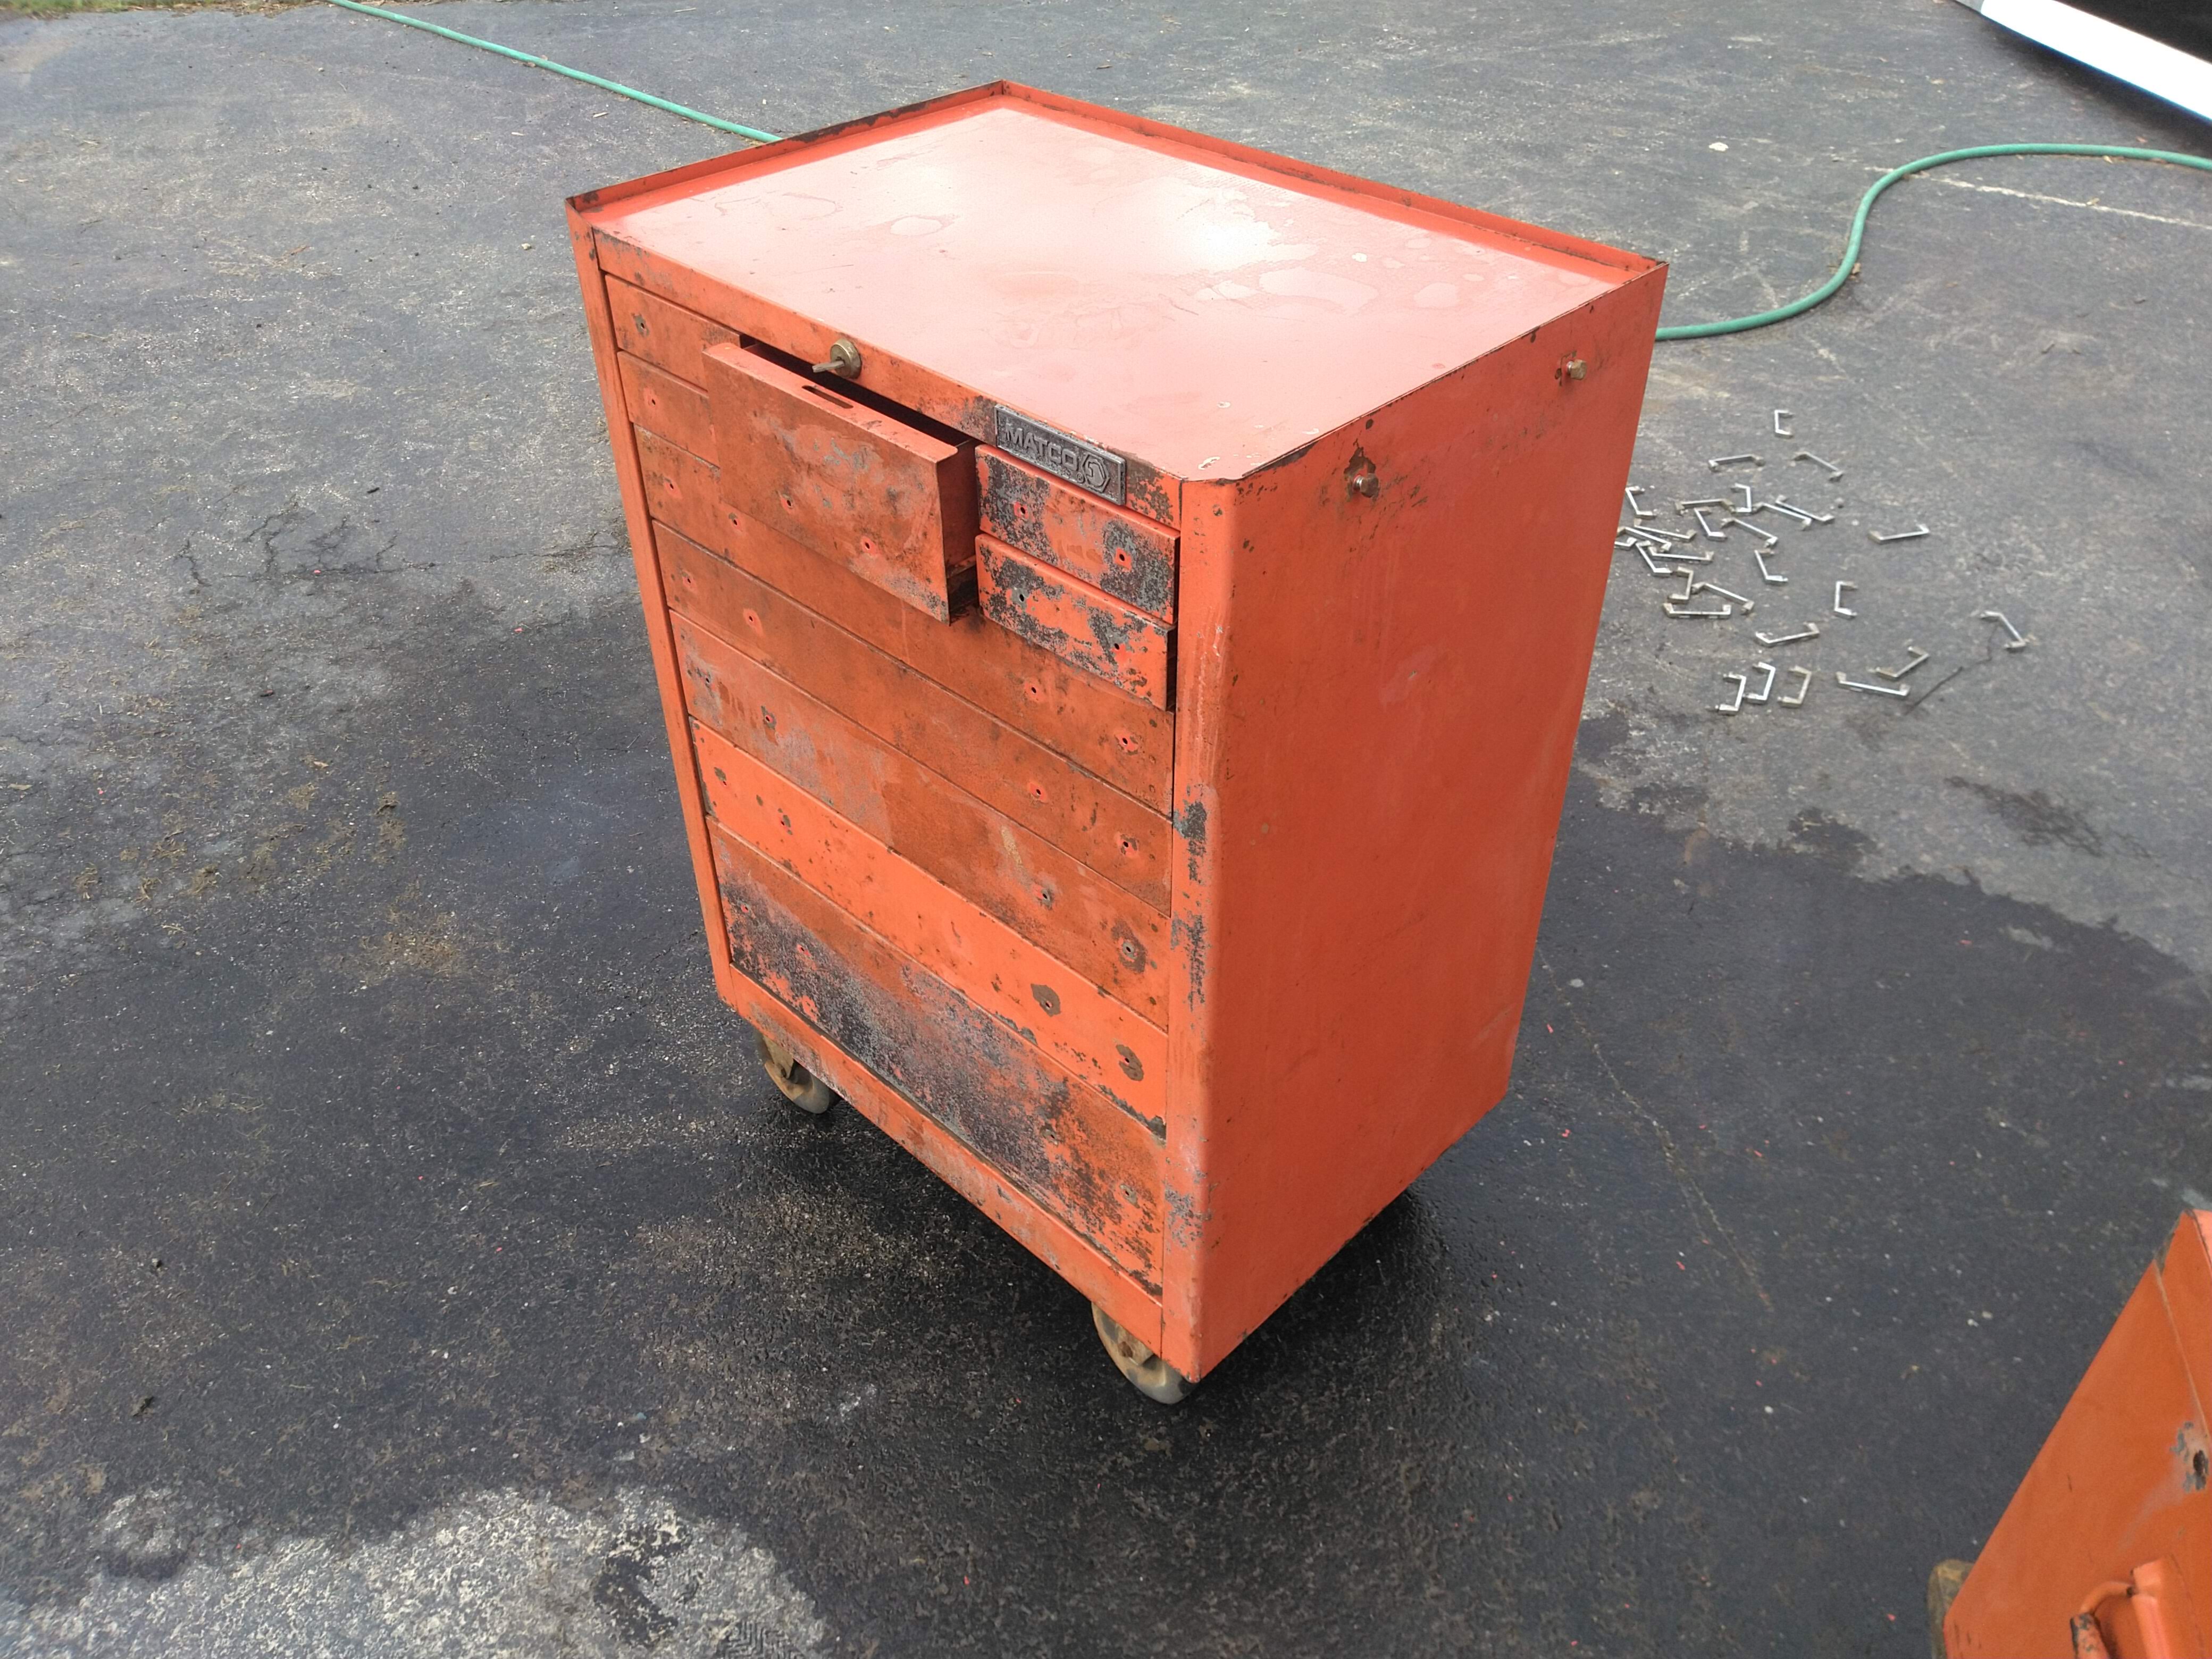
So anyway, back to the toolbox. Next step after sanding was rust conversion. I don't have any pics of this (other than what you see in the post-sanding shot here), but I keep some phosphoric acid cleaning solution around for this purpose. It will convert light rust into ferric phosphate, which is something that can be primed and painted over. If you paint over rust, the rust will continue to eat away at the metal and the paint will bubble in those spots. A layer of ferric phosphate after most of the rust is removed will solve this problem. The ferric phosphate layer will also prevent flash rusting on bare metal if you live in a humid area like I do. Like everything else in this post, I bought a gallon jug of it years ago, and it's been a dirt cheap rust converter for painting projects.
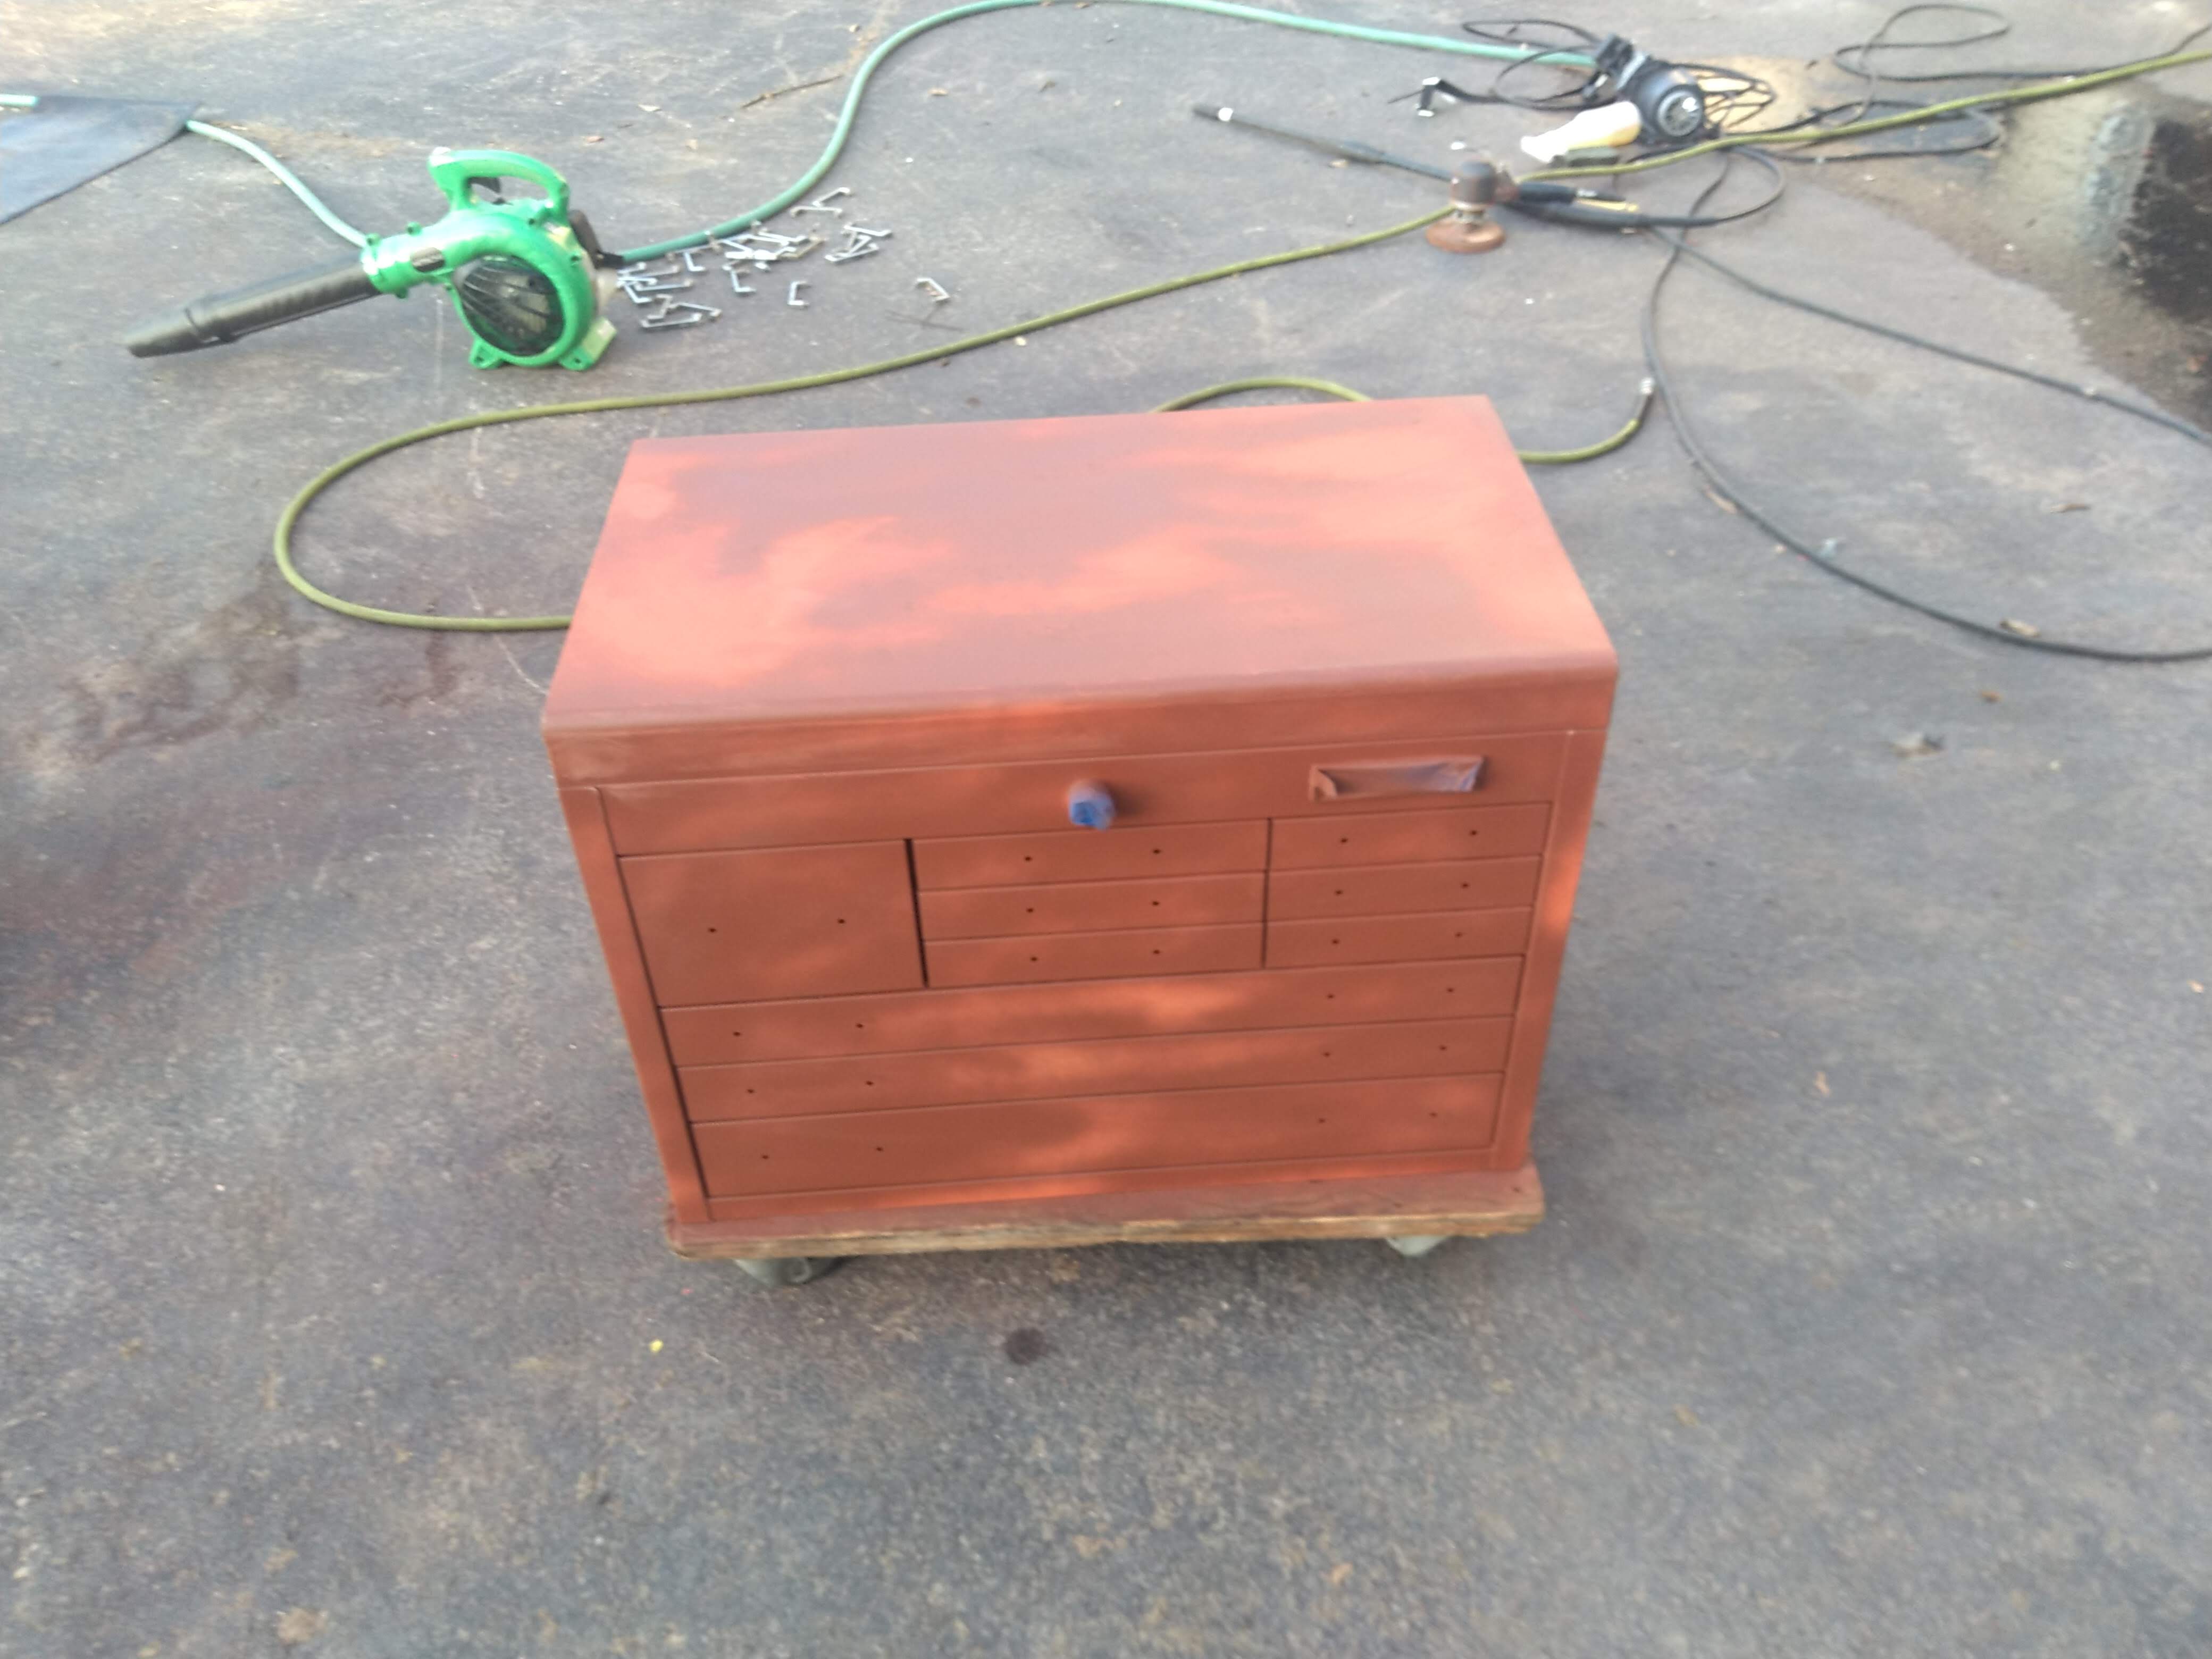
On to the primer. I just used some rustoleum rattle can primer here since I only needed to cover the paintless areas and not the whole tool box. If a surface already has paint on it, it doesn't need primer. Nice thing about these red oxide primers, is that if there's any rust left over that I missed with my earlier efforts, it's got the chemicals in it to take care of what's left over.
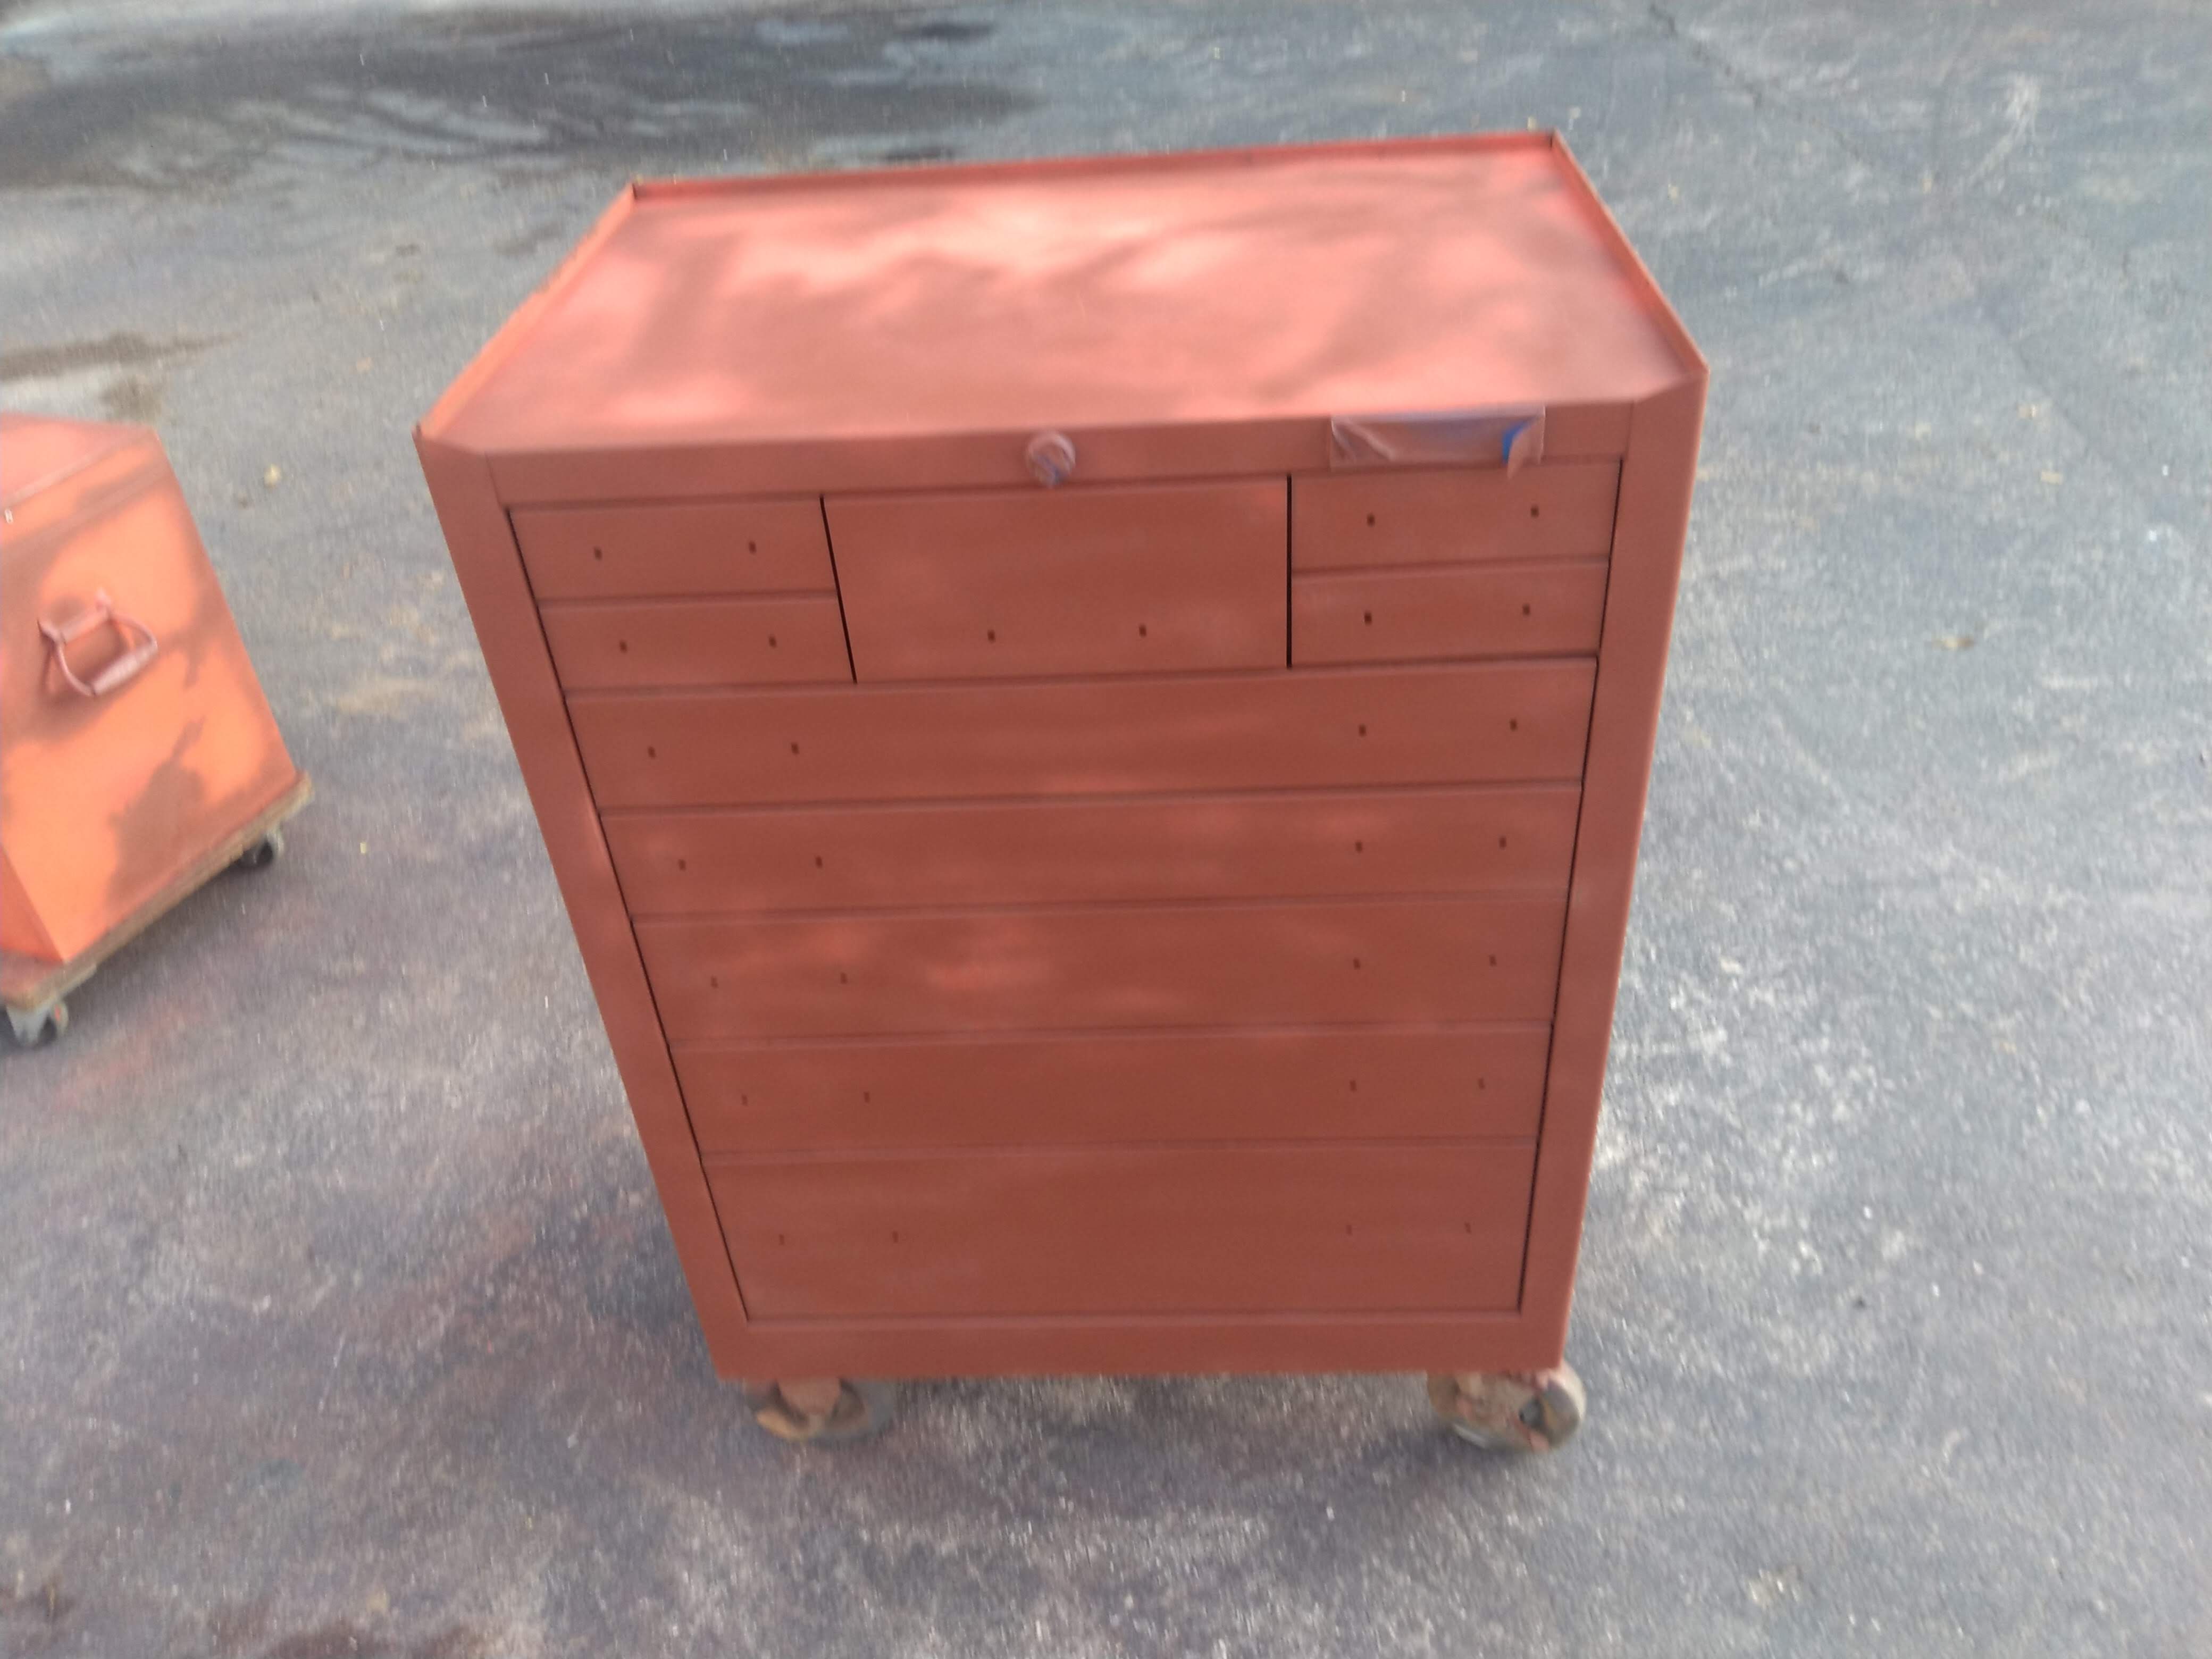
Last to be done was the actual painting itself. In order to sort of match the original Matco reddish orange (or orangeish red depending on your eye), I actually went with Ford Red, which is what Ford used to use way back in the day on their N-Series tractors. I remembered it looking very similar to this Matco color from my father's old 8N tractor. Also, the tractor enamels at tractor supply are dirt cheap, in keeping with the theme. I think I paid less than $14 for the quart I bought, tax included (for reference, a typical quart of automotive paint can easily be over $100, and if it's a multi-stage base-clear or candy color, the equivalent coverage paint can be $500 or more). It's not the highest quality of paint in the world, but it's shiny and it makes stuff all one color, so it's perfect for a beater toolbox. I also happened to have some hardener and reducer for it already floating around the shop from my trailer project, so it was really just the $14 I had to spend.
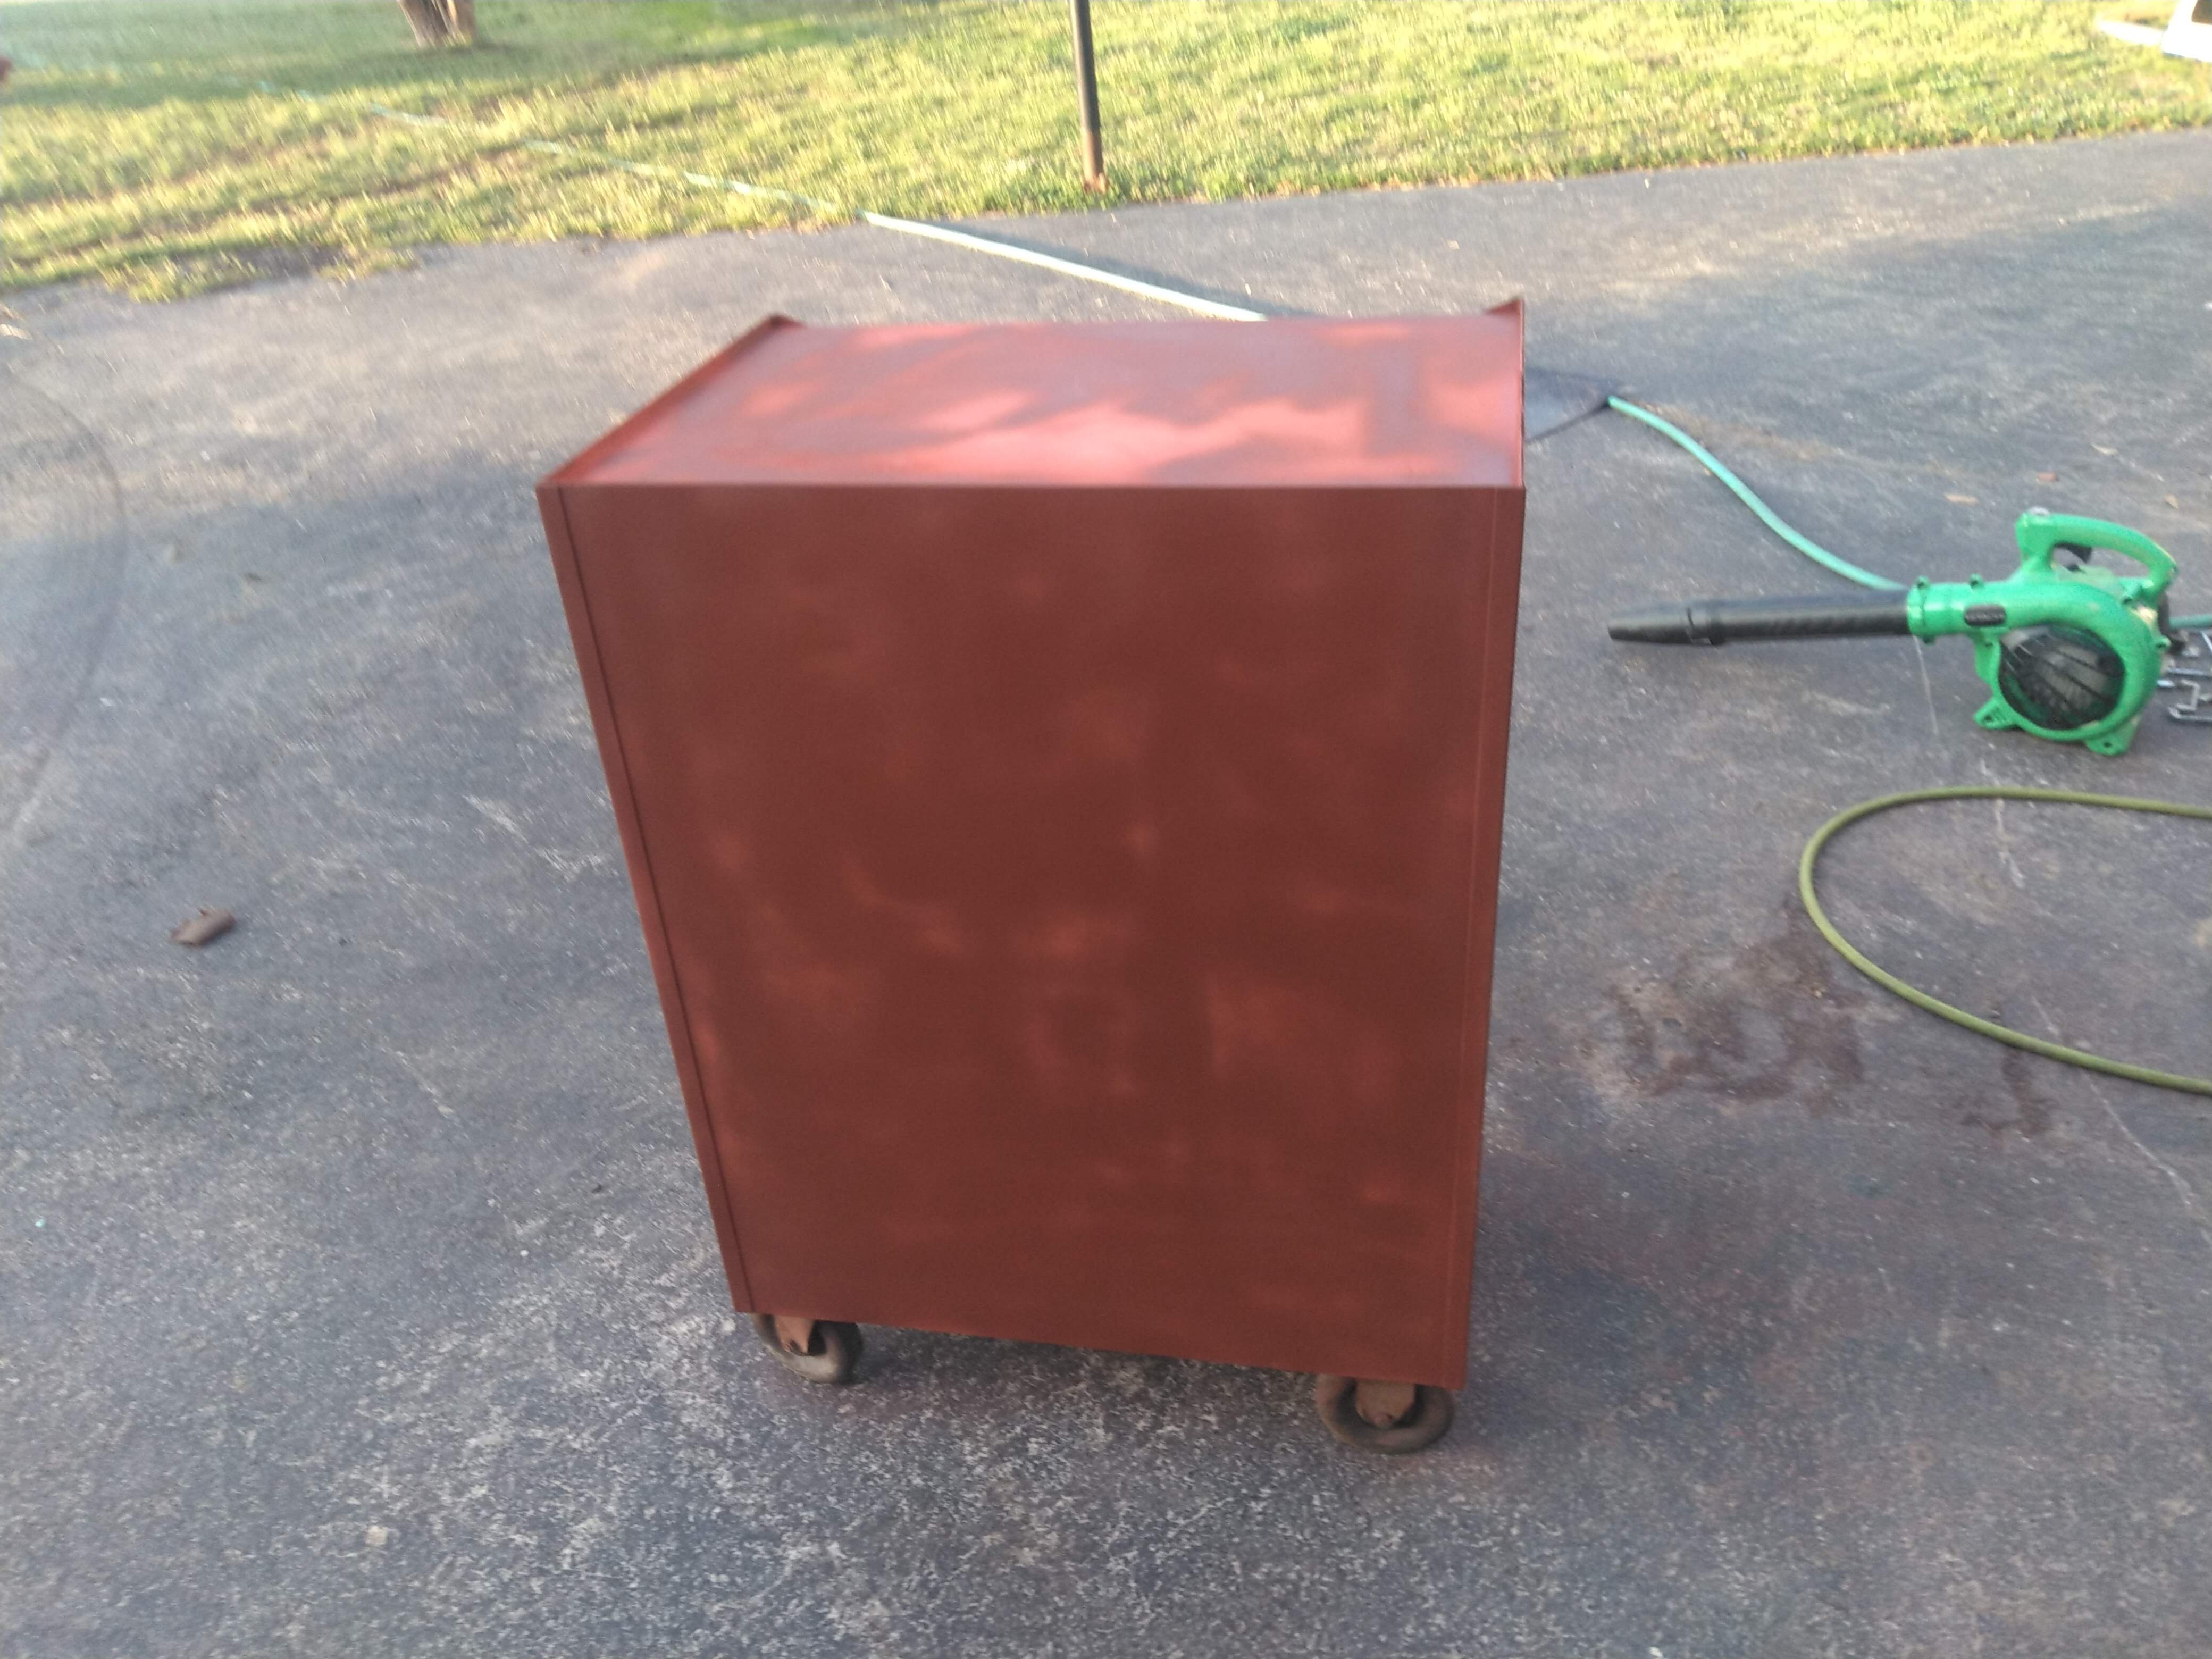
This is what it looked like the first time I painted it. Other than some trash I got on the drawers of the topper, then some running and sagging after I attempted to wipe off the trash and then reshoot that spot with too much paint, it turned out pretty nice in spite of the fact that it started getting dark while I was shooting it. This turned out to be a foolish decision though. Even though there was hardener in the paint, the volatiles hadn't even flashed off by the time the night time dew settled in. Everywhere that water condensed, it hazed over. I was so annoyed with my poor decision-making.
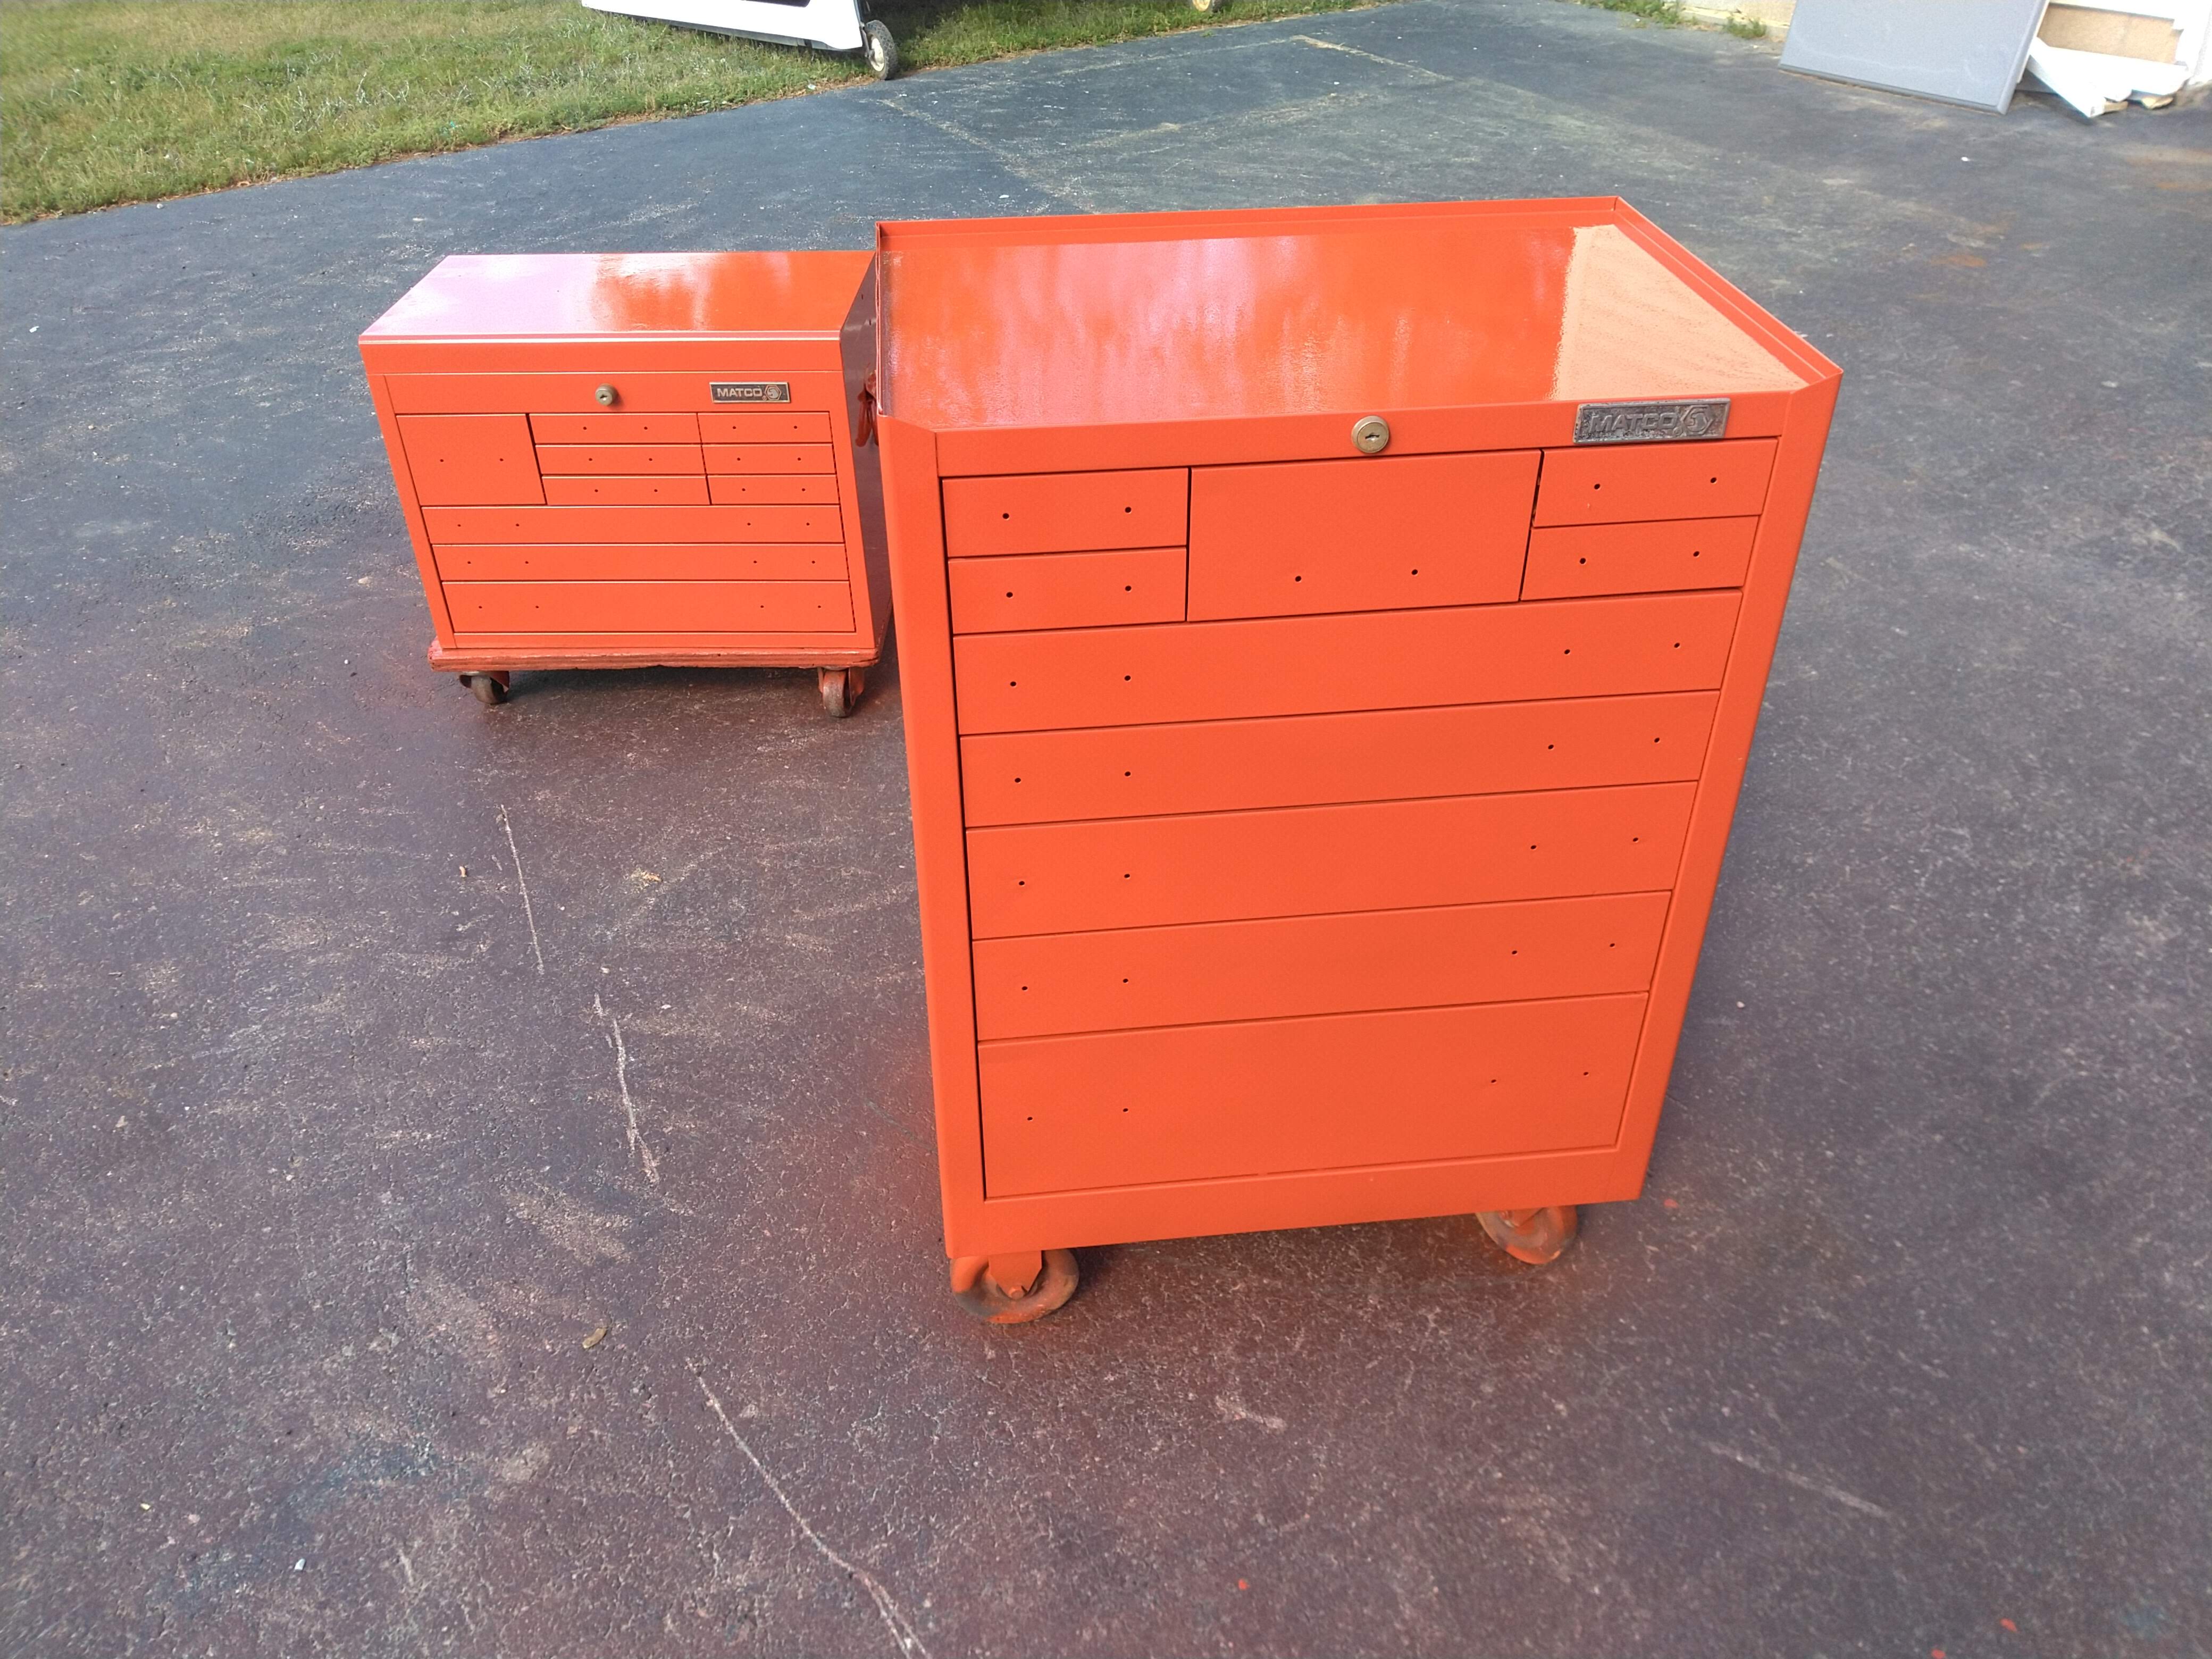
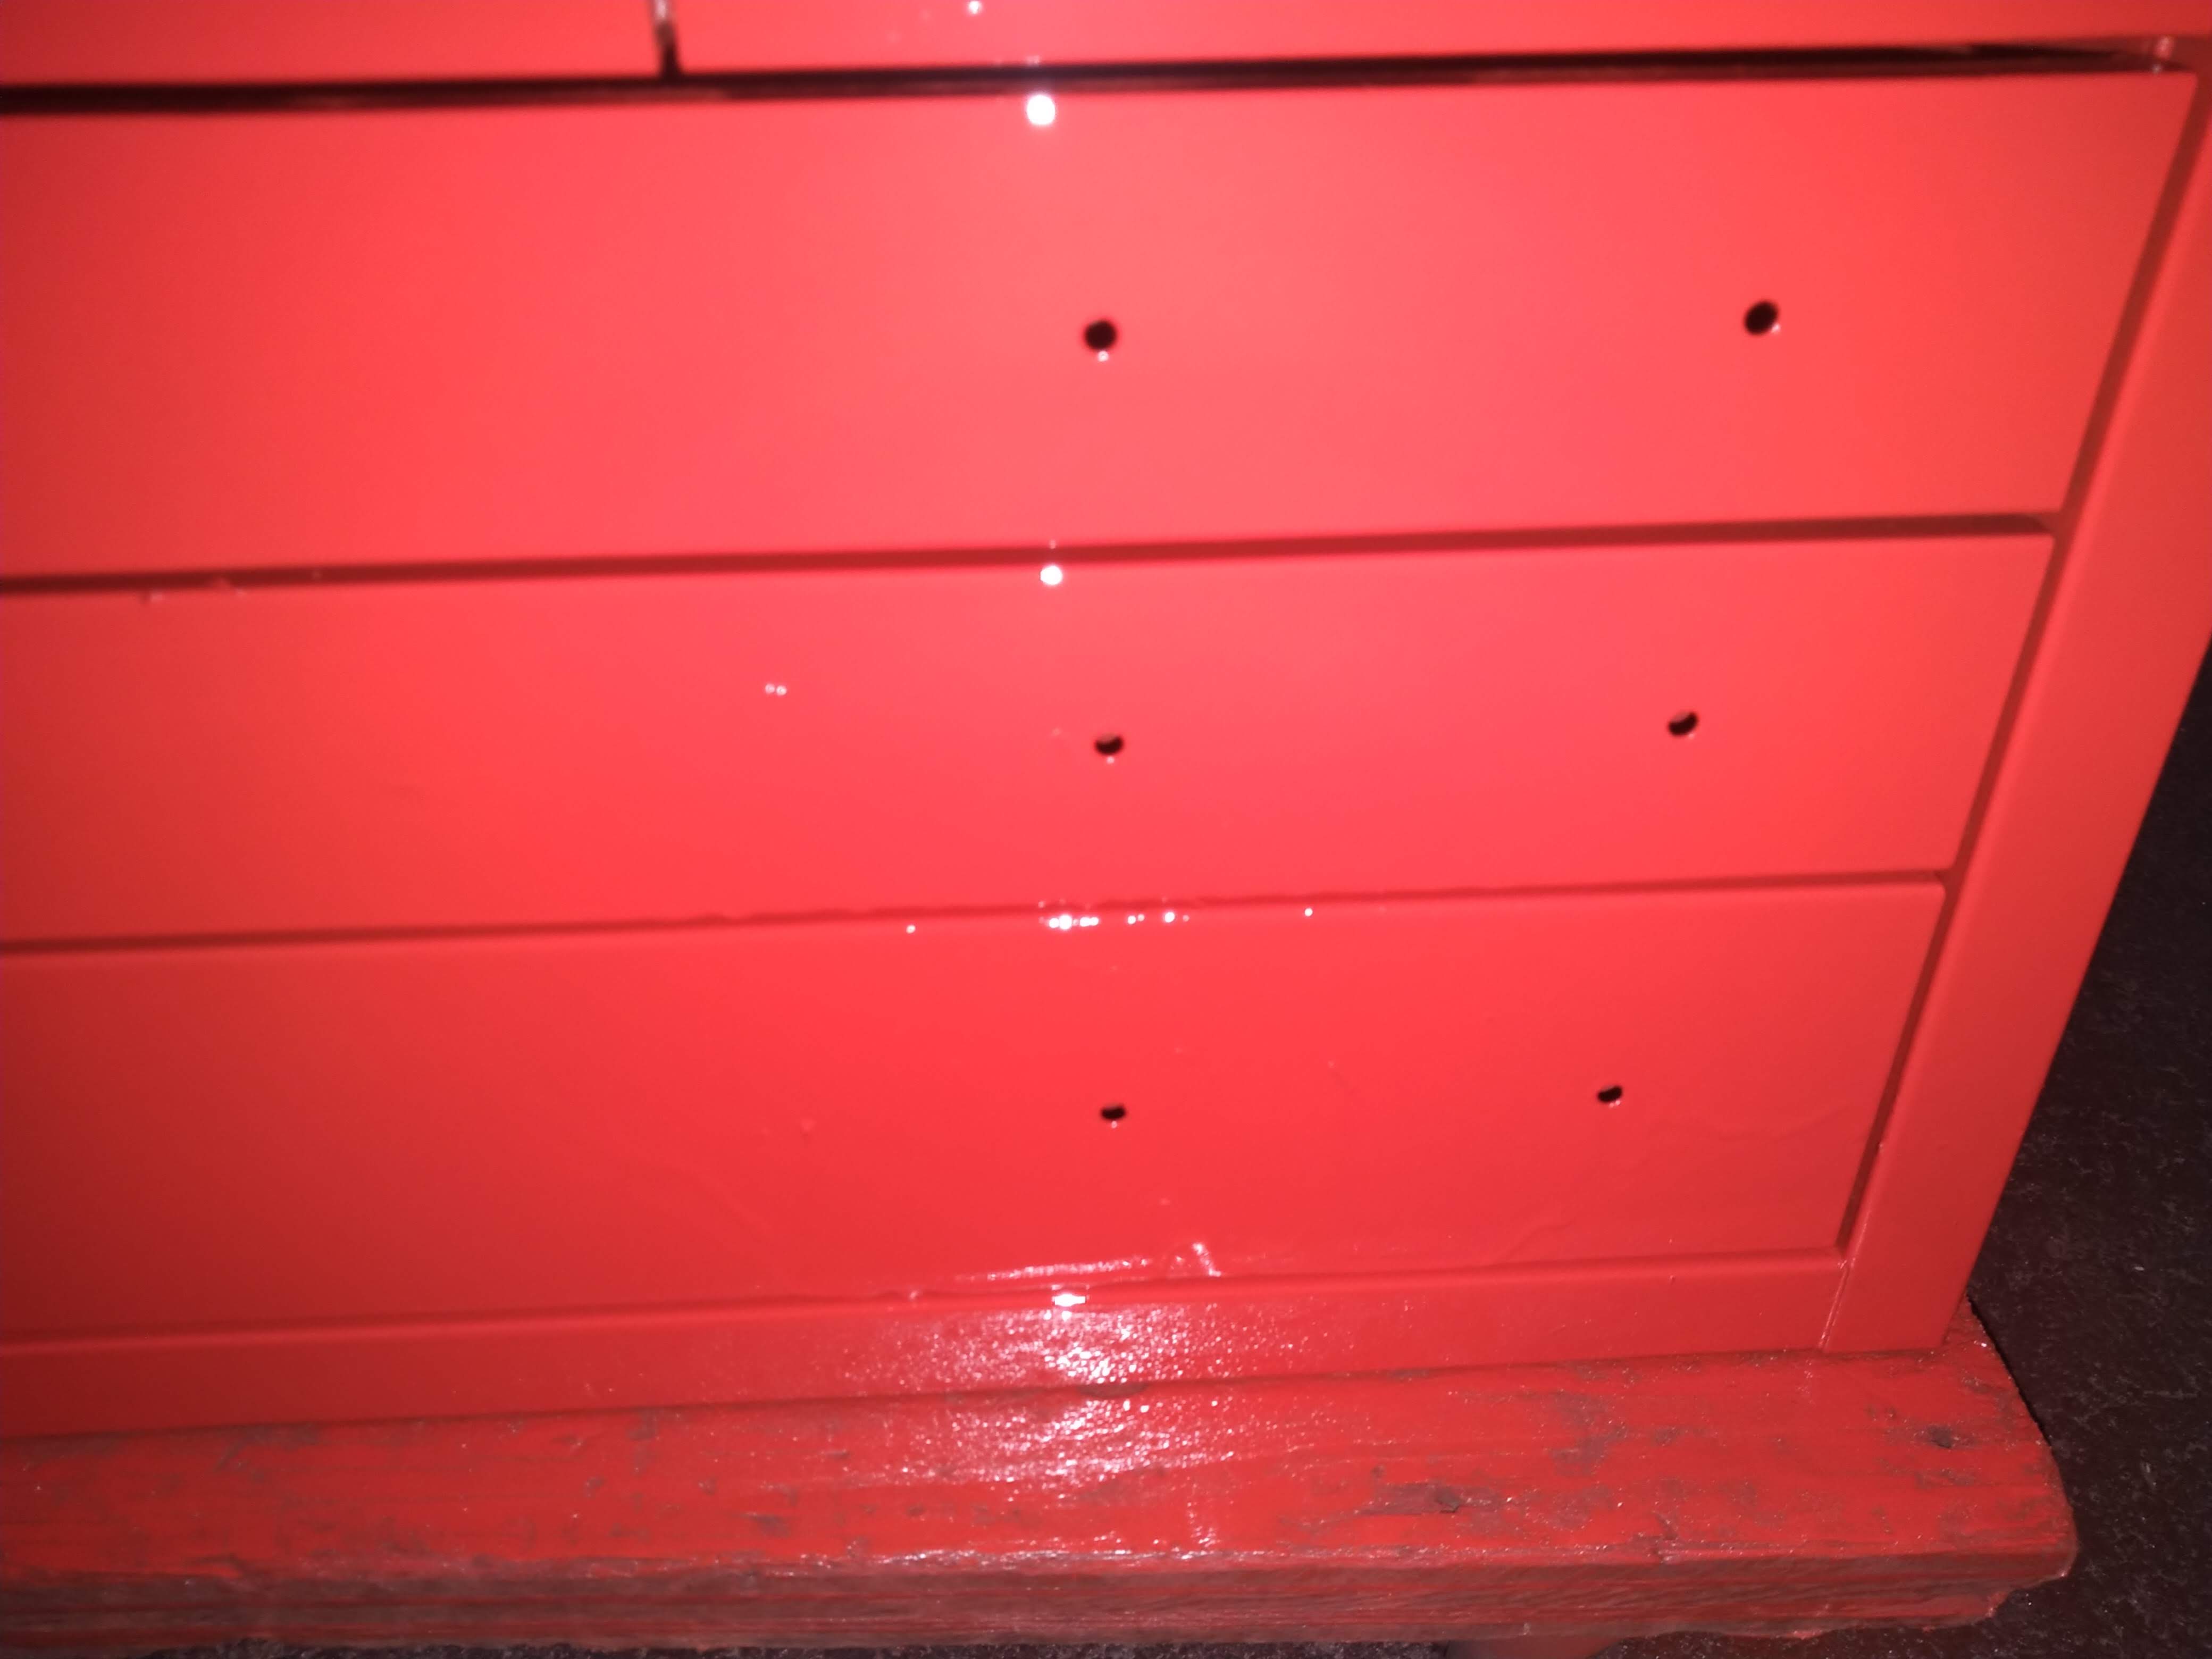
A couple weeks later I ended up block sanding the whole thing again by hand with 220 grit wet sandpaper just to get the new coat that was about to go on to stick. I made a point to wait until a warm sunny afternoon to try painting again, and here's what they looked like after shooting that time. No trash in the paint (at least not from the air line) and no runs or sags either. For a beat up old toolbox? Fantastic finish. It looks nicer than the paint on my truck now lol. Those who have messed around with enamels will appreciate how much extra work I created for myself by not waiting until the next morning to shoot this the first time.
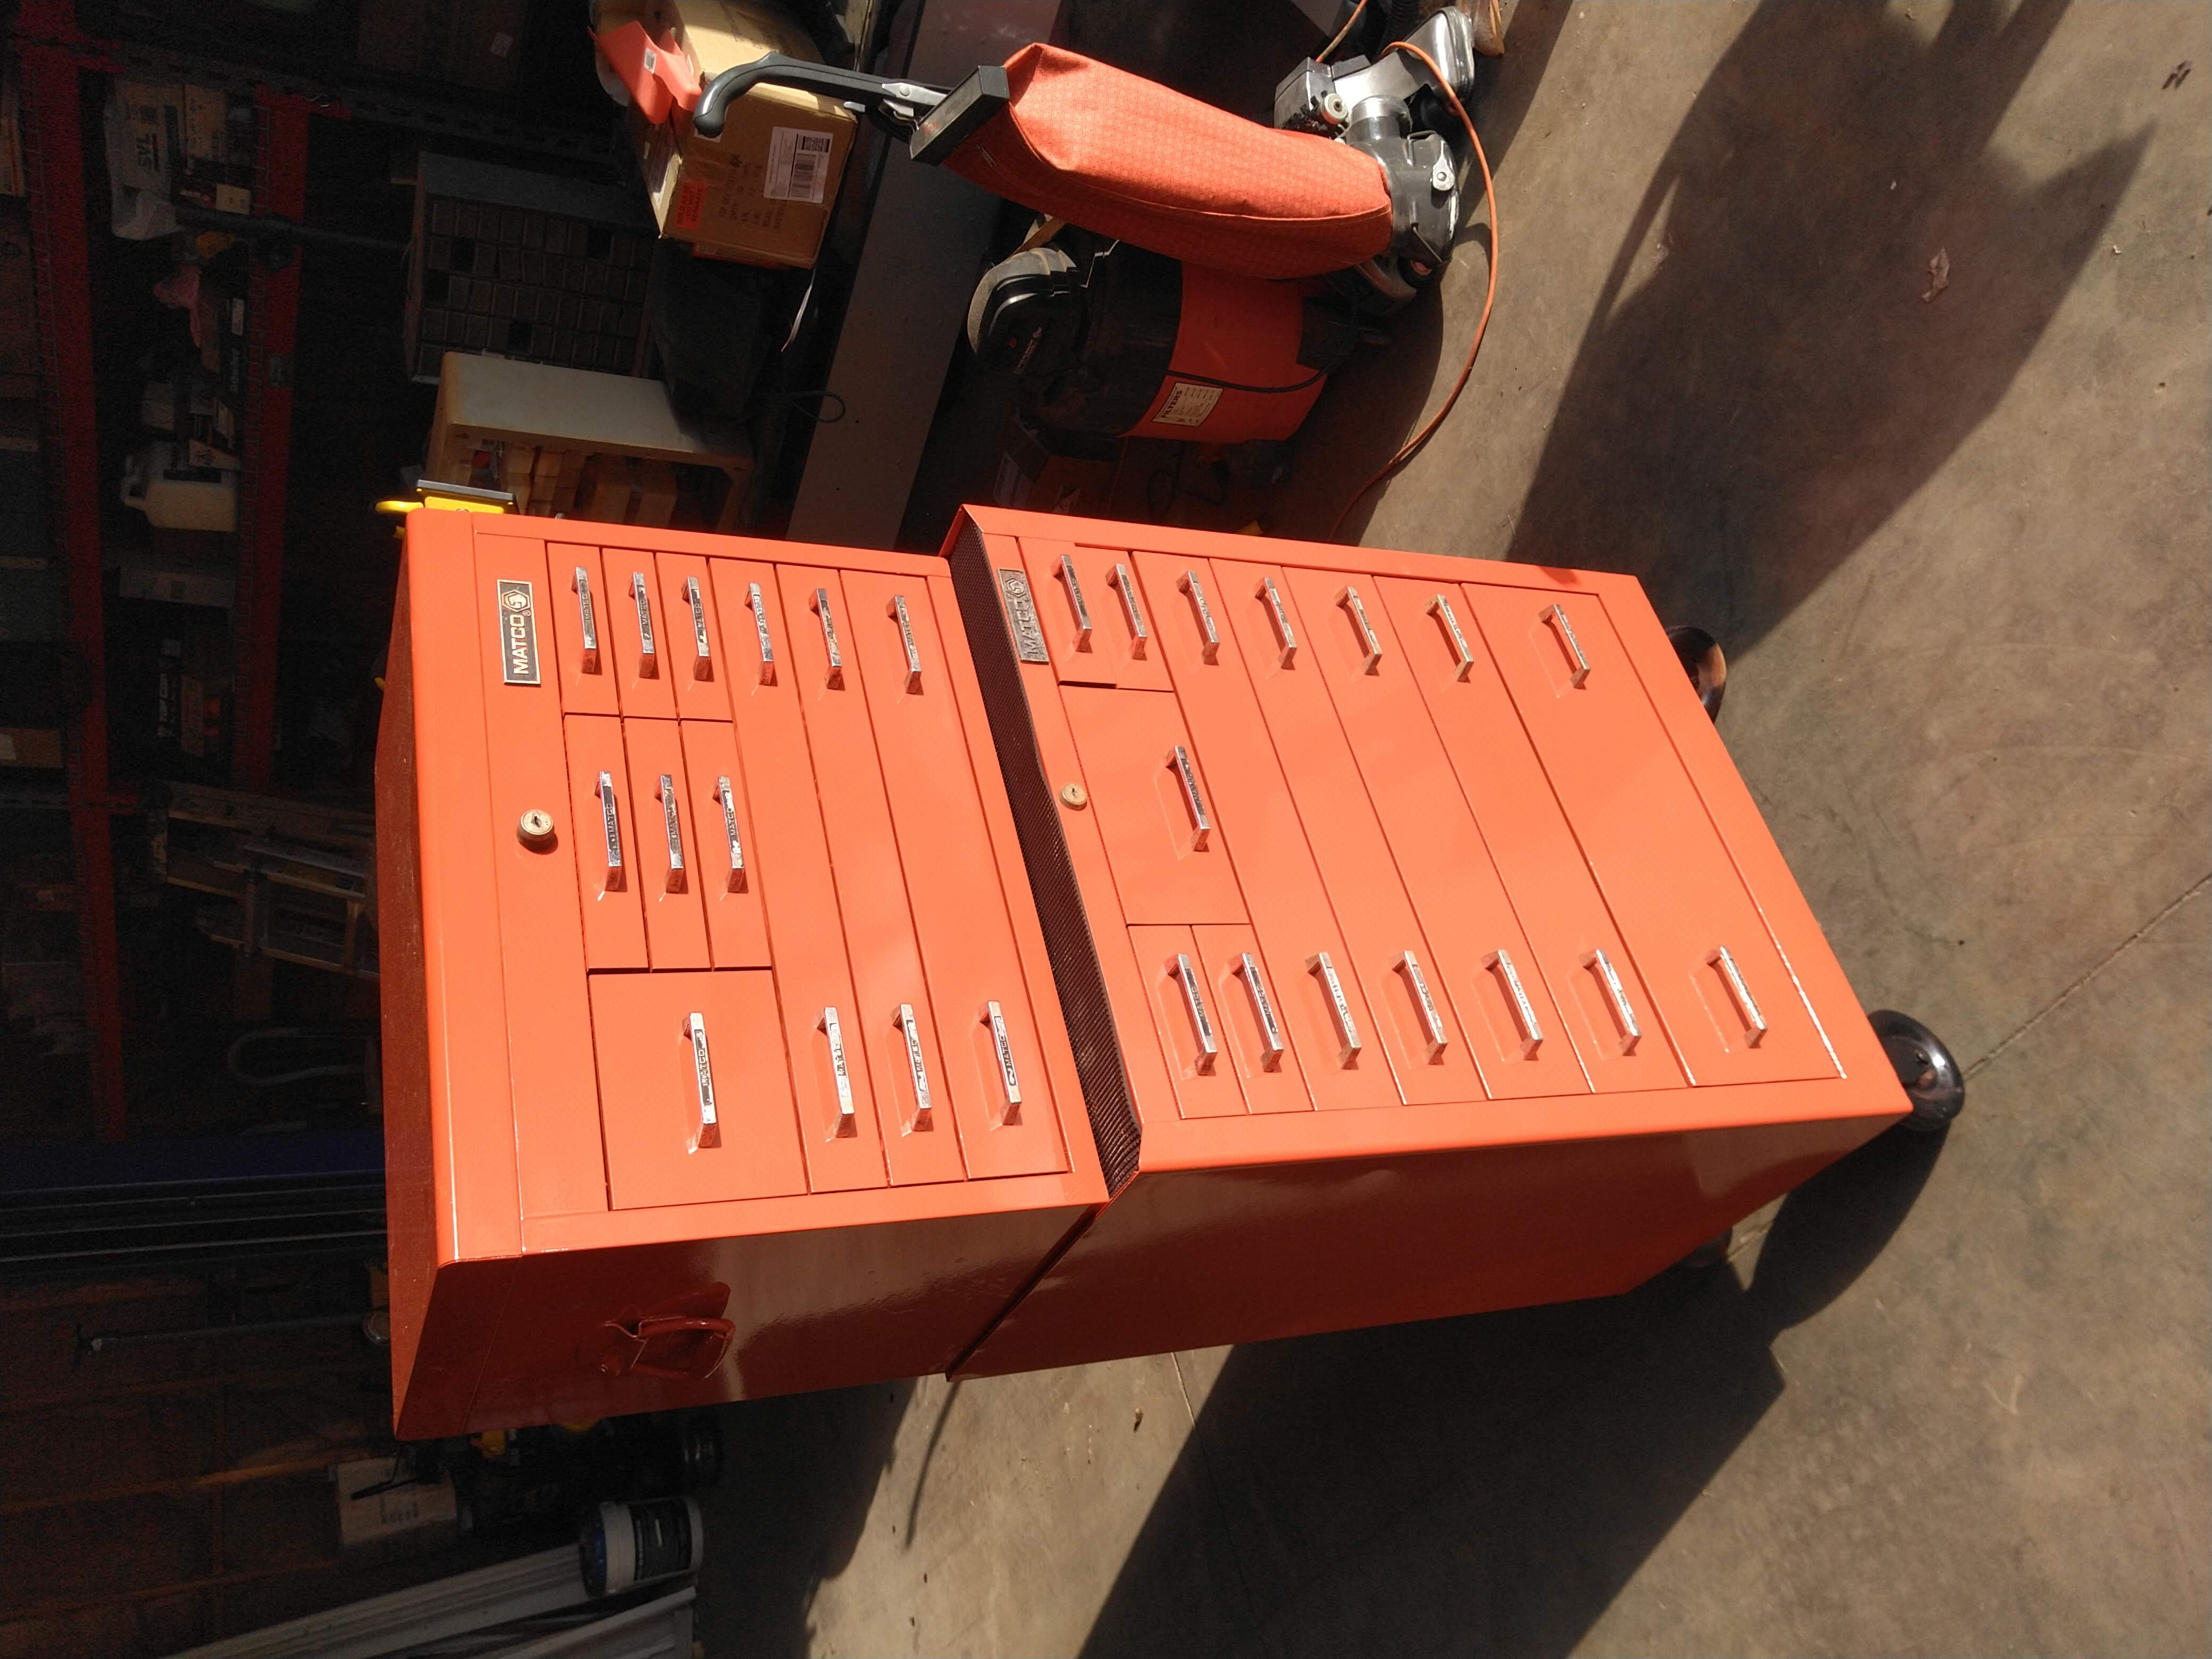
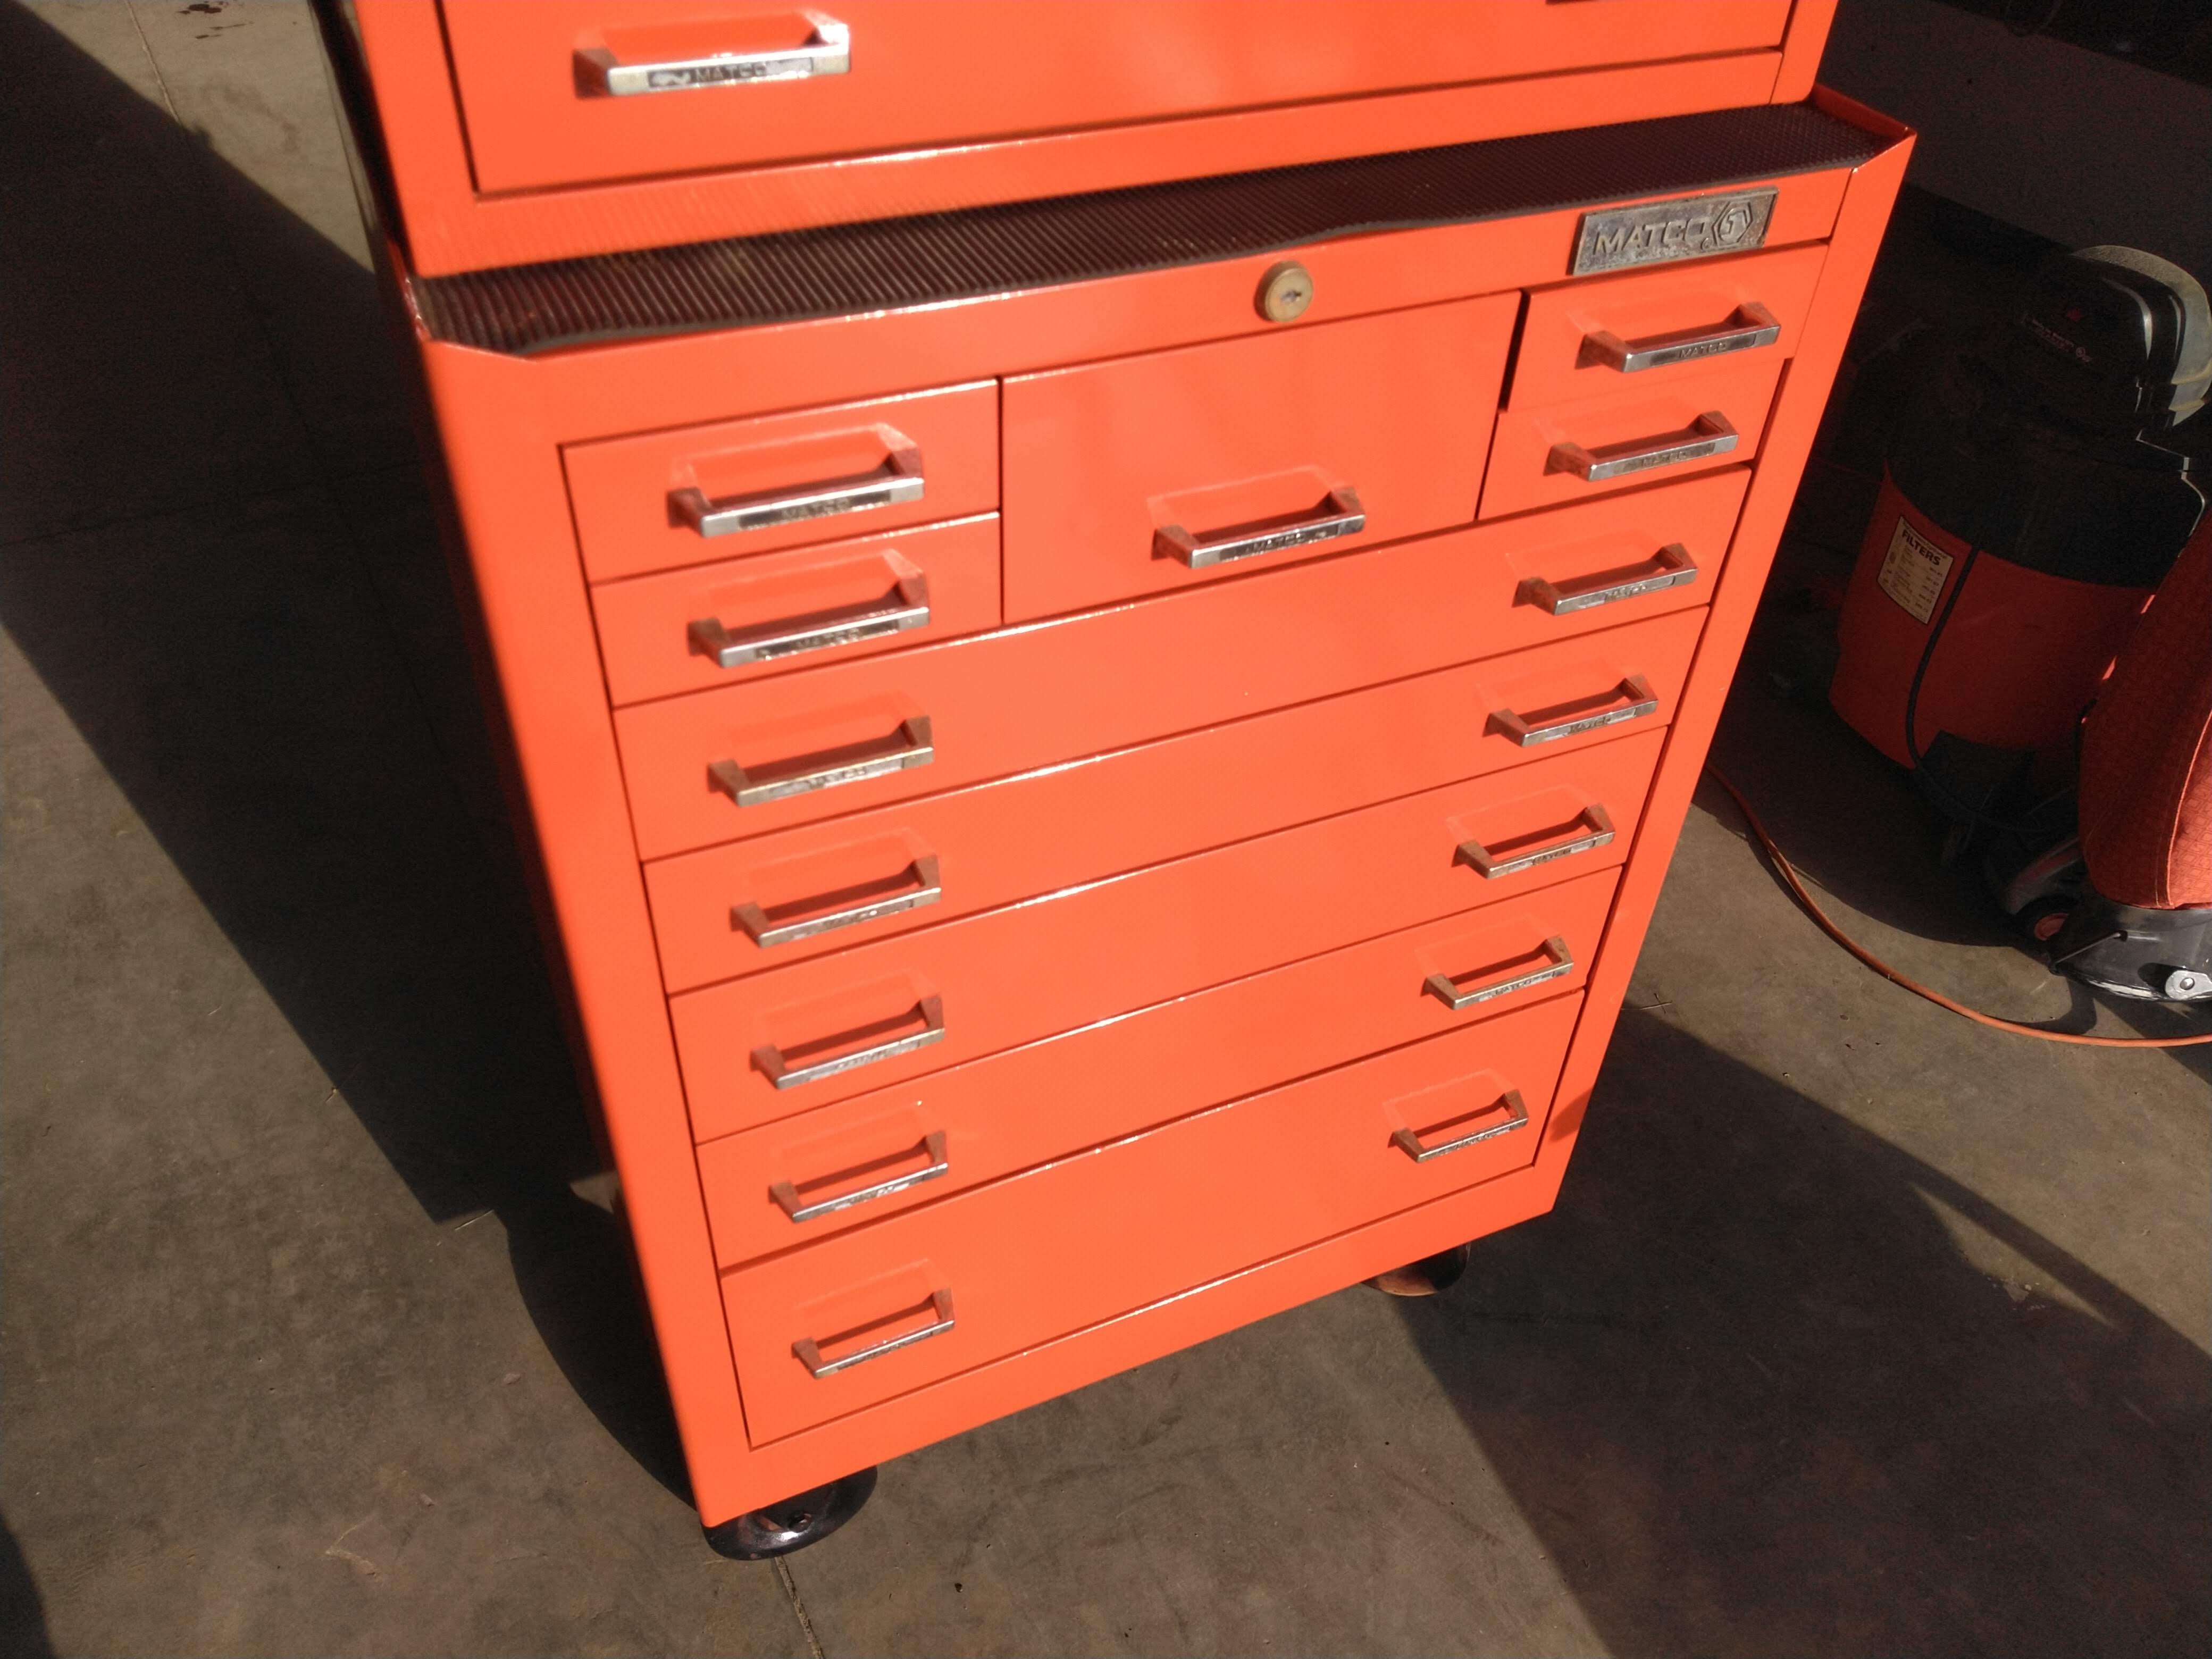
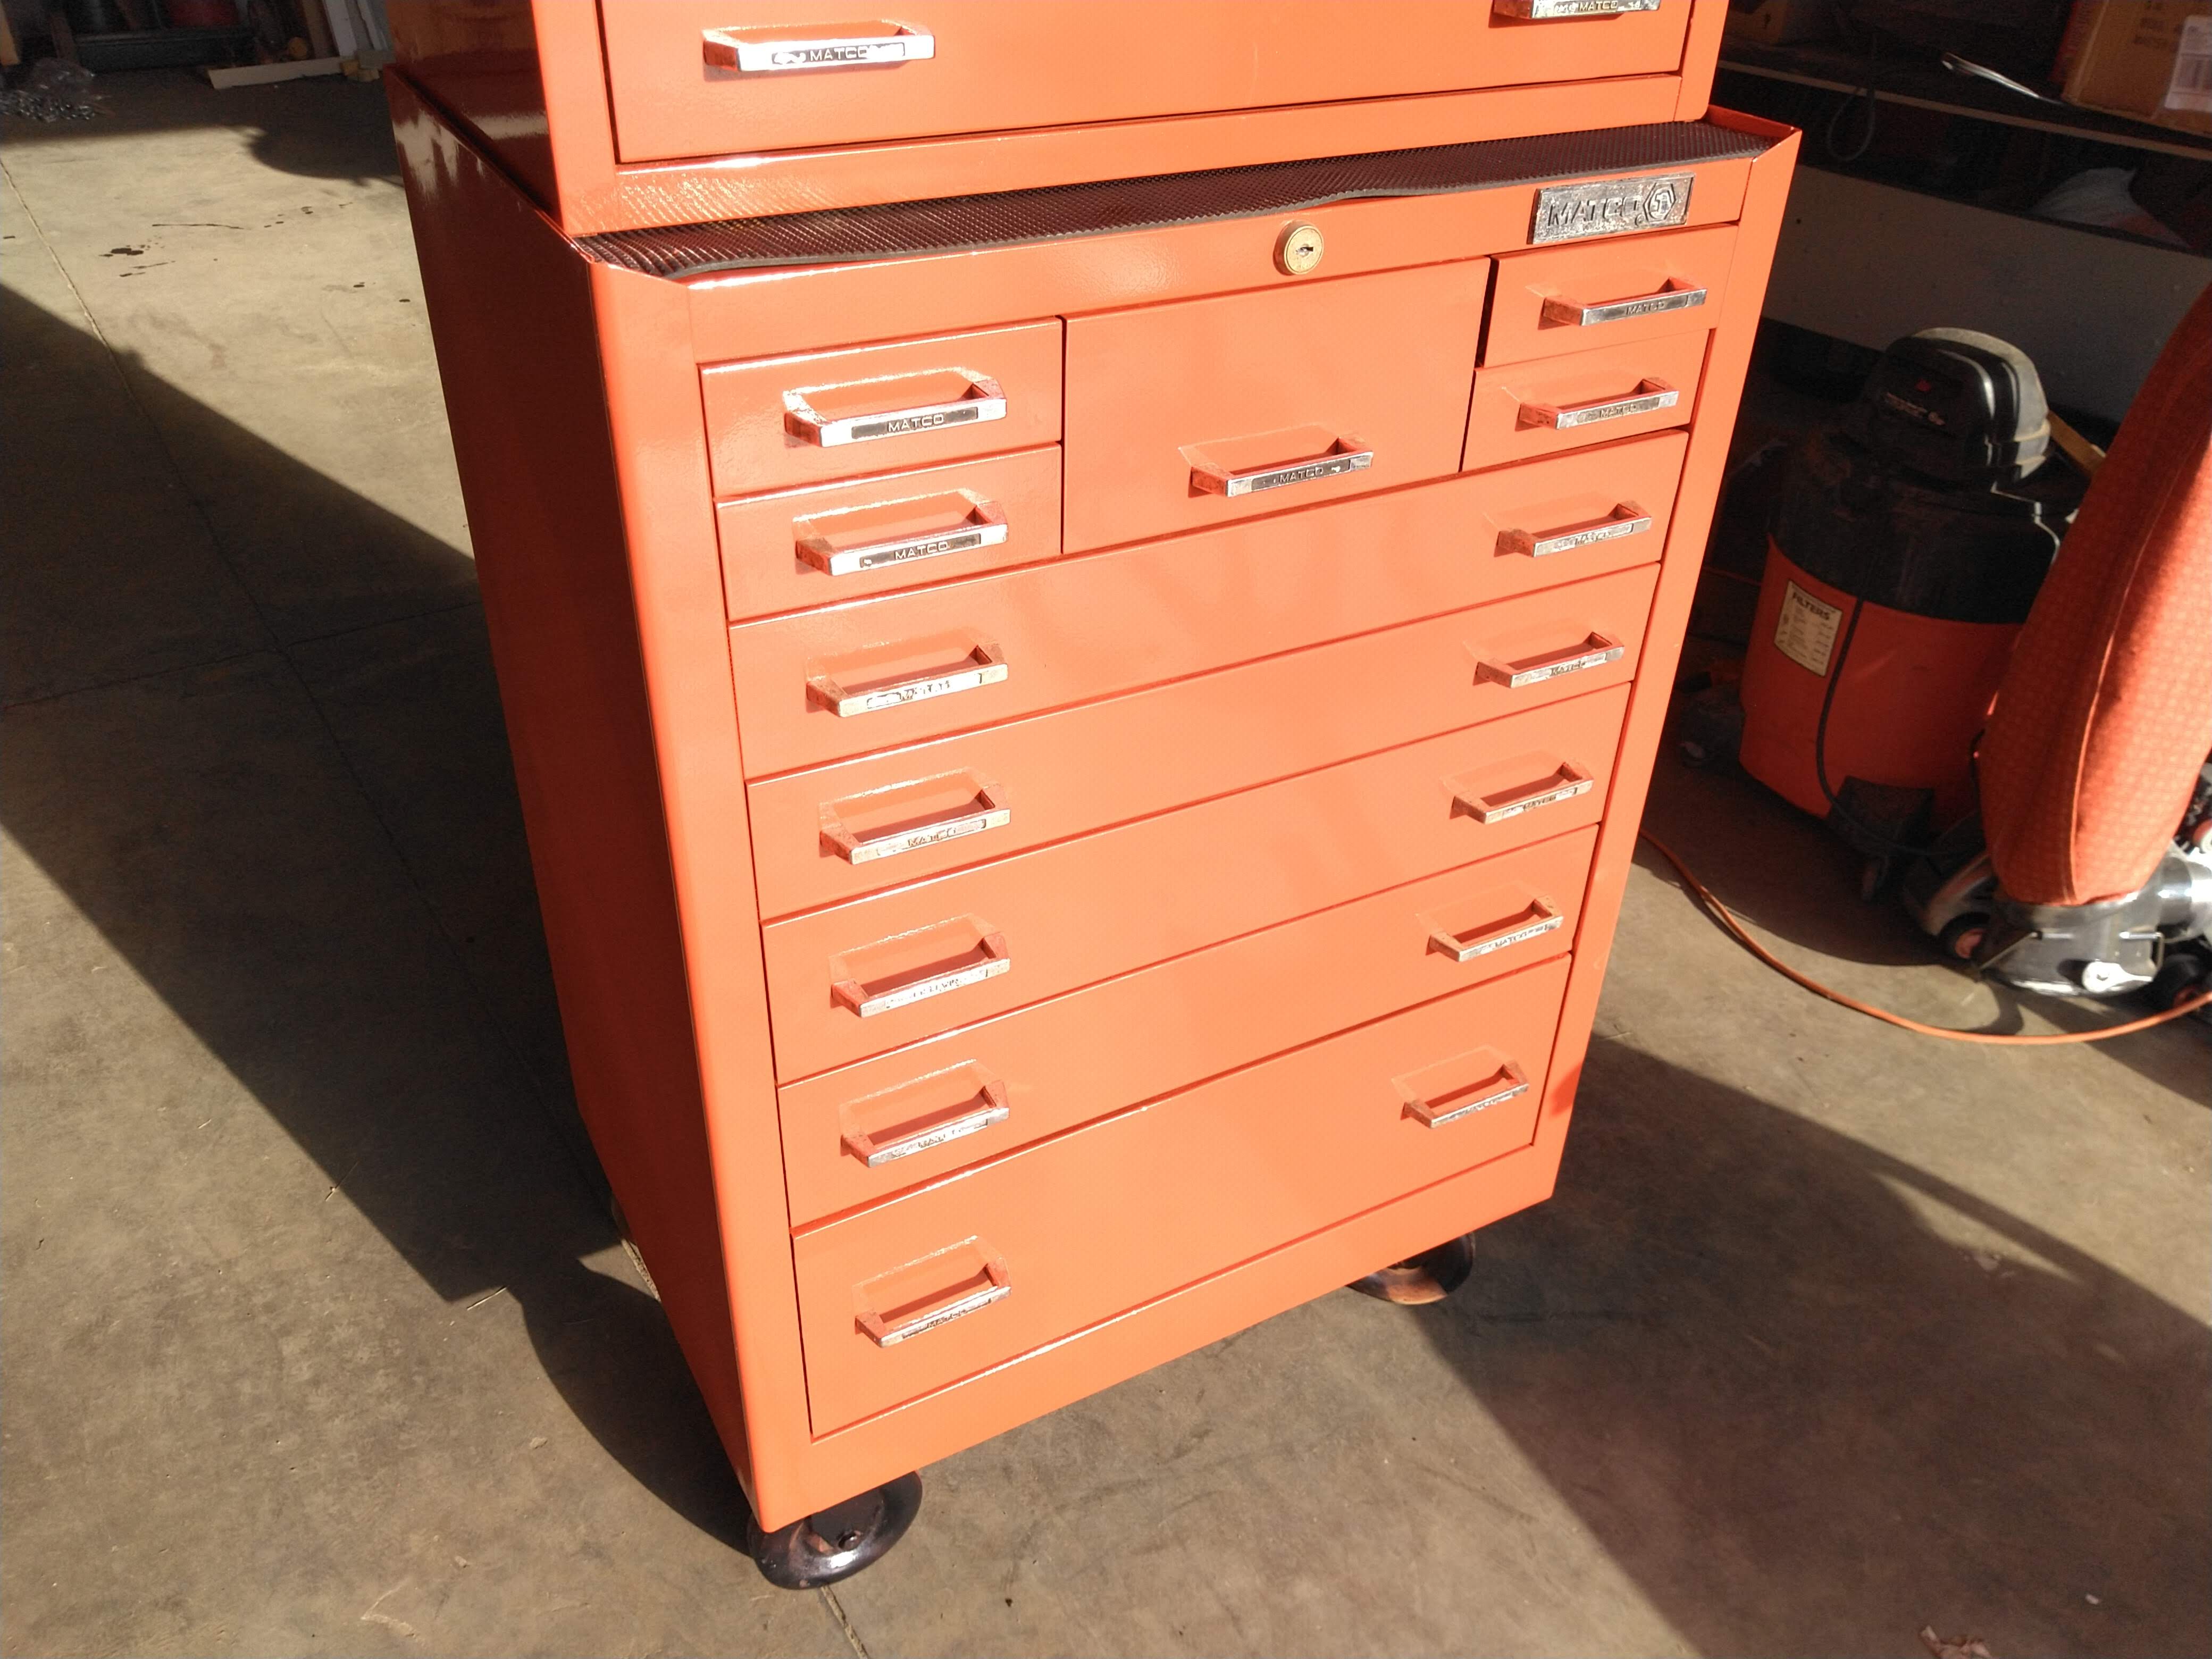
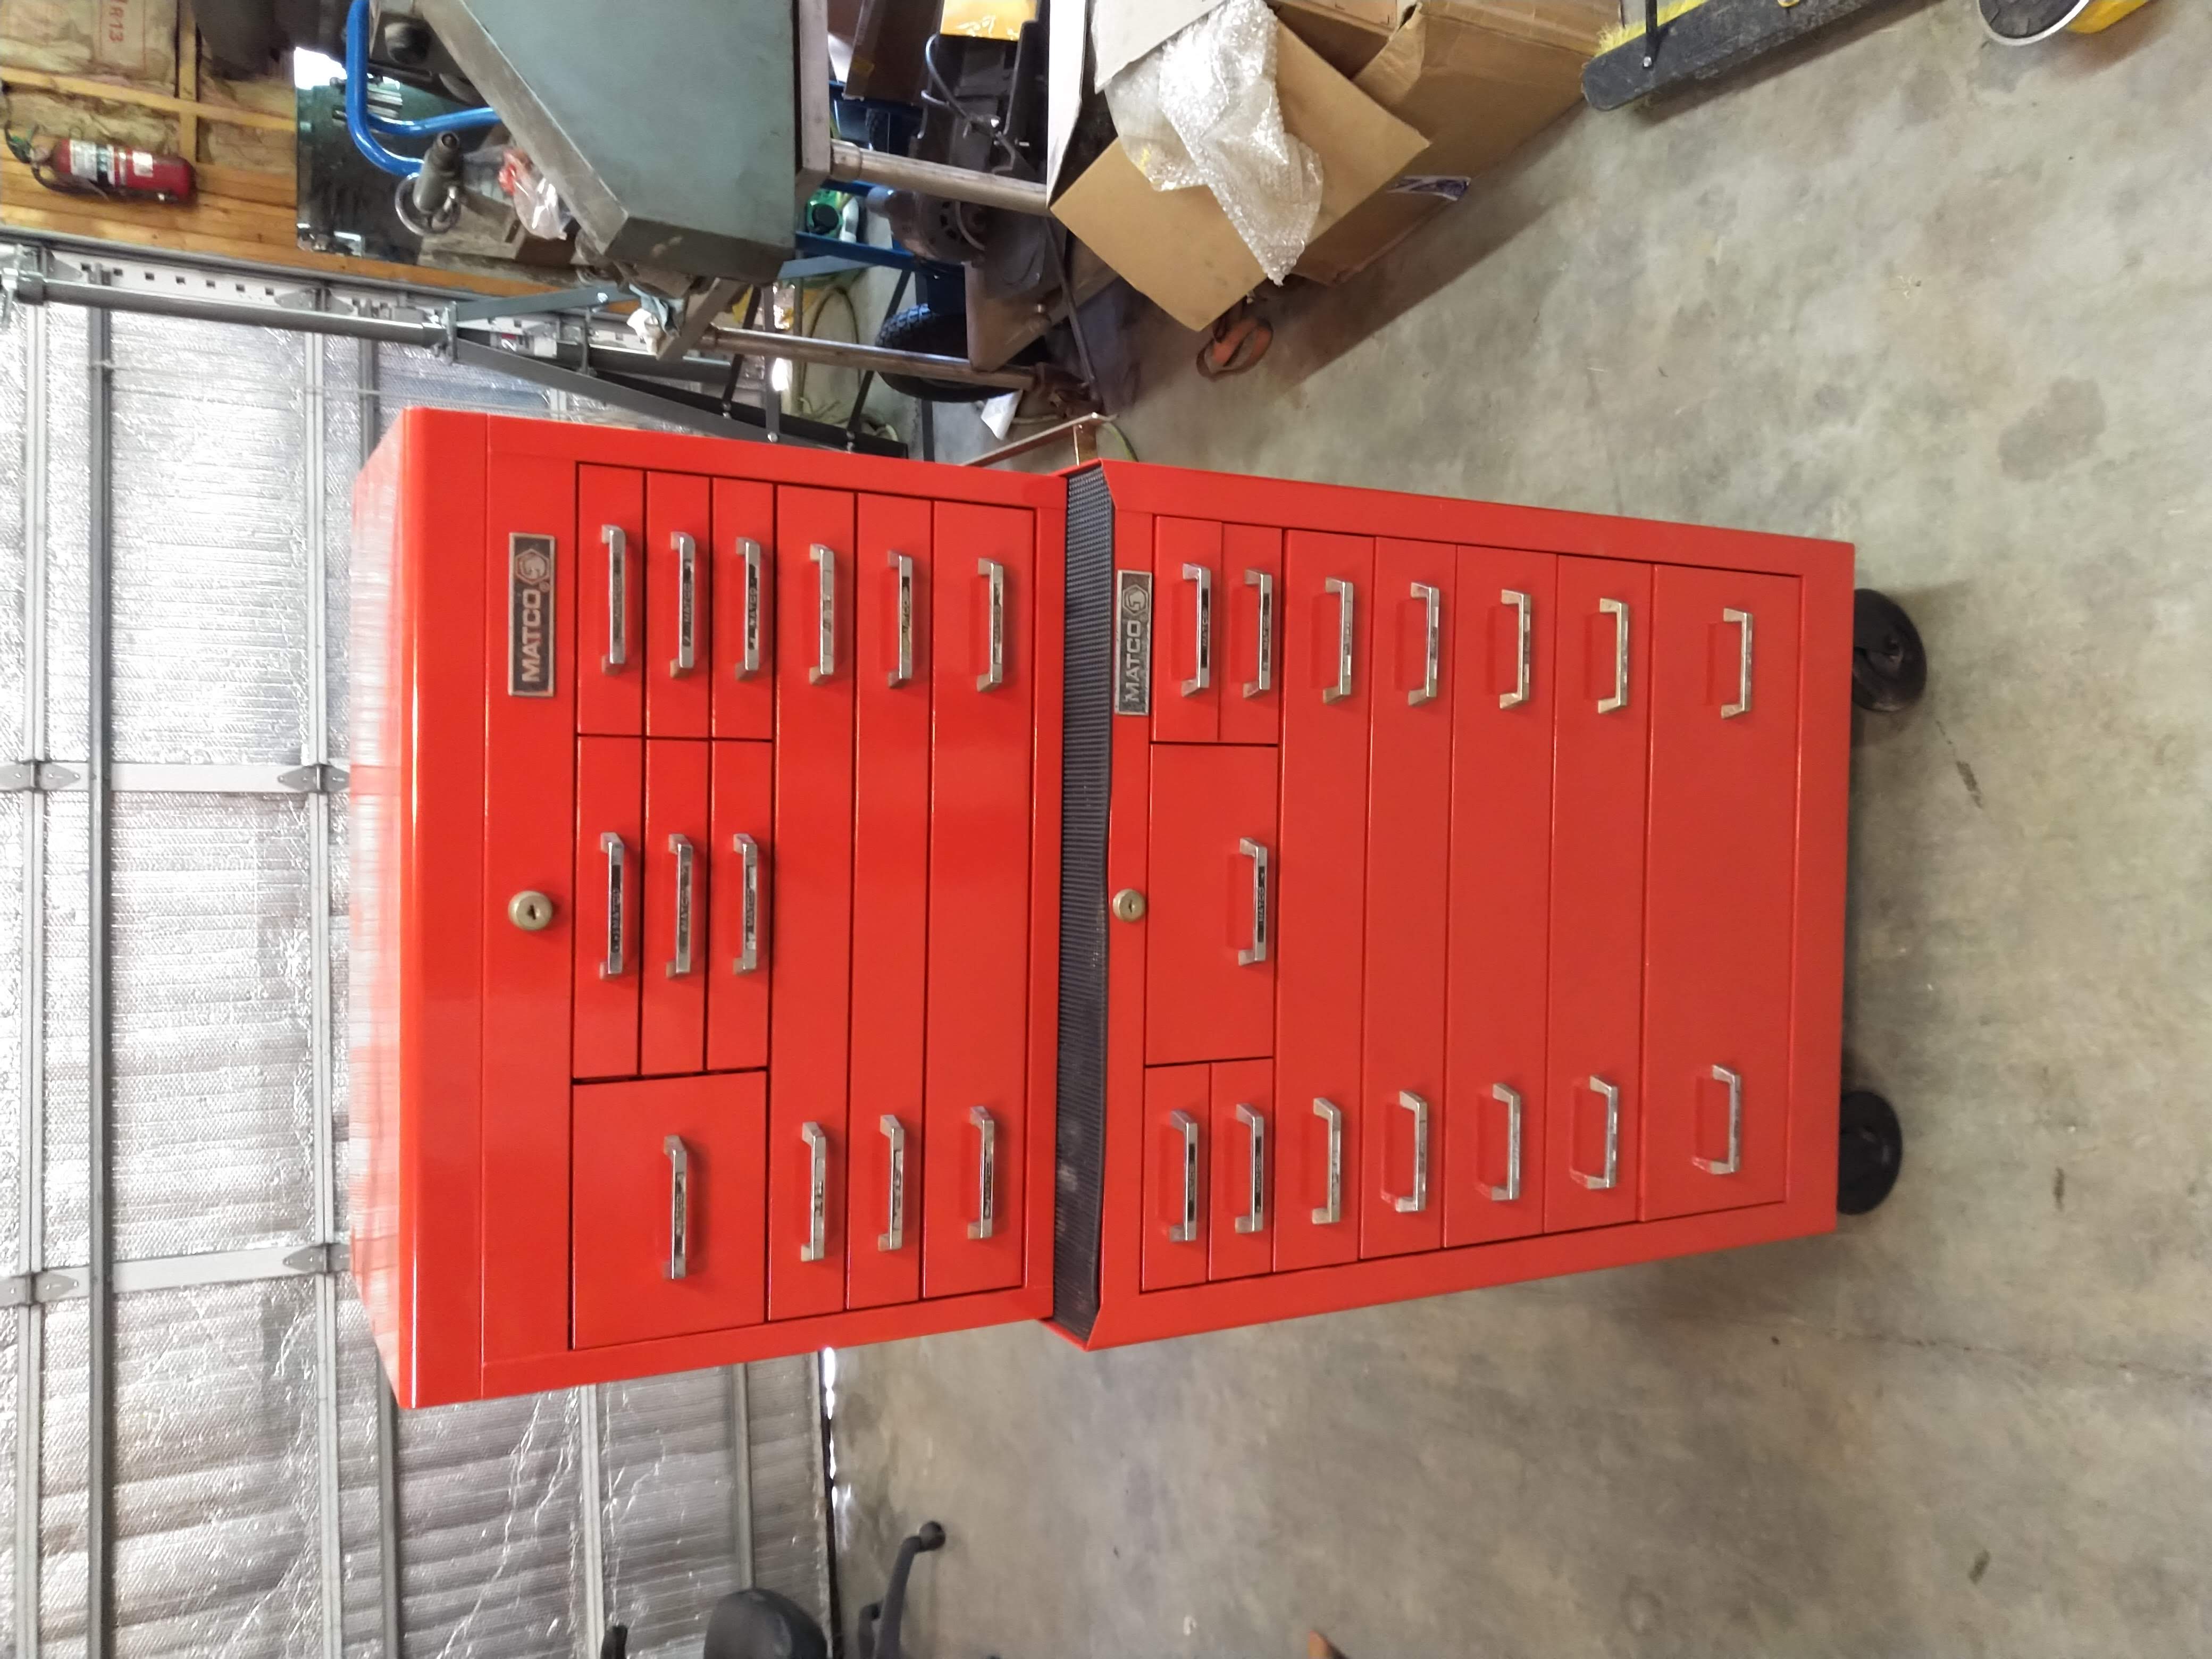
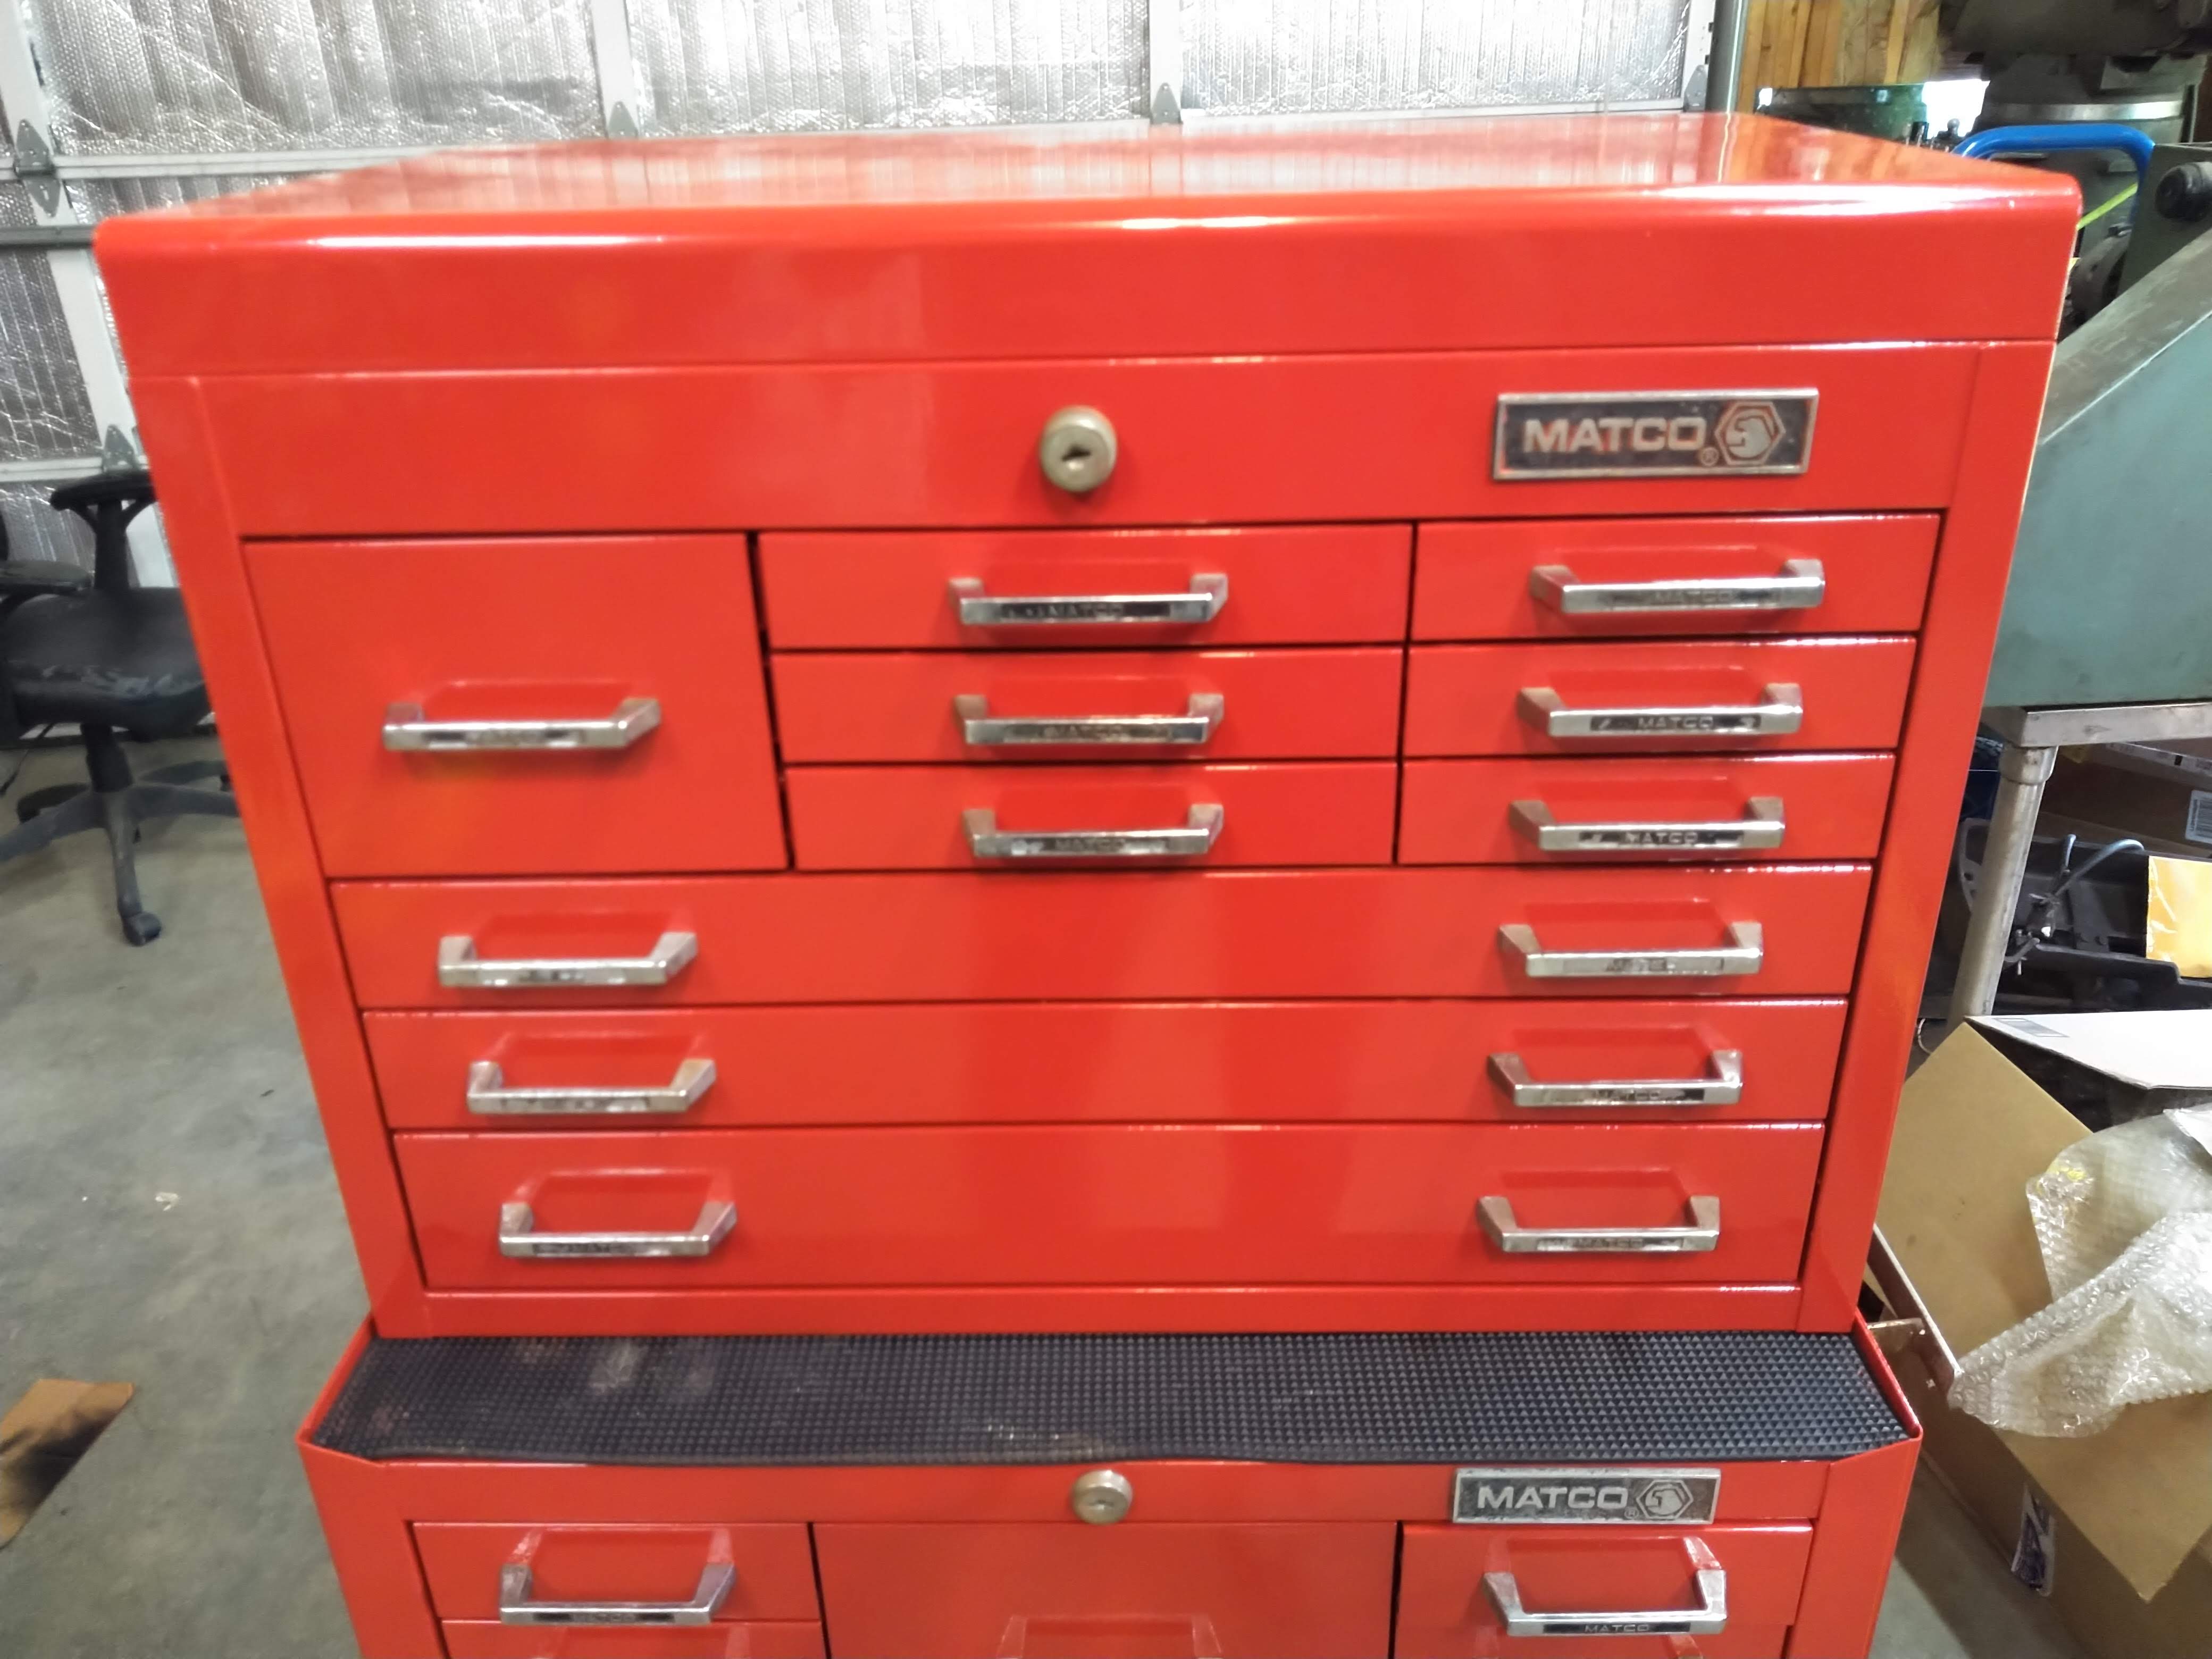
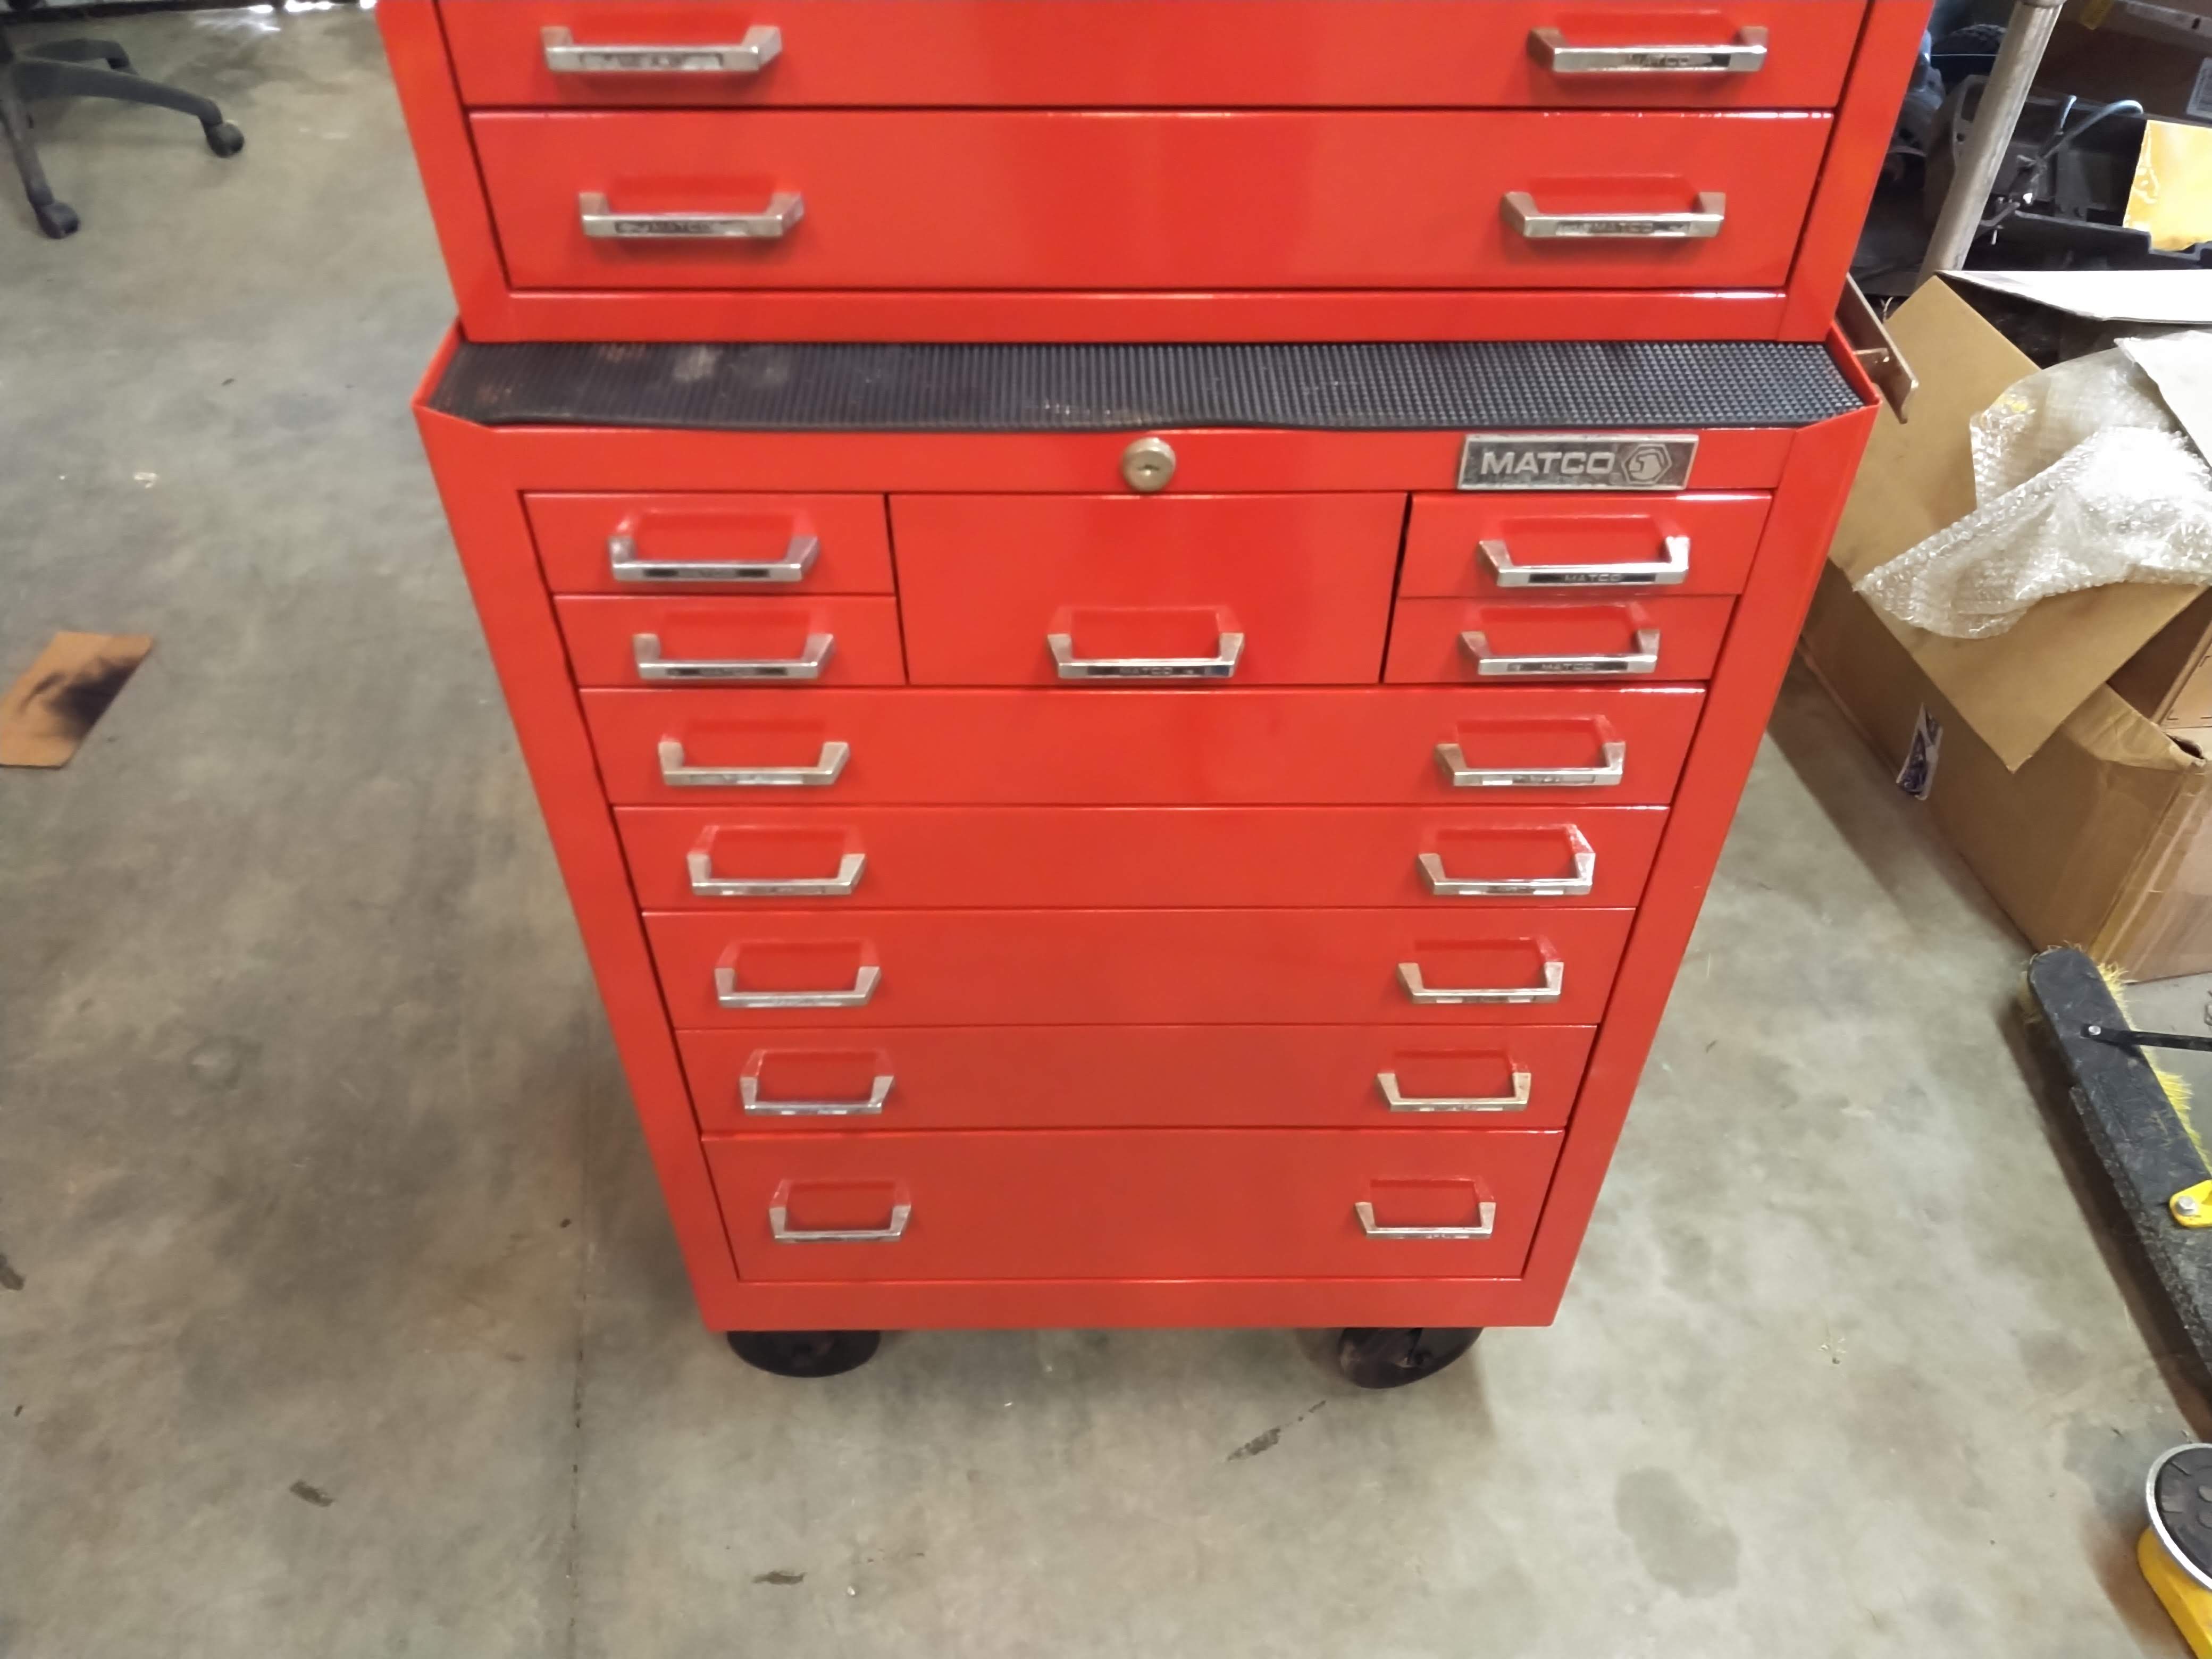
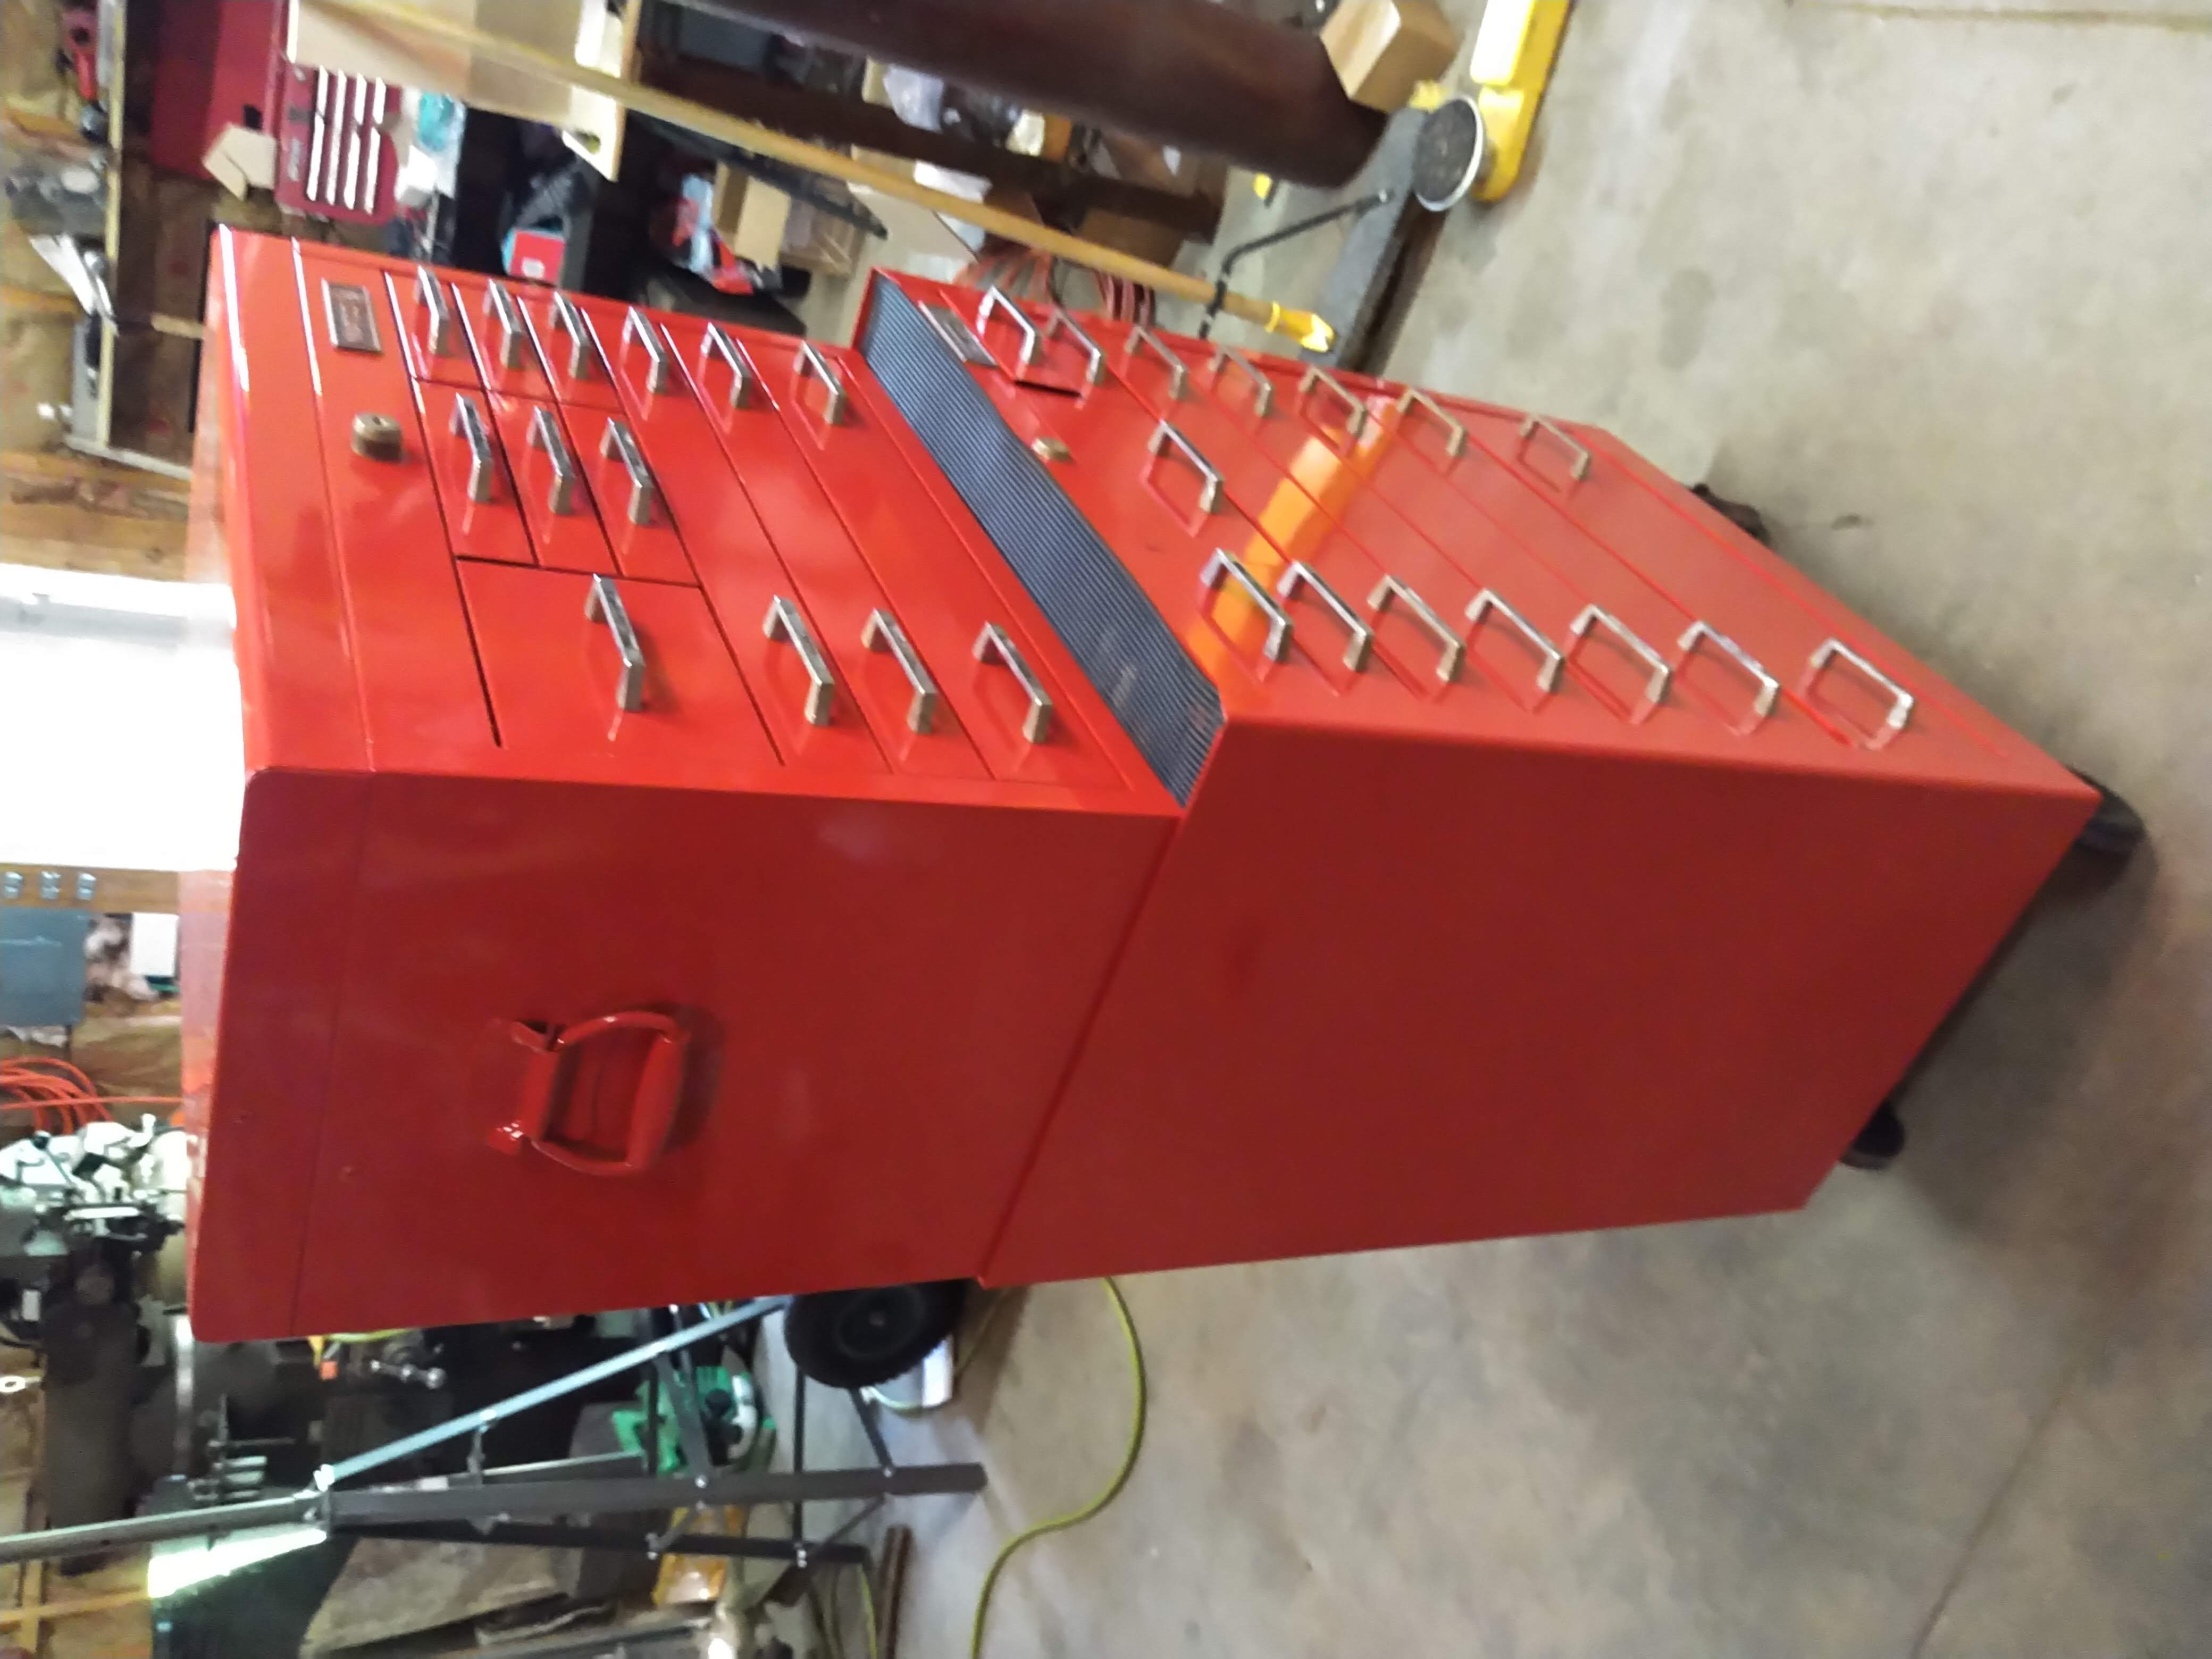
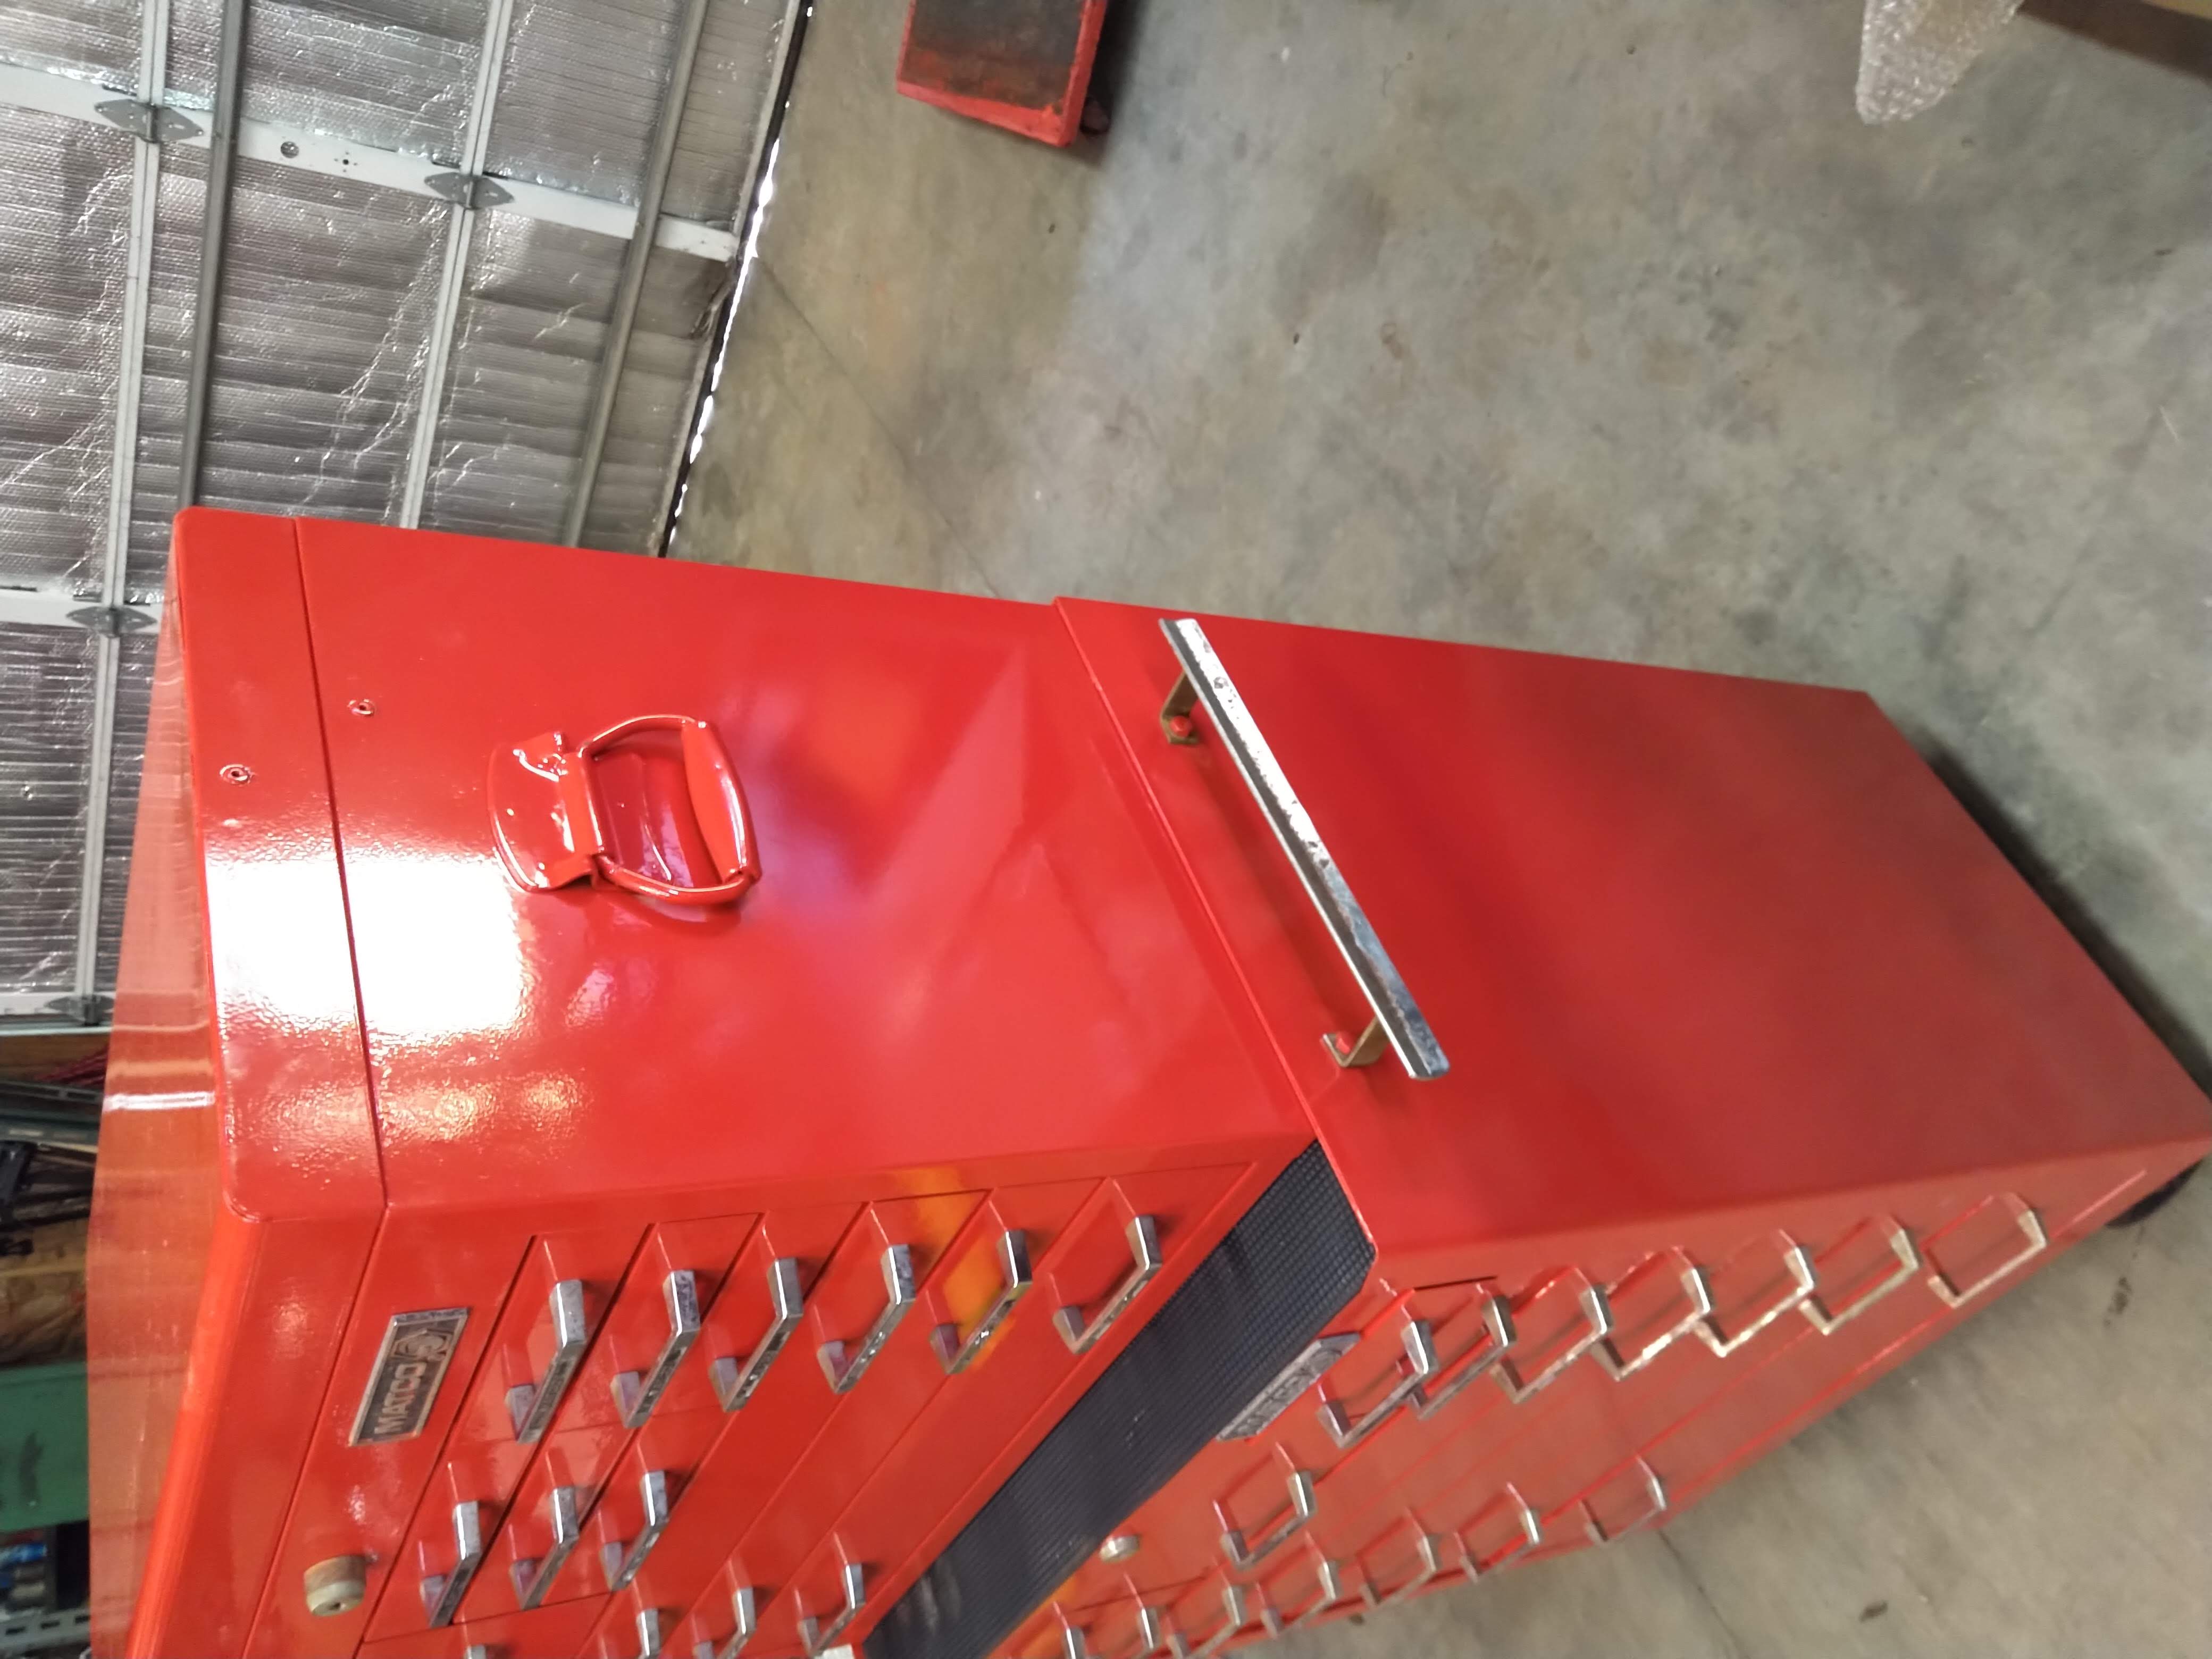

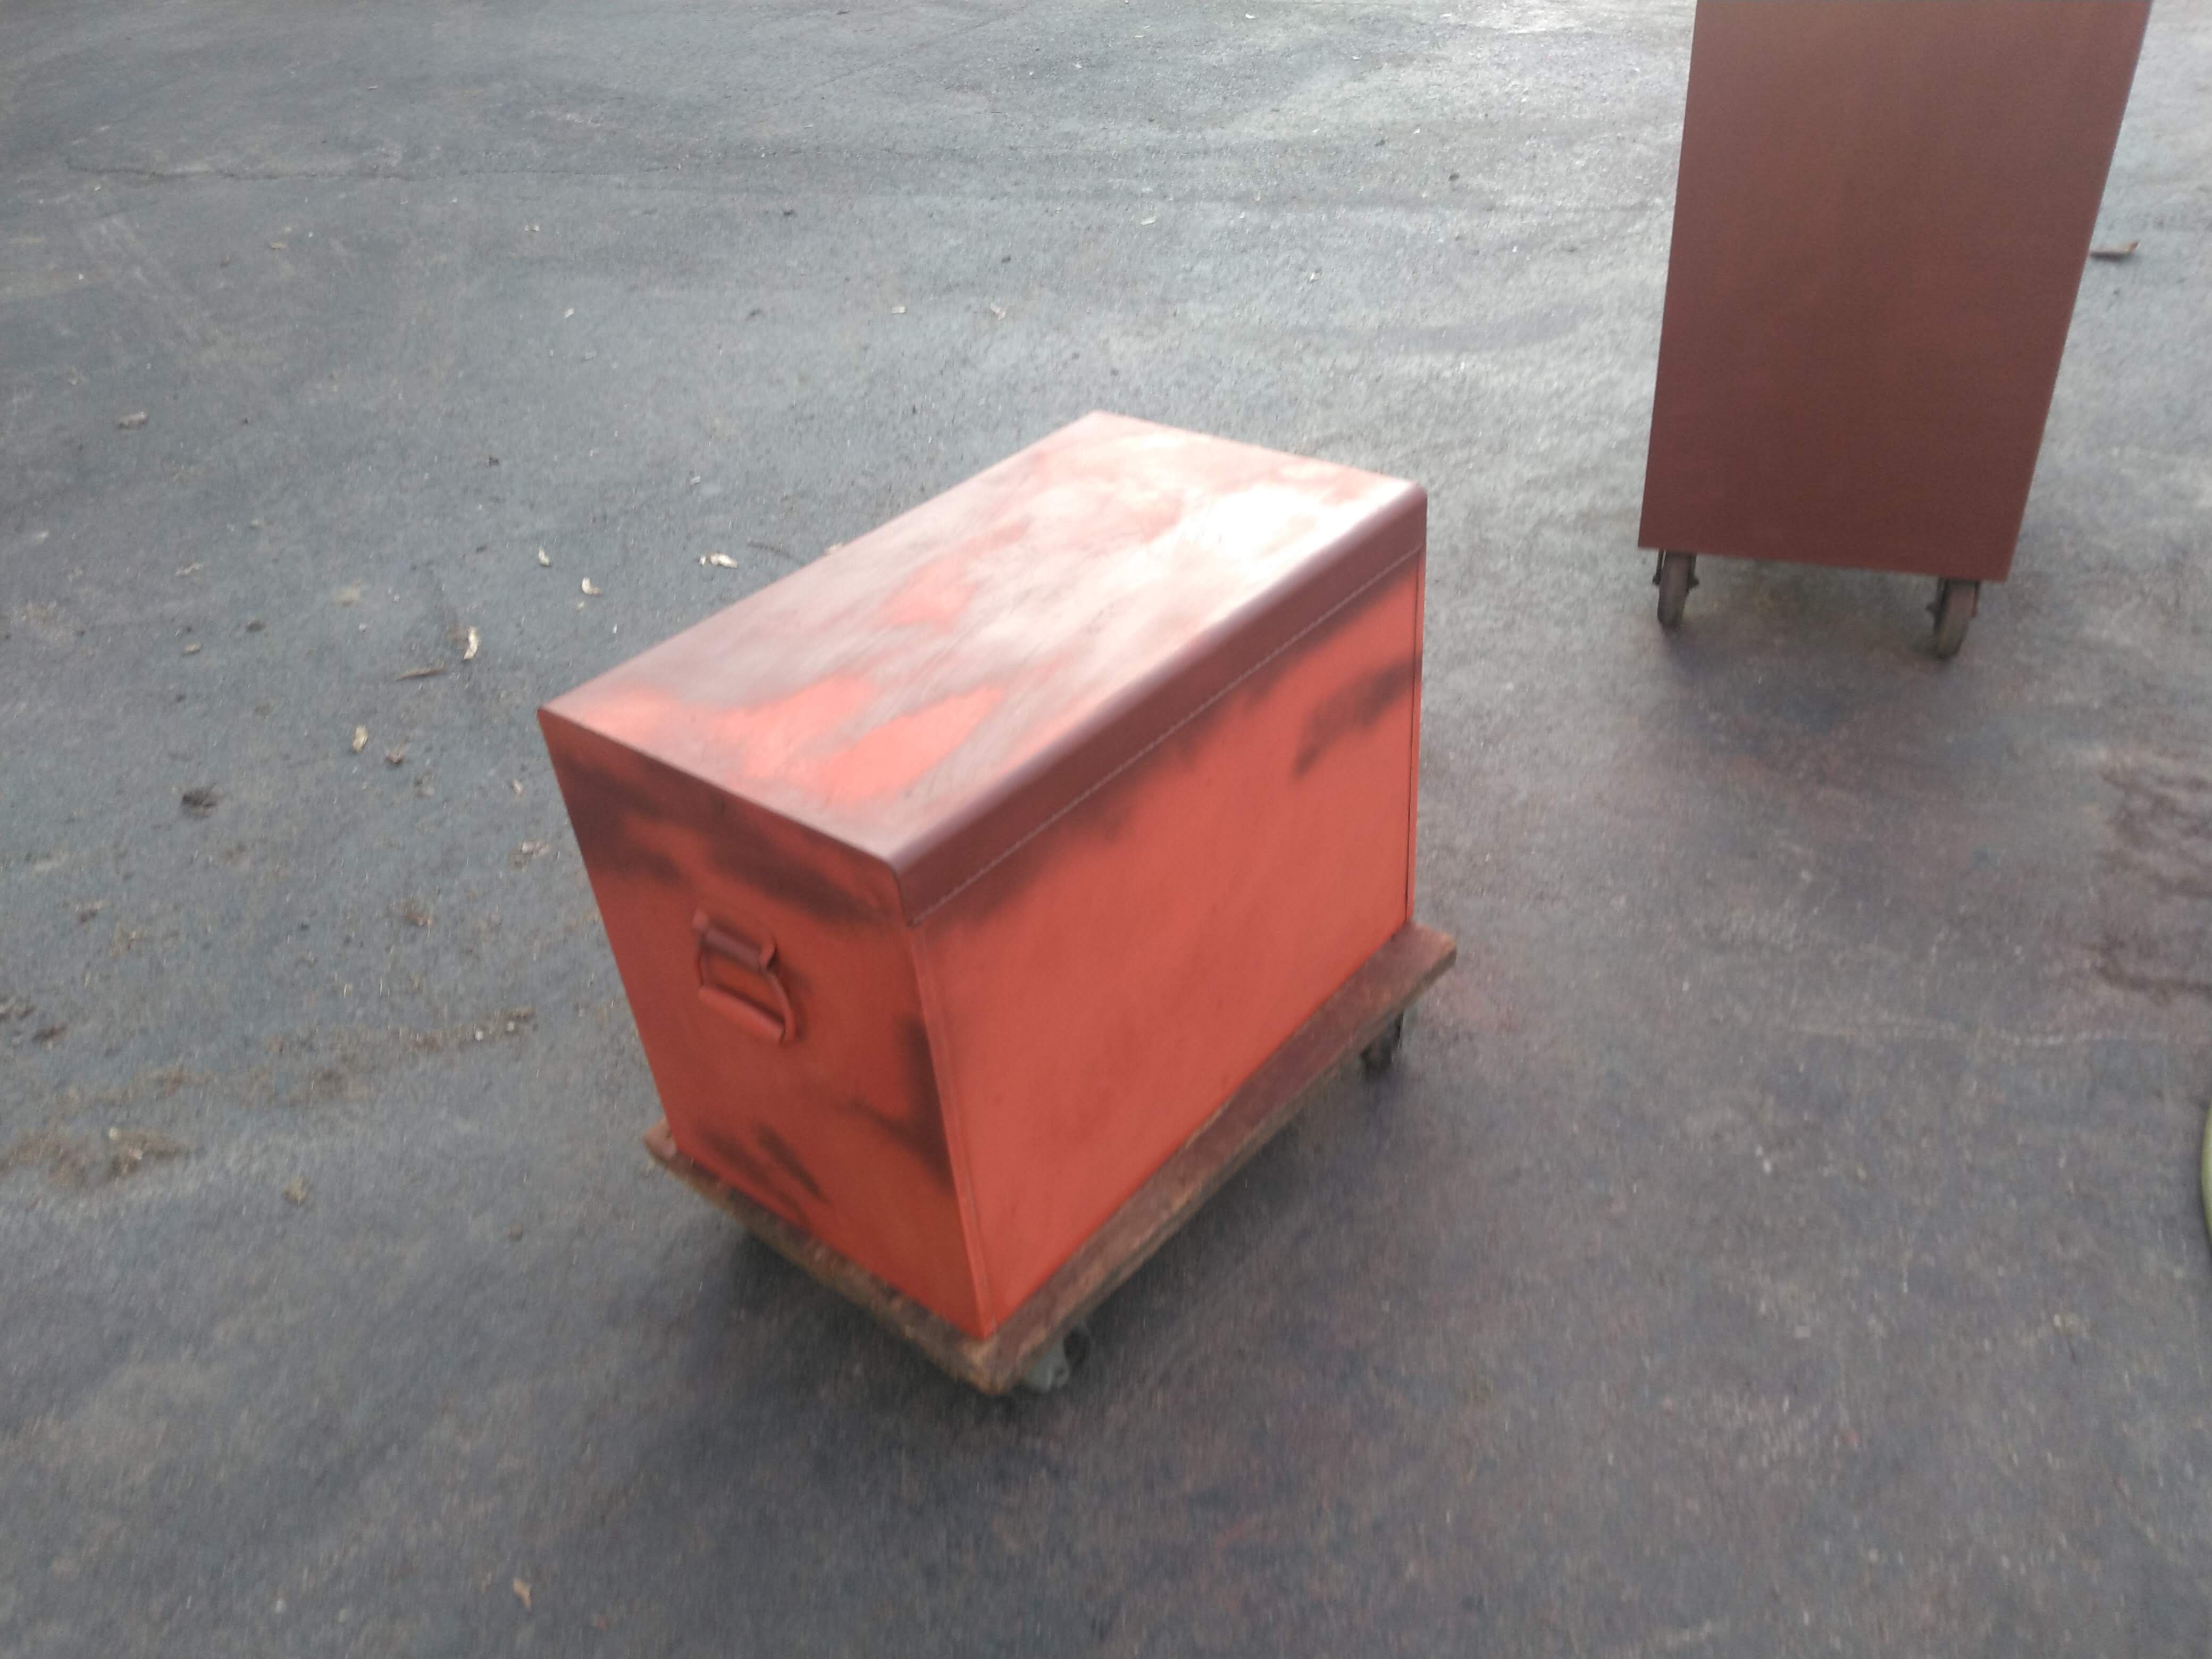
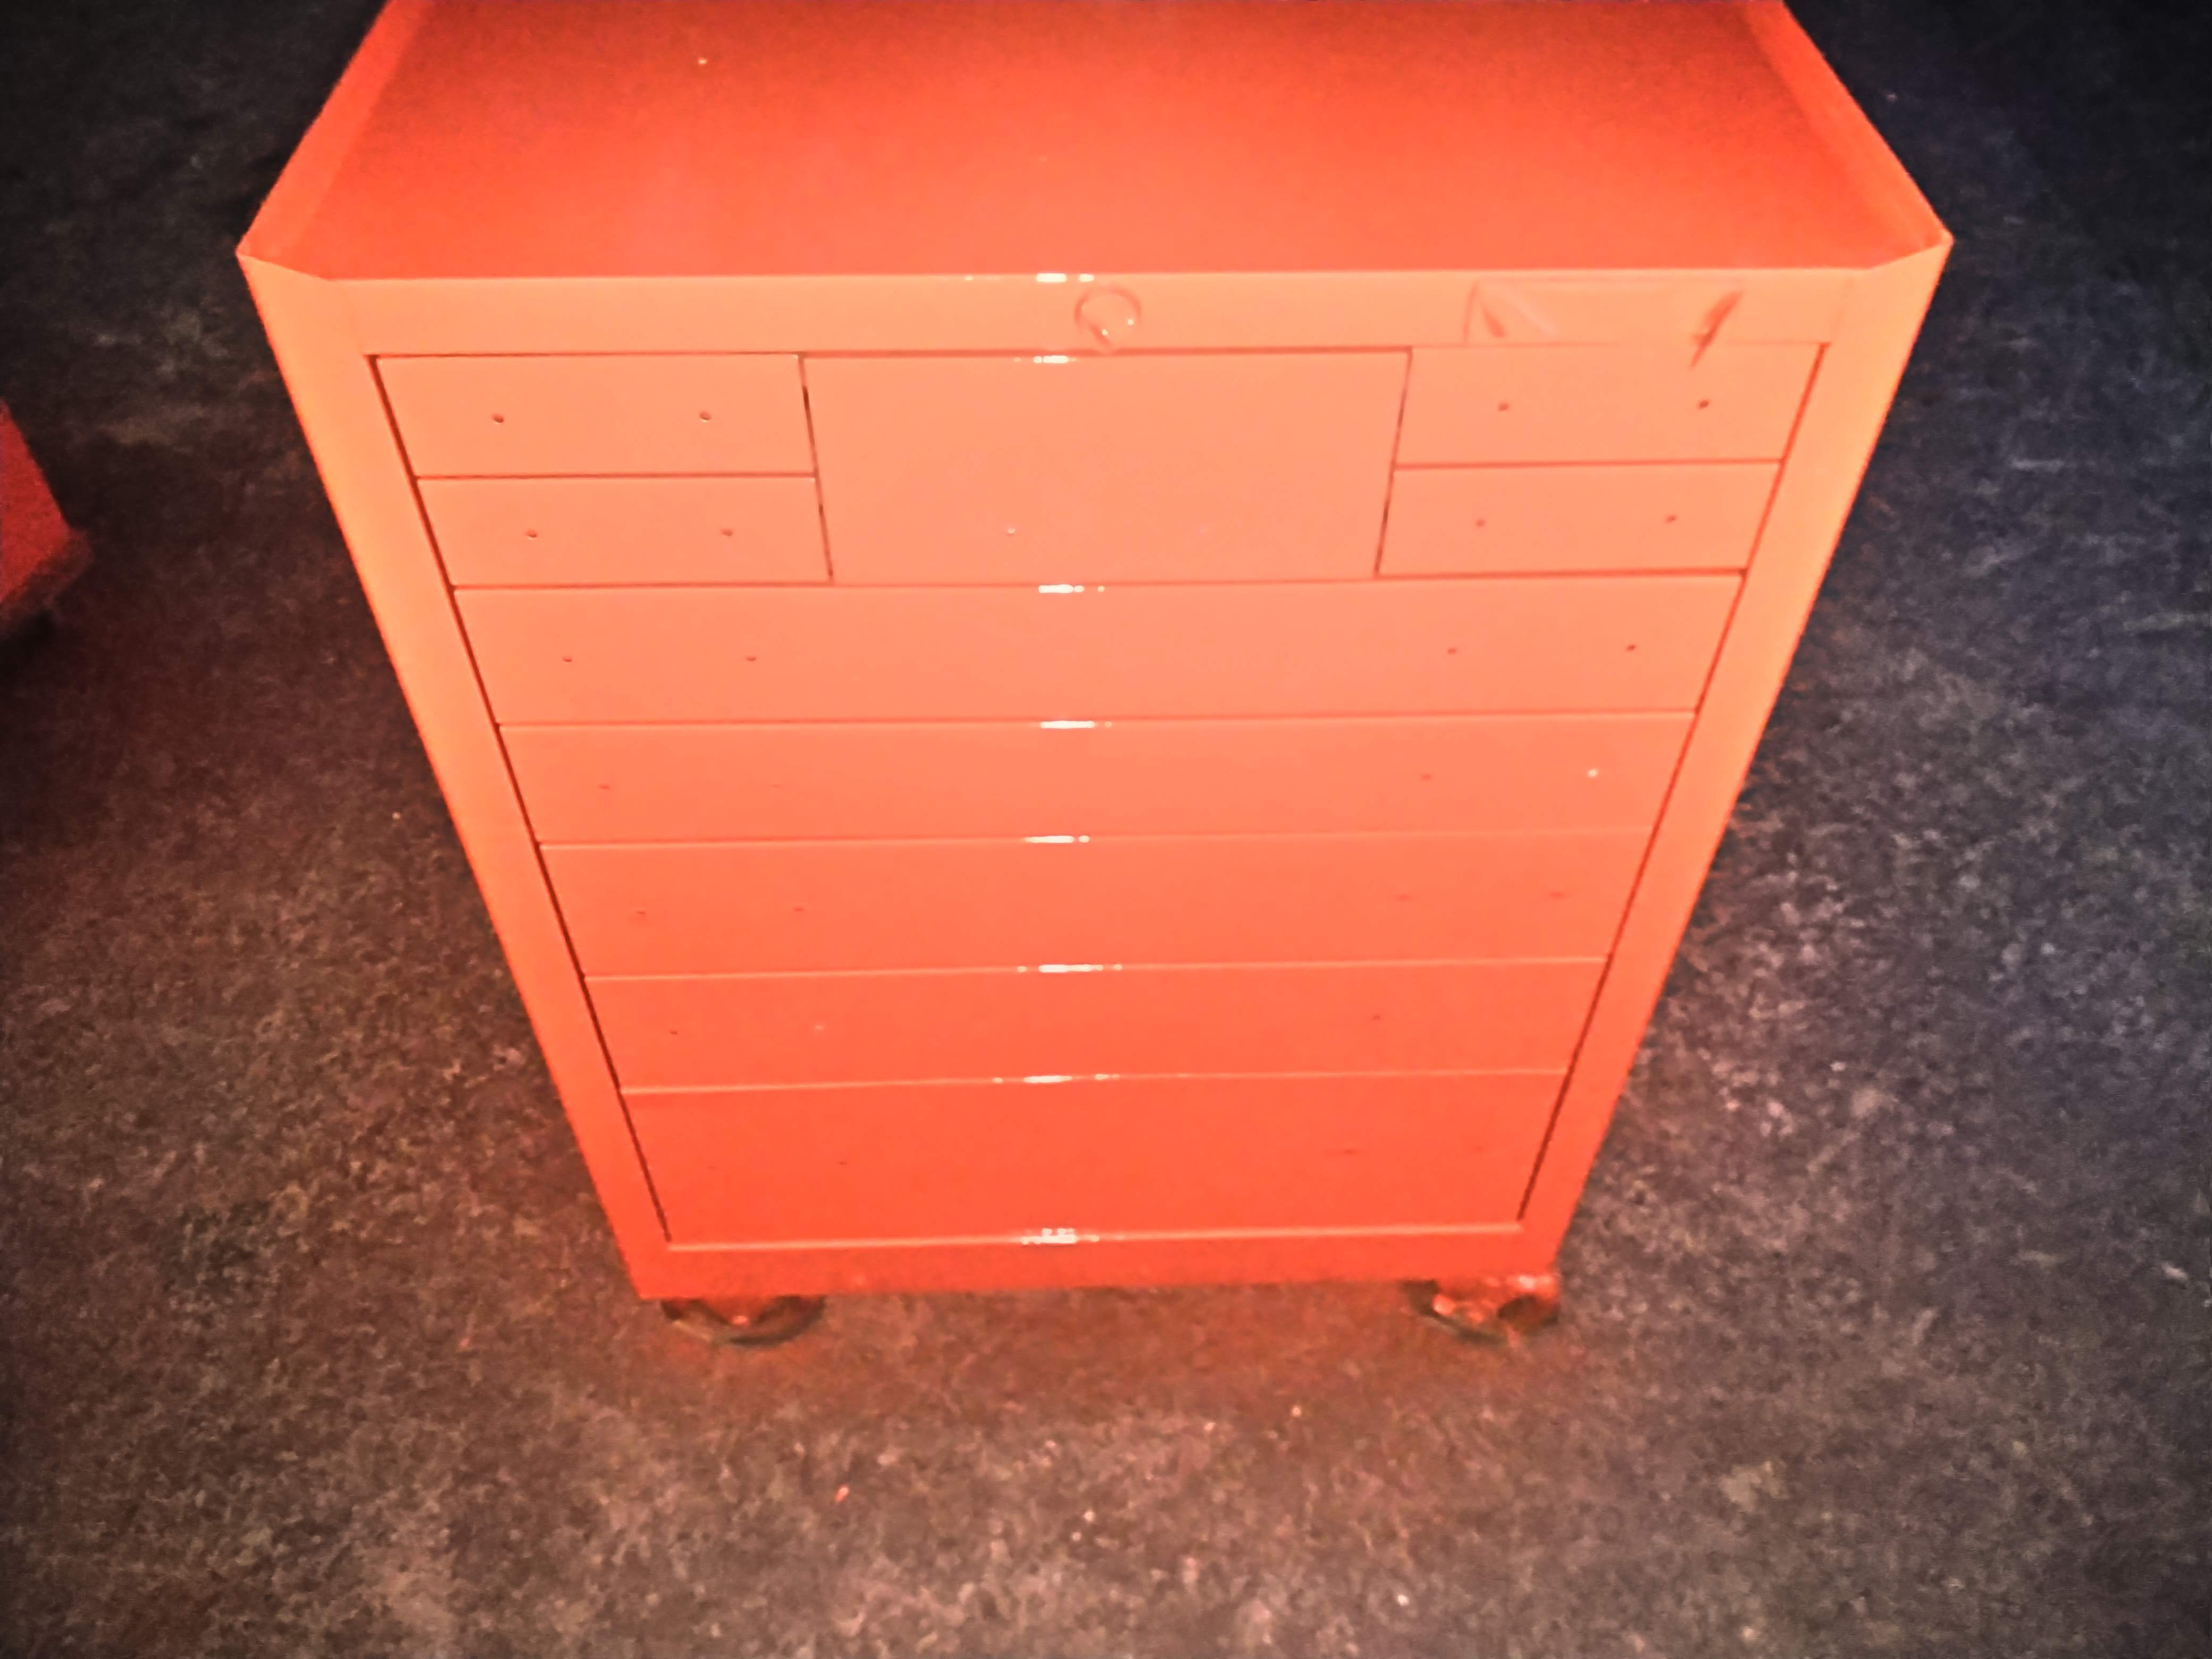
The final stage was putting the hardware back on and stacking the boxes back up. I also hit the wheels with some black rattle can paint because I didn't mask them off during the original paint job and it looked horrible. The wheels still don't look awesome (gloss paint on a poorly prepped surface always looks horrible), but again, this is a toolbox, and at first glance they look fine, and they're down there on the floor where the eye doesn't typically go. I had a brief lapse of judgement and had plans to polish up the chrome on the handles, but then I realized it was a toolbox that was probably going to get covered in oil and dirt within a month, so I just stuck them back on there covered in dirt. They still actually look pretty decent considering. I really like how the red pops more when you're not in direct sunlight. It really is a rich and deep color. Much more than I remember the original Ford Red being. I'm pretty happy with the results here, especially since I have about $120 into the whole project, and the fact that an old toolbox like this, even in the beat up rusty condition it was in, goes for $700-900 online these days (people must think they're made out of silver and gold, maybe even some bitcoin mixed in).
When I first bought this project, I briefly thought about selling it after seeing what these are worth, but I like the story of the old man who originally owned it enough that I decided to keep it. This thing has some good mojo, and I'll think of him and my best friend every time I go to use it now. And I will certainly use the hell out of it. I'm in desperate need of more tool storage, so it's not like it's going to sit there collecting dust. I take more time looking for tools these days than actually fixing stuff, and this will come in very handy with getting them all organized properly. I'm sure in a year or so I'll be shopping around for another one.
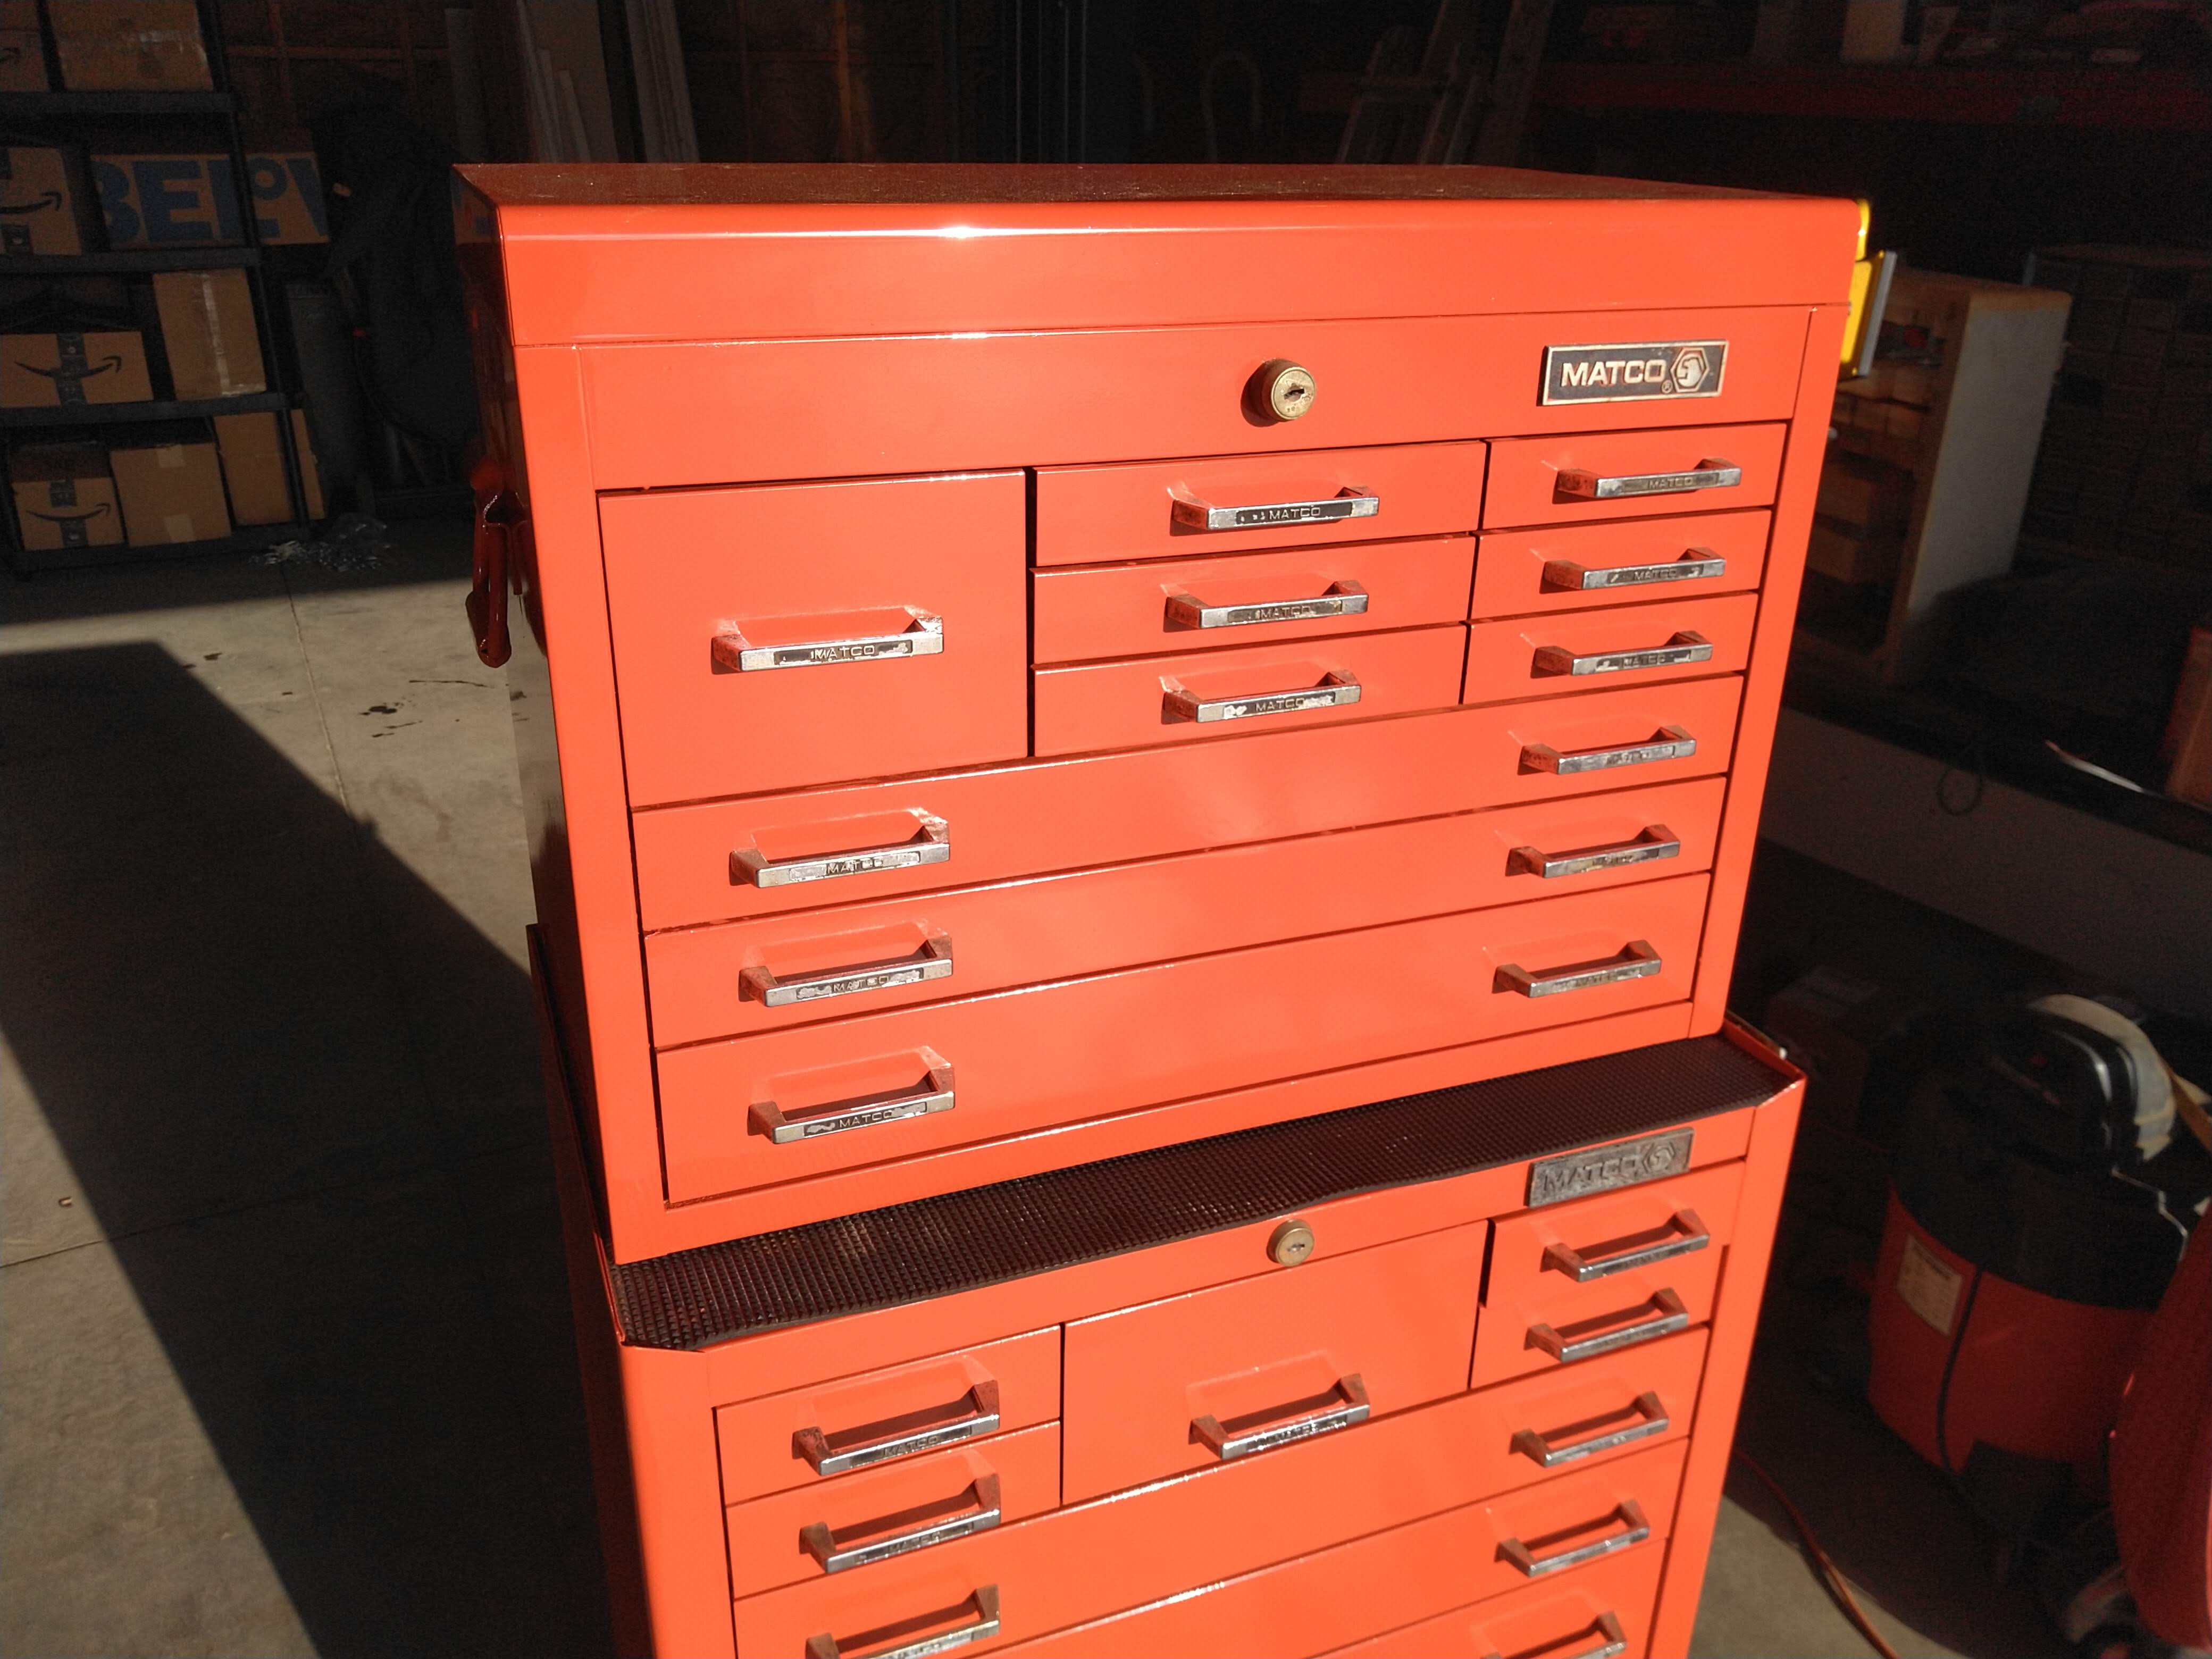
Overall I'm more than happy with the way this turned out. The finish, while not perfect, with a few wayward fish eyes from microscopic grease spots, some bugs here and there that flew into the paint as it was drying outside, the rust pitting in spots, it looks absolutely fantastic considering. In fact, it looks almost like a candy color because I put so many coats on it due to the dew incident (almost the entire quart went on). I would guess from the remnants of the thin factory paint that the current sheen on the still-flat parts of this box have far more gloss than what it was from the factory. Again, it's by no means perfect. Since I didn't put any work into flattening out the rust pitting, when you're up close you can see all those imperfections and there's even some orange peal, but without a magnifying glass, it looks so good now that I'm having insane thoughts of doing this to all of my old rusty and dirty tools. We've got a mill, a drill press, a kiln, a lathe/mill/drill combo machine, a tool bench, a horizontal band saw, an antique tire balancer... You get the point.
Your post has been voted as a part of Encouragement program. Keep up the good work!
Use Ecency daily to boost your growth on platform!
Support Ecency
Vote for Proposal
Delegate HP and earn more
This post has been manually curated by @bala41288 from Indiaunited community. Join us on our Discord Server.
Do you know that you can earn a passive income by delegating to @indiaunited. We share 80 % of the curation rewards with the delegators.
Here are some handy links for delegations: 100HP, 250HP, 500HP, 1000HP.
Read our latest announcement post to get more information.
Please contribute to the community by upvoting this comment and posts made by @indiaunited.
That thing is beautiful man! Nice work! You can always get up close and not pick things, but like you said, it’s a tool box! It’s meant to not be perfect, and even then, I’d say you did that old man proud.
Thanks!
Looks absolutely awesome from here. It's the kind of thing my husband would love to do, if he wasn't so busy restoring a 1991 Defender 130. He needs a big toolbox like this - like him, I bet you don't have enough rusty tools ahahahah! Goes to show that trash can easily become treasure with a bit of effort.
Thank you!
Thank you for sharing this amazing post on HIVE!
Your content got selected by our fellow curator @kaerpediem & you just received a little thank you via an upvote from our non-profit curation initiative!
You will be featured in one of our recurring curation compilations and on our pinterest boards! Both are aiming to offer you a stage to widen your audience within and outside of the DIY scene of hive.
Join the official DIYHub community on HIVE and show us more of your amazing work and feel free to connect with us and other DIYers via our discord server: https://discord.gg/mY5uCfQ !
If you want to support our goal to motivate other DIY/art/music/homesteading/... creators just delegate to us and earn 100% of your curation rewards!
Stay creative & hive on!
Twitter post #posh