Here's another DIY project that I did a while back in which I refurbished an old air compressor. I actually did this identical project many years ago, but I had to sell it to make space for all of my other stuff in the moving vehicle. I was planning on just buying a new one, but alas we ran low on money, so I decided to do this again considering that I already had experience doing it once before. Here's the only before picture I could get for the compressor because I forgot to take my own. This is how the PO listed it.
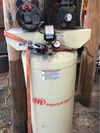
It went something like "Come get this thing out of my yard. I don't have time to mess with it. Pump is bad. I have a replacement pump to put on it. $175." The pump was a really old version of the V-Twin 5 horsepower compressor pump you can buy from Harbor Freight today. I know it was very old because the color of the paint, which was silver and black, was different from the more recent models, which are painted all black. I guess at some point they figured out they could save 45 cents per unit by just painting it all one color.
I know this because this is the exact pump that I put on my old project compressor. By more recent, I mean in the last 12 years, which is how long ago I did this project the first time, so this thing is really old new old stock. The story went that the guy who originally bought the pump had a project in mind, never did it, and the pump sat until the old man passed away. Guy I bought all the stuff from had it given to him by the old man's wife. Long story short, I was intrigued. I would have paid $175 for this compressor with a good electric motor, but to have the exact pump I was planning to use already included in the deal, which would cost me the same as this entire bundle? Sold!
When I contacted him, I asked if the electric motor worked. He said yes, and he filled me in on the rest of the details. He was painting classic cars for his business, used this thing continuously for a couple of years, wore it out completely, and just wanted it out of his work space. When I went to look at it, I could see that the air cleaner for the pump had been smashed off, which was actually a bonus. It meant that the electric motor had fewer hours on it. With no air cleaner, even on a high quality unit like an Ingersoll-Rand professional model like this, dust ingress will destroy a compressor pump head really quickly. Another bonus is that this meant that the tank was relatively new as well, and that when it failed, it probably had a coat of oil all over the inside. I know from my last project that when these pumps fail they start to blow oil before they seize, and that will actually corrosion protect the inside. It's also extremely dangerous and can cause the tank to explode if it starts sparking, so don't let it get to that point FYI, but for me in my forensic investigation of this thing's failure mode, it was bonus rust protection.
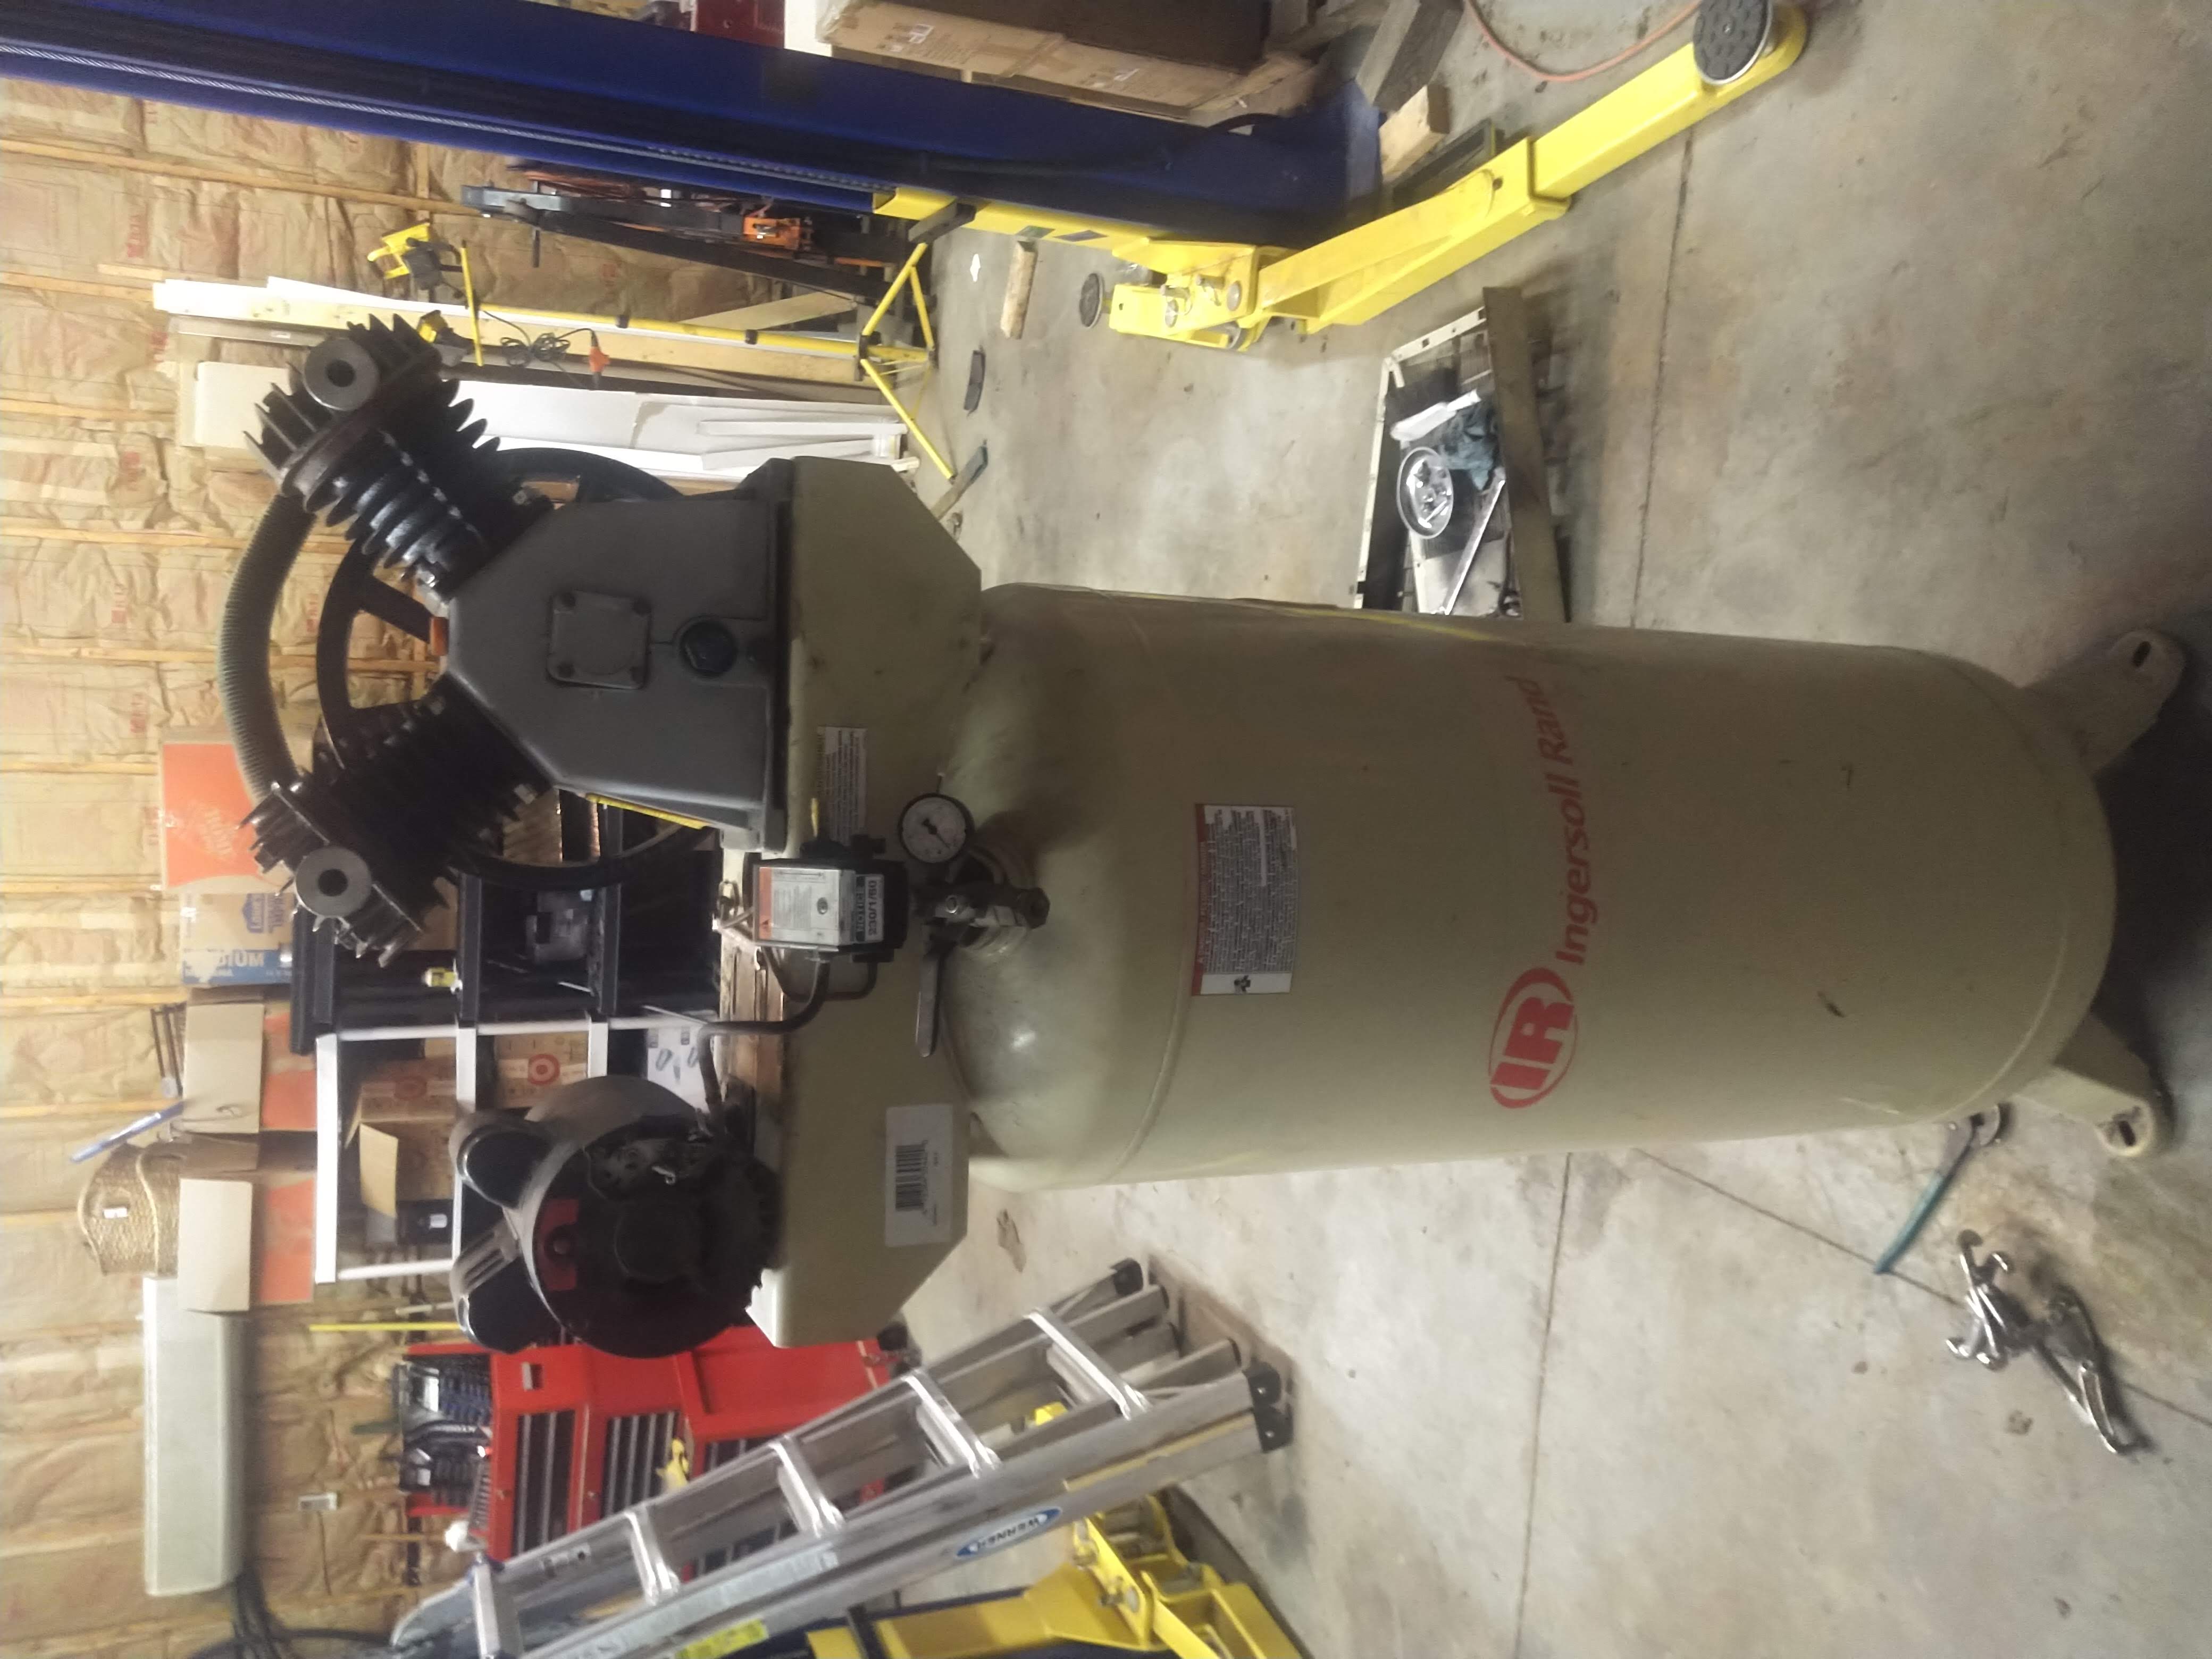
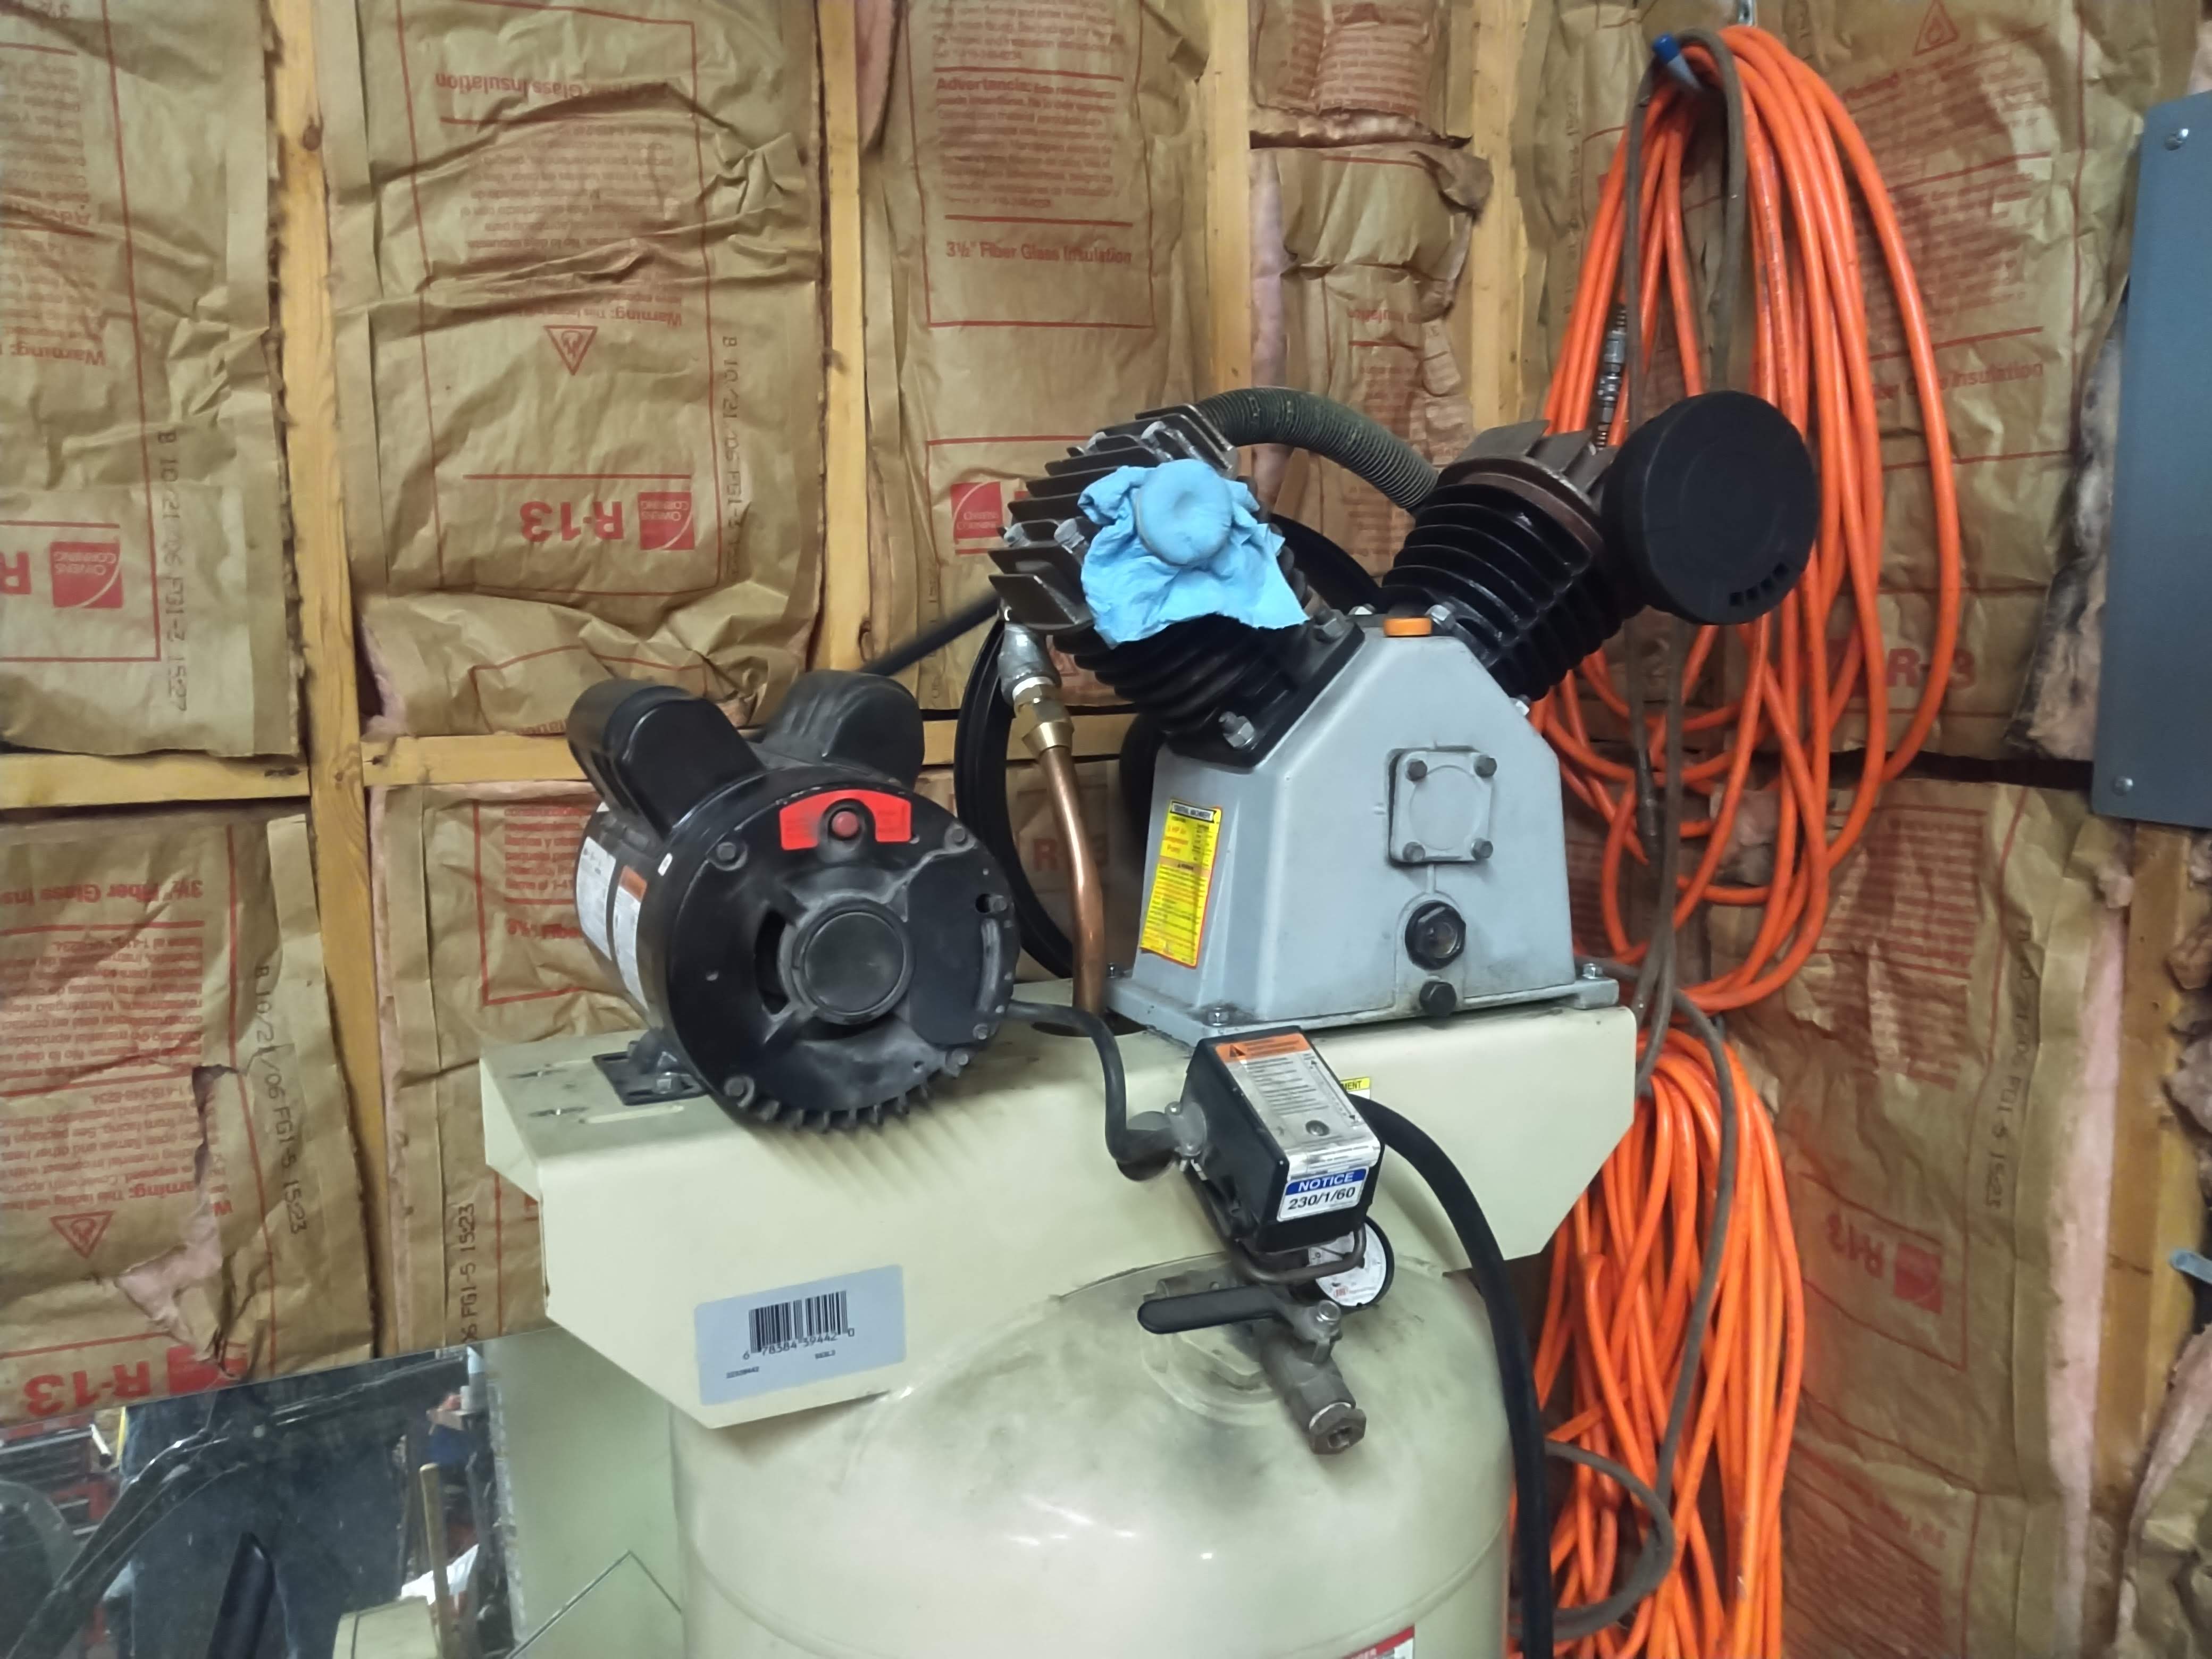
Here it is the day after I brought it home. The old pump is removed, and the pump and motor are mocked up. Notice that I have each unit at each extreme end of the top mounting bracket. This is to maximize belt wrap. The farther away from each other they are, the more contact the belt will have with the smaller pulley/sheave that's on the motor. Should be a simple matter of just bolting everything down, getting the correct sheave and belts to connect the motor to the pump, and plumb and wire it in, right? Wrong. I ran into quite a few problems on this project that I didn't anticipate.
First off was the belt measurement. I bought a double belt sheave of the appropriate size off of eBay and I found an online calculator for calculating belt length because I didn't have the sheave in hand when I ordered the belts. The belts I bought using this calculator did not fit, not even close. In fact they were like 7 inches too long and there was no way I could make it work, so I reverted to the old tried-and-true method of measuring belts the backyard mechanic way. I took a piece of electrical wire with an outside diameter of about a quarter inch. You can use anything flexible of this diameter, but it can't be stretchy since the stretch will screw up the measurement. The quarter inch isn't super critical, but you want something close so that it will center itself in the groove while also getting to the bottom of where the belt will rest in the groove, giving an accurate inside circumference. Then you simply wrap the wire around the two pulleys inside their grooves, put a sharpie mark on the wire where it begins to overlap, then lay the wire out flat to get your measurement. This will correspond to the length in inches of the belt. In this case I got a measurement of 56 inches, so I ordered a B56 belt. The B in this code is for how fat the groove is that the v-belt fits into, or 5/8 of an inch. The 56 is the inside circumference of the belt in inches.
Here's a money saving tip with v-belts. There's nothing special about them except the length and maybe the material. Getting one from the dealer of your piece of equipment is not necessary. This method of measurement will work for any application that uses a v-belt. So instead of getting the part number for this belt specific to your compressor, generator, lawnmower or car engine, you can get this measurement and buy a generic version of this belt from an industrial supply house or even eBay or Amazon for a fraction of the price that you'd pay your dealer for it. In this case, I got the pair of belts for $16.84, tax and shipping included. I was also able to return the first set of belts that I had purchased with no cost to me
With the belt situation resolved, and the pump and electric motor mounting points fixed into place, it was time to plumb this pump into the tank. I thought this was going to be fairly easy, but i ran into some problems here. I had very good luck doing it this way the last time, so I didn't expect all the trouble I had. I chose to go with 3/4"copper tubing as my down pipe.
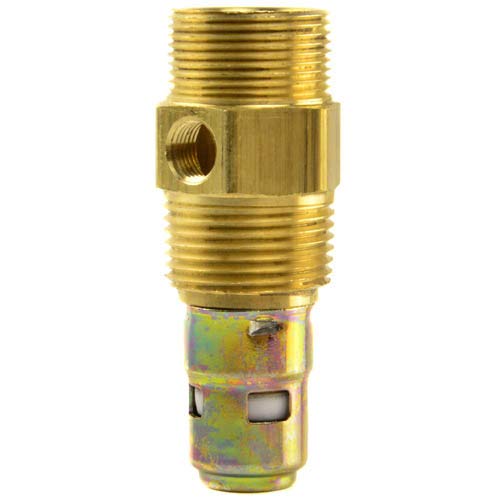
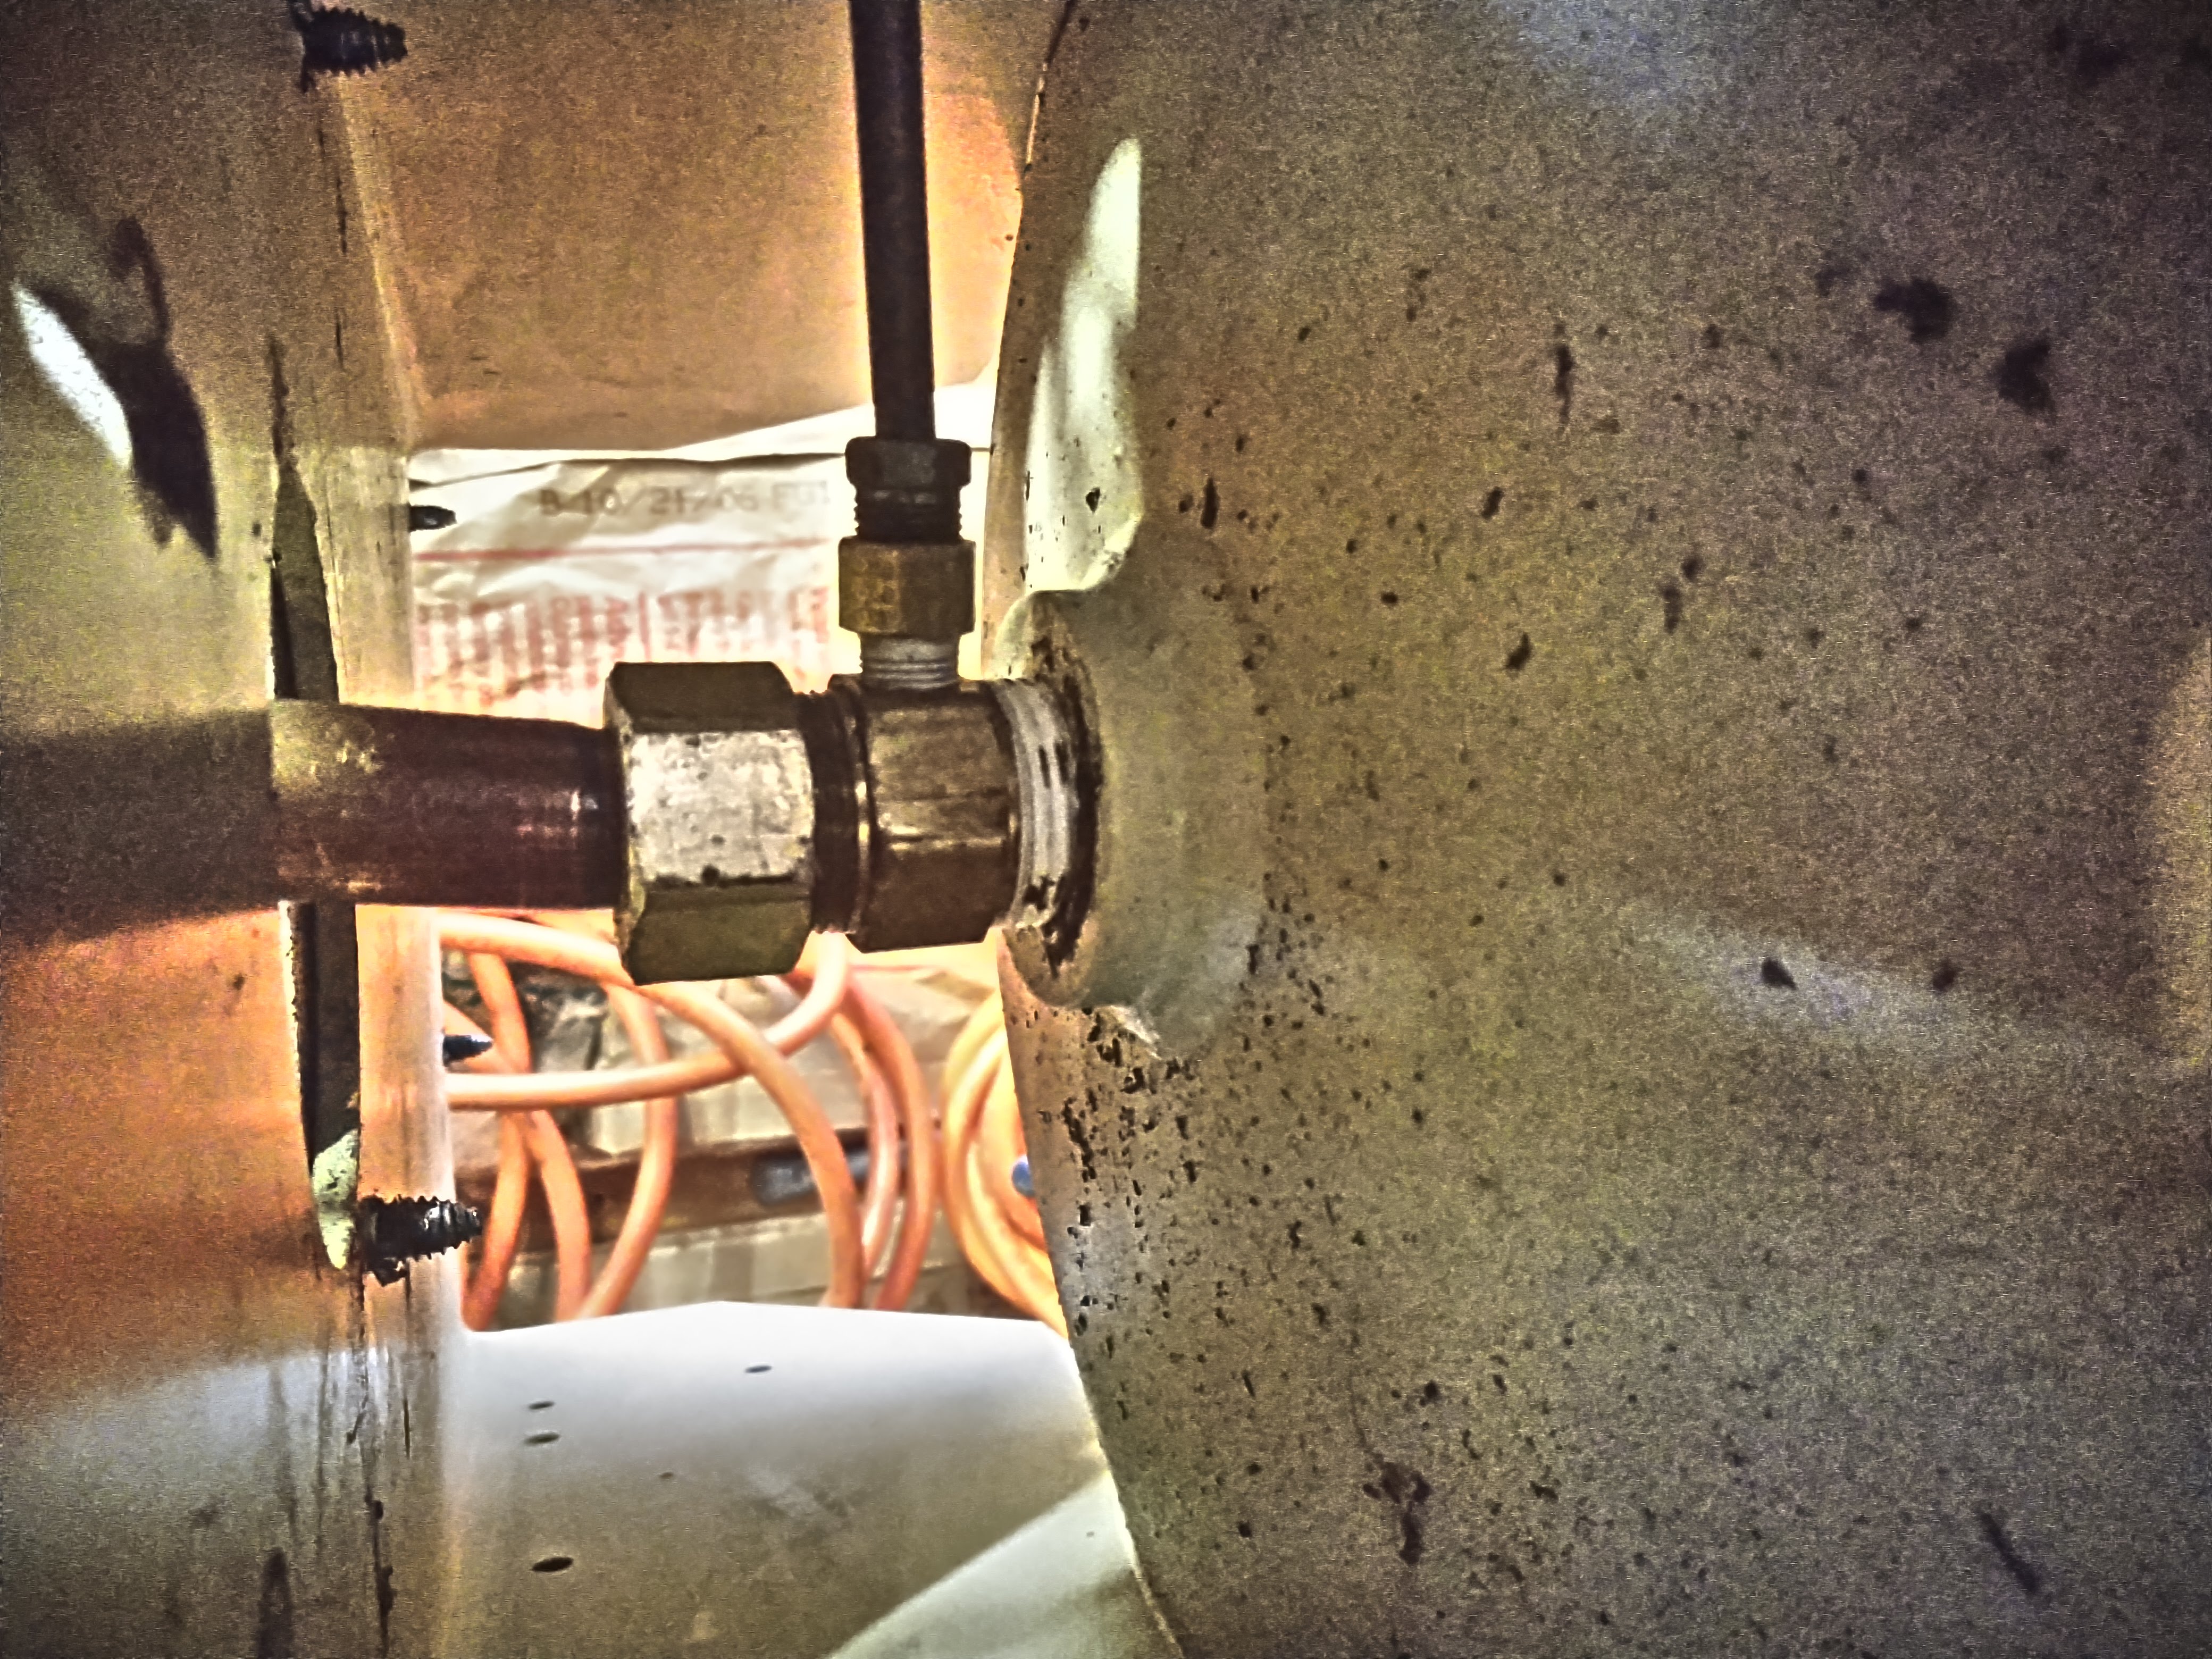
On the tank side, I bought one of these check valves in the desired 3/4" tubing size made for a compression fitting. This valve fitting serves two purposes. First off, the check valve keeps the air you're forcing into the tank, in the tank once it's in there. When the pump shuts off, the air can't push back out through the pump head with this installed. The second function is what's called an unloader valve. That little 1/8" NPT pipe fitting is used to connect the other side of the check valve, the head space between the pump and the valve, to the unloader valve. When the electromechanical switch shuts off on the compressor controls, a little lever from it hits this unloader valve and evacuates the air from that space. The reason you want this is so that the next time the air compressor needs to start, it won't have to start with all of that pressure built up in the line and it keeps your electric motor from being overloaded on startup. In order to make this work with the existing line, I had to also get another adapter to convert from the NPT to a 1/4" female flare fitting, like you'd find on car brakes.
I had several problems sourcing all of this along the way. First off, the actual copper tubing I needed was a bendable copper tubing with an outside diameter of 3/4" which you'd typically find in air conditioning line sets for home applications. The shortest length of this stuff I could find was 25 feet in length and it was over $100. This didn't fit in with the whole frugality thing, so I called up my brother who does HVAC work and he sent me a small length that he had cut off from one of his jobs. Any HVAC guy will likely have a bunch of these sitting in his copper scrap pile since once you cut these to length for whatever install you're doing, you usually have to scrap what's leftover. Still somewhat valuable as a semi-precious metal, but as a finished product, useless to these guys. For those of you who don't have a brother who works on HVAC equipment, maybe put a WTB ad on Craigslist or flag down one of these guys while they're on a call in your neighborhood. Chances are he'll either give it to you or if you offer him $5 he'll probably jump on that to get rid of it.
The second problem I had was finding a flare nut and the acorn for the compression fitting. Everybody wanted stupid money for these things, so I did what every good miser does and found an alternative source. I bought a compression union with two nuts and two acorns included for about half the price that someone wanted for just the nut. Below is what that side of the tubing looked like all fitted up to the compressor with the unloader tube attached.
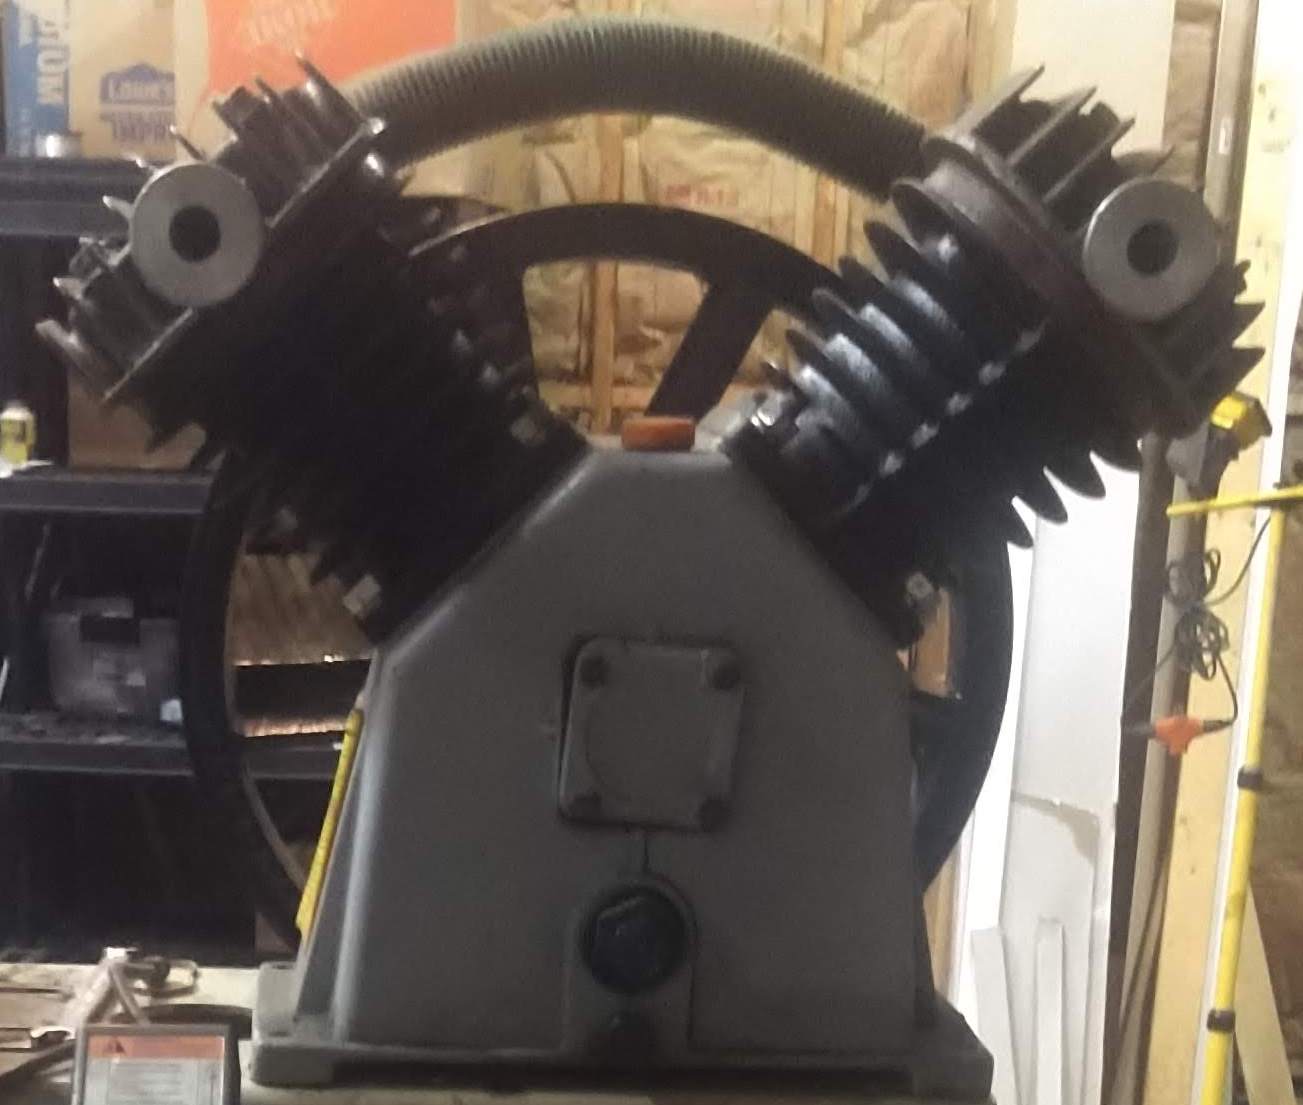
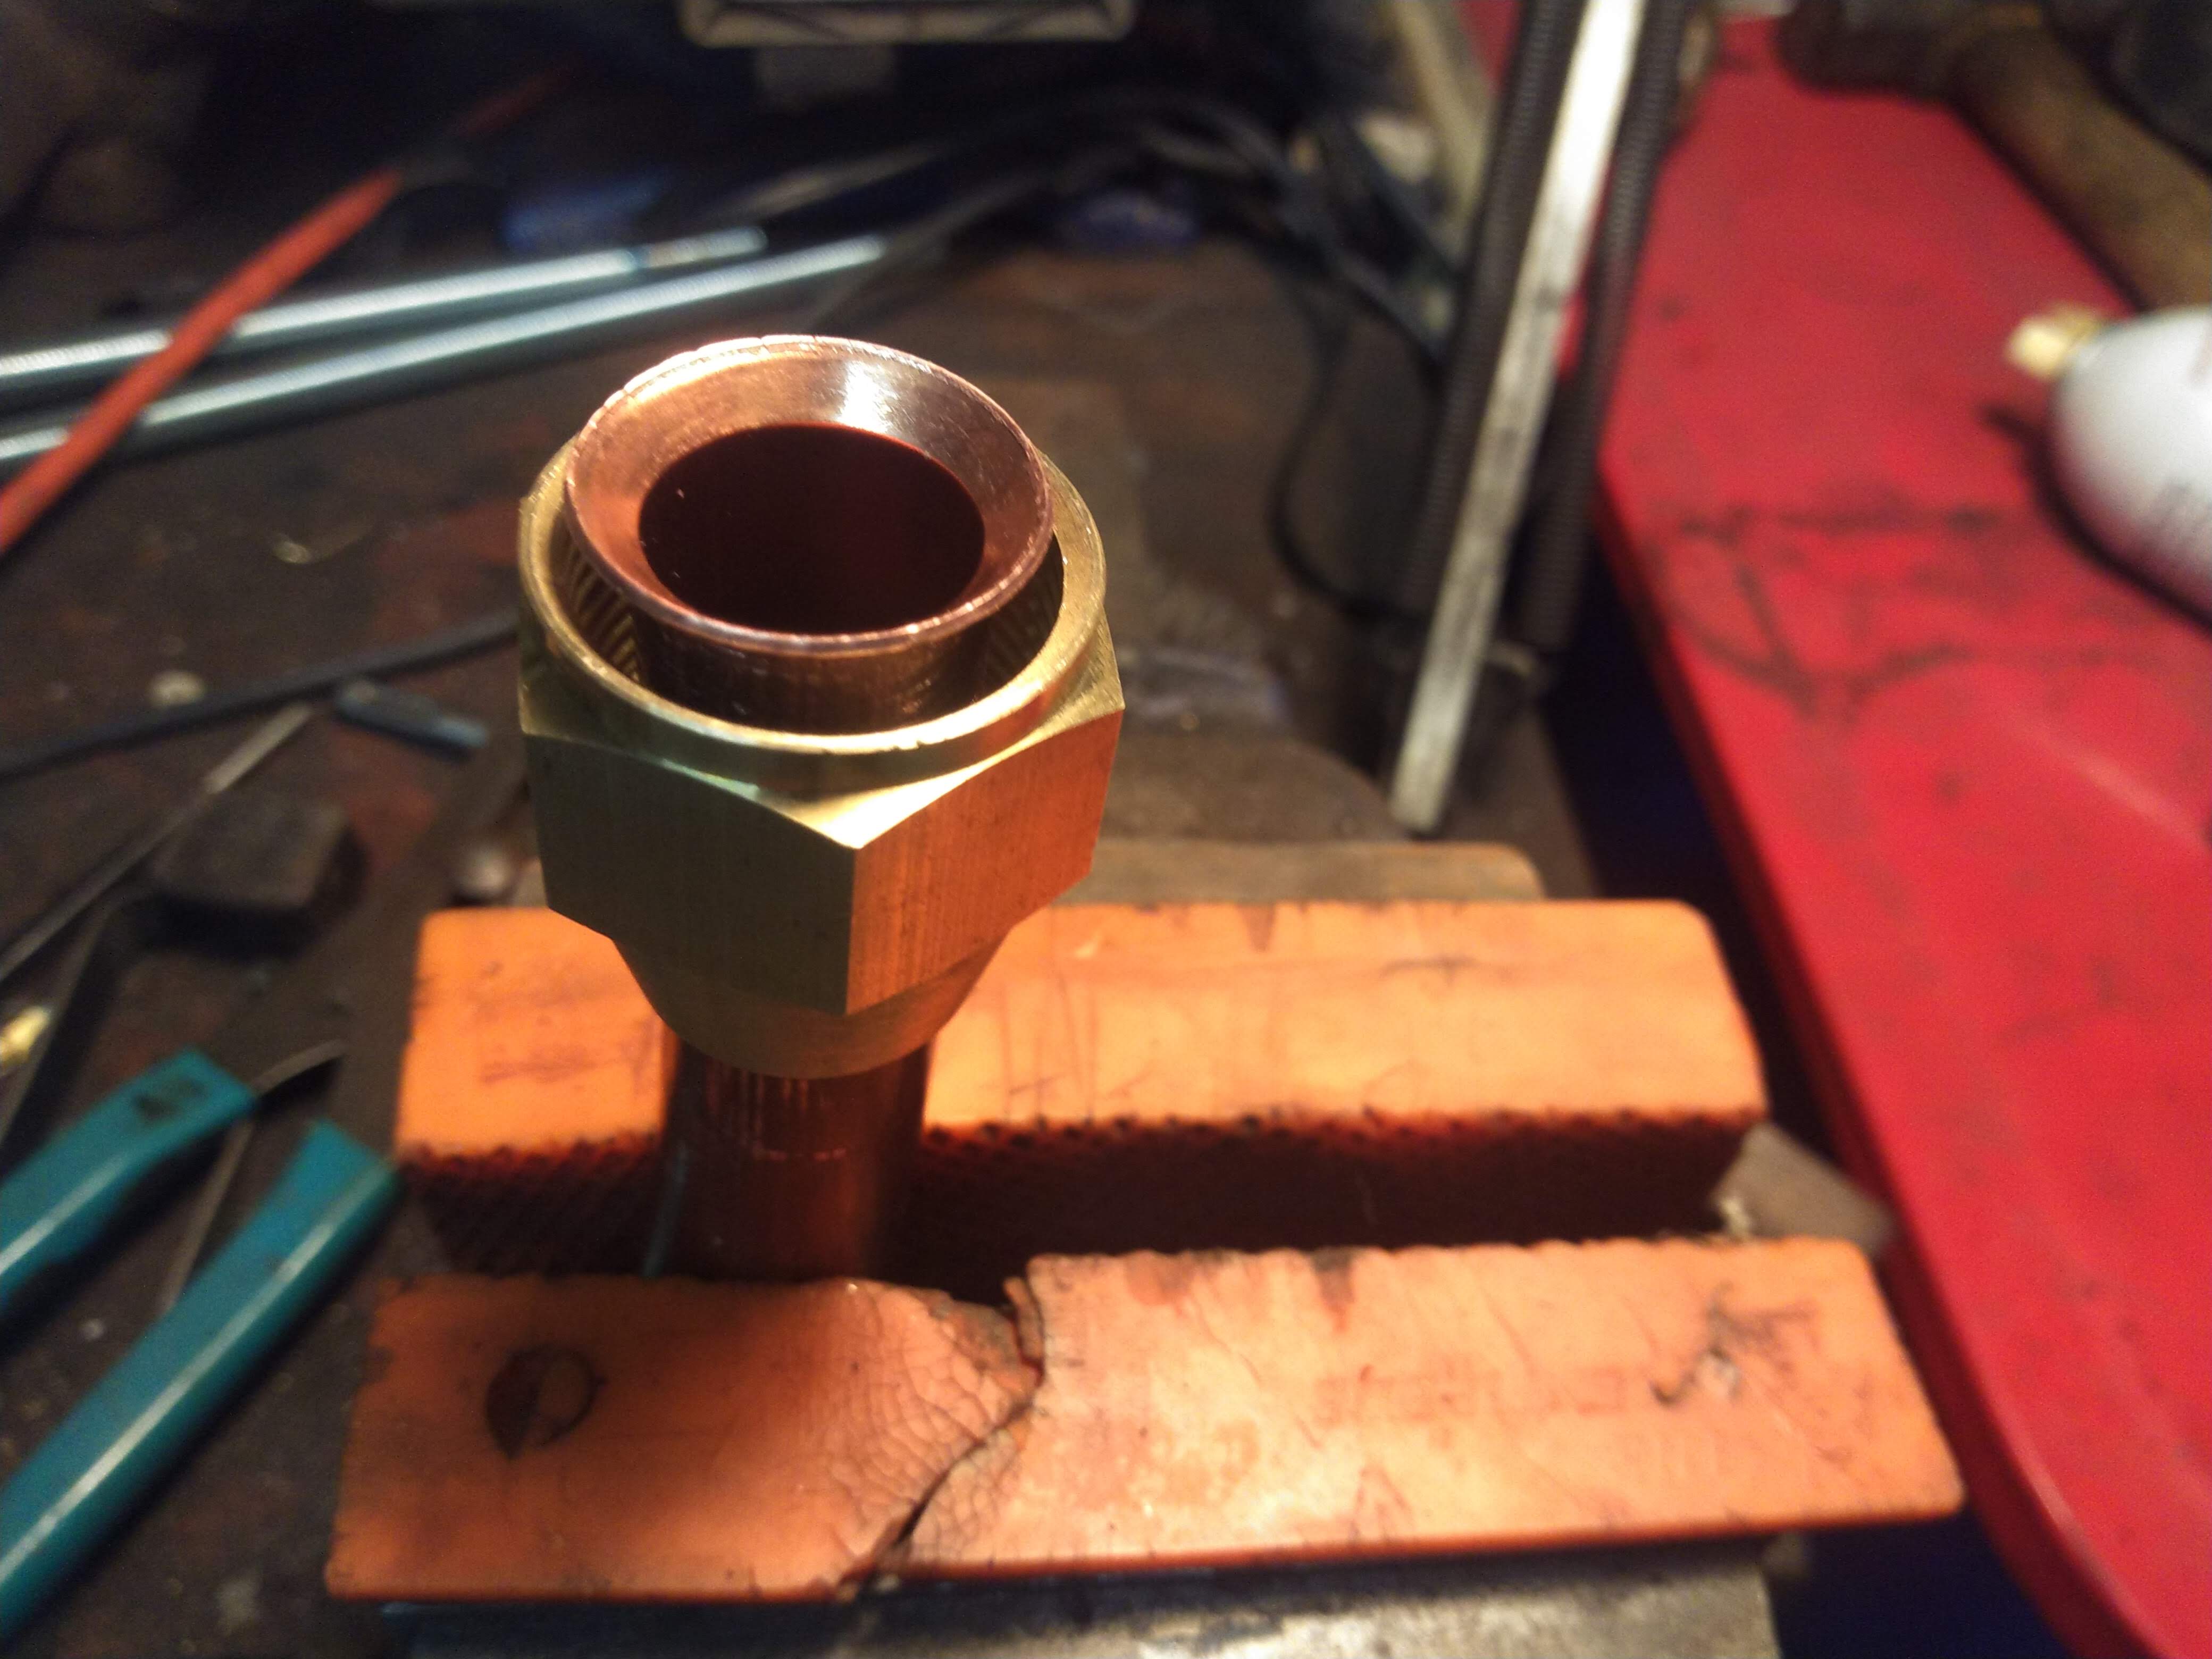
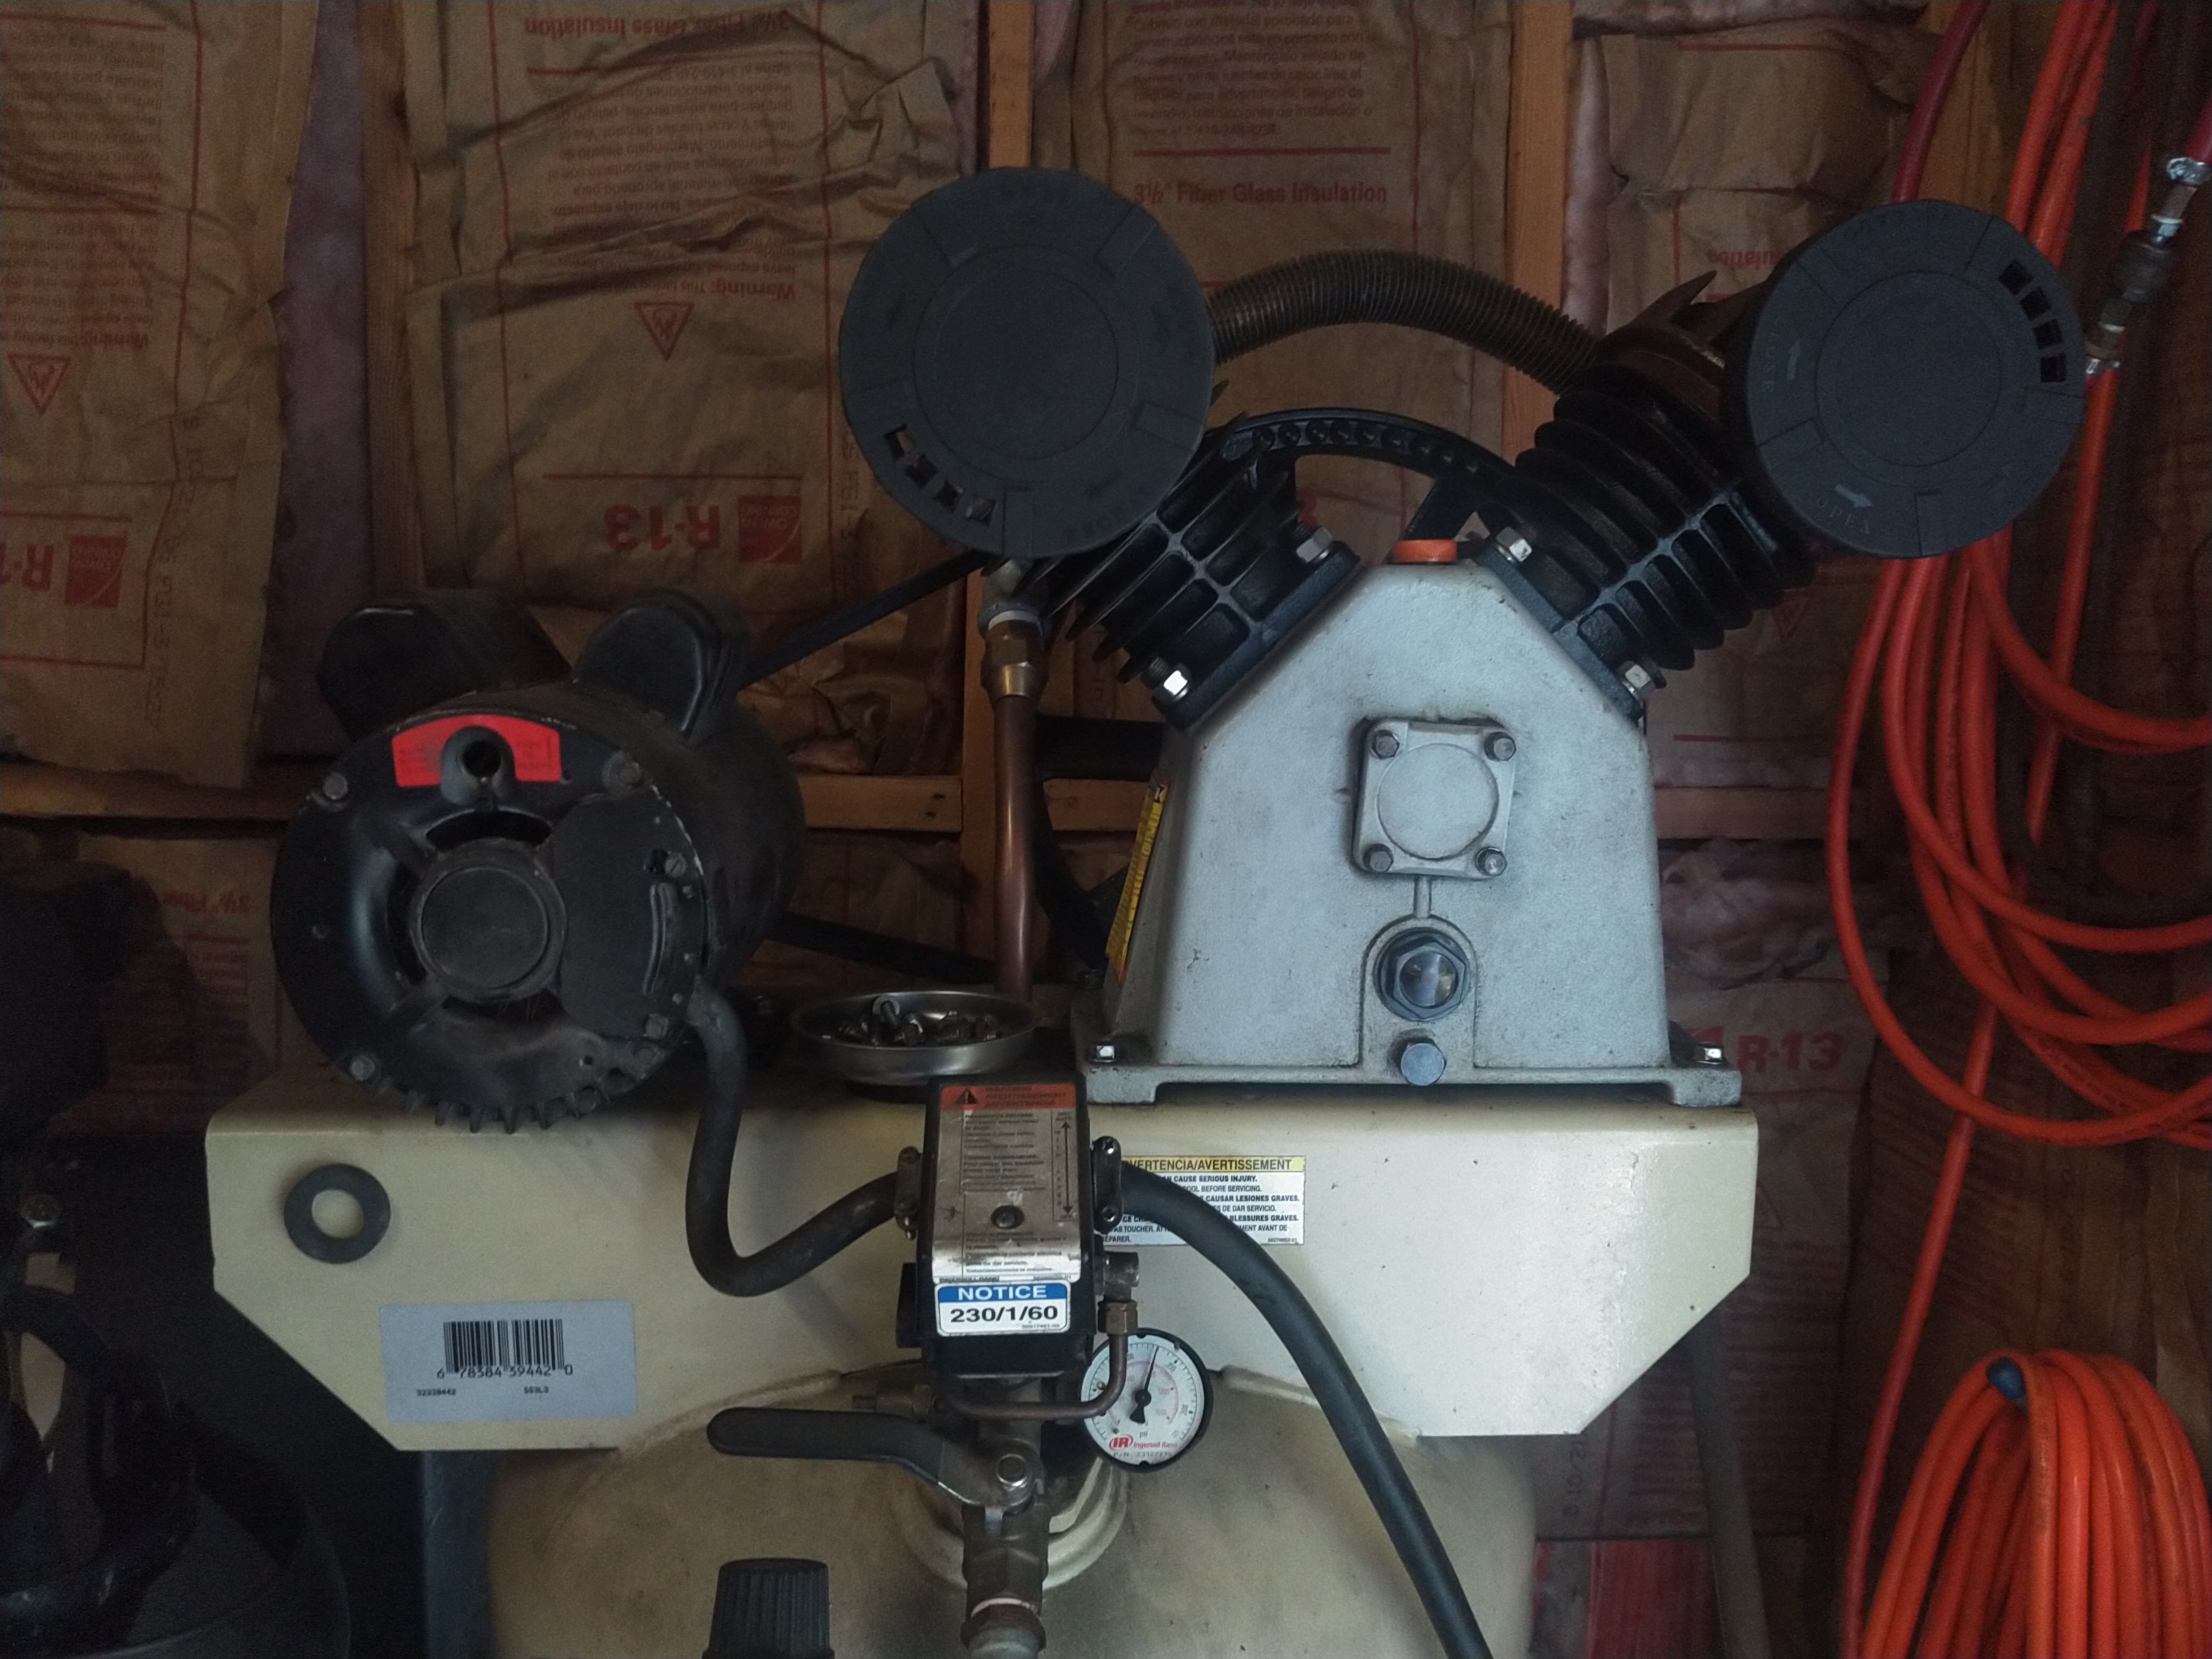
Now on to the problems with the other side. First off, I had to switch the orientation of the output fitting from one side of the pump to the other, so this necessitated dismantling the crossover tube (the one in the picture of the pump above that crosses between the vee), then removing the fittings and switching them from one head to the other. The tube came off fine, but removal of the fitting with the output on it went horribly wrong. I actually cracked the part of it off where the flare would engage, so there was no way to seal a tube onto it. After searching extensively for a replacement fitting, I gave up on that idea and found another solution to repair it. Turns out that on a 3/4" SAE flare, the thread size is very close to a 3/4" NPT but without the taper. What I did then was grind off the flare to put a 3/4" pipe fitting on there. This actually worked out to my favor since the downward turn of the original fitting was straight and I needed to angle it into the down pipe, and so I installed a 45 degree street union on there as well. It probably would have sealed on its own, but I wanted to be sure, so I brazed it into place. Then I bought another fitting with a 3/4" NPT male on one side and a 3/4" SAE flare on the other side to get back to something that could be threaded onto my tubing.
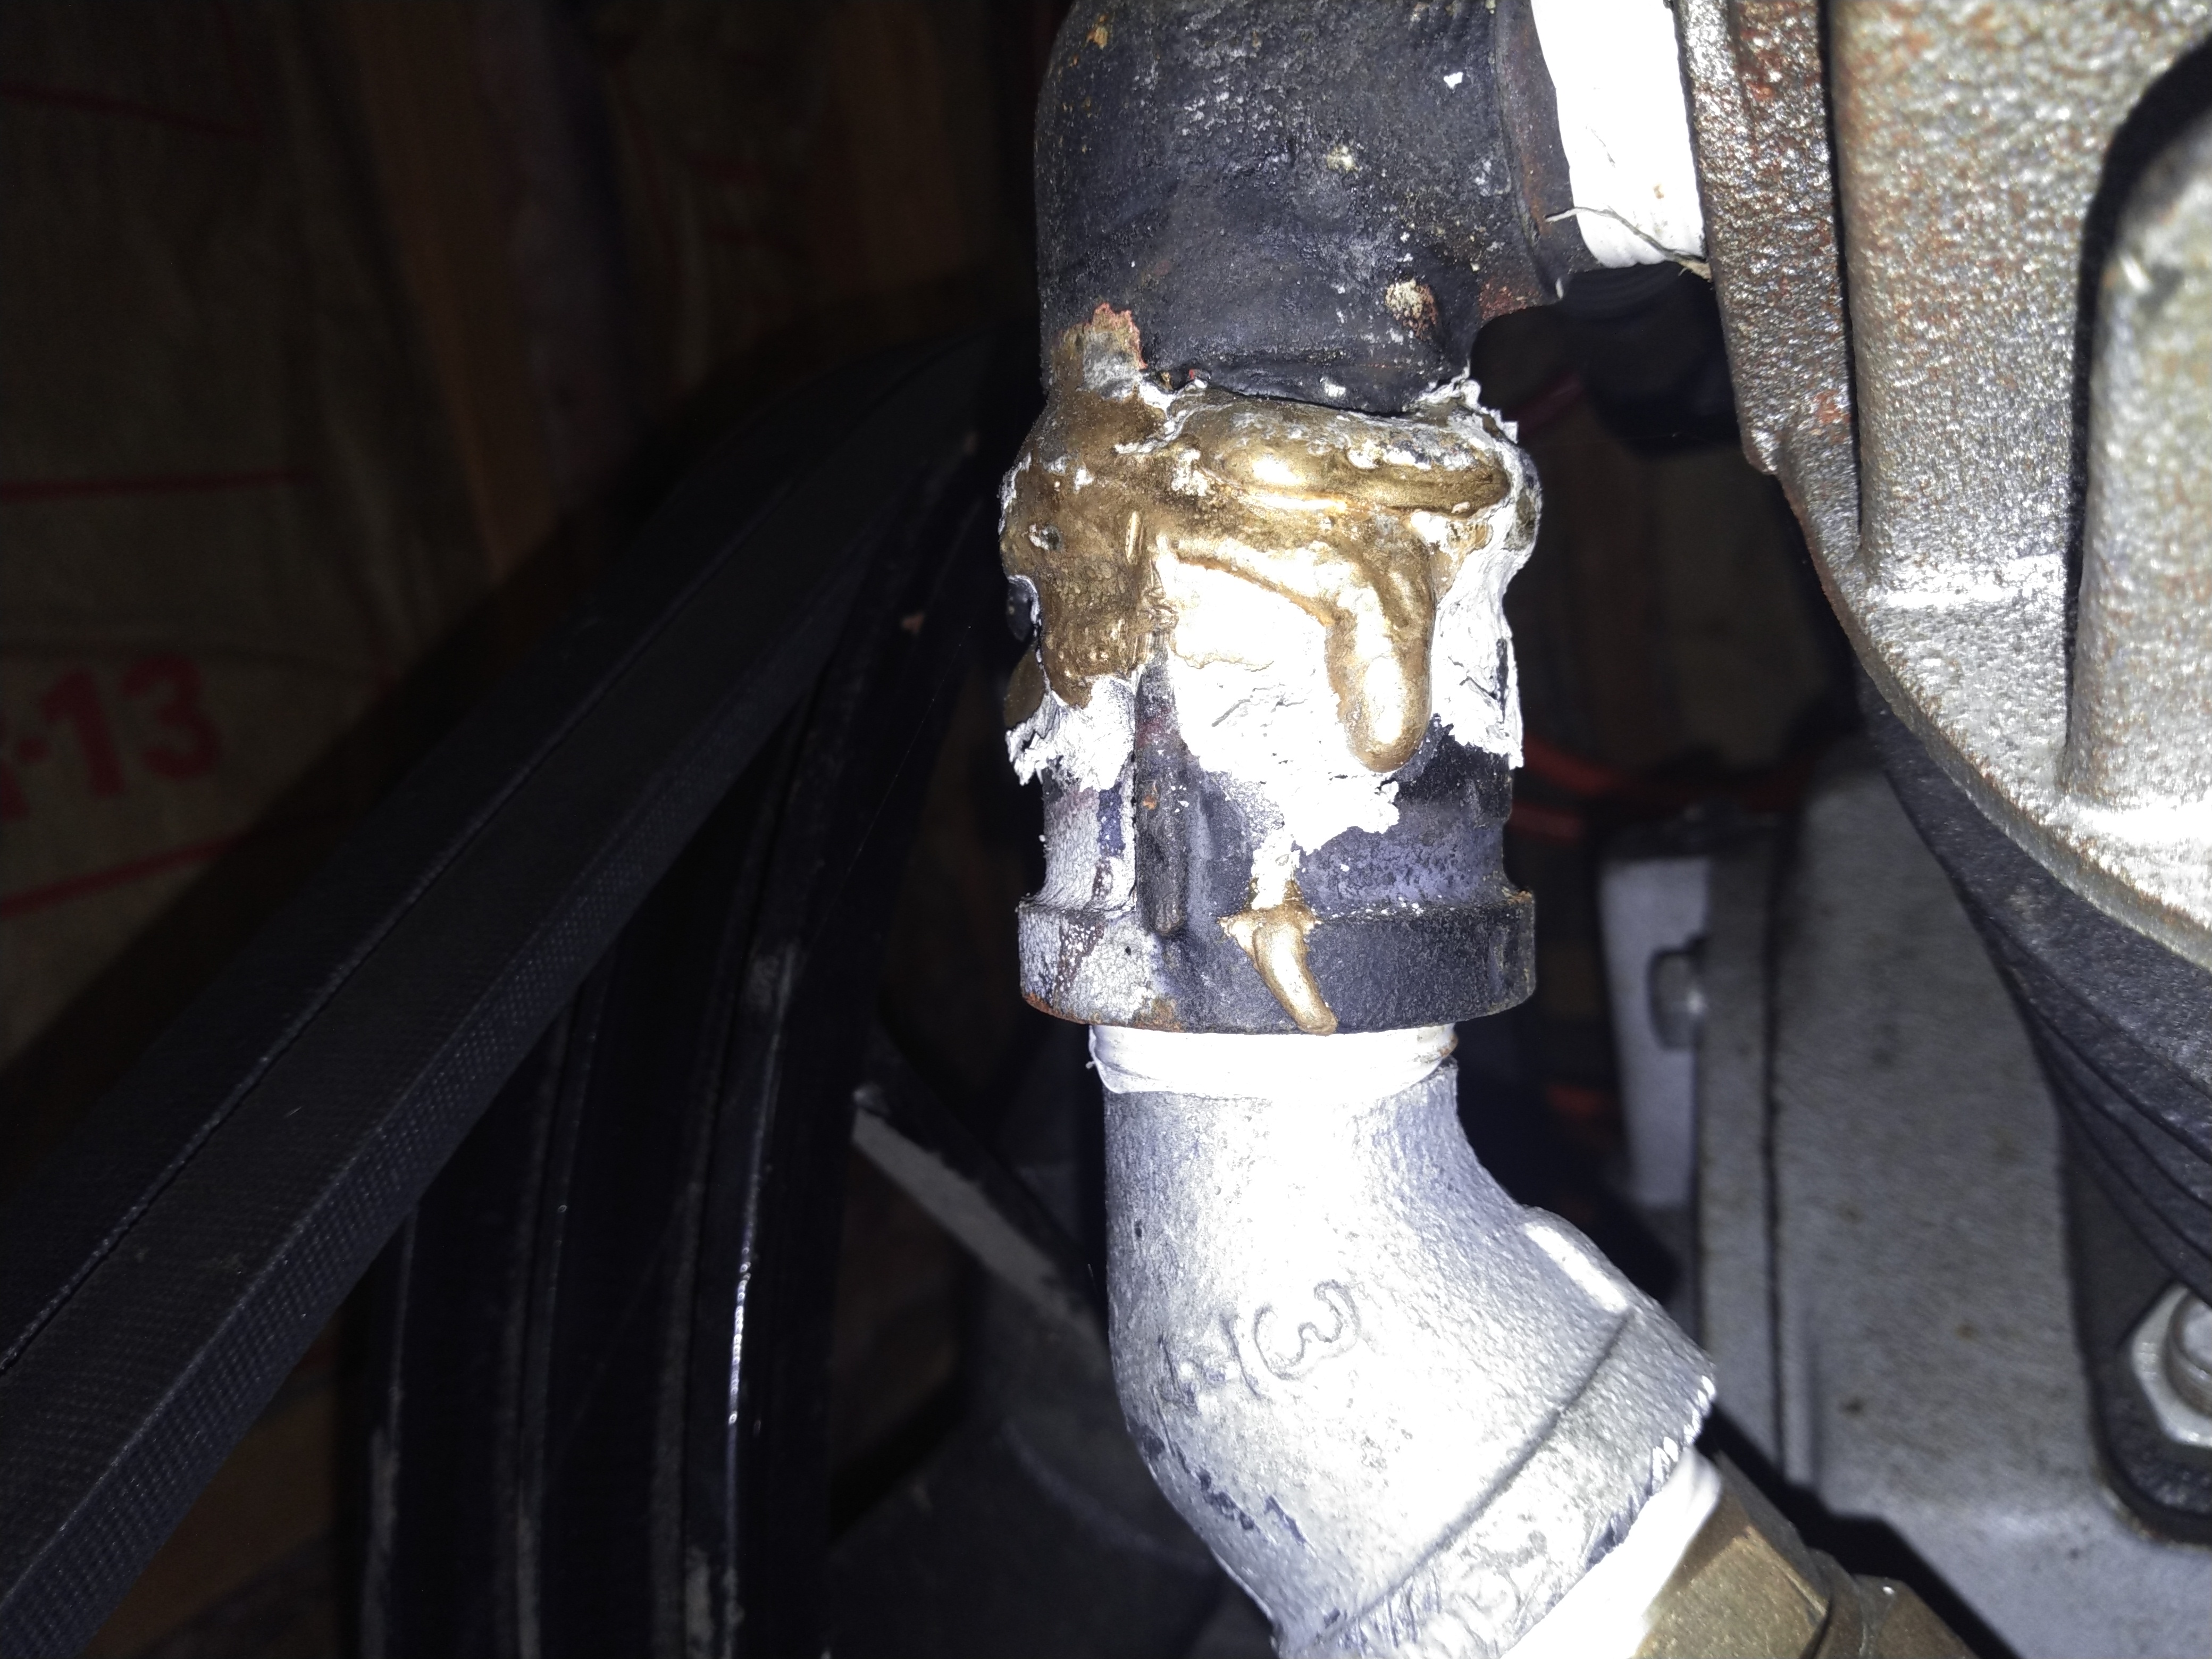
Here's the result. Please don't laugh at my brazing work because this is only the second time I've ever tried to braze something. I was having a heck of a time getting the braze to stick even though I cleaned the parts thoroughly, used flux, and was getting the iron hot enough that it was even starting to melt in places. The braze just would not flow and it also wouldn't stick. I don't know if there's something in these iron fittings that caused this, but I did eventually get the area around the threads completely covered in brazing filler.
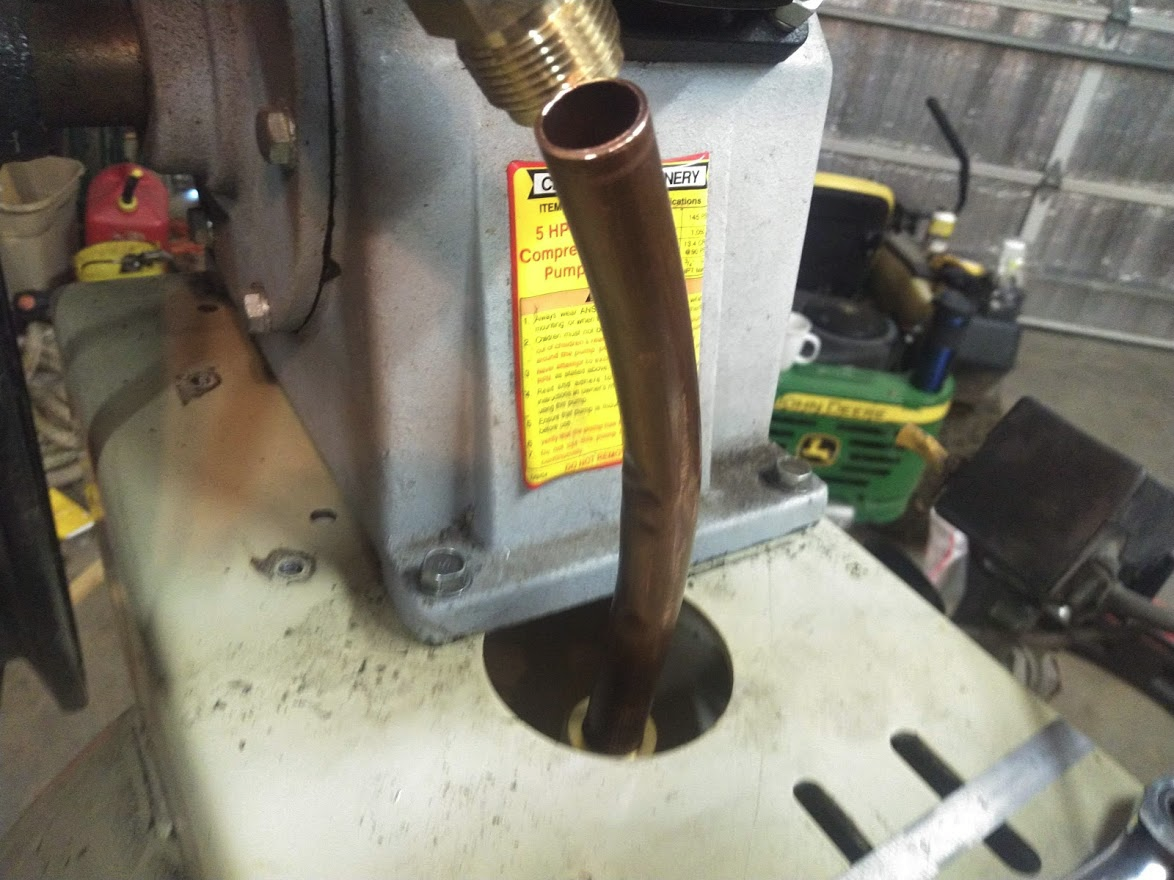
With that out of the way, it was time to do the bend and cut it to length before putting the flare on the other end. I got a couple of kinks in the line in the process, but not enough to make a restriction. It was also tricky doing the final length cut because I had to account for the flare, which I guesstimated. There's some room for error here because you can either draw it in with the flare nut if it's too short or bend it a bit more downwards to squeeze it in the space. I ended up being about an 1/8" long, but when I assembled it, I unbolted the compressor head completely, assembled the tubing, then tightened down the mounting bolts, which pushed the tubing down where it needed to be.
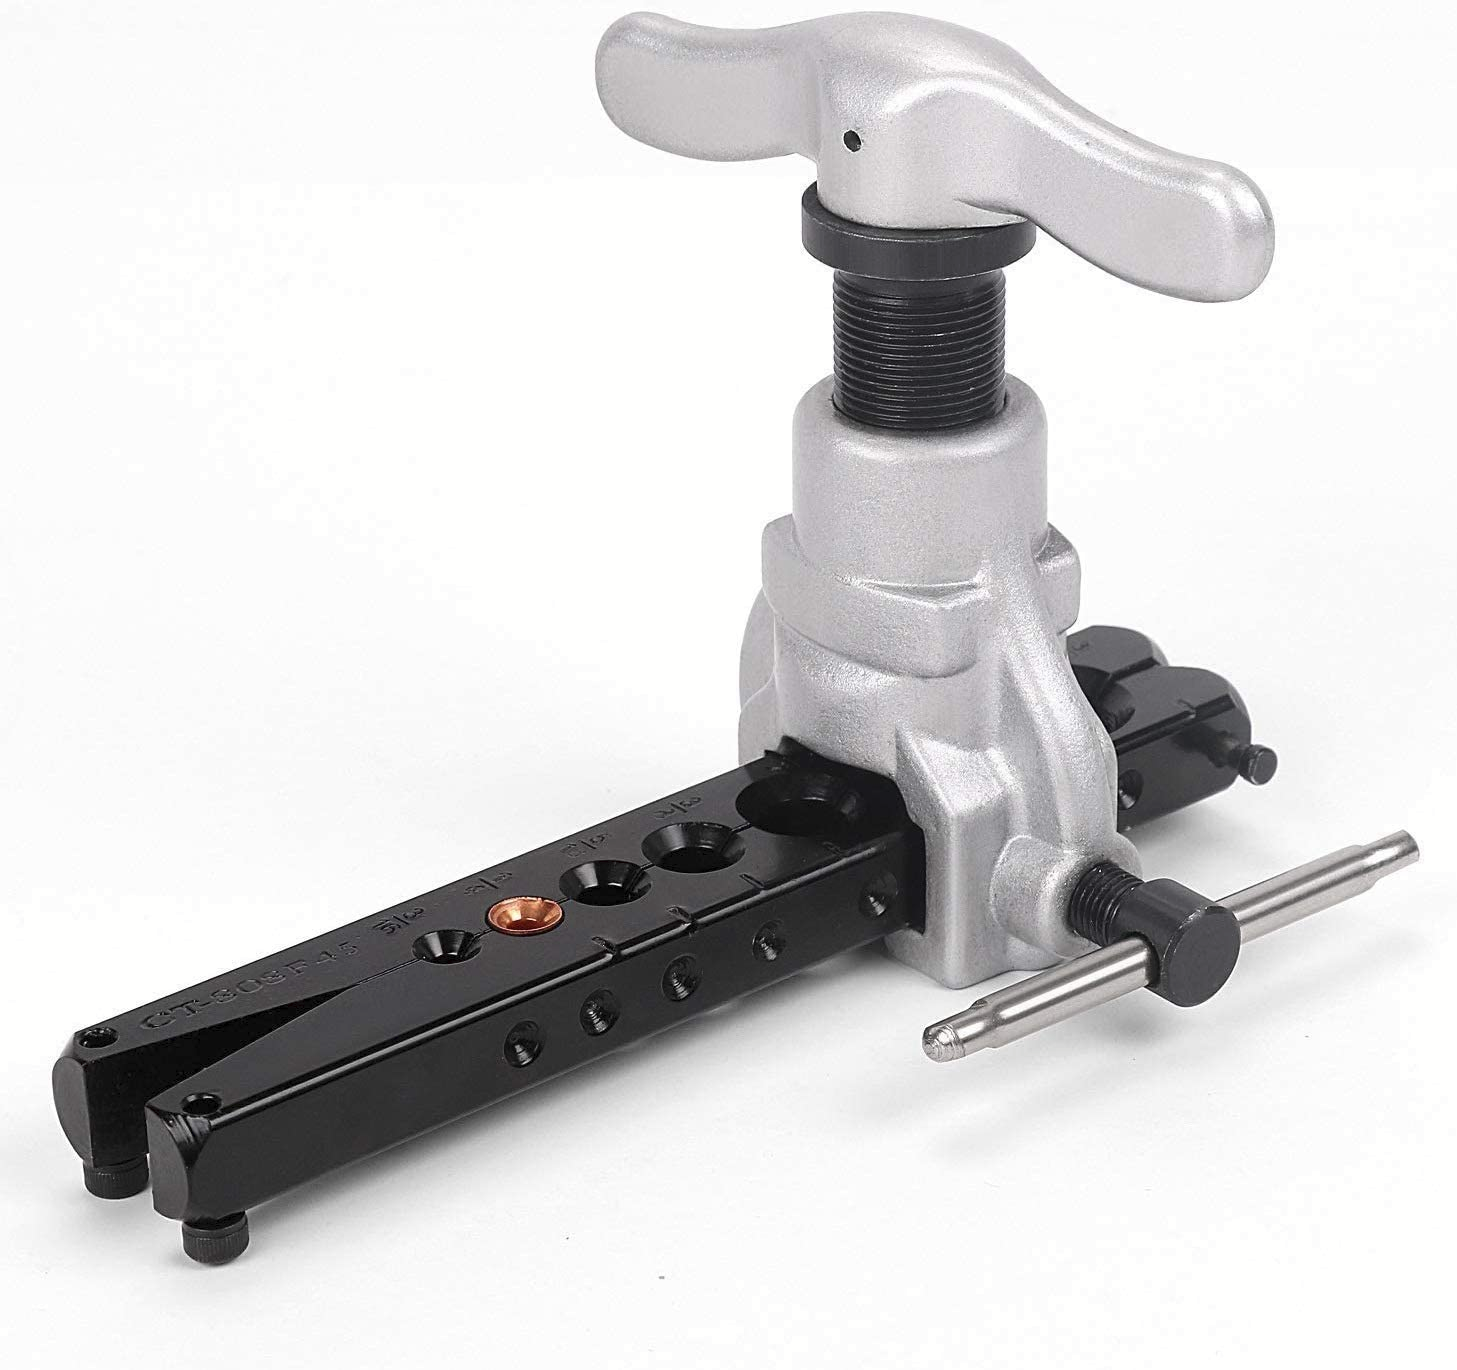
I had to buy a special flaring tool for this job, since the kind I have for doing automotive brake lines only goes up to 5/8" size. It was actually pretty affordable at only $25 and it's a pretty slick design. Unlike the automotive kind, instead of just smashing the flare straight down into the tubing, it actually rolls into the tubing as you turn it down and gives a nice neat flare. It also doesn't let you over torque it and crack the flare in the process because it has a pin inside the handle that disengages when it's turned all the way in. In other words, it's meathead proof. I've screwed up many a brake line flare by torquing the tool too much. I did one practice one on the cut off piece, which turned out perfect, so I stuck the flare nut on there and below is the result.
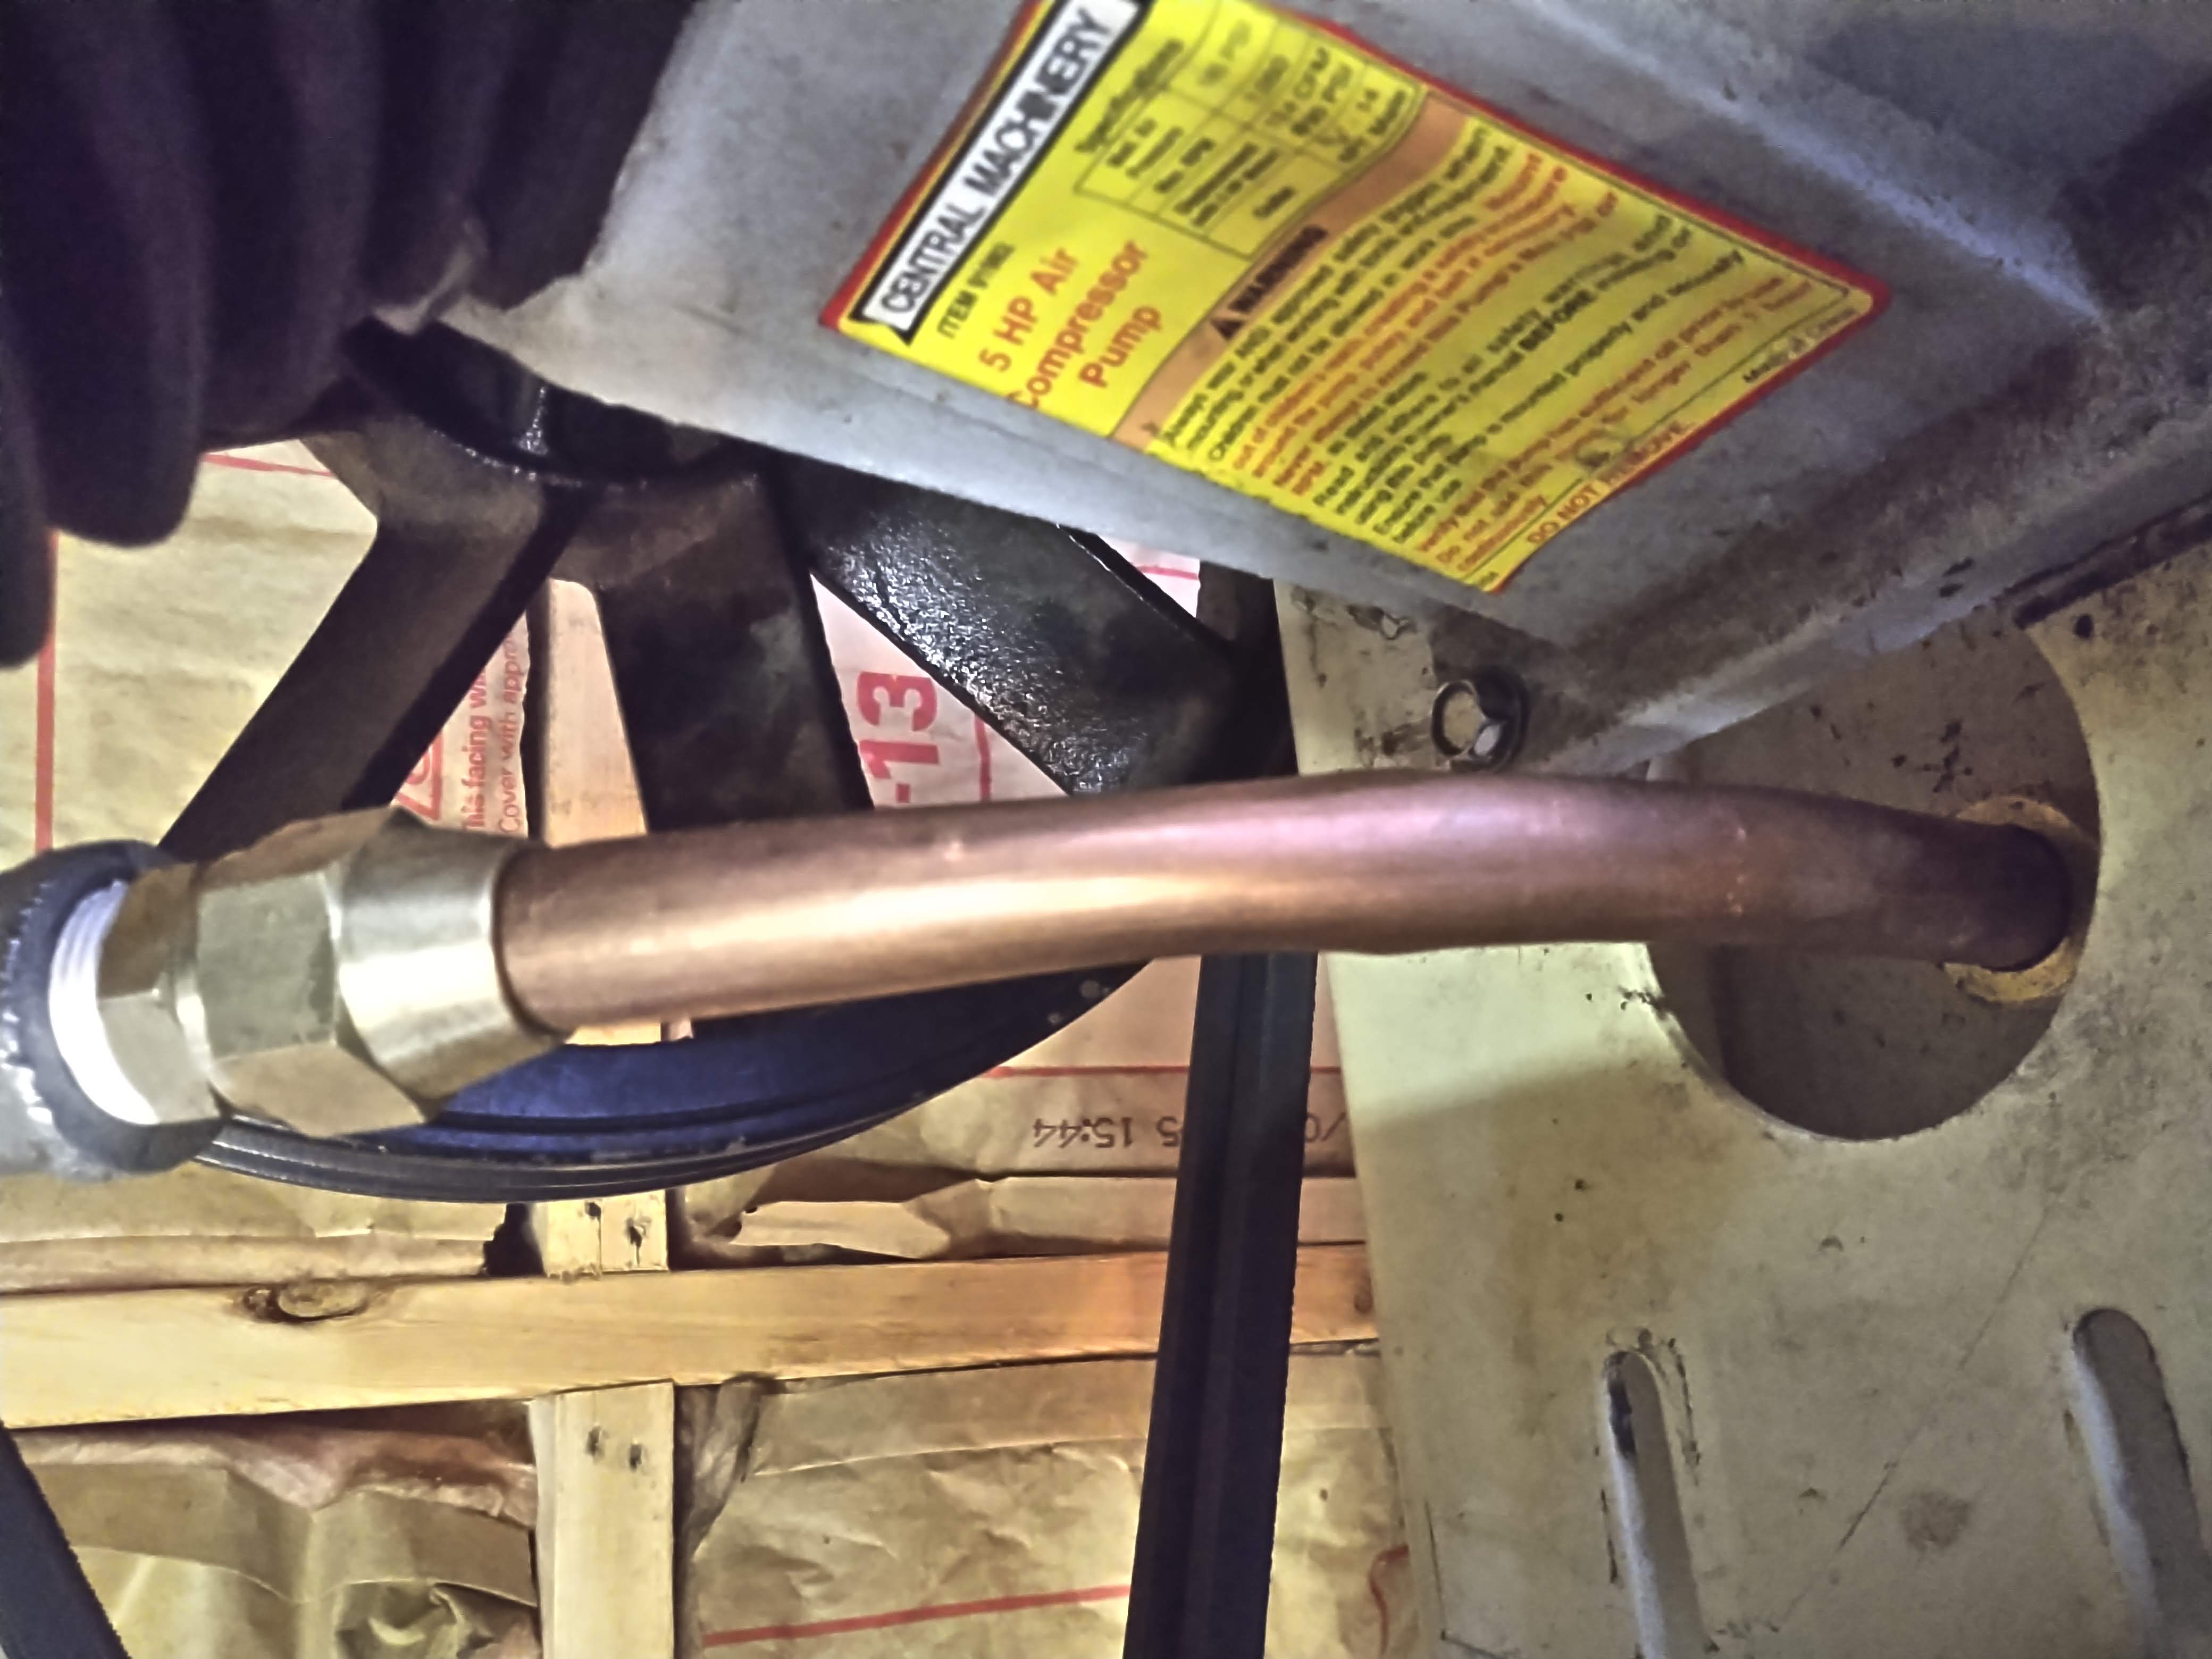
Below is the completed assembly. You can see it kinked a little more when I cinched the pipe down. Again, not enough to make a difference in flow rate, but just looks a little ugly. It's really hard to bend tubing of this diameter without any special tooling and also without any kinks. That was a lot of messing around, but job done.
The final part of this project was the wiring. This was pretty straightforward, but I wanted to show you what I found inside the switch panel when I went to wire it up.
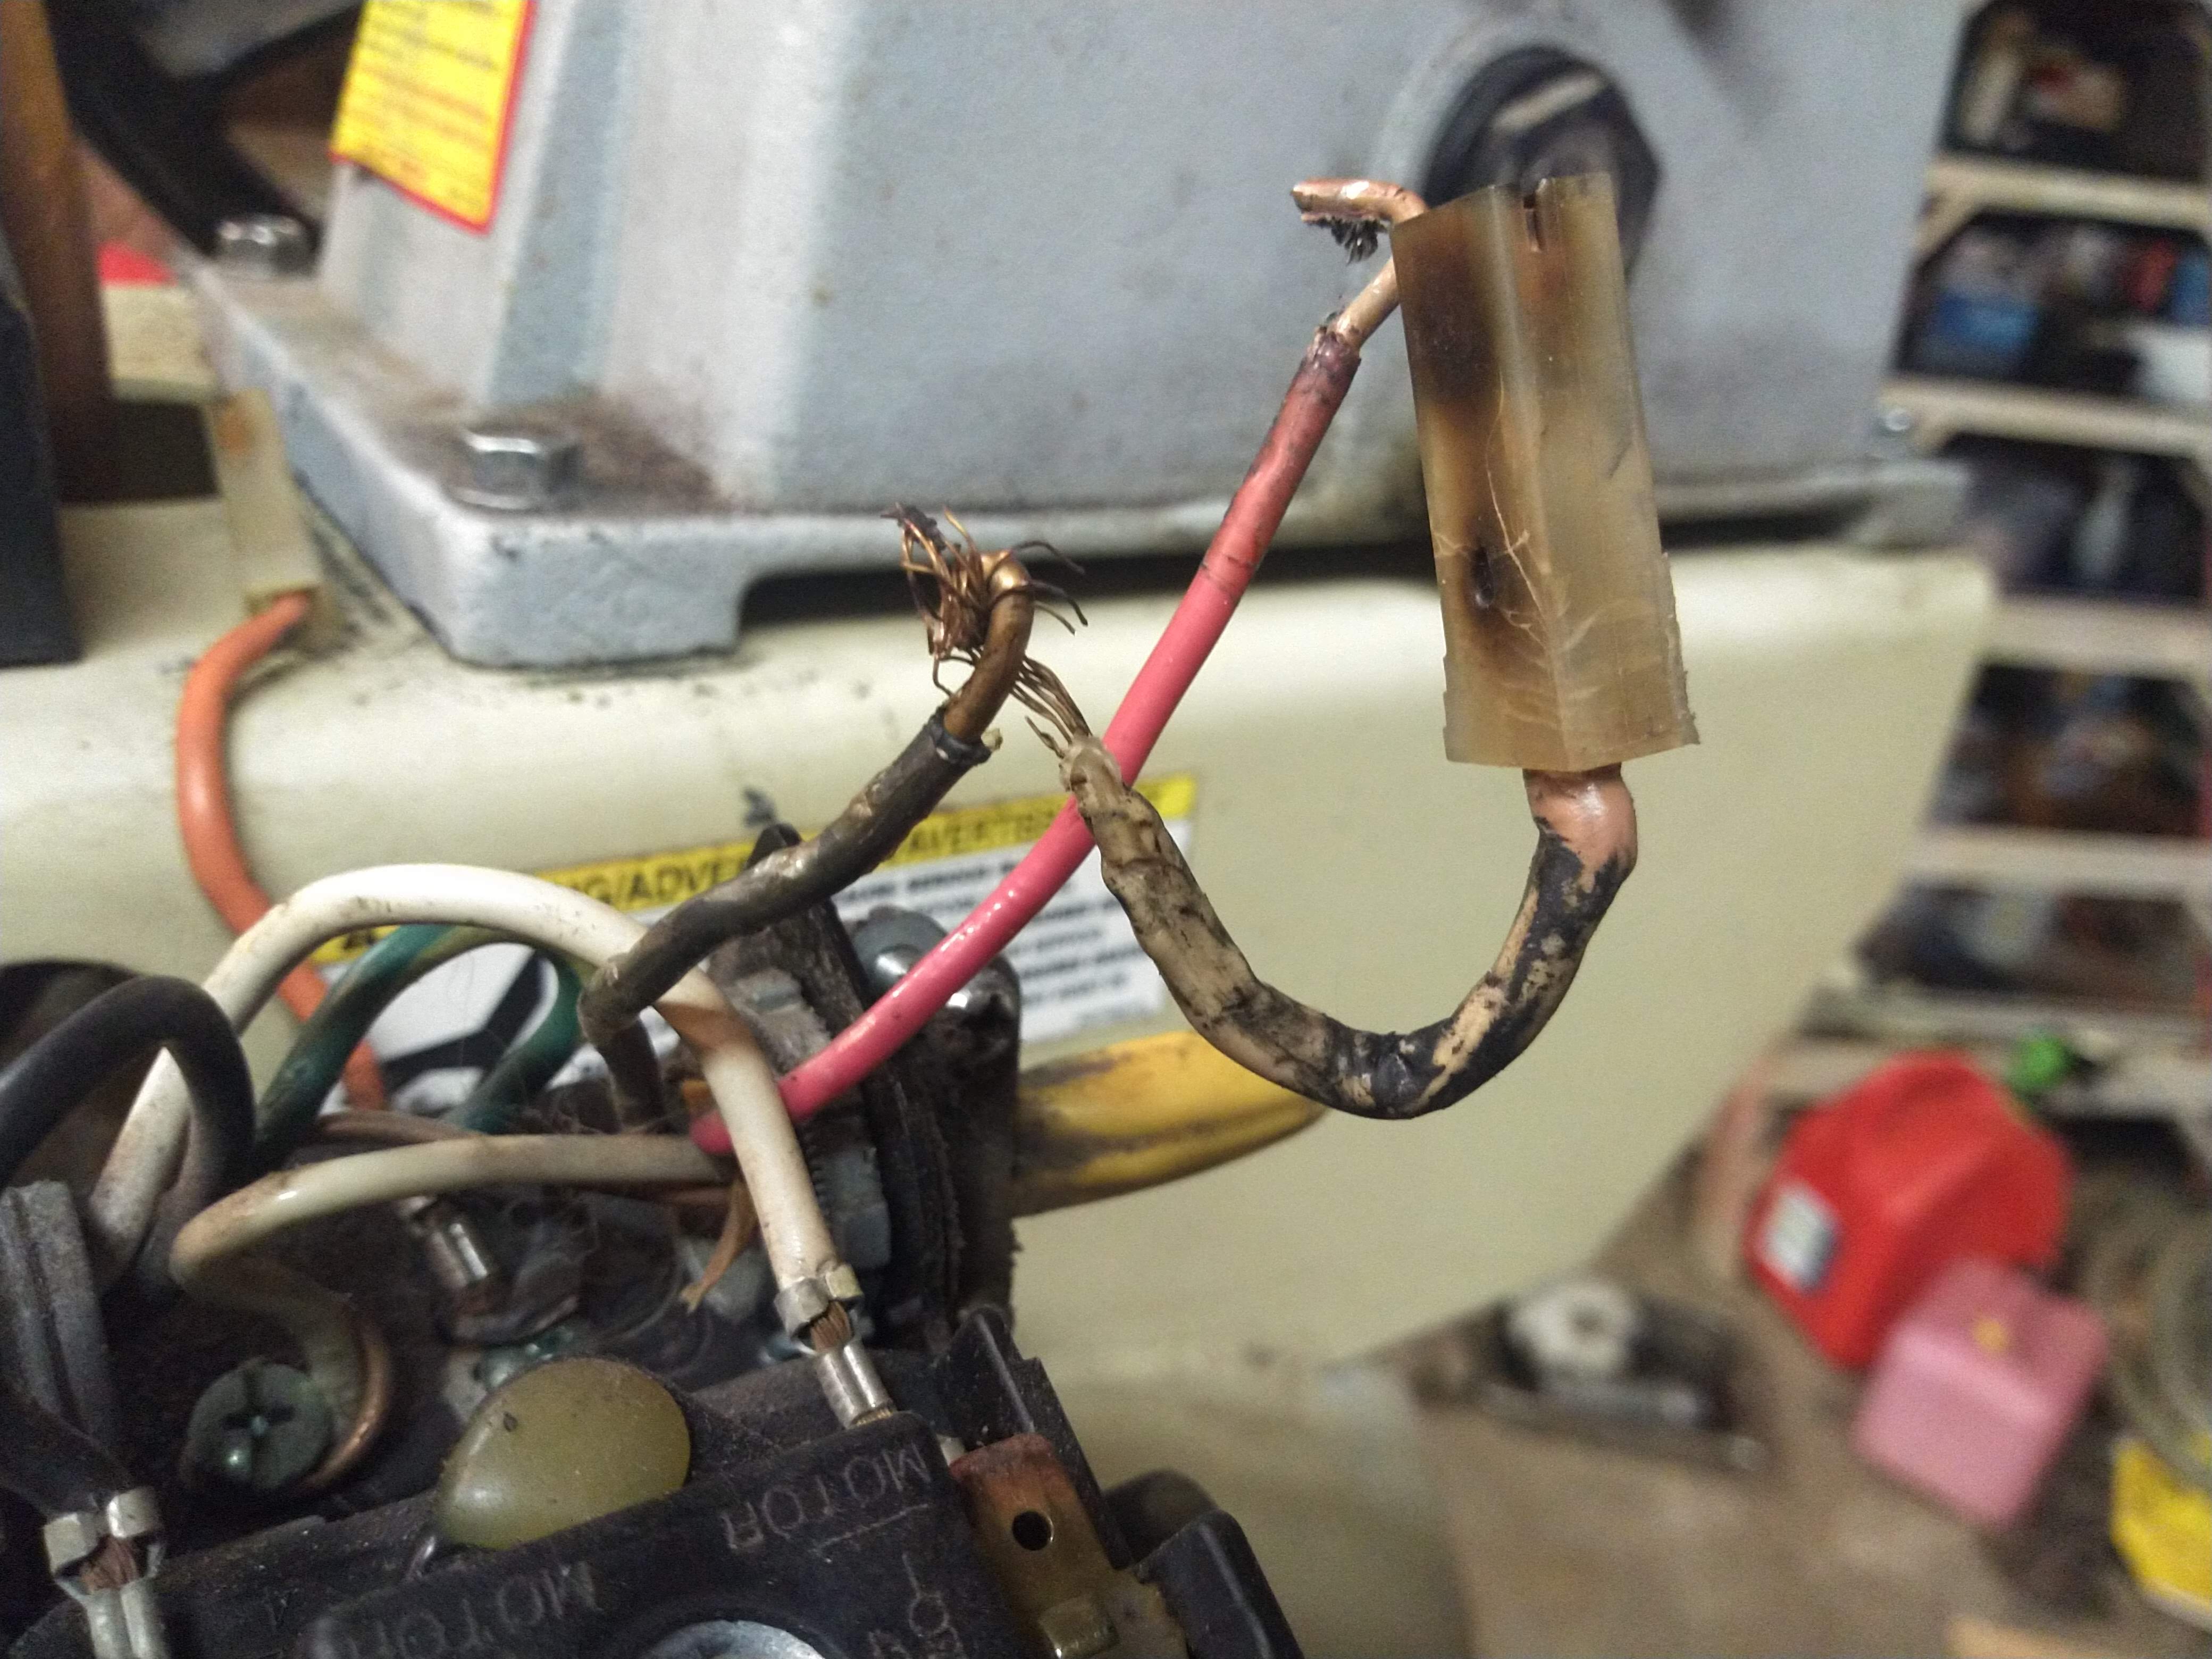
This had Romex (inside the wall house wiring) going right into the switch. First off, you're not supposed to use that kind of wiring, which consists of solid copper wires that aren't very flexible, so they tend to work harden, which can create little cracks in the line and it becomes a fire hazard. Second, look at how melty the little spade connector pigtail he made is. Also take note of how it's connected to the Romex. That's how it was when I found it, with some electrical tape over it. In spite of how beefy that insulation looks on there, it's only 18 gauge wire. Something that draws 15 amps like this electric motor calls for at least 14 gauge wire, but preferably 12 gauge or bigger. I went with 10 gauge because I like to keep the resistance in the wiring as low as possible, and for the short little power cord I made here, it's a very small difference in price to go with the bigger size.
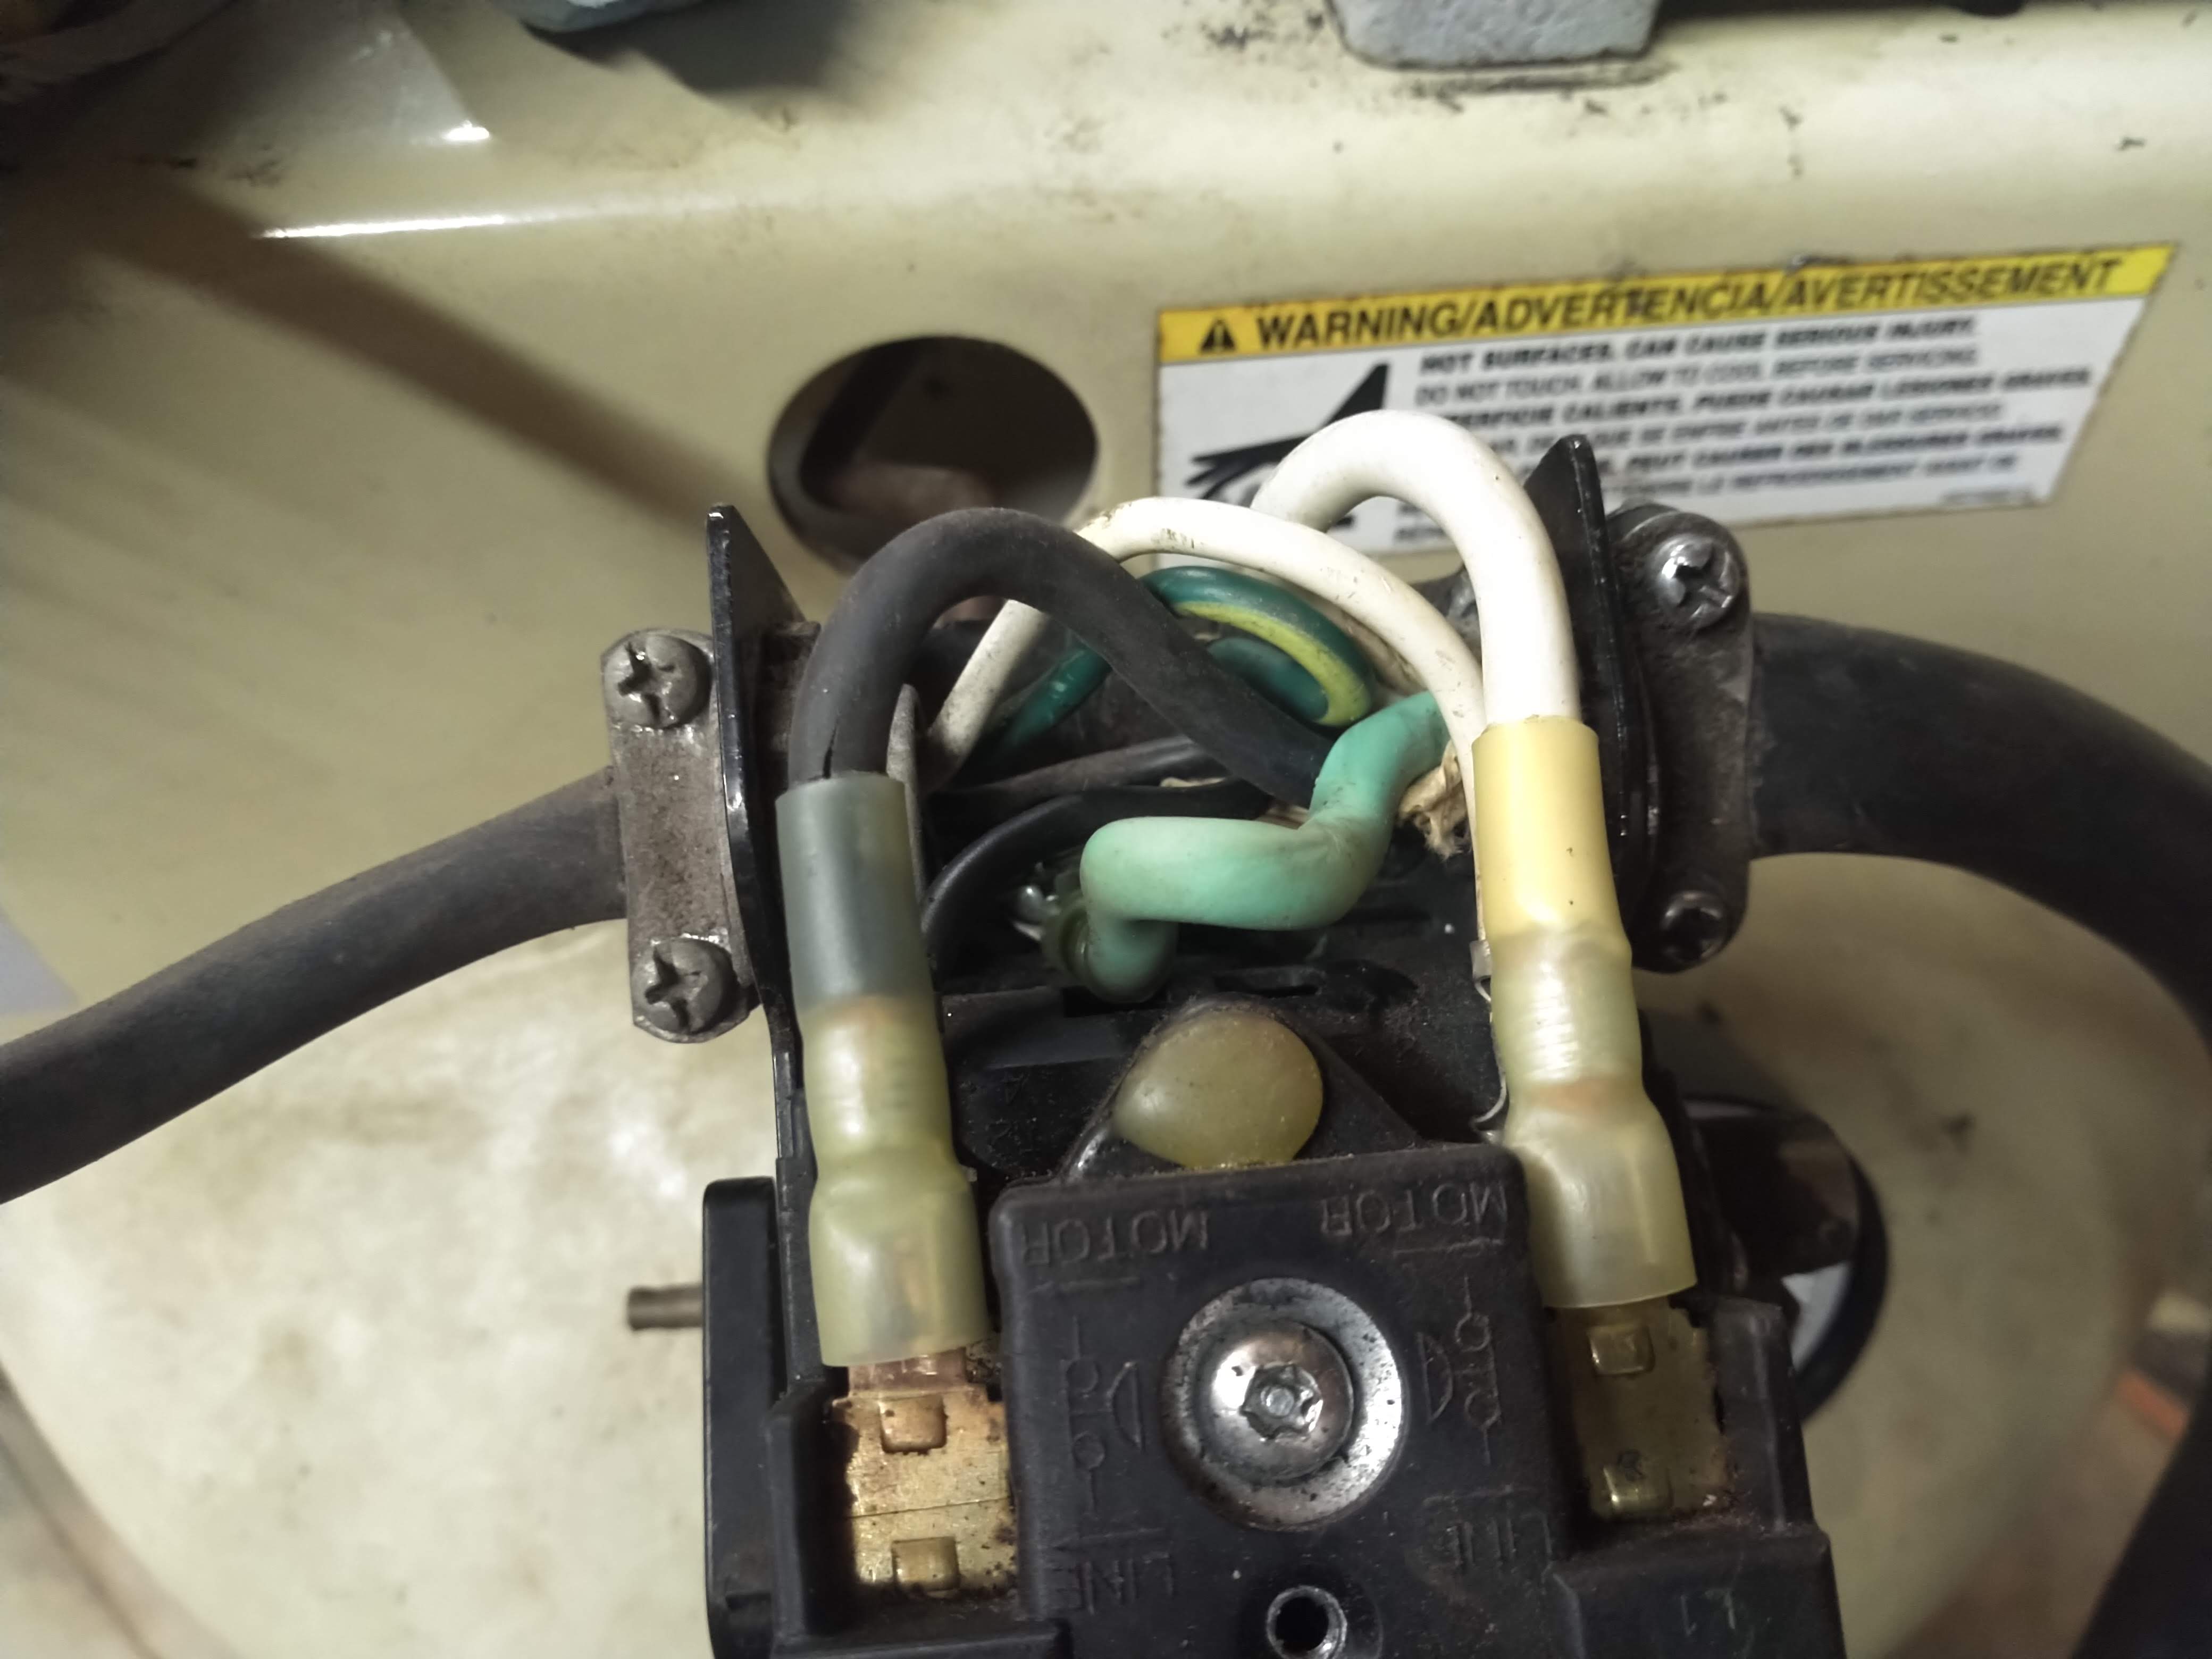
This is what I ended up with. Spade connectors straight onto the ends of the incoming wire. SOOW cable that's designed for things that move around and/or vibrate. The wire is 10 gauge, so overkill rather than underkill. Why go overkill here? Lower resistance means lower utility bills. It means longer appliance life because it's getting the voltage and current it needs as fully as can be done.
Here it is almost complete. The next little hiccup I ran into was the filters on this. I wanted to go with the filters that Harbor Freight installs on these from the factory because they quiet the compressor so much. You can't order these parts online, but Harbor Freight does have them available if you call their parts number. When I ordered this, I asked the lady 3 times to be doubly sure I was getting two filters here, because it takes two filters. She assured me repeatedly that I would get everything I needed. I did not get everything I needed. I got one filter. If you ever order these things, they only send you one filter assembly. The blue shop towels were a holdover until I could order another one.
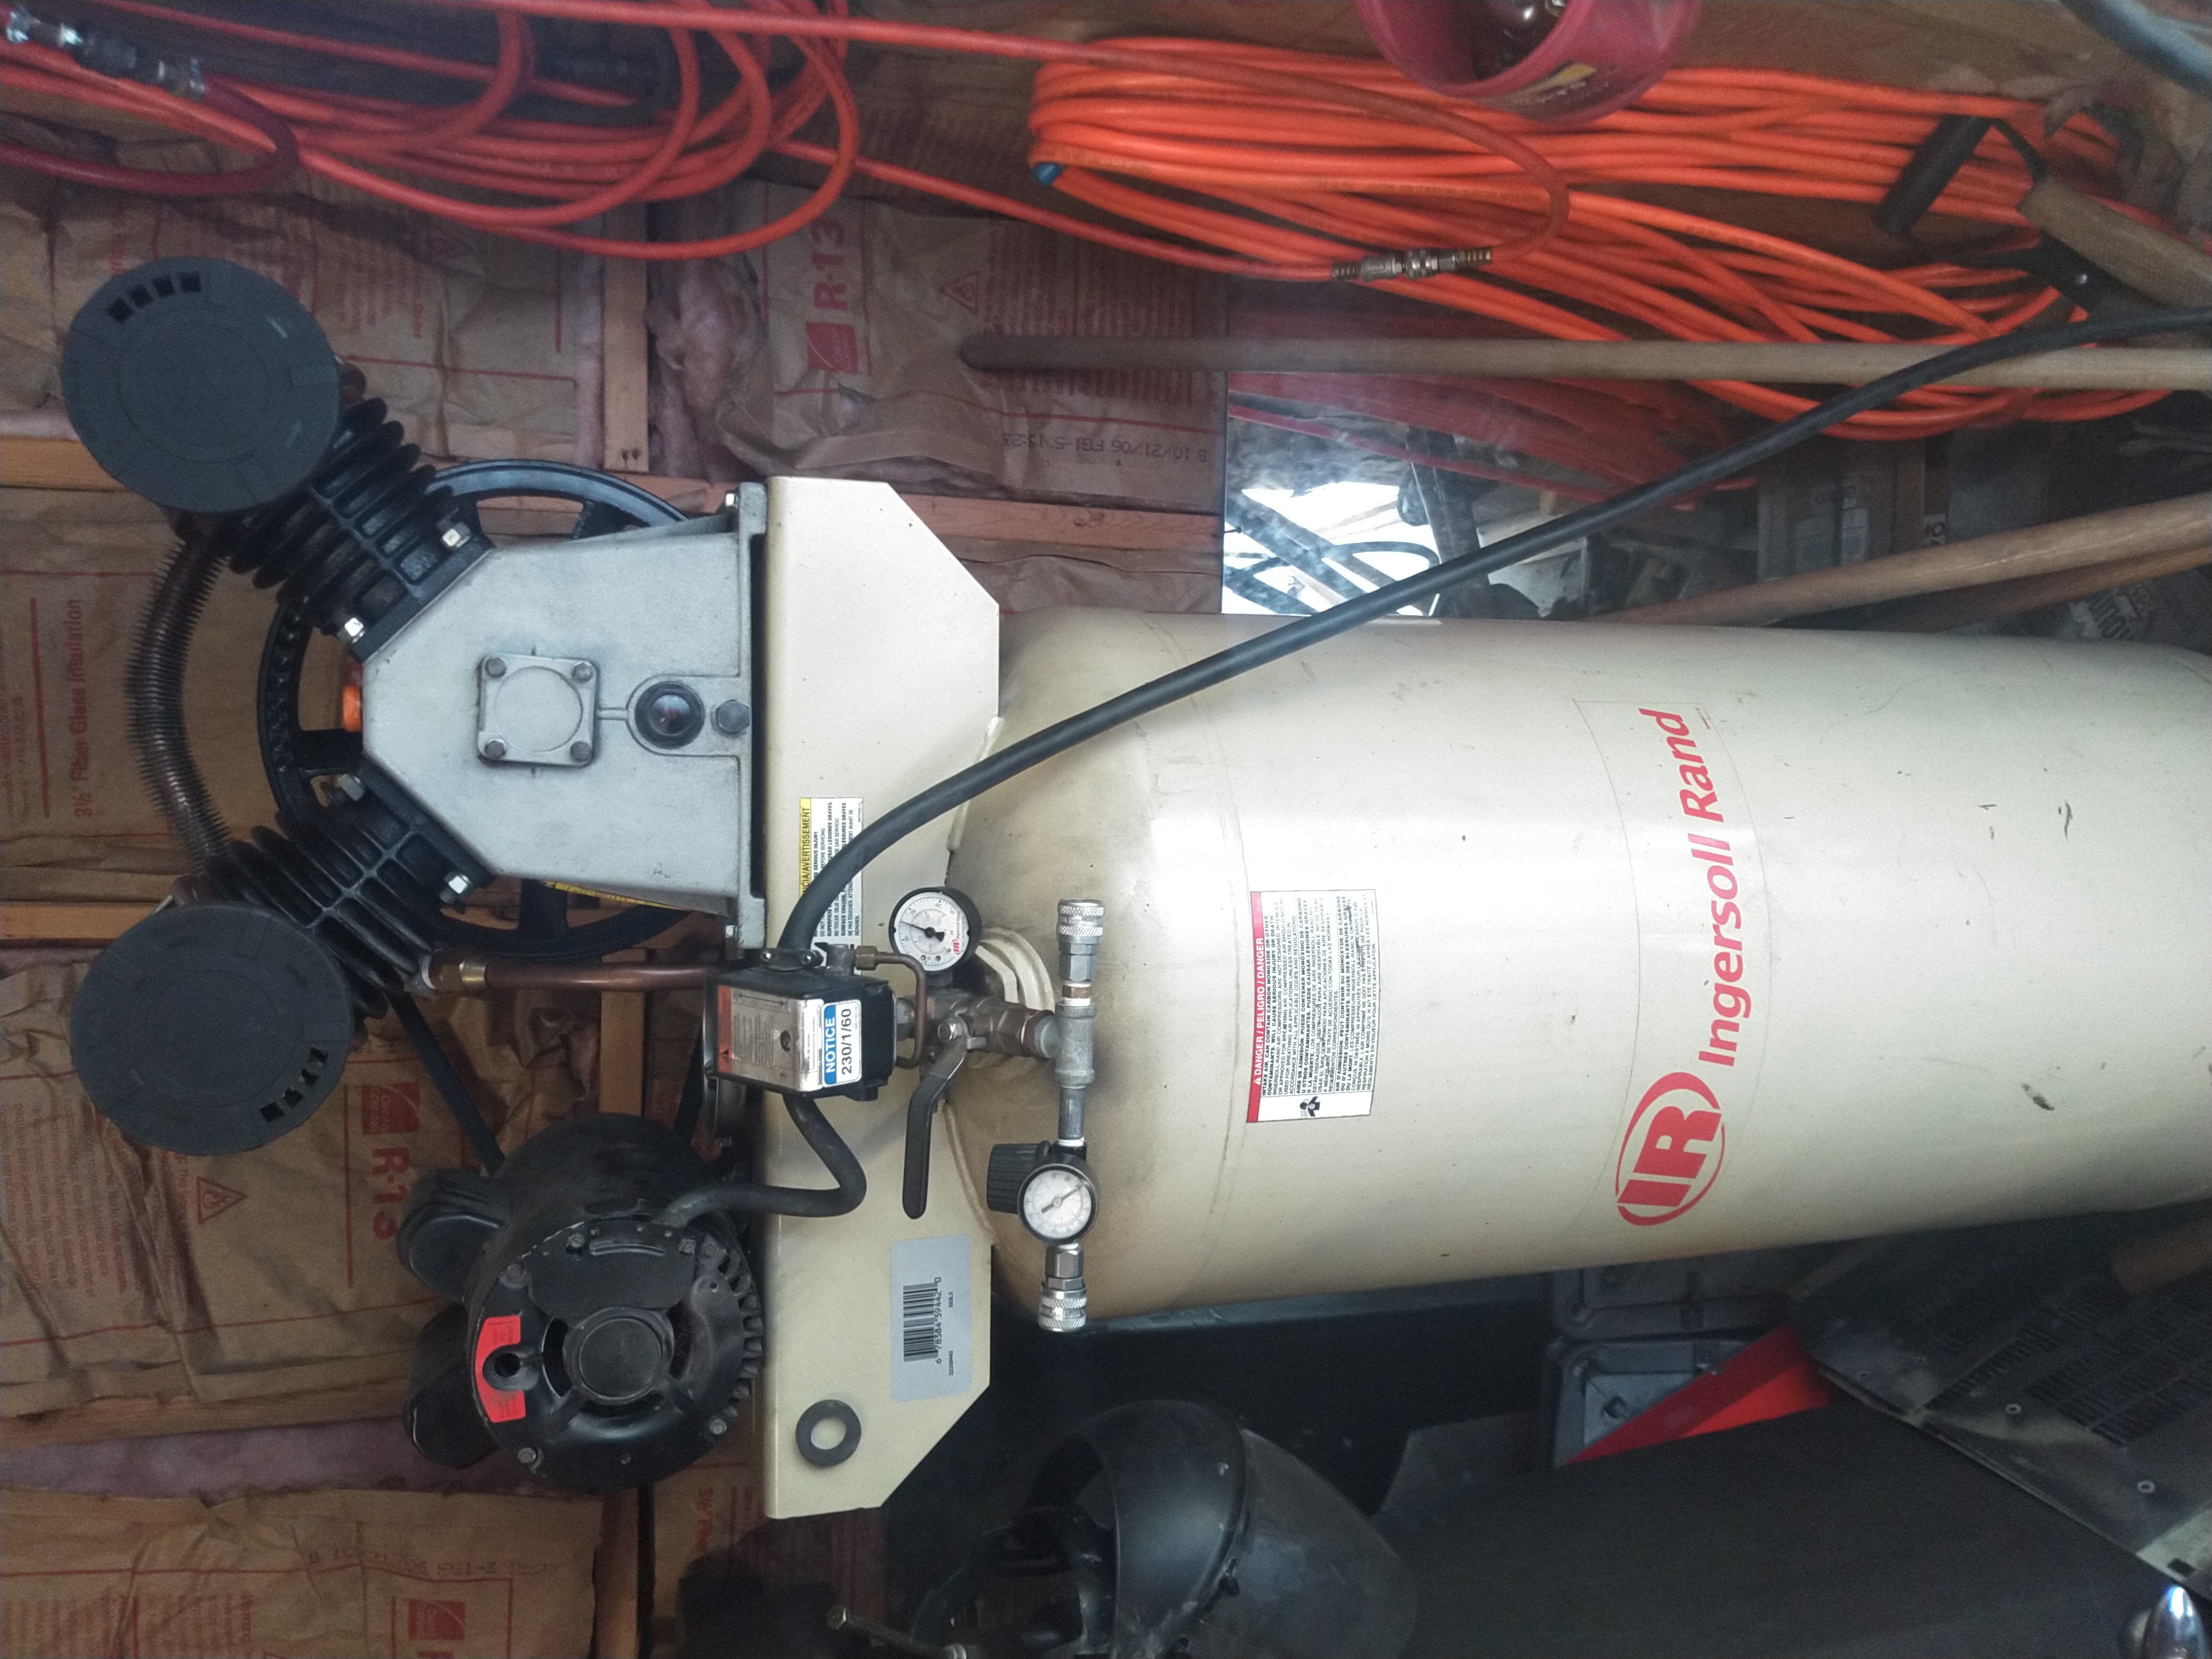
Here it is in its final incarnation today. One last little problem I had after the project was all done was that the overload protection on the motor kept tripping. I don't know if that poor wiring into the switch it had previously damaged it somehow, but I checked the temperature on it with my laser thermometer and I couldn't find temps beyond luke warm anywhere on the motor after it was running for quite a while. It kept tripping anyway, so I completely bypassed that switch. The circuit it's on is protected with a breaker. That's good enough for me.
So what's the verdict? Was it worth my time and money? I think yes. Let's break it down. I put $175 into the initial purchase of the project. I've got about another $195 into the parts I needed to buy, including installation cost, so that's a grand total of about $370 for this compressor. Considering that some of that cost would be incurred with a new compressor anyway, not too shabby. The cheapest entry level compressor that I could find that would even come close to comparing to what I have here, something on a 60 gallon tank, was about $535. I figure with the CFM this setup puts out and that it's about double the full load amps for the motor, it's more comparable to the 80 gallon compressors that start around $1000. I had this identical setup in the past, and it would keep up with a DA sander or an air board running continuous for hours on end. It's a pretty trick setup. I'd say it was worth my time and effort. Now if I was making money with this, would I do all this messing around? Absolutely not. I would just buy the new one and be done with it. I would lose more money in a few days of lost productivity than I could ever have saved, but because I didn't have an urgent need for this machine and this is just a hobby, I was able to get a machine capable of this for about a third of the cost of a new one.
I've been using it for a few months now and it works great. It runs quiet, and oh man is it nice to use compared to that little pancake compressor. I have literally not had to wait once for it to recover. It's just always there with enough air to keep up with whatever I'm doing.
The rewards earned on this comment will go directly to the person sharing the post on Twitter as long as they are registered with @poshtoken.
How would one register with @poshtoken?
#POSH