Hello dear steemians, today I brought a cpu to my house which had already been reviewed by another technician, the diagnosis was that the motherboard was damaged and should be replaced by another, I asked the owner of the team about what the cpu, that is, what was wrong, I told her that she turned on but it restarted and sometimes turned on and off, from my experience I told her that it could be the power source or that the processor was overheating and to avoid further damage, the equipment was turned off, but to be sure, I had to review it calmly.
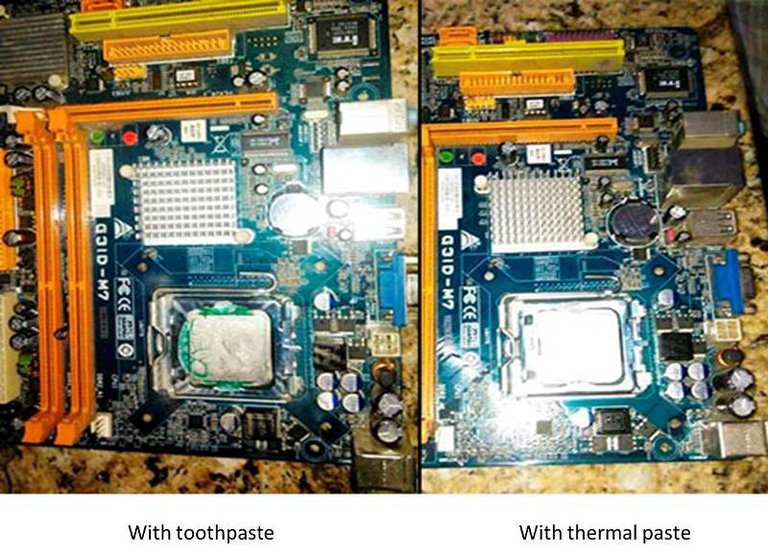
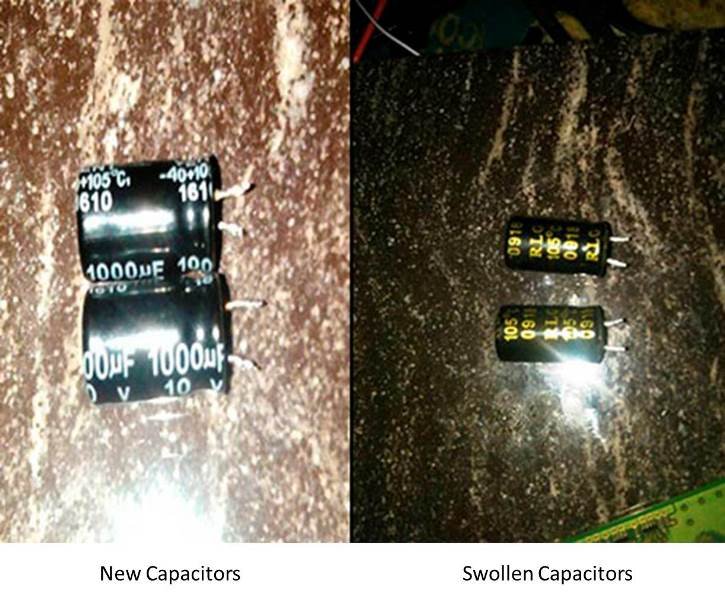
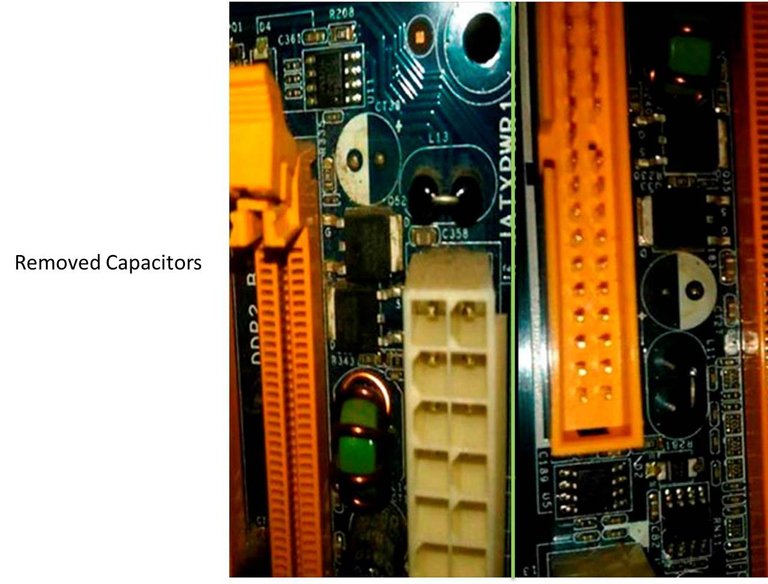
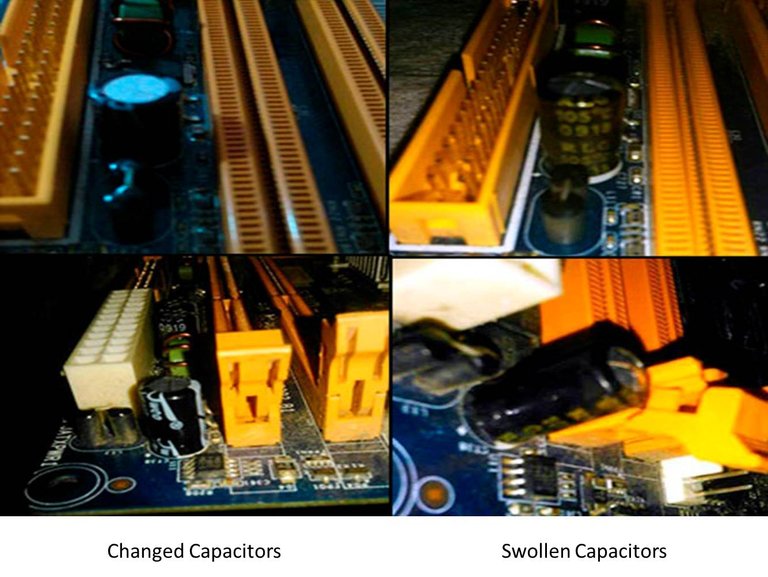
Start by uncovering the case and I realized that the motherboard had two inflated condensers, these by recommendation should be changed to avoid future damage, I proceeded to remove the motherboard from the case and felt a slight smell of toothpaste but I did not much case, I realized that the fan cooler had 3 broken legs of the 4 he has, when I raise my big surprise there was toothpaste on the processor, call the client and tell him what he had found and told me that the technician he had checked it and made maintenance and had placed toothpaste because it had no thermal paste, but it worked the same.
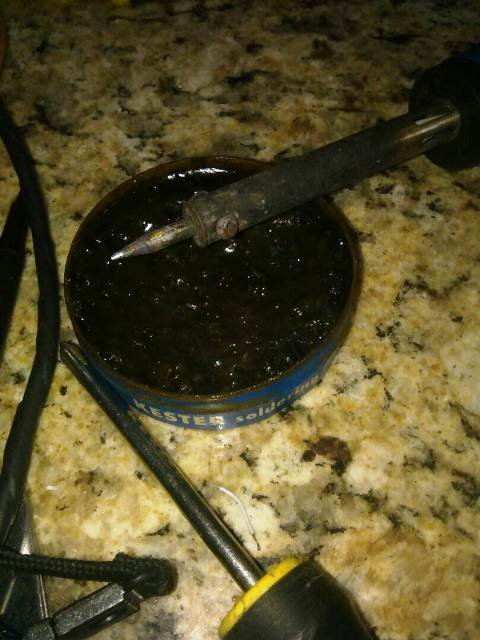
Well friends here I will show you how to change these swollen condensers, for this we will need the following tools:
.-Cautín.
.-Tin.
.-Flux to desolder.
.-The capacitors to replace.
Well the first thing we must do is to identify the capacitors to change through the bottom of the motherboard, this will be placed a little (not much) of flux to desolder, with the tip of the soldering iron we will place it in one of the pins of the condenser and we will put more tin, just a little, this I do because the solder of the card is cold, that is, it has a lot of time and to make it hot faster and easier to remove I put a little more tin again, the same will be done with the other pin of the capacitor.
After this with the other hand we grab the condenser and we will do a little pressure to one side and heat the pin to loosen the tin and yield the capacitor, change pin and do the same process until the condenser is outside .
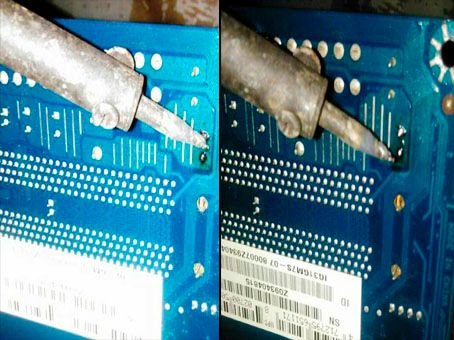
To put it we will do practically the same, we will heat where the pin of the condenser goes and we will press downwards to place it little by little, remember that the capacitors have a strip that indicates which is the negative side, this side must coincide with the painted side on the motherboard. Once placed you will put some flux to rectify the solder and clean with a little bit of alcohol or tiner.
This procedure has a risk and is that when heating the pins of the condenser can damage the welding track, as we say here in Venezuela "We flew the track" if this happens the work would be a little more complicated to solve, so you must be very careful.
We already have the mother card ready, in my case I proceeded to maintain it, removing the toothpaste and placing thermal paste, I use the white one since it is the most commercial and the most economical here in Venezuela, but I would recommend that you put thermal paste of the gray, is much better than the other, but never put toothpaste. I also changed the fan cooler for the broken legs I had.
After this I proceeded to remove the source of power to review it but I will make another post about it, so I wait for them on another occasion in which I will be talking about the source of power of this team. Until next time.
If you liked give upvote, if you think it is useful you have resteem so that the information reaches more people. Follow me and I follow you.
Thanks for your support.
Note: The photos were taken with my ZTE Blade Apex 2 Phone and edited with Adobe Photoshop CS6.