Film and video industry professionals know one simple little secret to creating high quality looking video content. “Lighting, lighting, lighting!” This was a mantra shouted at our class from our videography professor almost daily. The right lighting can make video images from even the lowest resolution, low-end cameras able to compete with the highest quality content out there. Without going into lighting theory and boring your socks off, here are a few tips to improve your video images.
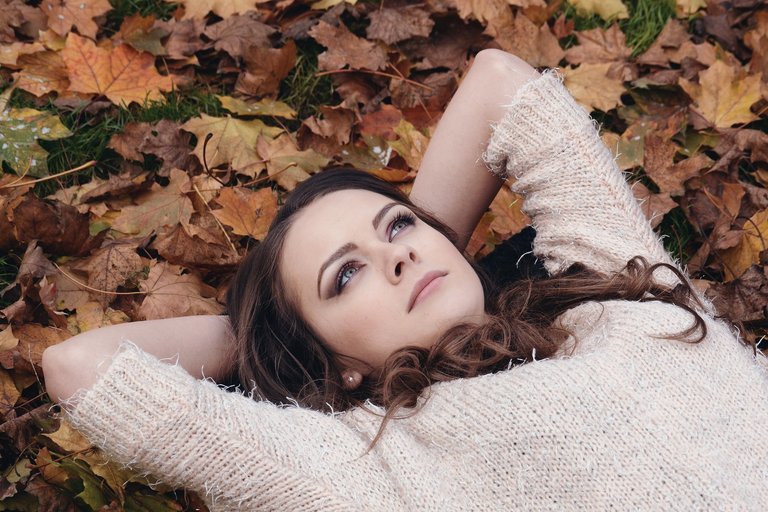
Even applying just one studio/video light to your subject can make a huge difference. Room lights usually tend to come from above and don’t always provide the best lighting coverage for your subject. One direct, head on light can improve your image well enough to boost your overall quality. If you choose to go the one light route, the best practice is to buy what is known as a flat panel light. This is usually an array of LED lights housed in one rectangular or square housing. This allows for a wider spread of light and creates a more even wash on your subject. (Most video camera external lights come in this type of lighting array).
Results are similar to this. Even lighting with little to no shadowing. Results may vary.
Introducing two lights into the equation is even more ideal. Flat panel lights can be used but is less necessary when you start increasing the number of lights in use. The two lights can be used to balance each other out by simply placing a “Key” light off center of the subject by 20-45 degrees and the other light, the “Fill” light opposite the key. They key light will create a dramatic drop shadow on the opposite side of the face, the fill will soften the shadow for a more even wash. To achieve even lighting, both lights should be about the same or close to the same brightness, for a more cinematic or theatrical look the key light should be brighter than the fill to create more depth to the subject giving the audience a sense of 3D space.
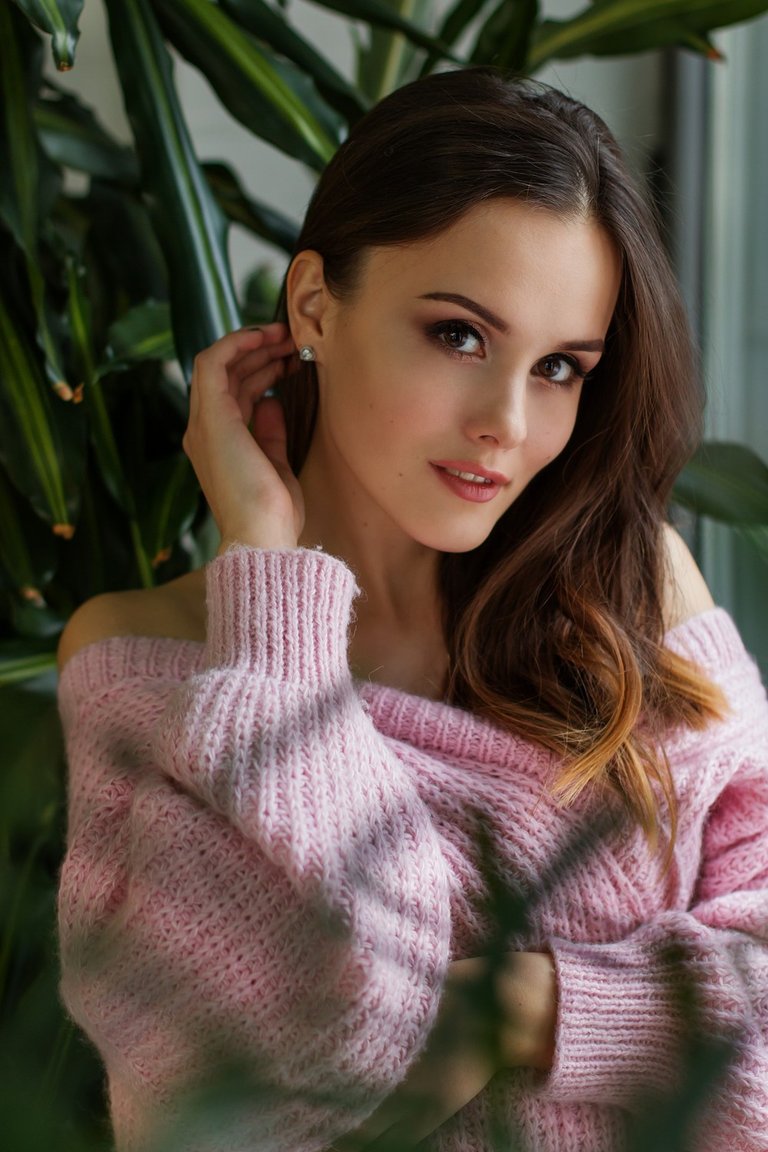
Results are similar to this image. One side of the face is more brightly lit with a softer shadow on the opposite side of face creating a sense of depth. Results can vary.
Three-point lighting is perhaps the most widely used technique in photography and videography. Although flat panel lighting can be used for all three points of light, most professionals use spotlight type lighting. Most one bulb lights are spotlight types. That being said; if you can’t afford a studio lighting kit, silver bowl work lights that can be bought at any home improvement or hardware store can be used. The silver bowl housing reflects the light from the bulb and spreads it out across a wider surface creating less focused beam of light that is less concentrated onto one spot.
House and desk lamps can be used in a pinch and to recreate the silver bowl effect. Tin foil placed behind the bulb to reflect the light onto a wider surface will suffice. Sunlight through windows, and shinny surfaced reflectors like the silver ones you use as window shades in your car can stand in for lights when none are available to you. Professional reflectors come in shiny silver, shiny gold, flat white and flat black. White surfaces reflect light really well. All types of reflectors are capable of bouncing and reflecting light onto the subject. If using house and/or desks lamps make sure the bulbs are the same or close to the same color temperature. Mixed lighting temps can reek havoc with your camera's white balance.
I bought my silver reflectors at the dollar store. These reflectors can easily be modified by adding a gold foil surface covering to one or both sides or adding, solid white or black material to emulate a professional range of reflector surfaces used in filmmaking and video production. Otherwise you can purchase a professional set from any online or brick and mortar vendor carrying video and photography items.
You will still have a Key and Fill light with the addition of a “Back” light. This light will be placed behind the subject off to the side out of sight of the camera and point in toward the subject. This creates a sense of depth and separation from the background projecting a halo or highlight effect around the head, neck and shoulders. Depth is visually pleasing to the eye and implies high quality. These lights are set in a triangular pattern and create a variety artistic looks. (Back light can be placed directly behind the subject if the light stand is out of sight behind a curtain or flash backdrop with the bulb above and pointing downward at the subject.)
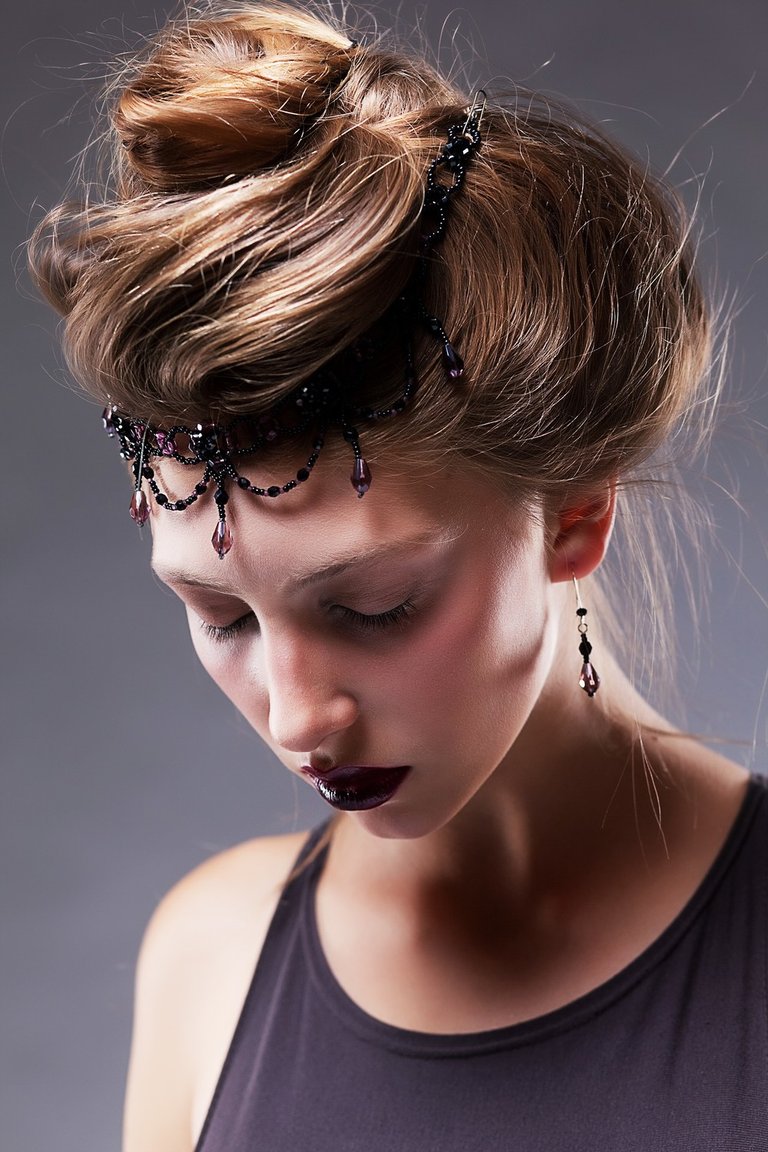
Results are similar to this. All three lights are in place creating complexity and depth to the image. Backlight in place renders highlights and creates separation from background, and depth to the subject's image. Results will vary depending on application and your desired results.
Here is what is looks like when you introduce the point lighting one at a time. All pictures were taken with the same camera within moments of one another.
Key, fill and back light complexity and depth present, even the colors appear more saturated and picture looks higher quality.
Back and key light's only, detail and color saturation is apparent but is visually flatter with less perceived depth.
Backlight only. Low detail quality, low color saturation and less depth and complexity is perceived.
To diffuse light to help spread the beam and create softer shadows, you can use a variety of things such as silks, sheets, and paper placed over the light housing. You should take care with these however, as lights can become very hot and can ignite other materials. I use wax paper in my personal kit. Wax paper is used in ovens when cooking and can tolerate higher temperatures much better than other types of paper. You can clip the materials over the housing with clothespins or binder clips. It is best to use work clamps that are metal with rubber tips. You can even place the diffuser material of choice on a frame further out from the light so that it has less chance to ignite. You can, of course buy professional diffusers that are made for that specific purpose and are less susceptible to heat.
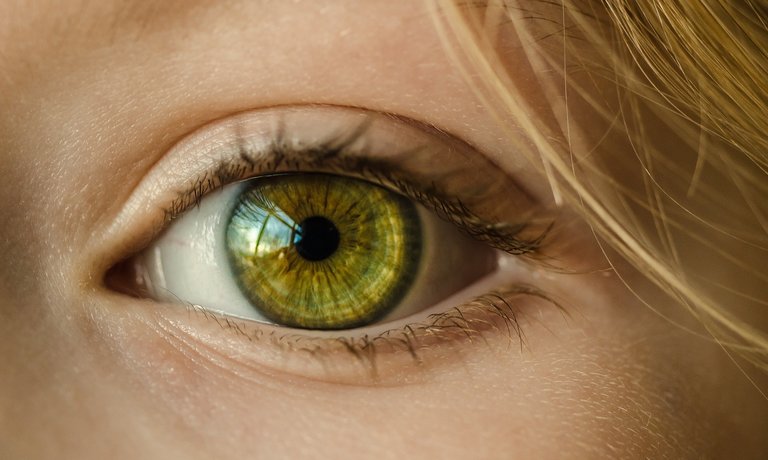
Whatever system you choose for your blog video, make sure there is always some sort of eye light. Keys and fills do this inherently. One direct flat panel light will also create a great eye light. This light allows the subject’s eyes light up with life, that glint that flashes when the eyes move or make direct contact. This is perhaps the most important element, but when mixed with the previous techniques make visual magic. (Avoid dead eyes).
Now, get working and create those videos. Take them to the next level with these techniques and remember these can always be built upon. Just one video light (not room light) can make a noticeable difference. Let me know how this has been working for you or if you have questions regarding lighting for video and put them in the comments section. If you have tips or advice for others you can leave those in the comments as well you never know how helping others can create your next big networking connection. Happy creating!
You have a minor misspelling in the following sentence:
It should be achieve instead of acheive.I suppose some things get past the triple checks after all. Thanks for reading and for letting me know.