[DIY Game Series with @zulman]
Good day guys. It has been quite a while I did not update my article here in this blog. Welcome back to this blog off course. Since it has been quite a while, I would like to remind you that my last post in this blog is about creating our own game using only javascript, css, and html. So, here in today's post, I would like to continue my arcticle about "DIY Game Series". I would like to share another way or how we can create our own simple video games. As a reminder that here we are not learning to create a complex or big games, but only a simple game that I hope we got a little bit knowledge about games development and off course, we still using web technology such as html, css and javascript.
What are we going to learn.
In this DIY Game Series post, we are going to create a simple game, yet a bit different from before. (Note: You can check my previous post at the end of the artcle if you want to read that). This time, we are going to use the help of a framework called "Phaser". To be exact, here we are going to learn how to use this framwork to create a simple video game. So, thing that we are going to learn are:
- What is Phaser Framework.
- How to set up the environtment for our development.
- How to use the framwork to create our game.
However, I am going to separate the article into several part to make the article as brief as possible. The reason for that is because I still learn myself. So, I am going to share what I have learnt so far. Now, with that in mind, in this part, we are going to learn what is Phaser and how to set our environment for the development.
Alright, without further ado, let's start.
1. What is Phaser?
Well, it is a framework. Phaser is actually a JavaScript framework for game development. What this mean is that, there are a lot of code that has been write to help us build a vidoe game with JavaScript. So, we do not have to write our game from scratch. Some task such as animation, physic, graphic, and some calculation that we need in our game does not need to be writen anymore. We only need to call the code using their API. That is at least what I understand so far. If you want to know more about Phaser Framework, go ahead and click the link below to go to their official website.
In their official website, there are two version of Phaser, "Phaser 2/CE Game" and "Phaser 3". In this article, we are going to use Phaser 3, the reason for that is because it is the newest version. Now, to follow this article, we need to know at least some basic of JavaScript, html, css and some understanding about web server. You might be wondering why we need a server if we create the game with only using JavaScript. Well, I am not quite understand myself yet, but in their explanation, it is related to some securities issue. I belive you will understand more than me if you read the details explanation about this in their official website.
I think that is it for my brief explanation about Phaser Framework. So, now let us see how we can set-up our computer to start using this framework.
2. How to set up our environtment to develop game with Phaser framework?
There are some requirement that we need in order to use Phaser framework to develop a video game. Things that we need to do first are as follow:
- We need to set-up a local server.
- Download the Phaser framework.
- Some good text editor. This is depend on personal preference. My personal preference is "Sublime Text".
- A web browser off course. (I recommend Google Chrome)
Alright, now let's setup our local webserver. To do this, there are a couple ways that you can use. We can set-up a complete package with a bundle installer that include apache, mysql and php such as XAMPP or WAMP if you use Windows. I recommend using XAMPP if you are a windows user. However, as we are only going to create a simple video game, I do not think we are going to need all these software to install in our computer.
So here, reagardless of your operating system, we are going to use a very simple and quick webserver. So, we do not need to mess around with setting up an apache server in our computer. To have a simple web server, we can use the help of Python. Python have a simple web server that is called Simple HTTP Server. So, we are going to use this in as our local web server. To use python web server, follow the instruction below:
Windows User
If you are a windows user, you need to install python first in your computer. You can see how to install python from here How to install Python in Windows. Once you installed Python, now you can use python web server. To test if you can run Python in your computer, you can do by:
- Open Command Prompt or Windows Power Shell.
- Then type
python. You will see the version of Python show in command prompt and this sign>>>appear at the begining.
Mac or Linux User
Good news for Mac or Linux user. Python has been installed in your computer. So, you do not need to installed it anymore. To check or enter to to python interpreter, just like in Windows, you can do the following:
- Open "Terminal"
- Then type
python. You will see something like this:
~ $ python
Python 2.7.10 (default, Oct  6 2017, 22:29:07)
[GCC 4.2.1 Compatible Apple LLVM 9.0.0 (clang-900.0.31)] on darwin
Type "help", "copyright", "credits" or "license" for more information.
>>>
Start Simple HTTP Server.
Alright now, how we can use Python as our local web server. To do that, we can create a simple html page first to test if the server work.
- Open text editor and type the following code:
<!DOCTYPE html>
<html>
<head>
<title>[DIY Game Series]</title>
</head>
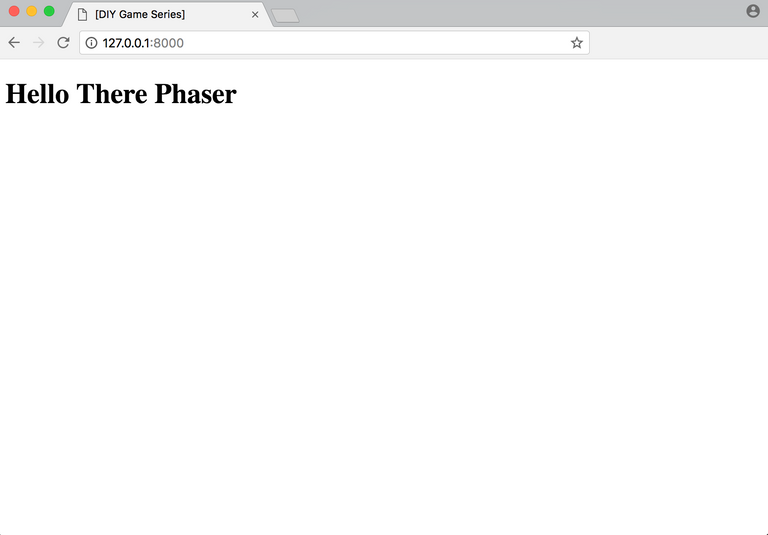
<body>
<h1>Hello There Phaser</h1>
</body>
</html>
- Once you finish it, save it as "index.html" and put it to whatever you like.
- Next open Terminal or Command Prompt and navigate to the folder where you save the "index.html" file. As an example, I save it in my Desktop inside a folder called "phaserProject".
- Once you inside the folder, type
python -m SimpleHTTTPServer". Once you did this you will see some thing like this:
phaserProjects $ python -m SimpleHTTPServer
Serving HTTP on 0.0.0.0 port 8000 ...
This means that your web server has been started. Now you can open the browser and put this address http://127.0.0.1:8000. You will see something like the picture below and our local web server is working.
Let's test the Phaser framework.
Now that our local web server is working, we are going to test the Phaser framework. Follow the instructions below:
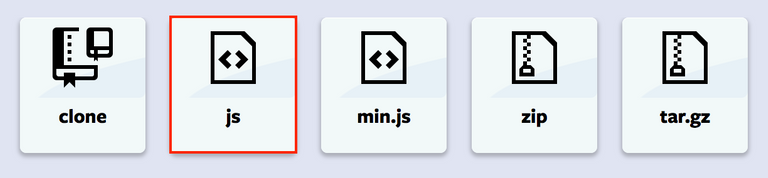
- Download Phaser framework form Here. We will use 'js' version. See the image below:
- Once you donwload it, put it inside the same folder as your "index.html" file. Next, open your "index.html" and change the code as shown below:
<!DOCTYPE html>
<html>
<head>
    <script src="phaser.js"></script>
</head>
<body>

    <script>
    var config = {
        type: Phaser.AUTO,
        width: 800,
        height: 600,
        physics: {
            default: 'arcade',
            arcade: {
                gravity: { y: 200 }
            }
        },
        scene: {
            preload: preload,
            create: create
        }
    };

    var game = new Phaser.Game(config);

    function preload ()
    {
        this.load.setBaseURL('http://labs.phaser.io');

        this.load.image('sky', 'assets/skies/space3.png');
        this.load.image('logo', 'assets/sprites/phaser3-logo.png');
        this.load.image('red', 'assets/particles/red.png');
    }

    function create ()
    {
        this.add.image(400, 300, 'sky');

        var particles = this.add.particles('red');

        var emitter = particles.createEmitter({
            speed: 100,
            scale: { start: 1, end: 0 },
            blendMode: 'ADD'
        });

        var logo = this.physics.add.image(400, 100, 'logo');

        logo.setVelocity(100, 200);
        logo.setBounce(1, 1);
        logo.setCollideWorldBounds(true);

        emitter.startFollow(logo);
    }
    </script>

</body>
</html>
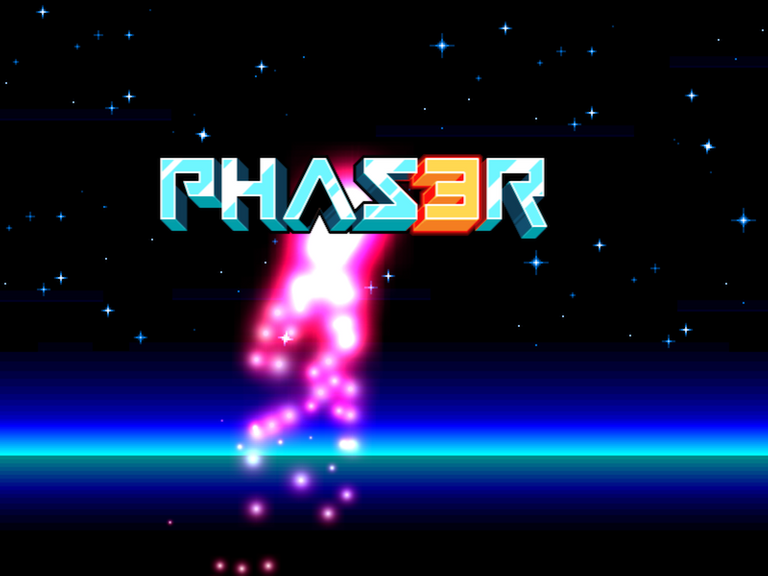
- Next, start the server in your Terminal or Command Prompt and open your browser. If there is nothing wrong, you will see something like this:
Note: The code above is from their official website. I use it as only to test the framework if it is working or not.
Now, that we have set our environment to start developing video game with Phaser. In next article, we are going to start creating our video game. That is all for today, see you in my next post. Cheers...
Link to my previous DIY Game Series article.
Notice:
I am currently starting to learn javascript and want to what I have learnt. This could be not the best article. I encourage you to check their official website to learn more about game development wiht Phaser. You can check their website in the reference link below.
Reference : Here
Congratulations @zulman! You have completed some achievement on Steemit and have been rewarded with new badge(s) :
Click on the badge to view your Board of Honor.
If you no longer want to receive notifications, reply to this comment with the word
STOPCongratulations @zulman! You have received a personal award!
Click on the badge to view your Board of Honor.
Congratulations @zulman! You have completed the following achievement on the Steem blockchain and have been rewarded with new badge(s) :
Click here to view your Board
If you no longer want to receive notifications, reply to this comment with the word
STOPDo not miss the last post from @steemitboard: